Bruges Lace and Best of Show

ScannedImageSome take one look at the pattern length of Bruges Lace and feel that it is to overwhelming to work, however once you understand the principals it really is quite easy and can create beautiful works.

M22159_Bruges_300_small2

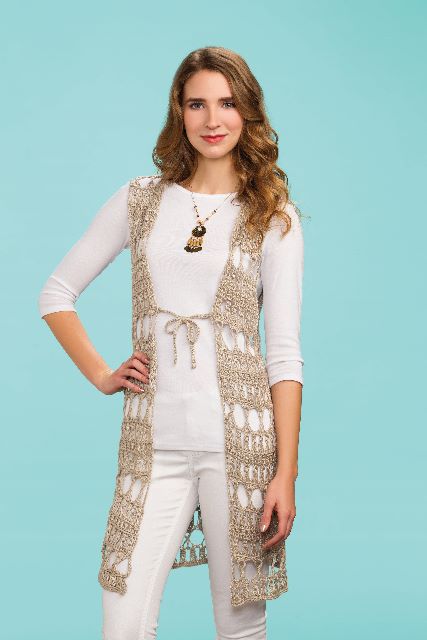
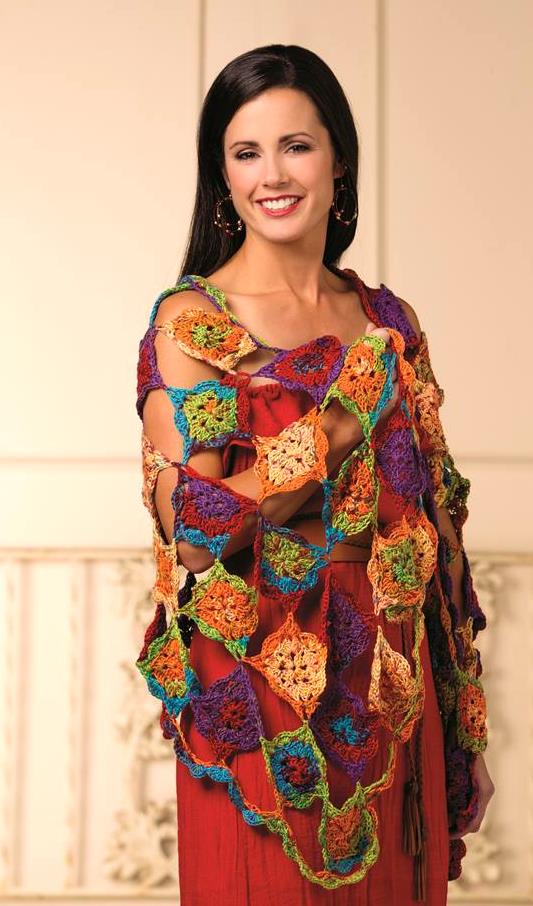
Bruges Multi Shawl Photo courtesy of Annie’s

Bruges Lace is essentially like a ribbon; each row is created with just a few stitches and is joined to other portions of the “ribbon” with large turning chains. It is these turning chains that create the open lacy effects that this technique can create.

One of my latest designs uses this technique, the Bruges Multi Shawl in the Summer 2015 issue of Crochet! Magazine. This shawl begins at the base of the neck and curves outward in rows that end up more like arches. The ribbon is comprised of only 5 stitches, but is also designed to create more open work.

IMG_20140609_161055

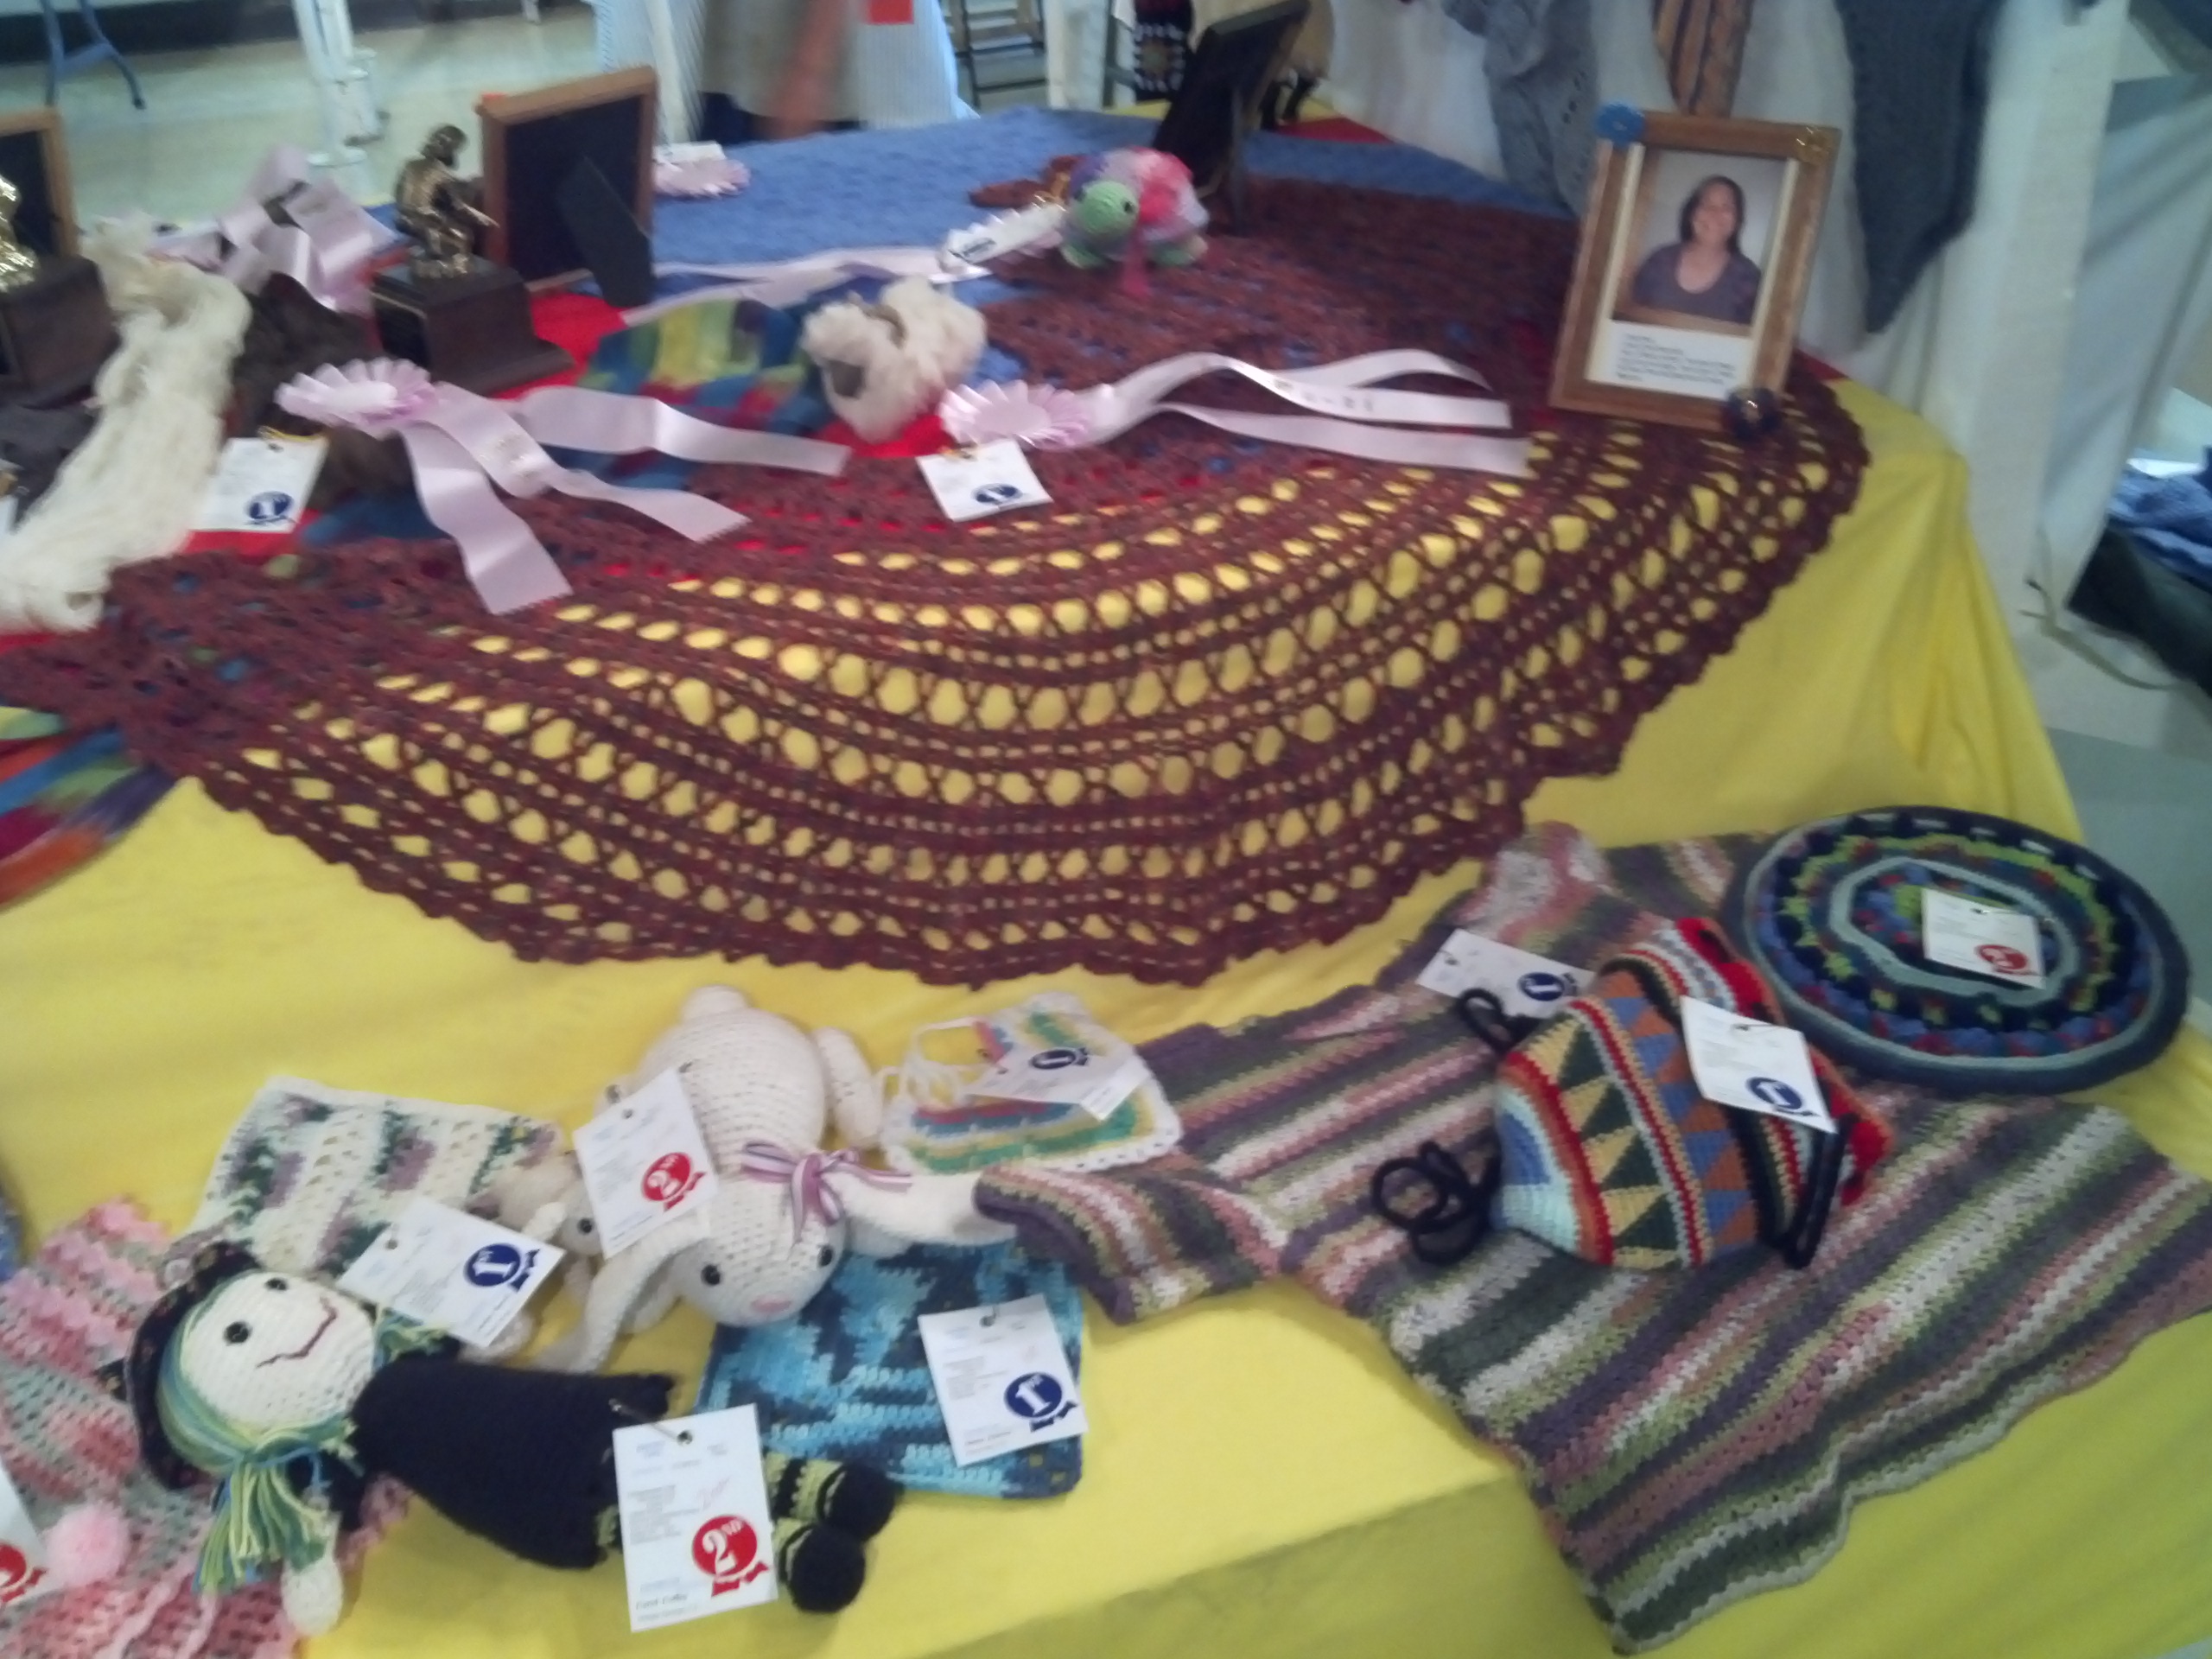
My “Best of Show”, it is laying flat on the table at my local county fair.

This design was originally created as a personal challenge. I often enjoy limiting my ideas to what can be created with only one skein of yarn. This shawl was originally created that way, however it was with a different skein of yarn then what the published version is in. I made the original shawl with 1 skein of Lisa Souza Dyeworks Baby Alpaca/Silk yarn in the color of Cranilicious, and entered it in my local county fair. I do not enter my local fair for the ribbons or prizes, but more to inspire others to beauty that can be created in crochet, yet this shawl won me a “Best in Show” (my one and only).

I really enjoy the structural appearance of this shawl; it almost reminds me of old fashion iron work. This shawl almost seems weightless, yet adds just enough warmth to take the chill off. Another point I love with this design is that the front comes over the shoulders enough that it really stays on! I do not use a shawl pin or anything, I just throw it on and go, and it stays where I put it. That is something that I really enjoy.

DSCF0731

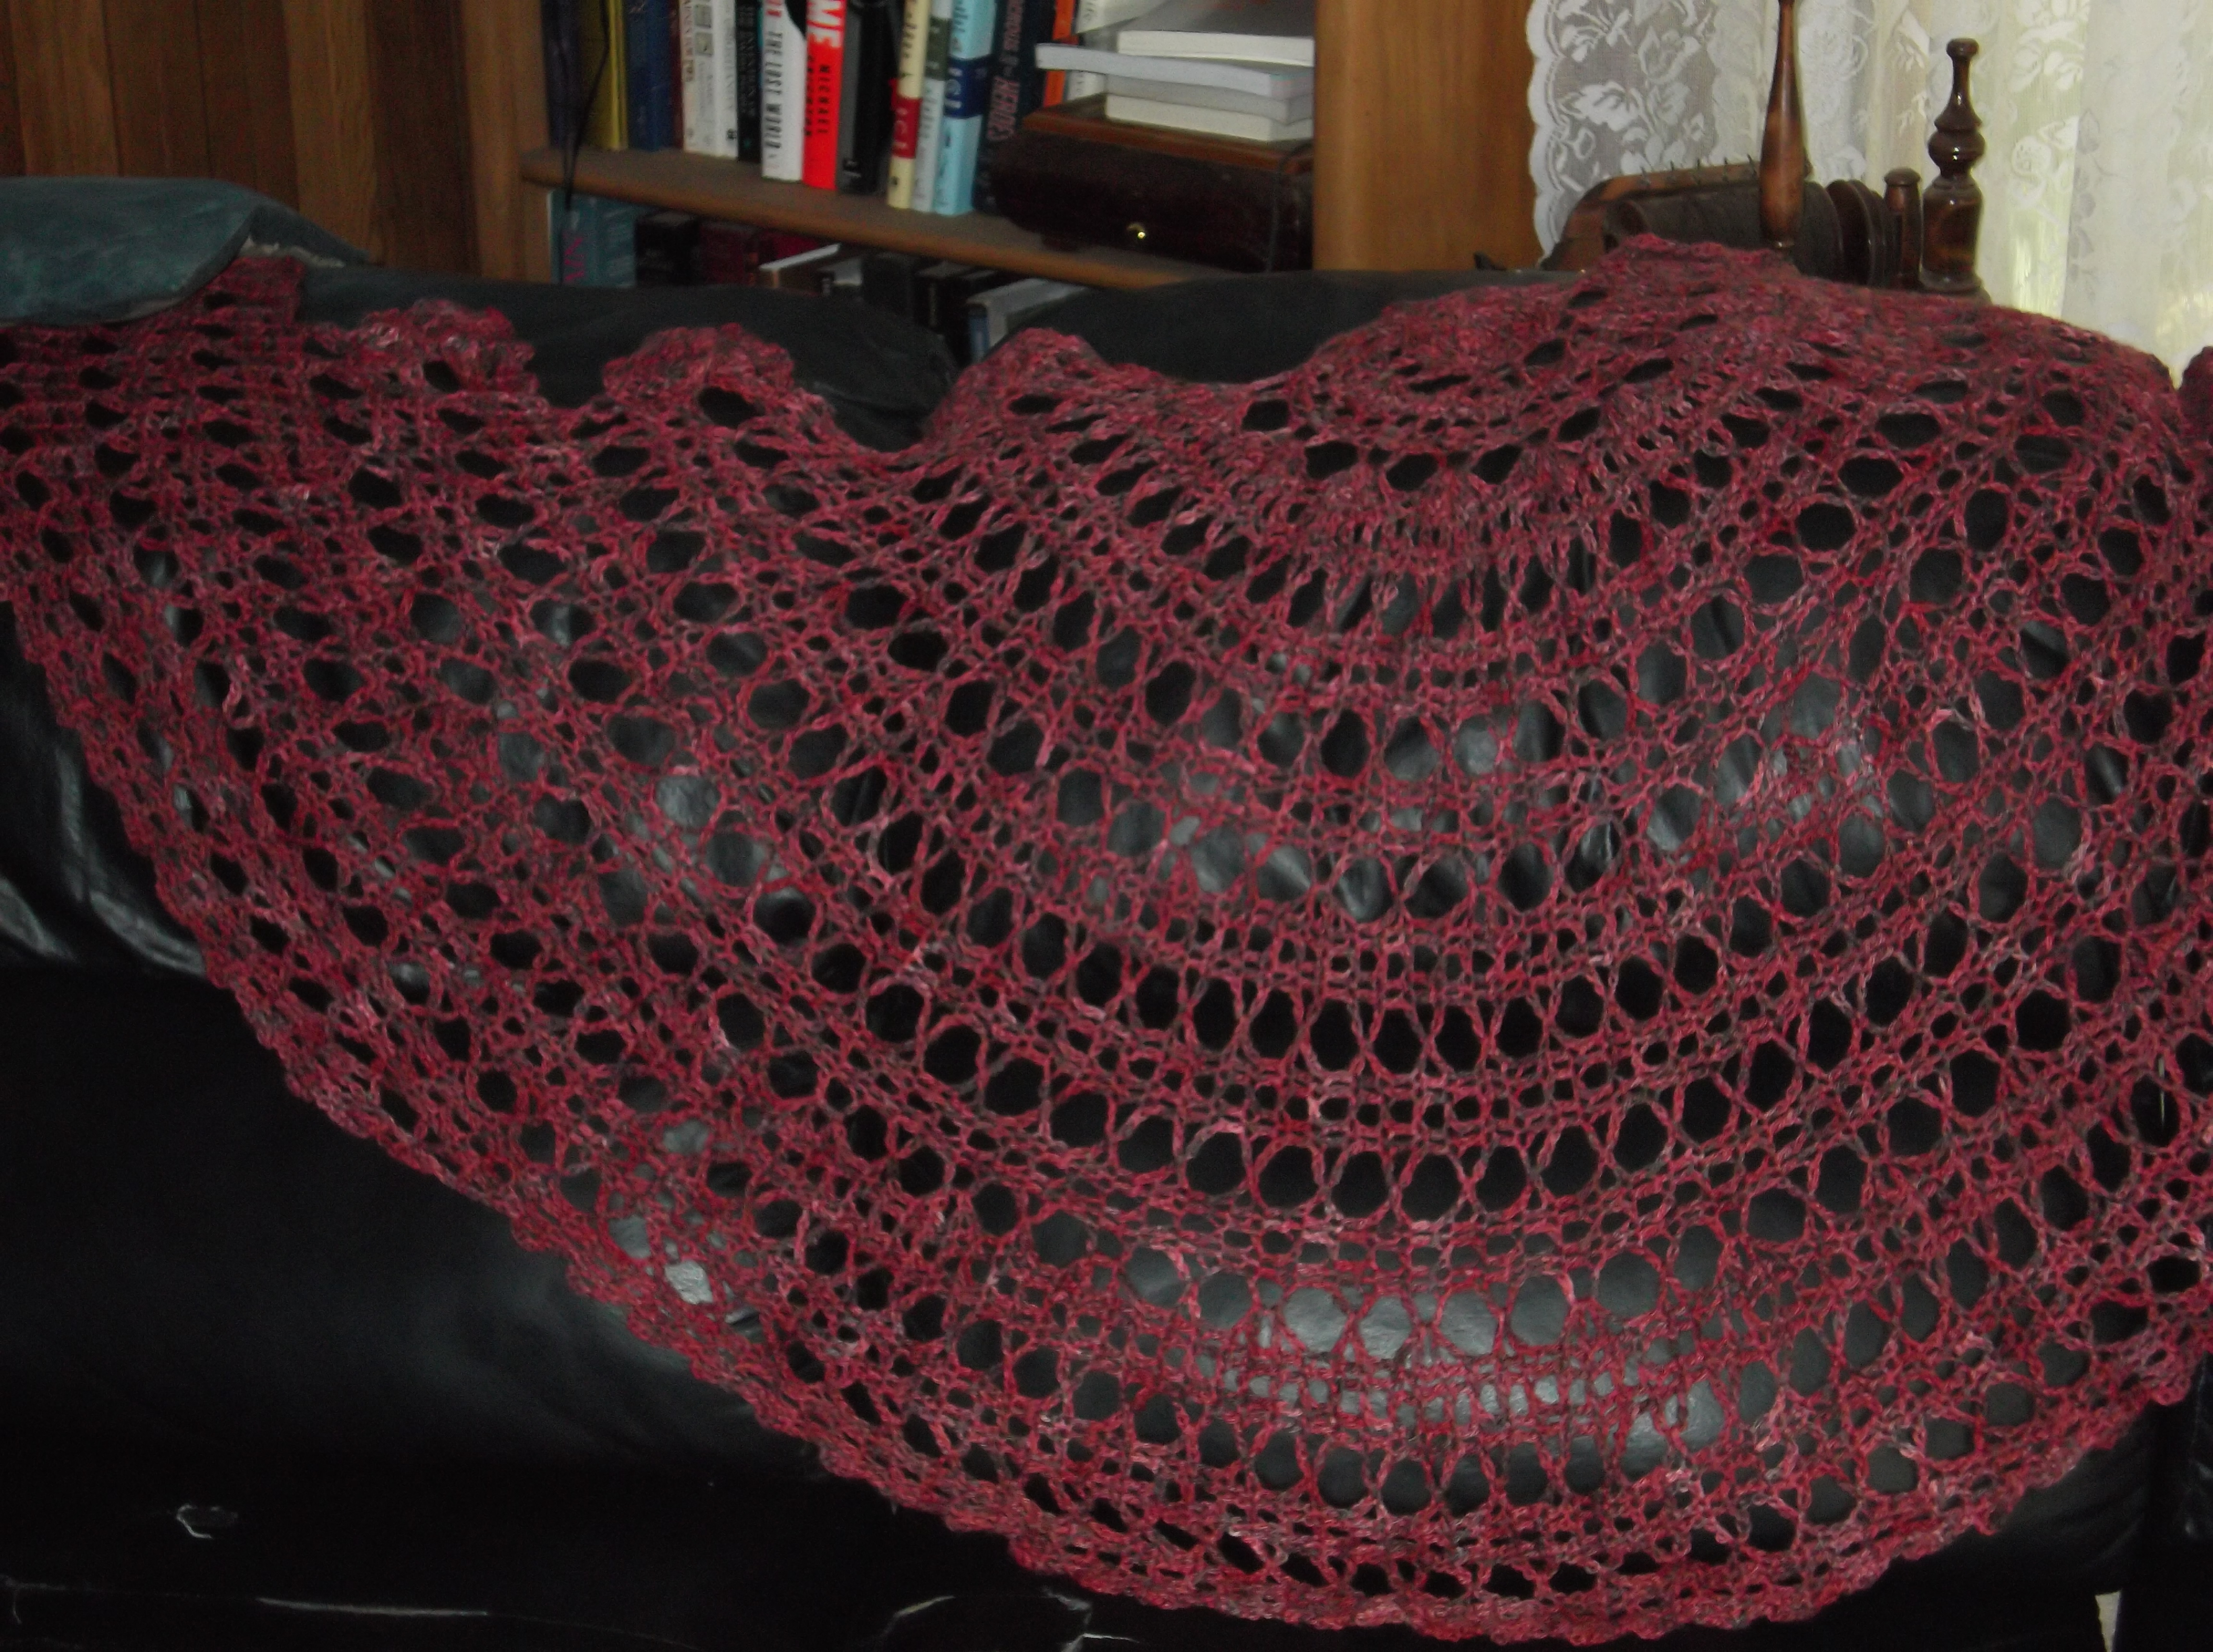
The original version of the Bruges Multi Lace Shawl

I hope that you take up your hooks and give Bruges Lace a try, its unique construction is easier then it seems and can be quite fun. Any continuous line you can draw can be worked as a ribbon of Bruges Lace, imagine the possibilities.

Swirling in Tunisian Crochet- Some thoughts

M22159_Tunisian_500_medium

Tunisian Swirl Skirt Photo Courtesy of Annie’s

ScannedImageI have to admit, it is a little overwhelming, in a good way, that I have so many designs out in magazines at the same time. The latest designs out are in the Summer 2015 issue of Crochet! Magazine, and I would like to share some of my thought process of the Tunisian Swirl Skirt with you.

There is actually a lot going on in this skirt. I found myself putting some unusual concepts together for what I feel are nice results. The skirt is worked in Tunisian crochet, utilizing the Full stitch ( I discuss how I work the stitch here). This stitch is worked between the vertical bars, and when worked in flat fabric it has to be staggered in the rows. However in this skirt it is worked in the round.

Working Tunisian in the round has its own unique process, and after playing round with several different options on how to accomplish this, I utilized the Tunisian Loop Return Pass technique, that I discovered from Jennifer Hansen, the Stitch Diva (check out her demonstration here). It offers a join that does not create any open gapping, when worked in Tunisian Simple Stitch it becomes almost invisible, worked in the Tunisian Full Stitch, as in this skirt, you can find the join point, however it is much less obvious then other methods.

Another non-everyday technique that I utilized is the Clone Knot. I learned about Clone Knots from Kathy Earle at a Chain Link Conference (the Knit & Crochet Show), and use them in the lace insert panels that help create the swirl. I like how this stitch is created, I find it fun, but it also offers a nice texture, and allows an open kind of drape to a lace fabric. (I demonstrated how to complete this stitch here).

IMG_20150407_094426

My local newsstand this week, 4 issues that you can find my designs in right now…Spring 2015 Interweave Crochet, Summer 2015 Crochet! Magazine, April 2015 Crochet World, Special Issue Crochet Magazine Quick & Easy Accessories

Some of the other thoughts that went into this skirt may not be as obvious. For one, I do not want a skirt to show my under garments, so I seek out a stitch and hook size that will create a fabric that will allow for modesty, the Tunisian Full Stitch fit this build. With is modesty in mind, I also ensured that the lace panels did not climb into areas that I would like to keep modest as well. So you really should not have to wear an underskirt with this design.

Another thought that went into this design was how to you get a fitted waist. Part of this is created by working top down, and increasing for the hips, as well as allowing for a drawstring closure, so you can have a more custom experience with the fit.

If you wanted to change this skirt up and make it a little more or less lacier or have more or less of a swirl. This can be accomplished by adjusting the width of the solid panels the wider the panels the less lace, the more slender the more lace. Just ensure that the number of stitches in the round before the panels is divisible by the number of panels that you want to ensure that they come out even.

I had fun putting this skirt together and growing in my understanding of crochet while doing it. I hope that you enjoy it as well.

Swirling Into Spring- My First Design In Interweave Crochet

ScannedImageThe calendar says that it is almost the season or renewal and rebirth; spring. I just wish I could have seen a winter first, I think it skipped California again this year, however it still is a perfect time to welcome the bright colors, fresh ideas and clean lines. The Spring 2015 issue of Interweave Crochet highlights these; Okay I am a little biased, I have a design in this current issue. This is the first time I have had a design grace the pages of this publication, and it is a design I am a little amazed at how great it is. Spring15%20Cover%20resize

I used some different techniques in the Swirl Skirt, and they came together in a wondrous harmony. For one thing it utilizes an invisible increase, created by increases that seem almost random, but the locations are actually strategically placed to ensure a great curve over the hips while still ensuring a smooth drape to the fabric. The increases are not worked in the same stitch as ones worked in the pattern repeat, but in other parts of the stitch so that it does not create a large gather of stitches.

Swirl%20Skirt.jpg-500x375

Swirl Skirt Photo courtesy of Interweave Crochet/ Harper Point Photography

The most noticeable element of this skirt is the doodle on the thigh. When taking notes or writing I often make scrolling doodles on a paper, and the inspiration for this skirt is no different. It actually was a sketch I was doodling while on the telephone and my hand simplified other scrolls down to this simple swirl. I feel it adds a little something extra while also lengthening the appearance of the leg. It is created by crocheting into chain spaces that are placed in the pattern of the skirt, making an easy to locate stitch location, as well as not having to crochet around parts of a stitch, but directly into a chain space.

7180.CRSP15_Urban_0070.jpg-550x0

Dual Button Closure Photo courtesy of Interweave Crochet/Harper Point Photography

I was really please with how the closure worked for this skirt. The waistband has a dual button closure located on the inside of the band, resulting in a clean finish appearance. It also makes it rather easy to custom fit, as you can move the button location to receive the best fit. I also feel that the two-tone color contrast of the band brings a highlight to a slimming waist appearance.

Now I just have to create one for myself, and I’ll be all set for a night off my mountain and on the town.

New Approaches to Broomstick Lace- The Bombay Vest with Elongated Loops

ScannedImageIn case you haven’t noticed I enjoy playing with stitch techniques and my latest design is no different.

With the Bombay Vest, in The April 2015 of Crochet World, I was playing with broomstick lace. This classic crochet technique is one that I find has a great untapped potential. It creates such a iconic “peacock eye” appearance, but what if you use those loops a little differently?Crochet World_April2015_Cover

For someone new to the concept of broomstick lace, it is a process in which you pull loops through a crochet base and over a large knitting needle (or as in times past a broomstick, hence the name; although it can also go by Jiffy Lace due to a long ago popular pattern). Once all these loops are placed on a needle, they are then grouped, usually in sets of 4-5 loops and single crochets are worked into the set of loops. The single crochet is most traditional, but any stitch can be used to solidify these loops into a group.

One of the ways I decided to play with this stitch was to simply twist the loops before filling it with stitches. This gives a very different positive/negative space appearance, almost more silhouetted, making you recognize the space between the set of stitches then the loops of “eye” created in the center.

Bombay Vest

Bombay Vest- April 2015 issue Crochet World Photo courtesy of Annie’s

Then I took this one step further, by attempting to create 2 different heights of lace using the same knitting needle. One of the limitations with broomstick lace, in my opinion, is that the height of the row is limited by the size of the knitting needle (or broomstick) you are using. Yes, this tool gives you even and consistent loops, but often they are smaller then I might like, I want something really open, really tall. So I found that I could accomplish this by using every other loop of a set, and pulling the unused loops back into the ones that I have selected. As a result I have a loop set that is twice as tall as the needle created. (To get a better visual of this effect, please watch my video here). My only note of caution is to make sure that if you are going to pull up loops that you make sure that you do not drop the last loop from the needle, make sure that this is a loop that you elongate the length on, as it is part of the last stitch of the row below, and you do not want this to unravel.

When playing with these techniques I ended up creating a swatch, almost by accident, and thought it offered a great, almost retro feel, and immediately thought of a vest to wear. Then to find the proper yarn, I was looking for something that was not to springy and offered great drape, so Paton’s Bamboo Silk worked as an easy fit. This is a fun work project to work up, but I have to say I really enjoy the approach to the technique. So I hope that you consider giving it a try and see what broomstick lace can have the potential of being.

Blossom Spins and Flowers on the Beach Thoughts

ScannedImageThis is a busy time of year. All the work that filled my days at the end of summer is now making its way onto the newsstands to be enjoyed!

Untitled

Photo courtesy of Annie’s

The special issue of Crochet! Magazine, Quick & Easy Crochet Accessories features two of my new designs (one if actually featured on the issue cover!), and I thought that I would share some of what went into creating them.

image

Blossom Spins Wrap Photo courtesy of Annie’s

The first one, the Blossom Spins Wrap, grew out of some playing I was doing with the picot stitch. The picot is usually noticed in edges and is created from a set of chains that are slip stitched back to the same base stitch. This creates a little nub, or dot, along the stitch pattern. I was attempting to see what other secrets this little decorative stitch might hold. In doing so I made the chains a little longer and now created a loop that could become the foundation for other stitches! In the case of the wrap these picots hold a shell stitch that allows for a subtle wave, making these square motifs appear more like diamonds.

The other real charm of this design, the color work, is all done by the yarn. Both of these designs I am discussing are created with Deborah Norville Serenity Garden Yarn, it is a light weight yarn that is silky and soft. It comes in a wide array of color ways and creates lovely striping, and in the result of the motifs, creates a beautiful speckling of color highlights.

image-2

Flowers on the Beach Photo courtesy of Annie’s

The other design, the Flowers on the Beach Bag, came into being from the flowers. The flowers are a design that I have played with, creating the petals large and wide in just a single row, and then basically outlining the edge of the flower by working a round of single crochet directly on top. I have found that I really enjoy these flowers, and they, like the motifs in the wrap, offer a great way for the color of the yarn to create a fun dimension. The mesh bag that the flowers are worked onto is quite simple and easily collapses, not taking up much room when being stored, but then can readily carry all the necessities for a day at the farmer’s market or a picnic at the beach.

In retrospect these designs really sing due to the color of the yarn, the structure of the designs themselves hold a good positive and negative space, but the color is what catches your eye and draws you in more. I might have to play with some more color changes and see how that can affect the outcomes of designs that I feel are missing something….you’ll never know when the right combination will come together.