Silk Blend- It Is My Weak Spot

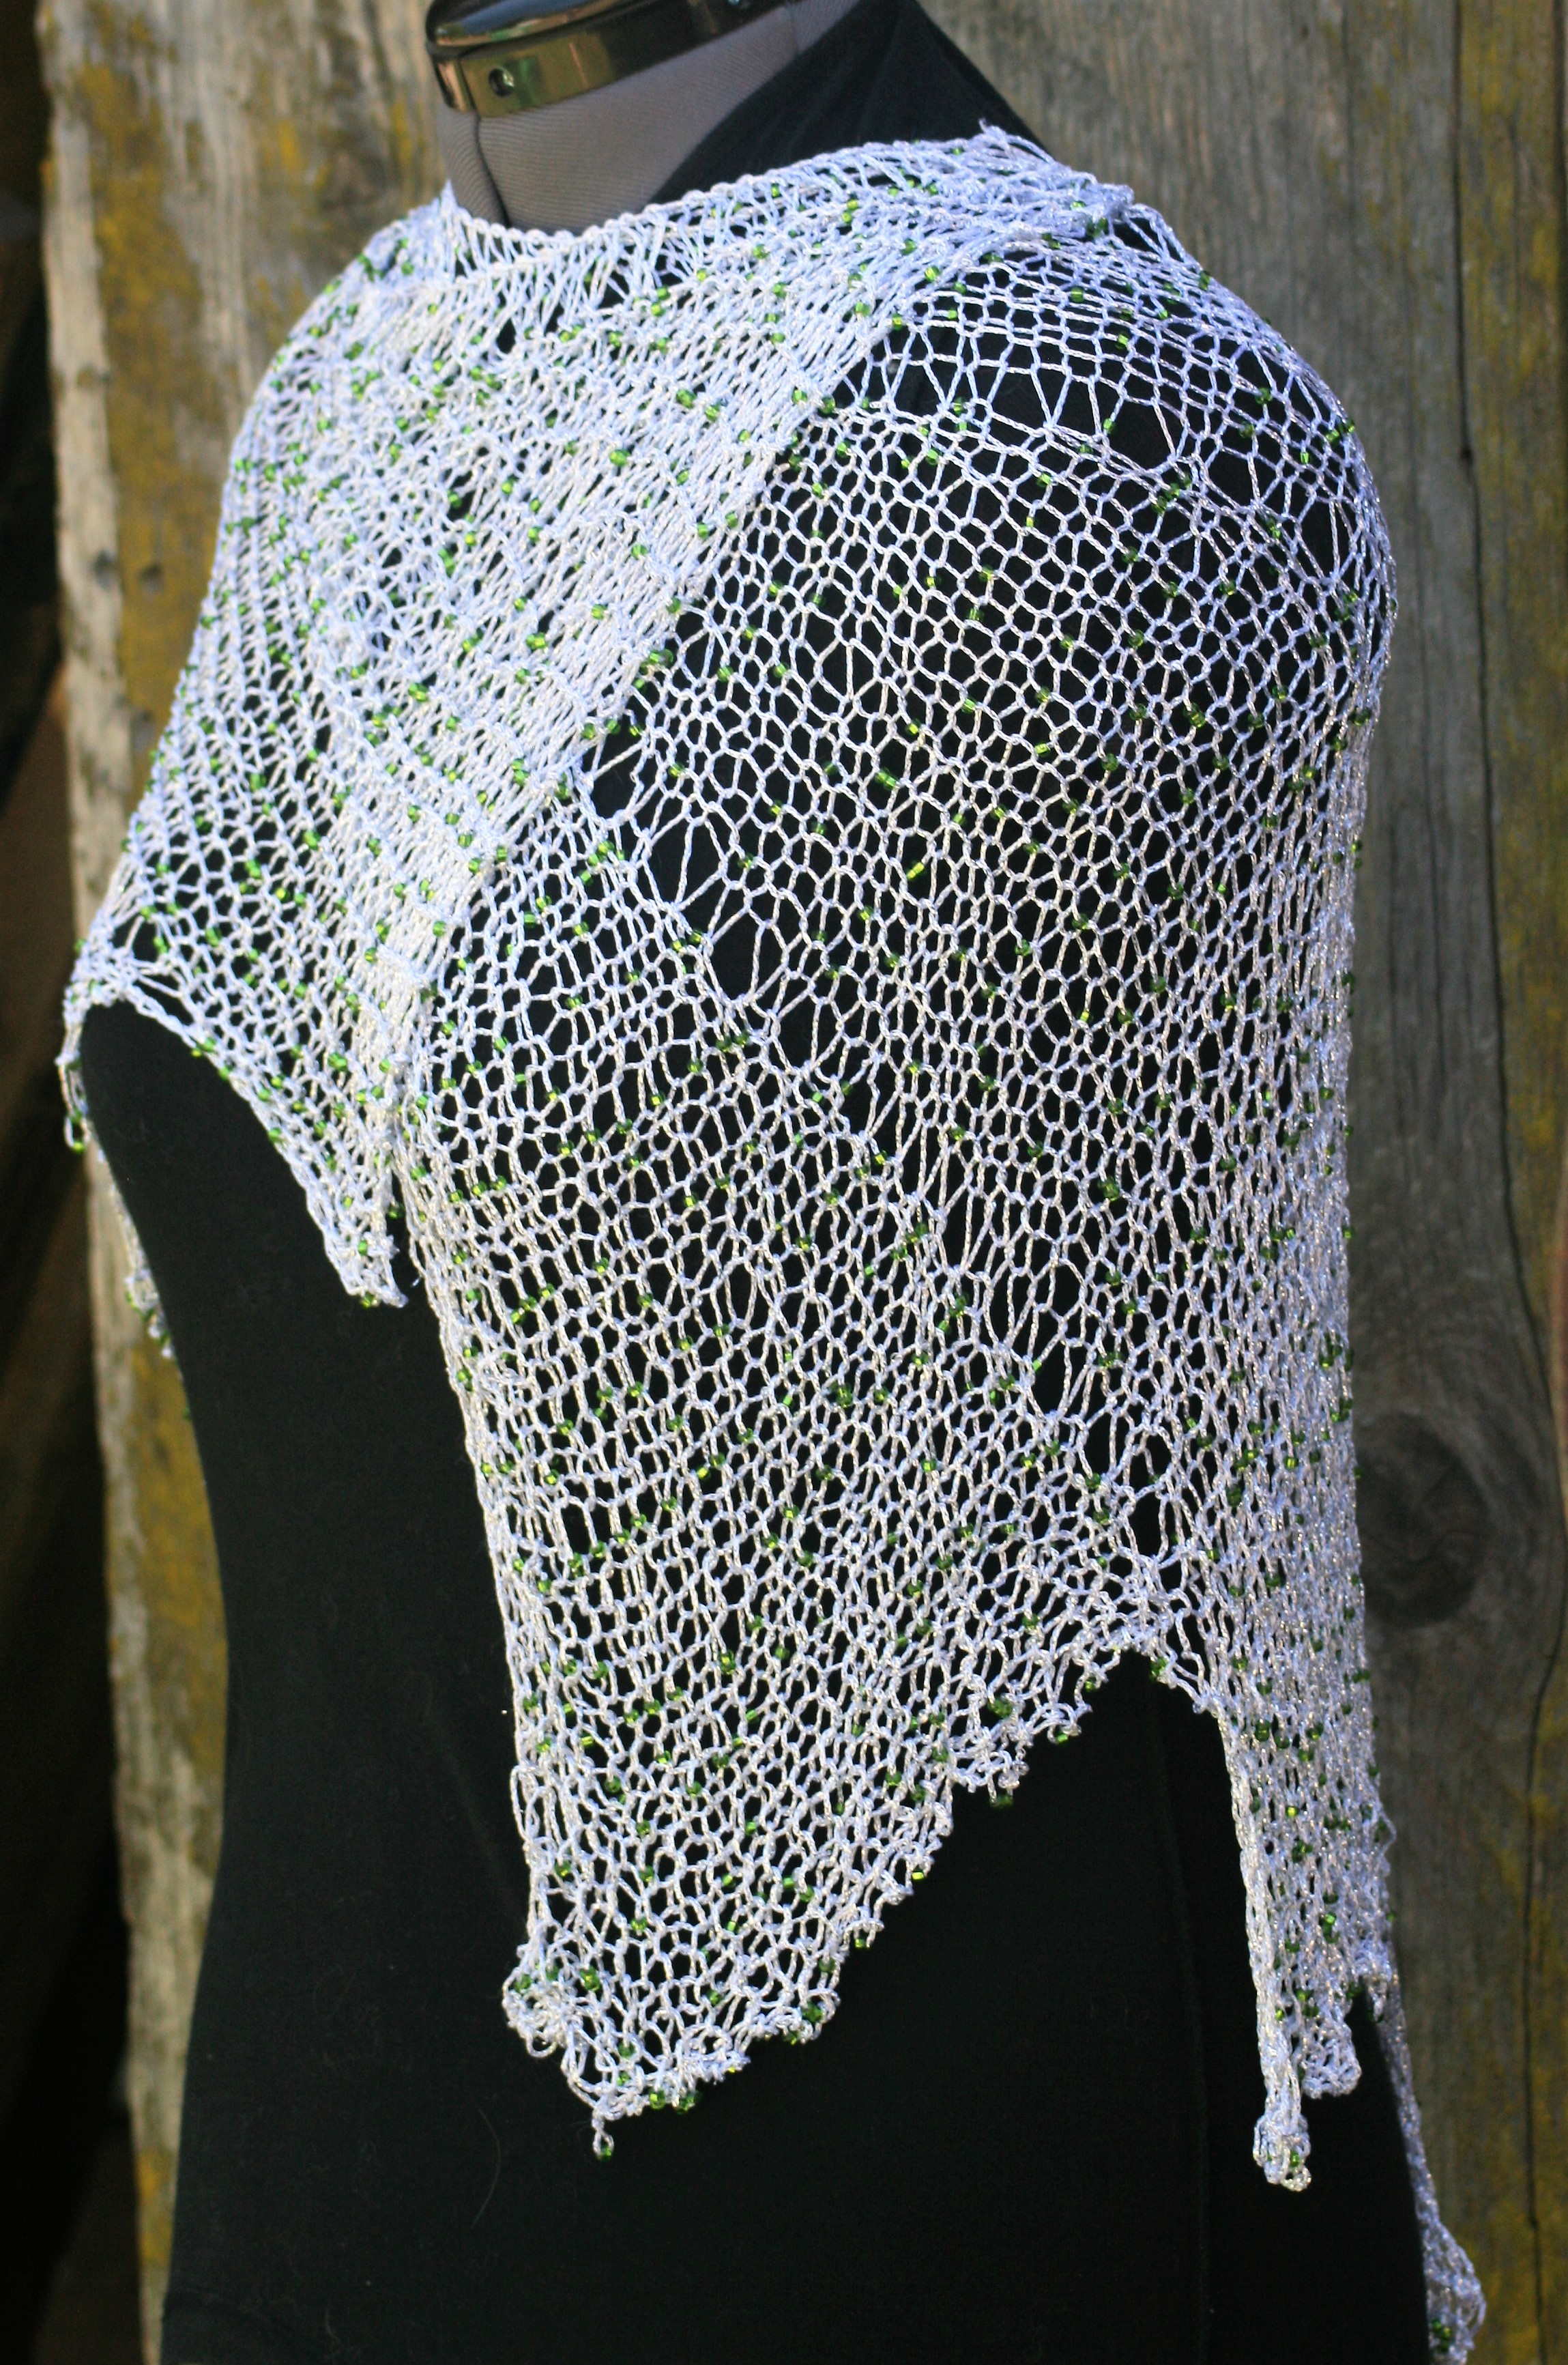
I have to admit I have a weak spot for silk. This weak spot could have grown as a child, with the thought that silk was an ultimate luxury, something to glamorous and out of reach. Regardless, it still has a special place for me.

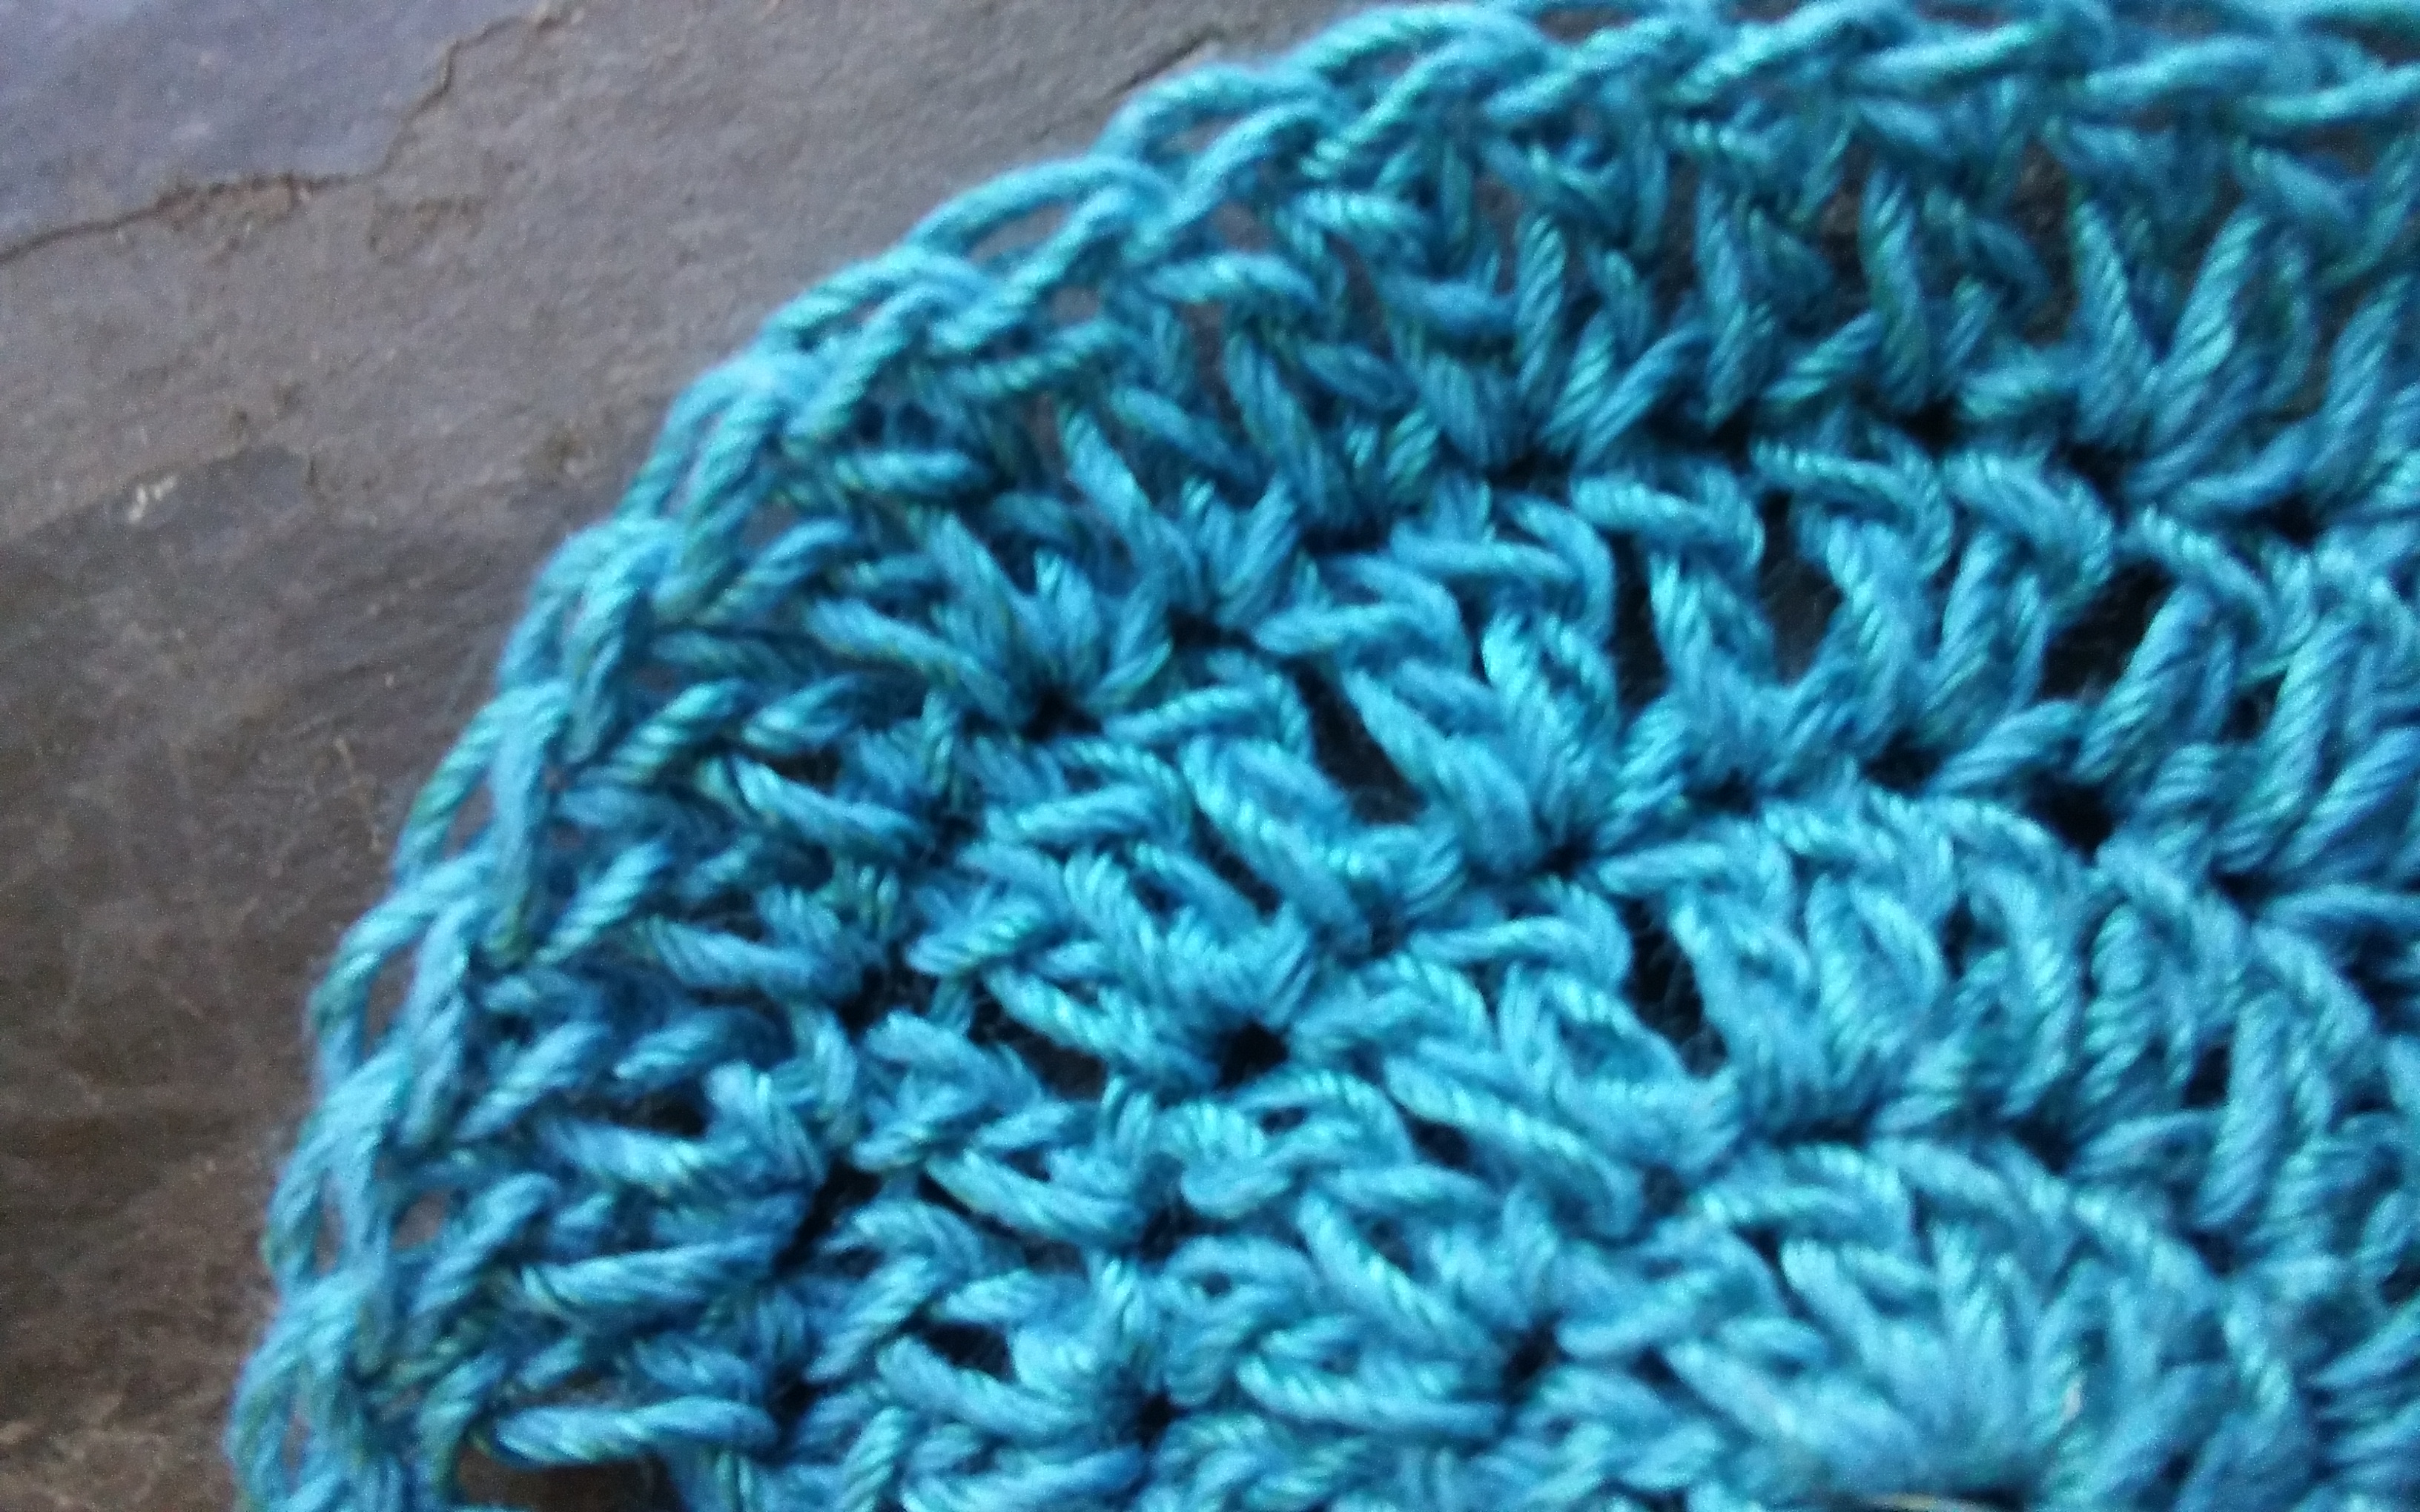
Manos del Uruguay has a nice yarn, Silk Blend, that the name alone attracts my attention. It is a single ply yarn that is made up of 70% merino extra fine and 30% silk. So merino extra fine, is essentially wool from the sheep breed Merino, and the extra fine notation indicated that the micron count is very high (micron count is the measurement of the diameter of individual fiber, the higher the number the smaller the micron count, the soft the fiber). This yarn does live up to the label, it is soft, a real joy to use.

Silk Blend www.lindadeancrochet.com

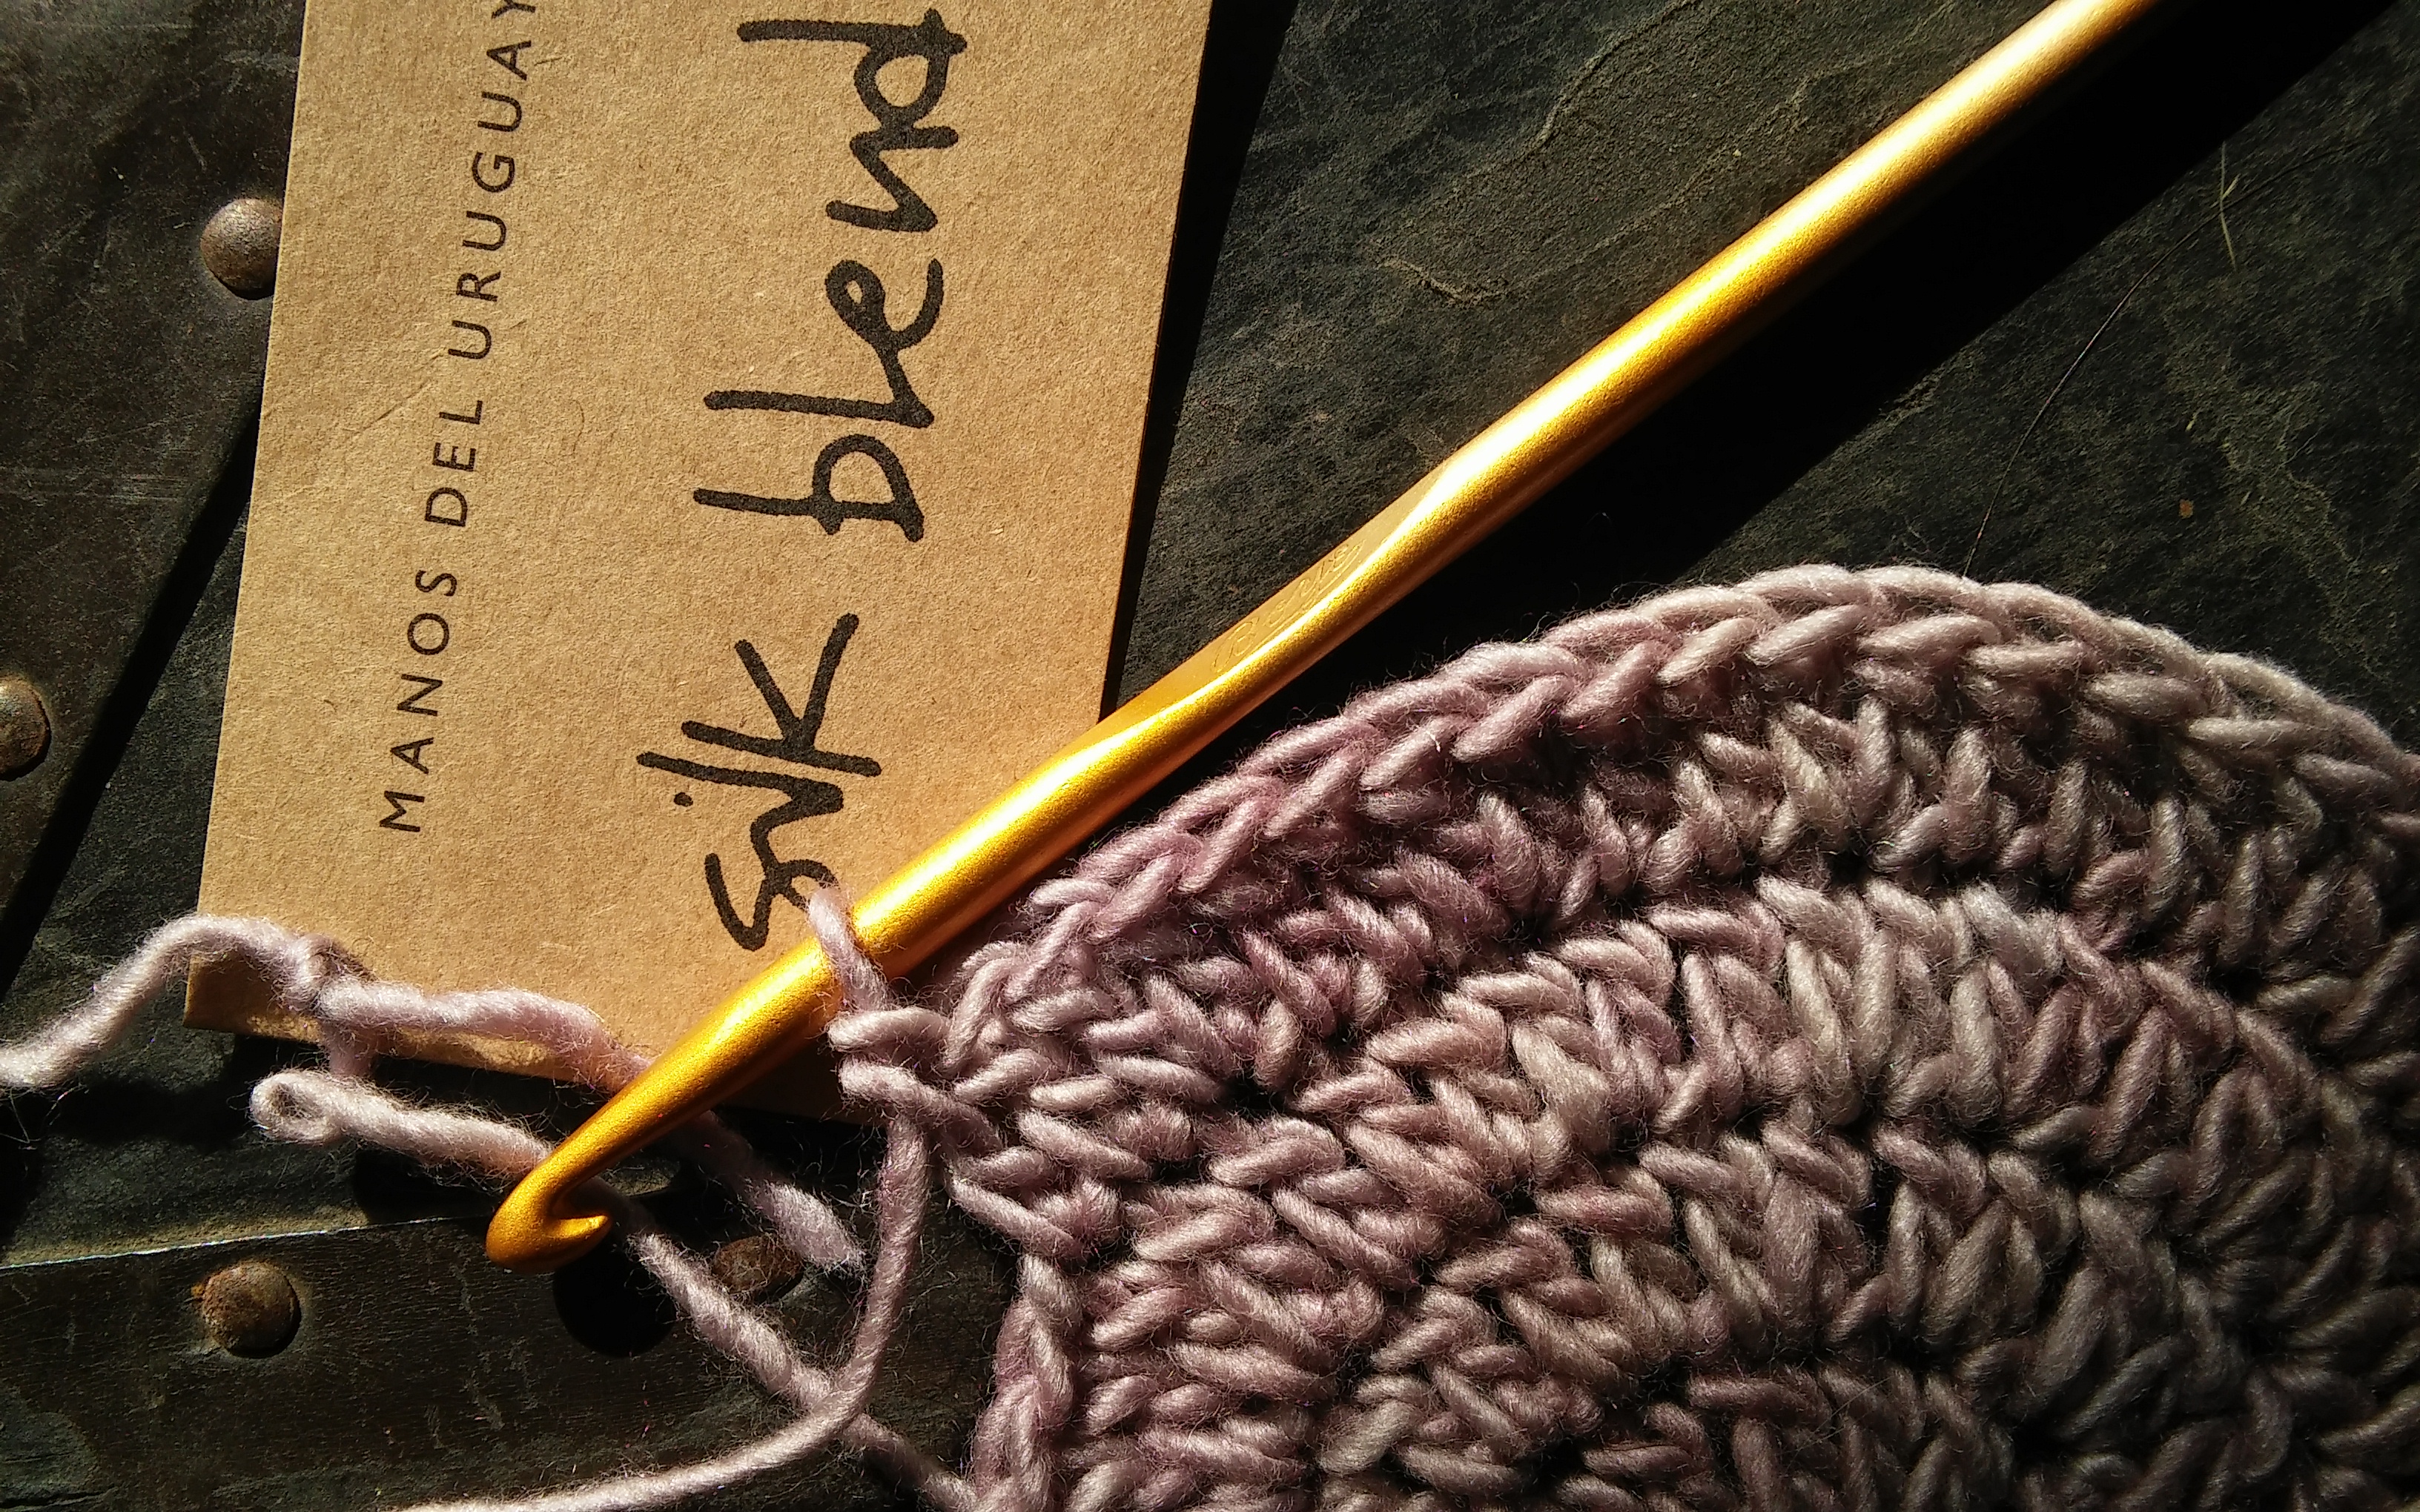
Manos del Uruguay Silk Blend yarn

The silk offers strength and a subtle sheen to the yarn. Silk is one of the strongest fibers available and like wool it holds warmth. Silk shares a lustrous quality that adds a warm radiance in the overall appearance, while using its strength to add integrity to this single ply. Even with the fibers being warm this yarn seems very breathable and I would be happy to work a light weight sweater in it.

The single ply of this yarn does give me a bit of a pause. Even though it has great stitch definition, really allowing the stitches to shine, it has a bit of a halo. It does not readily pill, but I think that after continuous use, or multiple times being ripped back, that it may become a bit unruly and not nearly as fun to use. So keep the project simple, and one that you feel comfortable with the stitches, and you will only notice the fine qualities of this yarn.

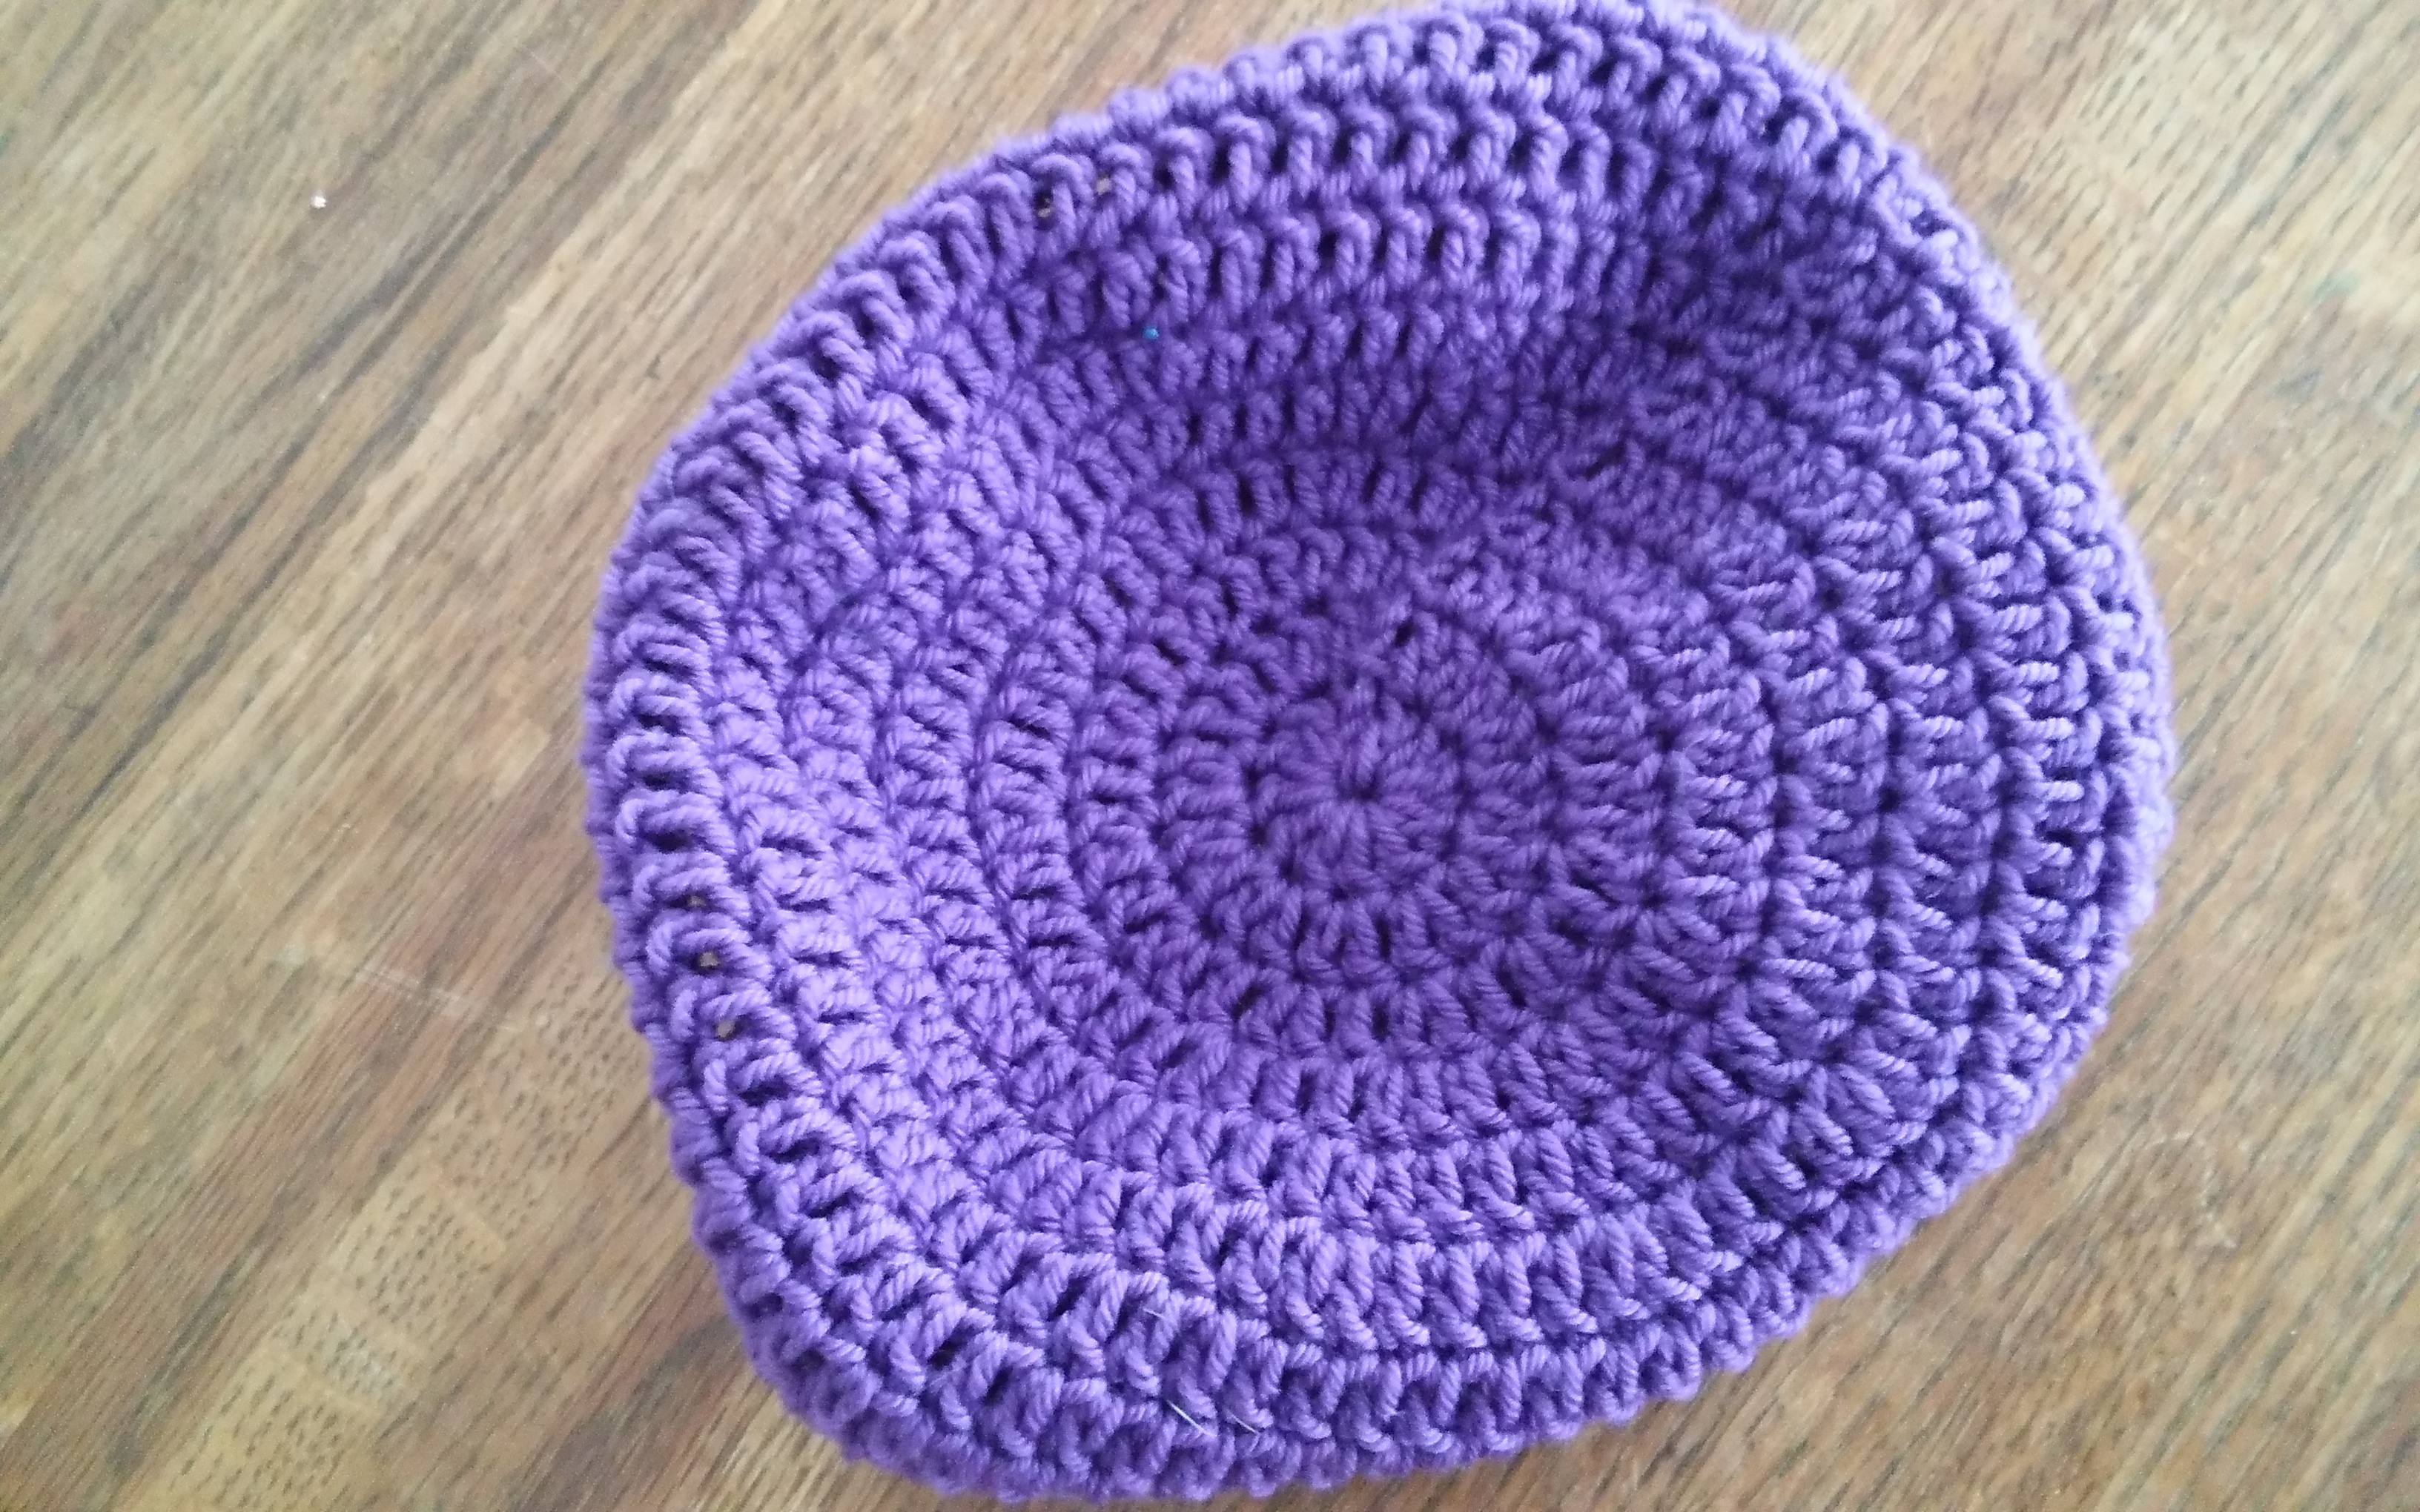
Each hank is 1.75oz/50grams, with a substantial 150yrd/135meters, easily making a beanie or fingerless mitts. I would feel comfortable with a few hanks to make up a nice scarf or wrap.

Learning More- Firelight Knit

Yes, sometimes I bite off more than I can chew. I have done this in many areas of life over the years, including designing, and my latest design is one such item.

The Firelight Knit Shawl was created upon request as a sister to the crochet version. Both utilize a yarn that has little stretch or body and adorned with beads. It seems pretty straight forward, I have translated Tunisian crochet to knit before fairly successfully, but I did not account for the beads.

Firelight Knit Shawl www.lindadeancrochet.com

Firelight Knit Shawl

I learned a lot, such as how much differently beads work in knitting. I thought it would be similar to crochet, in that you work a bead in a stitch and there it will stay. Crochet has a bit more securing properties in this manner, since it twists and turns in a stitch, whereas knitting is simply a loop. This loop can allow the beads to shift a bit more when being worked, or even when it is finished…so I had to learn some improvising skills and learn more about knitting then I had originally set out to do. However I am pleasantly surprised at how happy I am with the end result.

I had to change the stitch pattern a couple of times and adjust the needle size, but in the end I created a shawl with a spider webbing effect. The edges are not completely straight, as the beads near the edge tend to drag it down a bit, but I think that adds a bit of charm to it. I worked up the sample with 6/0 size beads, and this causes a bit more of the pulling out of shape. Worked with 8/0 beads the movement would be less.

Firelight Knit Shawl www.lindadeancrochet.com

Firelight Knit Shawl

What probably attracts me most is that it has a complete shimmer and a great drape. The flowing shape really highlights the wearer. It is subtle, not attention grabbing, but once it has your attention it keeps it.

Subtle Twist- Sets Lotus Apart

There are always subtleties that create a difference in yarn. One is something that is mostly taken for granted, the direction of the ply. This might seem like a moot point for a topic to discuss, as most all yarn is spun in a similar fashion, the individual strands are spun in a counter-clockwise direction, then plied together in a clockwise direction (this opposite direction of spinning creates the tension that makes a yarn stable). However, just because almost every yarn is spun in this manner does it make a difference if you spin in it reverse?

Essentially all yarn is spun in this method, sometimes referred to as “S” twist, I am not sure if there is any real particular reason for this except that it has been done that way. There are a couple of yarns available that are spun opposite of the “S twist”, meaning that the beginning strands are spun clockwise and then plied together counter clockwise, this is known as “Z” twist. Yarns spun this way will indicate this on their labels, as it is a subtlety that differentiates it from others.

Lotus from Designing Vashti www.lindadeancrochet.com

Lotus from Designing Vashti

So why consider a “Z twist”, there are those that find it reduces yarn splitting  for right handed crocheters, as the traditional method of crocheting the yarn overs can either add or subtract the twist in a yarn. As traditional yarn is spun with a clockwise finish, and right handed crochet yarn overs in a counterclockwise direction, twist can be taken out of a yarn causing it to split. So with “Z twist” being the opposite the right handed crocheter will add twist to the yarn.

Honestly, I have not noticed too much difference in my work between the twist directions, with the exception of yarns that are loosely plied together and thus unply, or split quite easily. However I do notice a bit of a visual difference in the way my stitches look, it is subtle, and if I wasn’t really paying attention I may not completely understand why it looks different. This difference is because of the lines that I see in the yarn due to the ply. The “Z twist” lines are in the opposite direction.

Now that I have told you more then you hoped to know about the direction of twist within yarn, there is a yarn that I find I quite enjoy that is a “Z twist”. Lotus by Designing Vashti is a 52% cotton, 48% rayon, fine weight yarn that is perfect for summer. I find that I create garments, wraps, shawls, and even hand backs out of this yarn. It has a nice drape, and I love the slight shimmer that the rayon gives it. For me it is this rayon that really allows me to see the “Z twist”. I have used this yarn several times and have found that it really “blooms” after being washing, meaning that it fluffs up and fills in the space between stitches.

The combination of cotton and rayon make it perfect for warm weather, that is probably I always tend to pick it up in Spring as I am getting ready for the warm weather of summer.

Crochet Hats De-Mystified

It is interesting that you completely forget how you felt about something before it became common place. Okay, that sentence could apply to many things in today’s day and age, however I was personally thinking of my crochet. A conversation I had with a student juggled a little something free in my mind about hats.

I find crocheting hats a pretty relaxing past time at this point in my life, enough so that the yarn I post about on Fridays … that swatch usually becomes a hat…but I didn’t always feel that way. Hats were intimidating to me, probably because the only crochet hats I had seen as a kid growing up were usually worked vertically with short rows. I had never really seen a top down, or even bottom up worked crochet hat, until probably college.

Top down hats start as a flat circle

That does make my crochet life sound a bit sheltered, maybe it was. I did teach myself after all and I primarily crocheted with “hand-me-down” yarn form other people’s stashes. I made doll clothes and scarves, but if it was something to be adorned or admired, I made afghans …hundreds of them.

Anyway, when I would contemplate working a hat, I was always befuddled by the dome shape, and having it actually fit. Little did I realize how easy it was to make, so easy that since I learned it I have never looked back. Essentially a top down crochet hat begins with a flat circle. Yes, a flat circle. This seems a little counterintuitive, but it works. Creating a flat circle simply requires adding the number of stitches worked in round 1 to be added evenly throughout all other rounds. Meaning if I begin the first round with 12 double crochets, then I add 12 double crochets evenly in each following round, so round 2 would have 24 double crochets, and round 3 would have 36 double crochets.

After the circle is worked to a point where the outer edge, the circumference, measures the circumference of the head (usually somewhere between 20” and 22” (51-56 cm) for a typical adult), then you quit working any increasing stitches and continue working even (a single stitch in every stitch around), until you have the hat the desired length.

Here is a really basic pattern for a hat, nothing fancy…

Using any yarn and a corresponding hook,

Rnd 1: Ch 4, 11 dc in 4th ch from hook, sl st to top of beg ch. (12 dc)

Rnd 2: Ch 3, dc in same st, 2 dc in each st around, sl st to join. (24 dc)

Rnd 3: Ch 3, dc in same st, dc in next st, [2 dc in next st, dc in next st] around, sl st to join. (36 dc)

Note: Depending on your yarn and hook only continue working Rnds until circumference of hat is met with circumference of the circle, then work Body of Hat.

Rnd 4: Ch 3, dc in same st, dc in next 2 sts, [2 dc in next st, dc in next 2 sts] around, sl st to join. (48 dc)

Rnd 5: Ch 3, dc in same st, dc in next 3 sts, [2 dc in next st, dc in next 3 sts] around, sl st to join. (60 dc)

Rnd 6: Ch 3, dc in same st, dc in next 4 sts, [2 dc in next st, dc in next 4 sts] around, sl st to join. (72 dc)

Rnd 7: Ch 3, dc in same st, dc in next 5 sts, [2 dc in next st, dc in next 5 sts] around, sl st to join. (84 dc)

Body of Hat

Ch 3, dc in each st around, sl st to join. Repeat this Rnd until hat is desired length.

Fasten off and weave in ends.

Make a few hats, and considering helping your local community by donating a few to your local homeless shelter.

Design Help- Outside Crochet

Not all designing involves crochet, at least not in my world. Since November 2016 I have been a 4H sewing project leader, this entails me arranging meeting times and helping guide the participants in completing project. Fortunately 4H encourages leadership from the kids, so it does not involve much instruction from me, as I am not much of a seamstress and sewing is not my favorite pastime. After all I crochet, and even work join-as-you-go motifs so I do not have to sew.

However in the course of these last several months the participants under took a community service project. So in addition to creating their shirts, and skirts, dresses and jackets, they also created a project to help Veterans. They arranged to teach the basic use of the sewing machine to other 4Hers at a large community event, then I aided then in creating a quilt square pattern that involved simple strips of fabric. They then sought donations of fabric and cut it into long strips to have their “students” sew these long strips together.

Quilt top created by my 4H sewing project

After a full day of instruction they had all the strips sewn together, then it was time to create the squares. I will admit I did help put some squares together, after all I did want to at least see my dining room table. The squares are completed and put together, now this quilt top is being donated to Quilts of Honor to be finished as a quilt and given to a Veteran.

Yes, I am proud of what they have accomplished, and their dedication and generosity is inspiring. It has been a really interesting undertaking for myself, watching the kids grow and understand themselves and what they like. Some of the kids actually created their own patterns and designs, other modified their patterns to create what they like. There are designers everywhere, at least in the sense that we are all creators.