Doily Snowflakes

ScannedImageOne of the saddest things is walking into a thrift store and finding a crochet item. Some feel it is a great find, but I have to say, it leaves me a little disheartened to see all this hard, handmade work, mixed in with second clothes, puzzles that may be missing pieces, and worn toys. So how about a second life for some items.

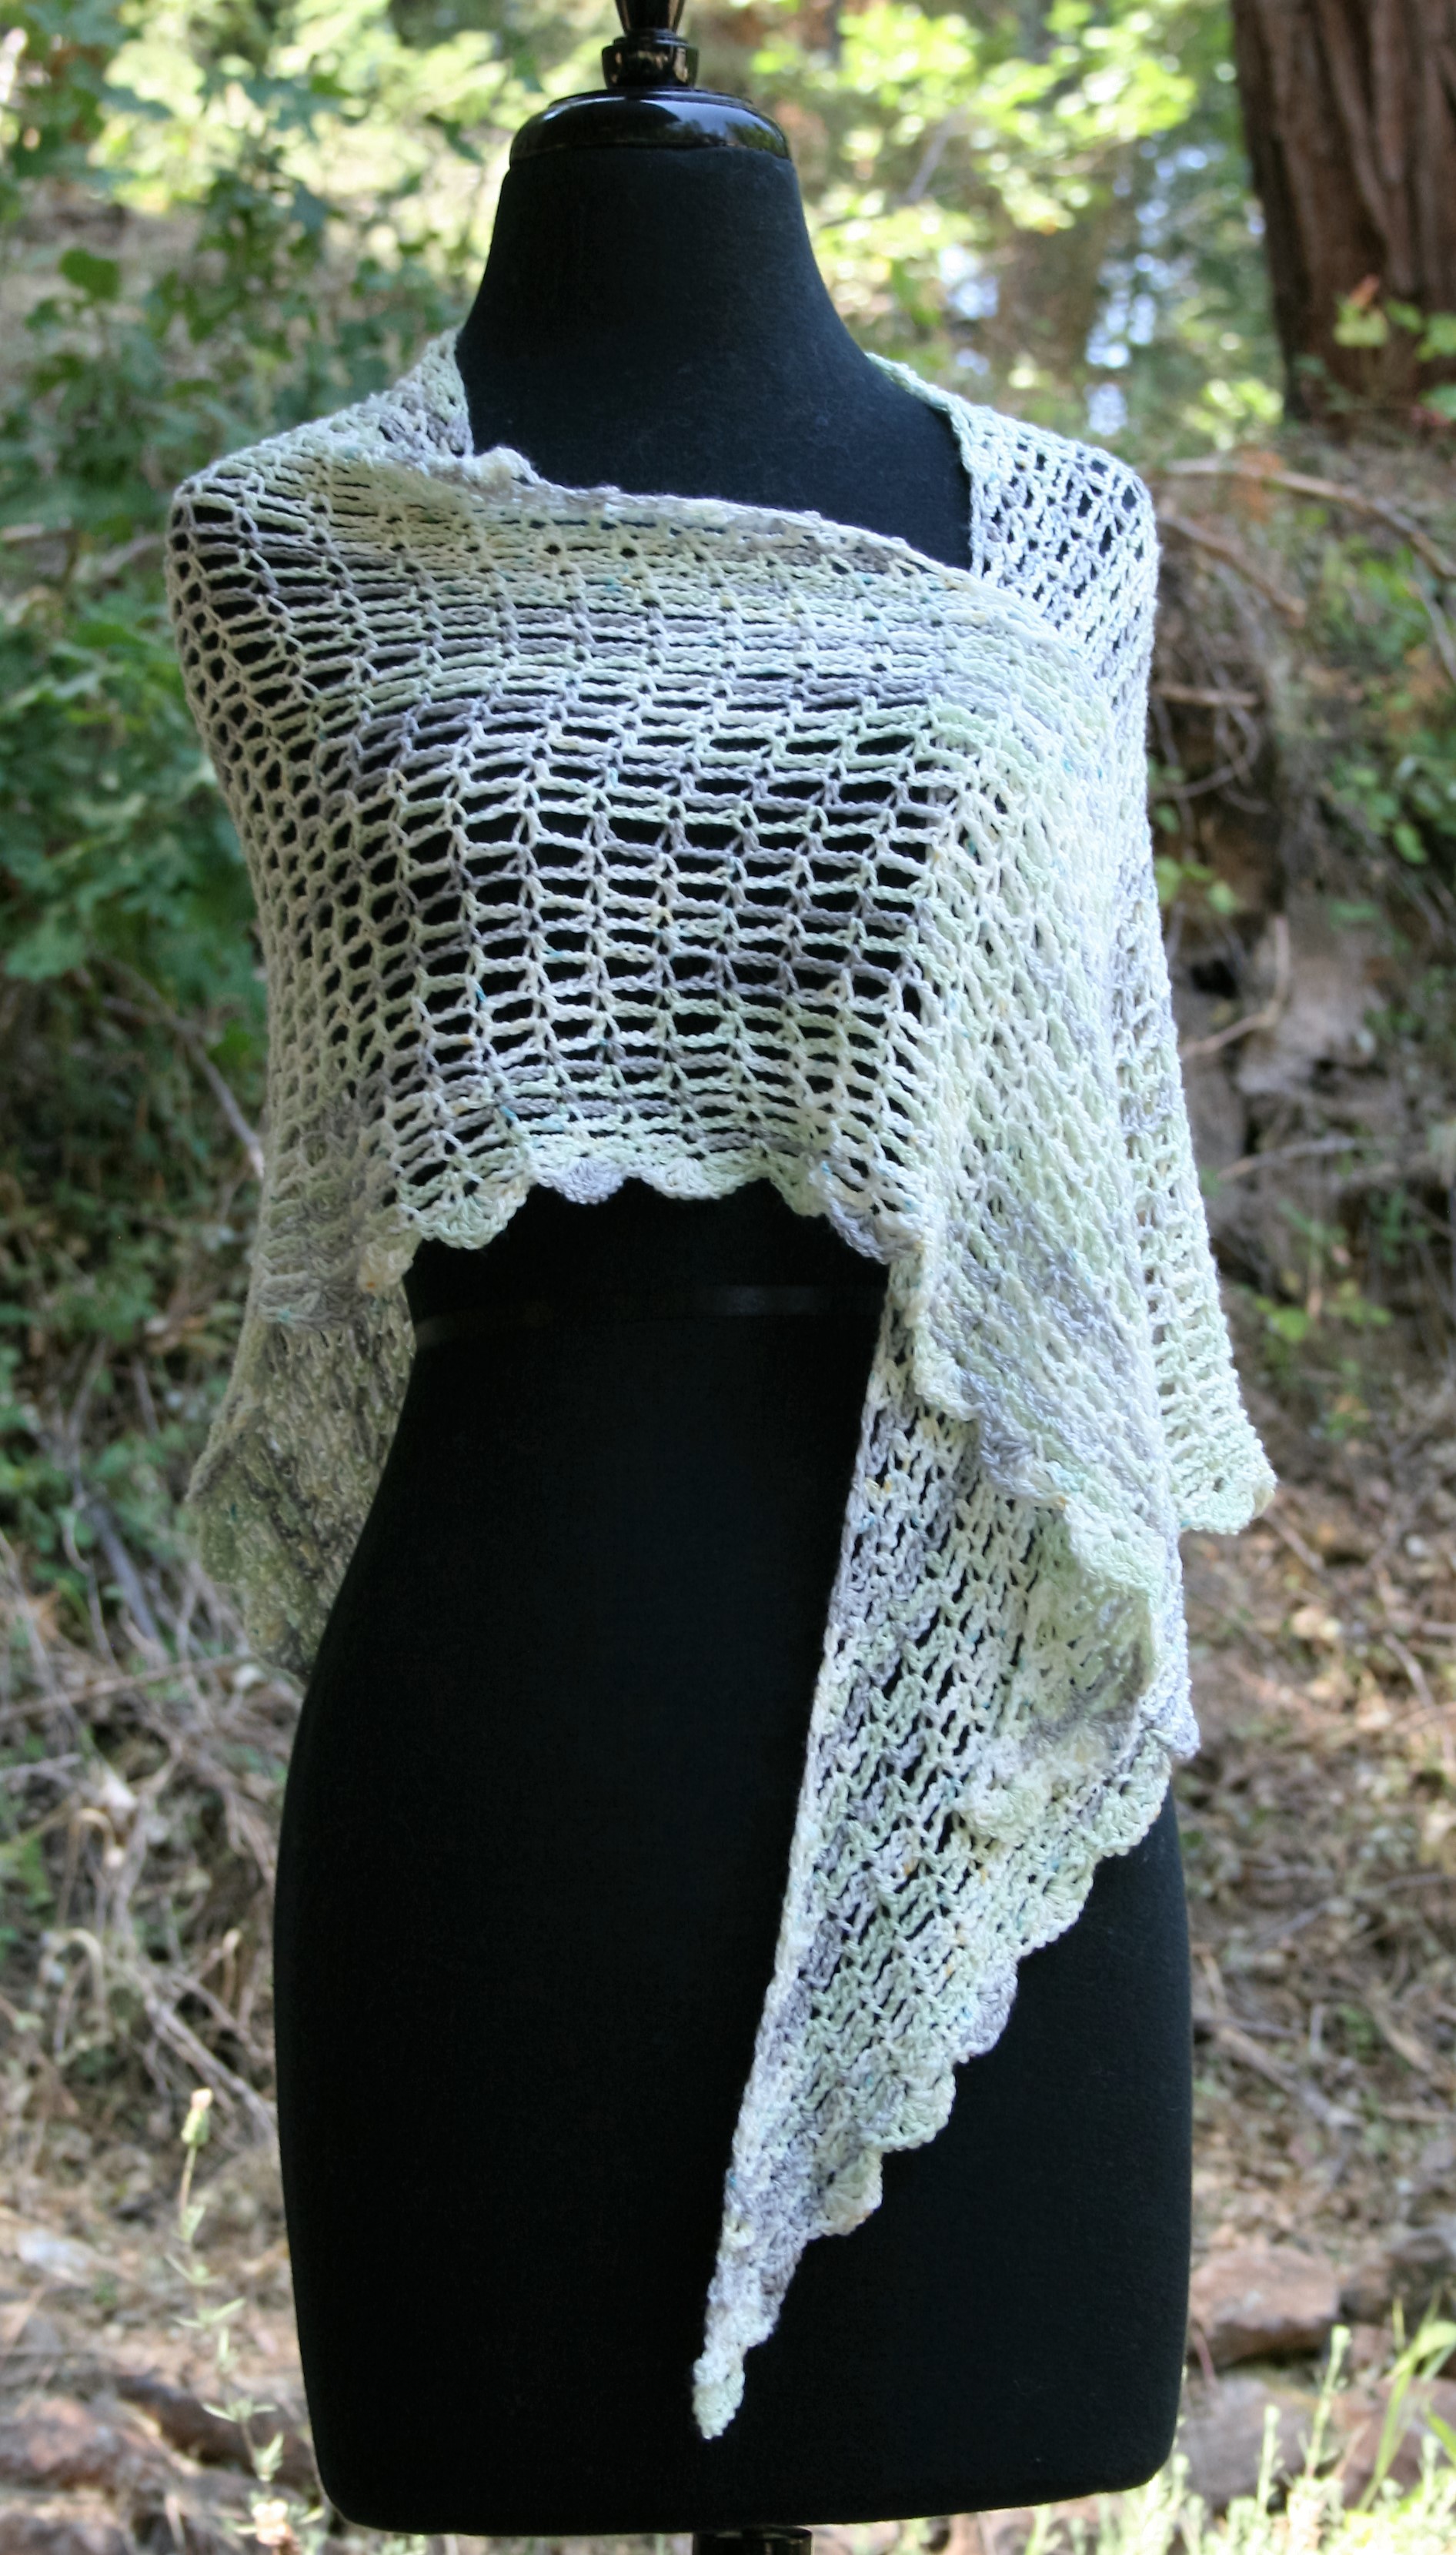
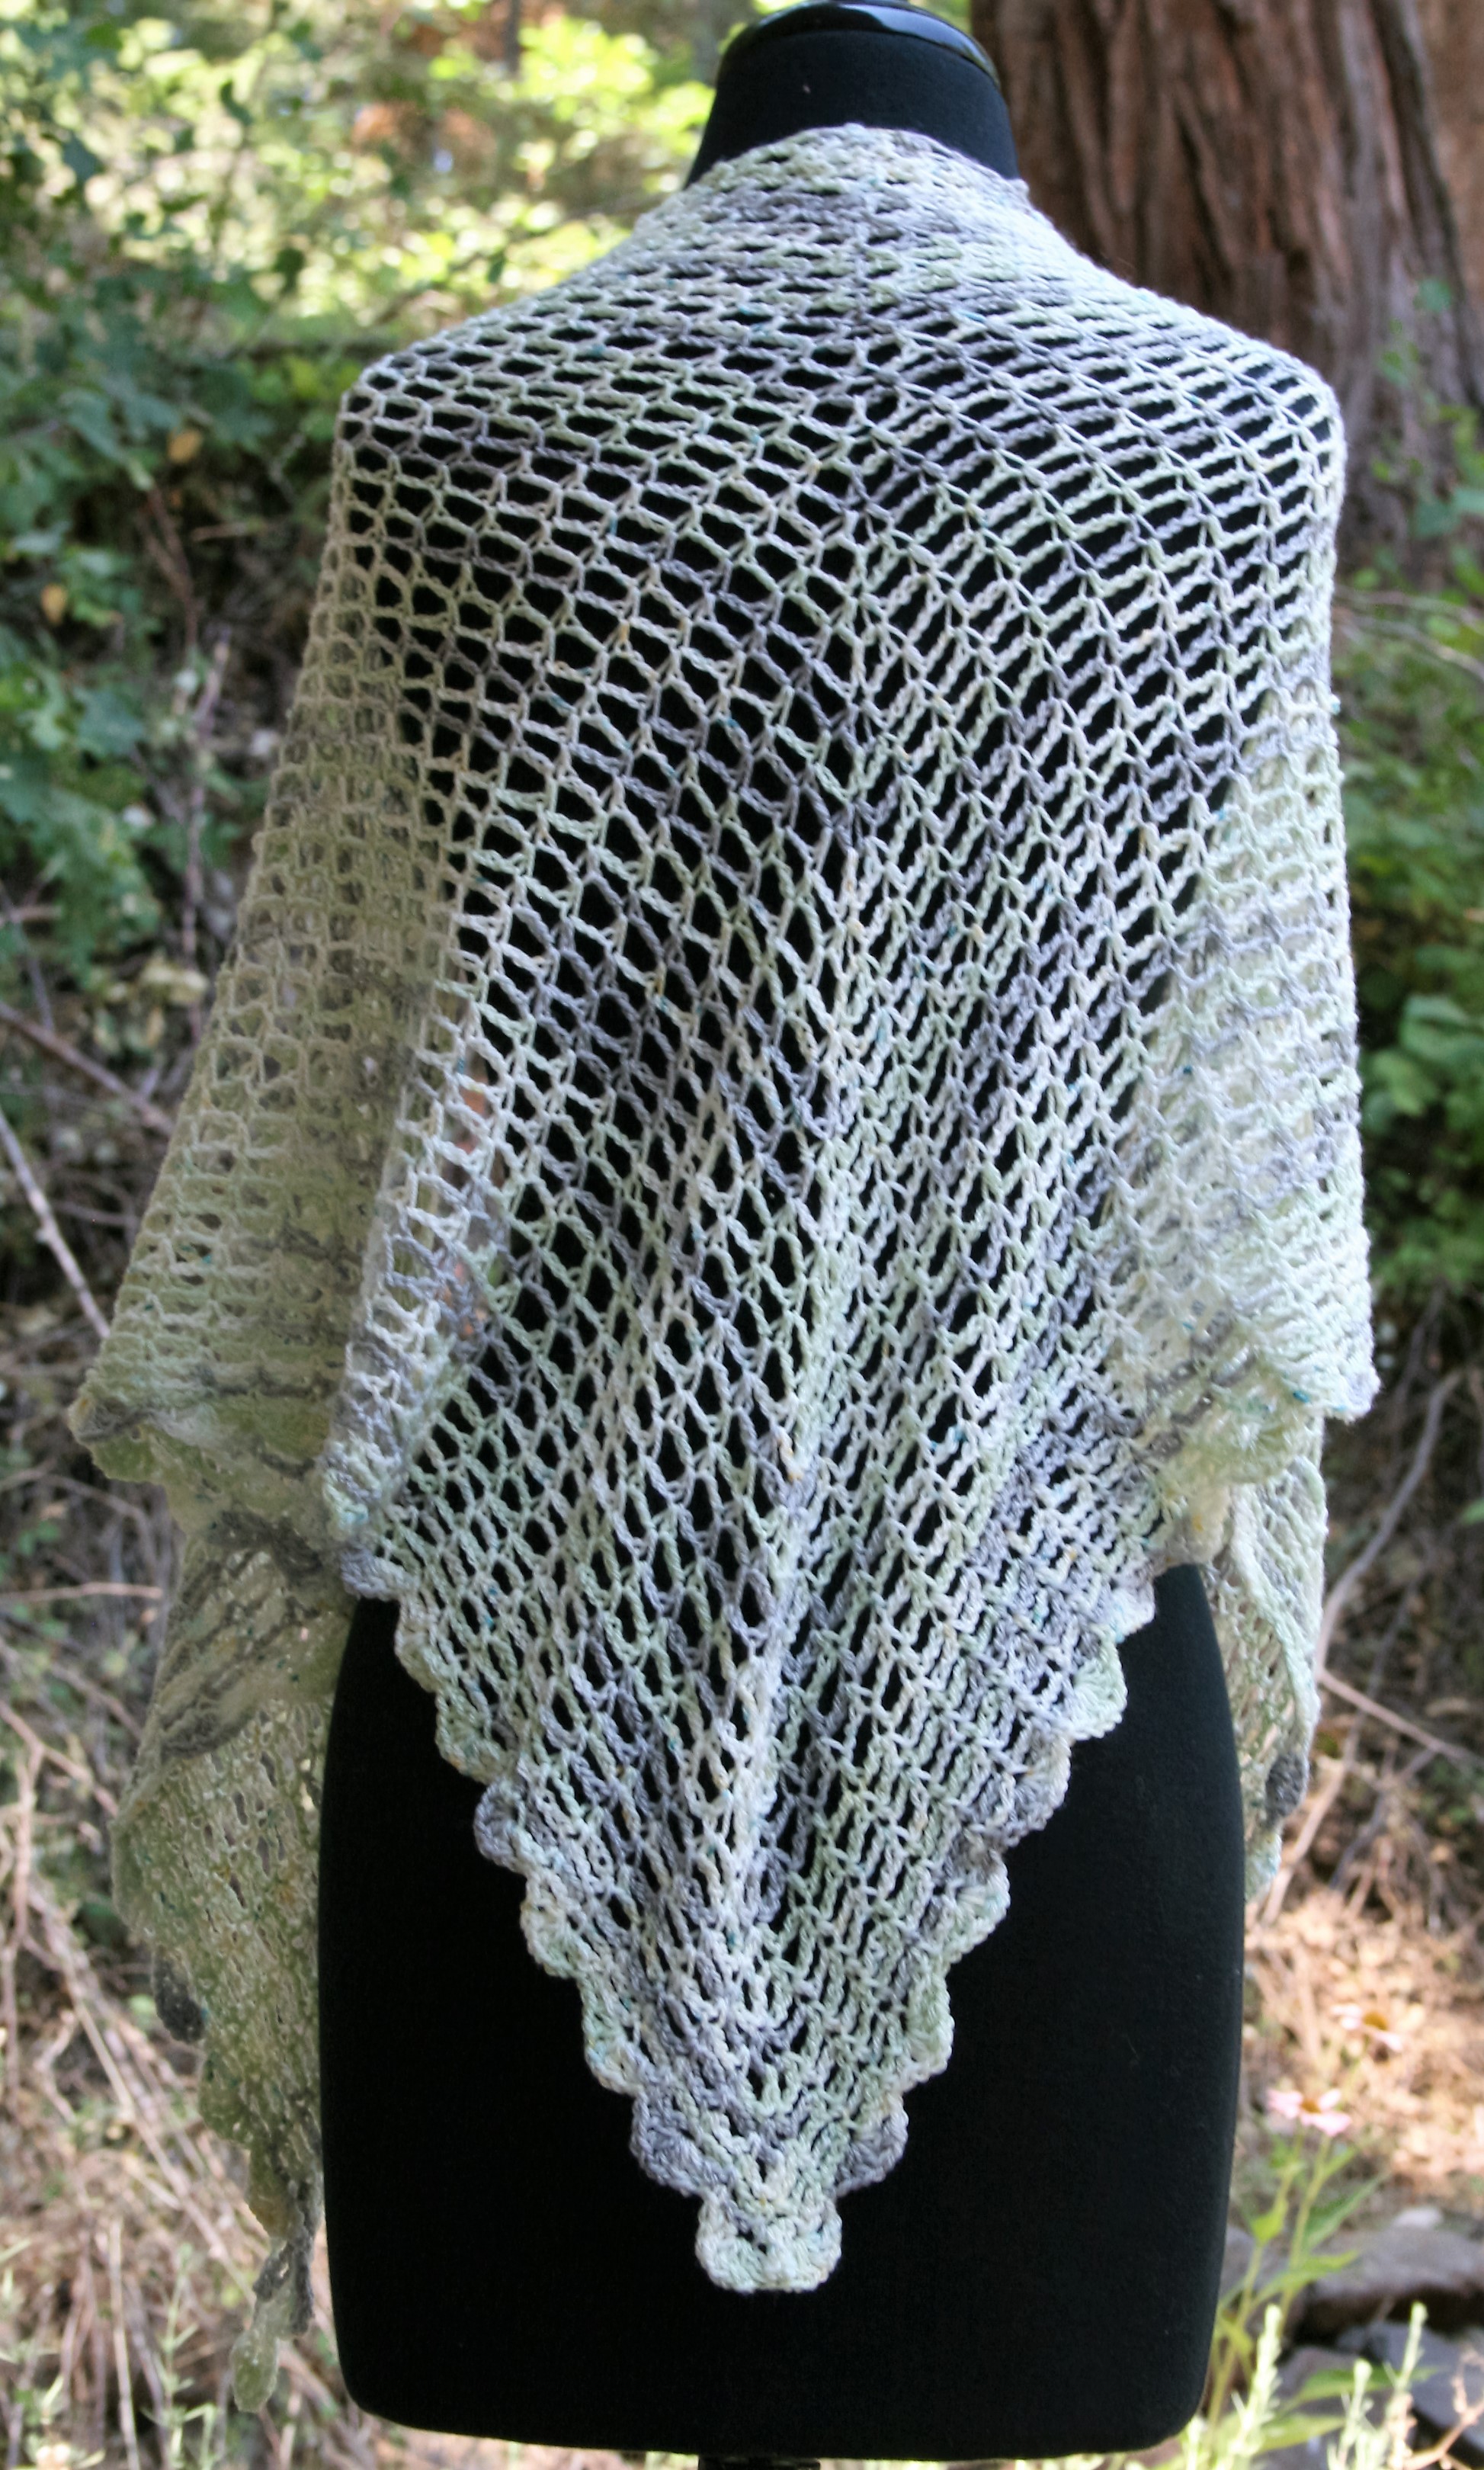
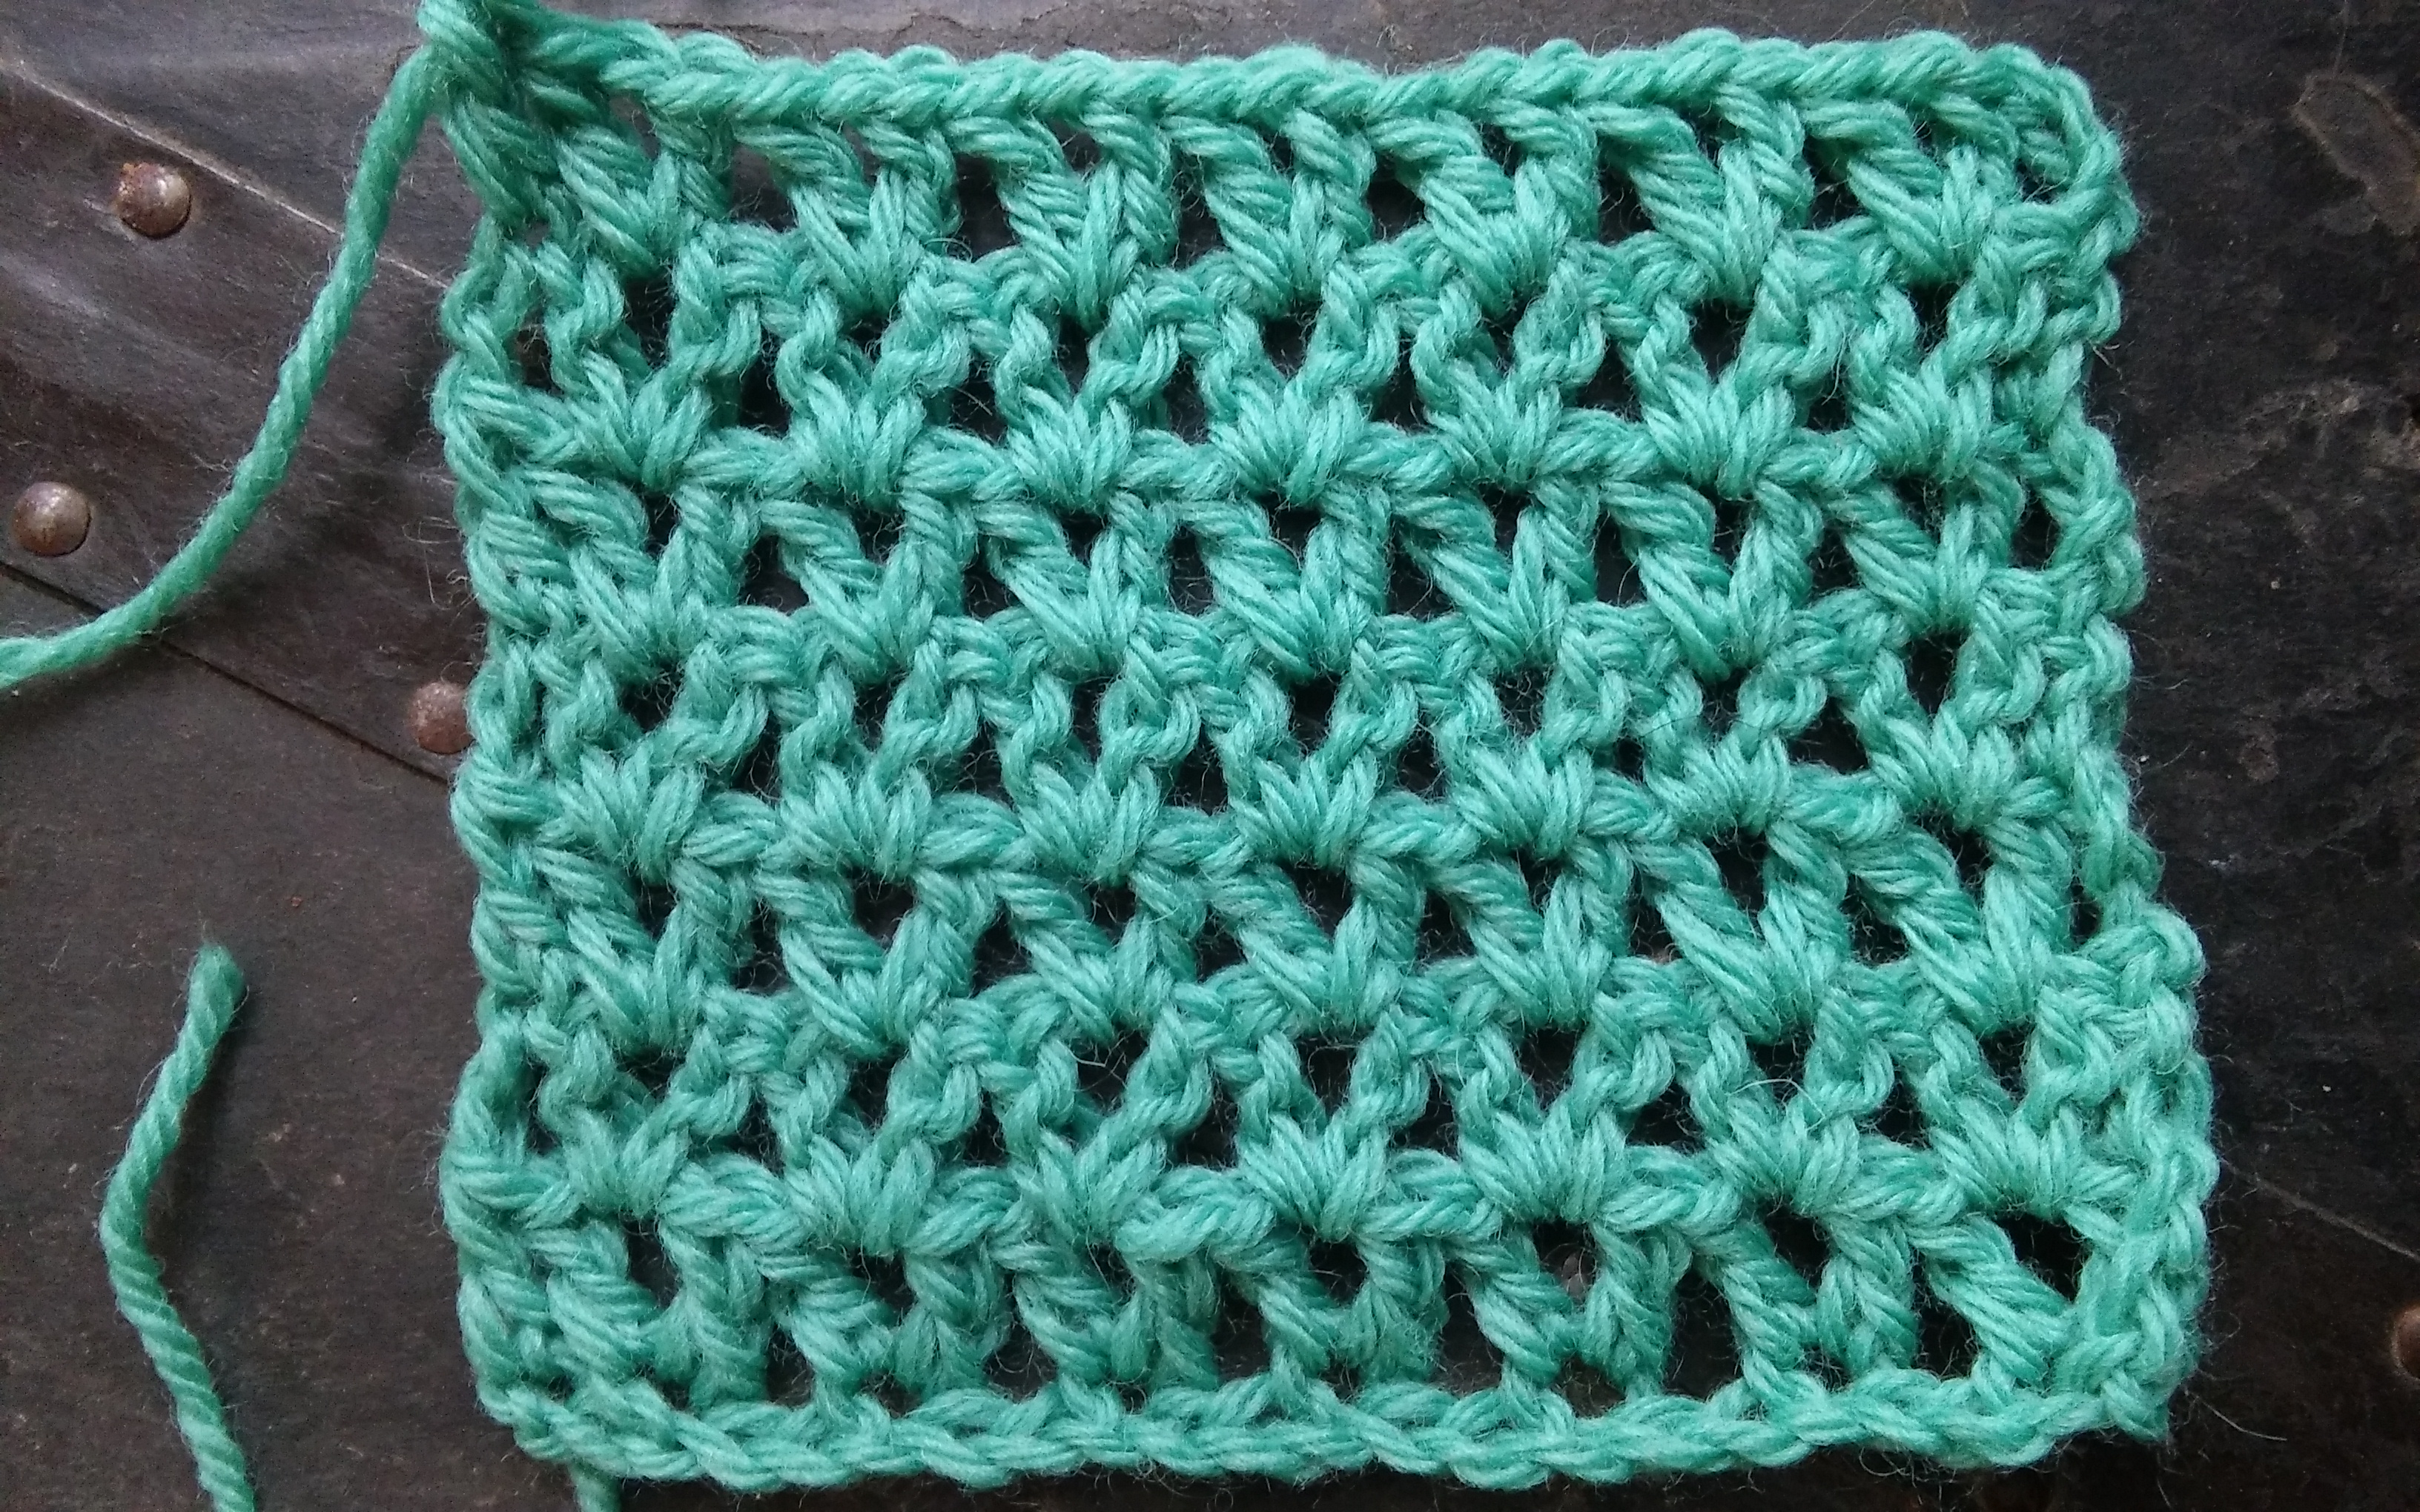
Doilies are items that I do not usually make for myself. I long discovered that the length of time it takes to make a doily is about the same it takes for me to make an afghan, and I feel like I can see greater process in working an afghan. So when I see doilies I make sure and give them a new purpose.

Snowflake Doilies www.lindadeancrochet.com

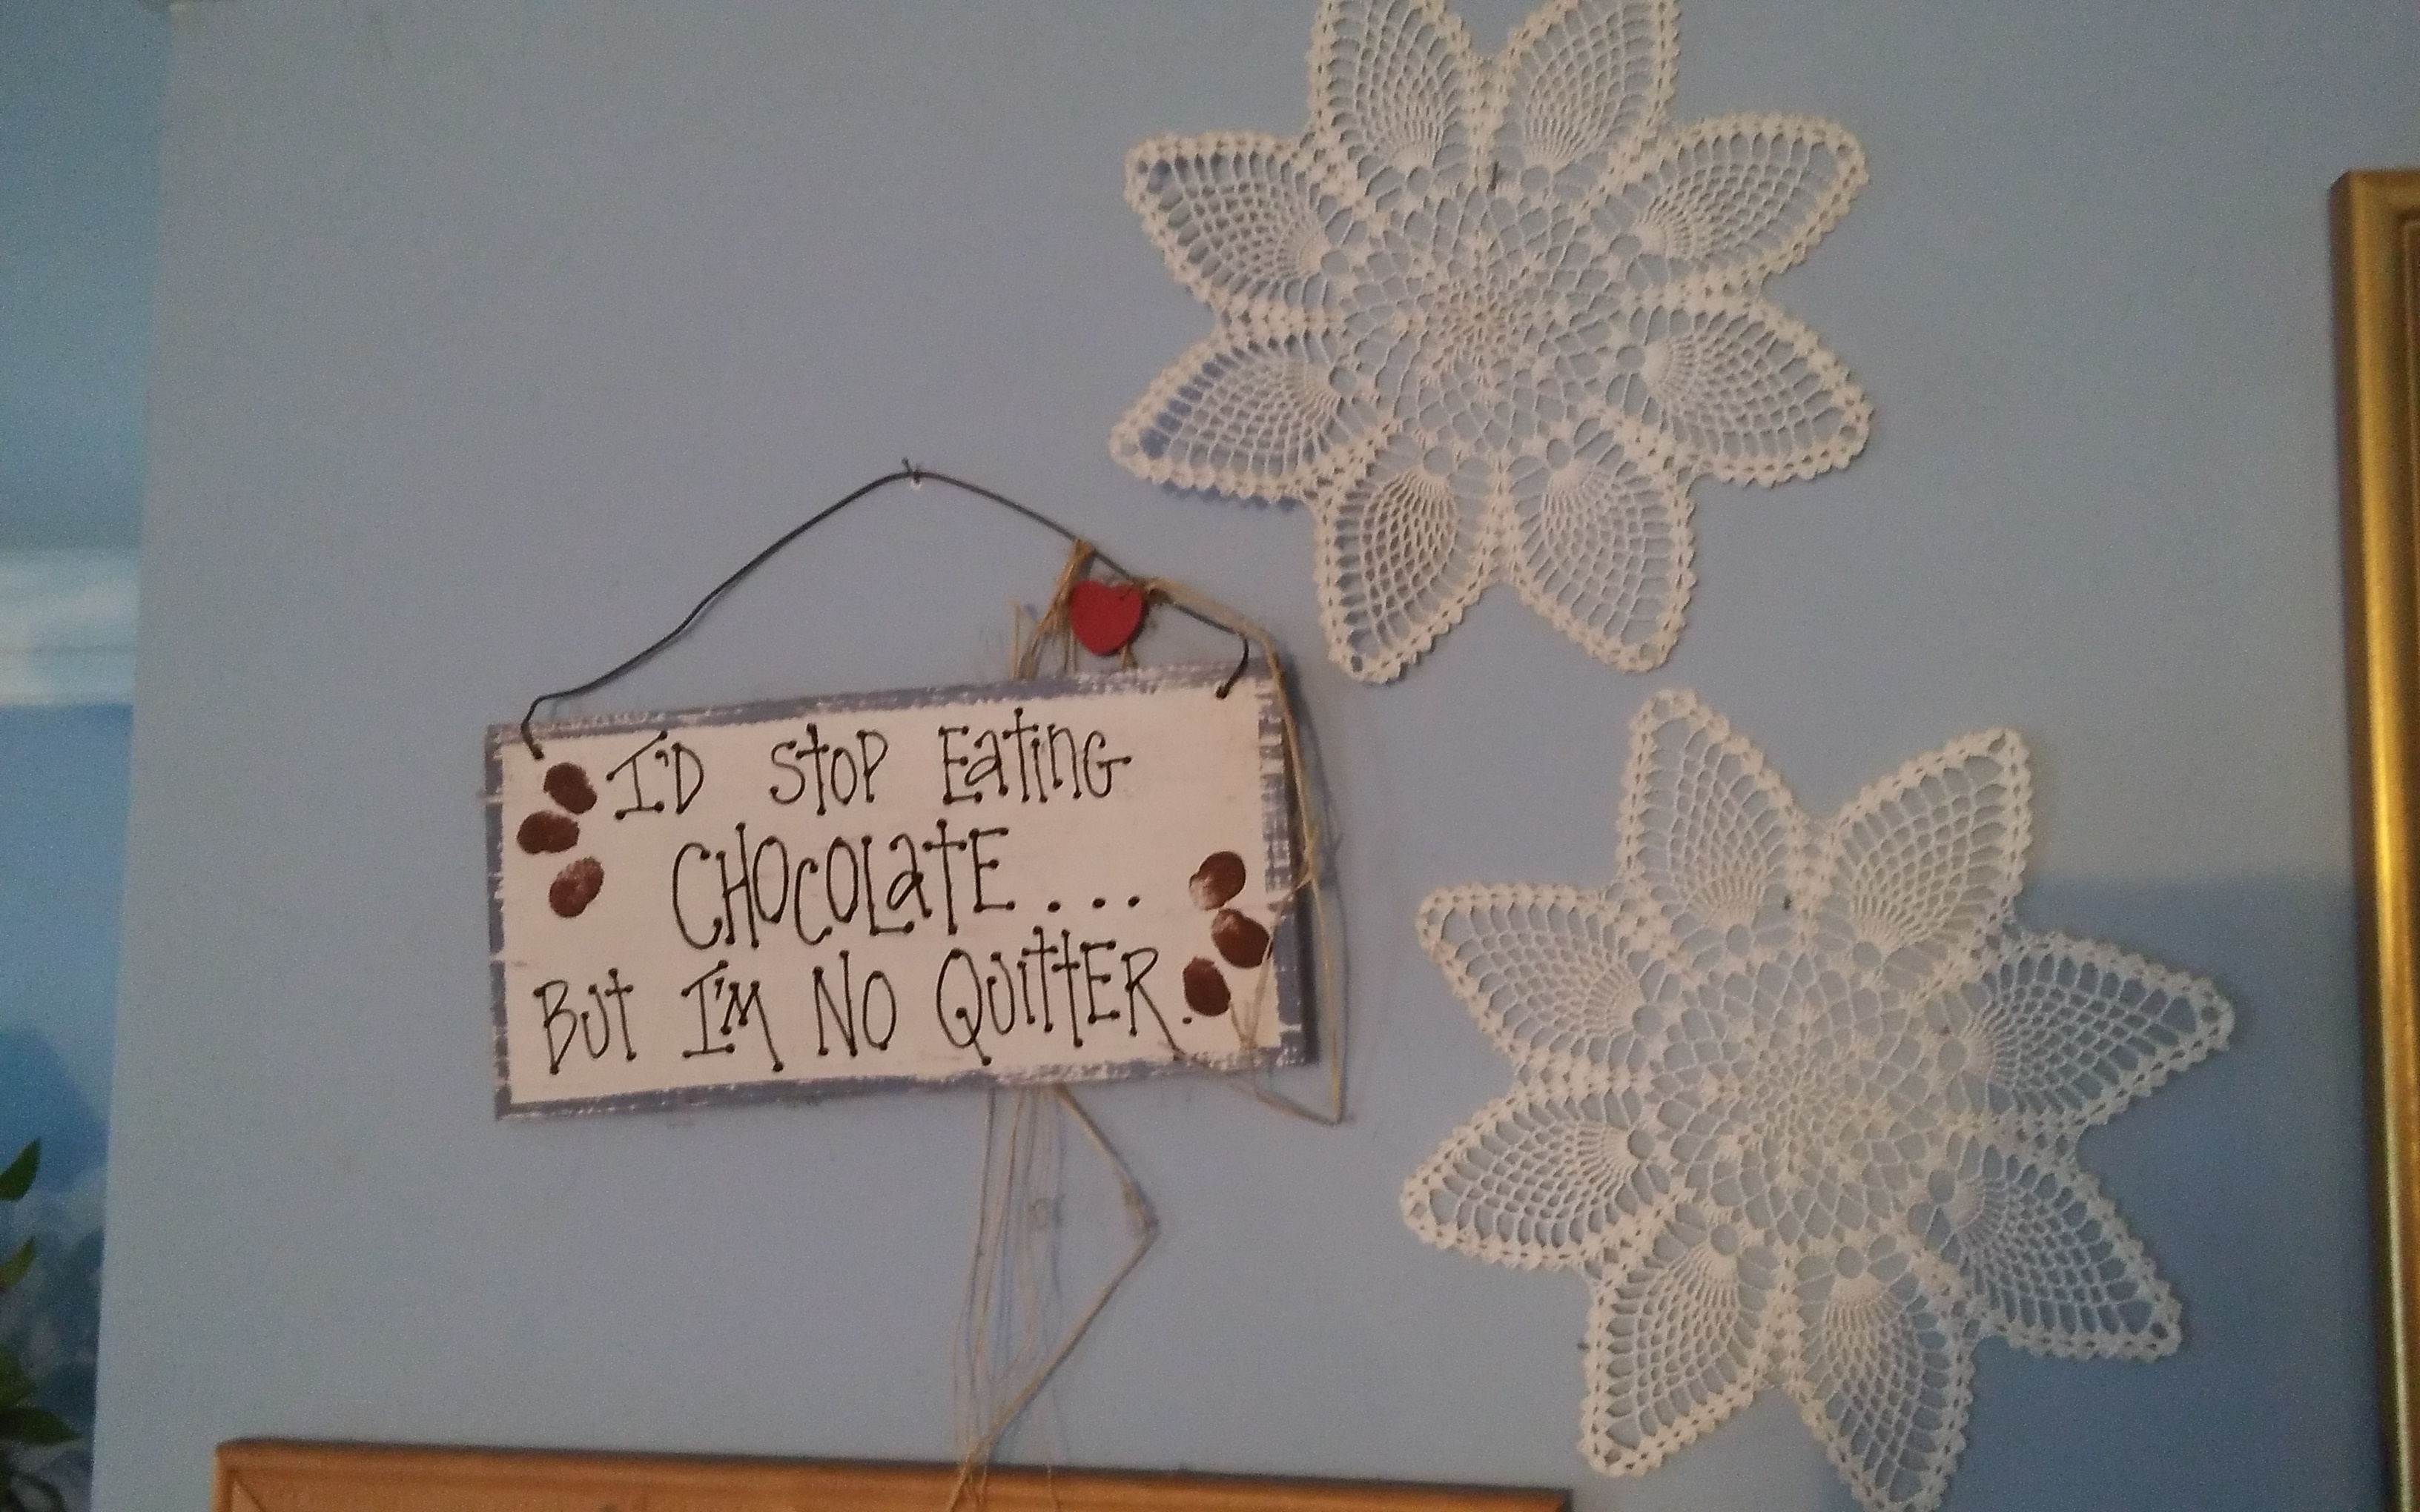
Just above my office bulletin board, right beside my banner of encouragement, are 2 “snowflake dollies”.

Now I do not actually have them placed on tables or adorning my dining area, but I get a little creative. One of my favorites is Snowflakes.

I have found that doilies make a great decoration for winter, I actually keep a few up in my office area year round. It is a simple enough process.

A mixture of white glue and water usually does the job of stiffening a doily. Typically you create a mixture of equal parts white glue and water, however if you want only a little stiffness (basically just making things a bit firmer) add more water, and if you want things even more firm decrease the water. Now dip the doily in the solution ensuring that it is completely covered in the mixture. Remove any solution excess so that there is no liquid puddling. Place the doily on either a piece of wax paper, aluminum foil, or other non-stick surface, and block the doily. Make sure that it is placed in the manner you wish for its final appearance and let dry.

Now simply tack you snowflake up in the window or wall, a mirror or frame. I find this as a great way to highlight the beautiful art and craftsmanship that has gone into its creation without relegating these pieces of art to a drawer.

Make It For Me- Flutterfall Shawl

ScannedImageThank you everyone joint me today from ELK Studio for the month long Make It For Me Event! (If you are not aware of this event, check it out here).

img_7503-2

Flutterfall Shawl By Linda Dean

I am happy to share my Flutterfall Shawl with you as my FREE pattern today. It is primarily created with just a chain stitch, and allows for a simple skein of yarn to go on for what seems like forever, and if you have a varigated yarn, it creates interesting pooling (more than might be usually apparent).

The design begins at the base of the neck and is increased at both sides as well as the center to create a flowing triangle, that is quite graceful.

The sample below is created with just 1 skein of a hand painted yarn, Lisa Souza Dyeworks Deluxe Sock! ( it is light weight, 80% superwash Merino, 10% nylon, 10% cashmere, 4oz/495yds), but the pattern can really be created with any yarn using an appropriate size hook. Just work it until you are happy with the size and add the edging.

img_7499-2

Flutterfall Shawl By Linda Dean


Flutterfall Shawl   by: Linda Dean (Get a Printable Version here for $2.00 US)

Stunningly simple, yet the effect is confident and enjoyable. This simple stitch pattern allows the yarn to be the star; it has great drape and fabulous flow. This is a design you will work up over and over again.

Skill Level: Advanced Beginner    Finished Size Approximately: 64”x 31”

Material List:

  • I/9/5.50mm crochet hook
  • Lisa Souza Dyeworks Deluxe Sock! Light weight 80% superwash Merino 10% nylon 10%Cashmere (4oz/495yrds) 1 skein
  • Tapestry needle

Gauge: 4 (sc, ch 3) groups/8 rows= 4”

Abbreviations:

ch: chain

dc: double crochet

rep: repeat

sc: single crochet

sk: skip

sp(s): space(s)

st(s): stitch(es)

Yo: yarn over

Pattern Note /Special Stitches

This pattern starts in the center middle and worked outward.

Shell- [dc, (ch1, dc) 4 times] in the same indicated stitch.

Row 1: Ch 2, [sc , (ch 3, sc) 3 times] all in 2nd  ch from hook, turn. -4 sc, (3) ch-3 sps

Row 2: Ch 6 (counts as dc and ch 3 now and throughout), sc in next sc, ch 3, dc in next ch-3 sp (place marker in dc to mark as center), ch 3, sc in next sc, ch 3, dc in last sc, turn. – 3 dc, 2 sc, (4) ch-3 sps

When working a (sc, ch 3, sc) into a marked dc, move the marker up to the ch-3 sp to mark the center of the shawl. When working a dc into a marked ch-3 sp, move the marker up to the dc to mark the center of the shawl.

Row 3: Ch 1, (sc, ch 3, sc) in same dc, ch 3, (sc in next sc, ch 3) across to marked st, (sc, ch 3, sc) in marked st,  ch 3, (sc in next sc, ch 3) across, ending with (sc, ch 3, sc) in 3rd ch of beg ch, turn.  –8 sc, (7) ch-3 sps

Row 4: Ch 6, (sc in next sc, ch 3) across to marker, dc in center ch-3 sp,  ch 3, (sc in next sc, ch 3) across to last sc, dc in last st, turn. -3 dc, 6 sc, (8) ch-3 sps

Row 5-52: Rep Rows 3 & 4 twenty-three times. – 3 dc, 102 sc, (104) ch-3 sps

Row 53: ch 1, sc in same st, [Shell in next sc, sc in next sc] around. Finish off. -52 shells, 53 sc

Finishing- Weave in ends and block.

Copywrite 2016 Linda Dean Crochet

Quality Makes A Difference- Wool

ScannedImageNot all wools are created even (You may have heard me say this before). When I was a kids I gained a negative perspective on several things that I had only been exposed to in its poorest quality. A few of these things were in foods…I dislikes butter and cheddar cheese for years, but later understood that the really poor quality products that were supplied through the government commodities program during the era of my childhood should not be defined as butter or cheese. After experiencing better quality it is hard to go back.

This was also true for me with regards to wool. As a kid my wool exposure was really poor quality wool blankets. Granted they did the job of keeping you warm, but you did not want them anywhere near your skin, as it would cause nothing but itching.

After being exposed to wool products of quality I understand that they are soft, warm, and nothing what I was initially exposed to. So what causes this “itchy” factor? Typically it can be caused by a couple of things.

Unspun wool Ready to be Yarn

Drafted wool, ready to spin into yarn….long staple, fine micron

For on, it could be the staple (length of the “fur” cut from the sheep). If it is short, then both ends of the staple or close in length and often blunt cut. One way to think of this is stubble of an area that has been shaved. As the hair grows back it is often bristly to the touch and if you let it grow out a couple of inches and cut it off, it is still going to feel a bit bristly. This is true with the staple of wool, so a short fiber can create a yarn that can scratch.

Another factor that can contribute to the “itchy” factor is the micron count of the fiber. This basically means how big the diameter of each fiber is. The smaller the diameter that softer the wool. Different breeds of sheep have different micron counts to their wool, with the best known in the yarn world being Merino. Merino has a small micron count, thus a soft yarn. In the era of my childhood I think that the wool I was exposed to was from fleeces that were removed from sheep that were bred of meat purposes, and if a breed is good for meat it is not typically great for wool, and vice versa.

That does not mean that you don’t find poor quality wool in yarn today, in some cases it has a purpose. It is often made into rugs. So when you are looking for a wool yarn, be mindful of what purpose you would want to have it worked as. Does it feel comfortable against the area just under your chin? If it does, then consider it for your fabrics that are close to the skin. If they have a slight scratch, but not completely horrible? Then maybe consider an outer wear garment like a coat; something that will not be directly sitting on the skin. It is something that is immediately uncomfortable? Then consider a nice wool rug, or bag.

I may not have found a use for the butter and cheese of my youth, but at least I now understand the wool, and have some ideas for it.

V Stitch- Crochet for a Difference

ScannedImageCrocheting for a Difference, to me is a way to use my skills to benefit others. One of the drawbacks to being a Freelance Crochet Designer is that I do not get the direct feedback that I use to receive when I worked in the field of Social Work. It can be a bit isolating working from home, and not sure if you are making a positive impact on the world around you. So I crochet to help benefit others.

I have made countless scrap afghans and throws for a multitude of outlets and charities over the years. Even when I was staying at a city for only a short time I found places that could benefit from the hand skills of crochet. I have decided that I want to help encourage others to find a way to make a difference locally, so I am planning to share some stitch patterns and some ideas about places in your local community that might benefit from your crochet skills. I am calling it Crocheting for a Difference.

V Stitch Pattern for Crochet for a Difference

V Stitch

Today, I am sharing a basic V stitch pattern that I enjoy using to create a fast fabric. After establishing the first row, it really becomes pretty mindless, as you work the V stitches in the chain space created in the V stitch the row below. I usually work the entire length of the scrap yarn, and then change to the new color or skein, regardless of where I am in the fabric. This does cause color changes in the middle of a row, but I think it adds a nice rustic feel, but it can easily be a solid color, or stripes.

To begin you create a chain as long as you like (if you want Row 1 to work up without any extra chains, then crochet a chain that has a number of chains that is a multiple of 3, then add one more chain). Please note I am writing this stitch pattern in US standard format.

V stitch: (Double crochet, chain 1, double crochet) in the indicated location

Row 1: V stitch in the 5th chain from the hook, *skip two chains, V stitch in next chain; repeat from * across, double crochet in the last stitch, turn.

Row 2: Chain 3, V stitch in each chain-1 space across, double crochet in top of turning chain the row below, turn,

Repeat Row 2 until it is a desired length.

After creating an afghan in the stitch pattern consider donation to a Crisis Center, in some places known as a Women’s Center. Aiding those leaving domestic violence situations. Often when someone is leaving a volatile situation they leave with almost nothing, or nothing at all. A throw, an afghan, a scarf, a hat…all can help to begin a life anew.

International Crochet- Cabled Round Hat

ScannedImageI have had pattern released in Europe before, mostly in pattern from Red Heart Yarns, but this is the first time I am featured in an actually monthly publication. You can find my Cabled Round Hat in Issue 9 of Crochet Now Magazine, in the United States this publication can be found at some bookstores such as Barns & Noble, or is can be accessed on-line.

Cabled Round Hat by Linda Dean

Cabled Round Hat Crochet Now issue 9 Photo courtesy Practical Publishing

This design is worked vertically, featuring cables that end up encircling the head. It is a one skein project and I was fortunate to check out this English yarn of West Yorkshire Spinners Bluefaced Leicester Aran Prints in color Pheasant. Blueface Leicester is actually a sheep breed that produces a soft warm yarn with a nice spring. To substitute a yarn found in America, any medium weight yarn can work in its place. Just please note this pattern is written in United Kingdom standard terms so the stitch names may seem the same, but are not…so instead of working a double crochet, in the United States we recognize this as a single crochet.

The hat itself has a nice stretch, allowing it to fit a wide range of sizes, while allowing for a very straight forward approach to working it.

I have long worked these vertical style hats, in reality my grandmother use to make a similar style when I was young. It was almost always her go to crochet item, working many vertical hats for charity fundraisers. So for me I thought all crochet hats were made this way, so when I learned how to create a top-down in the round hat, I considered it quite a novelty and fell in love with the approach. Little did I know that what I considered mundane, was really more a novelty then I thought. I have taken this basic approach and added many of my own personal differences, and I hope to share more of these with you…but here is another…. the Cable & Rib Slouchy Hat….

The Cabled Round Hat will be available later this year as a single pattern.