Gearing Up for Teaching

It is a bit satisfying, a bit unnerving, and a bit of second guessing getting ready to teach multiple classes at a singular event. This last month I have been prepping for 4 classes that I am teaching at the Crochet Guild of America annual Chainlink conference and it is almost time to put all that planning to the test.

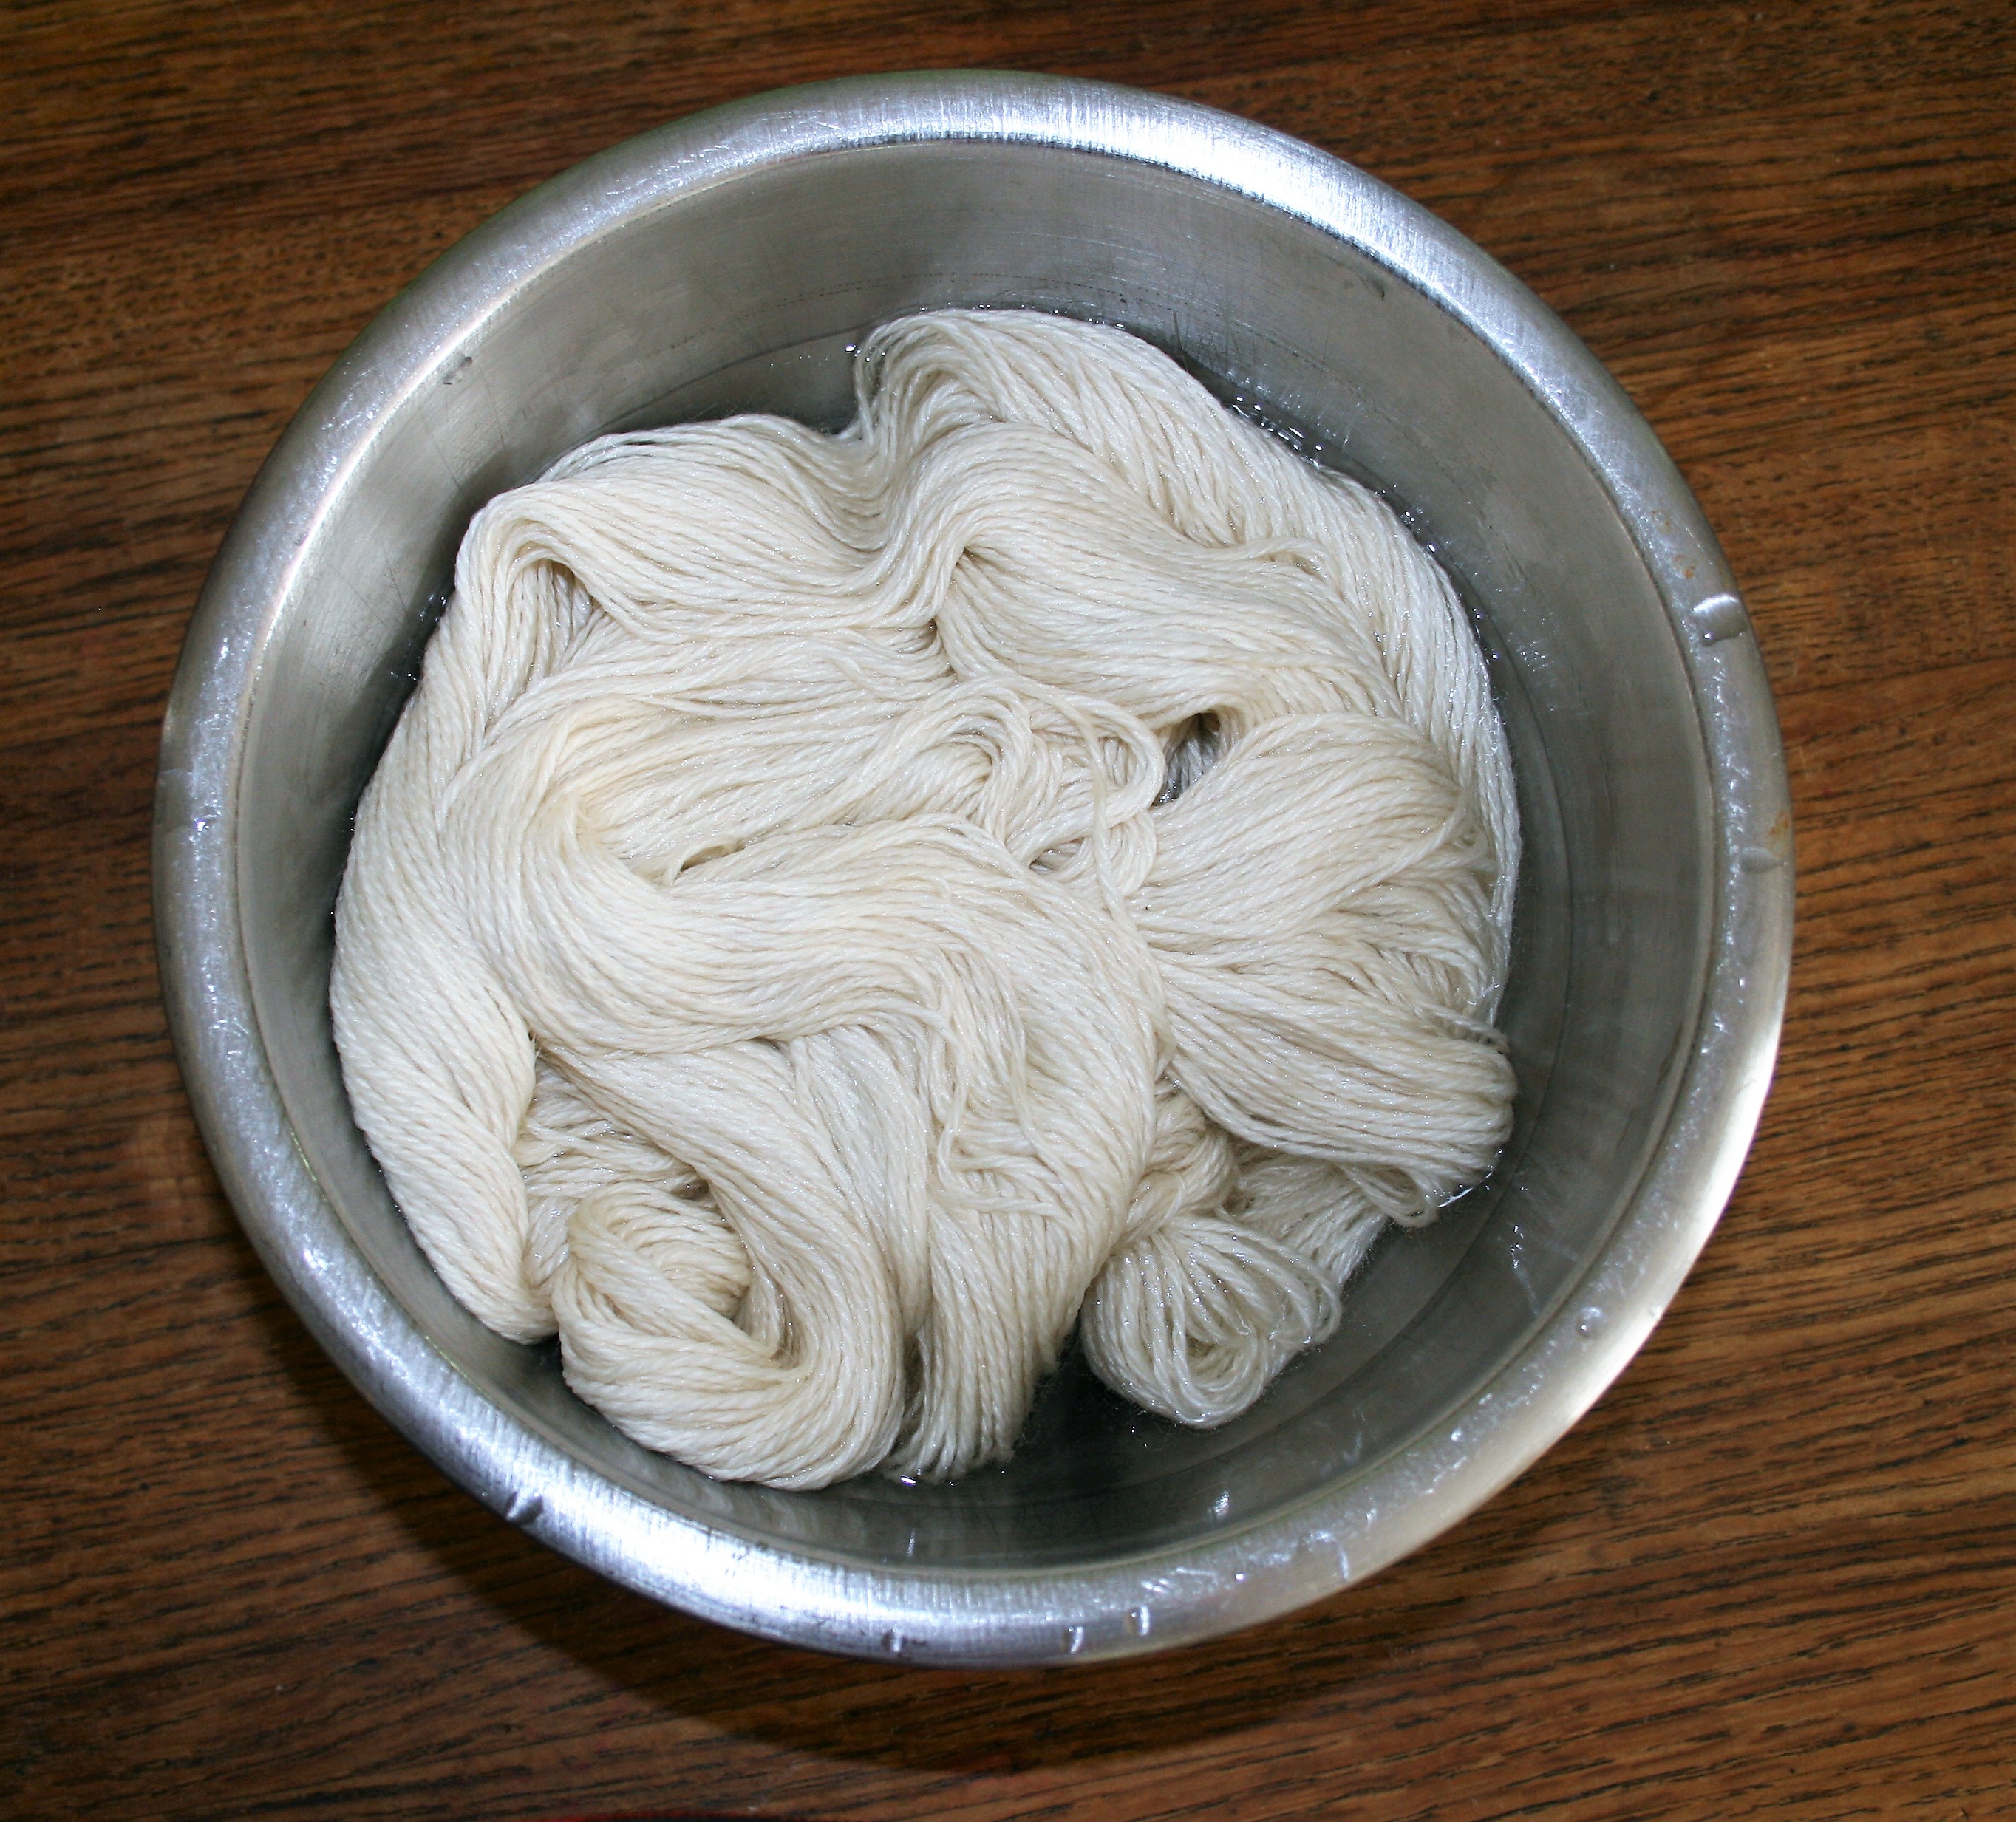
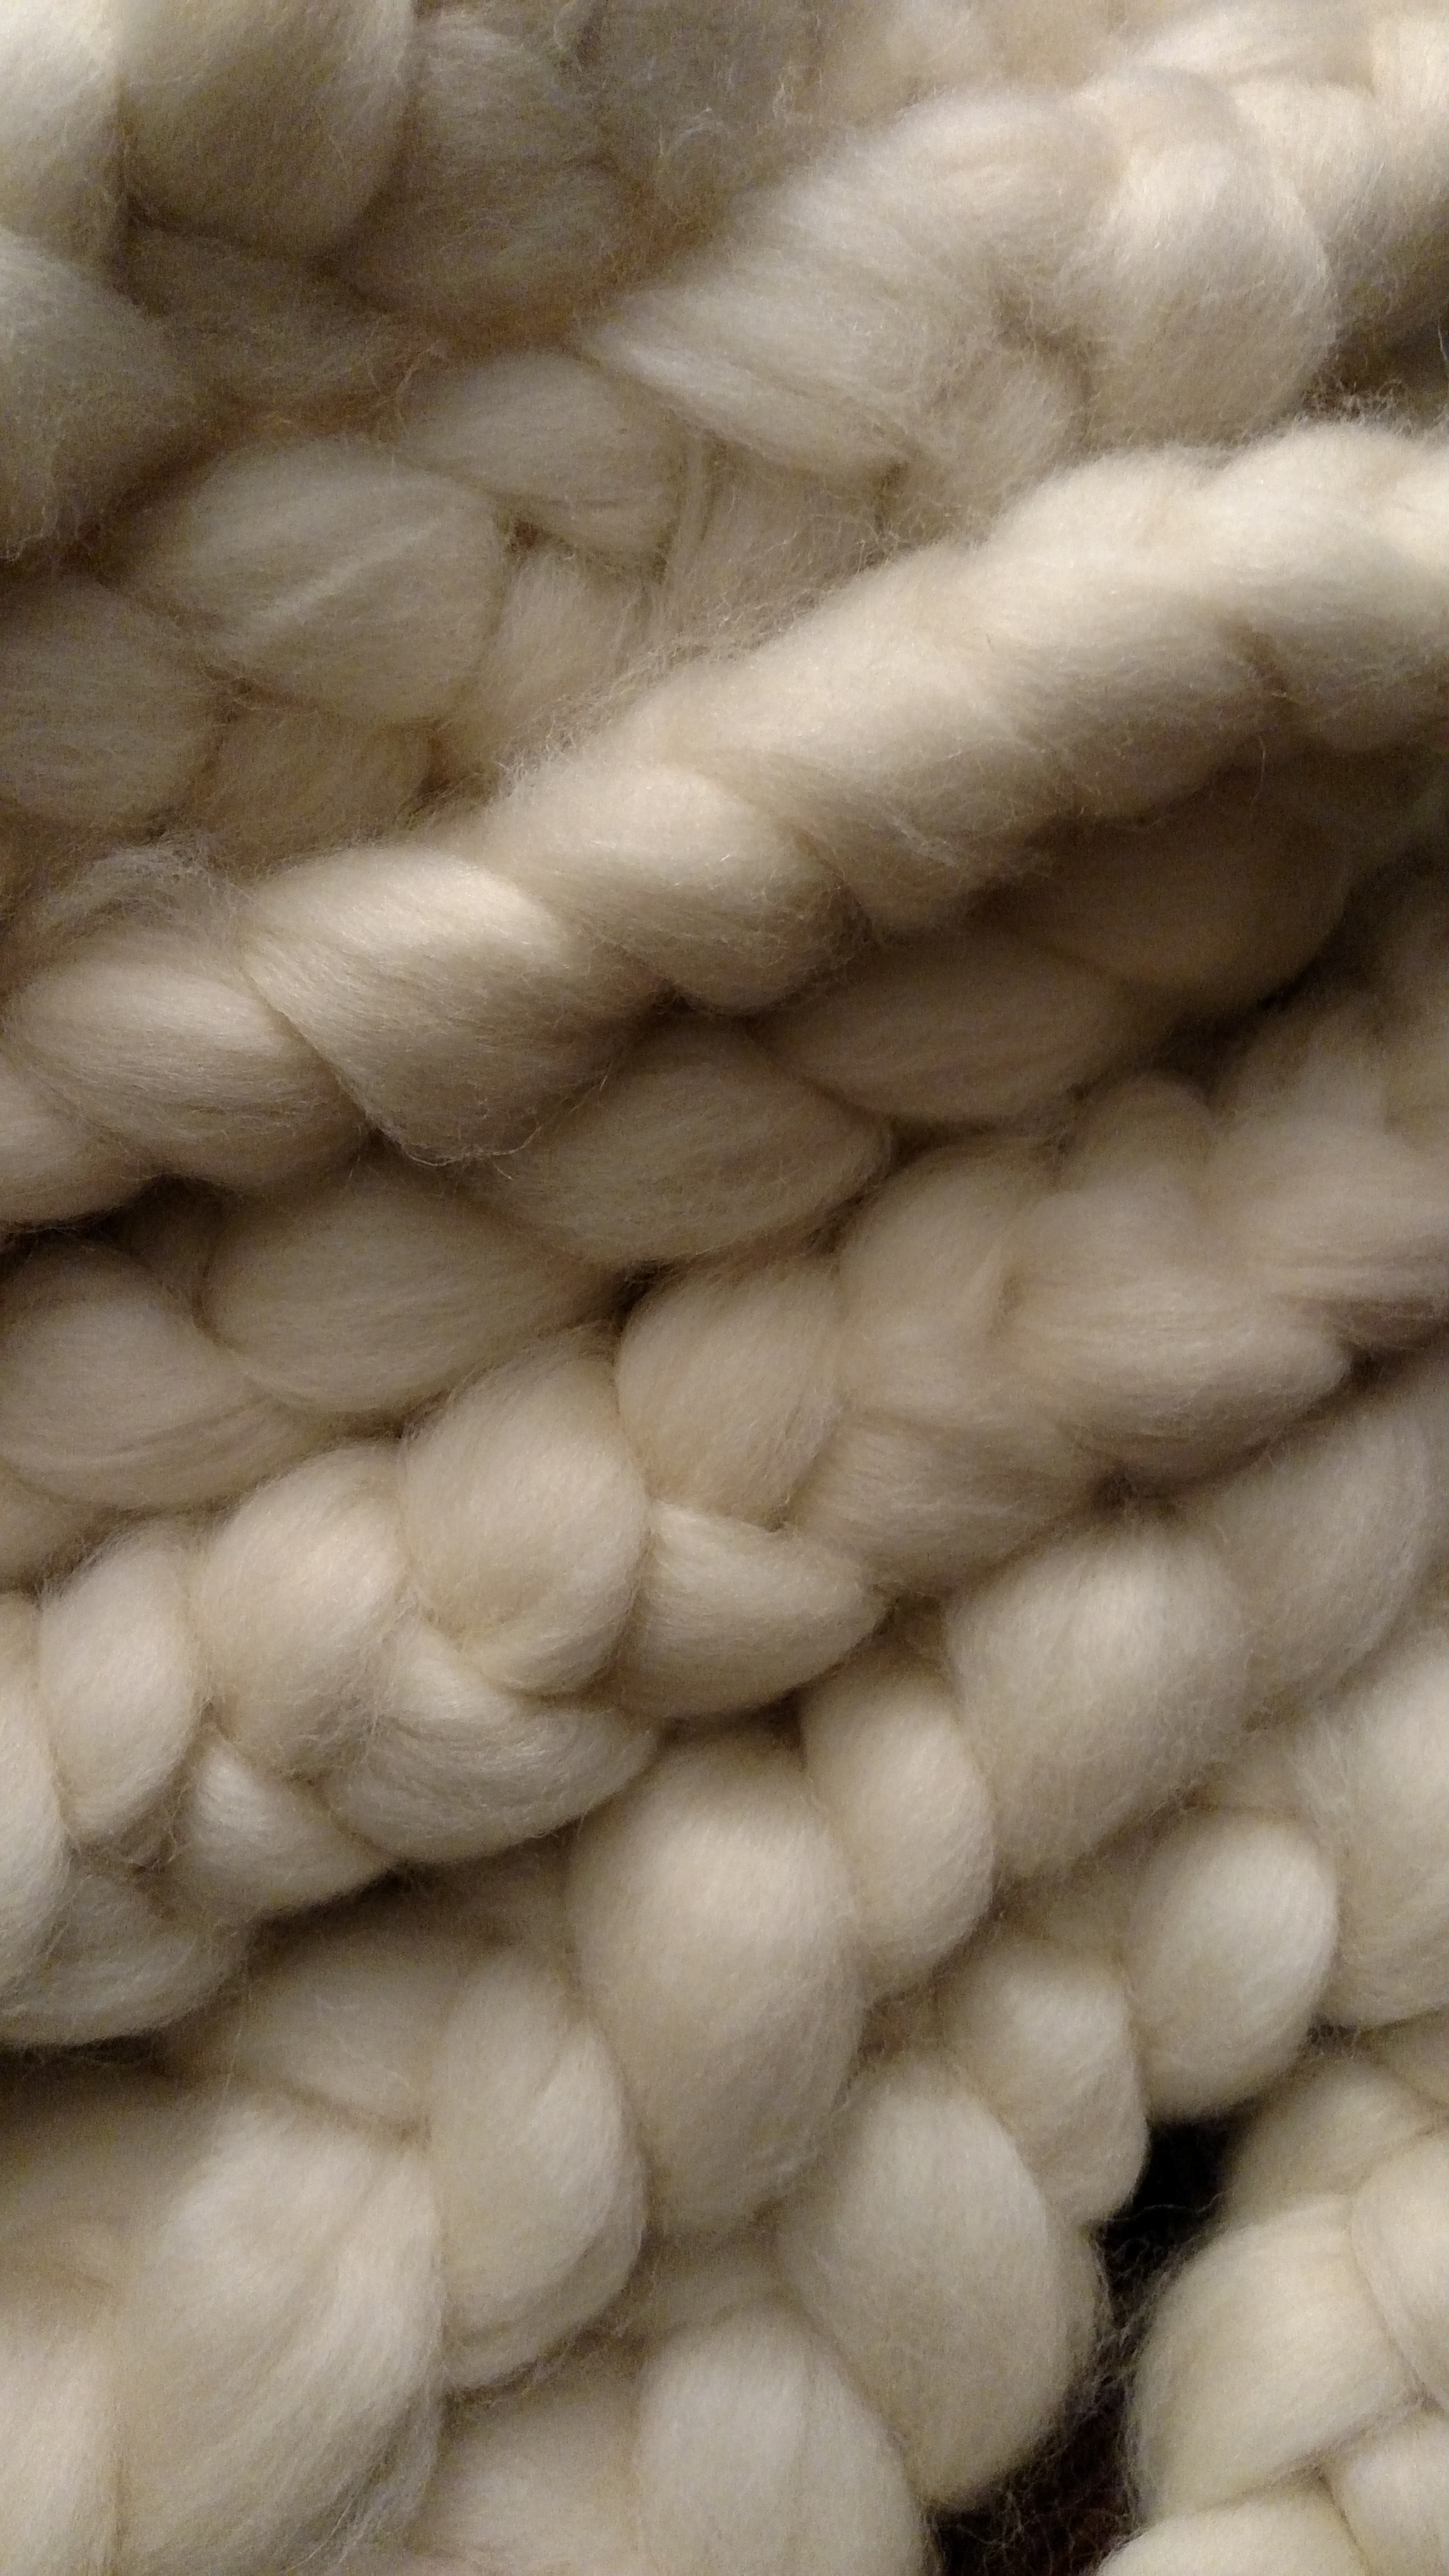
I have been updating notes, writing handouts, doing current research and putting together samples and such. So this month I have been making yarn with a drop spindle and dyeing all kinds of yarn in a variety of ways.  I have been studying patterns and playing with beads. I have been mentally teaching my classes for hours, working on finer points 
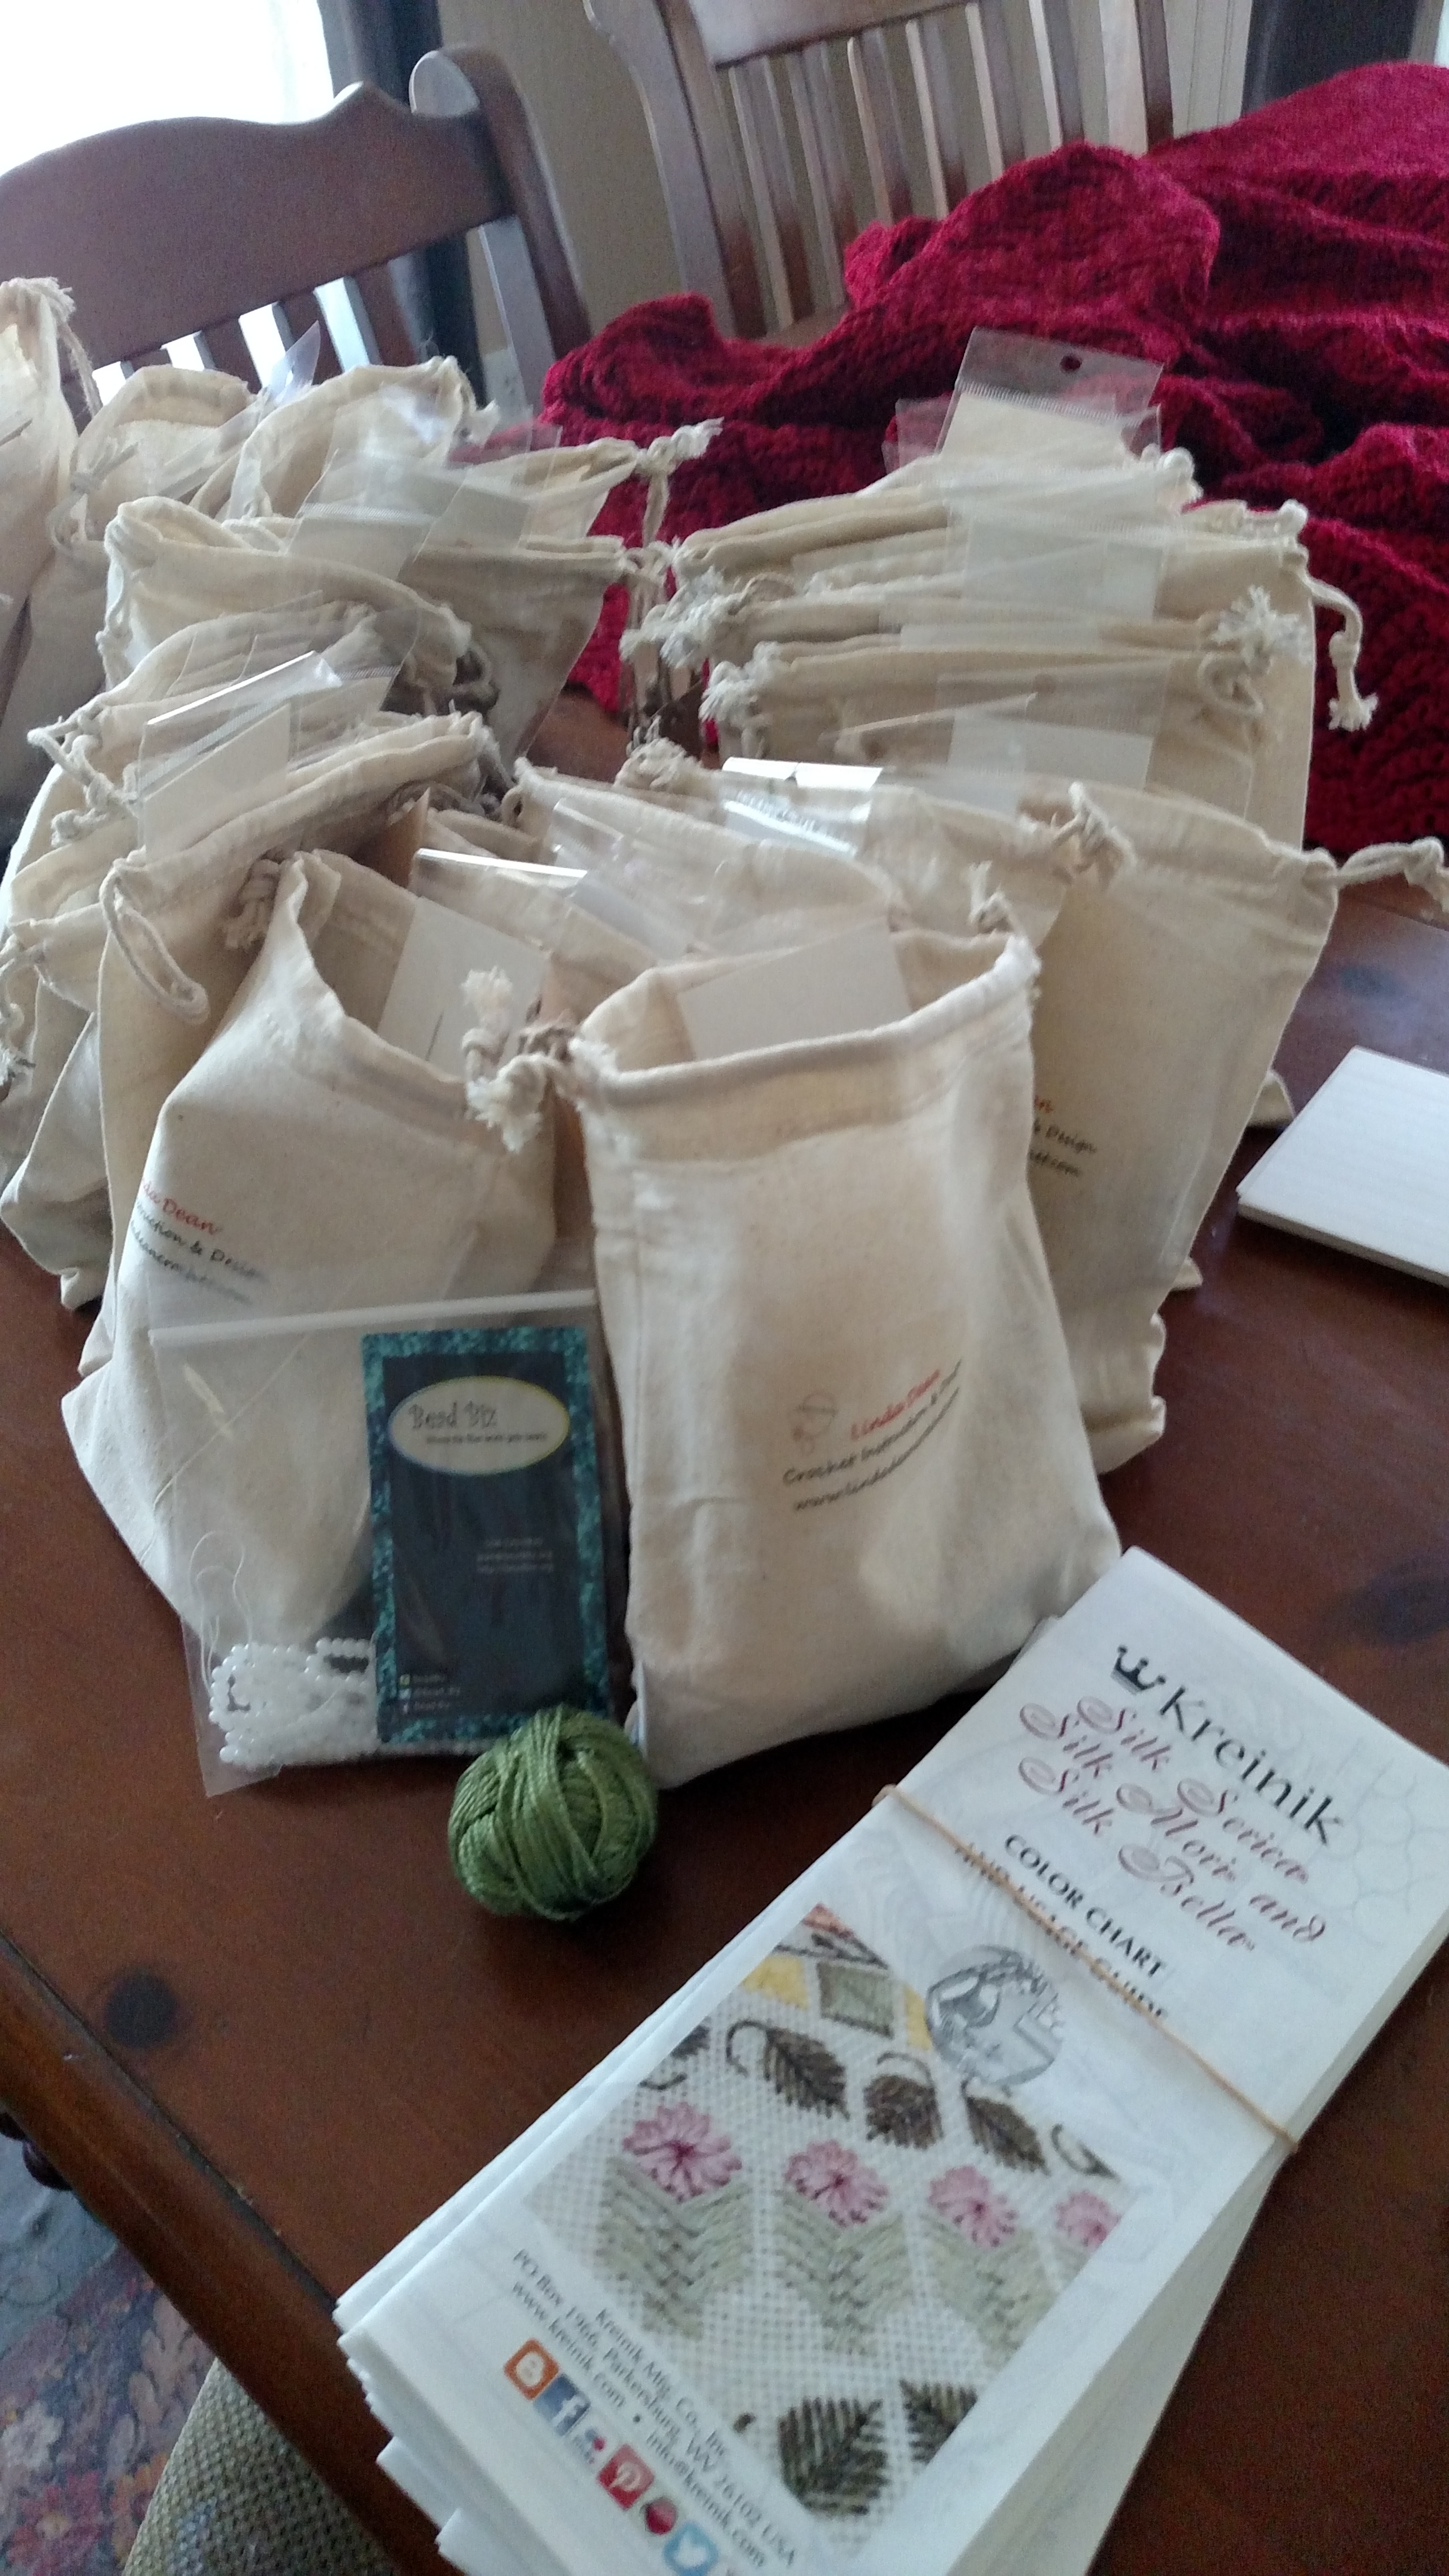
and ensuring that I have everything in place.

In addition I have been putting together kits for materials for my class. Personally I do not enjoy taking classes that have lengthy material list, especially when it is not completely familiar with the things on the list. So as a teacher I have a small material fee, but I put together kits of the items needed. This might take up some room while traveling yet it is so worth it to have my students be successful with new techniques.

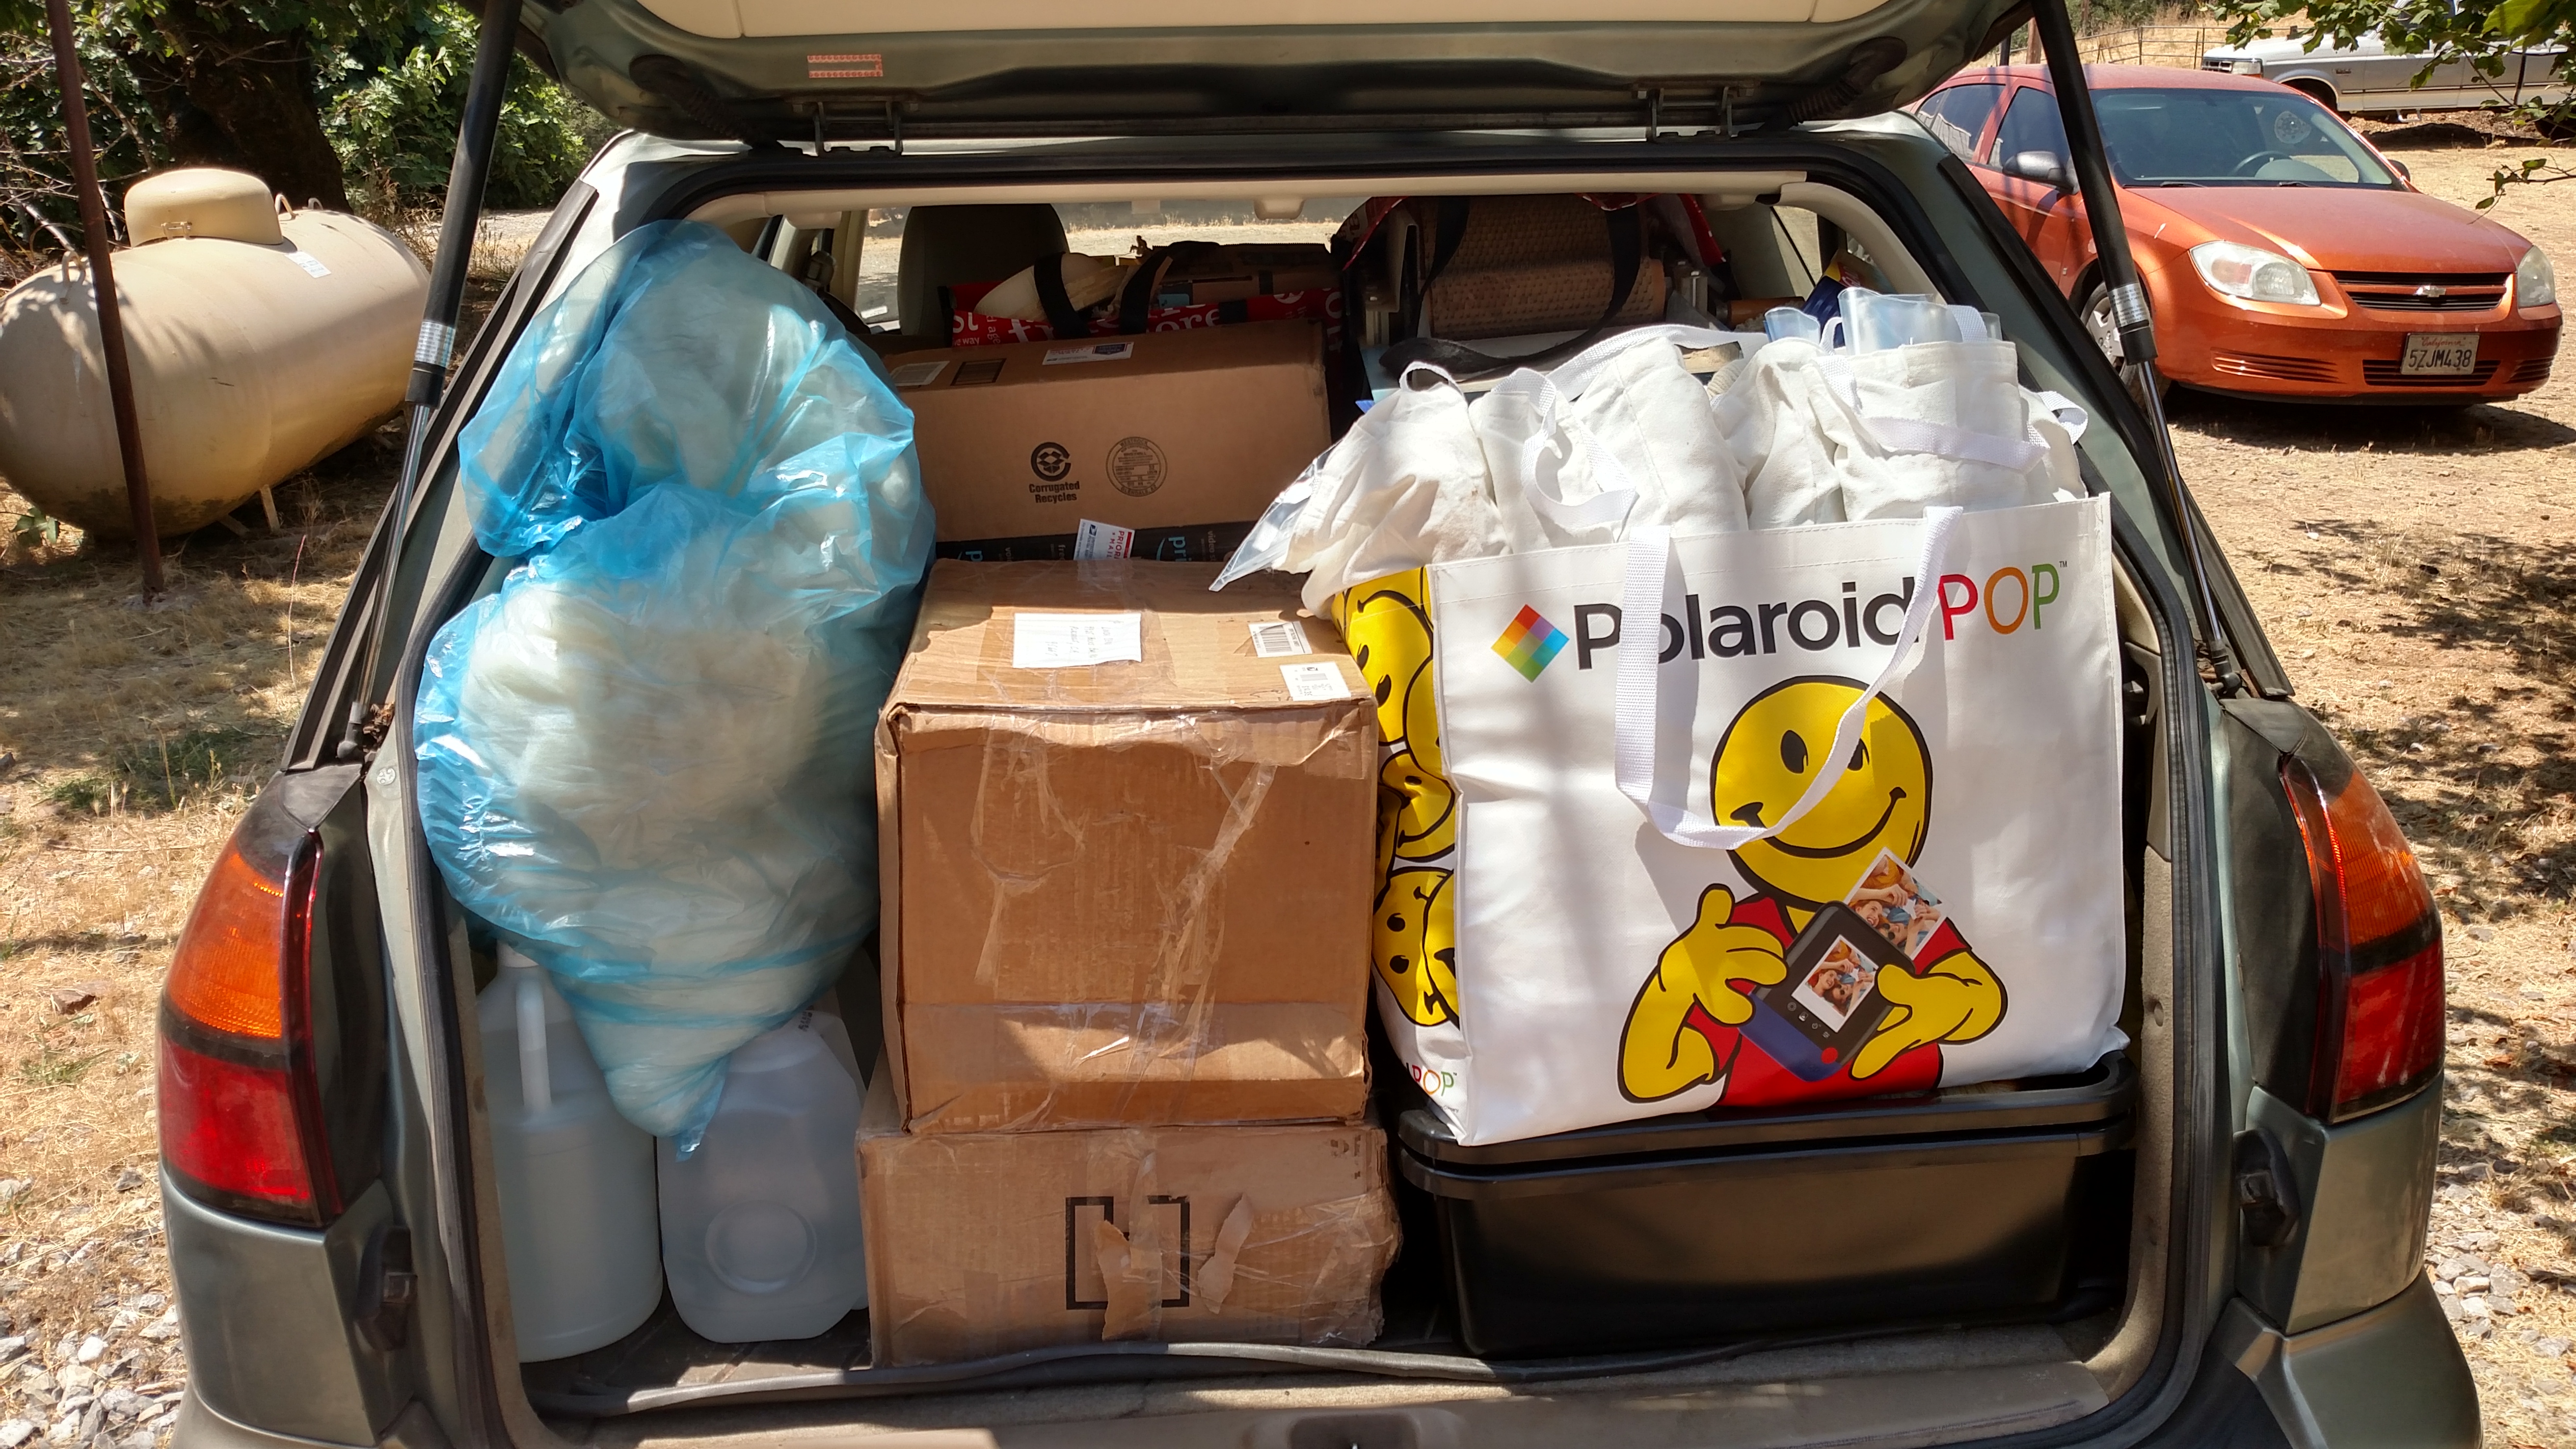
Now as I box everything up and start putting things together for my 10 hour drive I go over and over all possible items I might be forgetting. Life never fails I am sure I will remember something I need several hours from home, so I will be finding a replacement or improvising in class. That is what keeps it entertaining after all.

I really enjoy teaching, and how much I learn while giving instructions to others (I continue to take classes, check out why here). I am looking forward to the adventure that this week has in store…I will share my progress….

Tissue Paper Yarn Dyeing

Dyeing yarn with tissue paper? Yeah, it sounds a bit unusual, however I have been busy playing with all kinds of dyeing approaches this last week as I get ready for a class I am teaching in two weeks at the Crochet Guild of America’s Chainlink Conference.

I have been working with food coloring and Easter egg dyes, while dabbling with Kool Aid. I have been playing with multiple protein based fibers (yarns that are made from animal fibers, like wool, alpaca, silk, mohair, etc.), but it was trying to find something in my closet that sparked me in a little different direction.

I tend to be a person that doesn’t really throw much out, if I can find another purpose for it I will hold on to it to use it in the future, so tissue paper from gifts gets saved. When digging through the closet I found a stack of this saved tissue paper and I began to wonder….Can I dye with this?

The answer…YES!

I began by soaking the yarn in a bath of water and citric acid (1 teaspoon citric acid to 4 cups of water), you can use white vinegar instead of citric acid if you like (1/4 cup white vinegar to 4 cups of water), then I wrapped various pieces of colored tissue around the yarn. After covering the yarn with paper I placed it in a microwavable bowl and added some of the water/acid solution. I placed it in the microwave for 2 minutes, took it out and waited.

I have to wait after removing it from the microwave, frankly because I do not like to burn myself. After it cooled down a bit I removed the tissue paper and rinsed out the yarn. I was impressed. Some colors bonded to the yarn better than others, but that could be because I had some different quality papers. There was some white space, and different colors in different patches. Offering a bit of a kaleidoscope of possibilities.

I am continuing to play with this technique, and currently find a vast amount of ideas just bubbling to the surface. I am sure that by the time my workshop comes around in a few weeks I will have a very contagious attitude to share with my students!

Excursion Wrap! This Is A Show Stopper!

I love when a design comes out like I was hoping! Excursion Wrap came out just as I envisioned, okay, better than I could have hoped. I saw this design in my mind as soon as I laid hands on the yarn, it just came to me and I had to find a way to get it worked up in the stitches.

Excursion Wrap

That is not to say that it came out perfectly in just one try, I ripped things back several times. I played with some different combinations of stitches and color sequins before finally landing on the perfection, and the difficulty of using multiple color rows and designing like this is when ripping back I end up with many more ends to weave in….some right in the middle of rows, as I ensure the use of all the yarn.

The wrap is worked in 2 contrasting colors, which offer a bold definition of the design. The yarn is Silk Baby Camel by Lisa Souza Dyeworks, and is lusciously yummy! It is soft, but with nice structure, making it a dream to work with. Being that the pattern only takes 2 skeins, it is manageable in both crocheting and in cost.

The lacy ripple pattern is worked as a 3 row repeat, so it is simple to memorize yet keeps the pattern engaging. So you can work the stitch pattern successfully without getting bored with it.

The color sequencing is what really brings this design to life, it demands the eye to transverse the entire piece and then to look again. The altering of the stitch pattern and the colors offers a cascading effect of interest that will definitely have you garnering praise.

This wrap is a show stopper, one that makes people stop and admire your handiwork. I already have plans to work up this design a couple of more times….once is just not enough!

Get your pattern here!


Teaching and Still Learning

Why do I still take crochet classes? That was a question I was asked recently, and apparently many people do not easily understand the reason.

I must first admit, that I took my first crochet class in 2011, thirty years after I taught myself to crochet. I took the class because I happened to be invited to attend a Crochet Guild of America conference, and figured I would try everything it had to offer. I actually took a few classes at that conference, and realized that even though I knew quite a bit about crochet there was so much more to learn.

Crochet does not just have to be the working of a couple of stitches to create an afghan, which was my long standing practice with the craft, it can be an experience of bonding, an experience of growth, an experience of connecting. Taking my first class opened this world to me.

In each and every class I take I learn something new, even if it is a topic I thought that I knew really well. Every teacher has a different way to bring the material and information alive, in this process I see crochet from a different angle, and different history, and different life.

Yes, I might be going a bit deep, but crochet is so unique to each individual. Not only is all crochet handmade, as there is no machine crochet, but it is often learned from one generation to another. I often find students are unsure of their abilities in crochet, and I think this is due to the nature of learning in a personal setting from an older relative or neighbor. This might intimidate students from taking classes, it did for me for too many years, but overcoming the awkward discomfort I thought I would have has shown me more than I could have imagined.

Even as I teach more, I continue to take classes to retain and re-imagine what crochet can be. If you haven’t adventured into a crochet class, I really recommend you do. You will meet interesting people, learn stories and connect….everything that I realize I need.

Gotta Love that Shawl- Free Pattern

Since I have been playing around with some stitches, and attempting to finish some yarn in my stash, I have a free pattern to share. Gotta Love that Wrap is worked entirely of Love Knots! If you are not familiar with the stitch I have a tutorial here.

I love how you can use this pattern really with any yarn, although I prefer it with lighter weight yarns. The Wrap in phots here was actually worked up in Plymouth Yarns Linaza, which is 50% alpaca, 25% linen and 25% Tencel, so it really hold the shape of the knot.

The benefit of this yarn is that it really allows the yarn to go along way, the yarn I used was 100g/440yards, and as you can see it made for a wide and long wrap. So feel free to pull something out of your stash and give it a try, or purchase that one skein in a color you love.

This design is actually only a 2 row repeat, so it is pretty simple and relaxing to work. I would recommend that you place a stitch marker somewhere along row 1, to note it as the bottom edge. As the fabric is worked along and becomes squarer, it can be difficult to discern which way the rows are being worked.

The pattern is essentially creating the points of triangles in each even row, the closing it off to a straight edge every odd row, and when the pattern states to slip stitch in the knot, the knot is recognized as the most closed point of the stitch (where is was finished).

Gotta Love that Shawl

Materials:

  • One skein of any yarn, light weight preferred. The longer the yardage the longer the wrap
  • Hook size compatible for yarn weight

Gauge: Gauge is not critical for this project.

Special Stitches

Love Knot: See here

Abbreviations:

Rep=repeat

Sl st= slip stitch

Row 1: 18 Love knots, turn.

Row 2: Skip first knot, sl st in 2nd knot, [2 love knots, sl st in next knot] rep 15 times, turn.

Row 3: 2 love knots, sl st in next knot, [1 love knot, sl st in next knot] rep 15 times, turn.

Row 4: 2 love knots, sl st in next knot, [2 love knots, sl st in next knot} rep 15 times, turn.

Rep Rows 3 & 4 until desired length.

Last Row: Rep Row 3, fasten off. Weave in ends, block as desired.