Overlay Mosaic Crochet- 1 of 3 Methods

Overlay Mosaic Crochet is 1 of 3 mosaic crochet methods that are color work methods that create stunning geometric designs.

The Overlay Mosaic Method has some ready to see benefits, but is also has some draw backs especially compared to Inset Mosaic and Mosaic Magic.

Pros

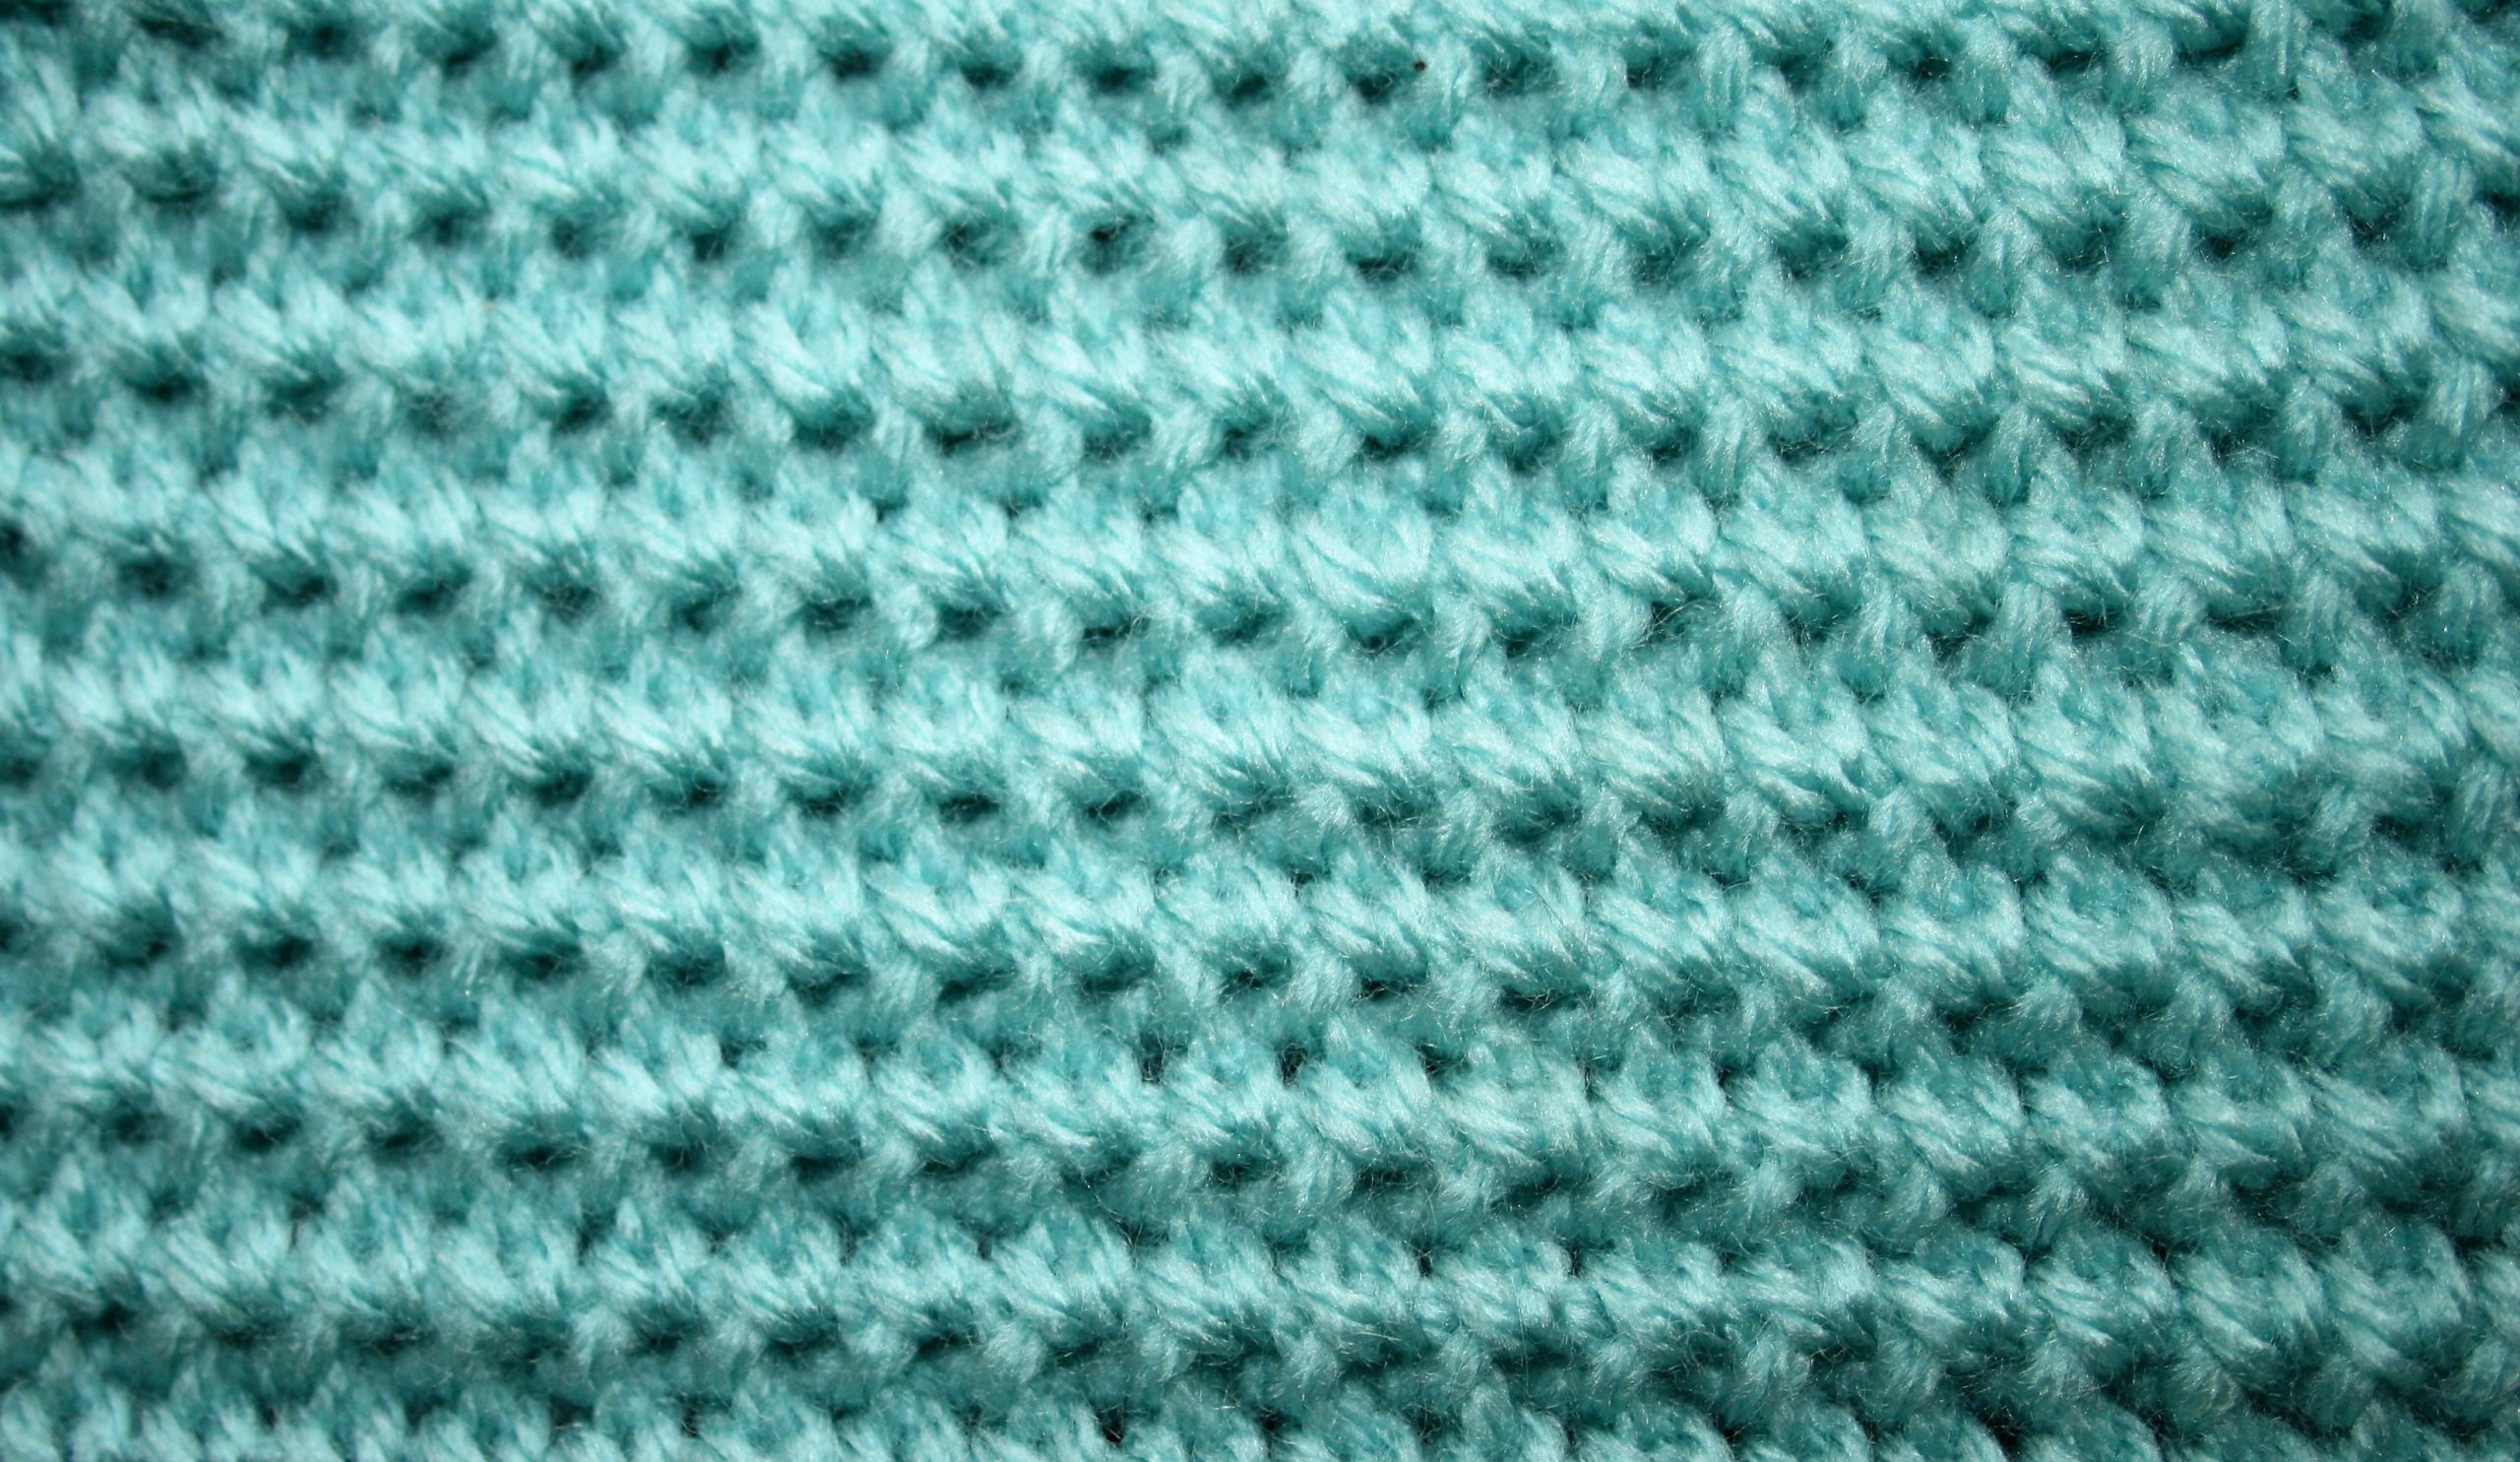
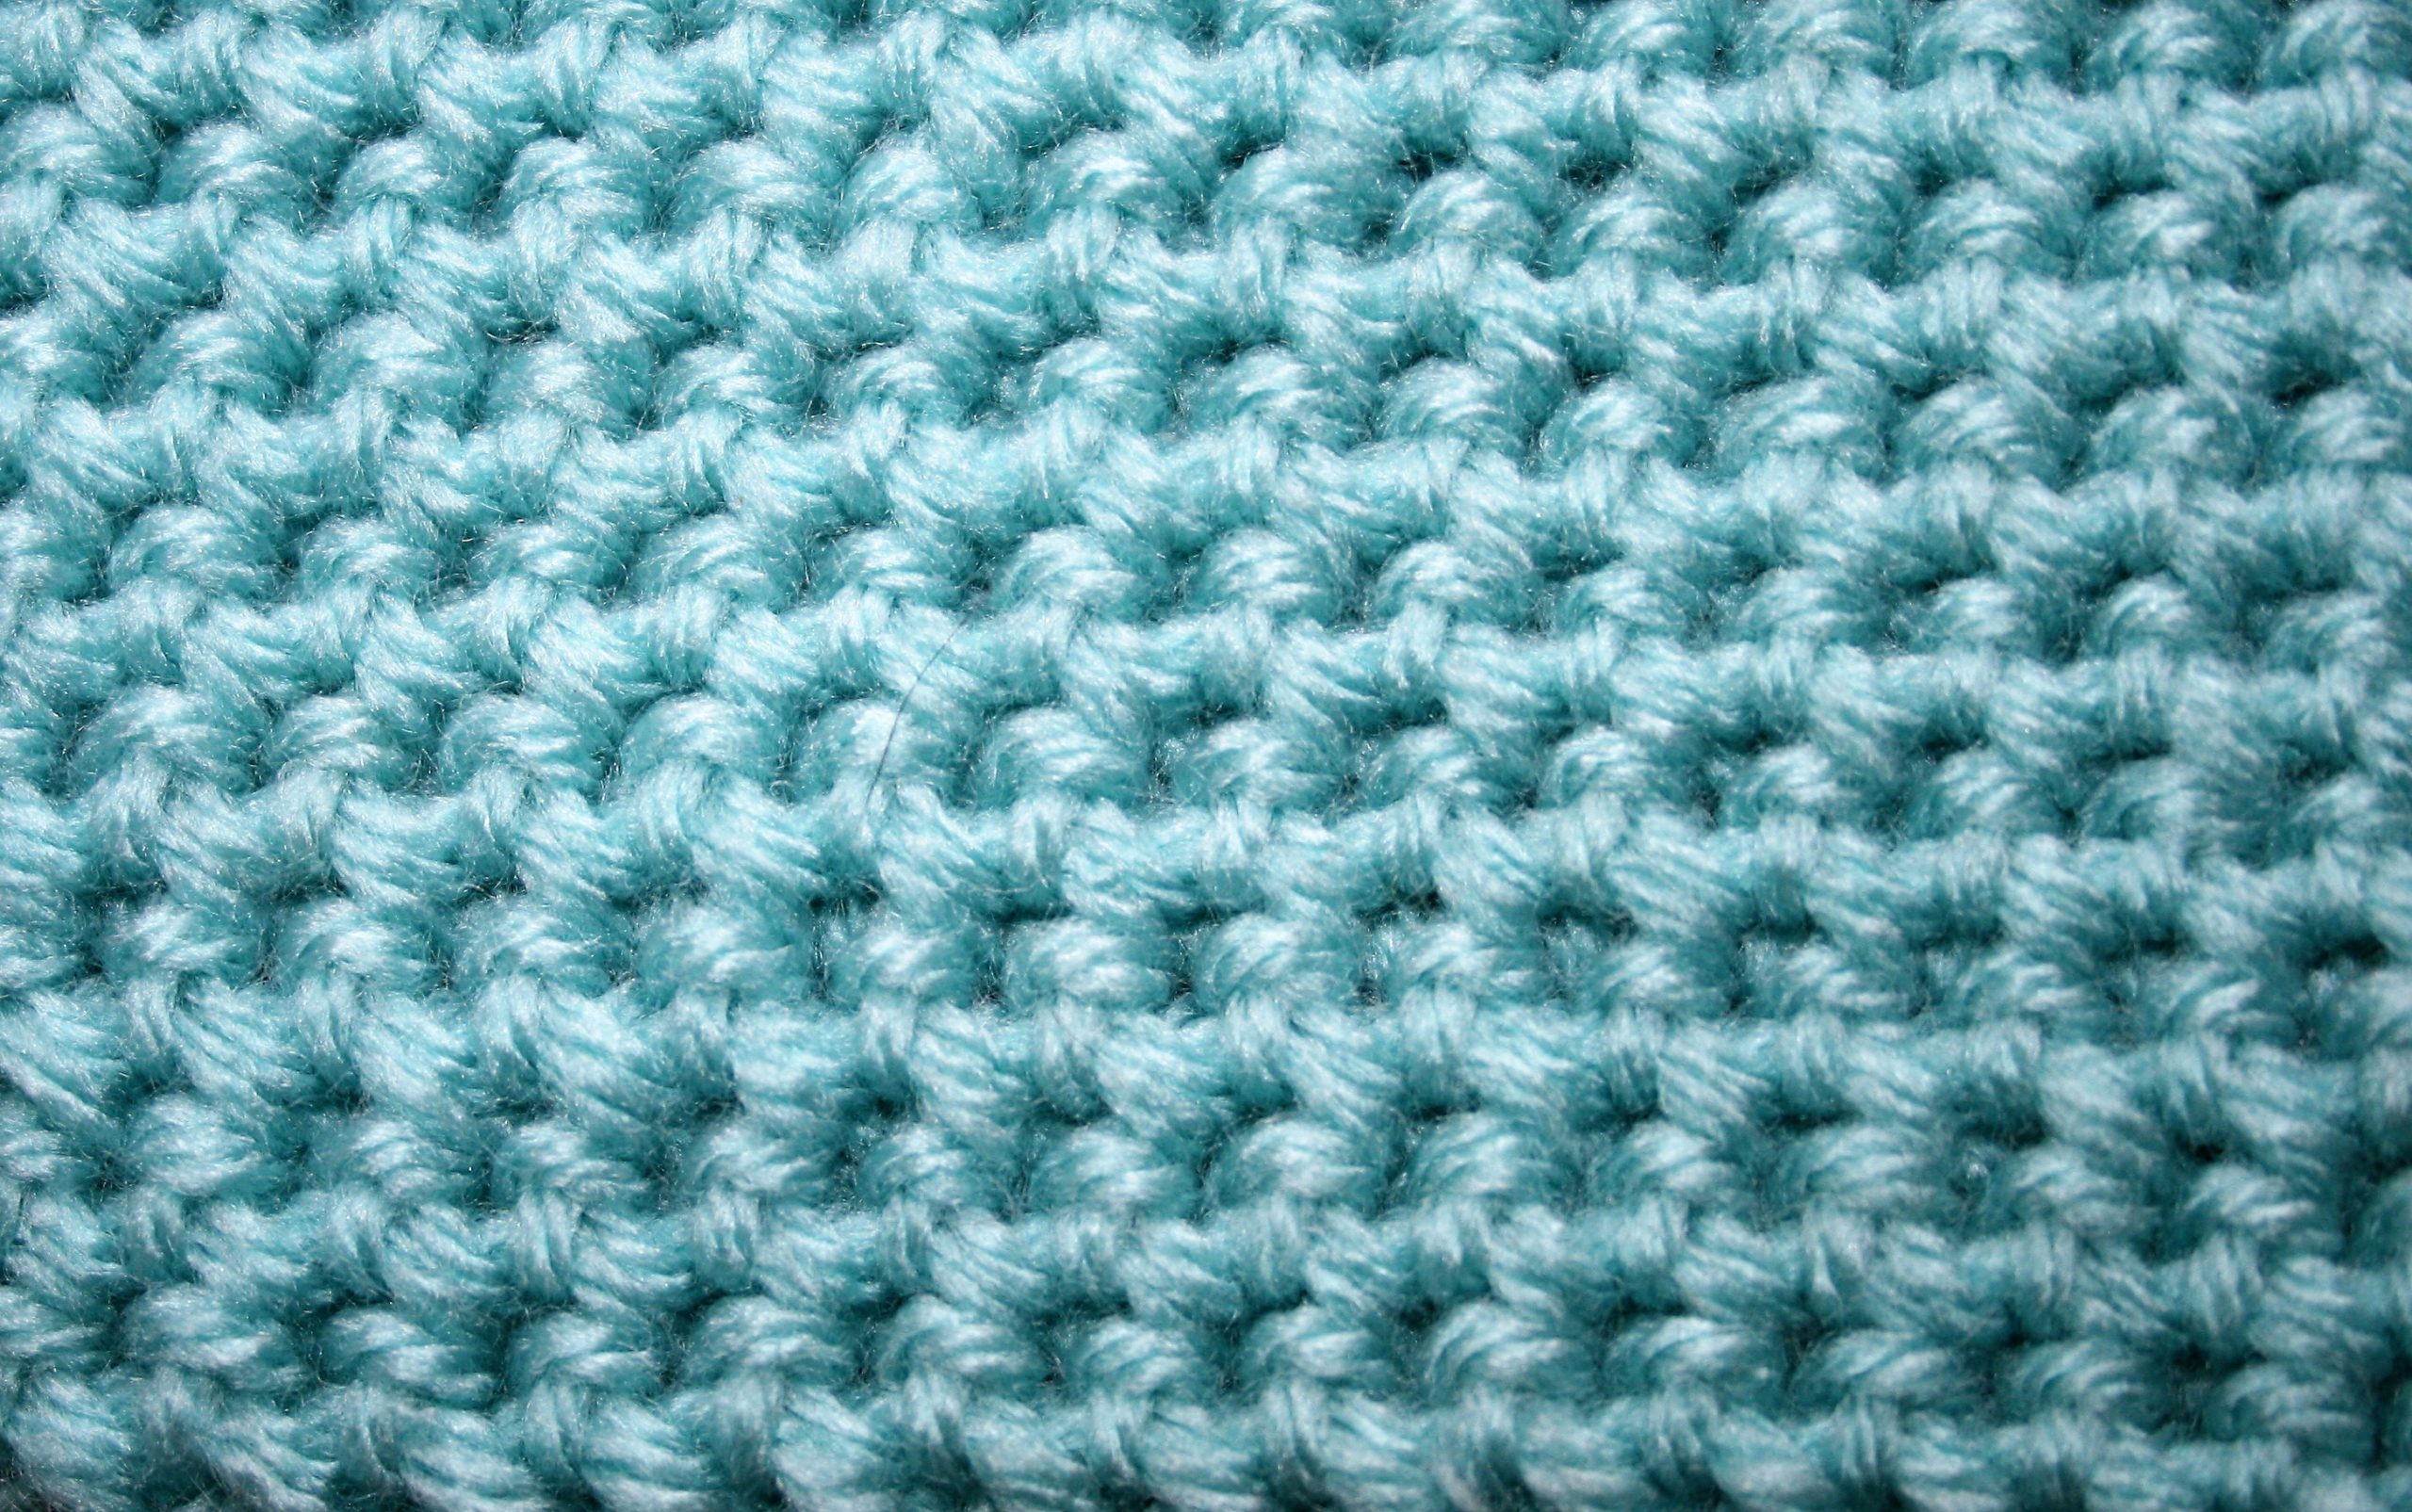
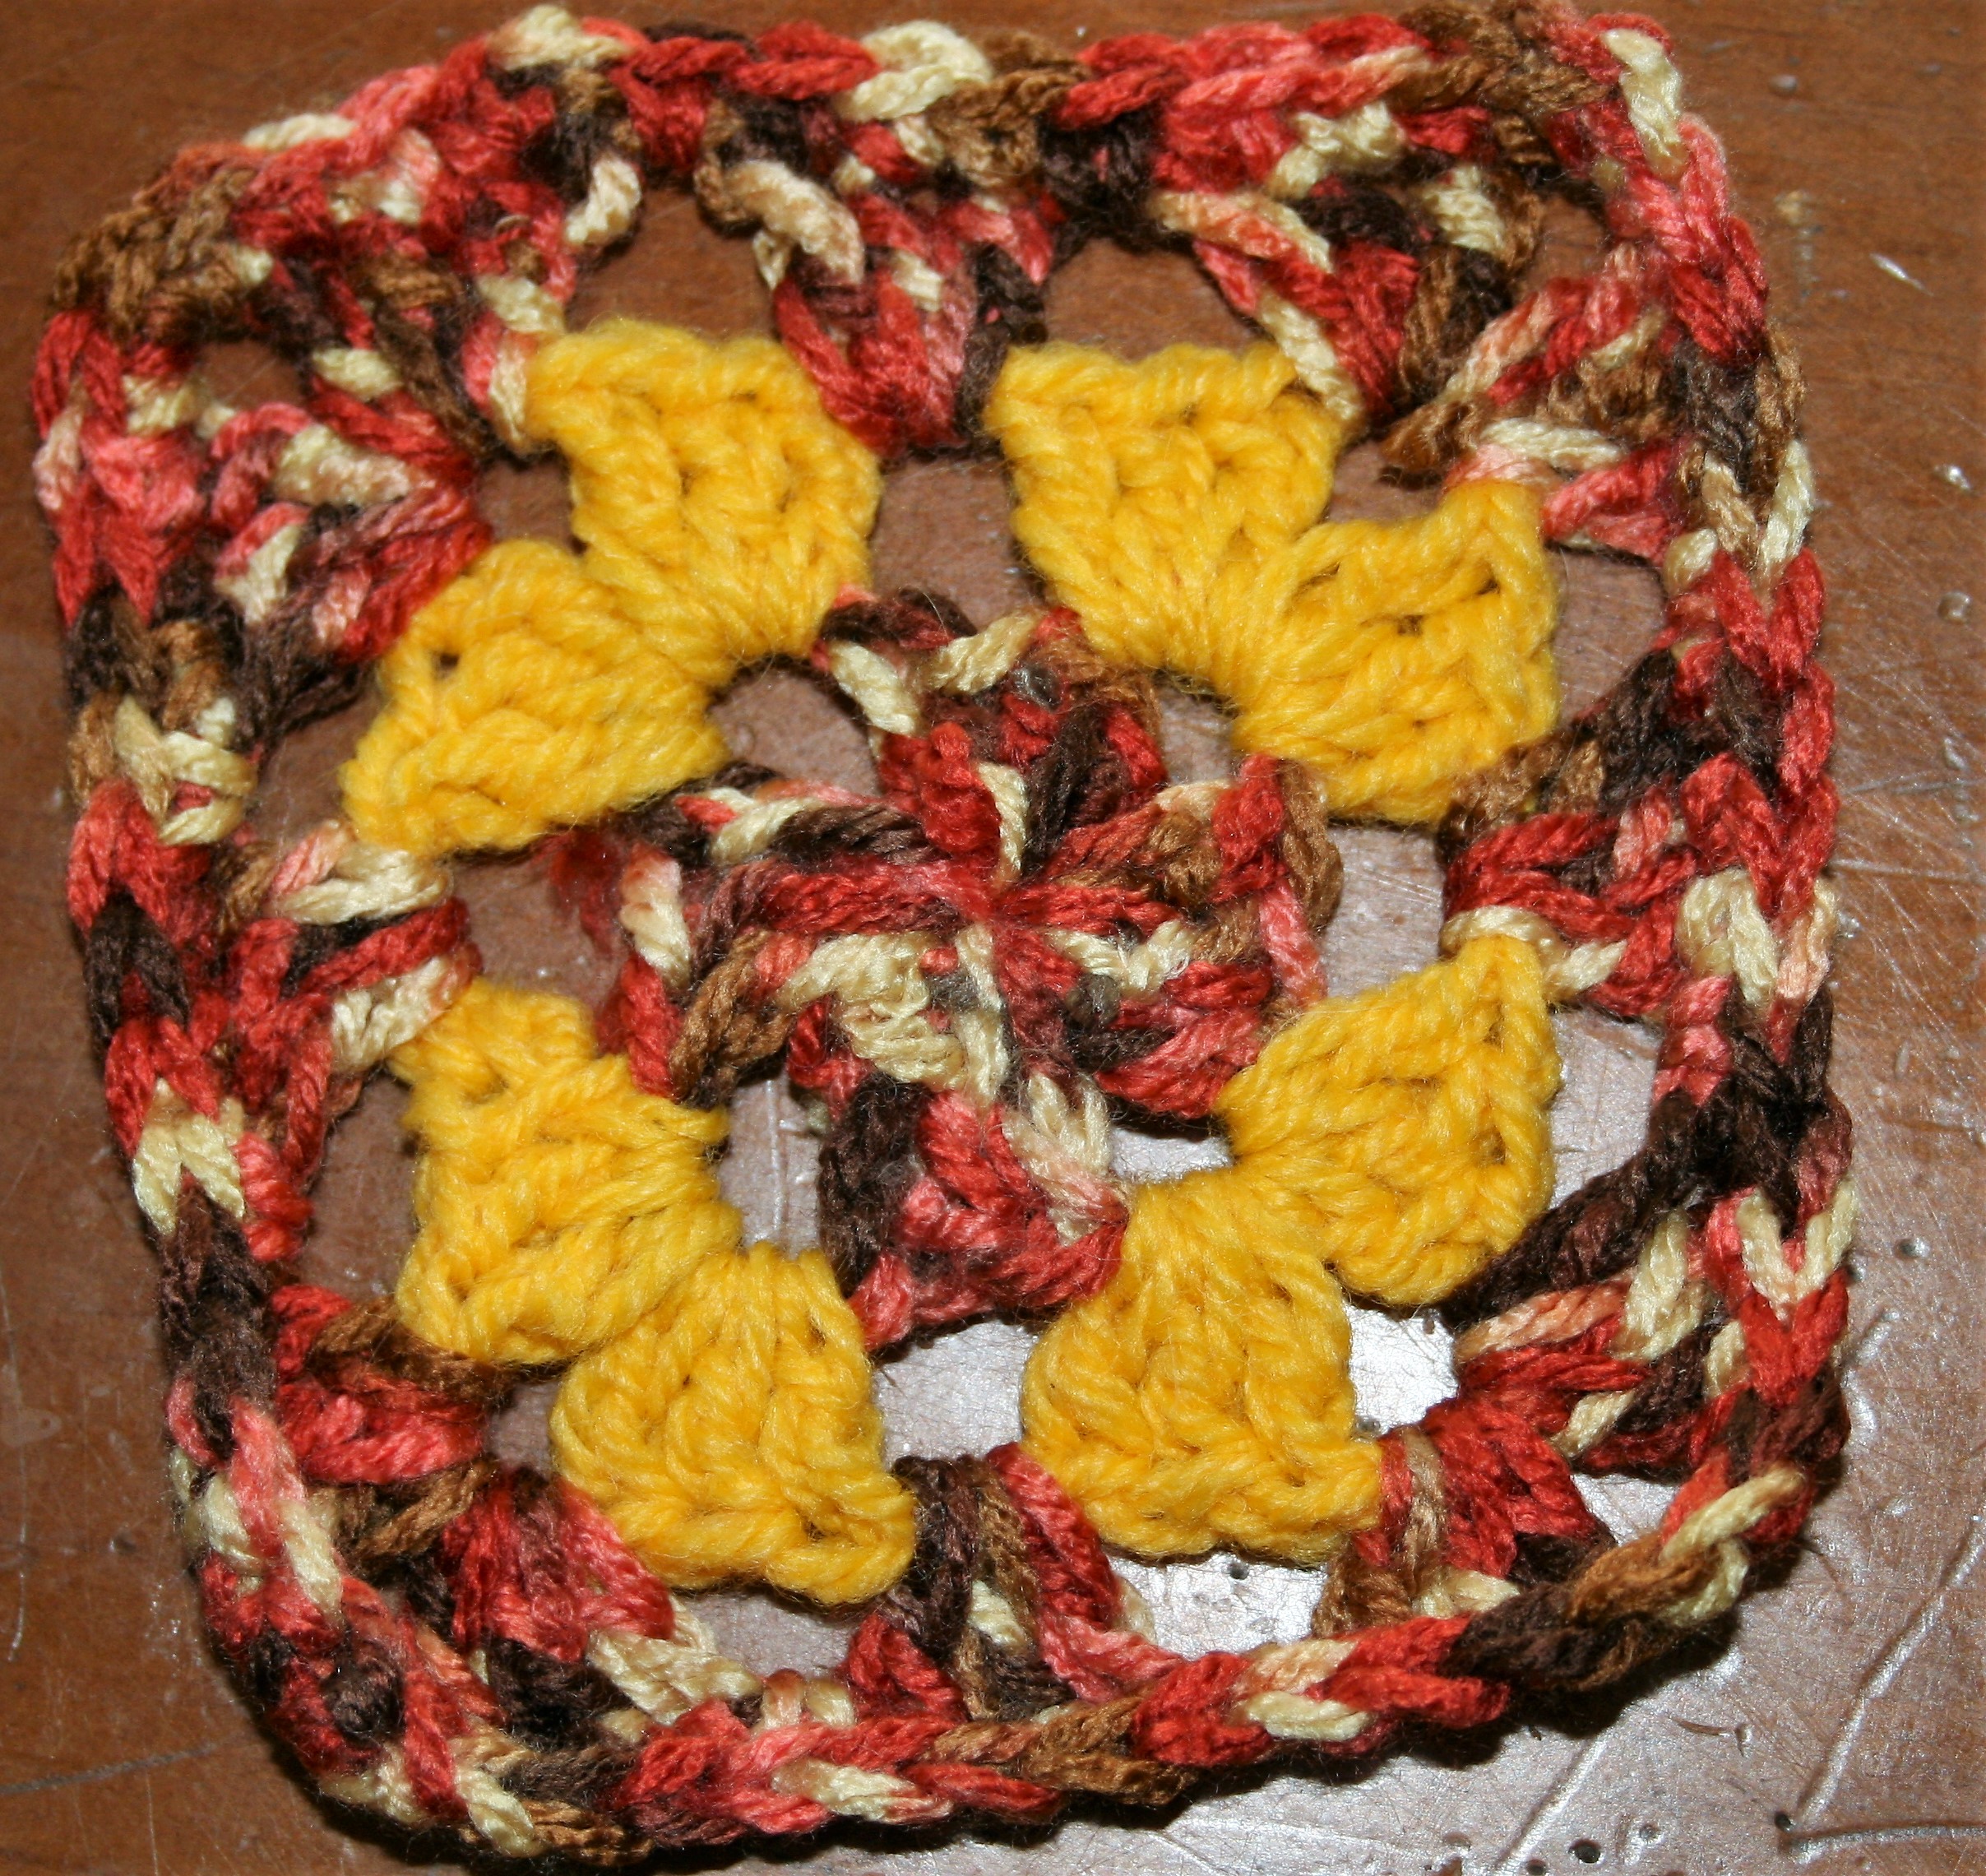
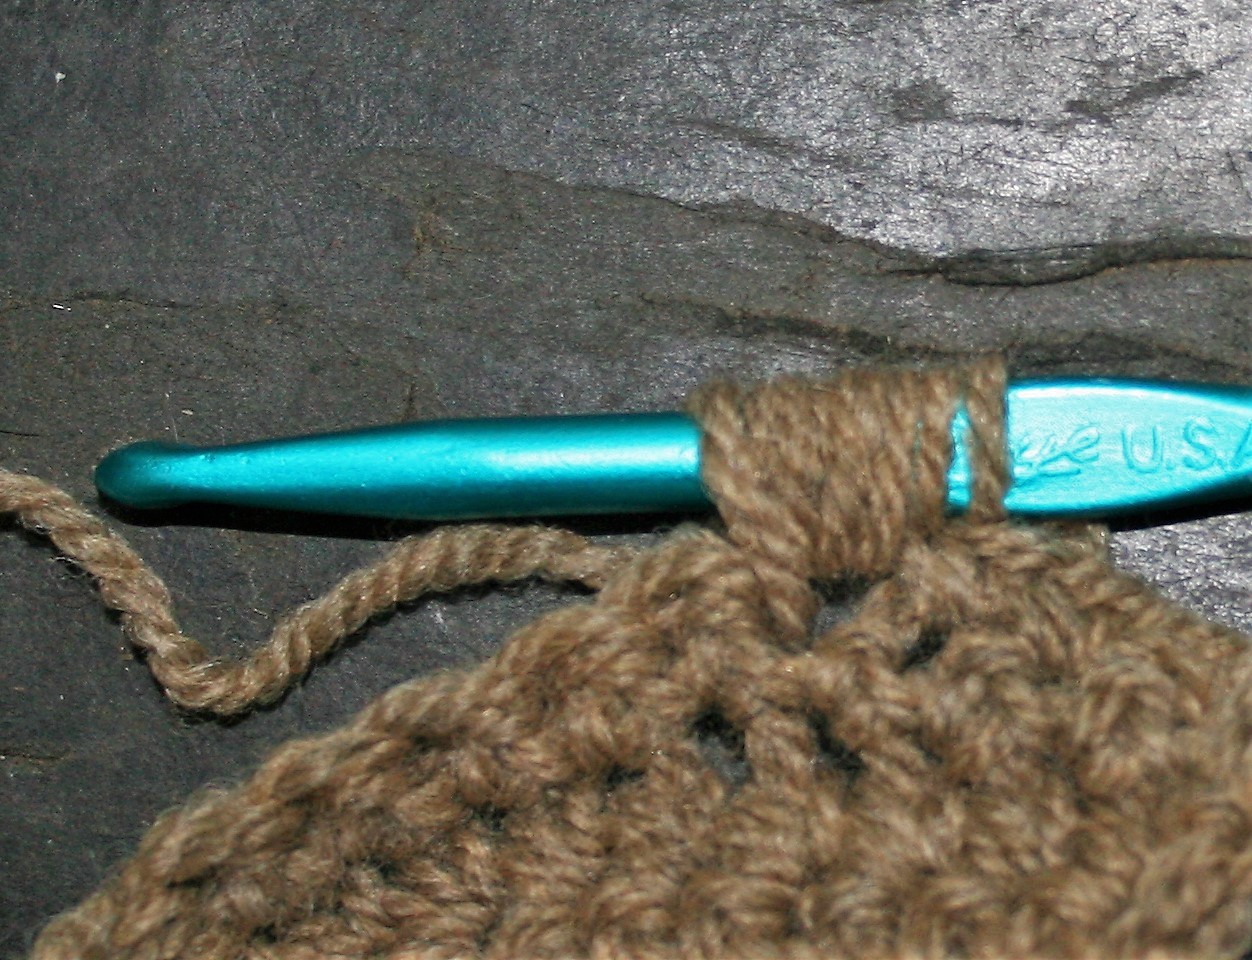
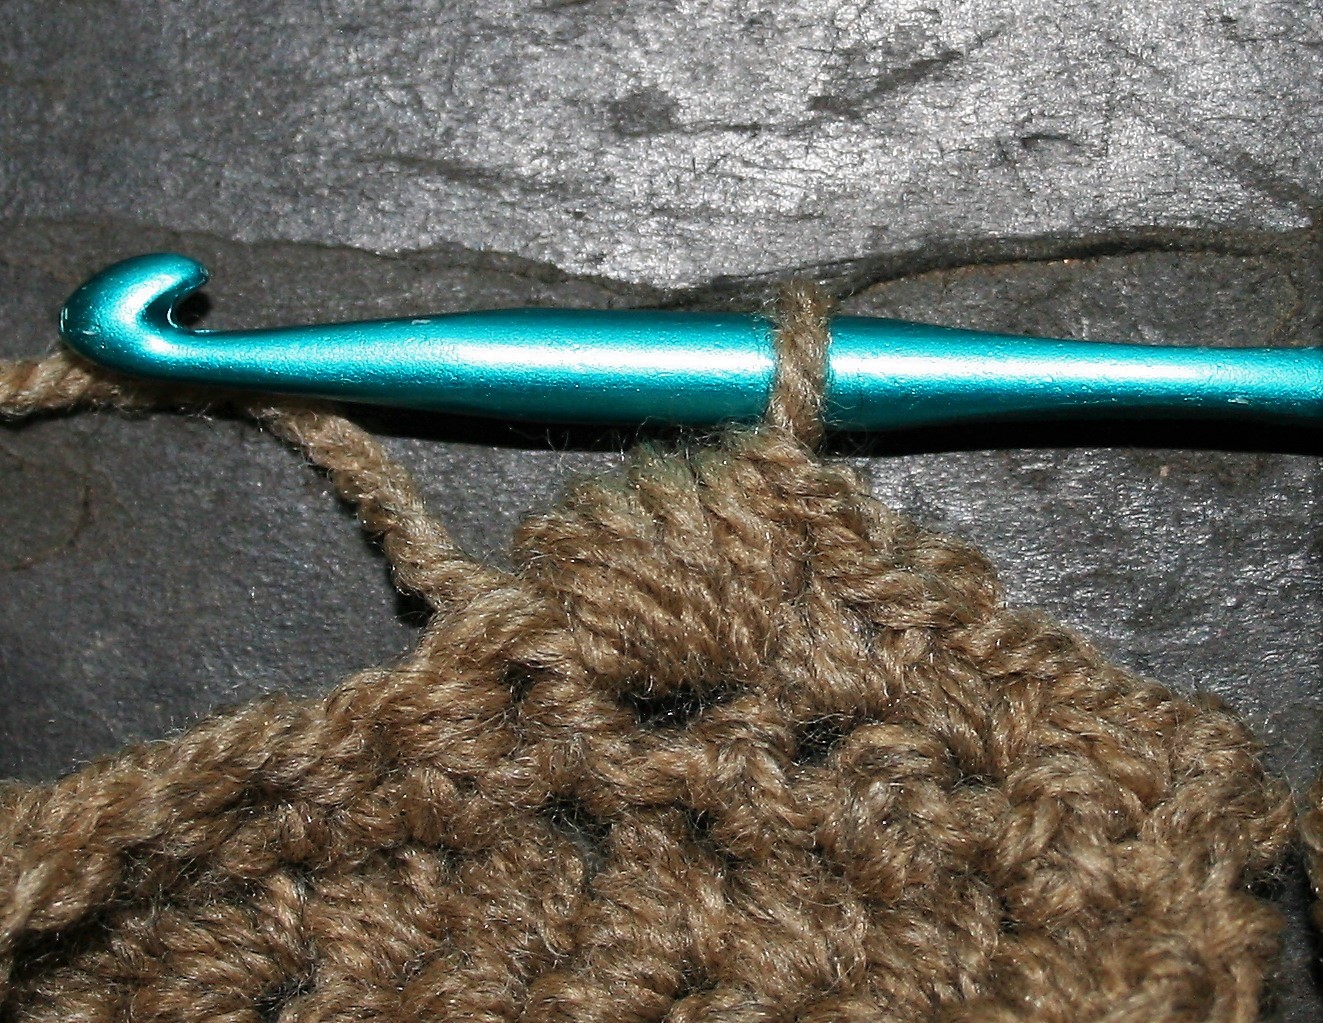
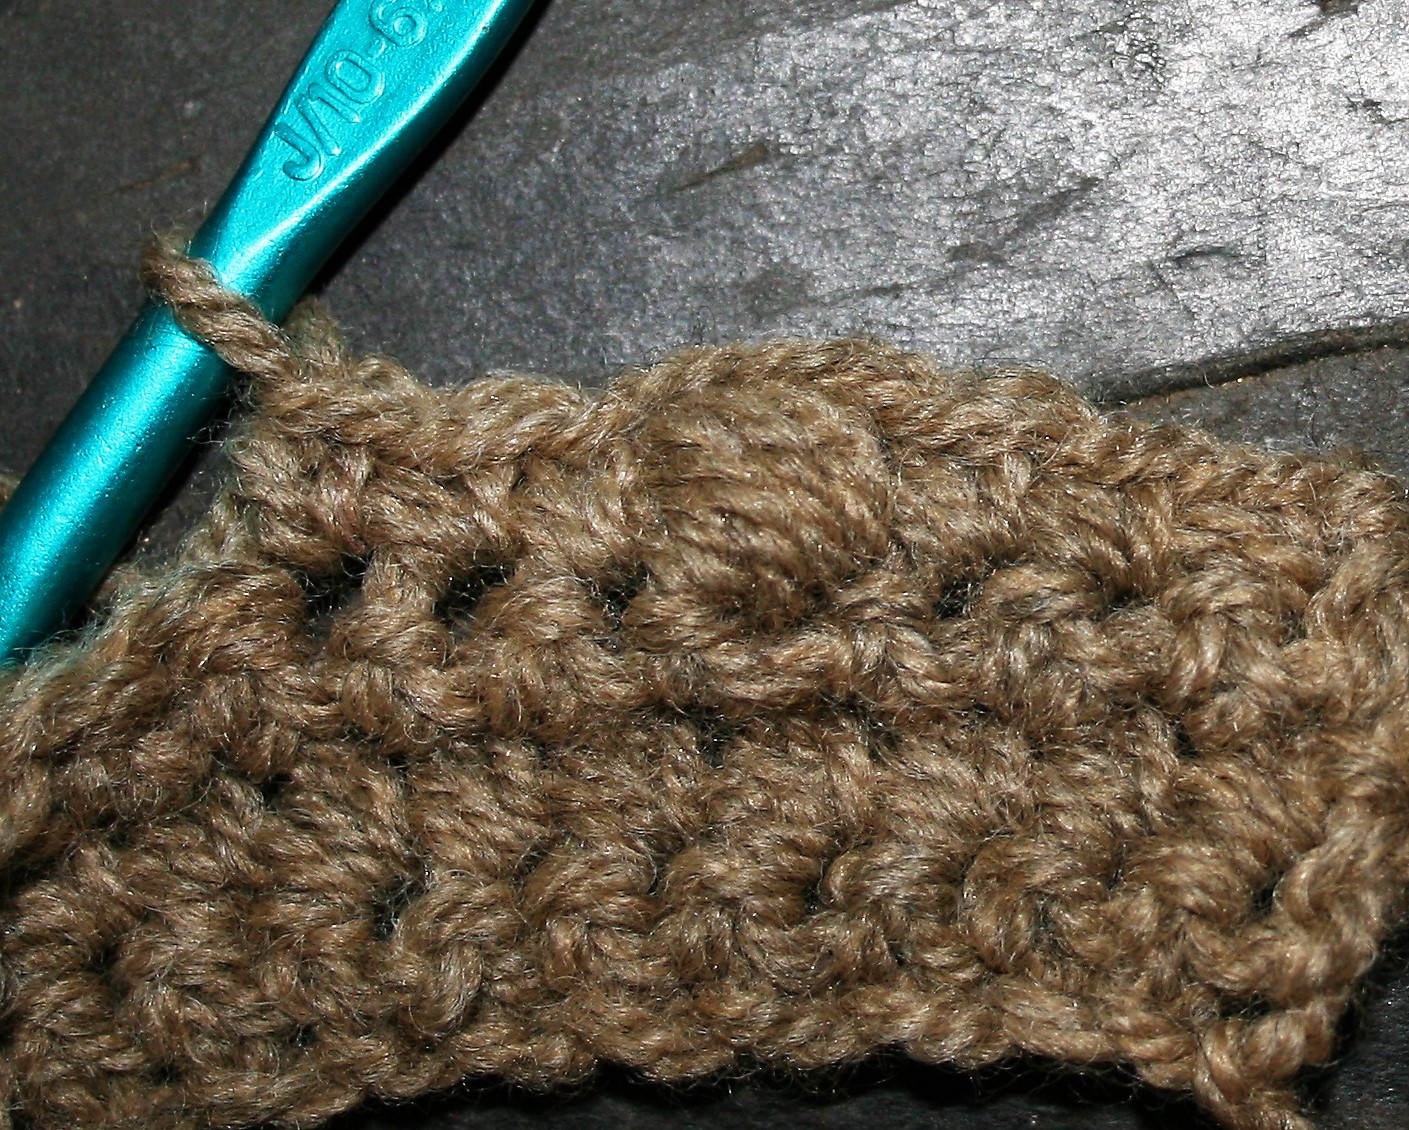
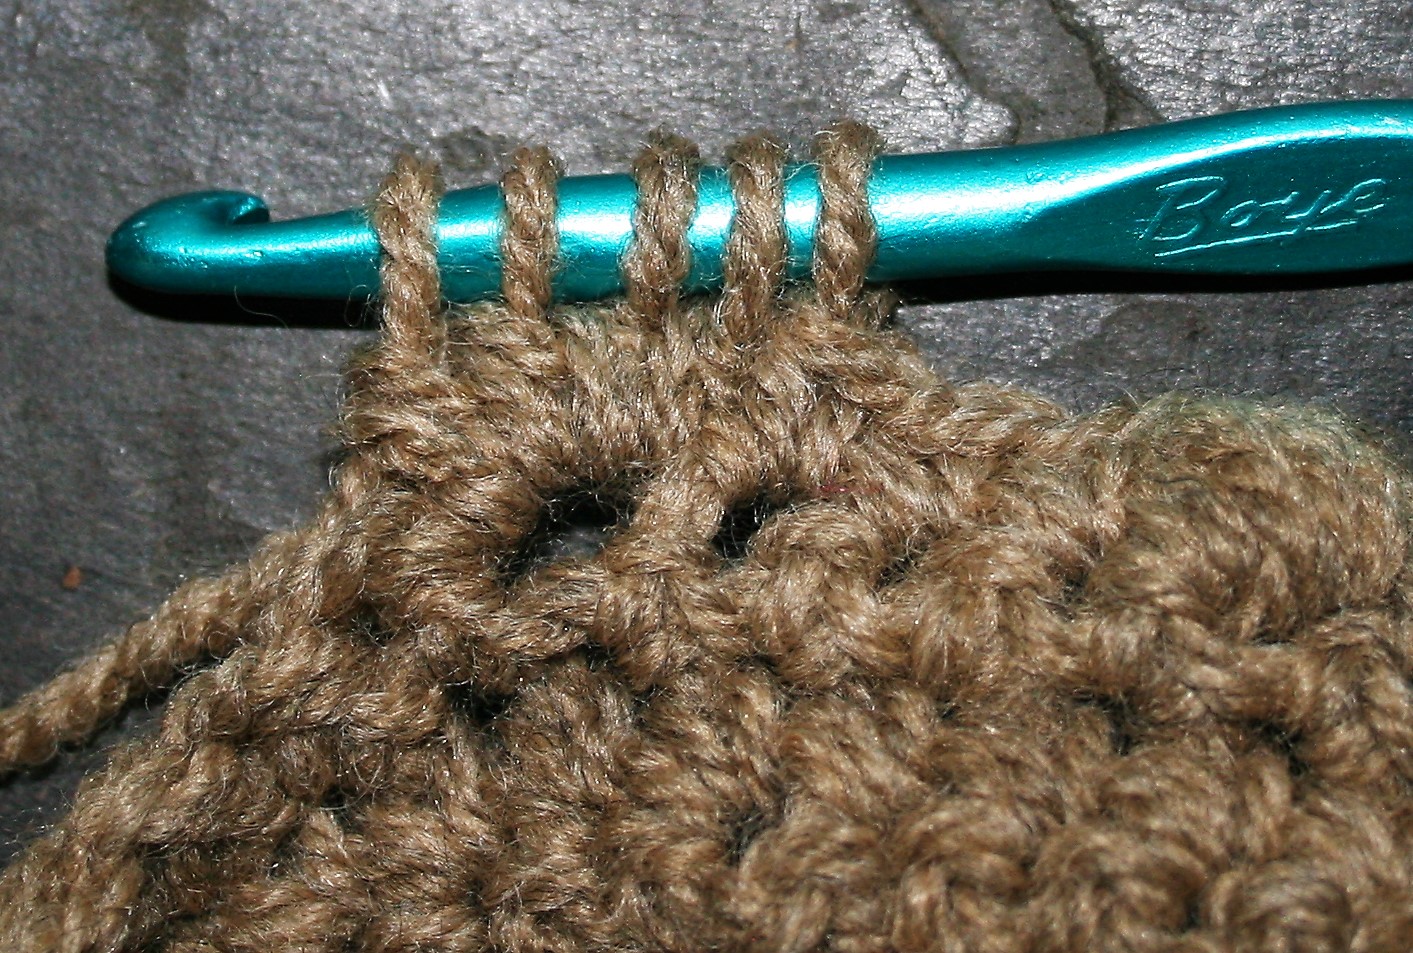
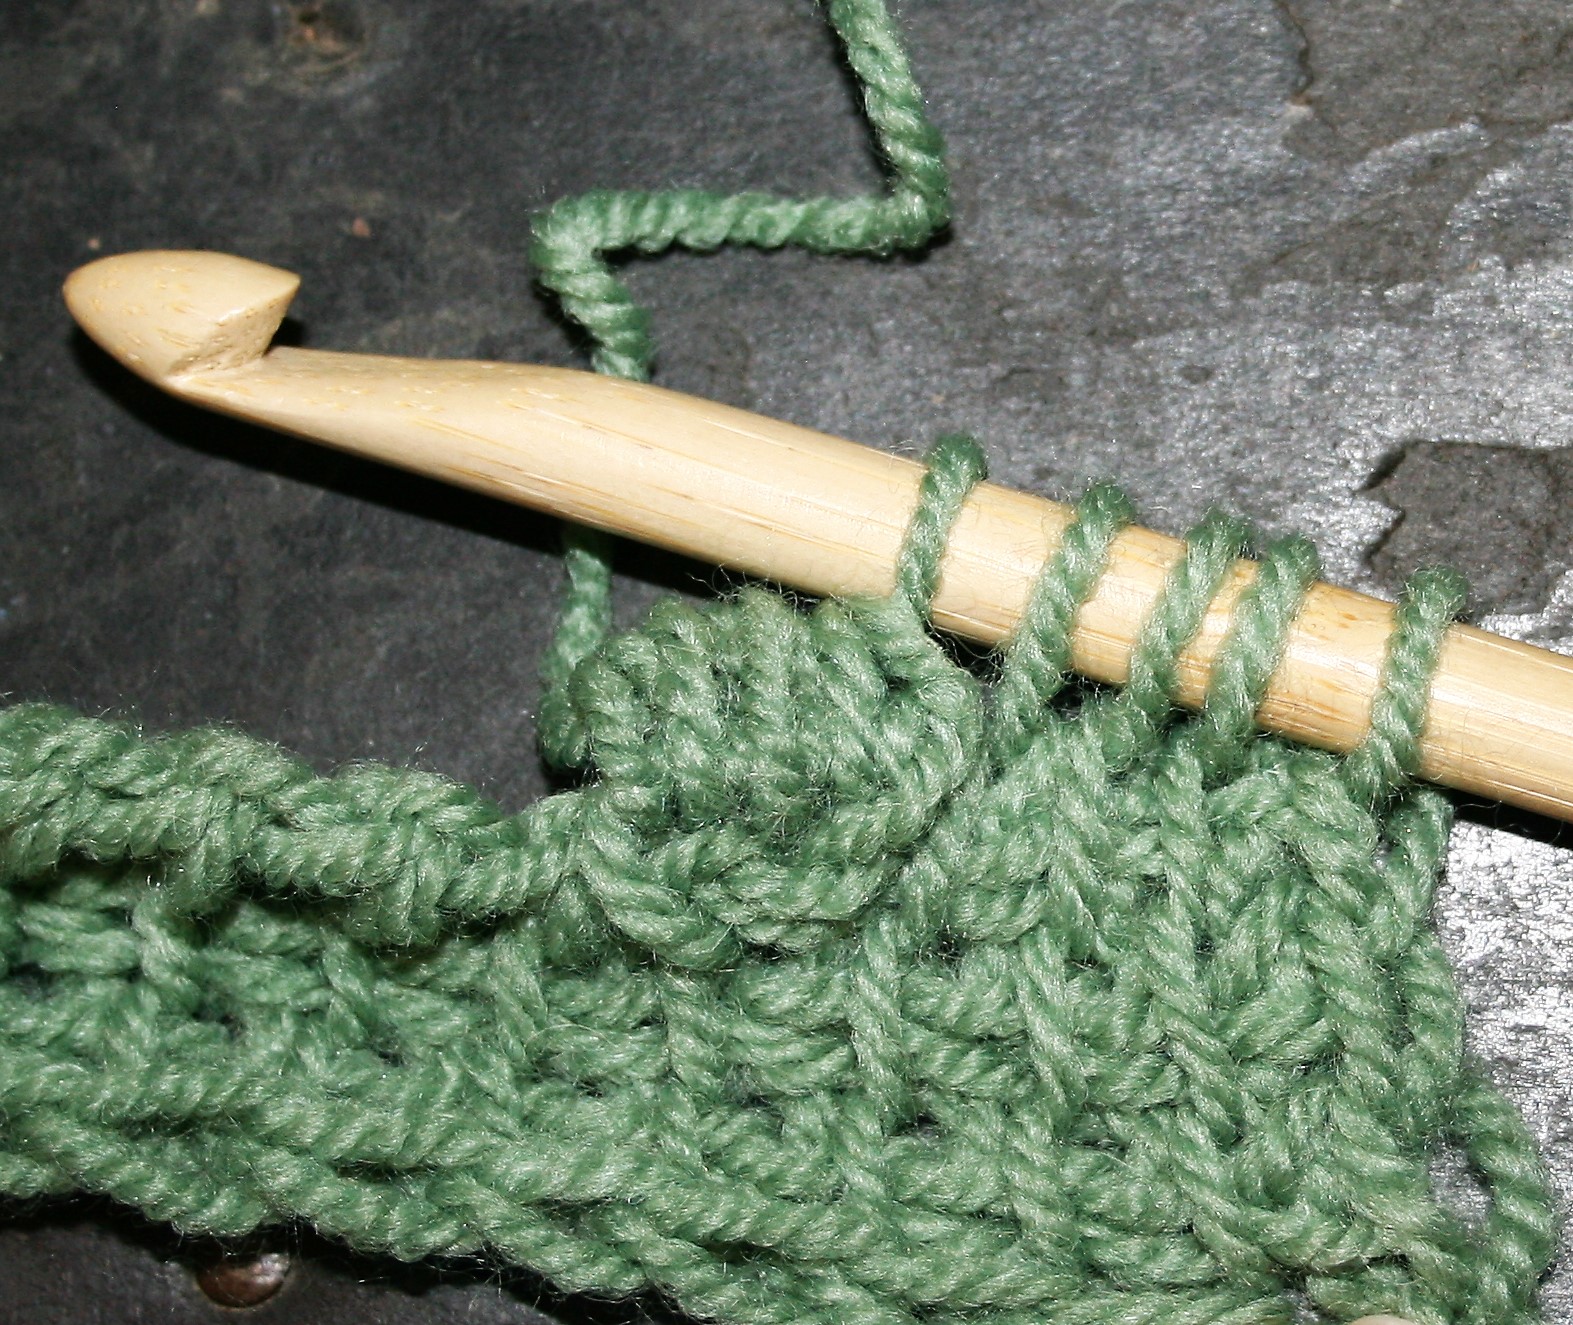
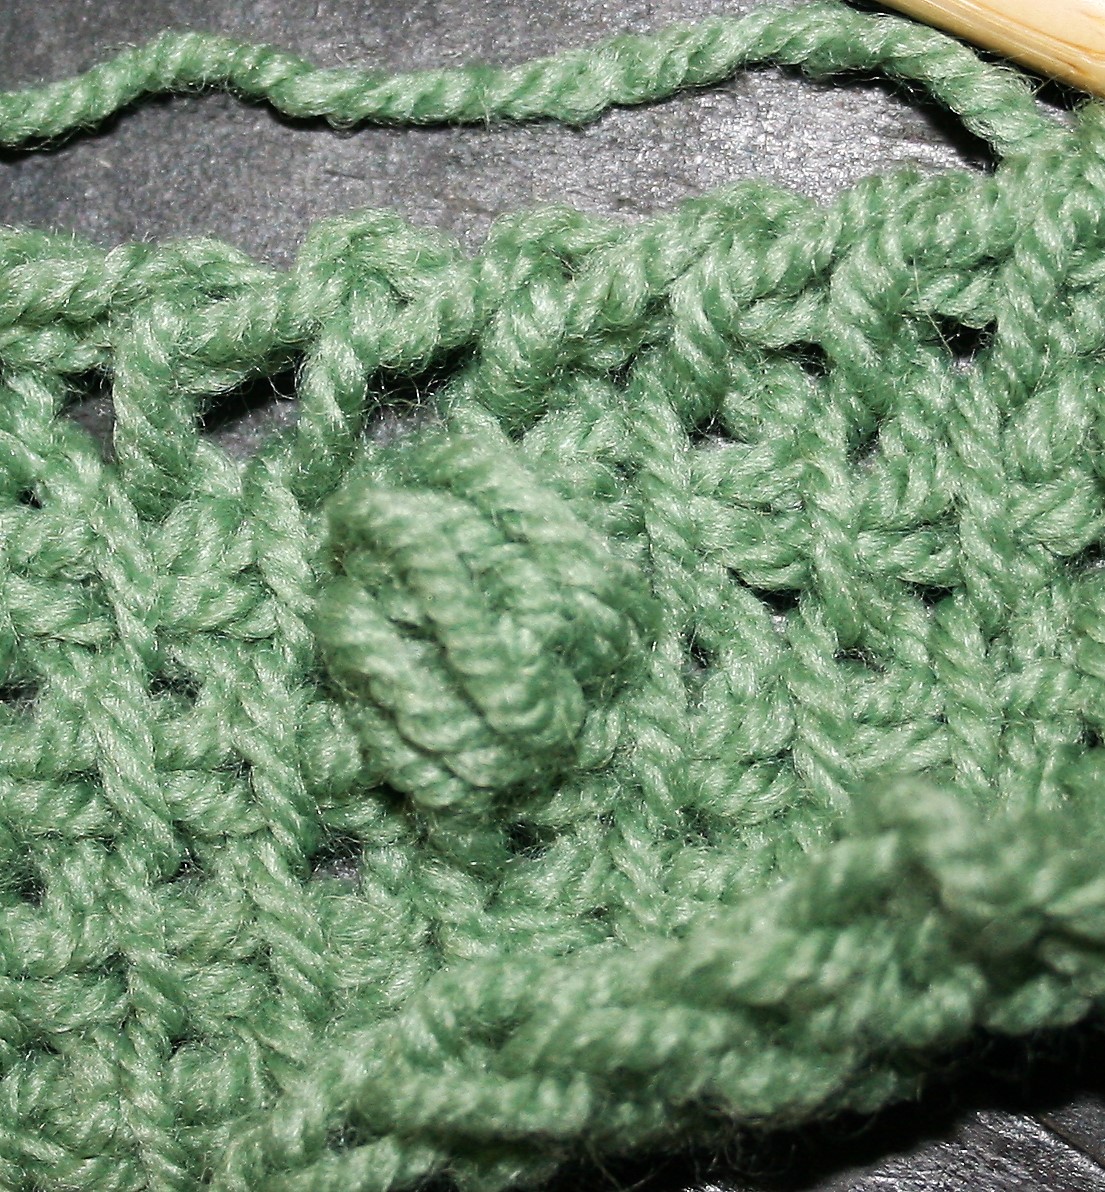
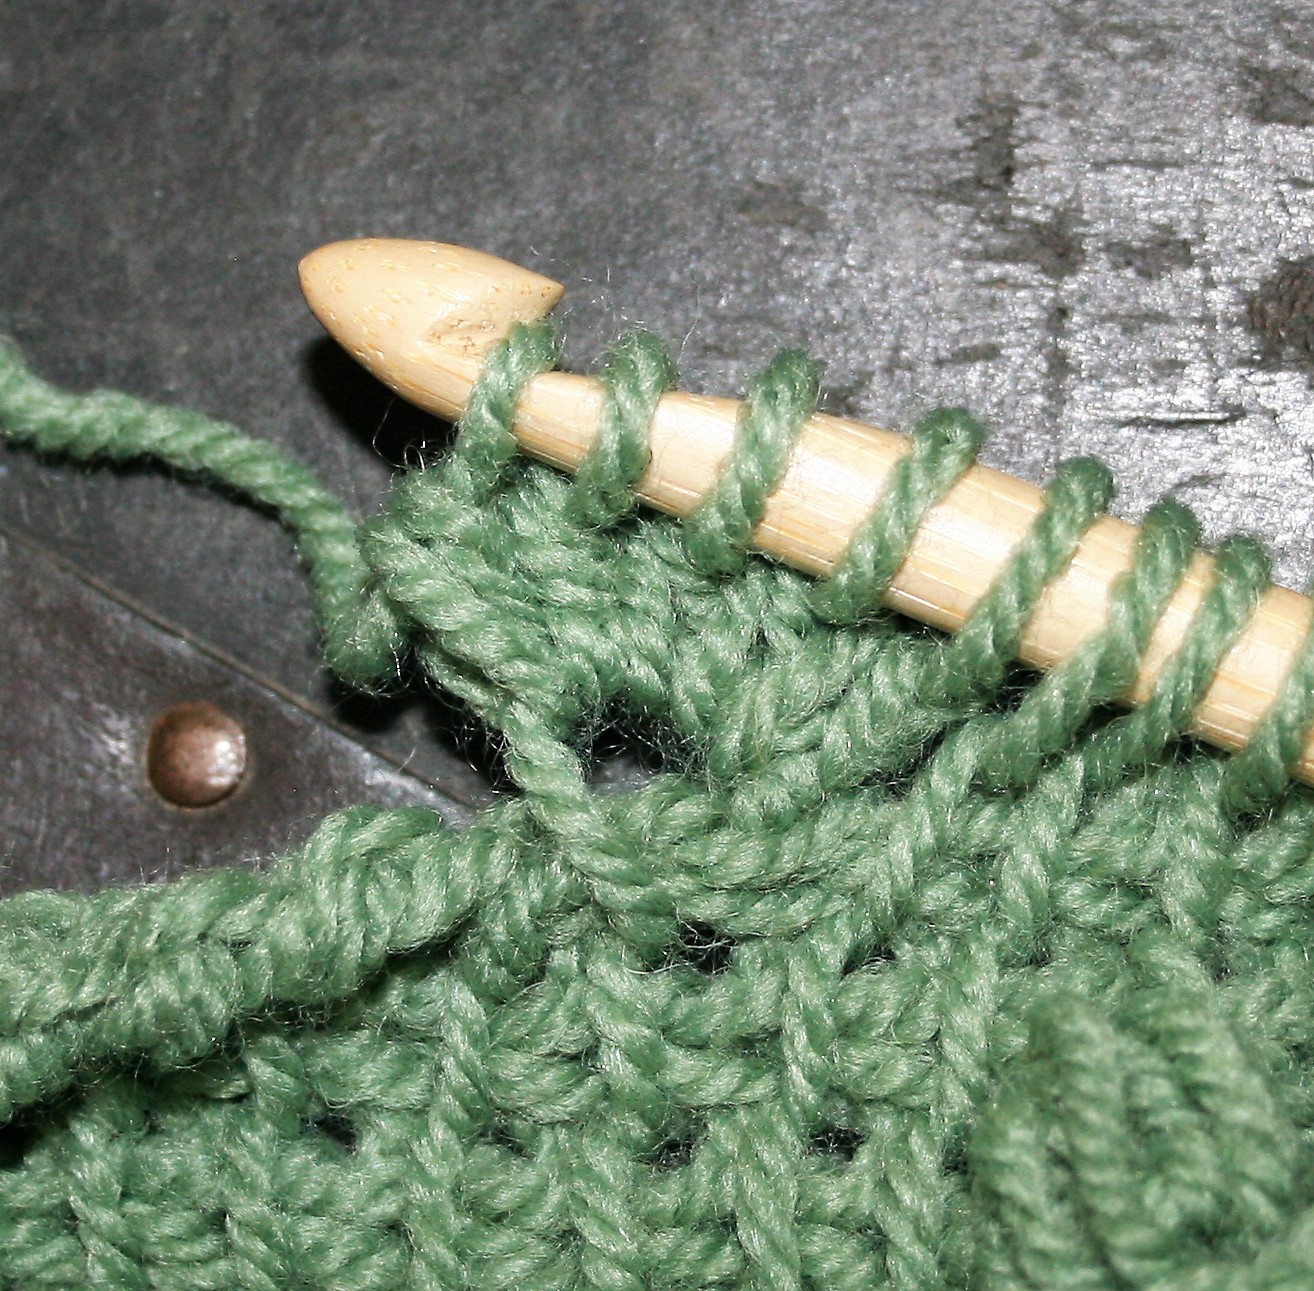
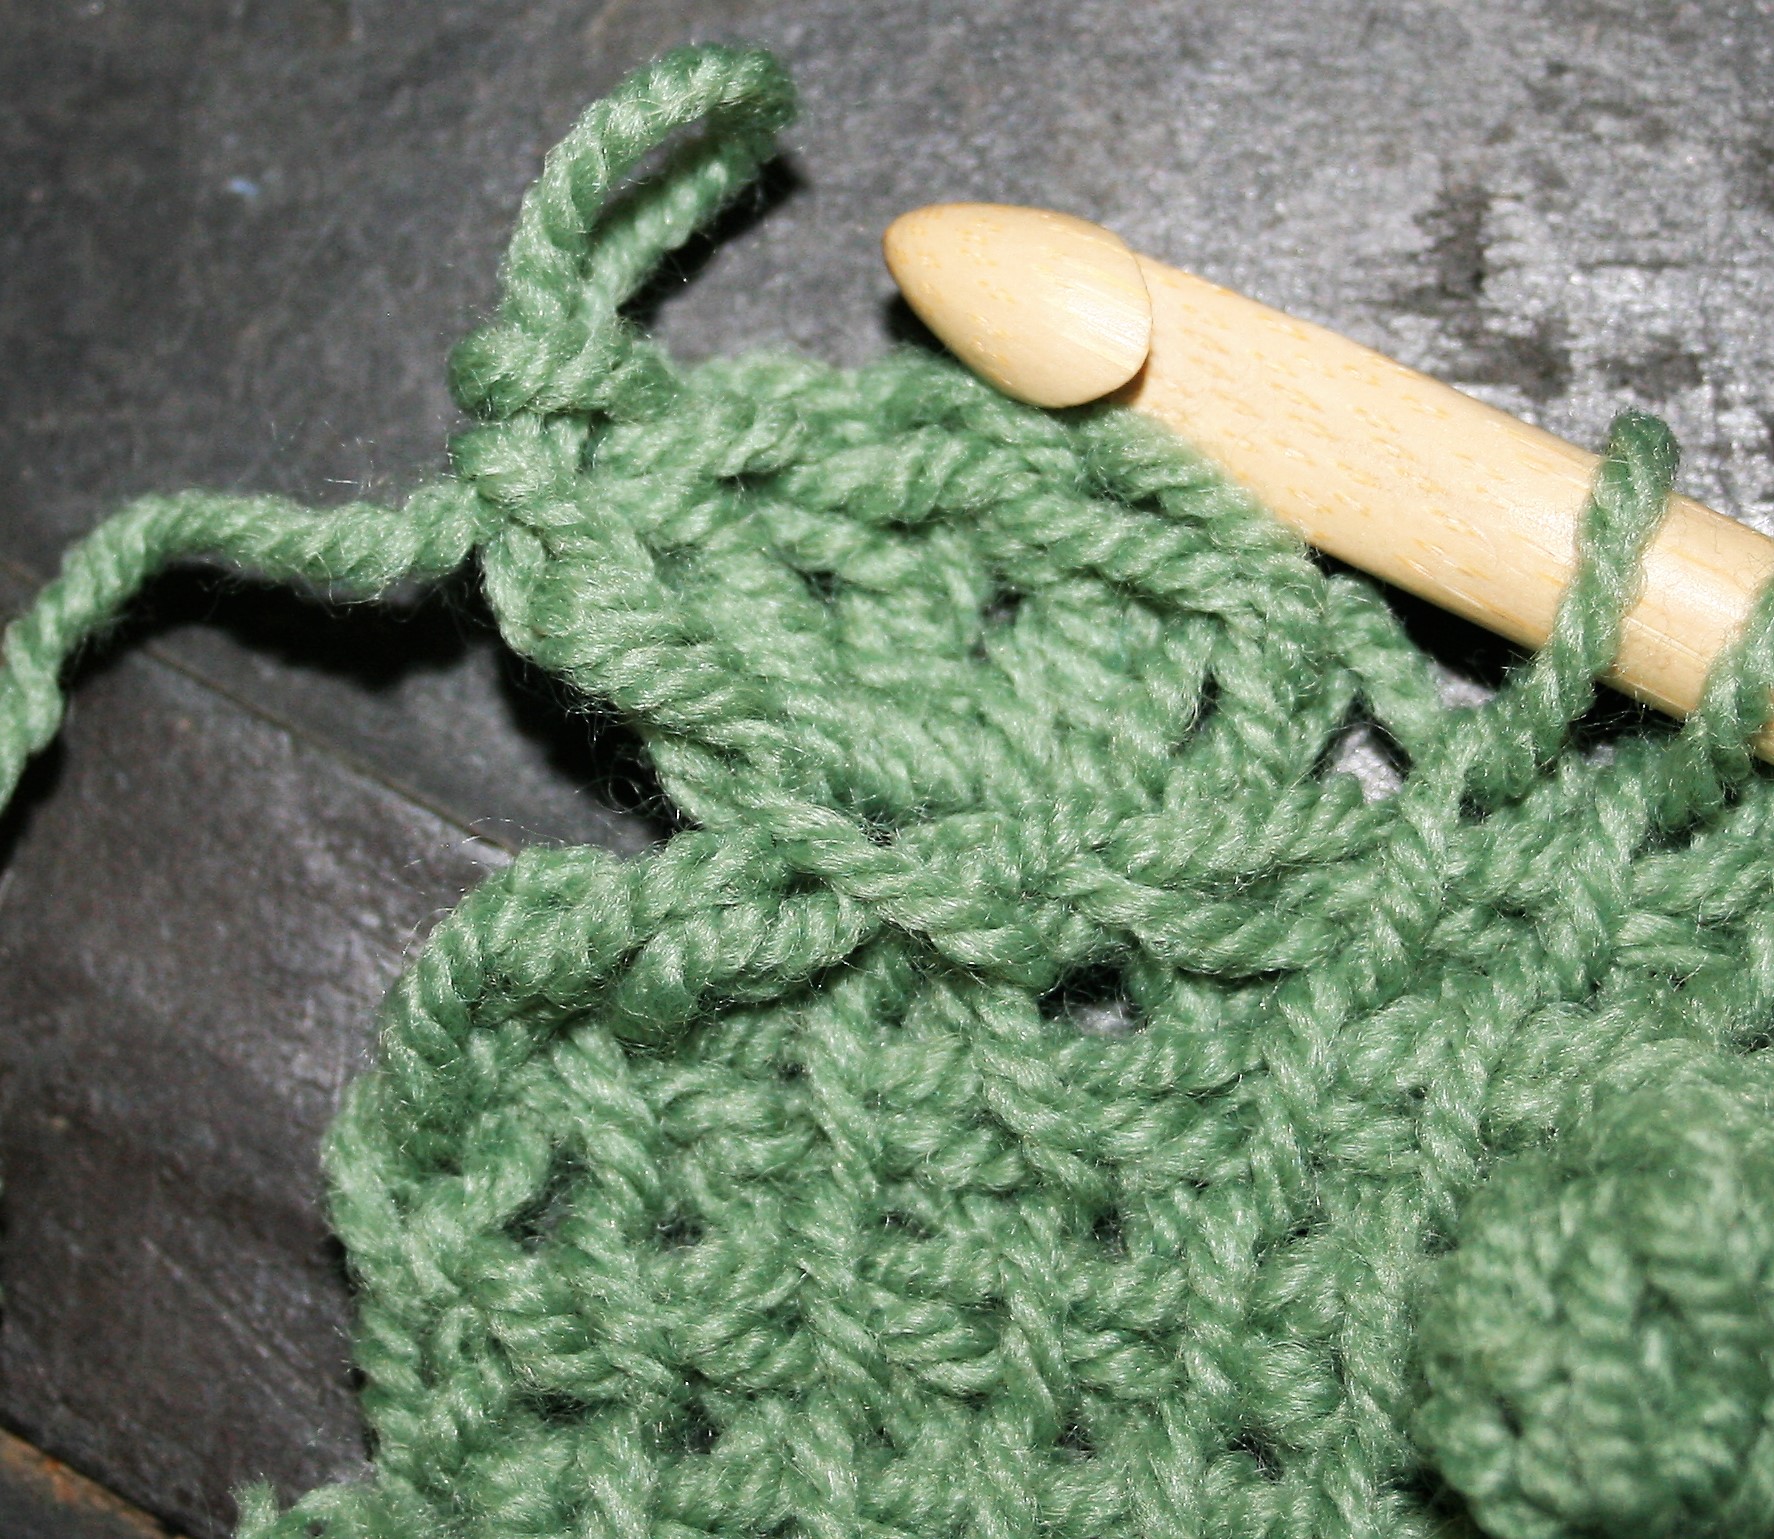
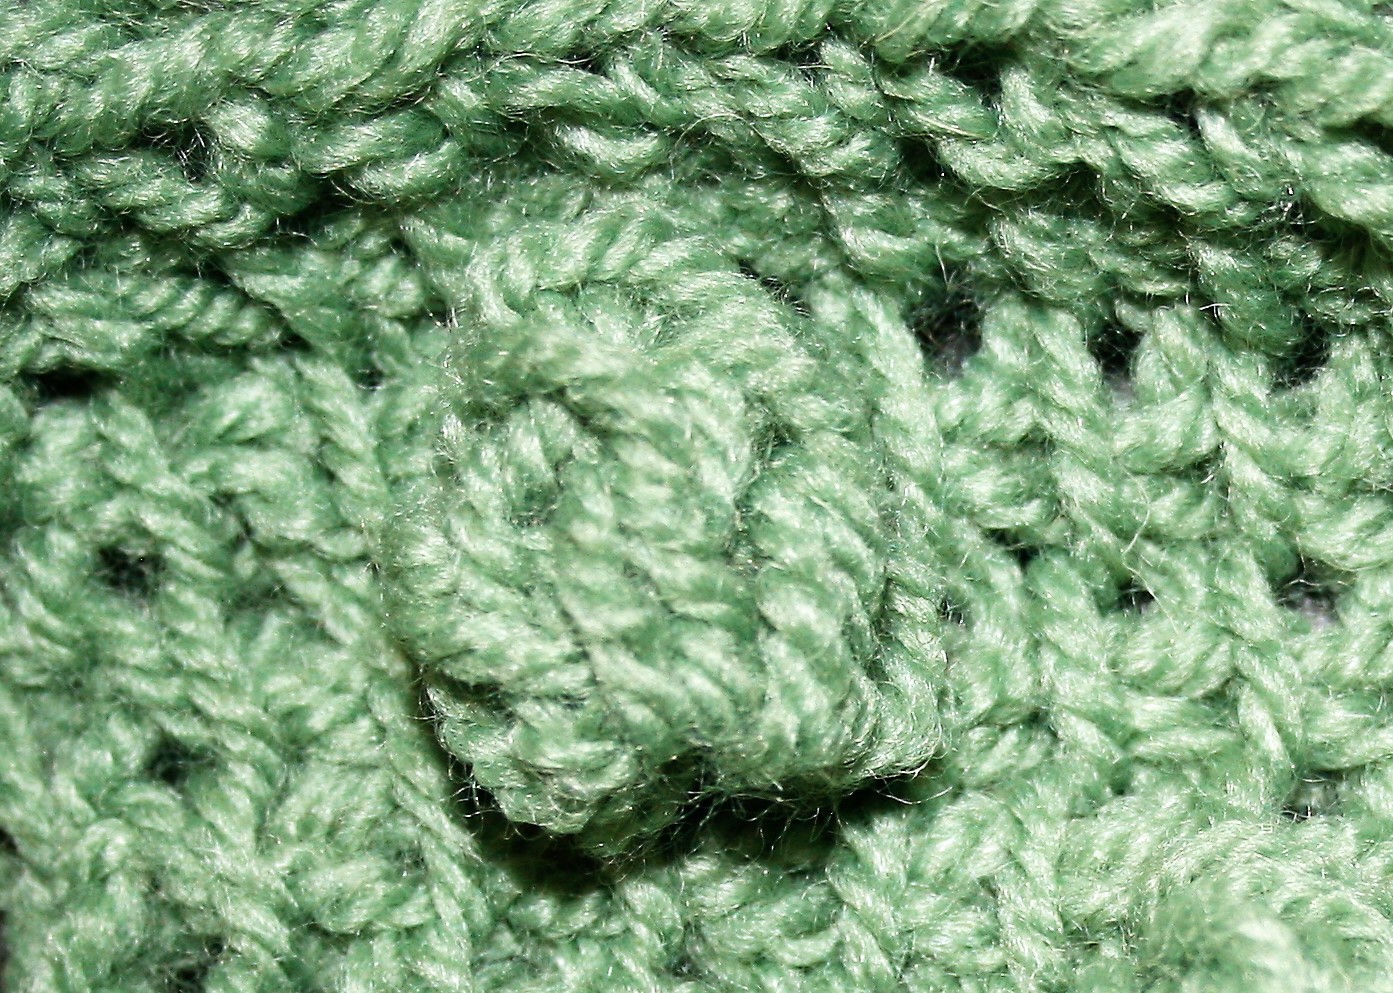
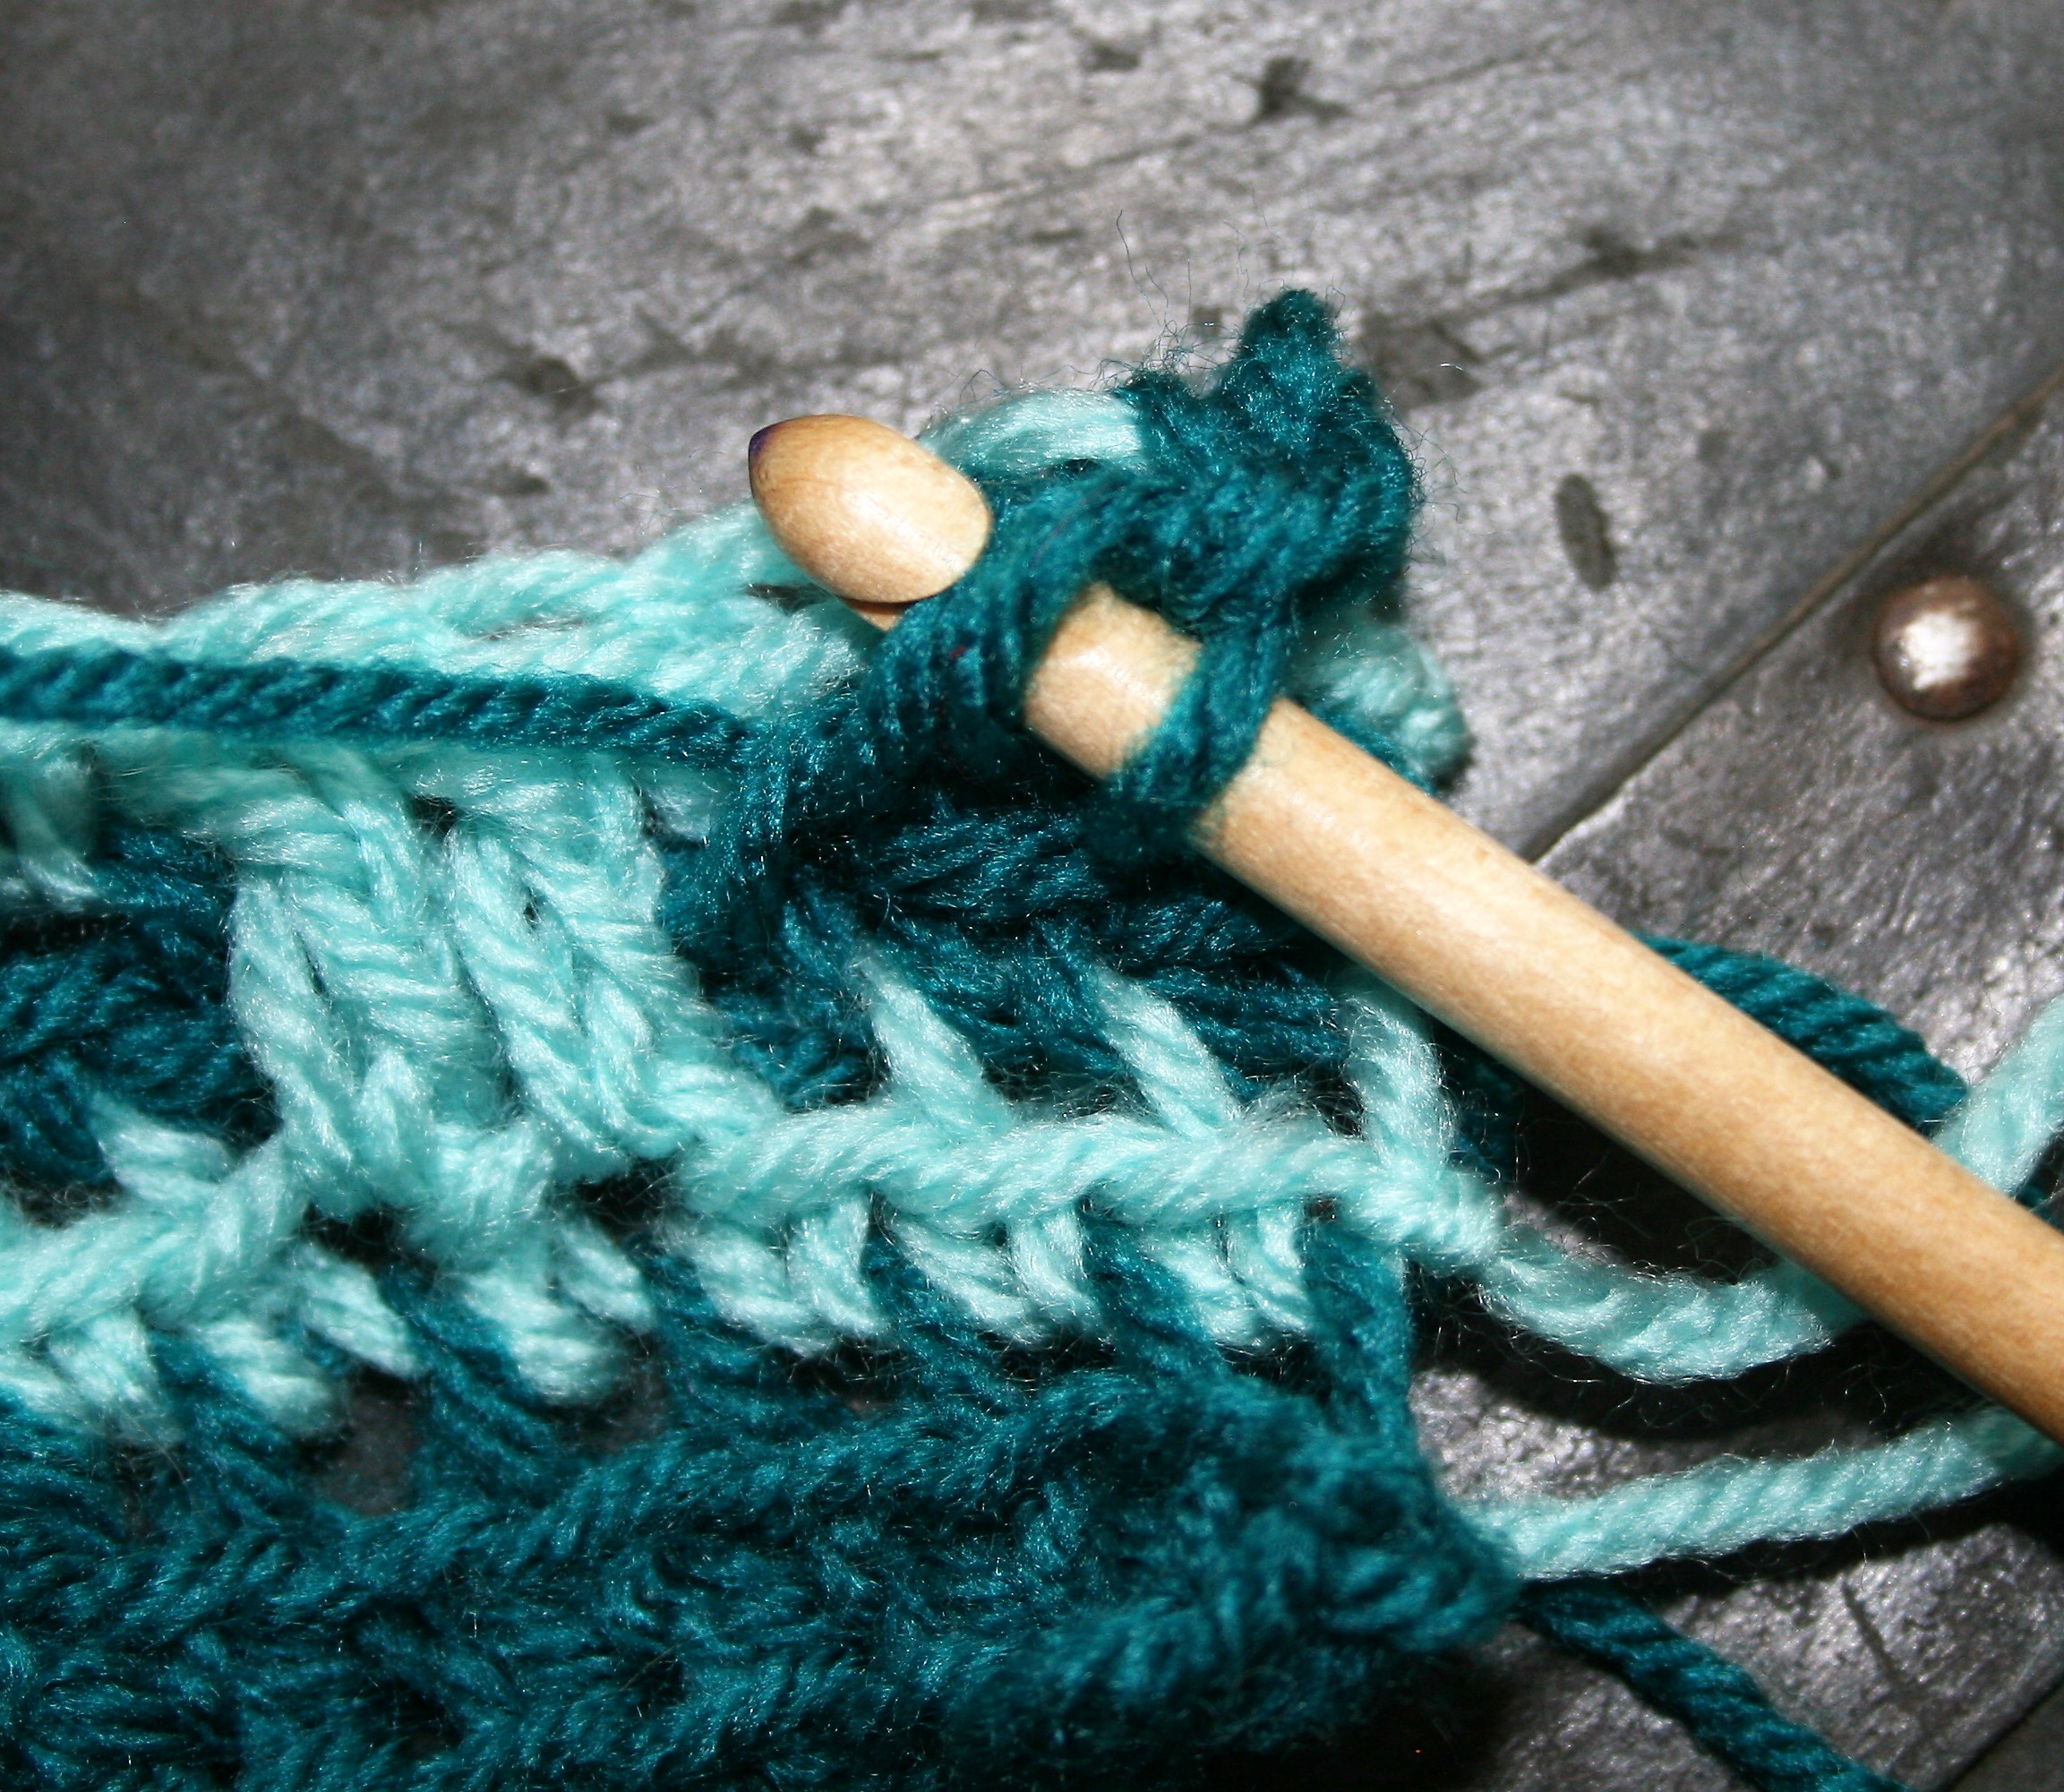
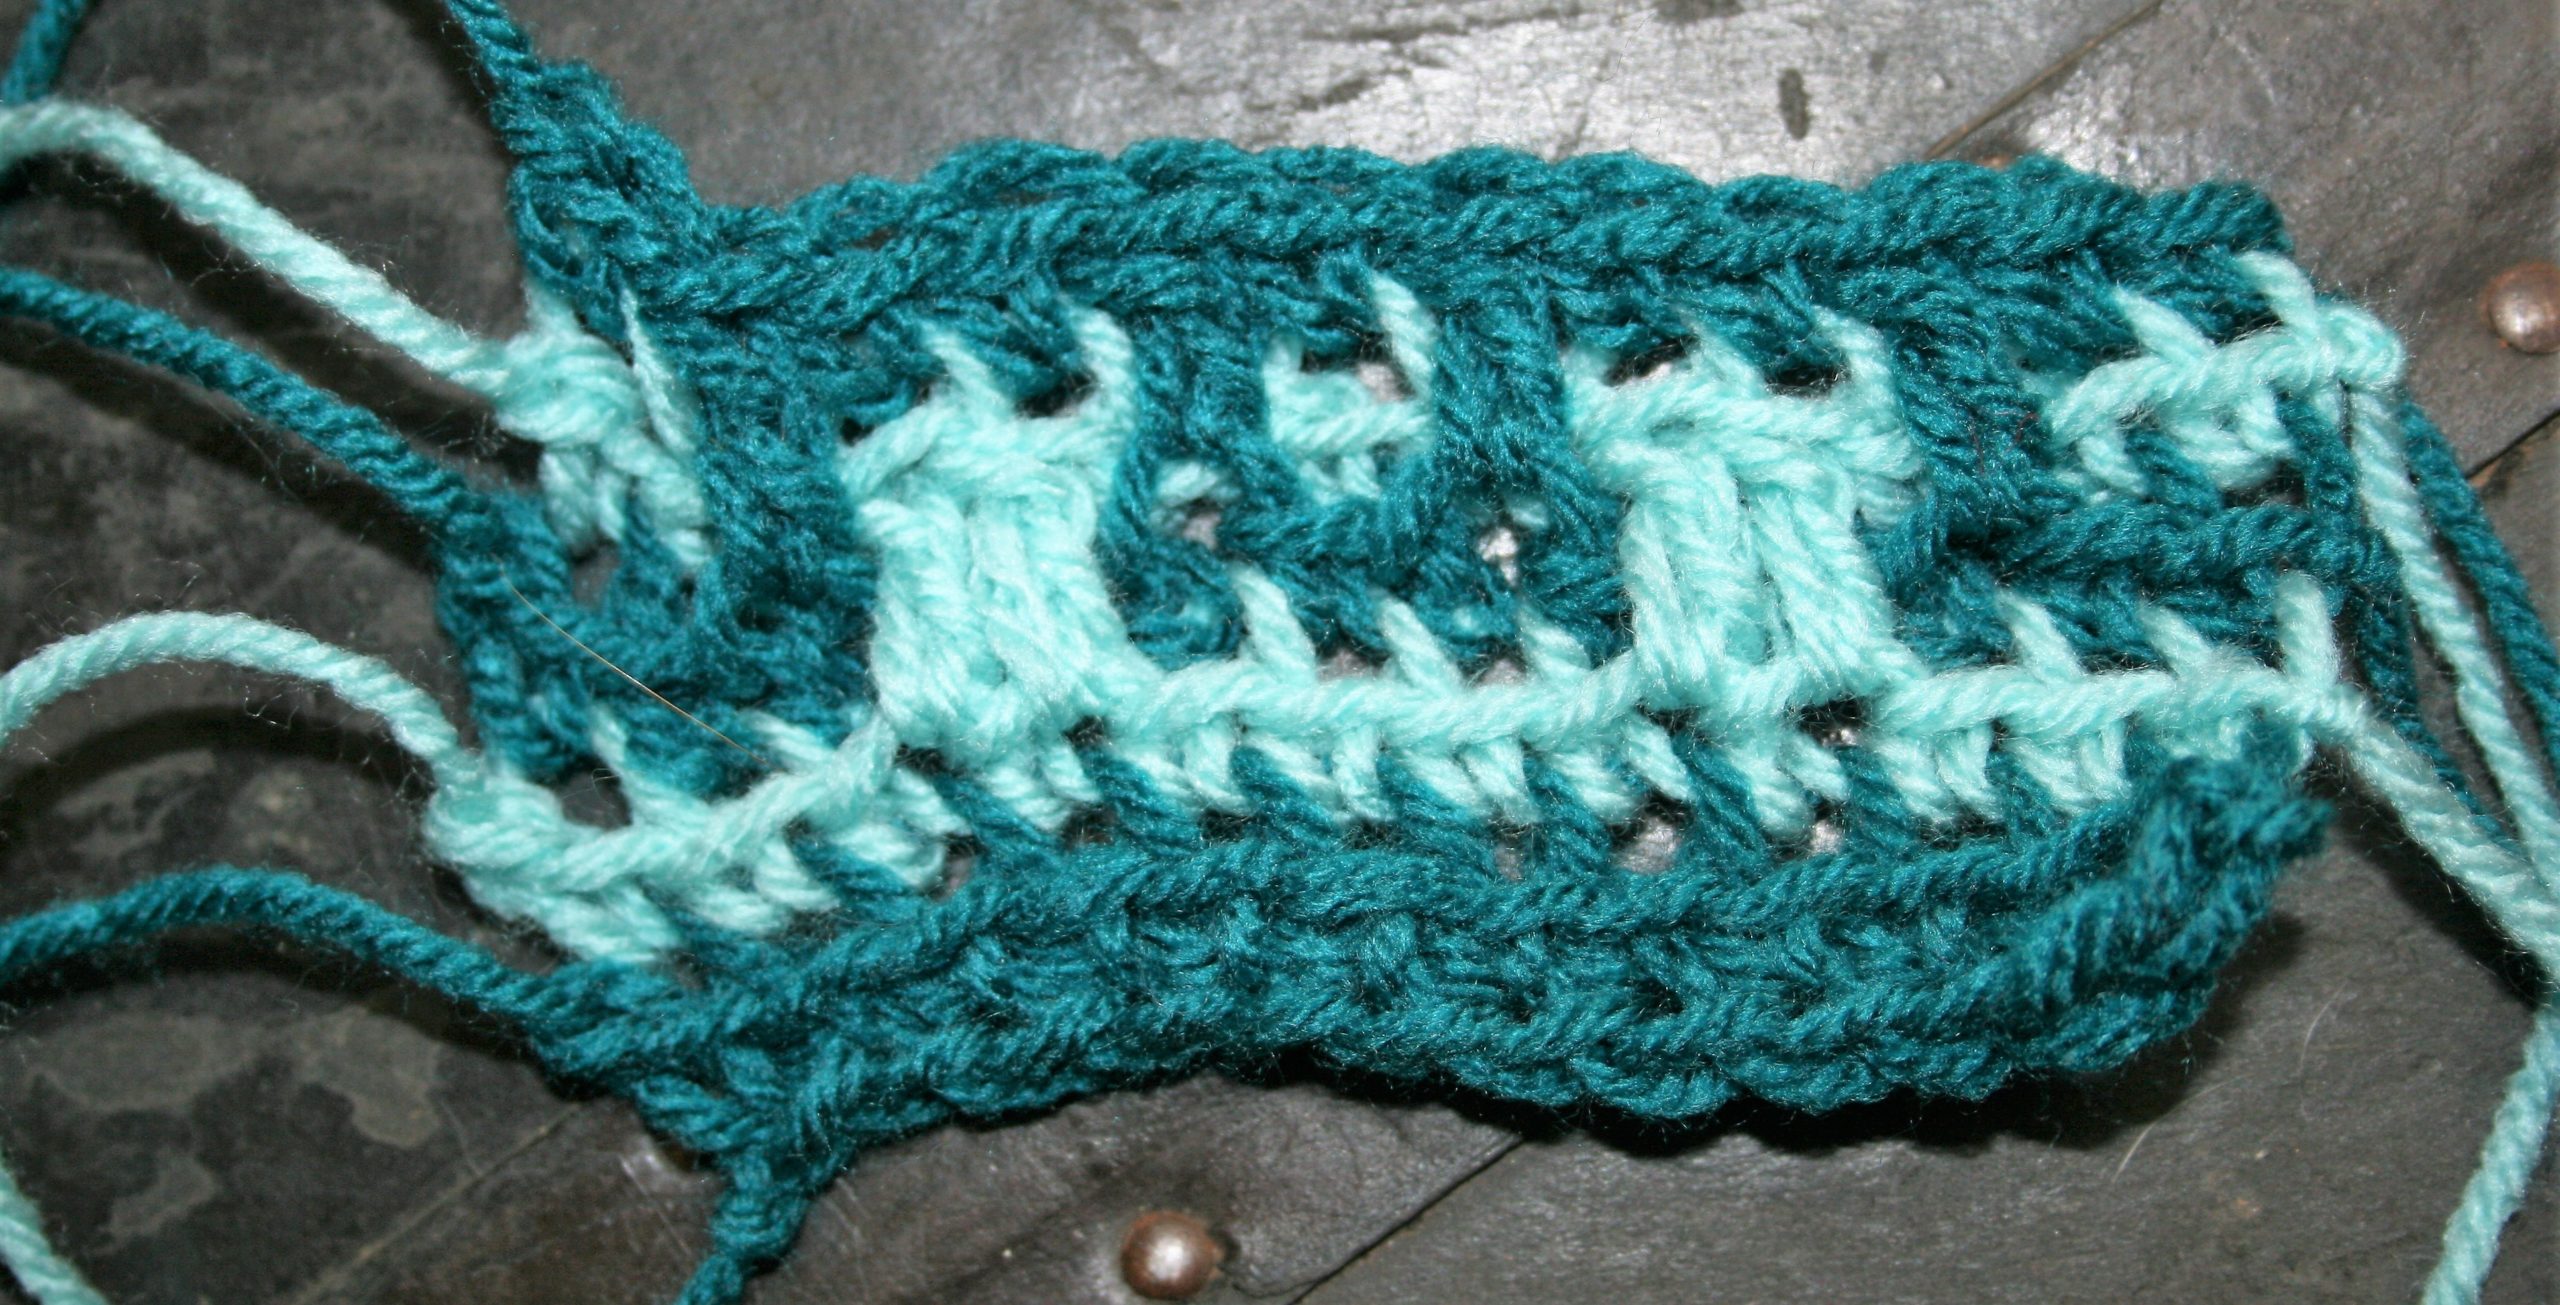
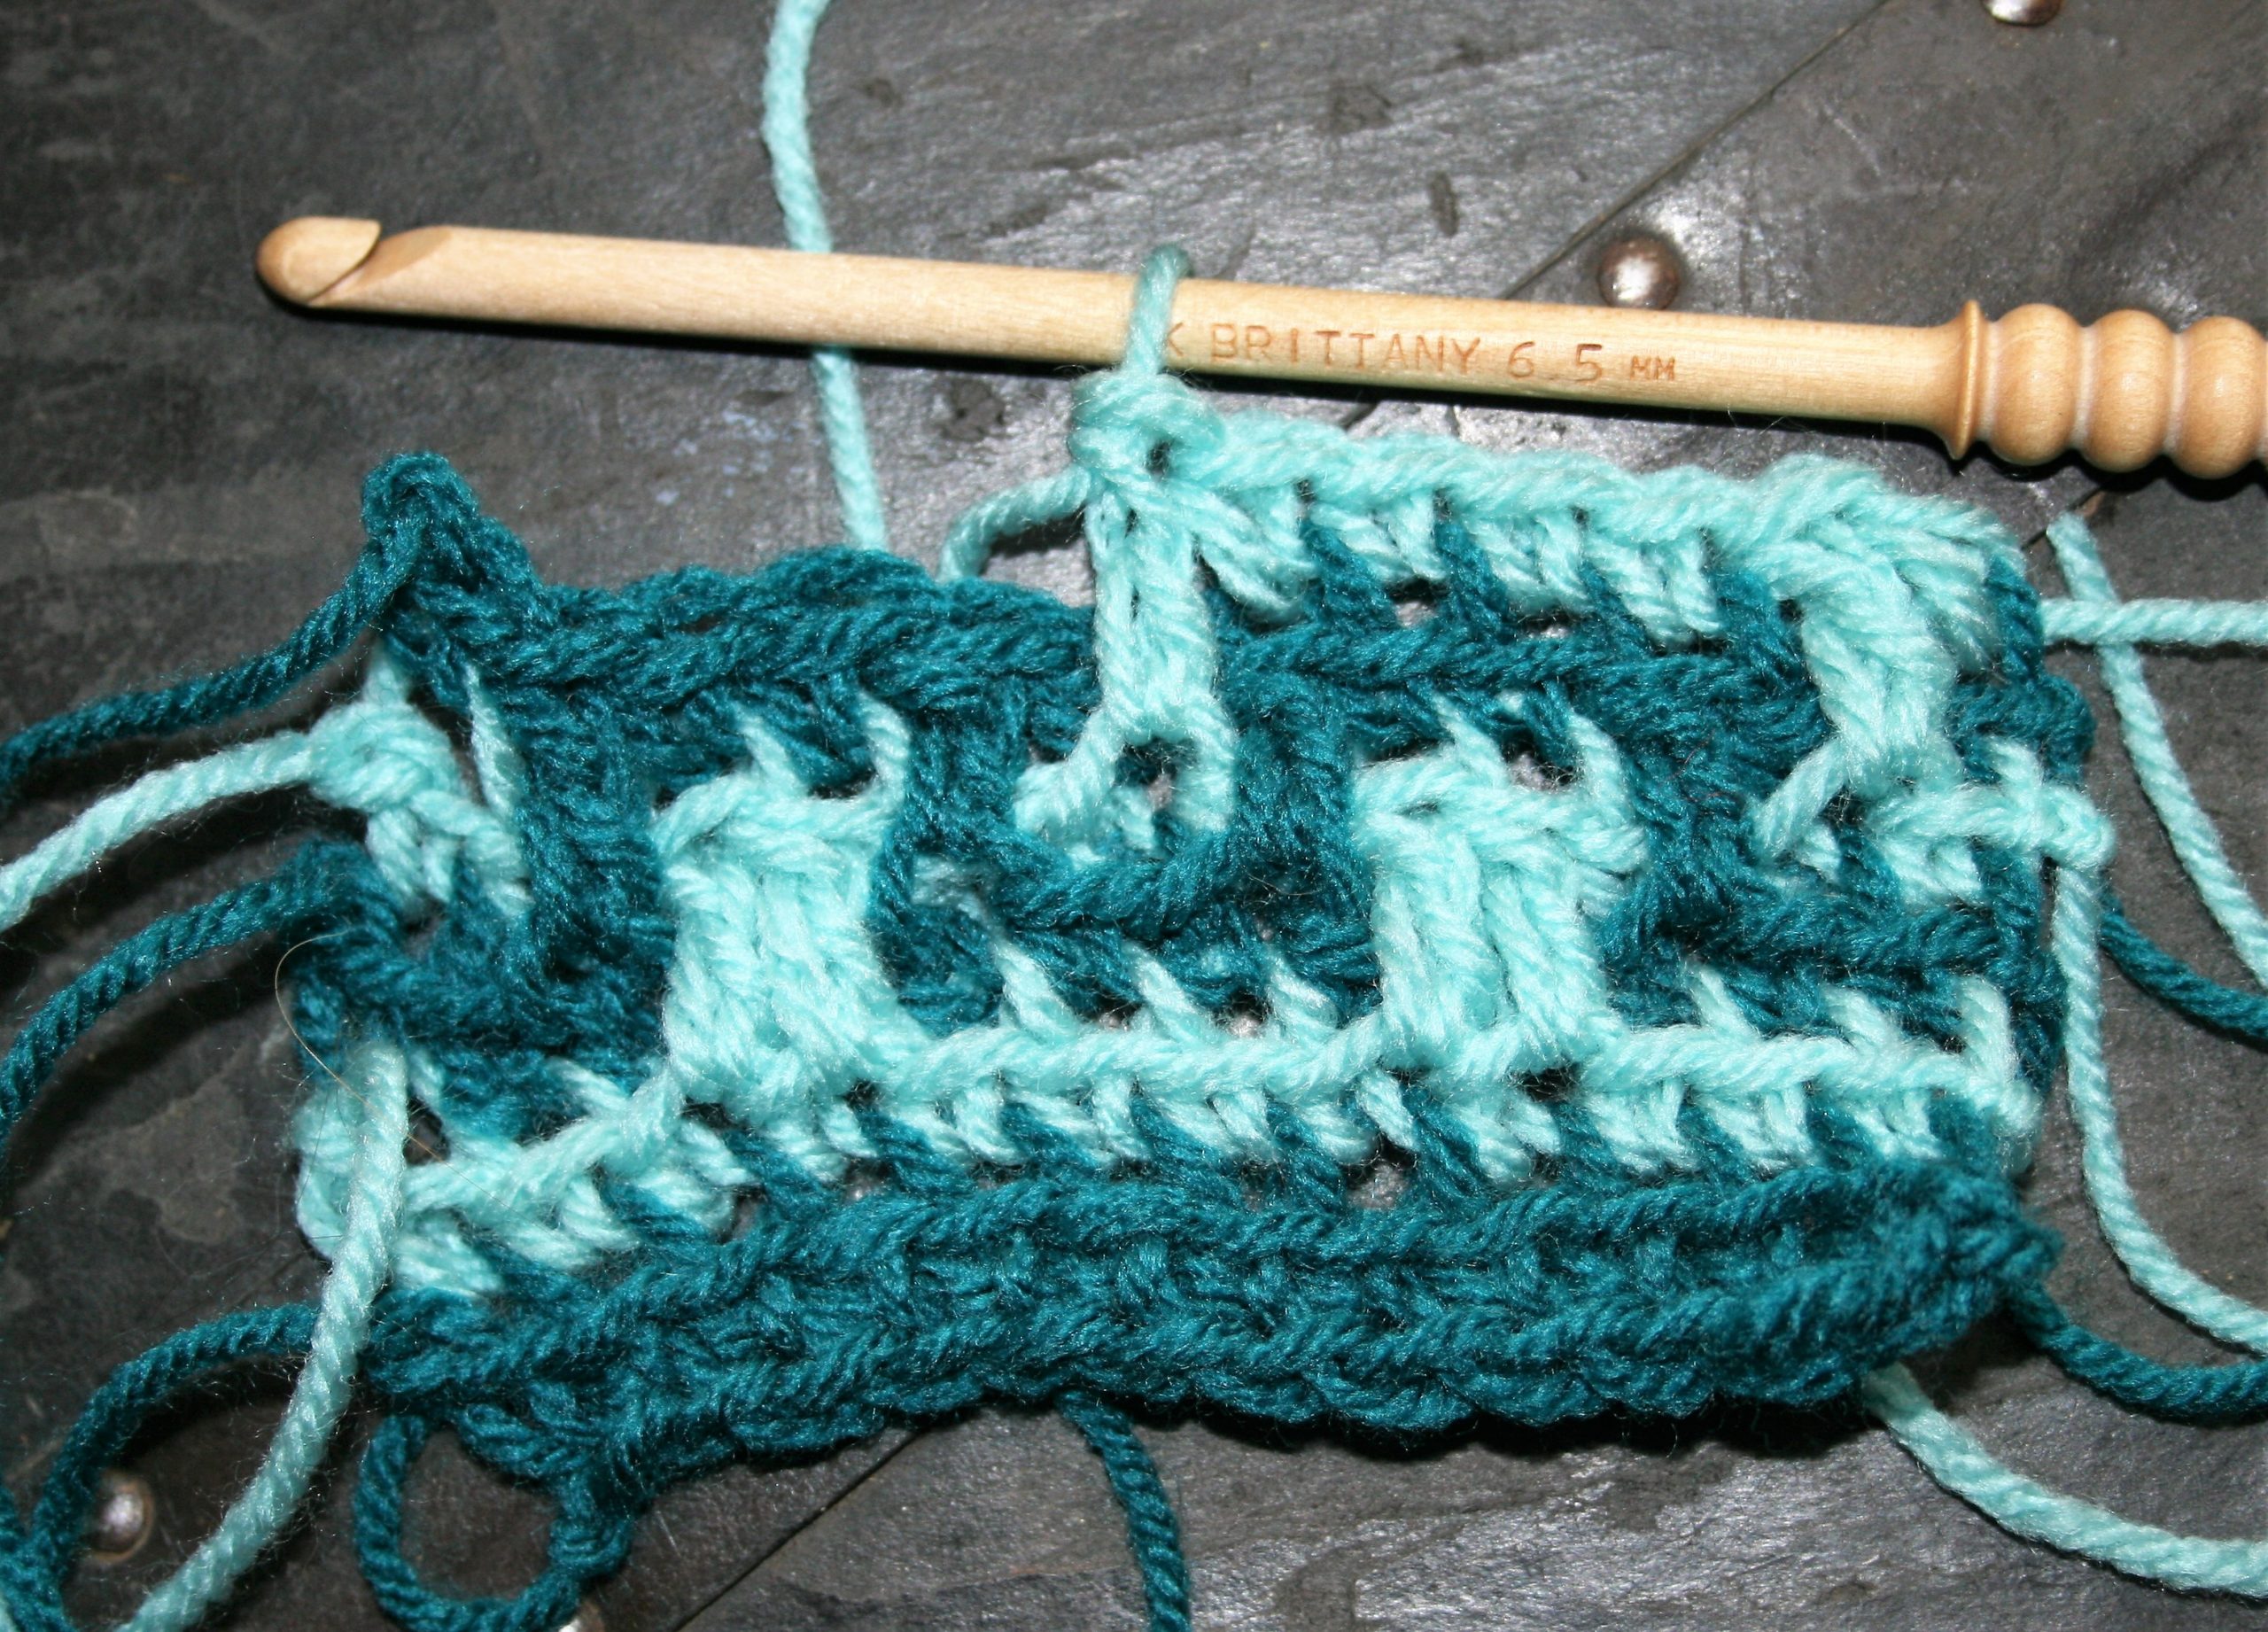
To begin with it uses simple stitches, the entire base of the fabric is created with single crochet worked into the back loop. It creates bands of colors. Working double crochet loops 2 rows below in the unused front loop of the fabric. As a result this causes the color of the double crochet stitch to cover the color the row below. This ensures that the color work looks more difficult to work than it actually is.

Overlay Mosaic Crochet- work single crochet stitches in the back loop.
Overlay Mosaic Crochet, works a double crochet 2 rows below to create the dynamic color work.

Cons

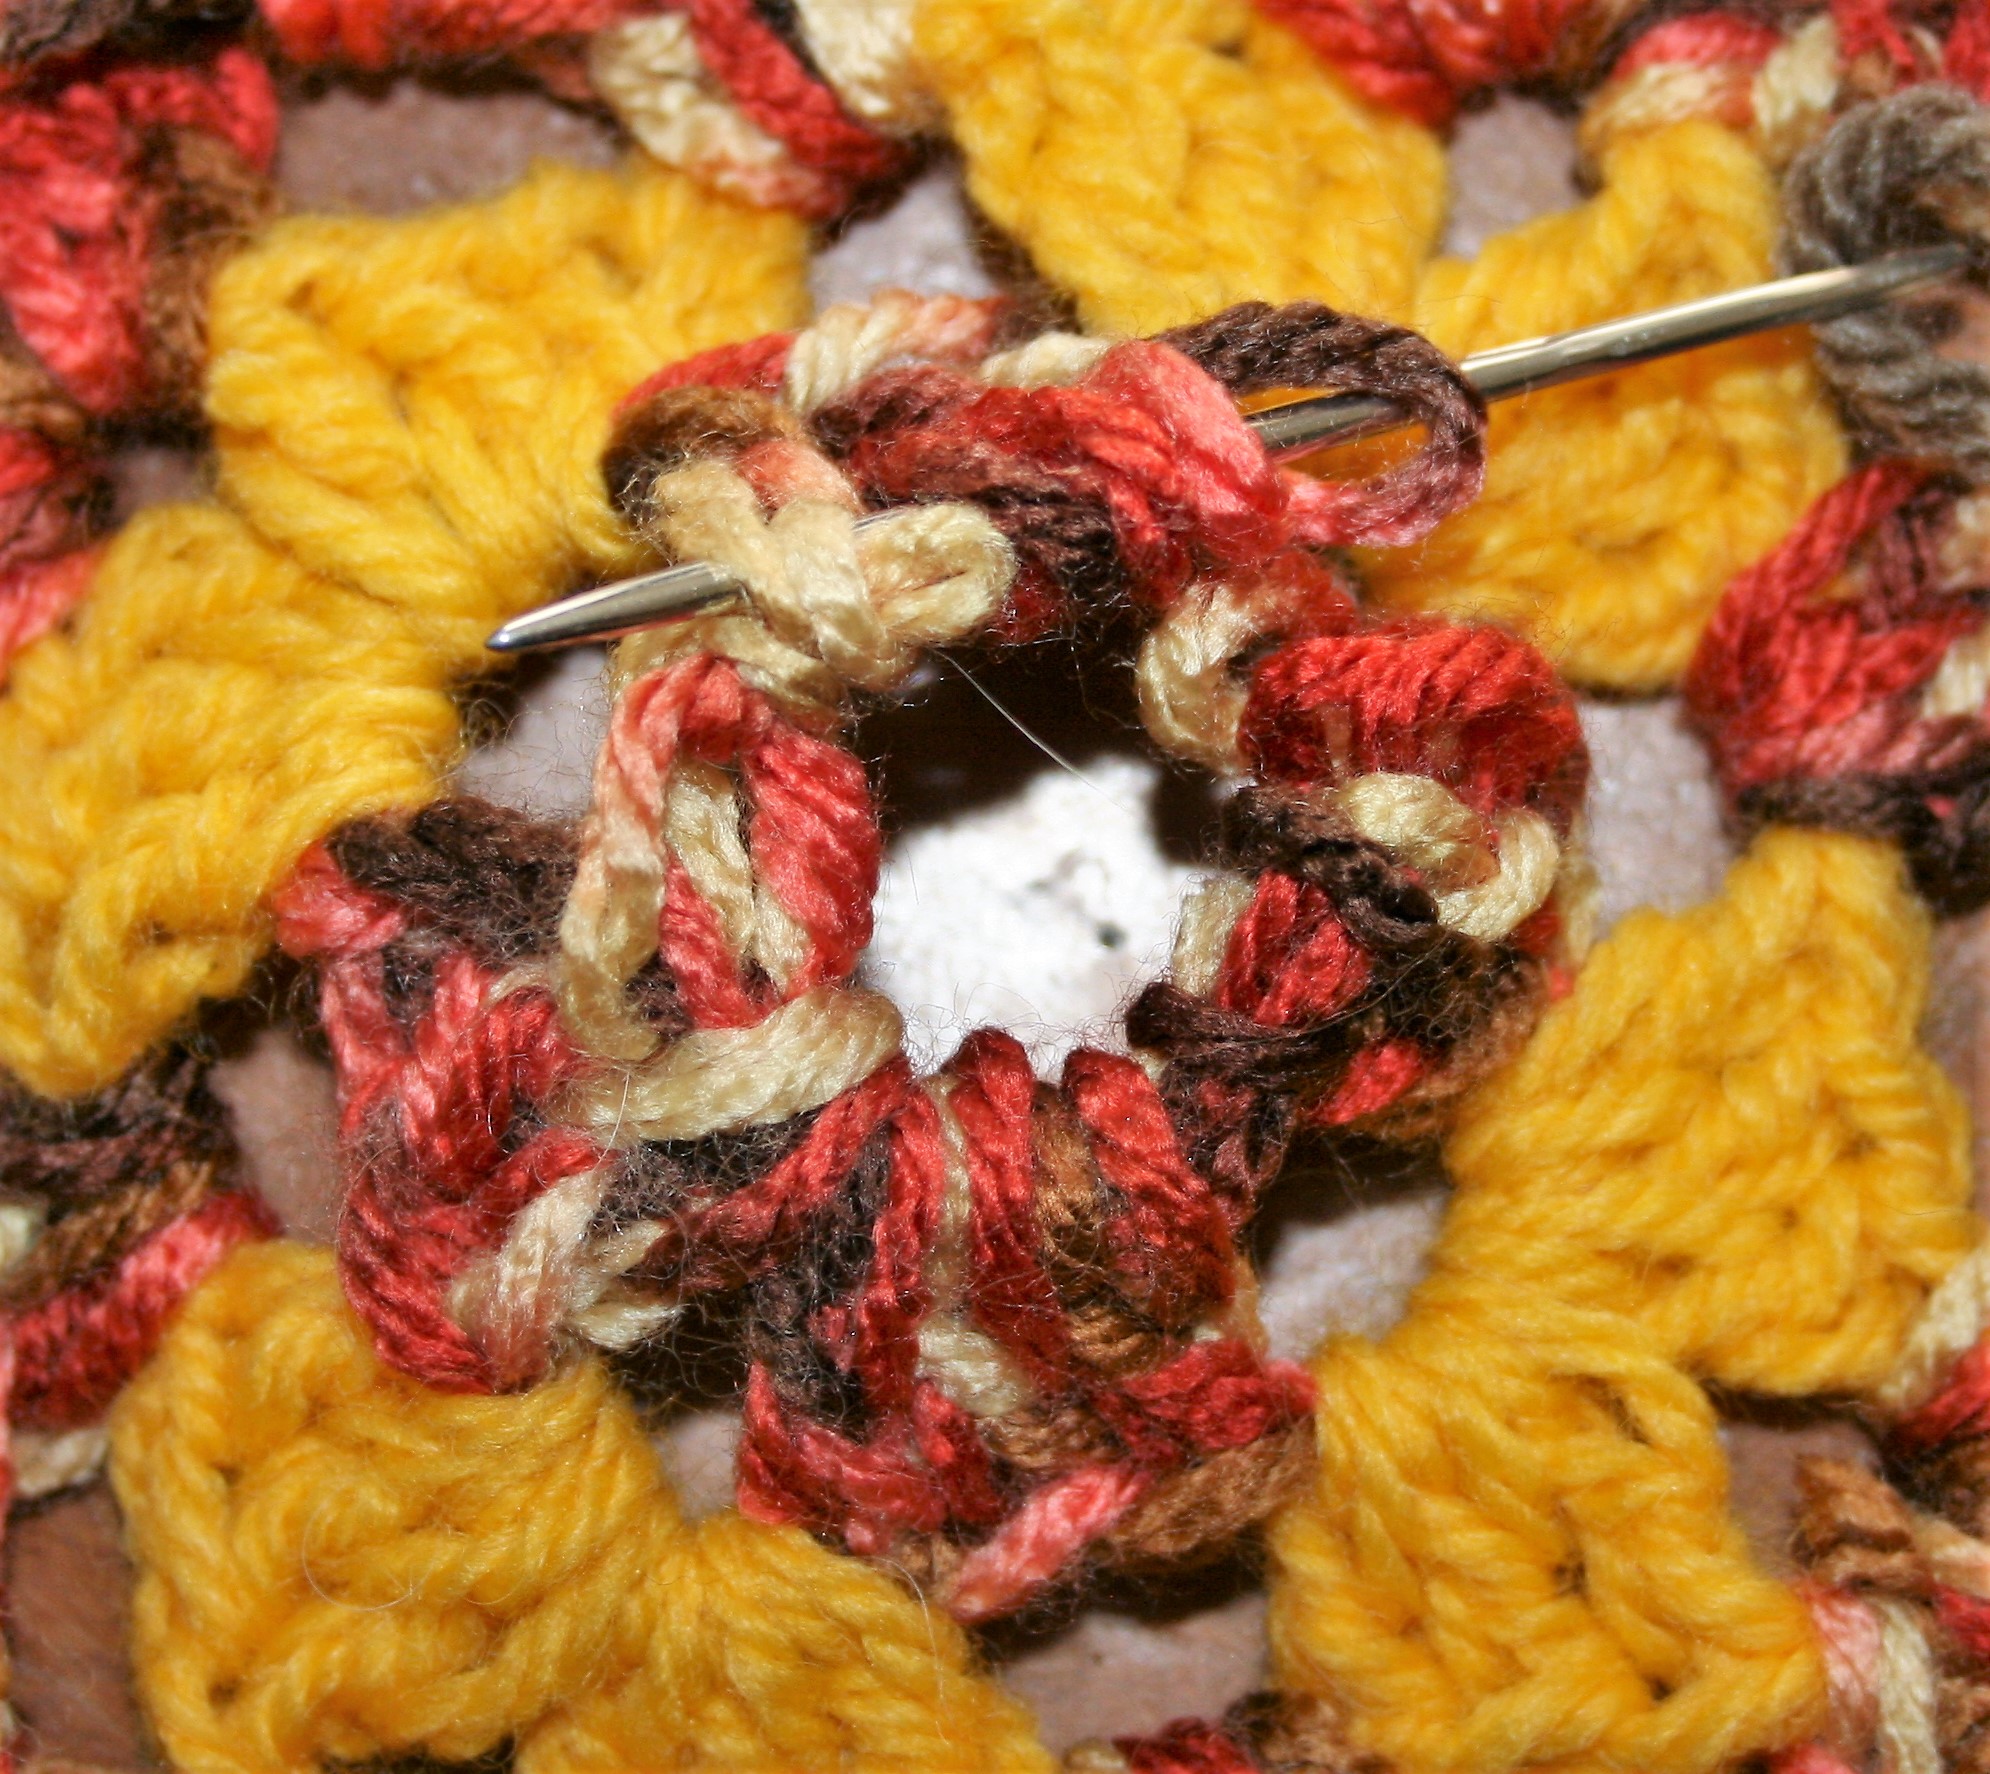
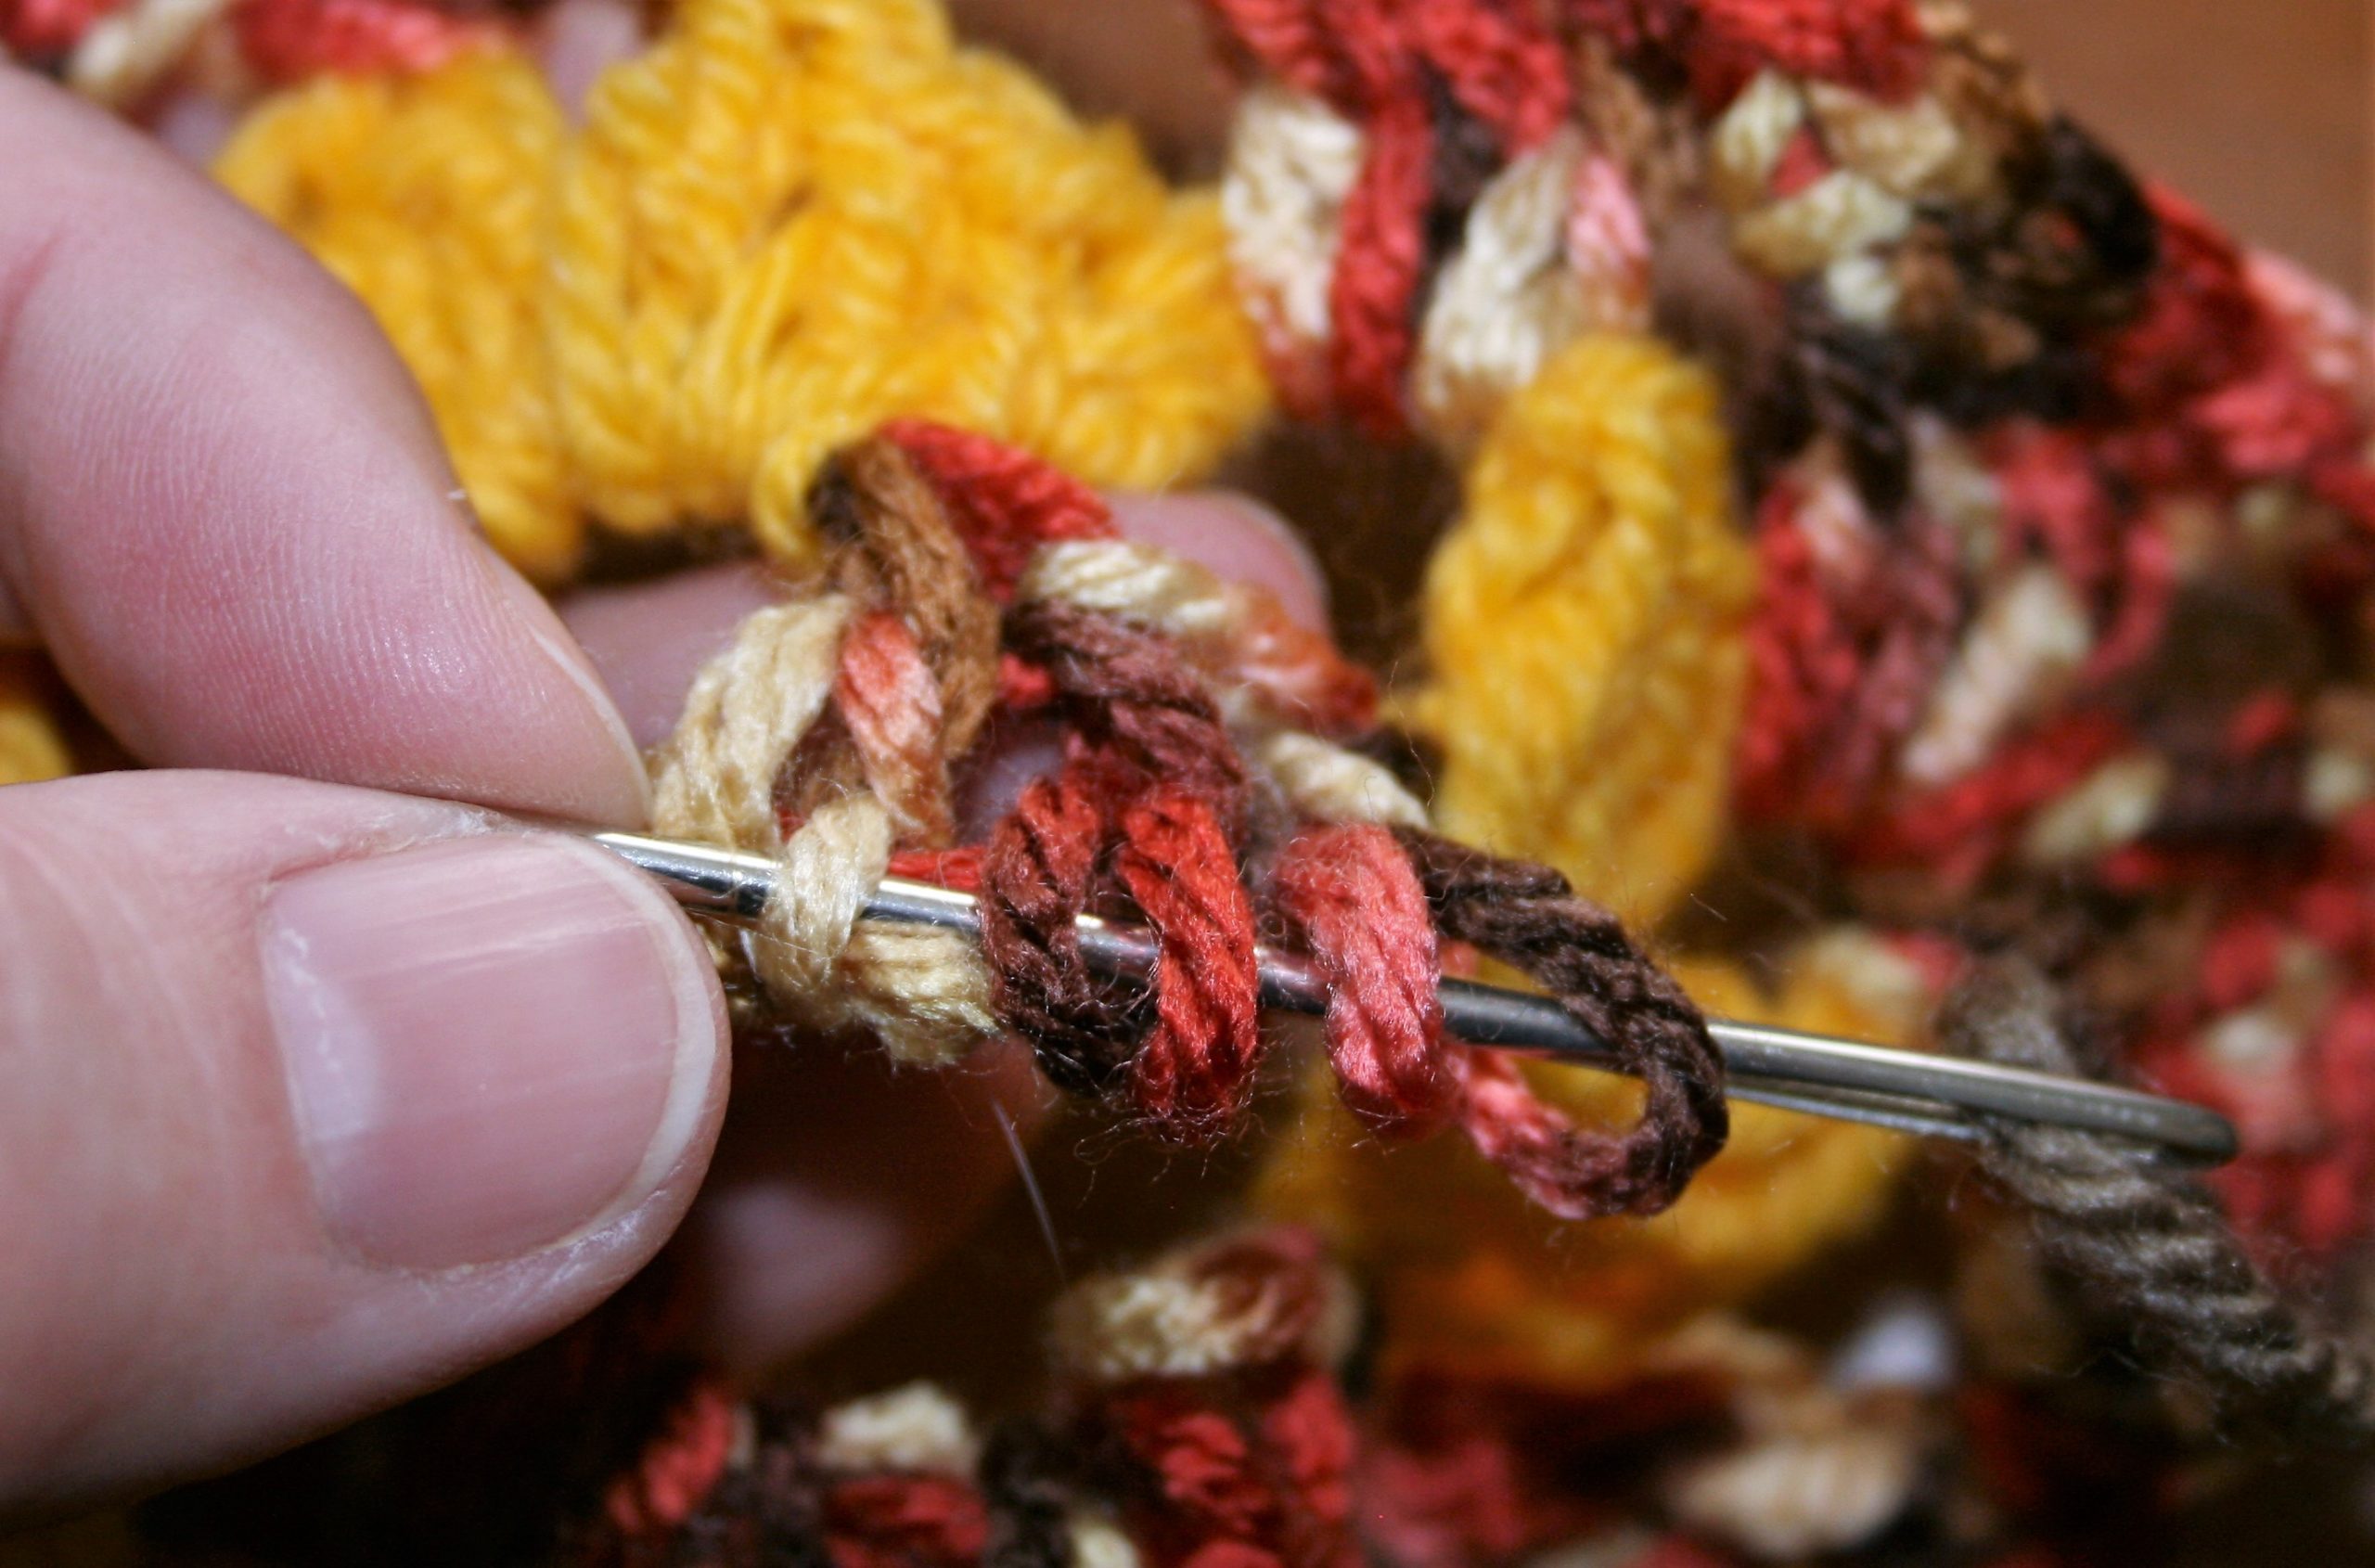
However, this fabric is only worked on the right side, so you never turn. In addition, it is worked with only 1 row of color at a time. The result is a fabric that needs to be joined and fastened off for every row.

The easiest way to deal with the loose ends is to have fringe. Leaving the tails long of both the joining and fastening off. More modern methods have utilized this method in the round, so that the right side is always facing, and the color is carried at the join.

5 Rows of Overlay Mosaic Crochet- note that each row is joined and fastened off, and the fabric is never turned.
Working Row 6 of Overlay Mosaic Crochet

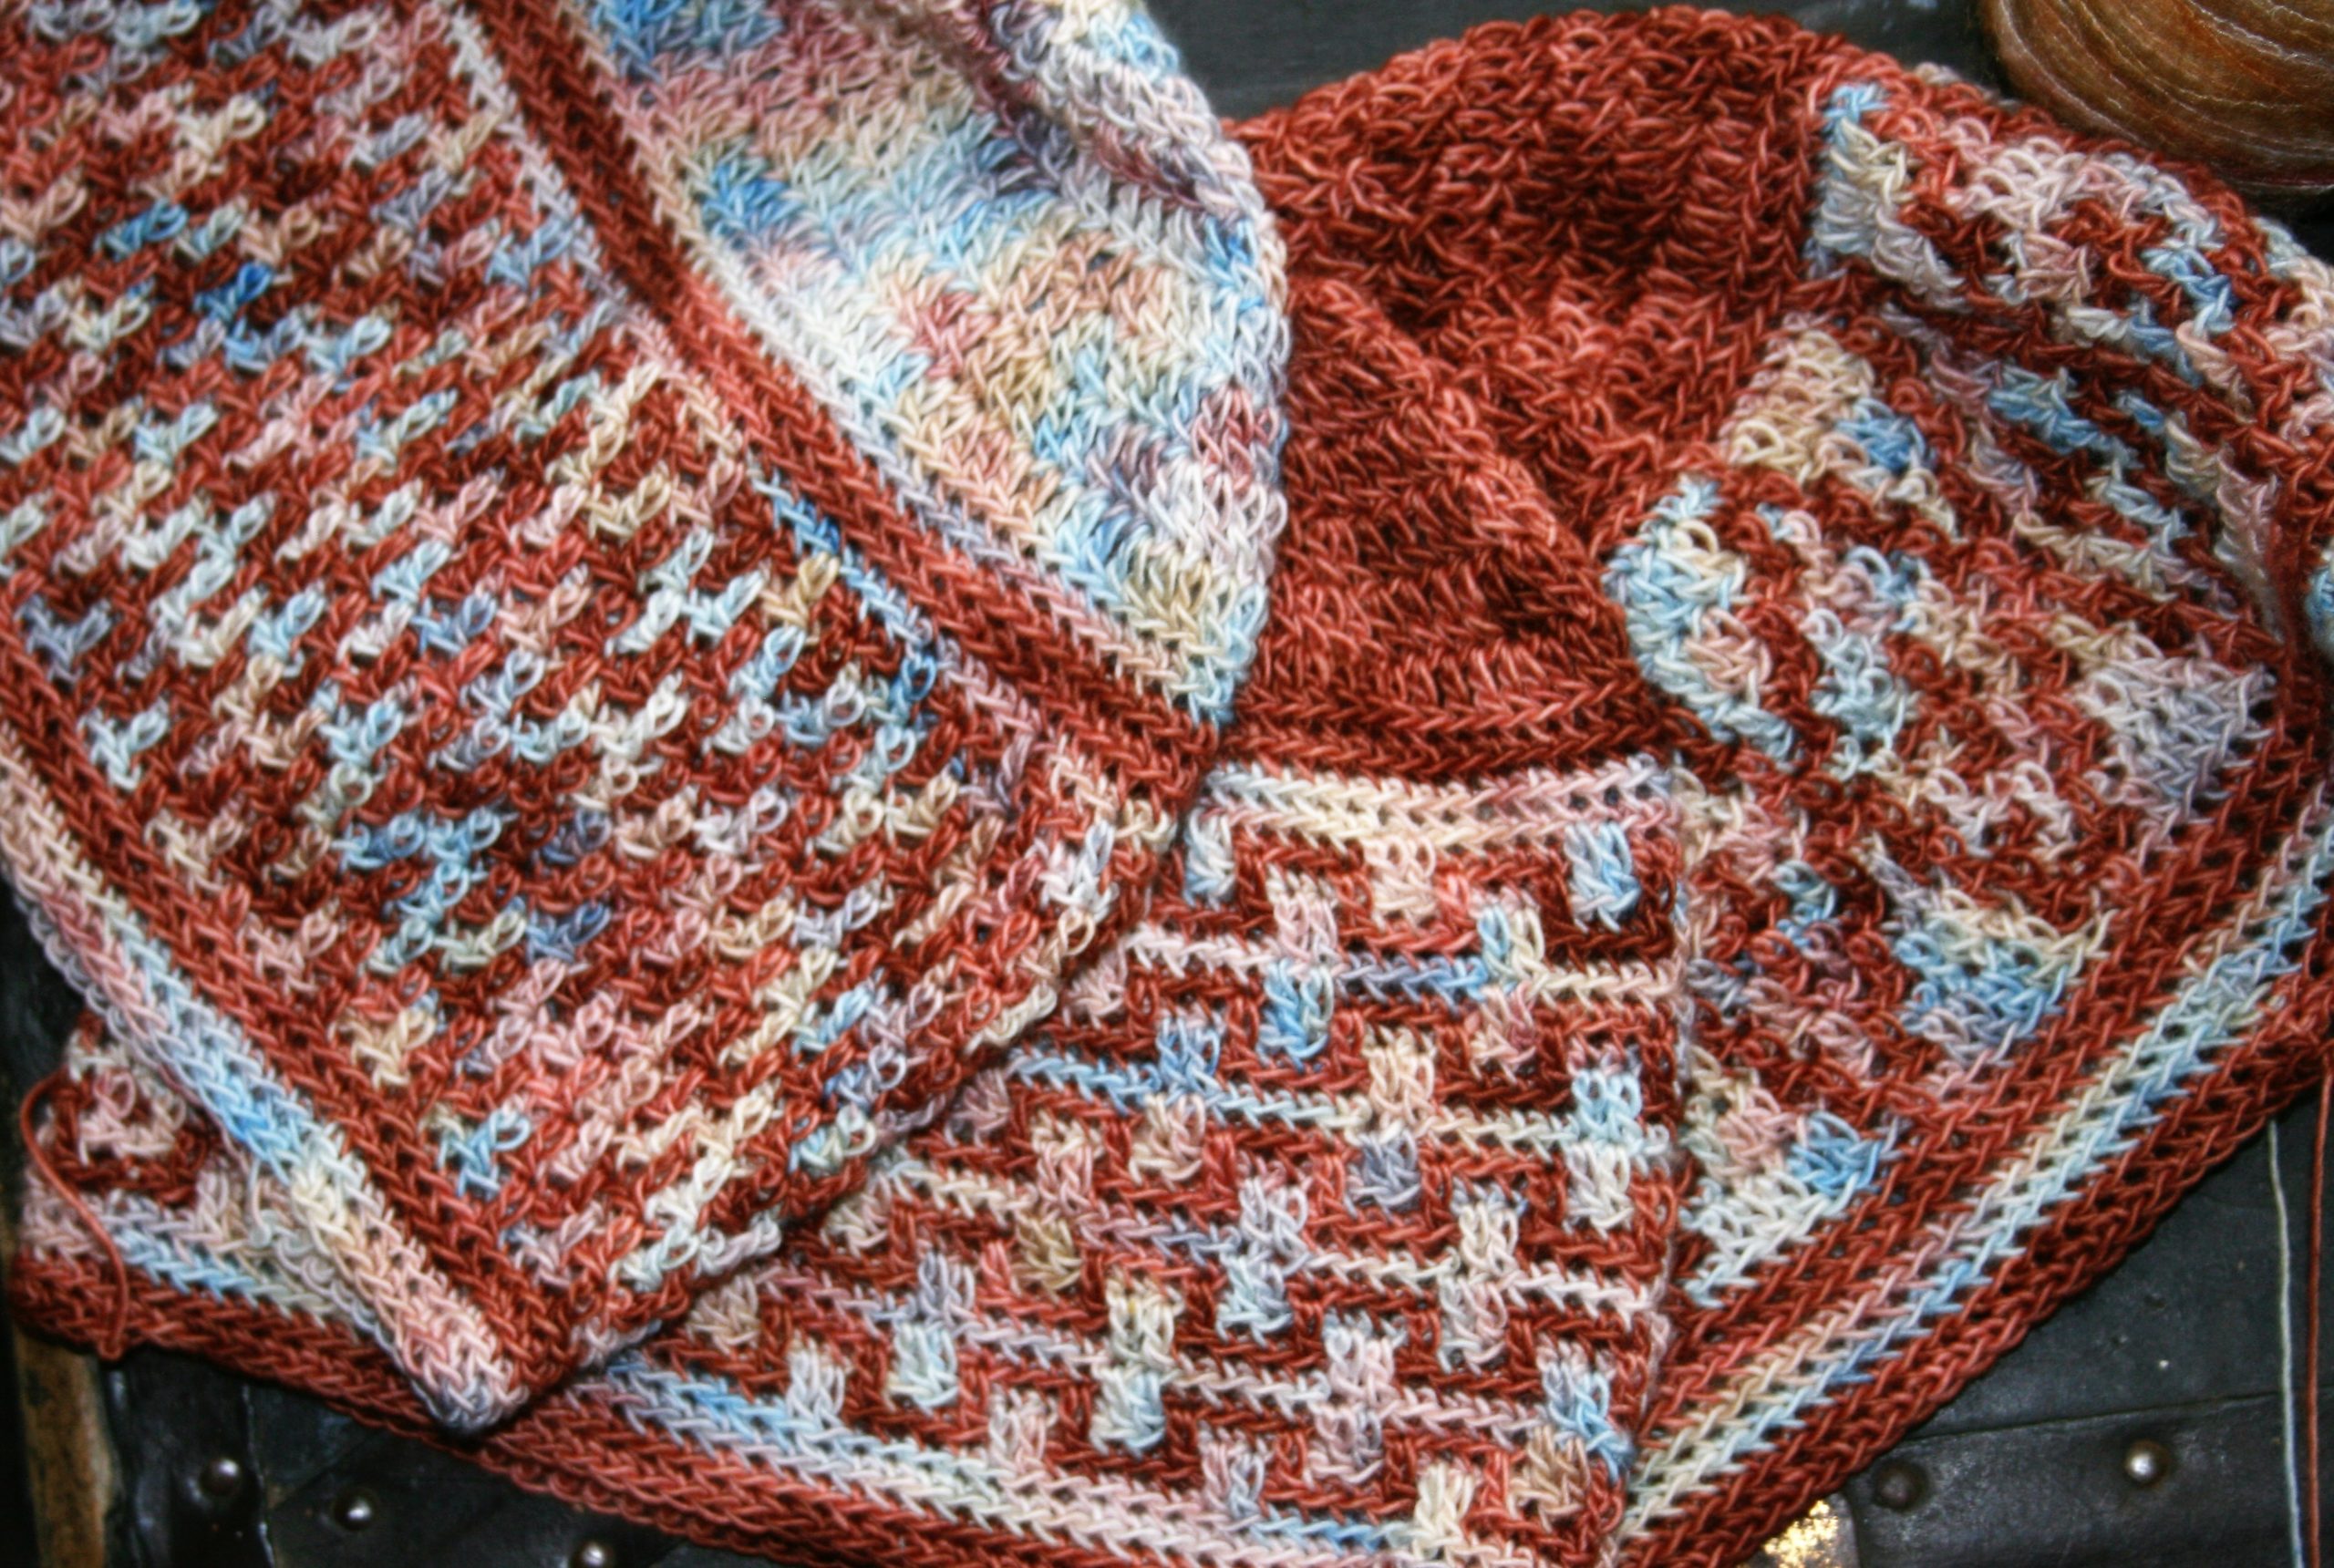
Mosaic crochet historically makes a cycle of popularity. This overlay method classically known for such patterns as Apache Tears and Navajo Indian Blanket.

I have stumbled across a Continuous Overlay Mosaic Crochet Method, put together by Susan Lowman. It is brilliant for creating this fabric in a flat method with far fewer ends to weave in. Make sure sand check out her video here. I like to use Overlay Mosaic for hats and fingerless gloves. I find this approach to be very straight forward and easy to follow. Creating some fun highlights for colors.

Overlay Mosaic patterns in hats

2 Ways -Thermal Crochet

Essentially there are 2 ways to create a thermal crochet stitch. I was first introduced to this technique over a decade ago. “Thermal” is worked one way, and today you can find it worked in a completely different manner. This is proves to me even more, that you cannot rely on the fancy names of crochet stitches, make sure and check the special stitches of a pattern.

However, I thought I would share what I have learned about this stitch. Basically a thermal stitch is one that creates a double sided fabric. Stitches are connected by working through the loops of 2 different rows to create the third.

Bottom Up method of Thermal Single Crochet Fabric
Top Down Method Thermal Single Crochet Fabric

Bottom Up -1 of 2 ways thermal crochet

I learned to connect these stitches from the “bottom up”. Insert the hook through the loop of the row 2 rows below upwardly and then through the front loop of the row typically be worked into. Yarn is wrapped around the hook and then pulled through these 2 loops. There is an additional yarn over, and pull through the last two loops; a single crochet thermal stitch is created. Learn it here.

Inserting hook from the “bottom up” to create the thermal single crochet

The bottom up method creates a fabric that has the “front” or “right” side of the fabric facing outward, while the “back” of the stitch is captured in the center of the fabric.

Top Down -1 of 2 ways thermal crochet

The latest way I have seen this stitch explained, uses the same loops of the stitch rows has the base of the stitch, but instead works the hook down through the front loop of the regular working row and then through the unused loop of the row 2 rows below.

Created from the “top down” method thermal single crochet

To prevent the stitches from twisting, the work is essentially worked “backwards”.  Meaning that you are crocheting the fabric in the opposite direction from that which you usually do. This “top down” method creates a fabric that has the “wrong” of “back” side of the fabric facing outward with the “front” encapsulated in the center.

There are some slight visual differences with these methods, and the Bottom up approach tends to lend itself better to working in the round.

This is an interesting stitch, either way you work it. I am continuing to explore its possibilities.

Repairing a Crochet Granny Square

Repairing a crochet granny square can be an easy fix. Often the center of a granny square is the weakest point. There is a lot of stress with many stitches worked around a small piece of yarn.

To begin this repair, find yarn that matches the damaged area. I find this to be the most difficult part of doing a repair. Often you will not find the exact yarn that was originally used, so try to match these three criteria as close as possible:

  • Color- hue and tone
  • Yarn weight- super fine, fine, light, medium, etc.
  • Fiber content – what is it made of, cotton, wool, synthetic

After finding a yarn, cut a sting about 12” (30cm), and thread a yarn needle.

Begin repairing a crochet granny square

The first step is to pick up all the “feet” of the stitches in the first round. These loops may have a bit of a twist, and that is fine, just ensure that the threaded yarn is worked through even loop at the base of the stitches.

Pick up all the “feet” of the stitches

If stitches are missing in the round, use the threaded yarn to secure loops of remaining stitches to ensure that they do not unravel further. After creating a loop of yarn you can rework the stitches in these missing locations.

Repaired Granny Square

Pull the yarn tightly in the center, and weave the yarn through a second time. Tie the ends of the yarn together to create a knot, and then weave in the ends.

If you want to cut sections out of the granny square, or understand more about stitch structure to fix it, check out “Cutting Crochet“.

Crochet- Puffs, Bobbles and Popcorns

Crochet Puffs, Bobbles, and Popcorns are great ways to add texture for fabric. The differences between these stitch techniques is subtle, but help vary the size.

This stitches add great texture, and can even be worked in Tunisian Crochet.

Texture in crochet, the big one is a forward facing Popcorn, followed by the medium size Bobble and a smaller size Puff.

Crochet Puffs

Puff stitch is many loops that are added to a hook. Beginning this stitch is very much like a single crochet, by inserting the hook and pulling through a loop. The process of adding loops happens by yarning over the hook and reinserting the hook into the same stitch, yarning over and pulling through a loop. Repeat This step a number of times. Finish by a final yarn over and pulled through all the loops.

Many loops are added to the hook to create the Puff stitch.
The Puff stitch is completed by yarning over and pulling through all the loops on the hook.

The more loops the fatter the puff stitch can be.

Fatter stitches can also be created by yarn weight. A thin yarn may not need as many loops as a lighter weight yarn to create a nice texture.

Another nice feature is that this stitch is reversible.

A completed Puff stitch

Crochet Bobbles

Bobbles are incomplete double crochet stitches worked in the same stitch. Work like a double crochet in the beginning. Work a double crochet until there is 2 loops left on the hook. Yarn over, insert you hook into the same stitch, yarn over and pull up a loop. Then yarn over and pull through 2 loops. Leaving remaining loops unworked repeat the process.

A set of partially completed double crochets create the base for this stitch.

Bobble stitches naturally push themselves to the back of the fabric, and have more roundness by working an odd number of partially completed double crochet stitches.

A completed Bobble

Crochet Popcorns

Creating popcorn stitches is actually a unique twist on shell stitches. Create this large texture bump by making a shell of double crochets. Remove the hook from the working loop and reinserted in the top of the first double crochet of the shell. The direction you insert the crochet hook in this stitch is what actually determines what side of the fabric the popcorn pushes to. Inserting the hook from the front to the back creates a forward facing popcorn, while inserting from the back to front creates a backward facing popcorn.

Reinserting the hook into the first double crochet of the shell, from front to back, creates a forward facing popcorn.

Reinsert the hook in the working loop and pull it through the stitch. This closes the top of the stitch.

Pull the working loop through the stitch to “close” the “shell” and create the popcorn.

Just as the bobble, by creating an odd number of double crochet stitches the popcorn can be more rounded.

Crochet Puffs, Bobbles, and Popcorns stitches can dress up many projects and can be added just about anywhere on just about anything.

Tunisian Puffs, Bobbles, and Popcorns

Creating Tunisian puffs, bobbles and popcorns is relatively straight forward. They are an easy way to create texture in Tunisian Crochet. These three stitches all stand off the fabric, but vary in size.

Essentially this is an approach of working standard crochet within Tunisian. Working the texture stitches on the forward pass.

Tunisian Texture: Top: Popcorn, middle: Bobble, bottom: Puff

Tunisian Puffs

To work a Tunisian Puff Stitch yarn over, insert the hook into the stitch and yarn over and pull through a loop. This is basically working a yarn over before pulling up the loop of whatever Tunisian stitch you are working. (All the photo samples are worked with Tunisian Simple Stitch). Repeat this same technique multiple times in the same space. The last step is to yarn over and pull through all the loops you have worked in this stitch (including the first yarn over).

(Yarn over, insert hook, yarn over pull up a loop) repeat 3 times, yarn over, pull through 6 loops.
Competed Tunisian Puff Stitch

Tunisian Bobbles

Creating a Tunisian Bobble stitch requires a yarn over, insert hook into stitch, yarn over pull up a loop, yarn over and pull through 2 loop. This is much like many incomplete double crochet stitches. The techniques is repeated until the bobble is the desired size, and completed with a yarn over and pull through of all the partially completed stitches in the Tunisian stitch.

(Yarn over, insert hook, yarn over, pull up a loop, yarn over, pull through 2 loops) repeat 5 times, yarn over and pull through 5 loops
Completed Tunisian Bobble stitch

Check out the traditional crochet Bobble stitch for a comparison.

Tunisian Popcorns

Working a Tunisian Popcorn stitch, as you might expect is like working a traditional crochet Popcorn. However there is a slight difference. Start with a yarn over, and insert the hook into the stitch, yarn over and pull up a loop, yarn over and pull through 2 loops. Repeat this step one more time, then yarn over and pull through the last 3 loops on the hook. (The reason for this is that Tunisian does not typically complete stitches in the forward pass, as such the next adjacent loop on the hook is the loop of the previous stitch). This will complete 2 double crochet stitches together. Work a few more double crochets in this stitch, remove hook from last loop of completed double crochet, insert hook into the top of the 2 double crochets worked together, and pull the loop through.

(Yarn over, insert hook, yarn over, pull up a loop, yarn over pull through 2 loops) 2 times, Yarn over pull through 3 loops, work 3 double crochets in same stitch, remove hook from last loop, insert hook into first completed stitch in this demonstration, pull last loop through.
Completed Tunisian Popcorn Stitch

All return passes are worked the same, and the stitches are all pushed toward the front of the fabric. Notice that the texture lines up with the vertical lines of the Simple stitch in the photos. This helps to easily see where the stitches are located.