1 for Me, 1 for You- Dancing Stripes Block

Help me help local communities by creating blocks for Warm Up America, by making a block for yourself and one for a community project with this free pattern. I will be creating a new block every few weeks and sharing it with you, I just ask that make one for donation.

Warm Up America is a nationwide organization that encourages local donations, but will also except donations to be sent to their office so that blocks can be assembled and then blankets can be donated through the United States.

Dancing Stripes Block

Even if you do not want to participate with Warm Up America, please consider creating blocks, or blankets for your local community. There are various places in every community that accept donations.

Tunisian Crochet

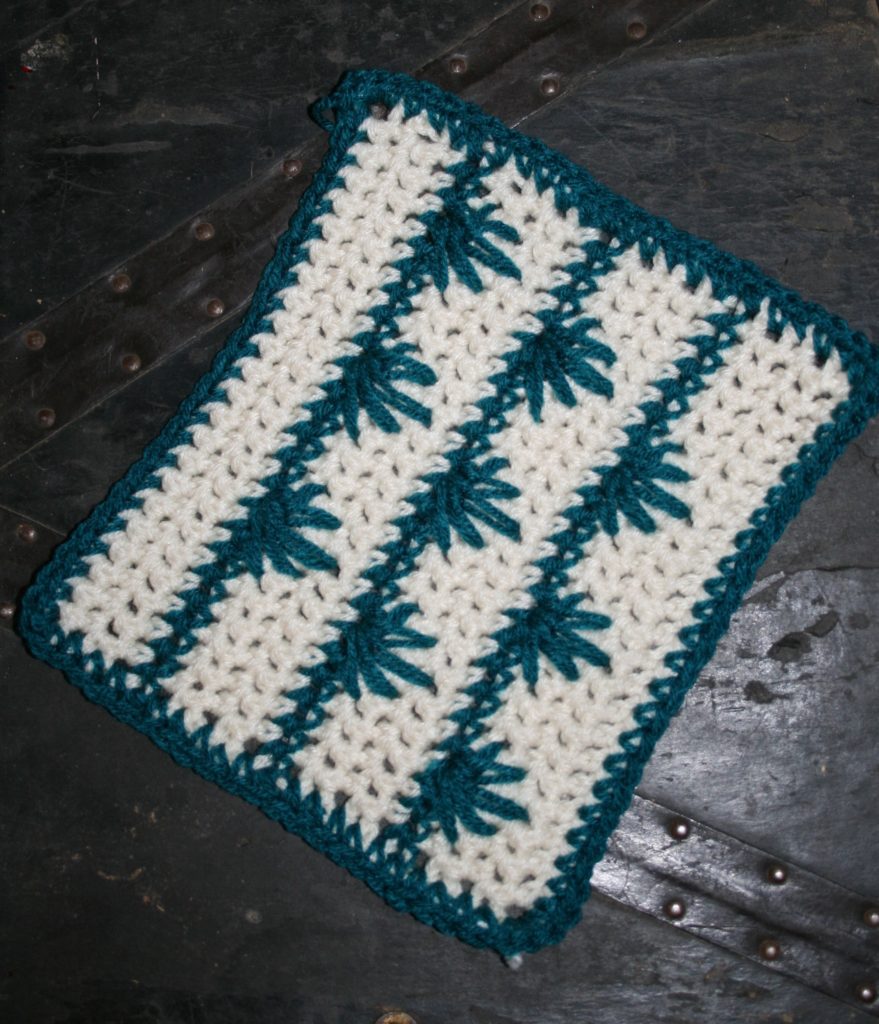
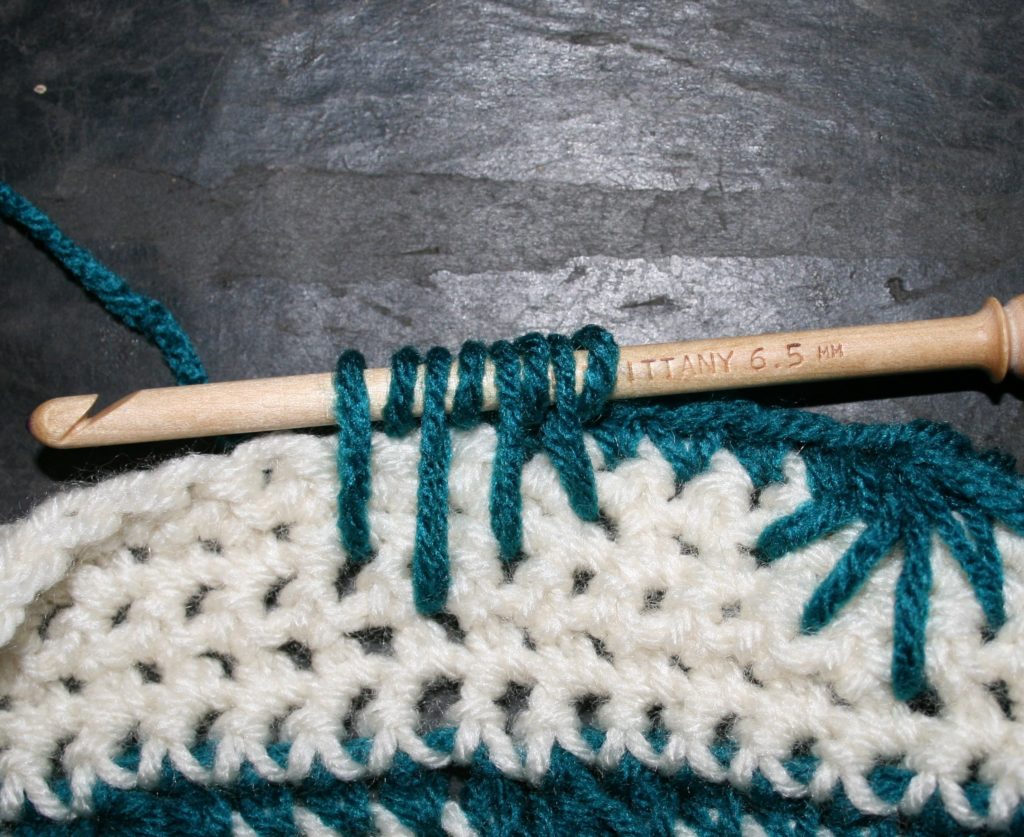
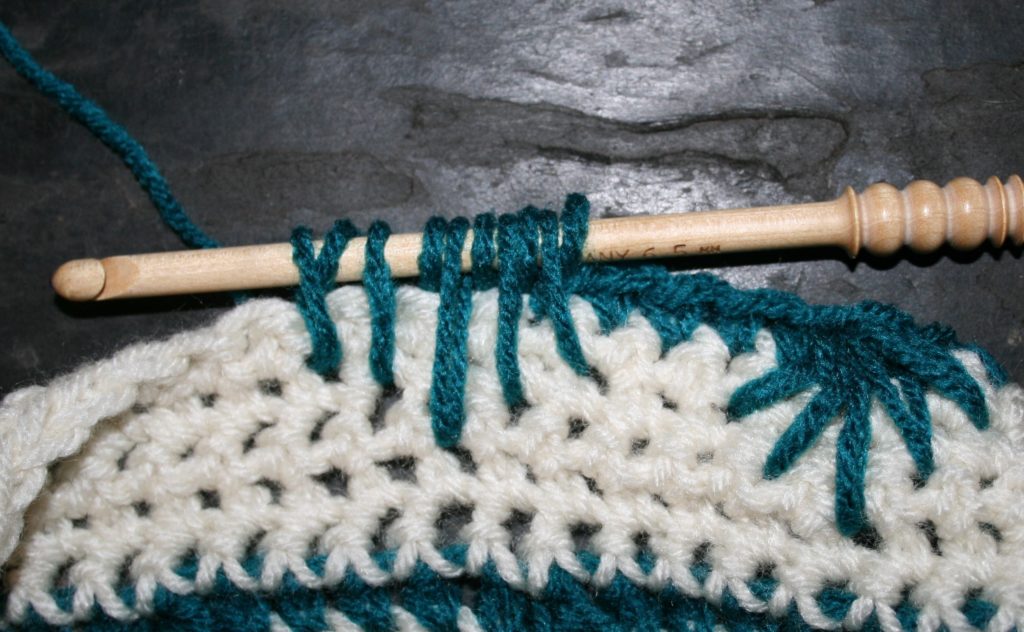
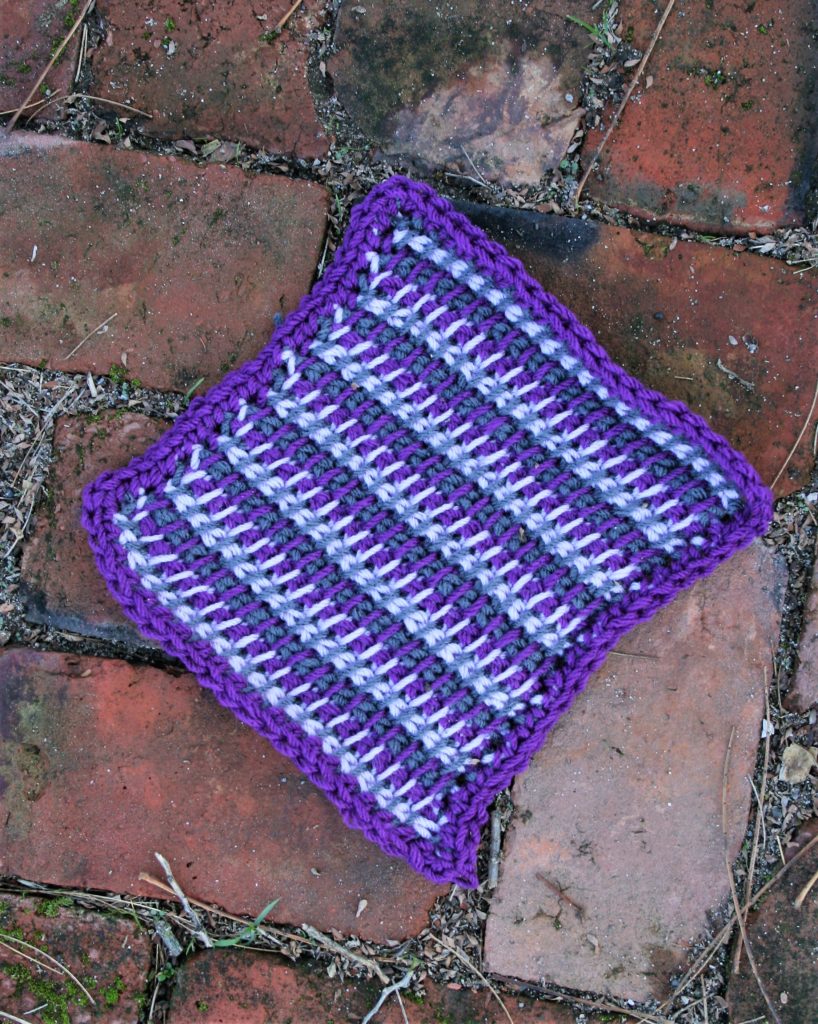
This block is used working Tunisian Crochet. Tunisian Crochet is essentially inserting your hook through your fabric and pulling up a loop, and leaving the loop on the hook, pulling up loops across the row. Then a “return pass” is worked to work each loop off the hook. This creates a fabric that has a similar look to weaving, yet has the same structural characteristics as crochet. There are many different stitches in this technique, but in this block I only use one stitch, the Tunisian Simple stitch. Learn the stitch here.

Changing color on every forward and return pass, creates a dramatic effect. Utilizing only three colors means that I have a color waiting for me when I finish a row and I know exactly which yarn to work next.

Gauge: 7”x9” rectangle

Materials

Medium weight yarn, in 3 colors MC (main color), CC1, CC2

9 mm Tunisian Crochet hook

Special Stitches

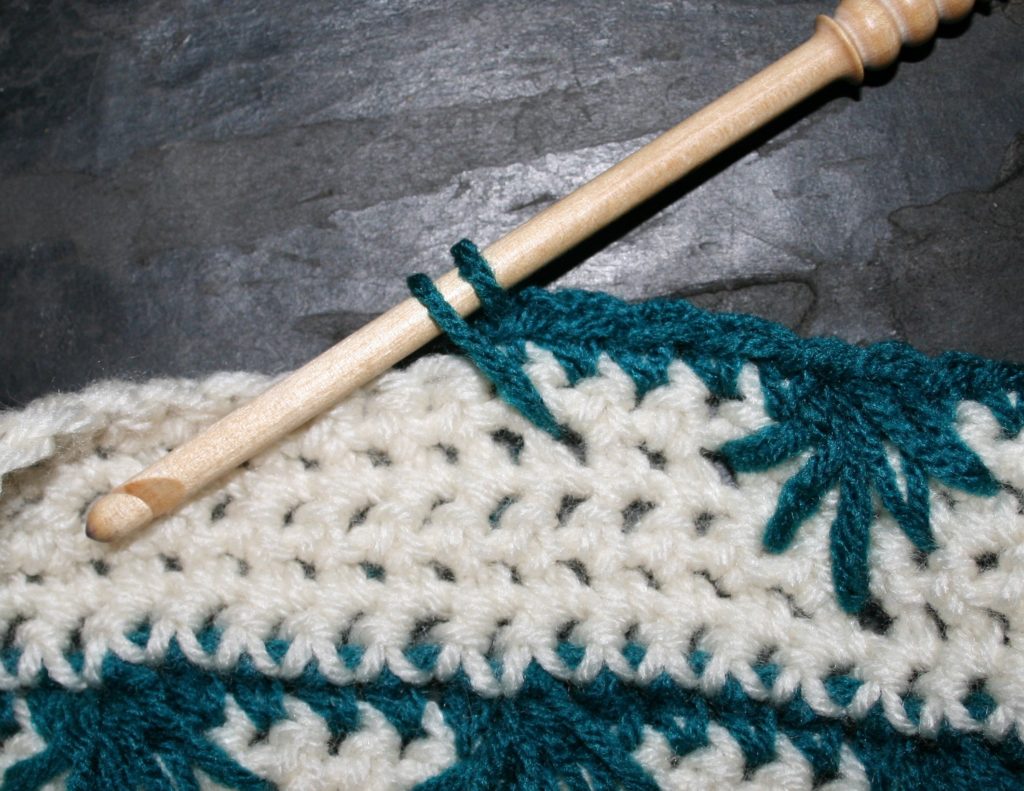
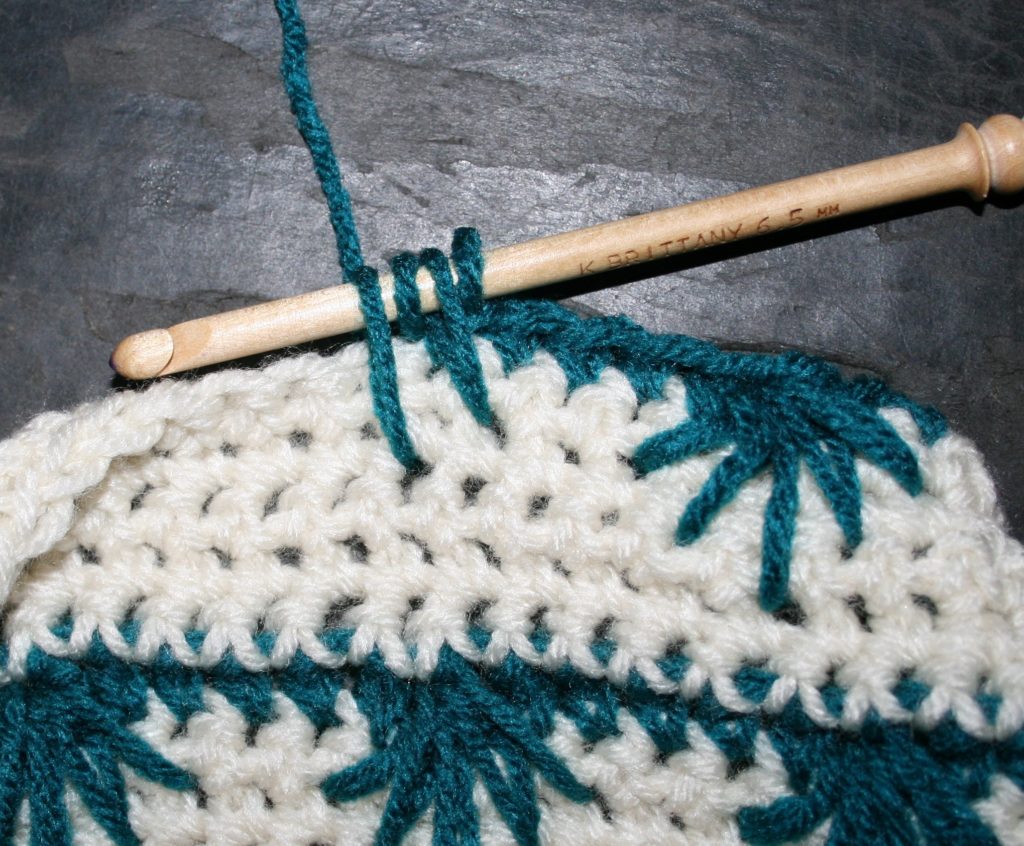
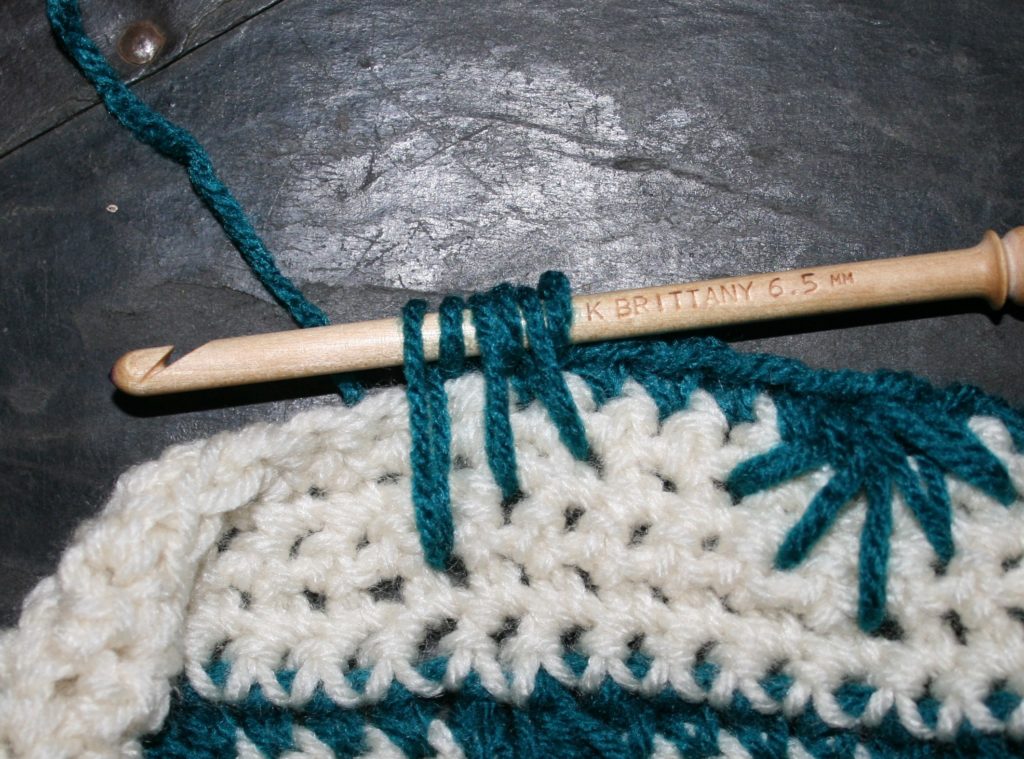
Tunisian Simple Stitch (tss): Insert hook from right to left under next vertical bar, YO, pull up a loop.

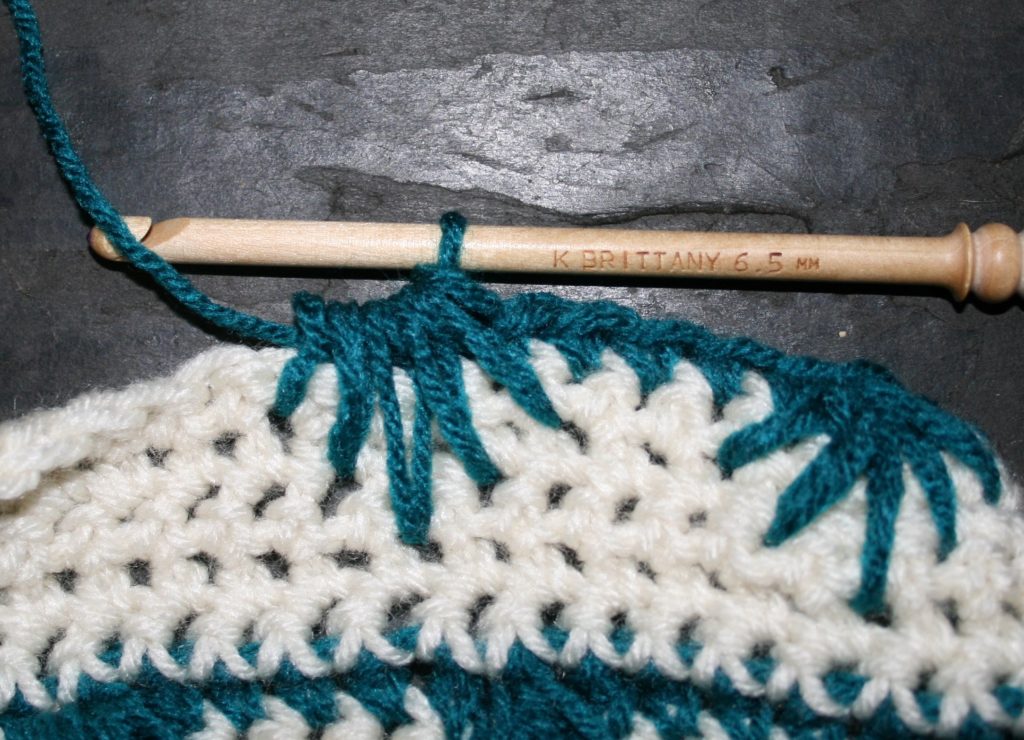
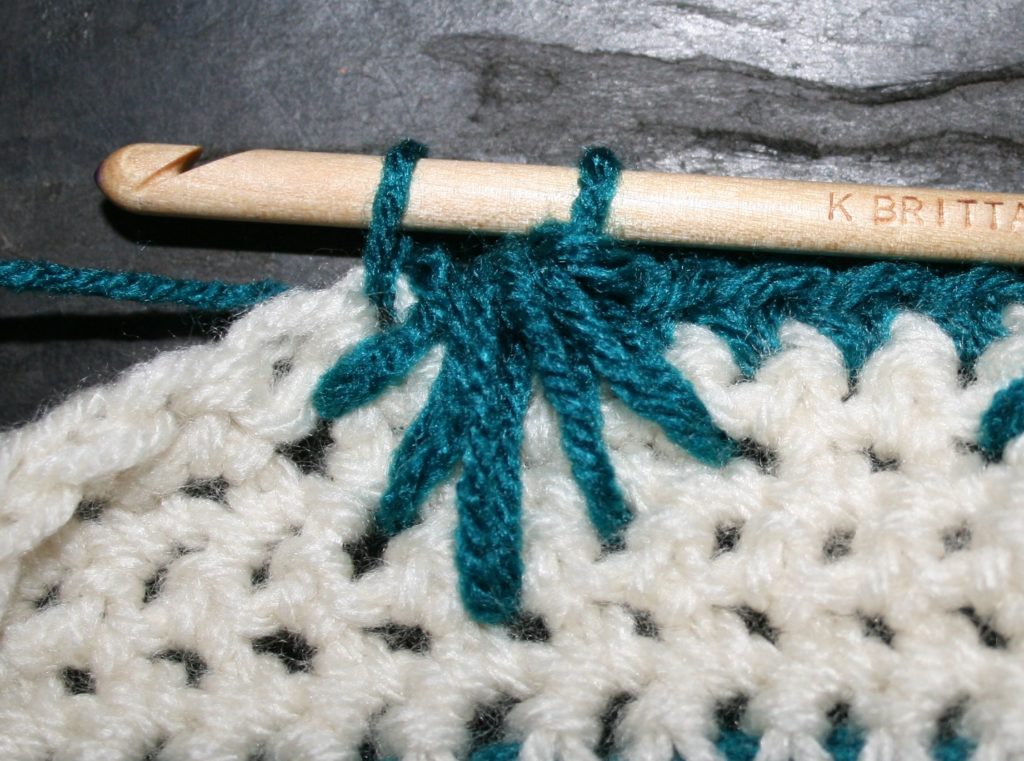
Return Pass (RP) :  YO and pull through 1 loop, [YO and pull through 2 loops] across, until 2 loops remain on hook, using new color for next row’s FP,  YO and pull through last 2 loops.

The Pattern

With MC Chain 19

Row 1: With color MC, pull up a loop in second ch from the hook and in each ch across. Switch to color CC1, RP. 19 sts

Row 2: With color CC2, tss across, switch to color MC, RP.

Row 3: With color CC1, tss across, switch to color CC2, RP.

Row 4: With color MC, tss across, switch to color CC1, RP.

Row 5-19: Rep Rows 2-4 five times.

Edging Rnd: With color CC2, sc in each vertical bar across, 3 sc in corner, work evenly sc around block working 3 sc in each corner. Finish off.

Teaching Crochet! My New Adventures

I am excited about my new upcoming adventures. I have a few new teaching events that I want to make you aware of.

Crochet Retreat with Chocolate

January 2020 I am hosting a day long crochet retreat, Crochet with Linda and Chocolate. This one day is designed for anyone at any crochet level that enjoys playing with yarn, good company, and chocolate.

Those attending get to play with yarns from Zombie Yarns, work up a caplet exclusively designed for the event, and get to partake in a chocolate demo from the chocolatier of Annabelle’s Chocolate, Annabelle herself. I always want this event to be more than just crochet, it is an opportunity to learn something new in a location that you may not have ventured to before.

Crochet with Linda and Chocolate

This is the second time I have put on such an event, and space is limited due to the venue size. All supplies and a gourmet boxed lunch are included. If you want more information or to join me, check it out here.

Teaching at DFW Fiber Fest

Then I get prepared to teach at DFW Fiber Fest in Irving, Texas the beginning of April. I will be part of the team teaching Crochet Masters Day on behalf of the Crochet Guild of America. This all day event is designed to help take your crochet to the next level, and aid you in becoming a crochet master.

 There are actually do different Master Certification programs through the Crochet Guild of America, one that essentially is a blind test, and another that is designed to teach you in depth knowledge of certain crochet techniques. Masters Day just touches on the surface of these two programs to start you on your way to really understanding your crochet. Here is where you can find more information about how to join me in Texas.

Teaching at Yarn Fest

By the end of April I will be in Loveland, Colorado teaching another one day at the Interweave Yarn Fest. I am teaching a class on Openwork Crochet, a class about lacework. This is a new class for me that actually is a merging of two of my most popular classes, with some added bonuses. I will be sharing all my insight about Broomstick Lace, Hairpin Lace and Mock Hairpin Lace in a single class.

You will learn how to use these techniques to create fascinating open work, how to then shape fabric with it. Every time I teach these skills I am always reenergized to create more with them and am inspired with new ideas. I know that it will do the same for you. As a teaser, I should mention that you will never look at fringe the same way again. Check out how to join me here.

Teaching Local

As always, if you are in the foothills of the Sierra Nevada Mountains you can find me teaching weekly at Lofty Lou’s Yarn Store in Placerville, CA. All skill levels are welcome in all classes, as I teach you essentially a private lesson in a group setting, on any project you want to learn or work on. There are University classes, that offer a price break for the purchase of multiple classes, but I always welcome drop-in students to any of my classes. Make sure and look for the classes by Linda D. offered on Tuesdays. Find more information here.

As 2019 draws to a close, and 2020 begins to dawn I hope you will find a way to join me in person.

1 for Me, 1 for You- Leaf Spike Block

Help me help local communities by creating blocks for Warm Up America, by making a block for yourself and one for a community project with this free pattern. I will be creating a new block every few weeks and sharing it with you, I just ask that make one for donation.

Warm Up America is a nationwide organization that encourages local donations, but will also except donations to be sent to their office so that blocks can be assembled and then blankets can be donated through the United States.

Leaf Spike Block

Even if you do not want to participate with Warm Up America, please consider creating blocks, or blankets for your local community. There are various places in every community that accept donations.

Spike Stitches

This block is used working spike stitches. Spike Stitches are essentially inserting your hook through your fabric and pulling up a loop. This loop is pulled up to the height of the current row to have the stitch finished. This gives a unique ability to create fascinating lines of color. In this block I have worked 5 spiked stitches together to create an affect similar to a leaf.

Gauge: 7”x9” rectangle

Materials

Medium weight yarn, in 2 colors MC (main color), CC1, CC2

K/10 ½/ 6.5mm hook

Special Stitches

Spike Leaf (SL): Insert hook in the 2nd stitch backward from the hook and 1 row below, yo, pull up a loop, yo, insert hook in the 1st stitch backward from the hook and 2 rows below, yo, pull up a loop, yo, insert hook in stitch directly below and 3 rows below, yo, pull up a loop, yo, insert hook in stitch 1 stitch forward from hook and 2 rows below, yo, pull up a loop, yo, insert hook in stitch 2 stitches forward from hook and 1 row below, yo, pull up a loop, yo, pull through all 10 loops on hook.

First insertion, yo, pull through loop of Leaf Spike
Second insertion point of Leaf Spike
Third insertion point of Leaf Spike
Fourth insertion point of Leaf Spike
Fifth insertion point of Leaf Spike
Yarn over and pull through all 10 loops on hook. Stitch complete

Notes

Working the first stitch immediately following the Leaf Spike can be a bit tricky, as you need to push the last loops of the LS out of the way.

After pulling up the loop through the stitch immediately following the Leaf Spike, you will need to push the last loop of the Leaf Spike toward the stitch to maneuver the hook into the next stitch.

The Pattern

Row 1: With MC, ch 24, sc in 2nd ch from hook, sc in each ch across, turn. -23 sc

Rows 2-5: Ch 1, sc in each st across, turn.

Row 6: Change to CC, ch 1, sc in same st, sc in next 2 sts, LS over next st, sc in next 5 sts, LS over next st, sc in next 5 sts, LS over next st, sc in last 7 sts, change to MC, turn.

Rows 7-11: Ch 1, sc in each st across, turn.

Row 12: Change to CC, ch 1, sc in same st, sc in next 4 sts, LS over next st, sc in next 5 sts, LS over next st, sc in next 5 sts, LS over next st, sc in last 5 sts, change to MC, turn.

Rows 13-17: Ch 1, sc in each st across, turn.

Row 18: Change to CC, ch 1, sc in same st, sc in next 6 sts, LS over next st, sc in next 5 sts, LS over next st, sc in next 5 sts, LS over next st, sc in last 3 sts, change to MC, turn.

Row 19-21: Ch 1, sc in each st across, turn.

Edging

With CC, evening sc around block working 3 sc in each corner.

Making Your Circles Flat

Understanding your crochet can really help you enjoy your craft and make your projects more exciting to work. One area that this is true is creating a flat circle.

A flat circle is the base of top down hats, of baskets, and even handbags. Stitch height can greatly affect how a pattern will work out in these projects, as the height of the stitches make the circle either smaller or bigger. Another factor is the number of stitches per round.

I have discussed the formula for a perfect fitting hat in previous posts (you can find more about them here), but what if your stitch heights create similar problems as too few or too many stitches? That problem of either cupping or rippling of the fabric.

Cupping circle, needs to have more stitches added.

To determine the results of your fabric it cannot be done within one round. It can be determined over a few rounds, so do not get too hung up if the characteristics of cupping or rippling are slight. If it increases in subsequent rounds you then need to address the issue.

It is Cupping

There are simple fixes. If your fabric is cupping, or pulling upward, adding more stitches will encourage the fabric lay more flat. Another option is to reduce your stitch height, if the stitches are long and there are too few stitches the stitches will pull back on themselves.

Rippling circle, needs to remove or adding less stitch increases

It is Wavy

In addition if the fabric is rippling, or wavy, removing stitches or increasing your stitch height, will help create a flat fabric. Short stitches with many grouped together does not create enough space for the fibers of the fabric to have room to rest.

Crochet is a forgiving craft, the exact stitch count may not be vital. It really depends upon the pattern of the stitches created. However if it is a simple one stitch repeat you can usually add or subtract stitches without much concern.  I suggest adding or subtracting stitches to resolve the issue, as it is easier to do.

If you are looking for some projects to practice this on, I have several free patterns listed here.

Fresh Designs for Fall

I am excited to see that some of my new designs are out in the wild! I have designs released in the last couple of weeks in I Like Crochet Magazine (December 2019 issue), and with Manos del Uruguay Fall 2019 collection.

Yuletide Hat- I Like Crochet, December 2019

You can find my Yuletide Hat in the December 2019 issue of I Like Crochet Magazine, it is actually an embellished version of an earlier design. The Homey Fireplace Hat was released in the same publications October 2017 issue. The embellishment adds a little length, some fabulous yarn and a pom-pom. It is a great update that is perfect for a holiday gift.

Then there is Muntin, a pattern that can be put together more than a one way to create two great designs. It consist of 6 different motifs in 2 different sizes. This allows for a really dynamic display of color, which has no two motifs that are alike. The motifs always seem a bit floral to me, so I always see a bed of flowers in this design, but you may notice something else.

Muntin as a cowl, Manos Del Uruguay Fall 2019 Collection

The two designs created with these motifs, have one being a cowl and the other a wrap, using the same amount of yarn and worked as join as you go so no sewing required. You could easily take this motifs and put them together in other ways to let your own imagination run wild.

Muntin as a wrap, Manos del Uruguay Fall 2019 Collection