Moogly CAL- The Christine Quilt Block

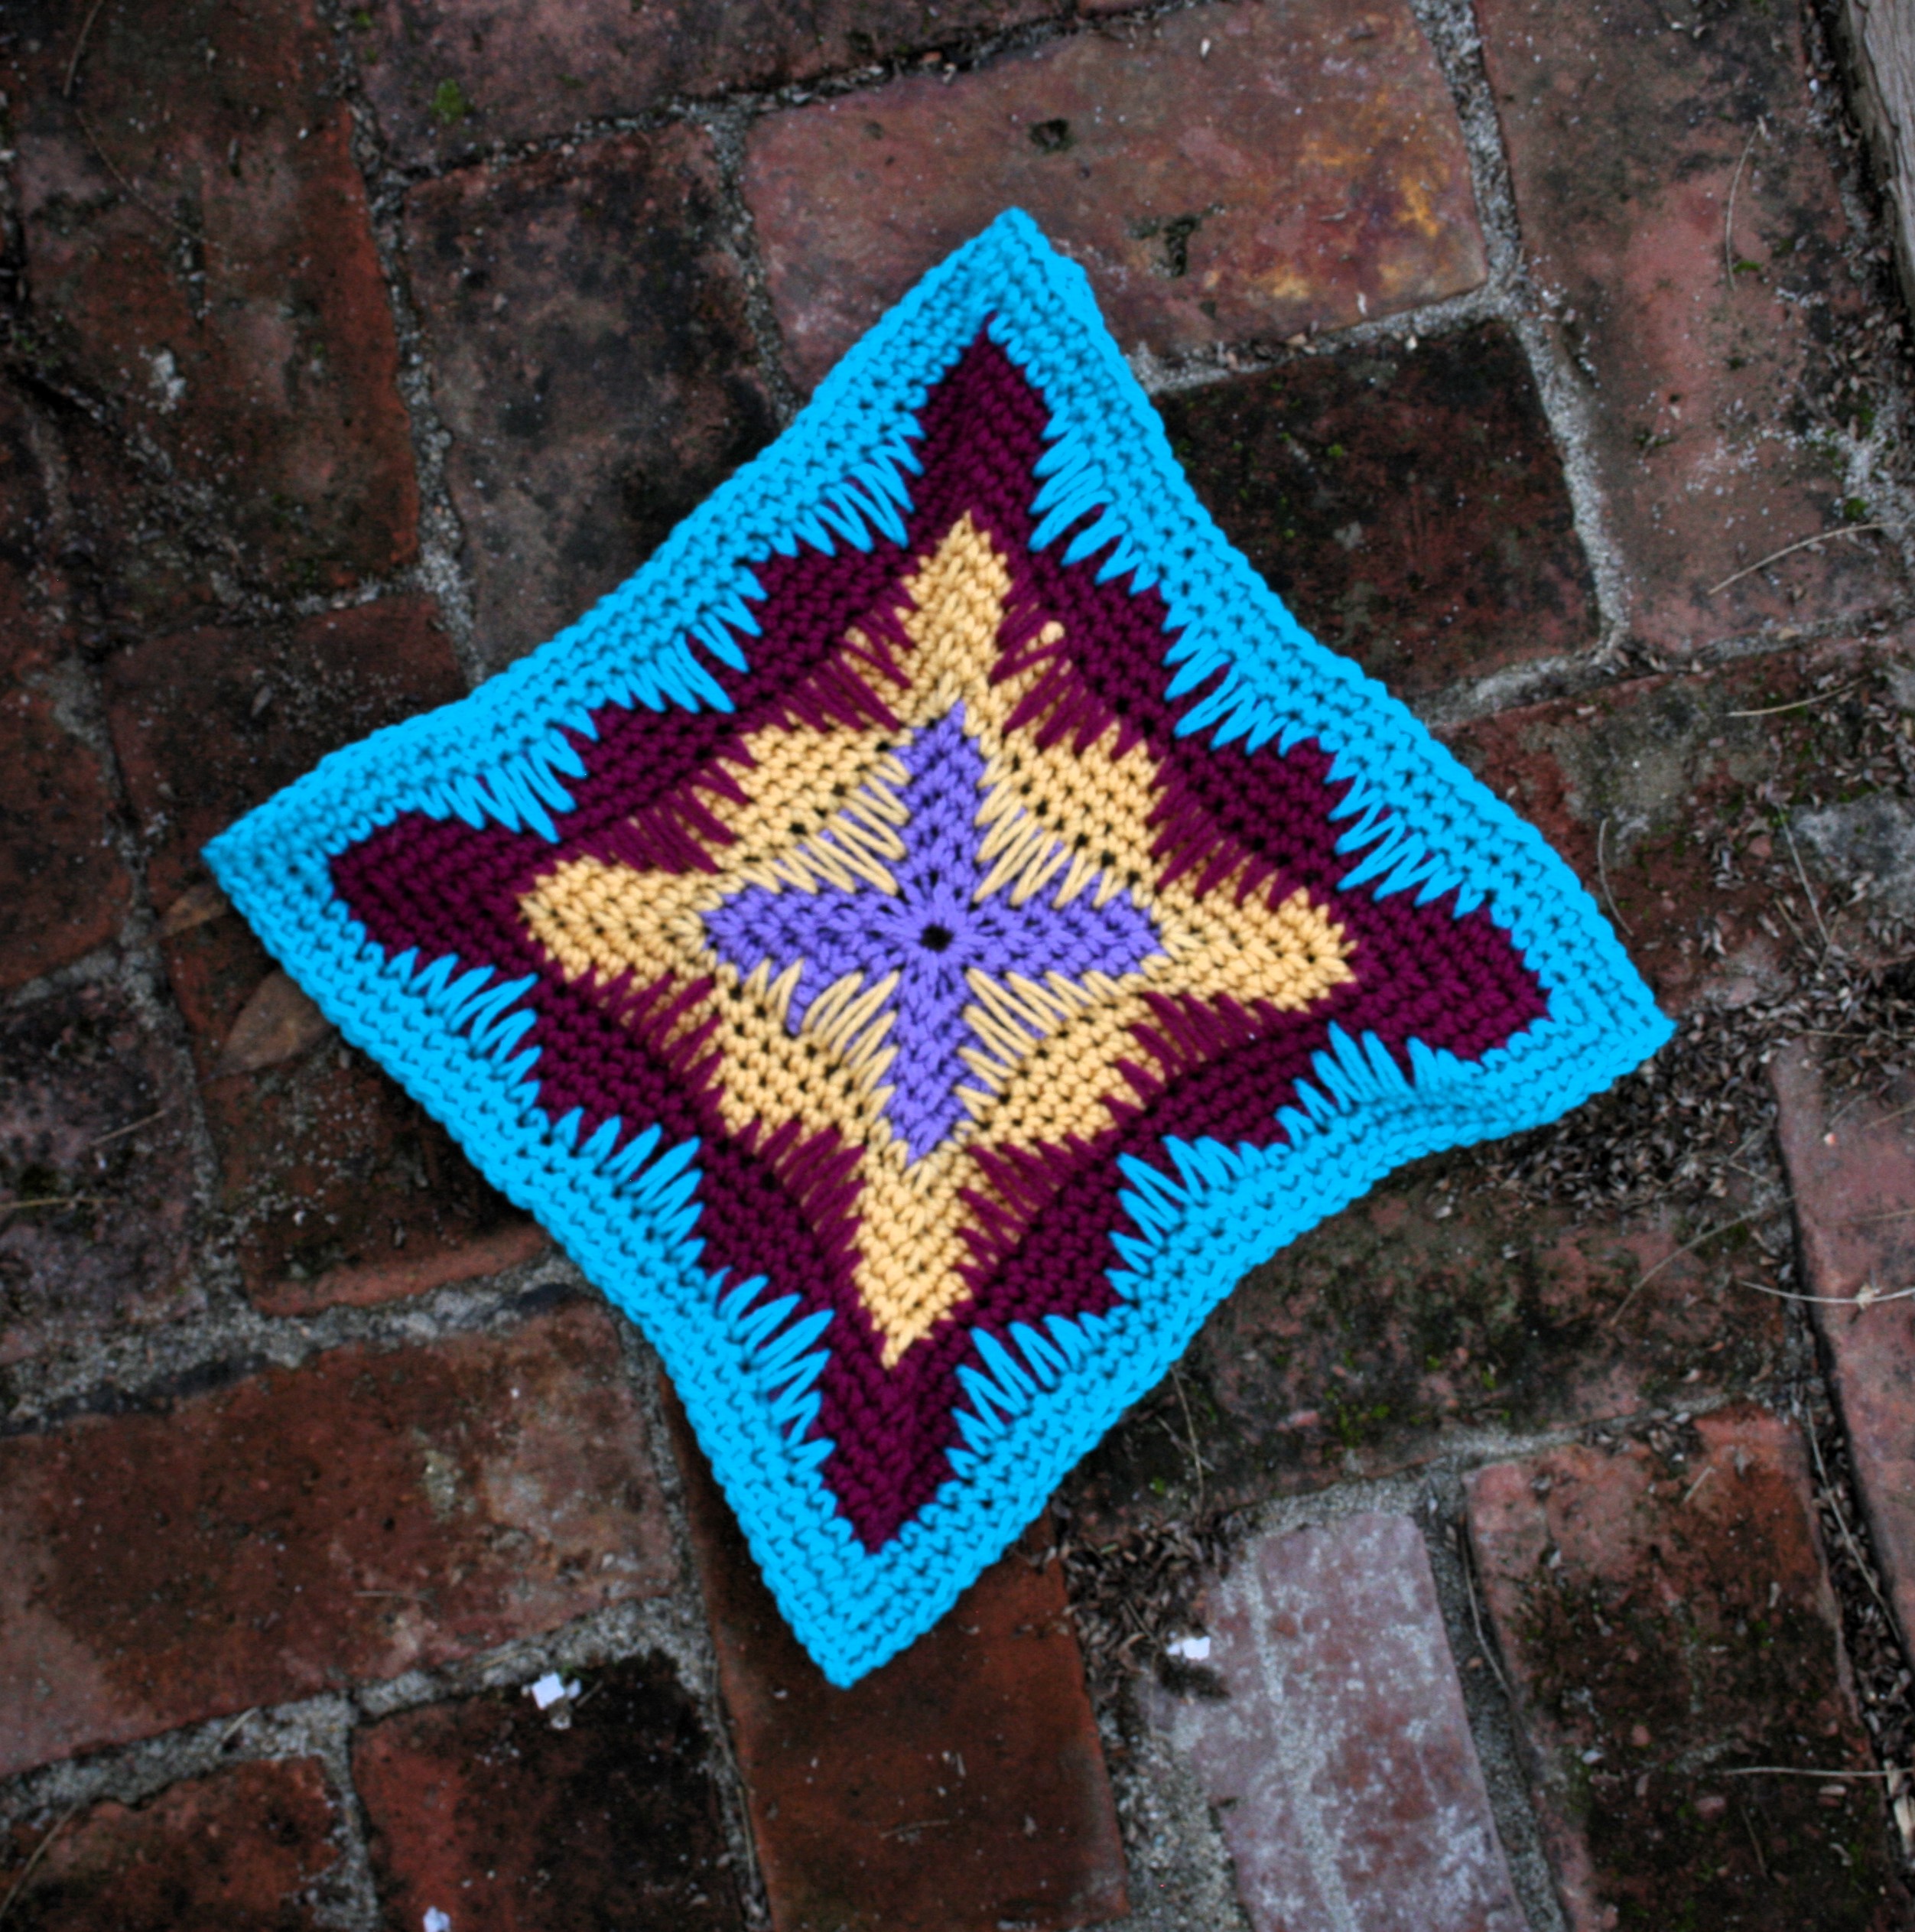
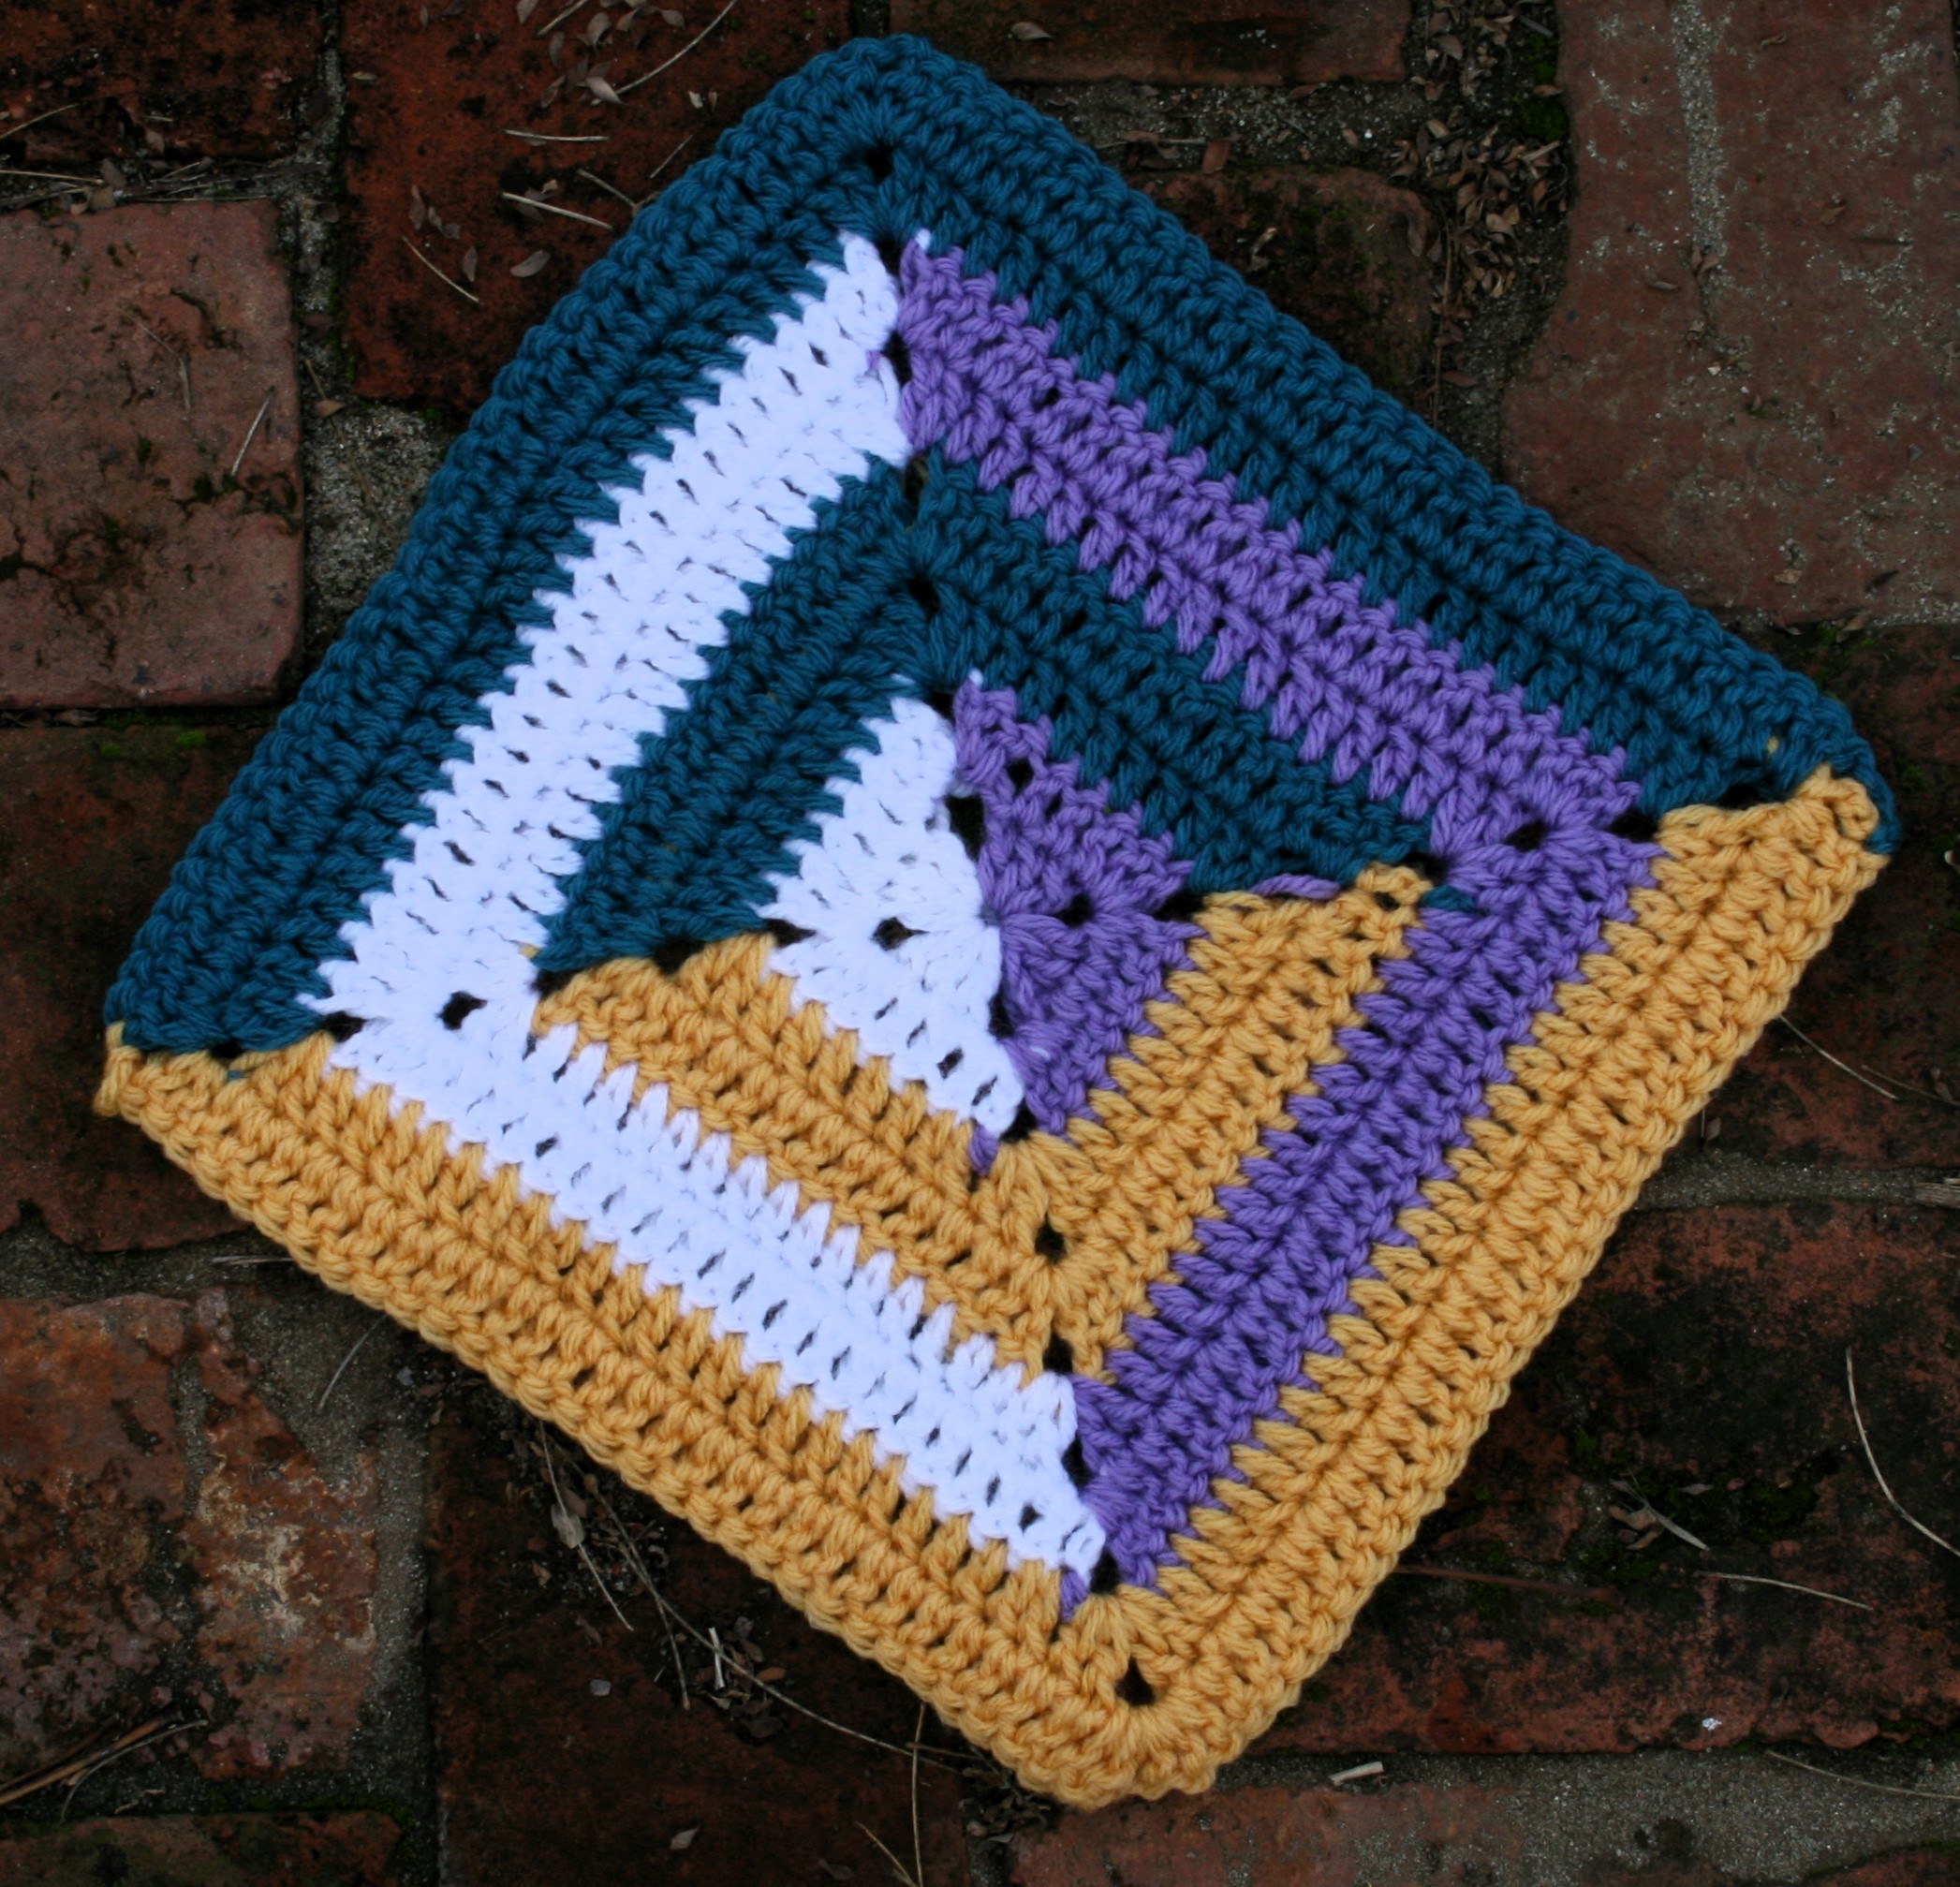
I am so thrilled to join you for another Moogly CAL! This year I am sharing The Christine Quilt Block, a block using simple stitches to create fabulous color blocking.

This square grew out of my playing with the traditional quilt block, the half square triangle. The half square triangle is traditionally only 2 colors, yet is put together in quilts to create many classic designs. I have played with a couple of ways to create this half square triangle in crochet. You can see some ideas of how this 2 tone block can be worked into various design here.

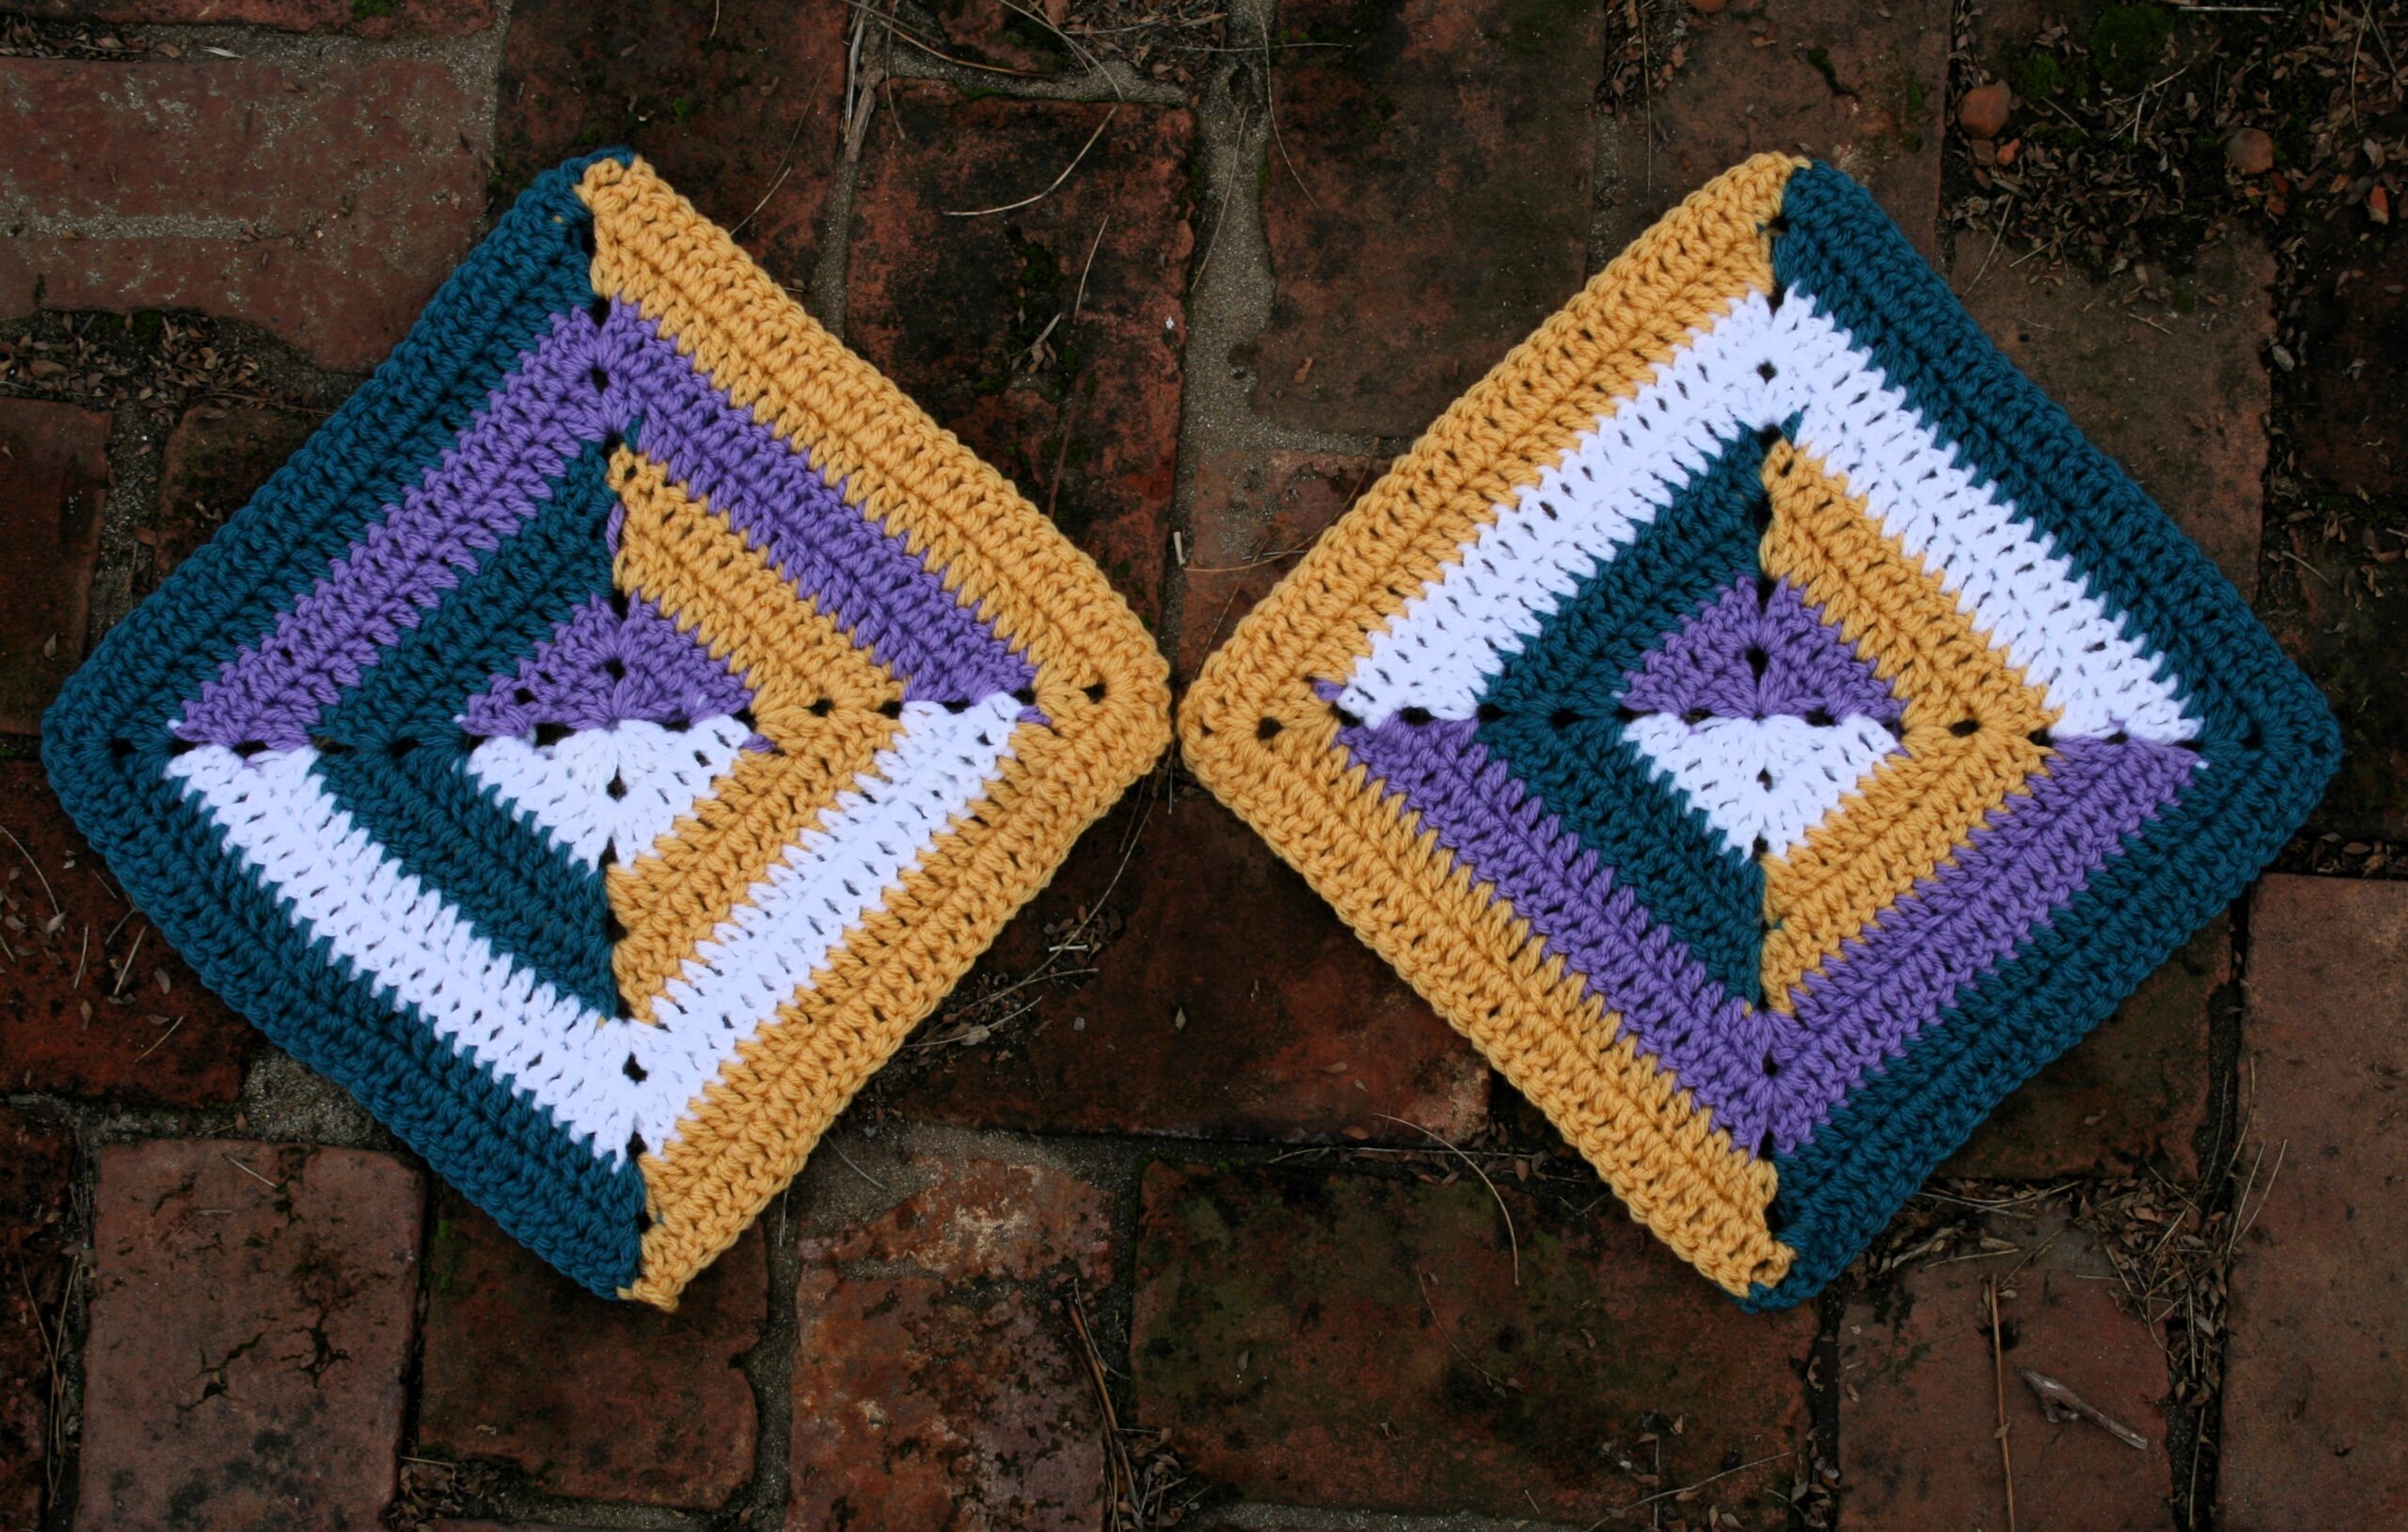
However, for the CAL I took this technique in a little different direction, using more than 2 colors. I found that I couldn’t decide which color placement I preferred. So I have 2 options for you to check out. One has the same colors per side, and the other rotates them.

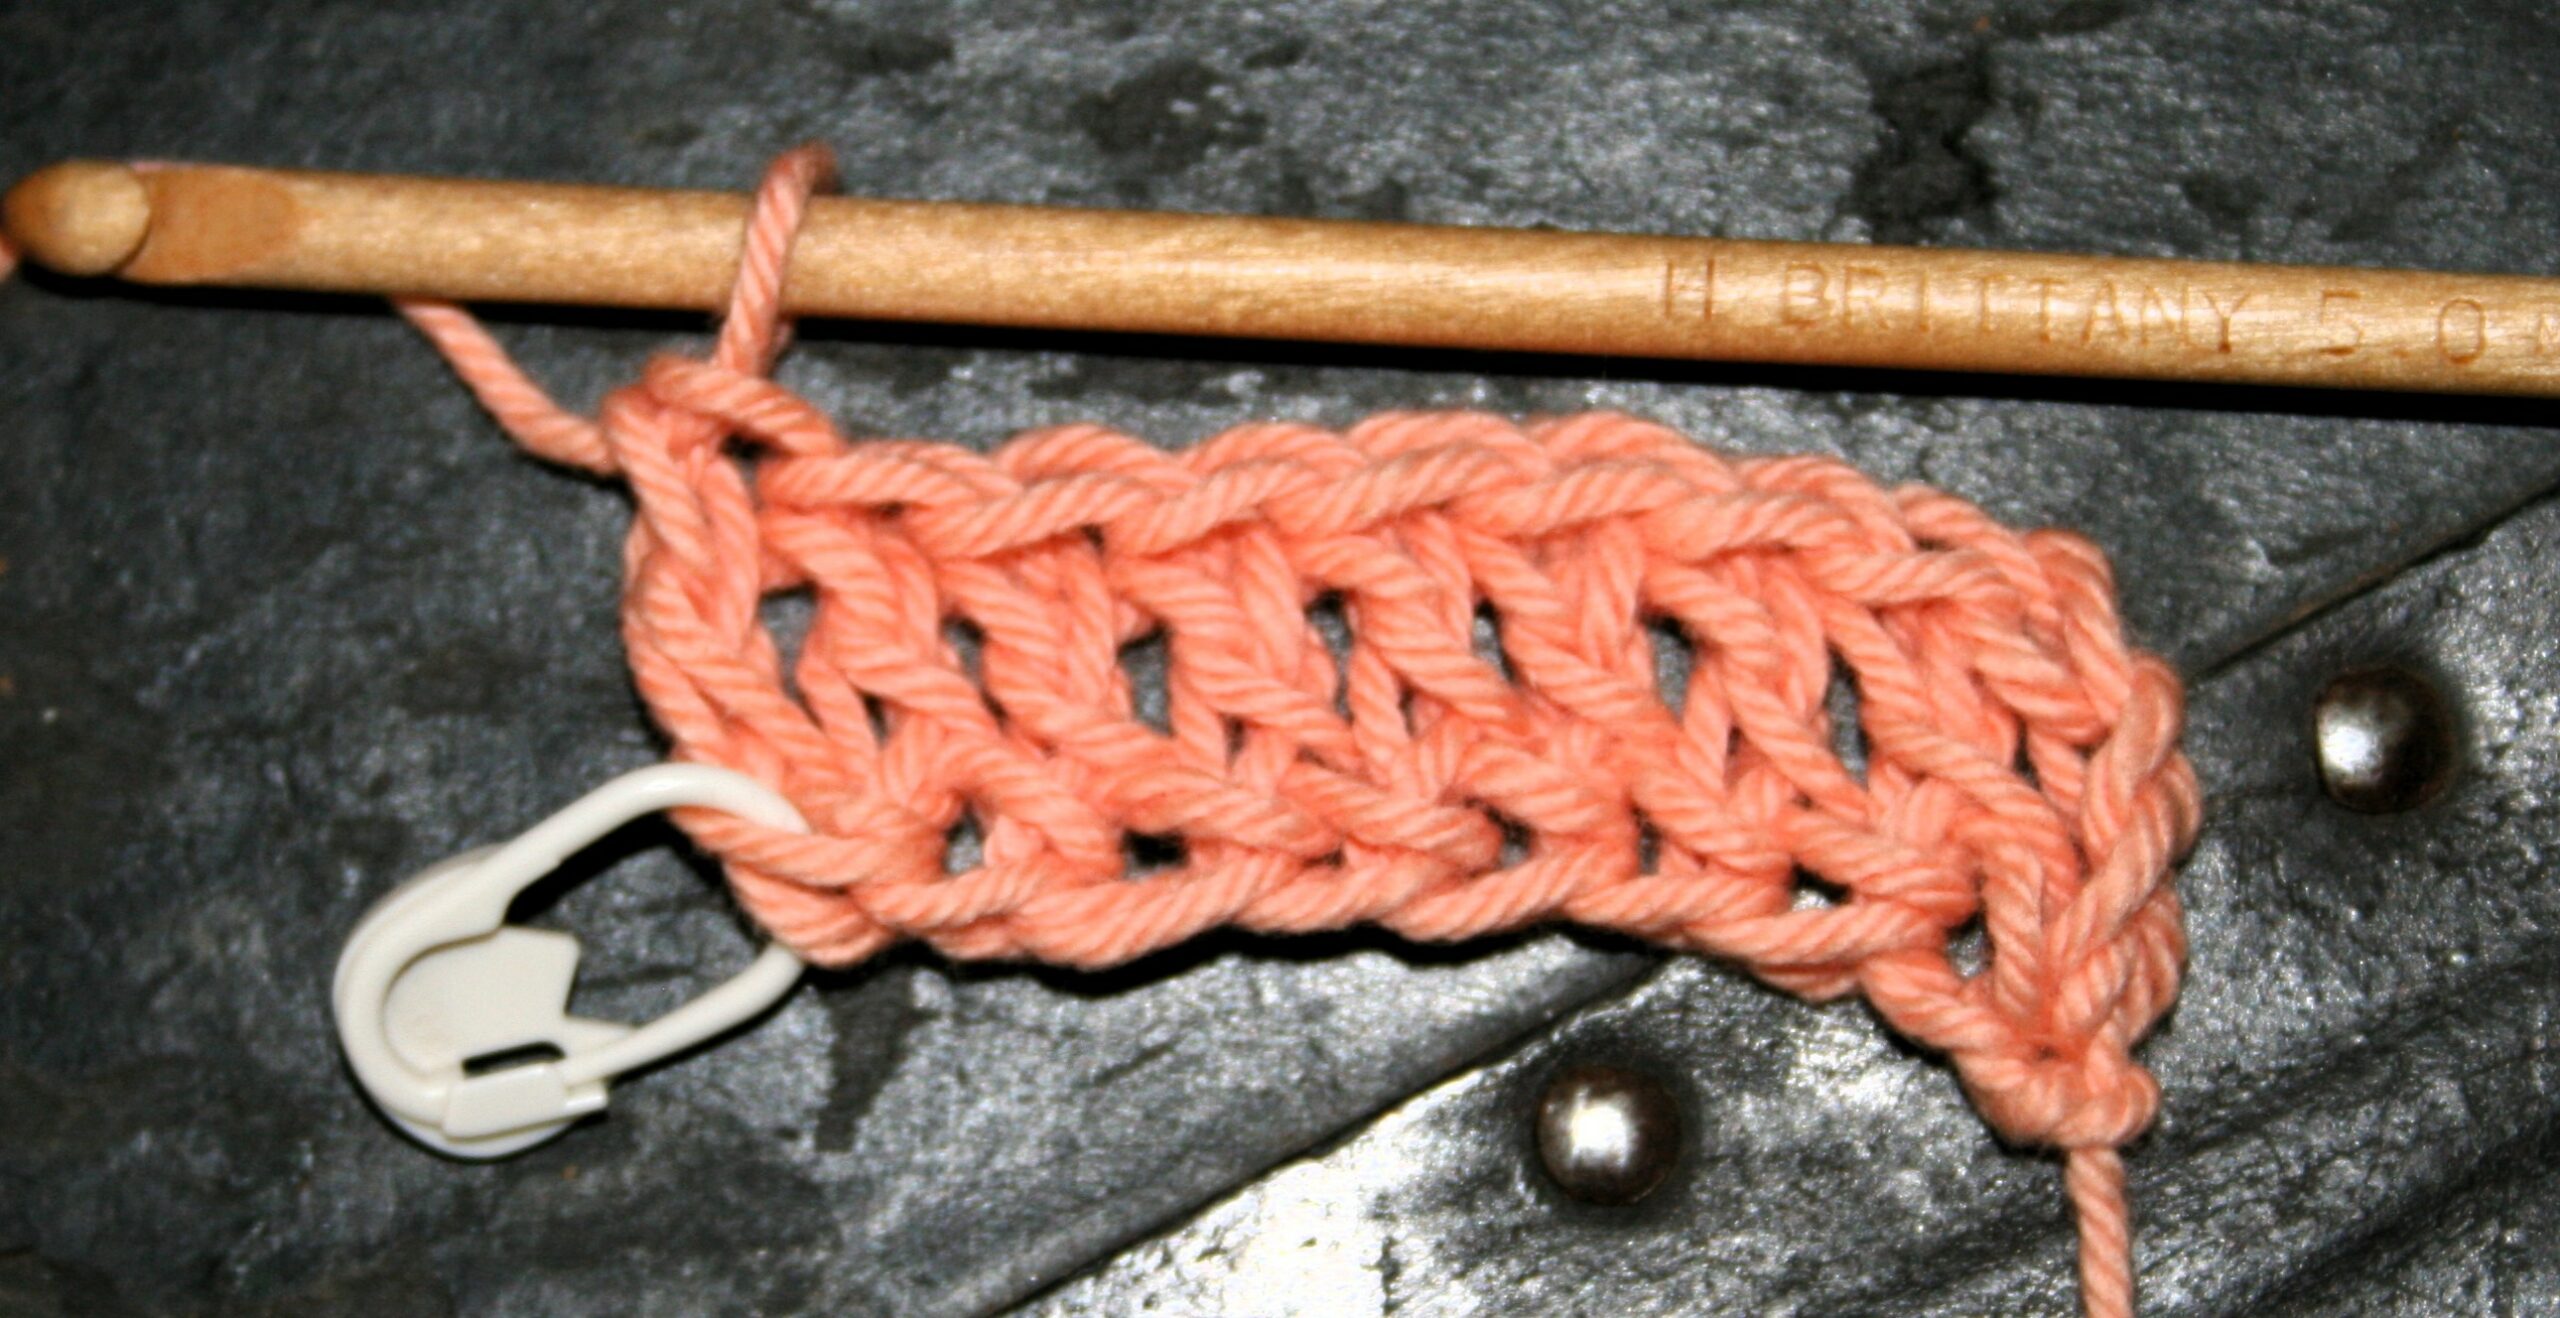
This block is worked with 2 colors per round, and turning after joining the round. Don’t fasten off and join, you would create a half square triangle in 2 colors.

I will admit that this square was inspired by one of my students, Christine. Just like the block, she is generous with many sides to herself that add color to a world of gray. It also happens that she has quilting in her skill set. Thus I can tease about having to have things perfectly worked, and square.

Love to have you join me

If you feel inclined to see more of my work throughout the year sign up for my monthly newsletter. It is where I share my crochet journey. Or, join me in person at my various teaching locations. …Or both, is an option too.

Can’t wait to see what you come up with in this design! And don’t miss any other Moogly CAL blocks, follow them for 2025 here.

The Christine Quilt Block

A bit more symmetrical with the color placement

Red Heart With Love medium weight 100% acrylic yarn colors:

  • (A) #1538 Lilac,
  • (B) #1001 White,
  • (C) #1623 Mallard,
  • (D) #1207 Cornsilk

J/10/6.00mm crochet hook

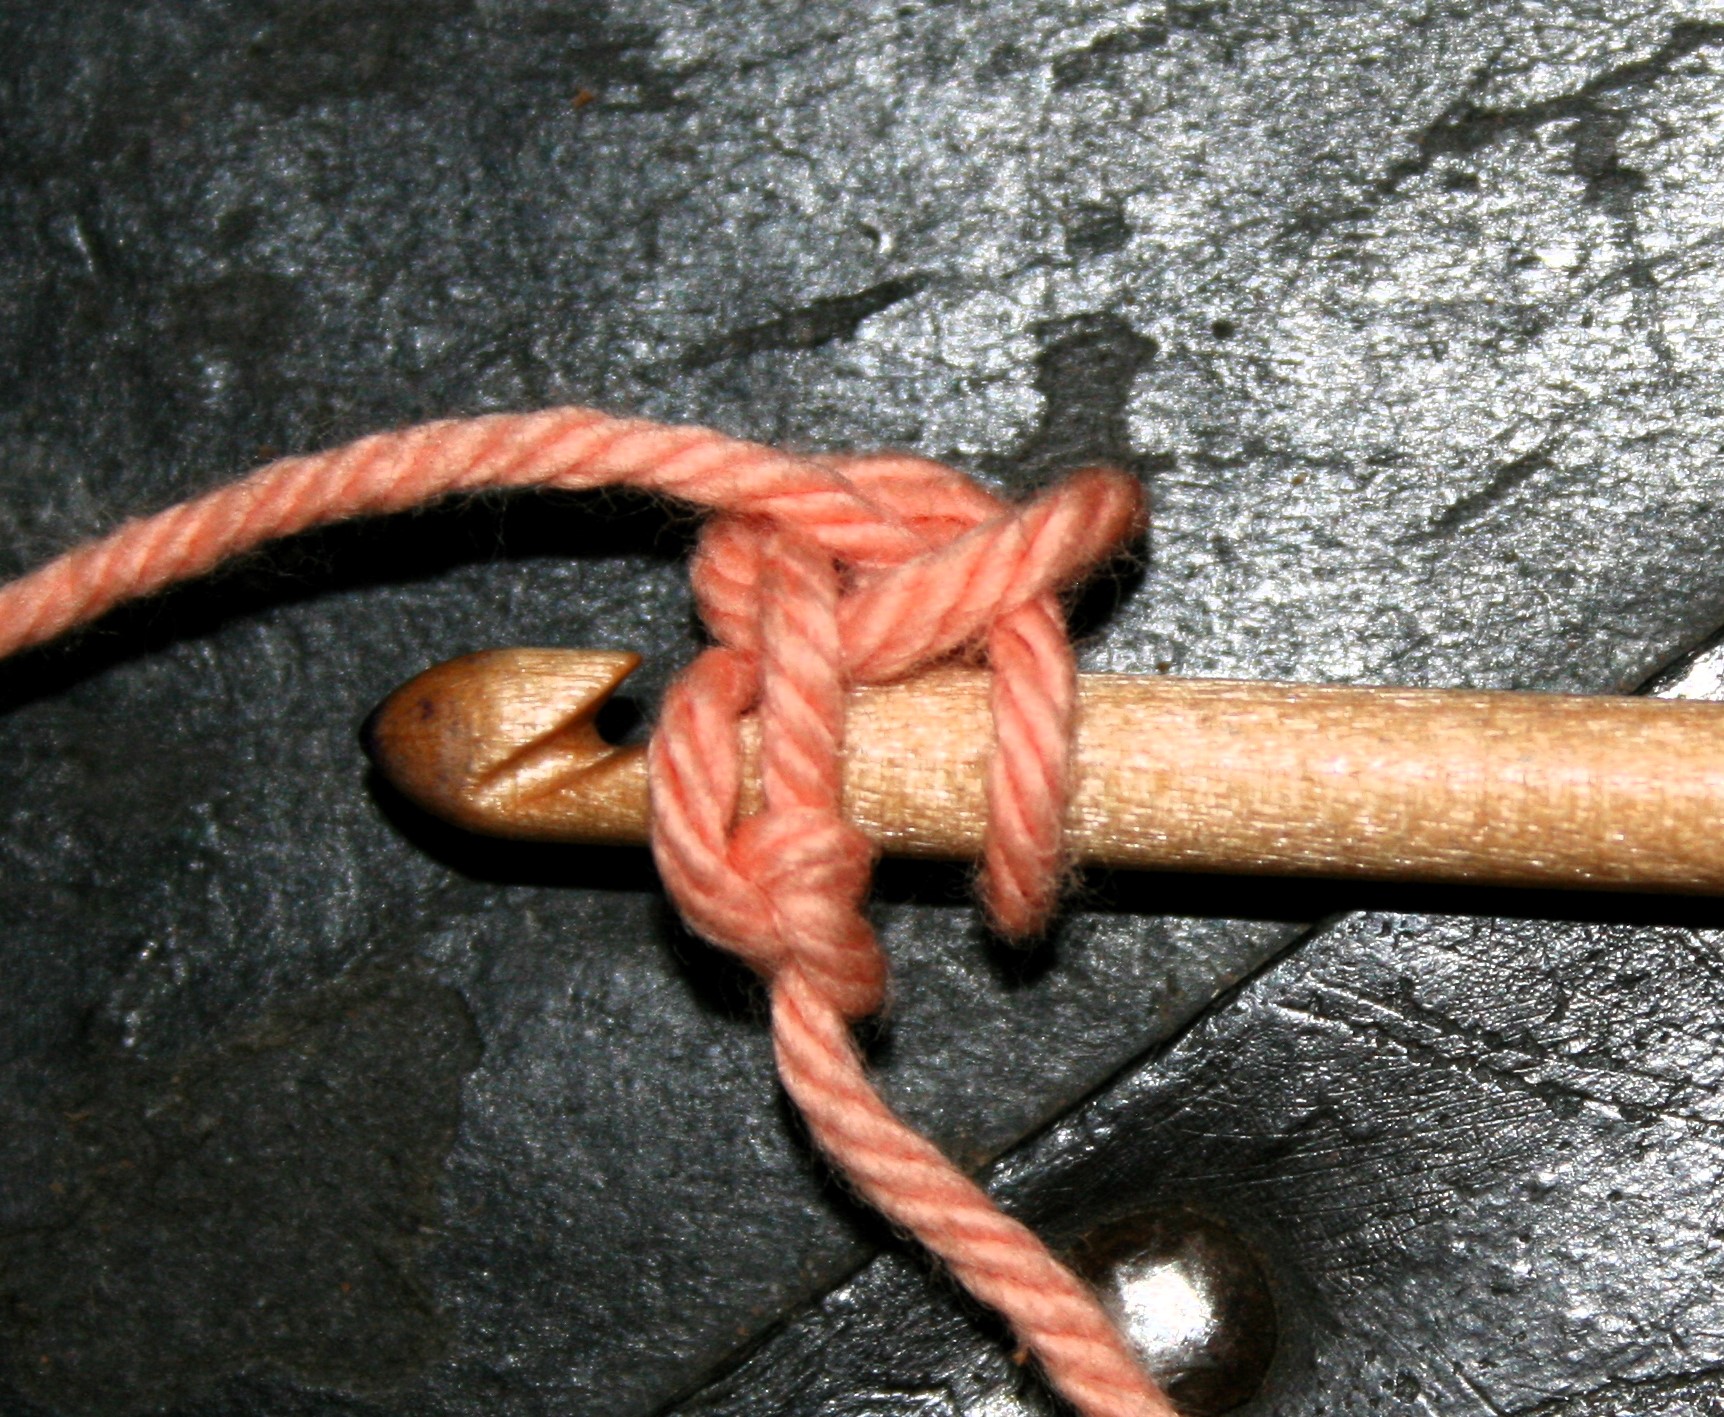
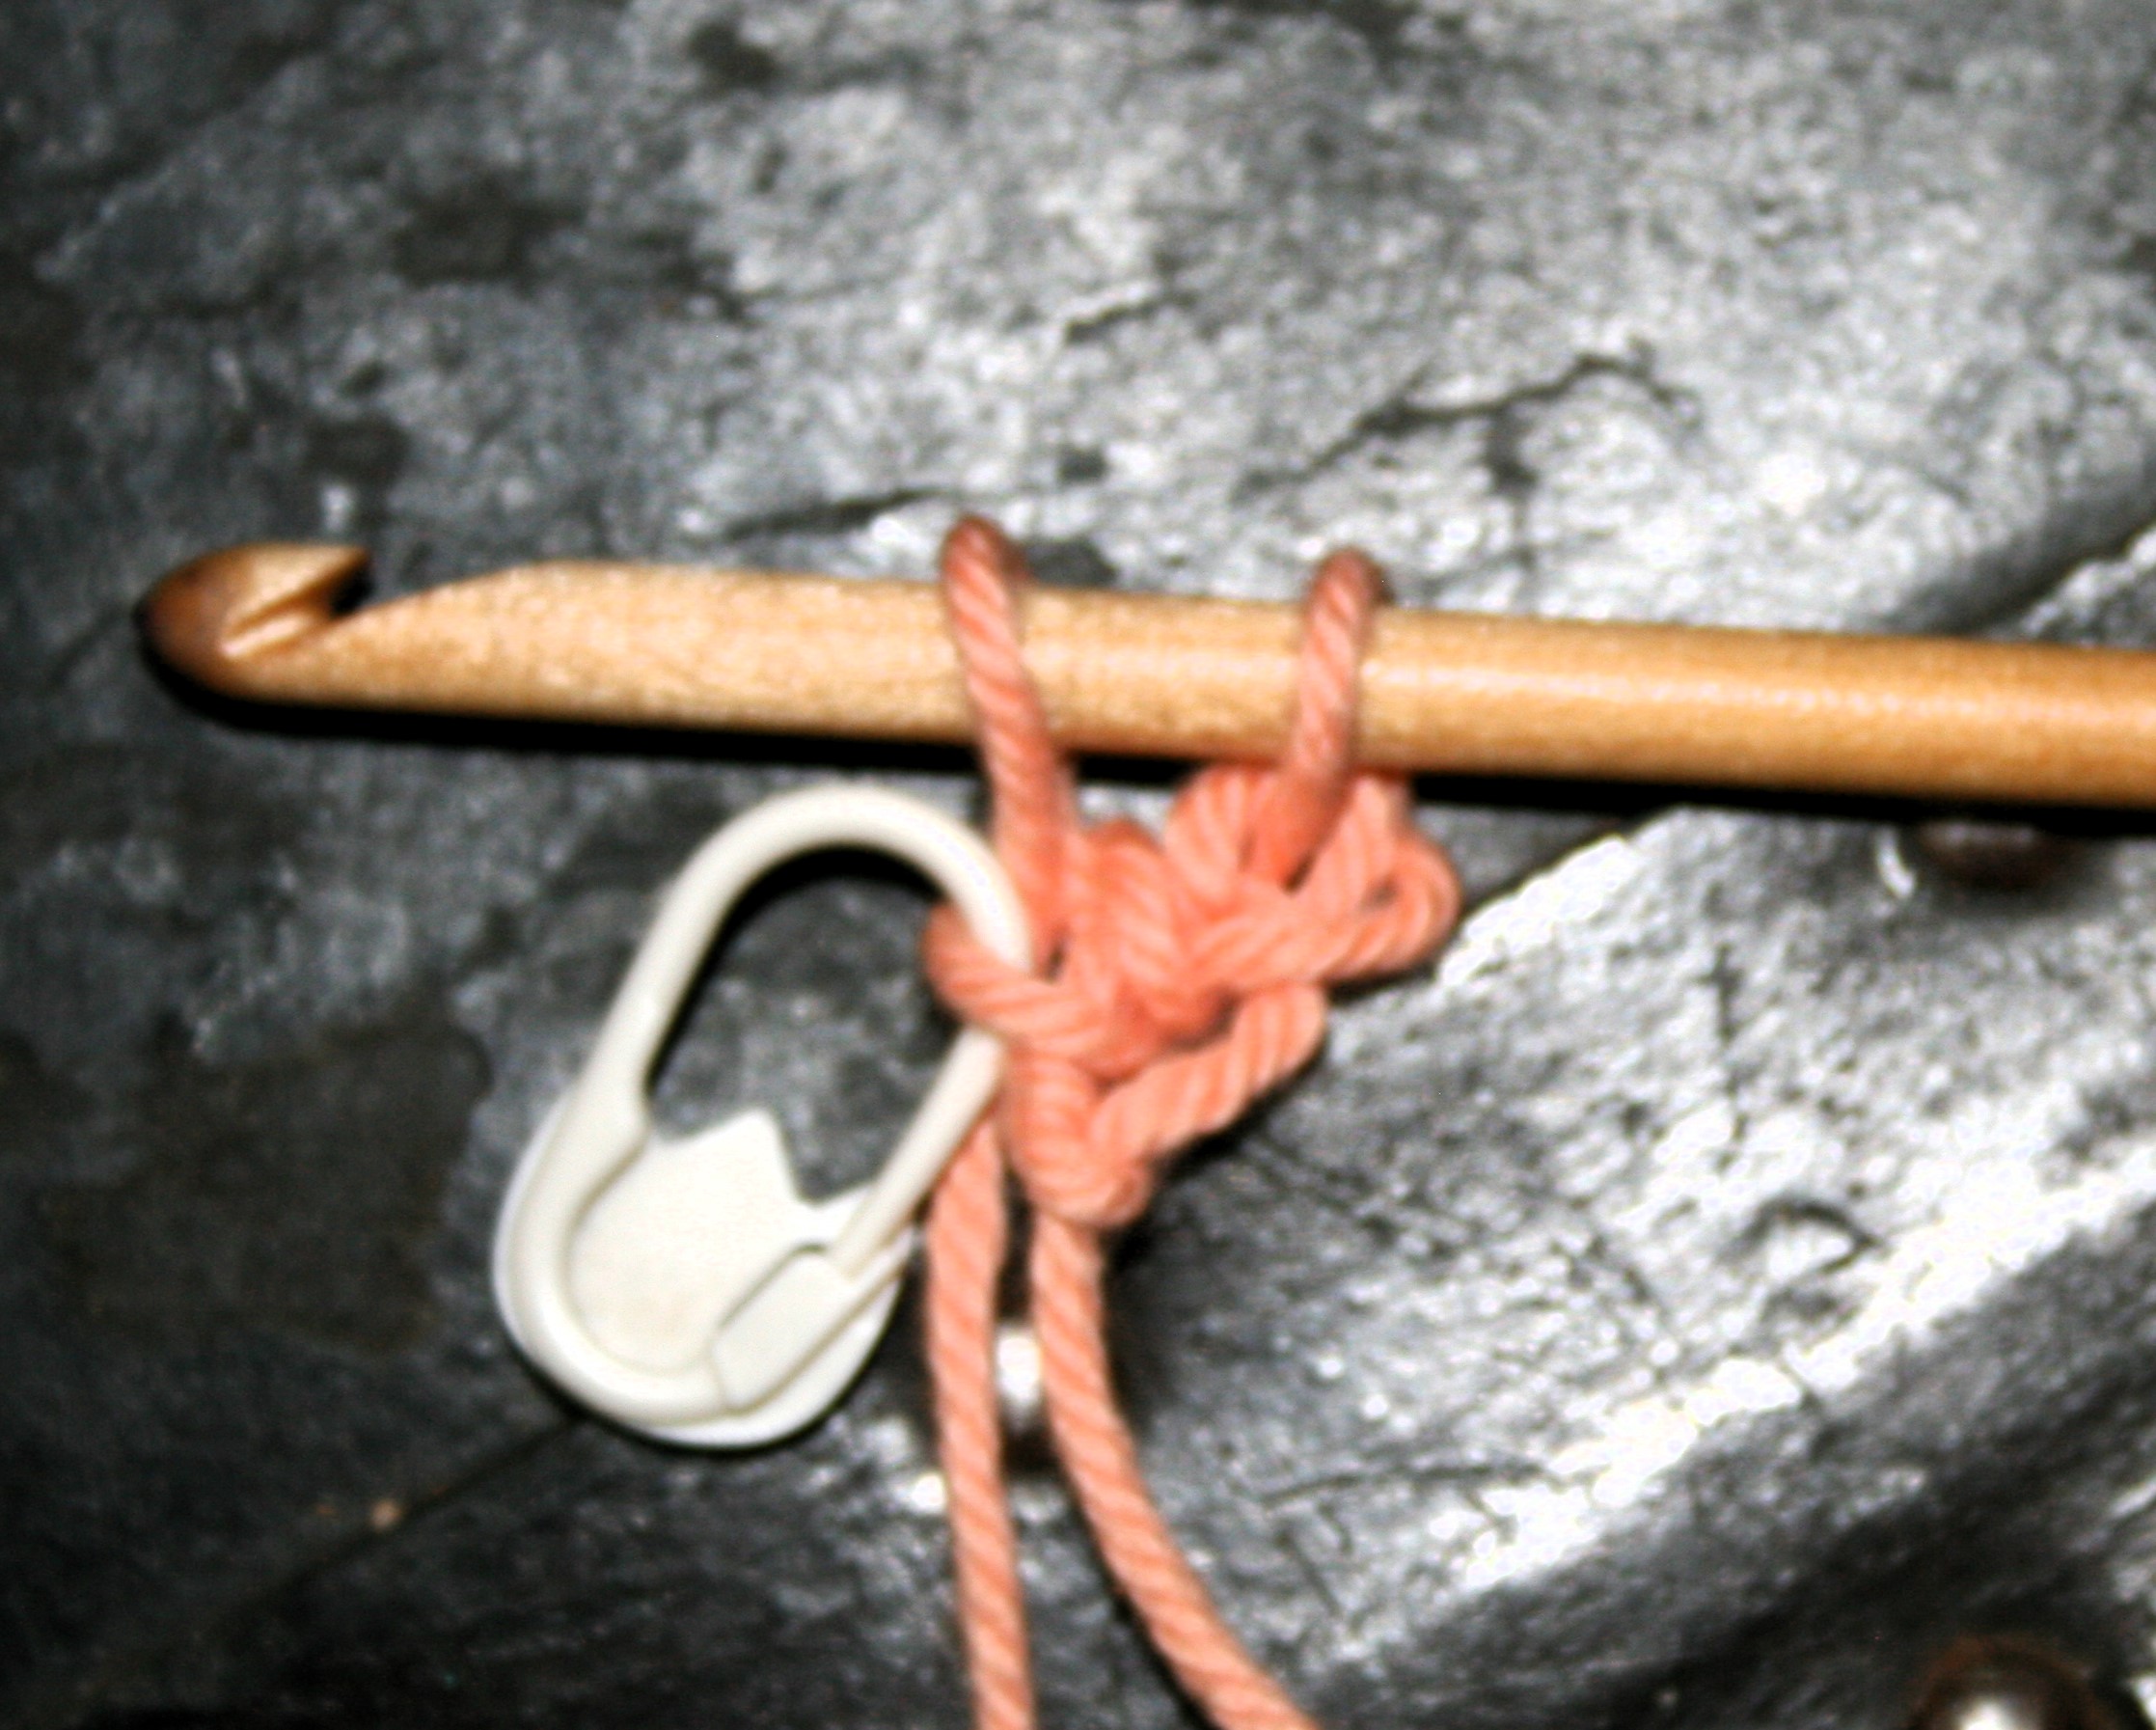
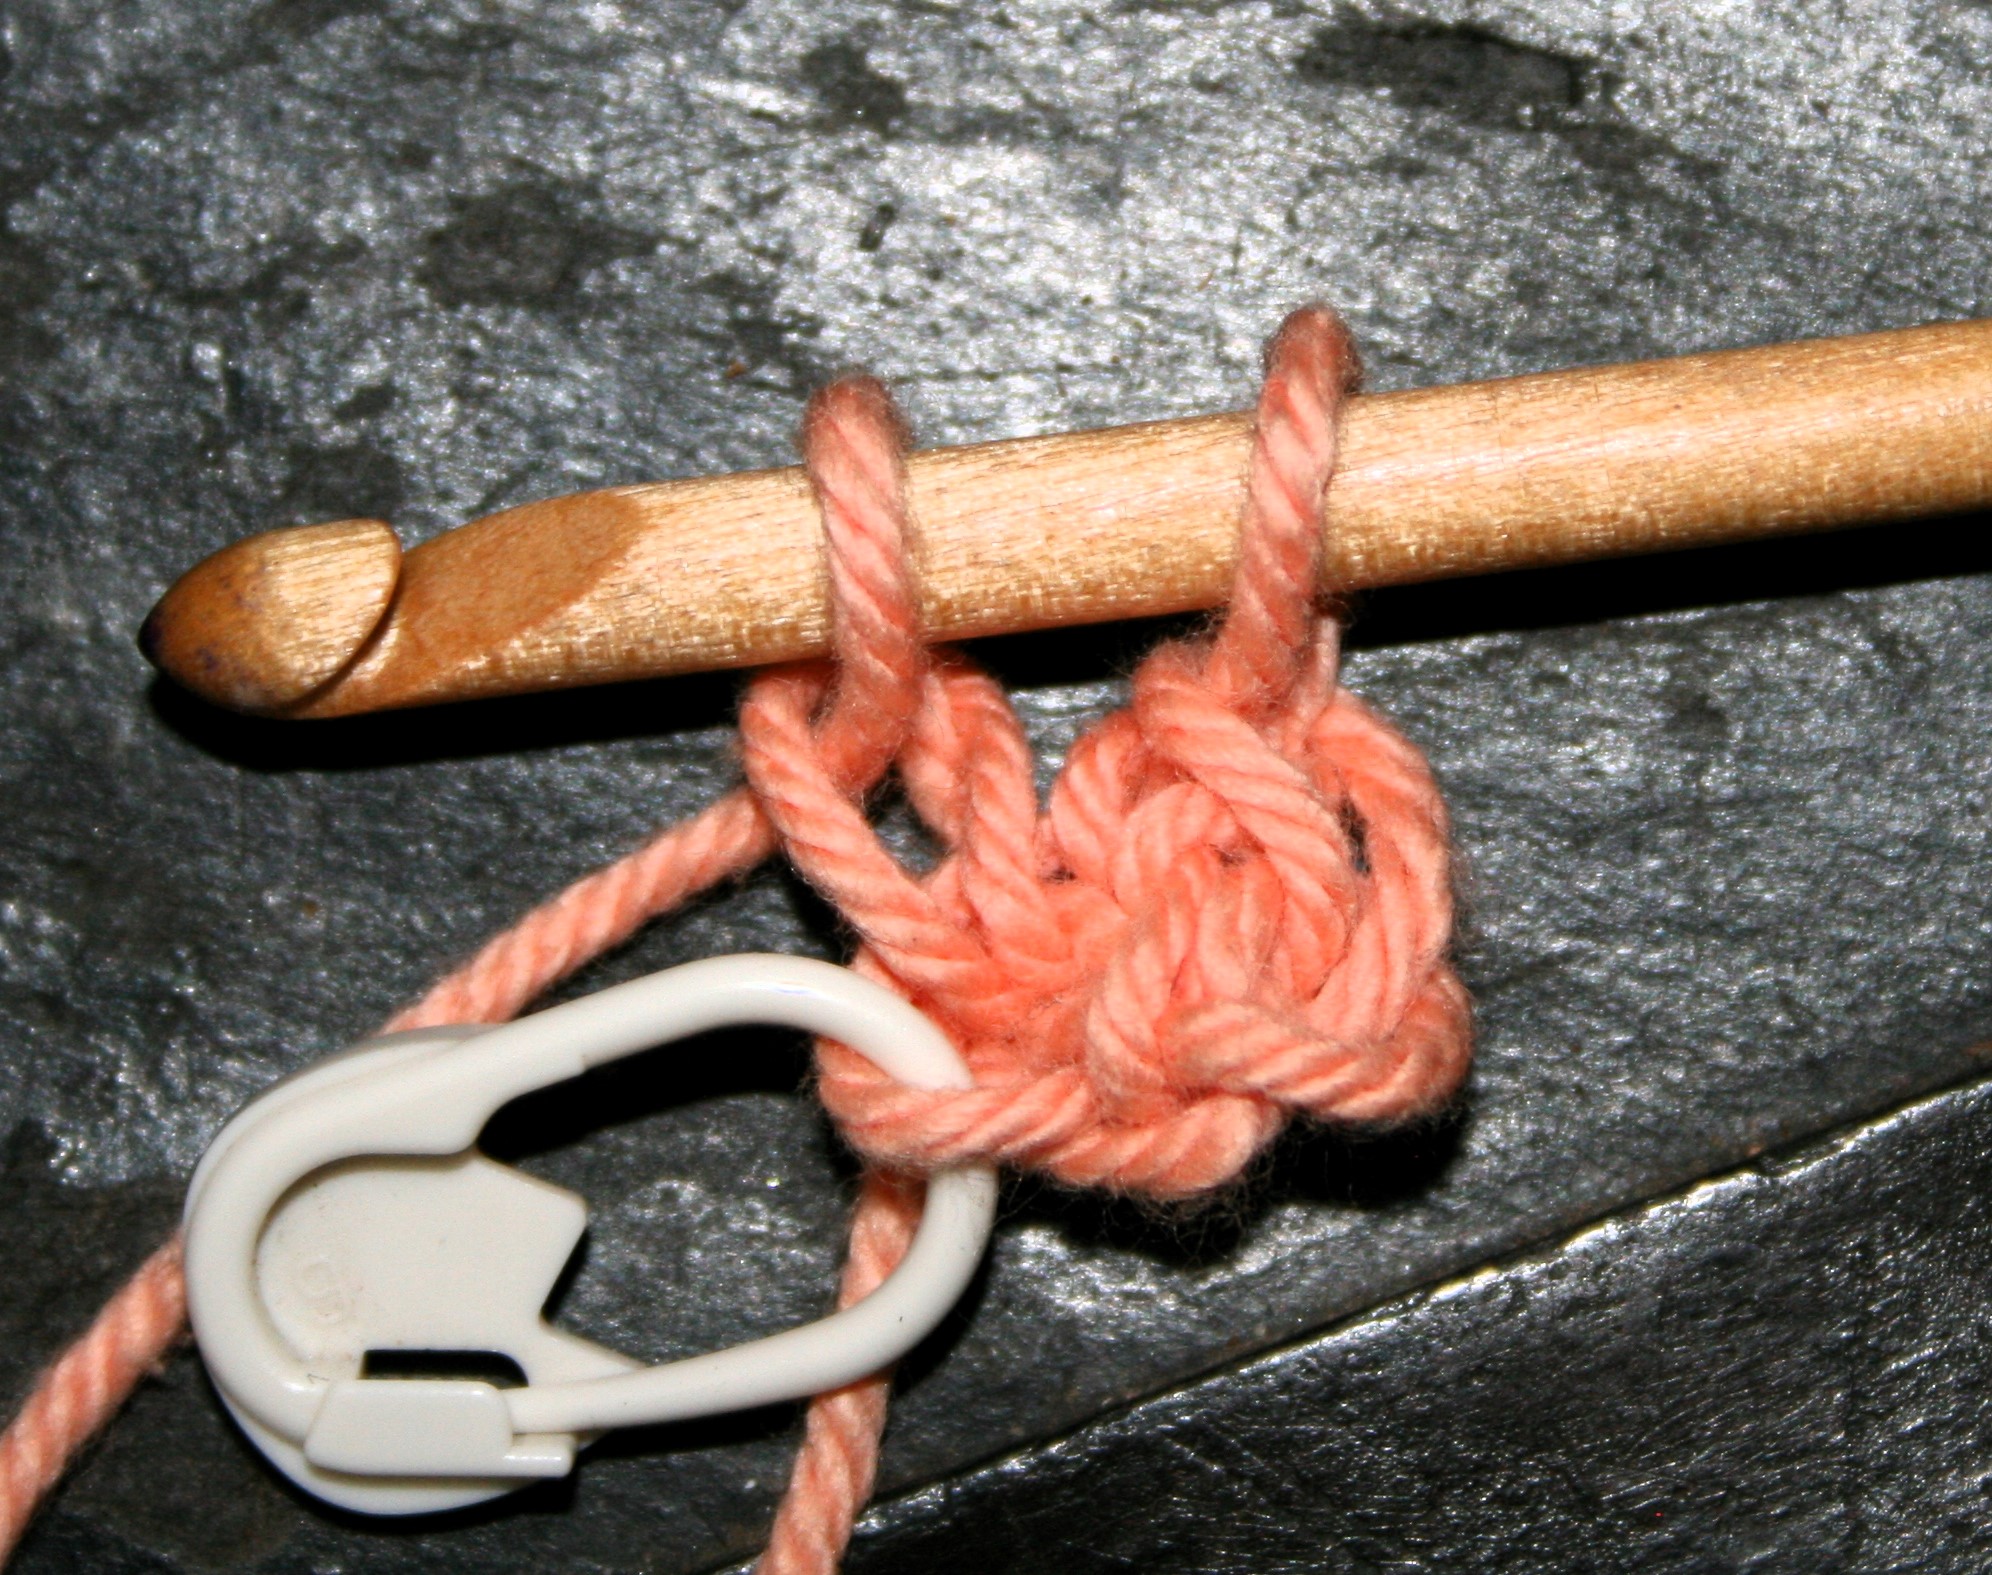
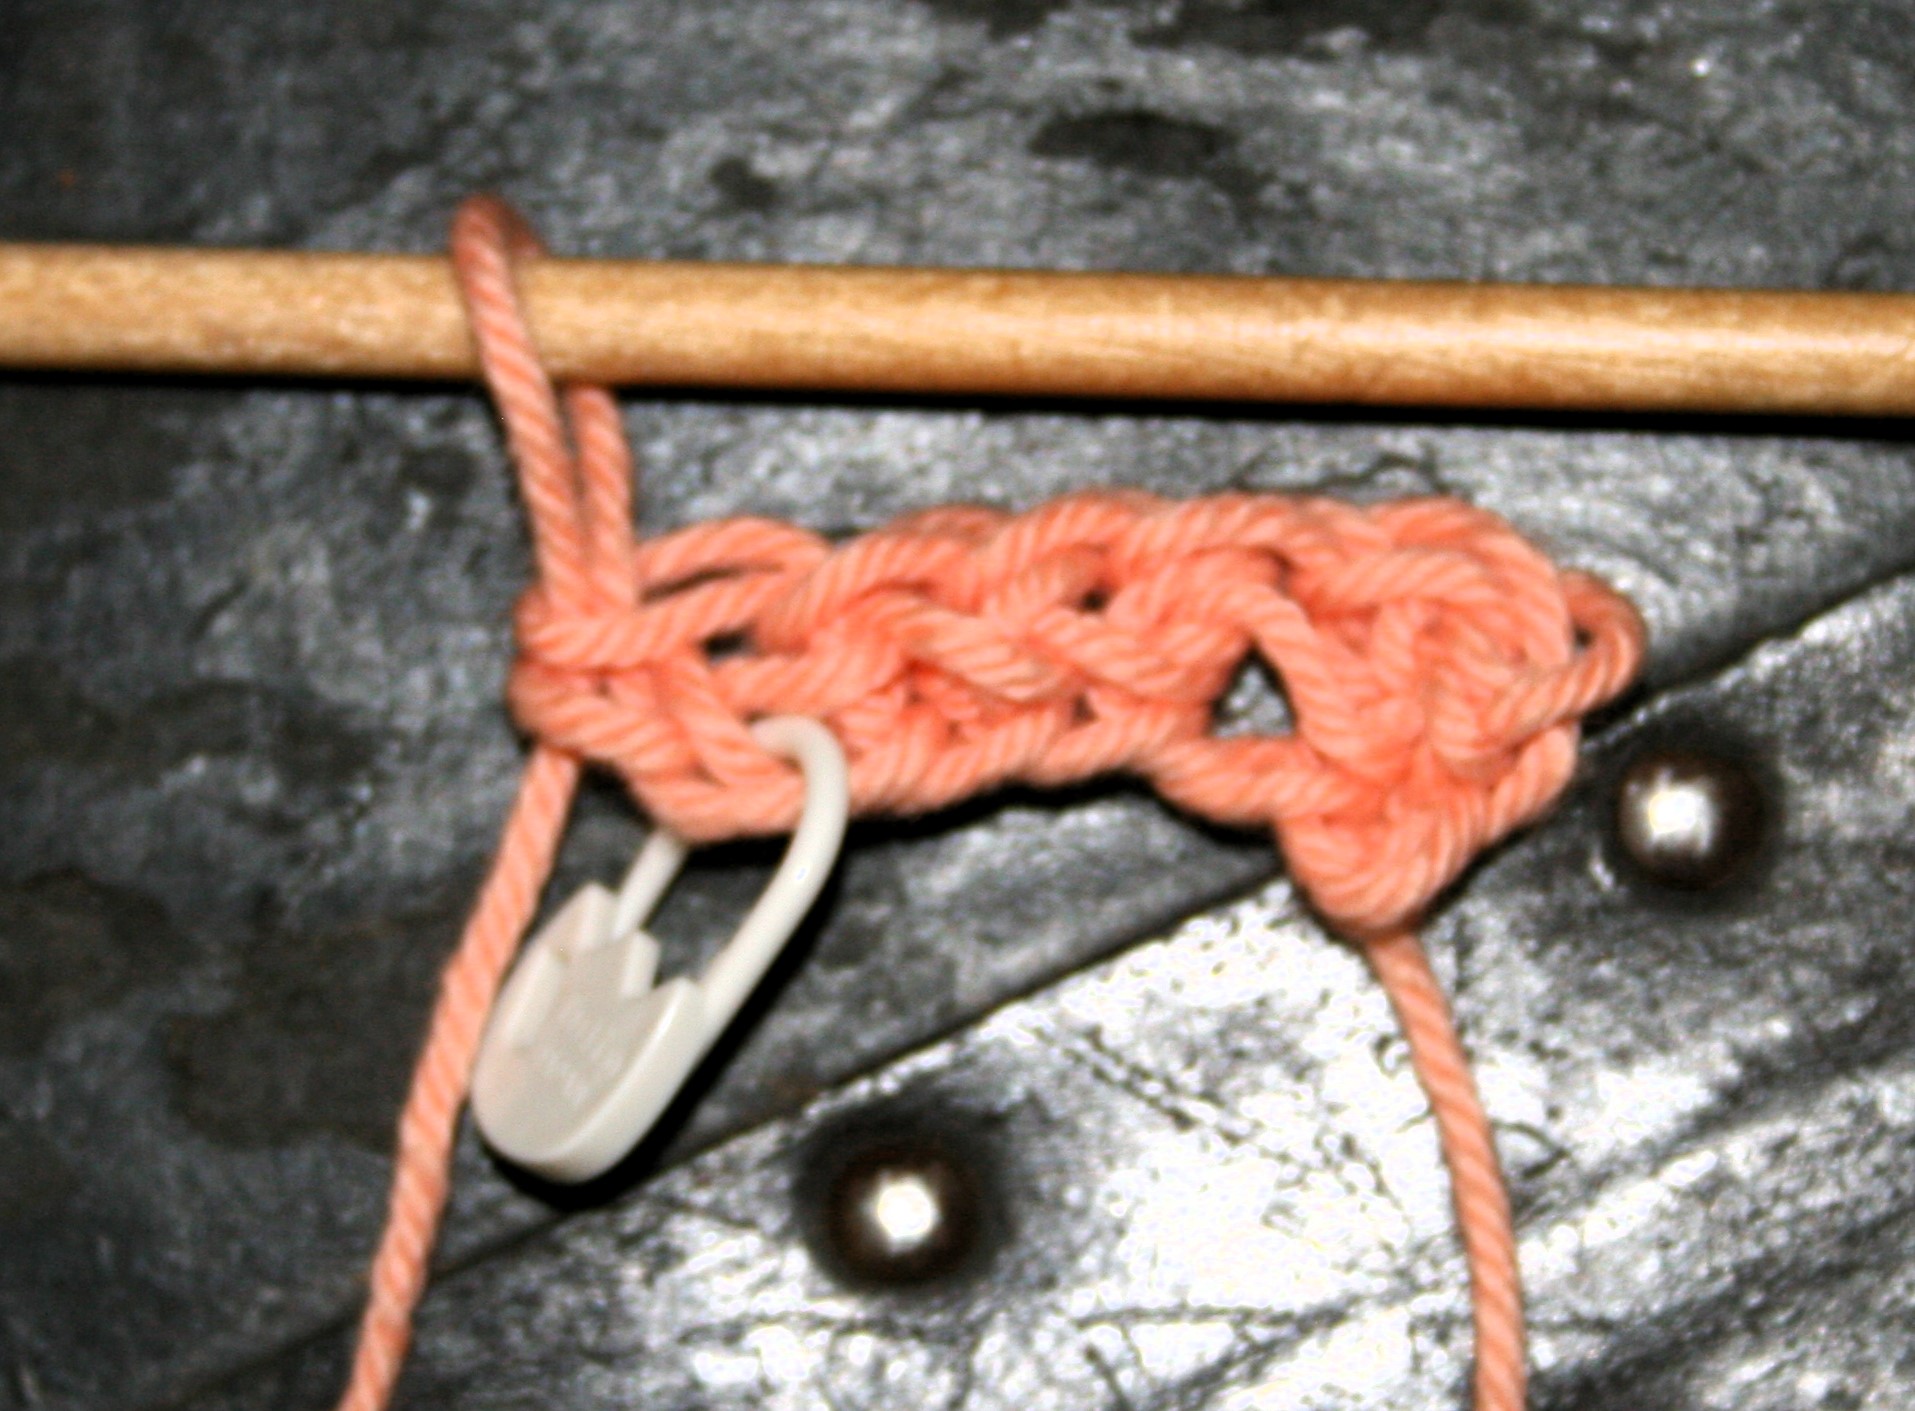
Sdc= Standing double crochet. (If you don’t feel comfortable with this technique, substitute with Slip stitch in indicated stitch, chain 3)

A little more abstract in the color placement

Rnd 1: With A, Ch 4, 2 dc in 4th ch from hook, ch 2, 3 dc in same ch, ch 1, change to B, ch 1, (3 dc, ch 2, 3 dc) in same ch, ch 2, sl st to join, turn. – 12 dc (3 dc per side), 4 ch-2 sps

Rnd 2: Sl st in ch-2 sp, ch 3, dc in same sp, dc in each dc across to ch-2 sp (2 dc, ch 2, 2 dc) in ch-2 sp, dc in each dc across to ch-2 sp, 2 dc in ch-2 sp, ch 1, change to A, ch 1, 2 dc in same ch-2 sp, dc in each dc across to next ch-2 sp, (2dc, ch 2, 2dc) in ch-2 sp, dc in each dc across, 2 dc in ch-2 sp, ch 2, join, turn. Fasten off both colors. –28 dc (7 dc per side), 4 ch-2 sps

Lets change colors

Rnd 3: With C, Sdc in to any solid color ch-2 sp corner, dc in same sp, dc in each dc across, (2dc, ch 2, 2dc) in next ch-2 sp, dc in each st across, 2 dc in next ch-2 sp, ch 1, change to D, ch 1, 2 dc in same sp, dc in each st across, (2 dc, ch 2, 2dc) in next ch-2 sp, dc in each dc across, 2 dc in next ch-2 sp, ch 2, join, turn. –44 dc (11 dc per side), 4 ch-2 sps

Rnd 4: Sl st in ch-2 sp, ch 3, dc in same sp, dc in each dc across to ch-2 sp (2 dc, ch 2, 2 dc) in ch-2 sp, dc in each dc across to ch-2 sp, 2 dc in ch-2 sp, ch 1, change to C, ch 1, 2 dc in same ch-2 sp, dc in each dc across to next ch-2 sp, (2dc, ch 2, 2dc) in ch-2 sp, dc in each dc across, 2 dc in ch-2 sp, ch 2, join, turn. Fasten off both colors. –60 dc (15 dc per side), 4 ch-2 sps

Back to the original colors….if you desire

Rnd 5: With A, Sdc in any solid color ch-2 sp corner (note you can start the color above the same placement of A, or on the opposite side from A in the first round for a different effect), dc in same ch-2 sp, dc in each dc across, (2dc, ch 2, 2dc) in next ch-2 sp, dc in each st across, 2 dc in next ch-2 sp, ch 1, change to B, ch 1, 2 dc in same sp, dc in each st across, (2 dc, ch 2, 2dc) in next ch-2 sp, dc in each dc across, 2 dc in next ch-2 sp, ch 2, join, turn. –76 dc (19 dc per side), 4 ch-2 sps

Rnd 6: Sl st in ch-2 sp, ch 3, dc in same sp, dc in each dc across to ch-2 sp (2 dc, ch 2, 2 dc) in ch-2 sp, dc in each dc across to ch-2 sp, 2 dc in ch-2 sp, ch 1, change to A, ch 1, 2 dc in same ch-2 sp, dc in each dc across to next ch-2 sp, (2dc, ch 2, 2dc) in ch-2 sp, dc in each dc across, 2 dc in ch-2 sp, ch 2, join, turn. Fasten off both colors. –92 dc (23 dc per side), 4 ch-2 sps

Another color change

Rnd 7: With C, Sdc in any solid color ch-2 sp corner (note you can start the color above the same placement of C, or on the opposite side from C in the third round for a different effect), dc in same ch-2 sp, dc in each dc across, (2dc, ch 2, 2dc) in next ch-2 sp, dc in each st across, 2 dc in next ch-2 sp, ch 1, change to D, ch 1, 2 dc in same sp, dc in each st across, (2 dc, ch 2, 2dc) in next ch-2 sp, dc in each dc across, 2 dc in next ch-2 sp, ch 2, join, turn. –108 dc (27 dc per side), 4 ch-2 sps

Rnd 8: Sl st in ch-2 sp, ch 3, dc in same sp, dc in each dc across to ch-2 sp (2 dc, ch 2, 2 dc) in ch-2 sp, dc in each dc across to ch-2 sp, 2 dc in ch-2 sp, ch 1, change to C, ch 1, 2 dc in same ch-2 sp, dc in each dc across to next ch-2 sp, (2dc, ch 2, 2dc) in ch-2 sp, dc in each dc across, 2 dc in ch-2 sp, ch 2, join, turn. Fasten off both colors. –124 dc (31 dc per side), 4 ch-2 sps

The Biker Hooded Poncho- I Do Love You Enough to Work In Black

So, working in black yarn is a trial. This is because it can often be difficult to see the stitches. However when my young adult son asked for a hood poncho in black, how can I really say no? SO I hope you enjoy this working in black poncho pattern.

I have some tips that help to work in black, such as placing a white item (maybe a sheet, pillowcase, or even paper) behind the area I am working. Using some direct lighting, possibly over my shoulder, helps too. Another tip to use large hooks and create a drapey fabric.

This poncho is worked from the neck downward, in the round in a spiral fashion. The first round is worked in a foundation single crochet to have a bit more stretch than a typical beginning chain.

The stitch pattern is a simple single crochet, chain 1, skip 1 stitch. This stitch can sometimes be referred to as the “linen” stitch or “moss” stitch.

The Biker Hooded Poncho by Linda Dean

Skill Intermediate

Gauge 16 sc+ch1 sts/16 rows=4”

Materials

  • K/10 ½ /6.5 mm crochet hook
  • Berroco Vintage medium weight 52% Acrylic/40% Wool/8% Nylon yarn (218yrds/200m/3.5oz/100g) 10 skein color: #5145 Cast Iron

Special Stitches

Fsc: Foundation single crochet (This technique creates a foundation chain and a row of single crochet stitches in one) –

Step 1:Place a slip knot on hook, ch 2, insert hook in 2nd ch from hook and draw up a loop; yarn over and draw through one loop on hook (the “chain”); yarn over and draw through 2 loops on hook (the “single crochet”).

Step 2:Insert hook into the “chain” of the previous stitch and draw up a loop, yarn over and draw through one loop on hook (the “chain”), yarn over and draw through 2 loops on hook (the “single crochet”). Repeat for the length of foundation.

Start the Working in Black Poncho Pattern

Rnd 1: [Fsc 22 times, ch 2] 4 times, sl st to top of first st to join.

Now we start the stitch pattern

Rnd 2: Ch 1, sc in same st, {ch 1, sk 1, [sc in next st, ch 1, sk 1] across to ch-2 sp, (sc, ch 2, sc) in ch-2 sp} rep around, do not join.

Rnd 3: Sc in next ch-1 sp, {ch 1, sk 1, [sc in next ch-1 sp, ch 1, sk 1] across to ch-2 sp, (sc, ch 2, sc) in ch-2 sp} rep around.

Now we just keep repeating….

Rnds 4-78: Rep Rnd 3.

Rnd 79: {Working in back loops only, sc in each sc and ch across to ch-2 sp, (sc, ch 2, sc) in ch-2 sp} rep around.

Rnds 80-81: {Working in back loops only, sc in each sc across to ch-2 sp, (sc, ch 2, sc) in ch-2 sp} rep around. Fasten off.

Working in black poncho pattern- Hood

Row 1: Working on the opposite side of the foundation chain, join at any point opposite the ch-2 sp, ch 1, sc in same sp, [ch 1, sk 1, sc in next st] across to same st as join, turn.

We work the same stitch pattern, but now we work it back and forth instead of in the round- note the beginning and ending changes

Row 2: Ch 1, sc in same st, sc in next ch-1 sp, [ch 1, sc in next ch 1 sp] around to last st, sc in last st, turn.

Row 3: Ch 1, sc in same st, ch 1, [sc in next ch-1 sp, ch 1] across to last 2 sts, sc in last st, turn.

Some more repeating

Rows 4-70: Rep Rows 2-3. Fasten off.

Fold the last row in half so that the last st and first st are together. Seam along row.

Hood Edging

Rnd 1: Working in the edge of the rows of hood, with RS facing, join to Row 1, sc in each row end around, do not join.

Rnds 2-4: Working in the back loop of sts, sc in each st around. Fasten off.

Granny Square – Some Ideas and New Approaches.

Granny Squares never really go out of fashion, but there are times they are all the rage. We are entering the rage time.

There are many ways to work a traditional granny square. They can be worked as one color or many. They can be work as join-as-you-go or sewn together later. Even the relatively simple stitch pattern as some variation.

I have stumbled across some techniques that I find handy when creating granny squares. When working in one color I prefer either working in the continuous round, or working half a corner and joining with a crochet stitch instead of a chain (this places the working yarn in the center of the corner without having to slip stitch across).

When working different colors each round I have found that joining with standing stitches really helps to give a nice clean look.

If you would like to try a hand at the granny square, check out this free pattern for my Granny Mug Jacket.

Granny Square Free Pattern

Granny Mug Jacket         by Linda Dean

Embrace autumn and crochet classics with this Granny Square Mug Jacket. This design is simple, classic, and stylish all wrapped together.

Size 3” tall x 9” wide  Skill beginning Materials G/6/4.00mm crochet hook, 4 colors Jamieson’s Naturally Shetland Double Knitting yarn Gauge Motif=3″x3″

Motif (make 3)

Rnd 1: Ch 4, 2 dc in 4th ch from hook, ch 2, [3 dc in same st, ch 2] 3 times, join, fasten off. 

Rnd 2: Join to any ch-2 sp, ch 3, 2 dc in same st, ch 2, 3 dc in same sp, ch 1, [(3 dc, ch 2, 3 dc) in next ch-2 sp) ch 1] 3 times, join, fasten off.

Are you changing colors?

Rnd 3: Join to any ch-2 sp, ch 3, 2 dc in same st, ch 2, 3 dc in same sp, 3 dc in ch-1 sp [(3 dc, ch 2, 3 dc) in next ch-2 sp), 3 dc inch-1 sp] 3 times, join, fasten off.

Lets get ready to join

Rnd 4: Join to any ch-2 sp, ch 1, (sc, ch 2, sc) in same sp, sc in each st across to ch-2 sp, [(sc, ch 2, sc) in ch-2 sp, sc in each st across to ch-2 sp] 2 times, join, fasten off.

Join Motifs together creating a strip.

Weave in ends. Block as desired.

Two Different Closures

Edging

Loop Closure

Joint to any ch-2 corner, to work down the long edge, ch 1, sc in same sp,  sl st in each st along long edge to other corner, sc in corner, ch  15, sk entire short edge of rectangle, sc in next corner, sl st  across long edge of rectangle, sc in corner, ch 5, sl st to first sc. Fasten off.

Button Closure

Join to any ch-2 corner to work down the short edge, ch 1, sc in same corner, sc in next 2 sts, ch  10,  sc in next 6 sts, ch 10,  in rem sts on side to corner, sl st in each st around rectangle to first sc, join.  Fasten off.

Sew two  ½” buttons on the opposite side of the loops.

Info about the photo

So whenever I put up photos that show my kitchen counters, I get questions. It is a granite countertop, but the most questions come up about my back splash. It is actually tin that is treated to look like copper, and comes from the company American Tin Ceiling. I have had it for several years, it is easy to maintain and cheaper then tile, not to mention easier to install. No, I get no kick backs from this company, but I usually get a lot of questions.

Creating Foundation Stitches in Crochet

Changing most foundation rows into a Foundation Stitches can be done relatively easy.

A Foundation Stitch in crochet is when you create the chain and the stitch at the same time, instead of creating a chain and working into it. It creates a stitch with beginning with more stretch, and you do not have to count chains.

Row of Foundation Double Crochet

Starting

To start you will need to create a chain that is the equivalent of the turning chain for the stitch used, plus 1 more. Meaning if you are creating a single crochet foundation row, a single crochet typically uses a chain 1 to turn a row, so you would chain 1 + 1 more thus having a chain 2.

If you were creating a double crochet the typical turning chain is a chain 3, and then you would add 1 more chain. So to work a Foundation Double crochet chain 4.

Then begin working the stitch in the first chain created, this is the chain nearest the slip knot. After “anchoring” (yo and pull through a loop) in this chain, create a chain 1. This chain 1 is going to be the base of the stitch and where you will start working the next stitch, so I pinch this point, but inserting a stitch marker can help as you are learning to find the location again. After creating this chain 1, continue working the remaining steps for the desired stitch.

The “chain 1” that is marked or pinched, is where you will start the next stitch, insert your hook here under 2 loops for a nicer finished edge. “anchor” the stitch, and then chain 1 again, moving marker to or pinching this new chain, and finishing the stitch. Once again, this newly marker chain is where you will work the next stitch.

After you understand this concept of “anchoring”, create a chain, and finish a stitch; essentially creating the chain at the bottom of the stitch (much like an extended stitch but instead of adding height it is used as a base for the stitch), you can modify many differing foundation rows.

Creating Foundation Stitches- Single Crochet

  • Chain 2
  • Insert hook into 2nd chain from hook
  • Yarn over, pull up a loop
  • Chain 1 (mark or pinch this chain)
  • Yarn over, pull through 2 loops on hook.
  • *Insert hook into marked or pinched chain
  • Yarn over, pull up a loop,
  • Chain 1 (move marker to or pinch this chain)
  • Yarn over, pull through 2 loops on hook.
  • Repeat from * until desired length

Foundation Double Crochet

  • Chain 4
  • Yarn over, insert hook into 4th chain from hook
  • Yarn over, pull up a loop
  • Chain 1 (mark or pinch this chain)
  • [Yarn over, pull through 2 loops on hook] twice
  • *Yarn over, insert hook into marked or pinched chain
  • Yarn over, pull up a loop
  • Chain 1 (move marker to or pinch this chain)
  • [Yarn over, pull through 2 loops on hook] twice
  • Repeat from * until desired length

Diamonds Reflected Block- Moogly CAL 2024

I love starting the New Year with the Moogly CAL! (Check out all the blocks for the year here). If you are new to the CAL check out Moogly’s version of this block, and her notes here.

Diamonds Reflected Block will seem a bit wonky until it is blocked, so do not get discouraged early on. The other thing that will help with the “wonkiness” is to ensure that you are pulling the long loops up to the height of the working row. If these loops are too short they squish the fabric down and cause puckering.

I was inspired to work the Diamonds Reflected during my family’s trip to the Grand Canyon just after Christmas. It was my first time to visit, and it is an inspiring place. I was even swatching up some ideas for this block with flying in a helicopter over the North Rim. And yes, I was looking out the window too. Fortunately I don’t have the seat with the glass floor…my husband had that…I don’t know how well my “I don’t have a fear of heights” statement would succeed in that seat.

If you want to follow along in my journeys join my monthly newsletter here, or join one of my classes.

Diamonds Reflected Block

Materials

  • Red Heart With Love medium weight 100% acrylic yarn colors: (A) #1538 Lilac, (B) #1207 Cornsilk, (C) #1907 Boysenberry, (D) #1304 Santorini
  • J/10/6.00mm crochet hook

Special Stitfches and Notes

Ssc= Standing single crochet

Long Loop Single Crochet (LLsc): Insert hook in indicated stitch, yo, pull a long loop up to height if the working row, yo, pull through 2 loops. (Need a visual, check out how I use this technique in a Spike Stitch Leaf)

Pattern

Rnd 1: With A, Ch 2, sc in 2nd ch from hook, 2 sc in same st, ch 2, [3 sc, ch 2] 3 times, sl st to join. – 12 sc (3 sc per side), 4 ch-2 sps

Rnd 2: Ch 1, sc in same st, sc in each st across to ch-2 sp [(sc, ch 2, sc) in ch-2 sp,  sc in each st across] 3 times, (sc, ch 2, sc) in ch-2 sp, sc in rem sts to beg st, sl st to join. –20 sc (5 sc per side), 4 ch-2 sps

Rnd 3-5: Rep Rnd 2. Fasten off after Rnd 5. – 44 sc (11 sc per side) , 4 ch-2 sps

Start the long loops

Rnd 6: With B, join with a ssc to any ch-2 sp, ch 2, sc in same sp, sc in next 2 sts, LLsc in next st 1 Rnd below working Rnd, LLsc in next st 2 Rnds below working Rnd, LLsc in next st 3 Rnds below working Rnd, LLsc in next st 4 Rnds below working Rnd, LLsc in next st 3 Rnds below working Rnd, LLsc in next st 2 Rnds below working Rnd, LLsc in next st 1 Rnd below working Rnd, sc in last 2 sts, (sc, ch 2, sc) in ch-2 sp, [sc in next 2 sts, LLsc in next st 1 Rnd below working Rnd, LLsc in next st 2 Rnds below working Rnd, LLsc in next st 3 Rnds below working Rnd, LLsc in next st 4 Rnds below working Rnd, LLsc in next st 3 Rnds below working Rnd, LLsc in next st 2 Rnds below working Rnd, LLsc in next st 1 Rnd below working Rnd, sc in last 2 sts] 3 times, sl st to join.– 24 sc, 4ch-2 sps, 28 LLsc sts

Rnds 7-10: Rep Rnd 2. Fasten off at the end of Rnd 10. – 84 sc (21 sc per side), 4 ch-2 sps

You should start seeing the diamonds…

Rnd 11: With C, join with a ssc to any ch-2 sp, ch 2, sc in same sp, sc in next 3 sts, LLsc in next st 1 Rnd below working Rnd, LLsc in next st 2 Rnds below working Rnd, LLsc in next st 3 Rnds below working Rnd, LLsc in next st 4 Rnds below working Rnd, LLsc in next st 3 Rnds below working Rnd, LLsc in next st 2 Rnds below working Rnd, LLsc in next st 1 Rnd below working Rnd, sc in next st, LLsc in next st 1 Rnd below working Rnd, LLsc in next st 2 Rnds below working Rnd, LLsc in next st 3 Rnds below working Rnd, LLsc in next st 4 Rnds below working Rnd, LLsc in next st 3 Rnds below working Rnd, LLsc in next st 2 Rnds below working Rnd, LLsc in next st 1 Rnd below working Rnd, sc in next 3 sts, [(sc, ch 2, sc) in ch-2 sp, sc in next 3 sts, LLsc in next st 1 Rnd below working Rnd, LLsc in next st 2 Rnds below working Rnd, LLsc in next st 3 Rnds below working Rnd, LLsc in next st 4 Rnds below working Rnd, LLsc in next st 3 Rnds below working Rnd, LLsc in next st 2 Rnds below working Rnd, LLsc in next st 1 Rnd below working Rnd, sc in next st, LLsc in next st 1 Rnd below working Rnd, LLsc in next st 2 Rnds below working Rnd, LLsc in next st 3 Rnds below working Rnd, LLsc in next st 4 Rnds below working Rnd, LLsc in next st 3 Rnds below working Rnd, LLsc in next st 2 Rnds below working Rnd, LLsc in next st 1 Rnd below working Rnd, sc in next 3 sts] 3 times, sl st to join. –36 sc, 56 LLsc, 4 ch-2 sps

Rnds 12-15:  Rep Rnd 2. Fasten off after Rnd 15. –124 sc (31 sc per side), 4 ch-2 sps

Last time with the long loops…

Rnd 16: With D, join with a ssc to any ch-2 sp, ch 2, sc in same sp, sc in next 4 sts, LLsc in next st 1 Rnd below working Rnd, LLsc in next st 2 Rnds below working Rnd, LLsc in next st 3 Rnds below working Rnd, LLsc in next st 4 Rnds below working Rnd, LLsc in next st 3 Rnds below working Rnd, LLsc in next st 2 Rnds below working Rnd, LLsc in next st 1 Rnd below working Rnd, [sc in next st, LLsc in next st 1 Rnd below working Rnd, LLsc in next st 2 Rnds below working Rnd, LLsc in next st 3 Rnds below working Rnd, LLsc in next st 4 Rnds below working Rnd, LLsc in next st 3 Rnds below working Rnd, LLsc in next st 2 Rnds below working Rnd, LLsc in next st 1 Rnd below working Rnd] 2 times sc in next 3 sts, {(sc, ch 2, sc) in ch-2 sp, sc in next 4 sts, LLsc in next st 1 Rnd below working Rnd, LLsc in next st 2 Rnds below working Rnd, LLsc in next st 3 Rnds below working Rnd, LLsc in next st 4 Rnds below working Rnd, LLsc in next st 3 Rnds below working Rnd, LLsc in next st 2 Rnds below working Rnd, LLsc in next st 1 Rnd below working Rnd, [sc in next st, LLsc in next st 1 Rnd below working Rnd, LLsc in next st 2 Rnds below working Rnd, LLsc in next st 3 Rnds below working Rnd, LLsc in next st 4 Rnds below working Rnd, LLsc in next st 3 Rnds below working Rnd, LLsc in next st 2 Rnds below working Rnd, LLsc in next st 1 Rnd below working Rnd] 2 times sc in next 3 sts, (sc, ch 2, sc) in ch-2 sp} 3 times, sl st to join. –48 sc, 84 LLsc, 4 ch-2 sps

Rnds 17-18: Rep Rnd 2. Fasten Off. Weave in ends. Block.