I am really honored to be part of the 2019 Holiday Stashdown. This is the fifth year, that you have weeks worth of pattern to help you work through your stash and get some of your holiday gifts created, and have the opportunity to win prizes.
If you have missed any of the patterns so far, well head over to Underground Crafter and find the entire list of participants.
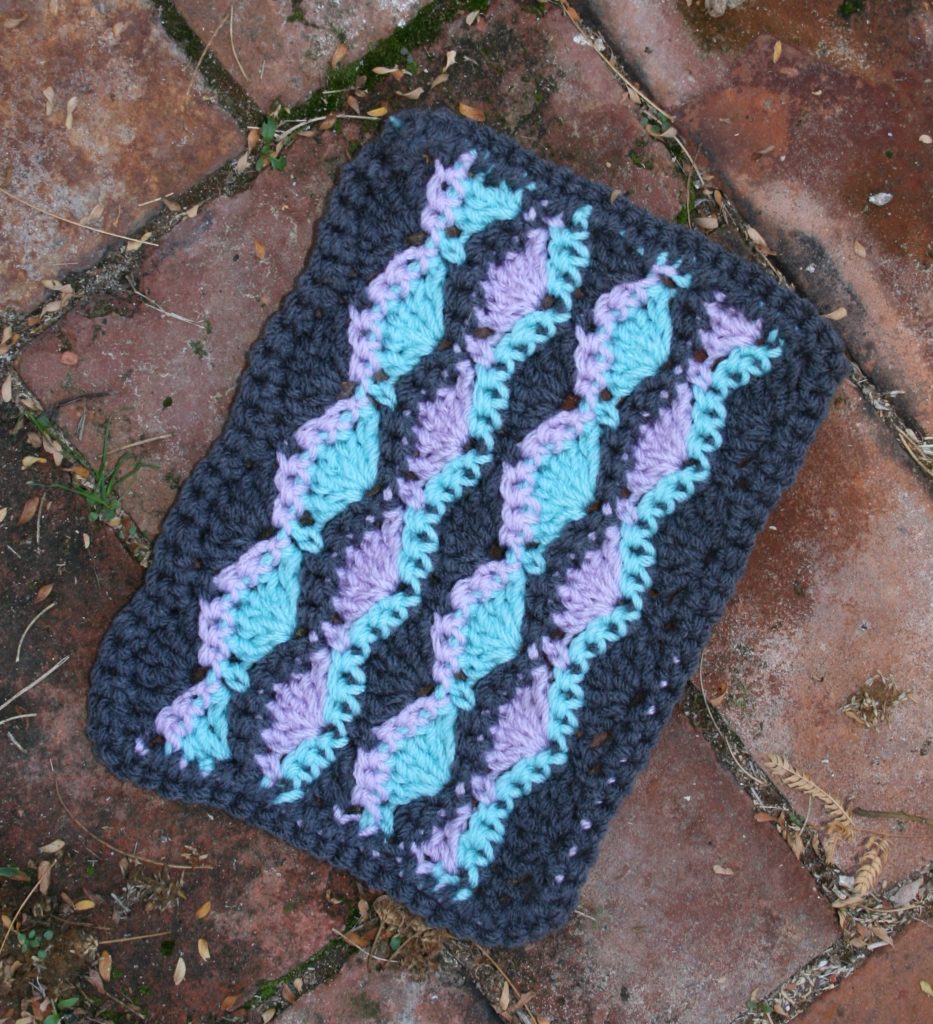
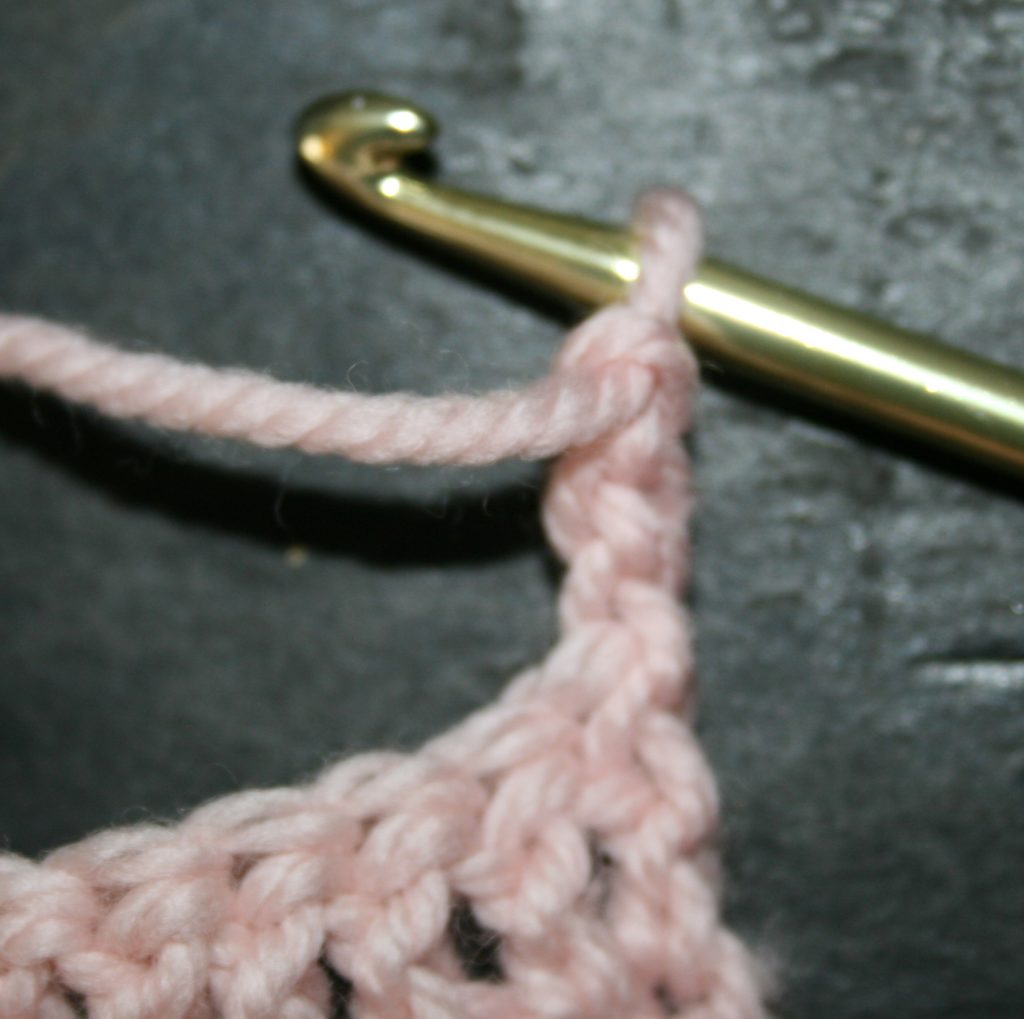
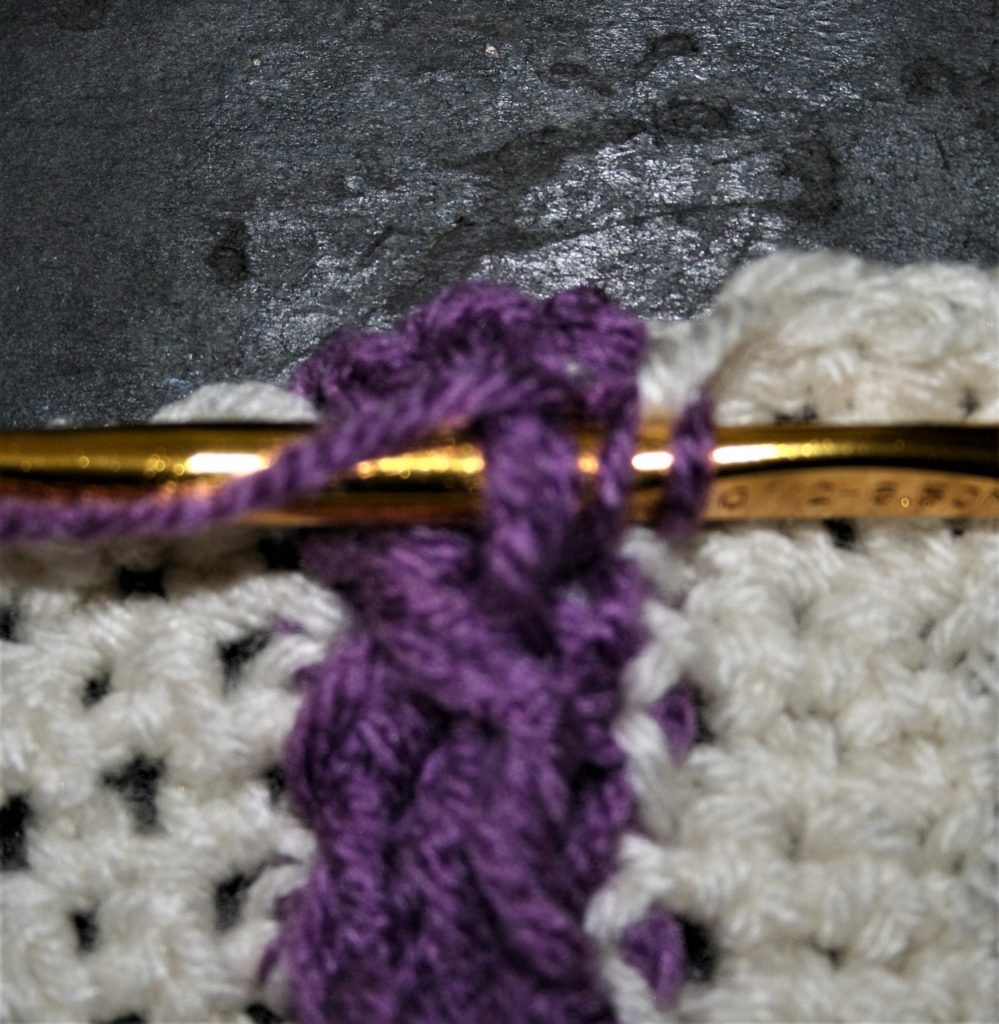
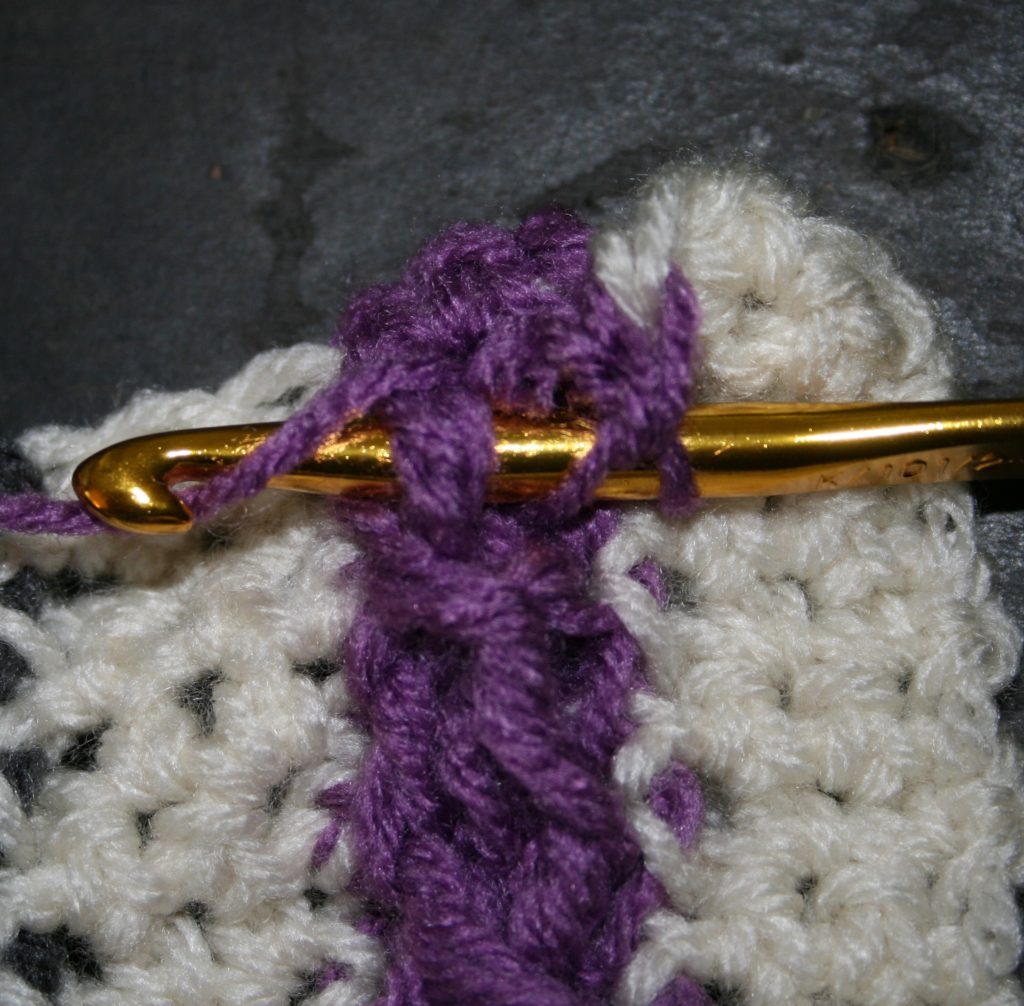
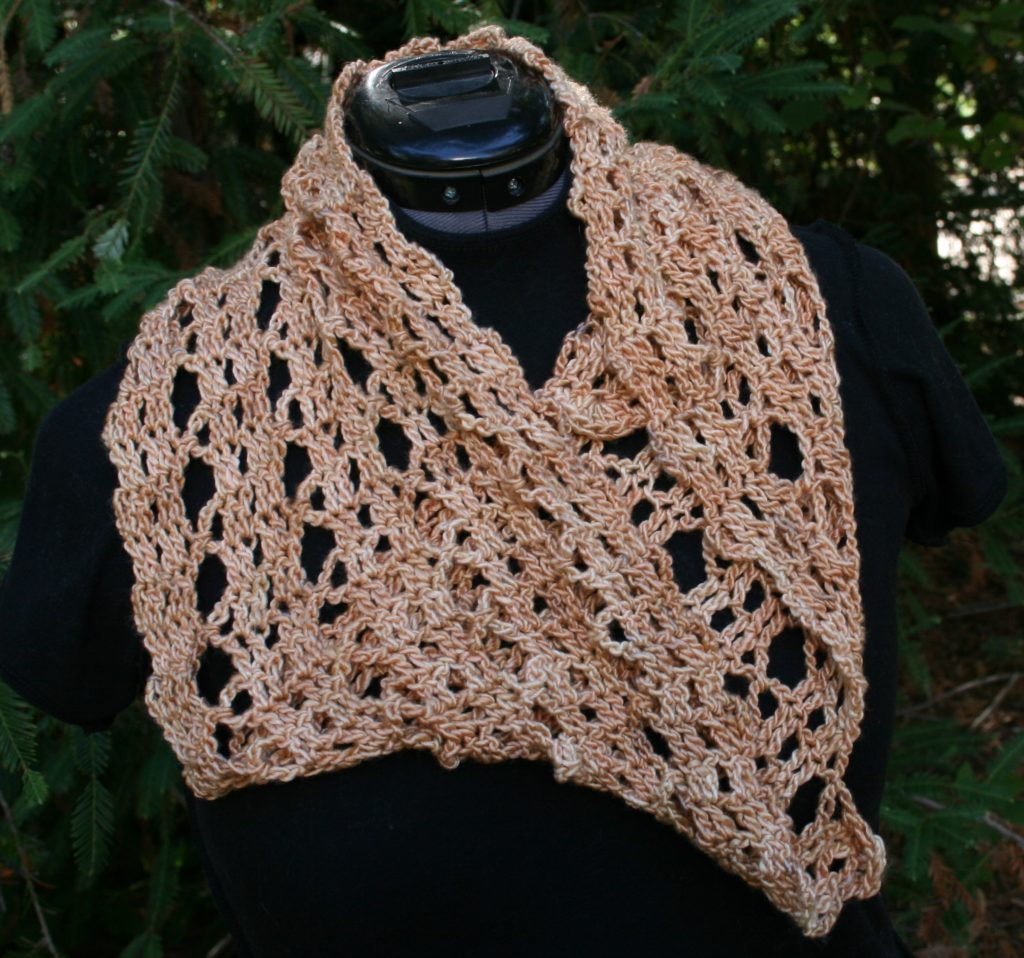
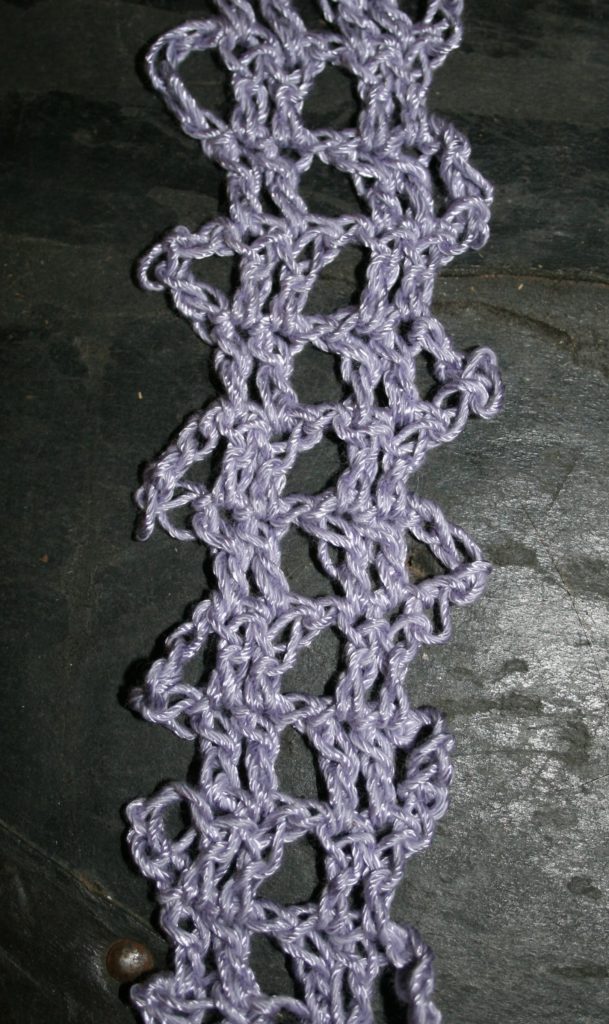
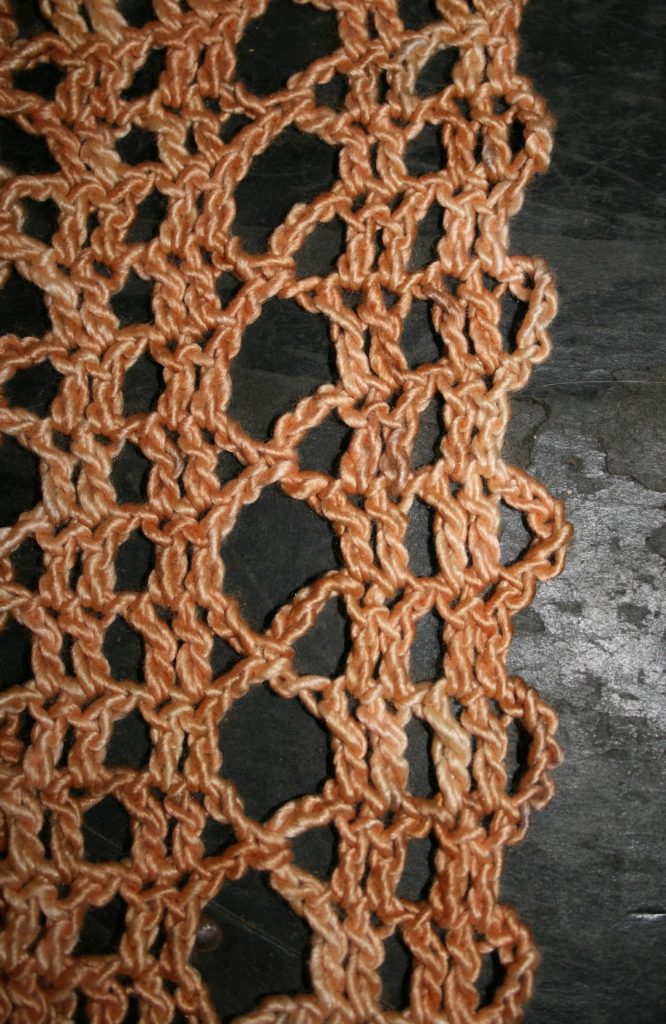
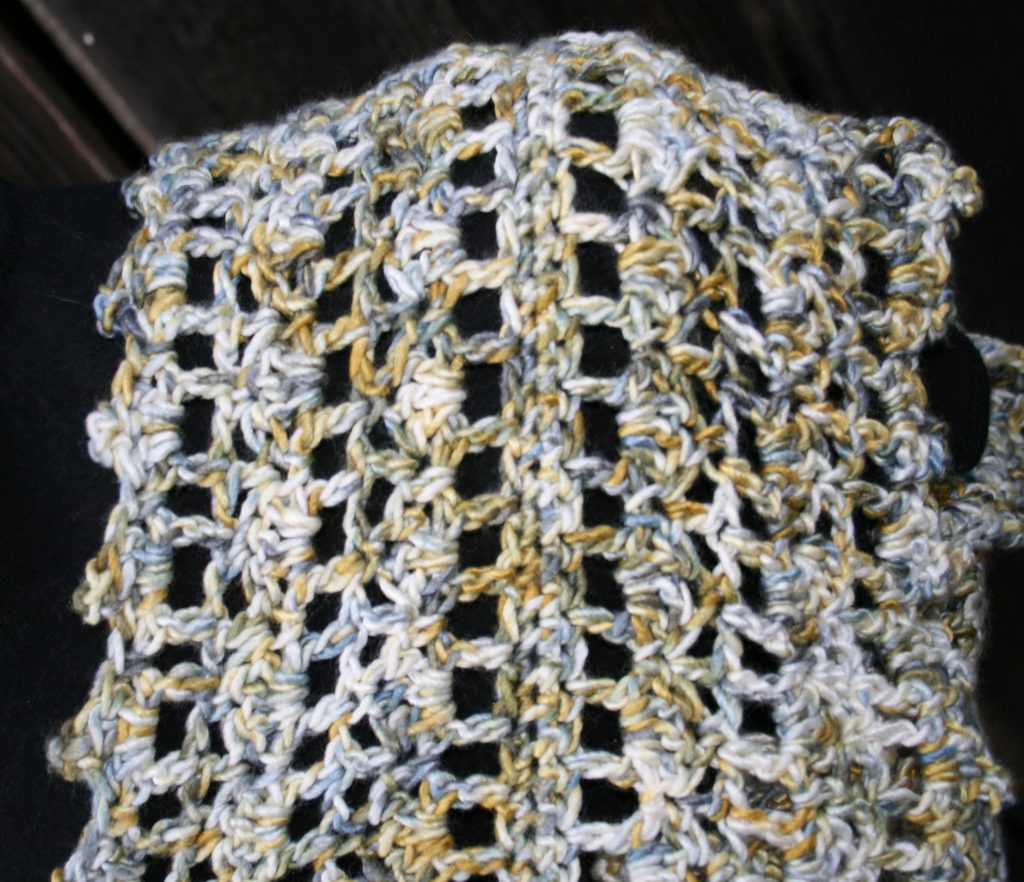
For my part, I have created a quick cowl, it is worked from the center out with a twist. This makes for only a few rounds, but they are longer than you would expect, since you are almost creating two rounds at once.
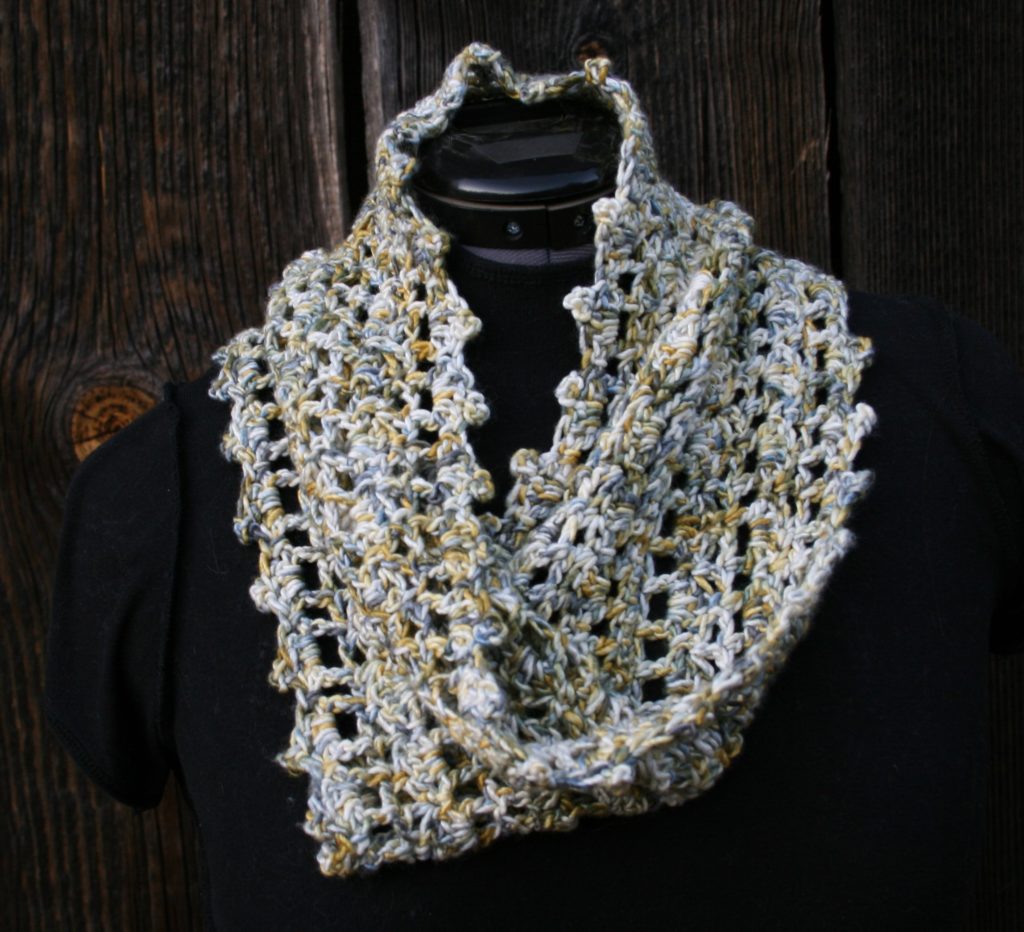
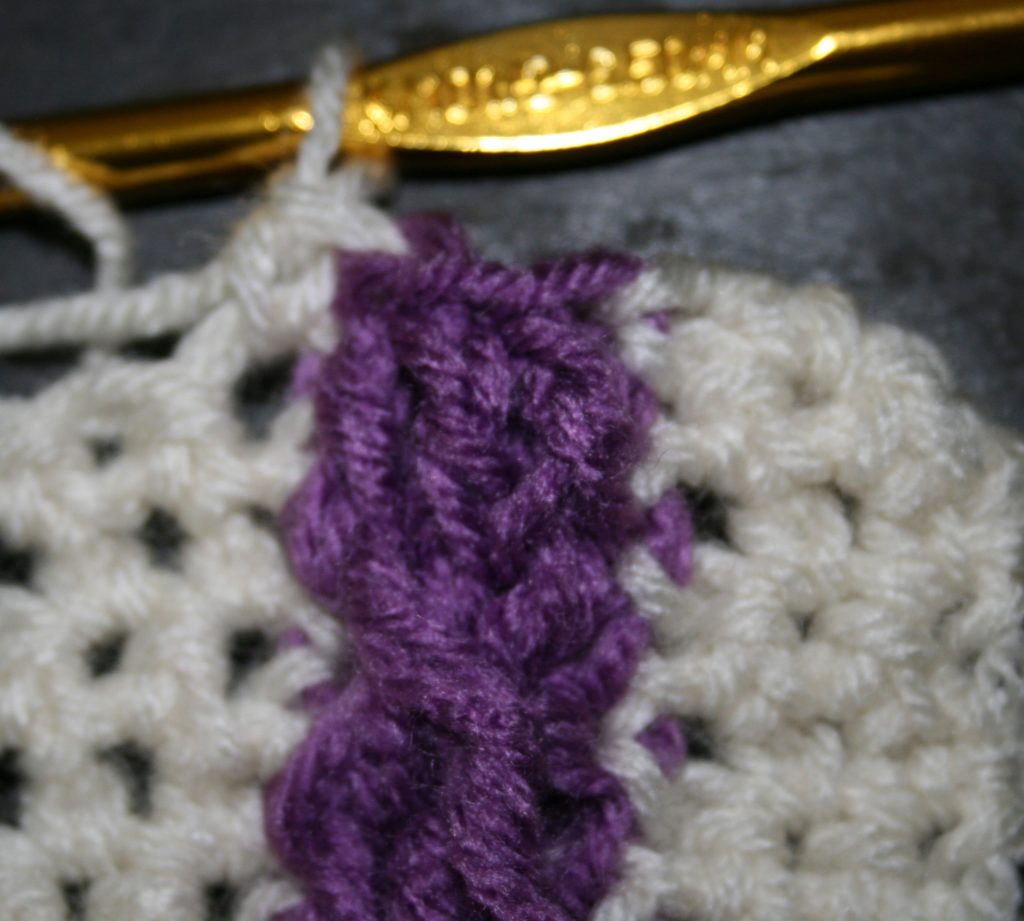
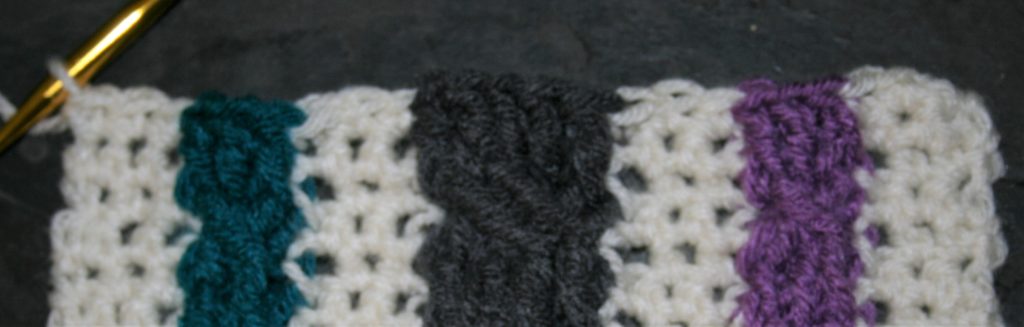
This pattern works up in a medium weight yarn, and in my personal feeling has a bit of a regal feel, maybe it is the picot on the edge, but I know I will be keeping this one myself and wearing it this winter.
Sovereign Cowl
Size: 31” around x 9” tall (79 x 23 cm)
Gauge
14 sts/ 3 full rounds
Materials
- K/10 ½/6.5mm
- Lisa Souza Max medium weight 50% silk, 50% Merino wool yarn (291yrds/3.58oz) 1 skein, sample color Bhutan
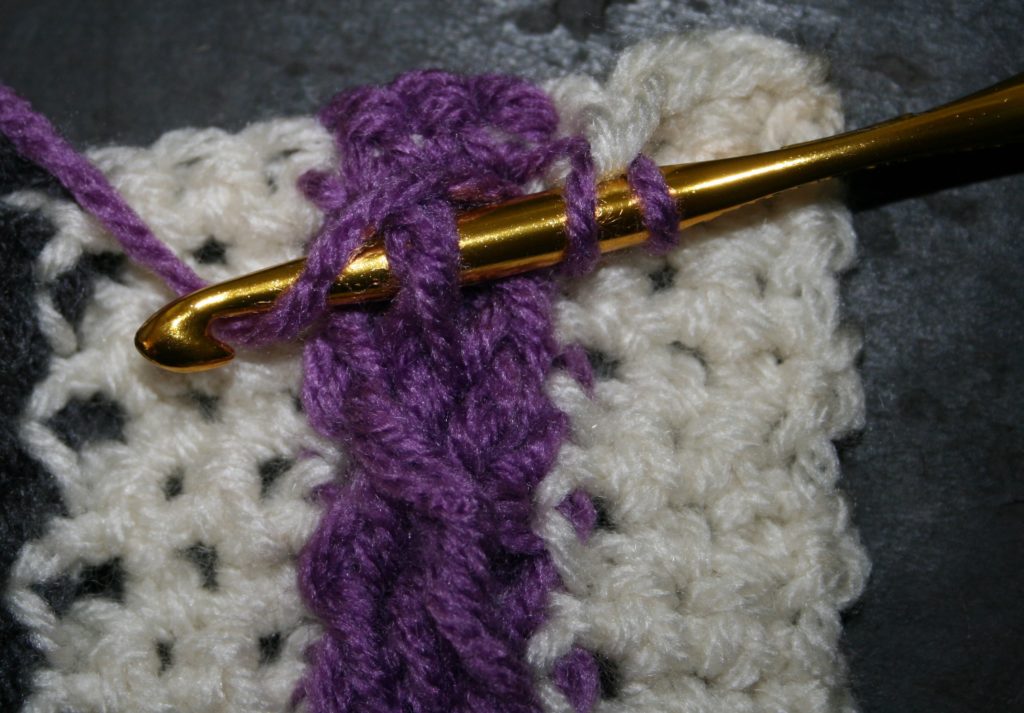
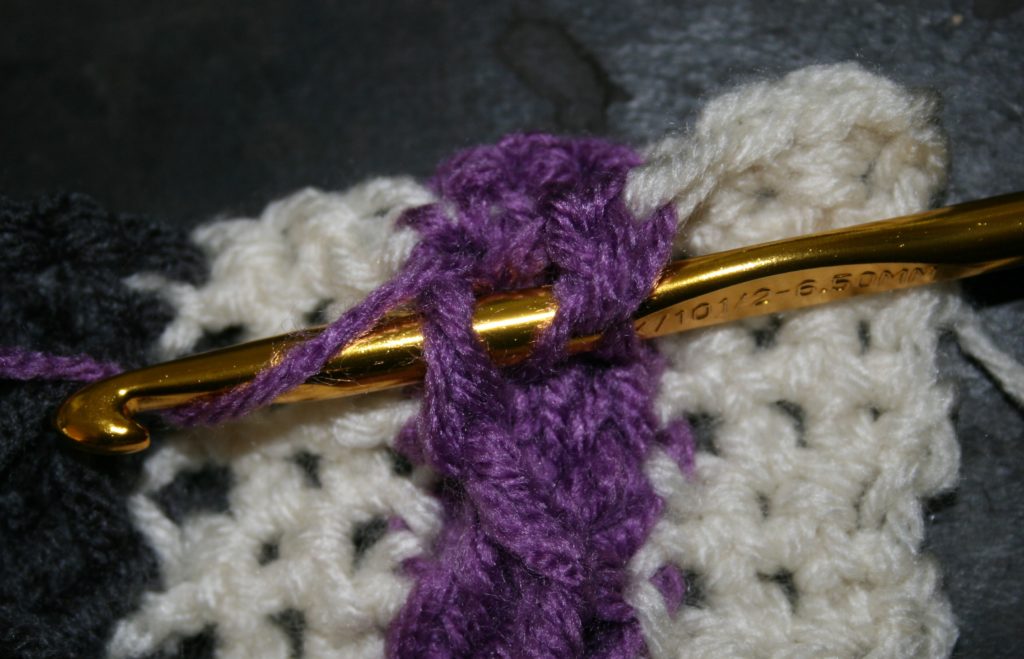
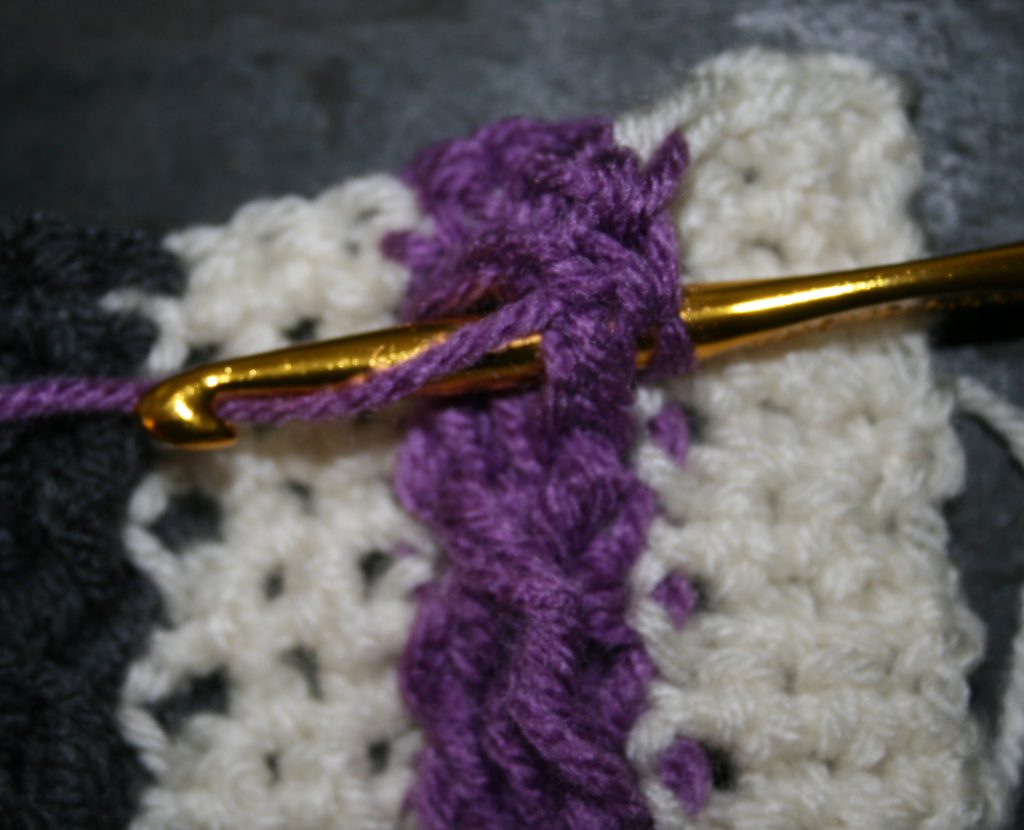
Special Stitches
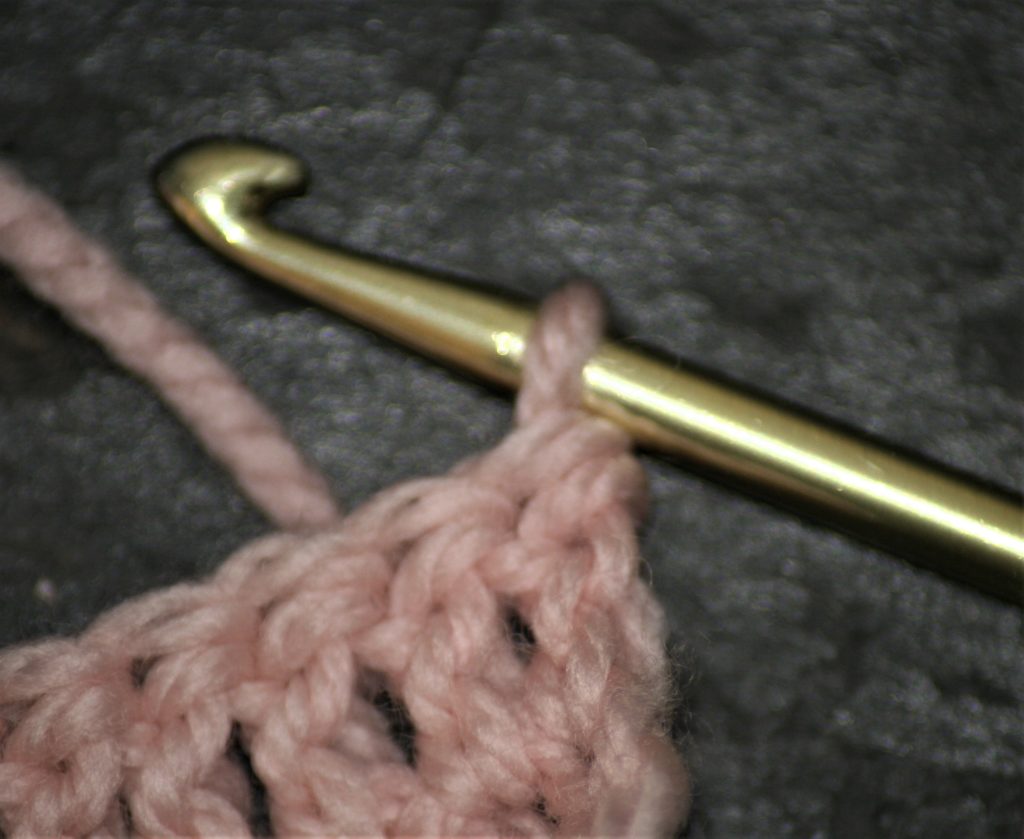
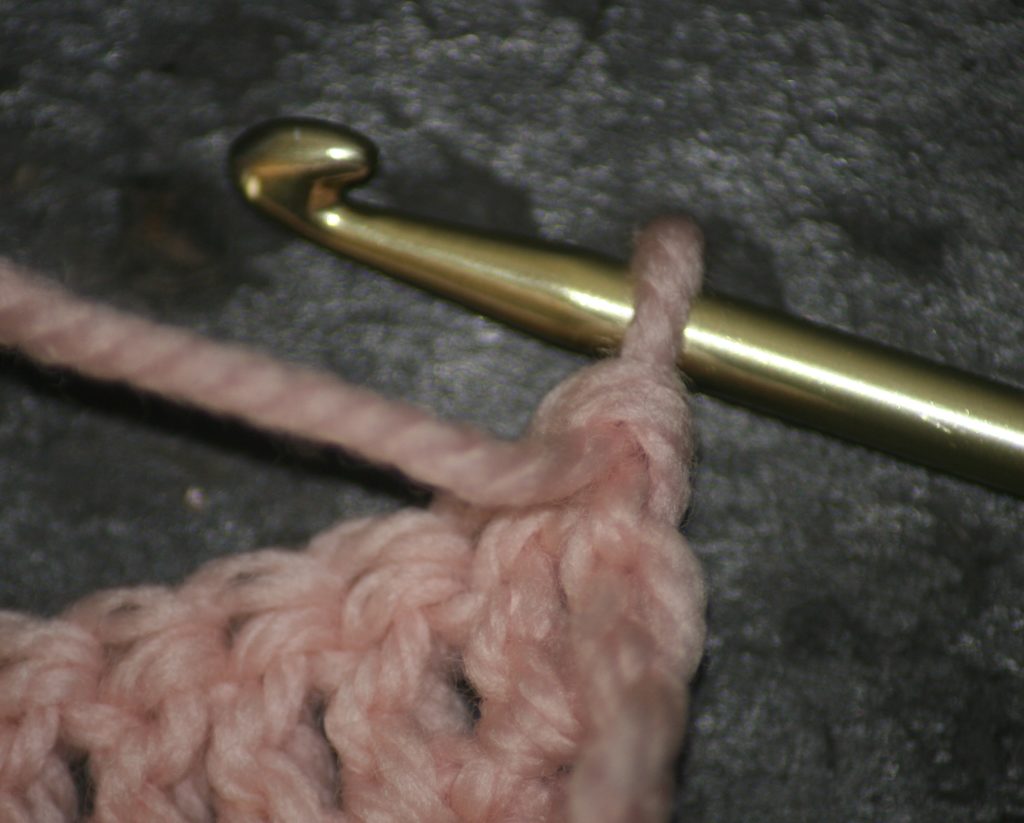
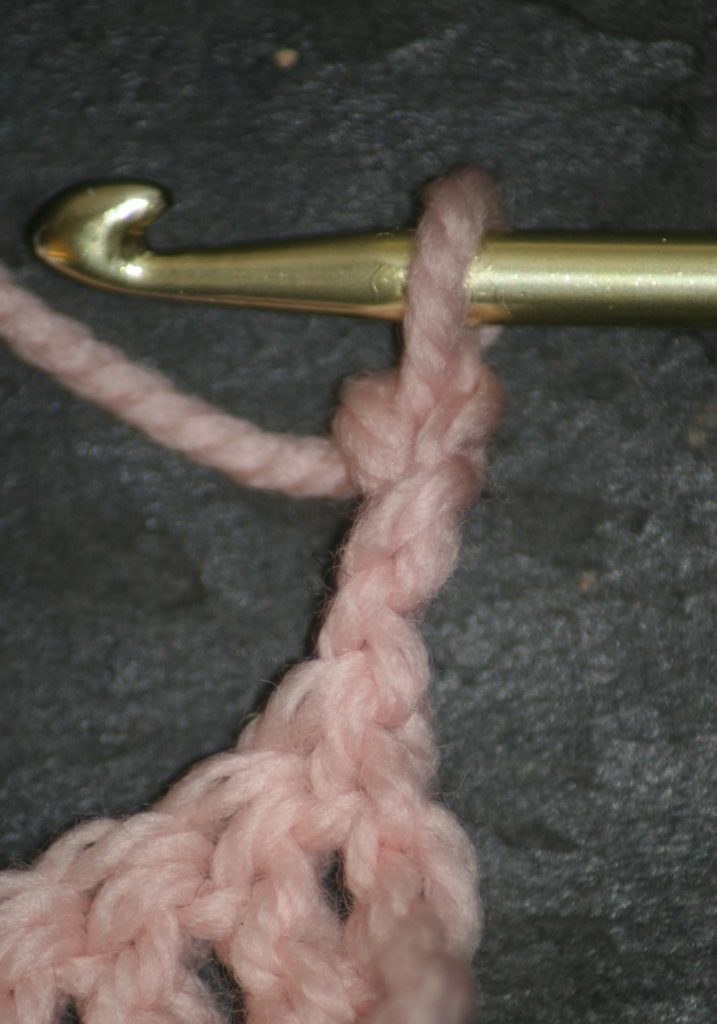
Picot: Ch 3, sl st to the stitch below the ch just created.
The Pattern
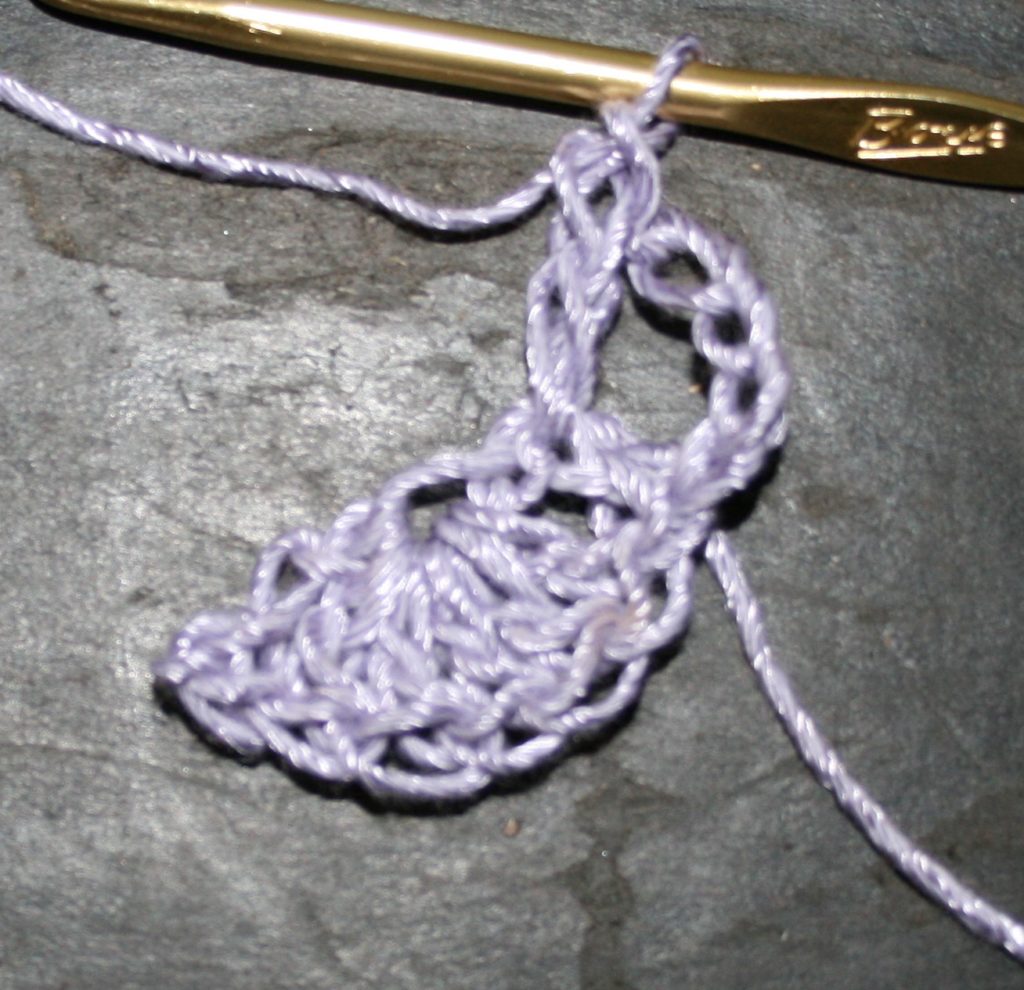
Ch 103
Rnd 1: Sc in 2nd ch from hook, sc in each ch across, twist chain, and working in the unused loops of the beginning chain, sc in the same loops as the first sc of the round, sc in each unused loop around, join to the first st, turn. -204sc
Rnd 2: Ch 4, [sk 1 st, dc in next st, ch 1] rep around, sl st to join to 3rd ch of turning ch, turn.
Rnd 3: Sl st to next ch-1 sp, ch 1, sc in same sp, 3 dc in next ch-1 sp, [sc in next ch-1 sp, 3 dc in next ch-1 sp] rep around, sl st to join to first sc, turn.
Rnd 4: Ch 4, sk 1 dc, sc in next dc, ch 1, [dc in next sc, ch 1, sk 1 dc, sc in next dc, ch 1] rep around, sl st to join, turn.
Rnd 5-7: Rep Rnds 2-4
Rnd 8: Rep Rnd 2
Rnd 9: Sl st to next ch-1 sp, ch 1, sc in same sp, (2 dc, picot, dc) in next ch-1 sp, [sc in next ch-1 sp, (2 dc, picot, dc) in next ch-1 sp] rep around, sl st to join to first sc, fasten off. Weave in ends, block.