Make it for Me! Free Pattern

ScannedImage
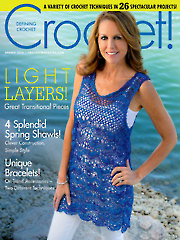
I am so excited that I have been invited to join a vast array of talented designers to participate in the Elk Studios “Make it for Me” event. For the entire month of January, Elk Studios has been featuring a new design, from various designers, to encourage crocheters to make a little something for themselves. The rush of the holiday season creates hooks and yarn flying, but not usually in a project for the stitcher.

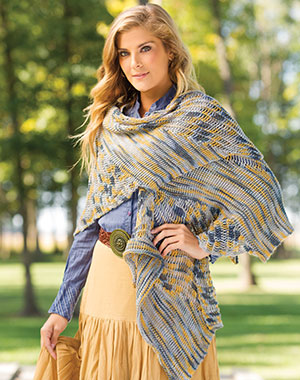
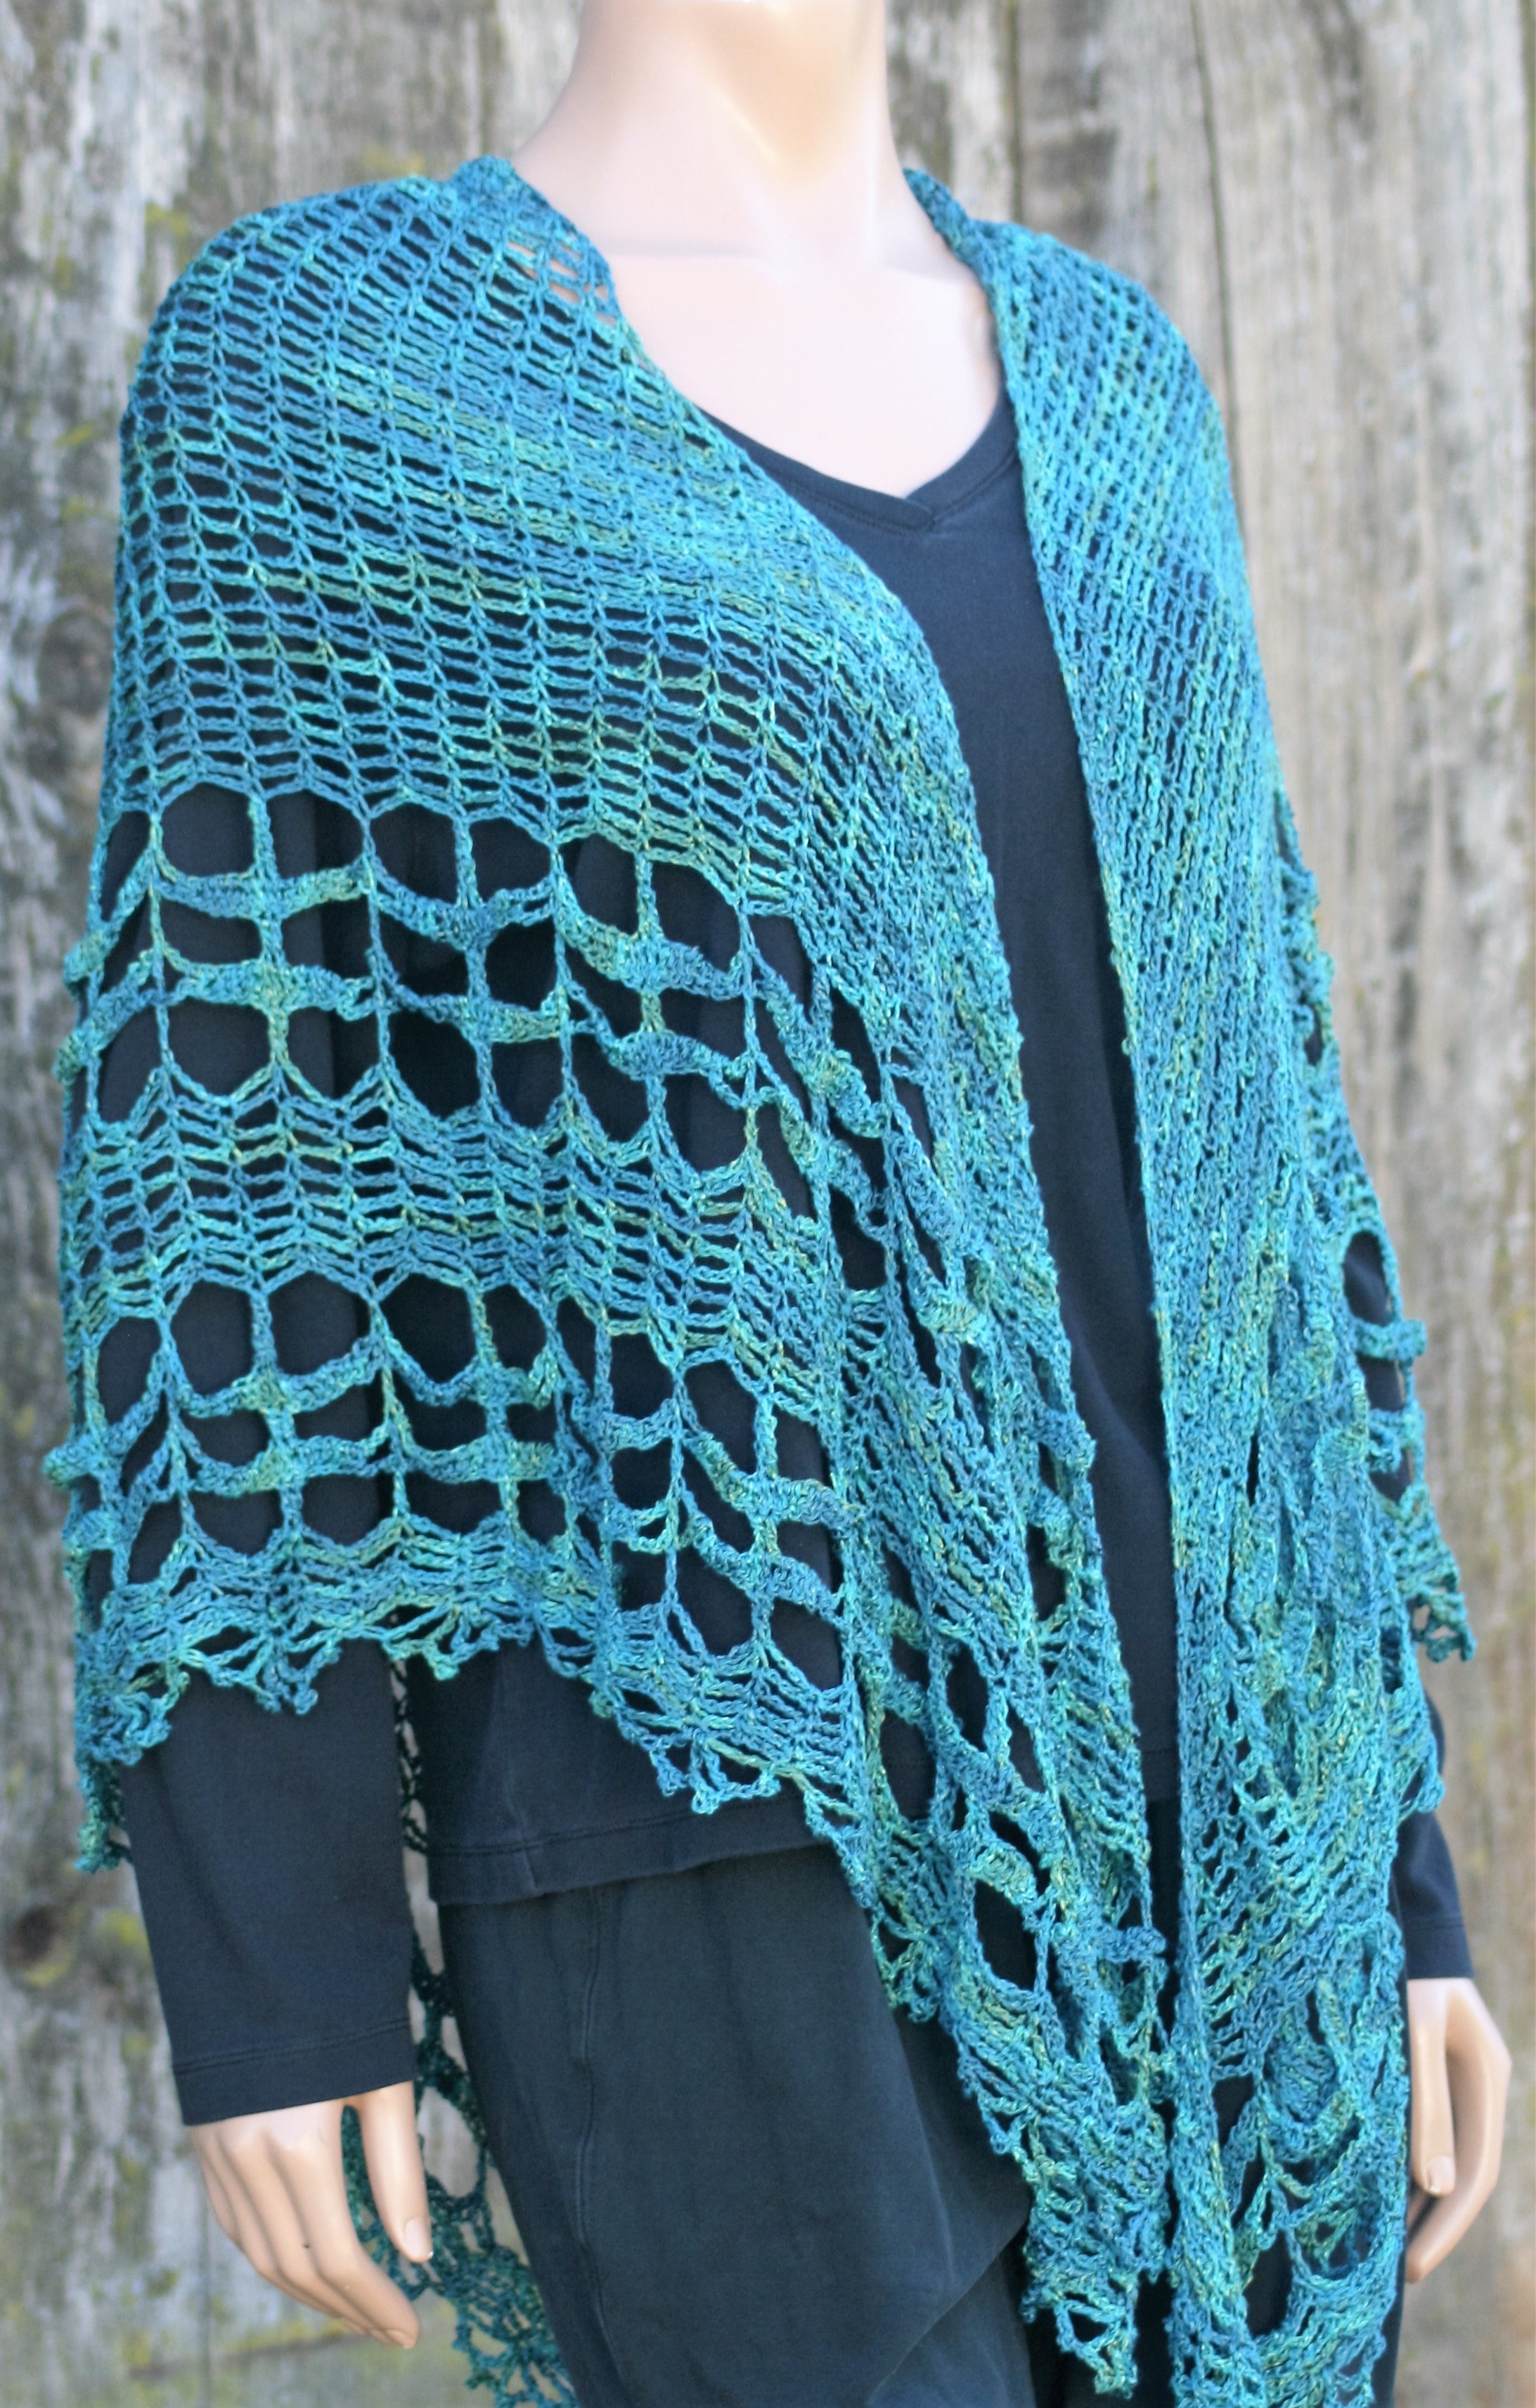
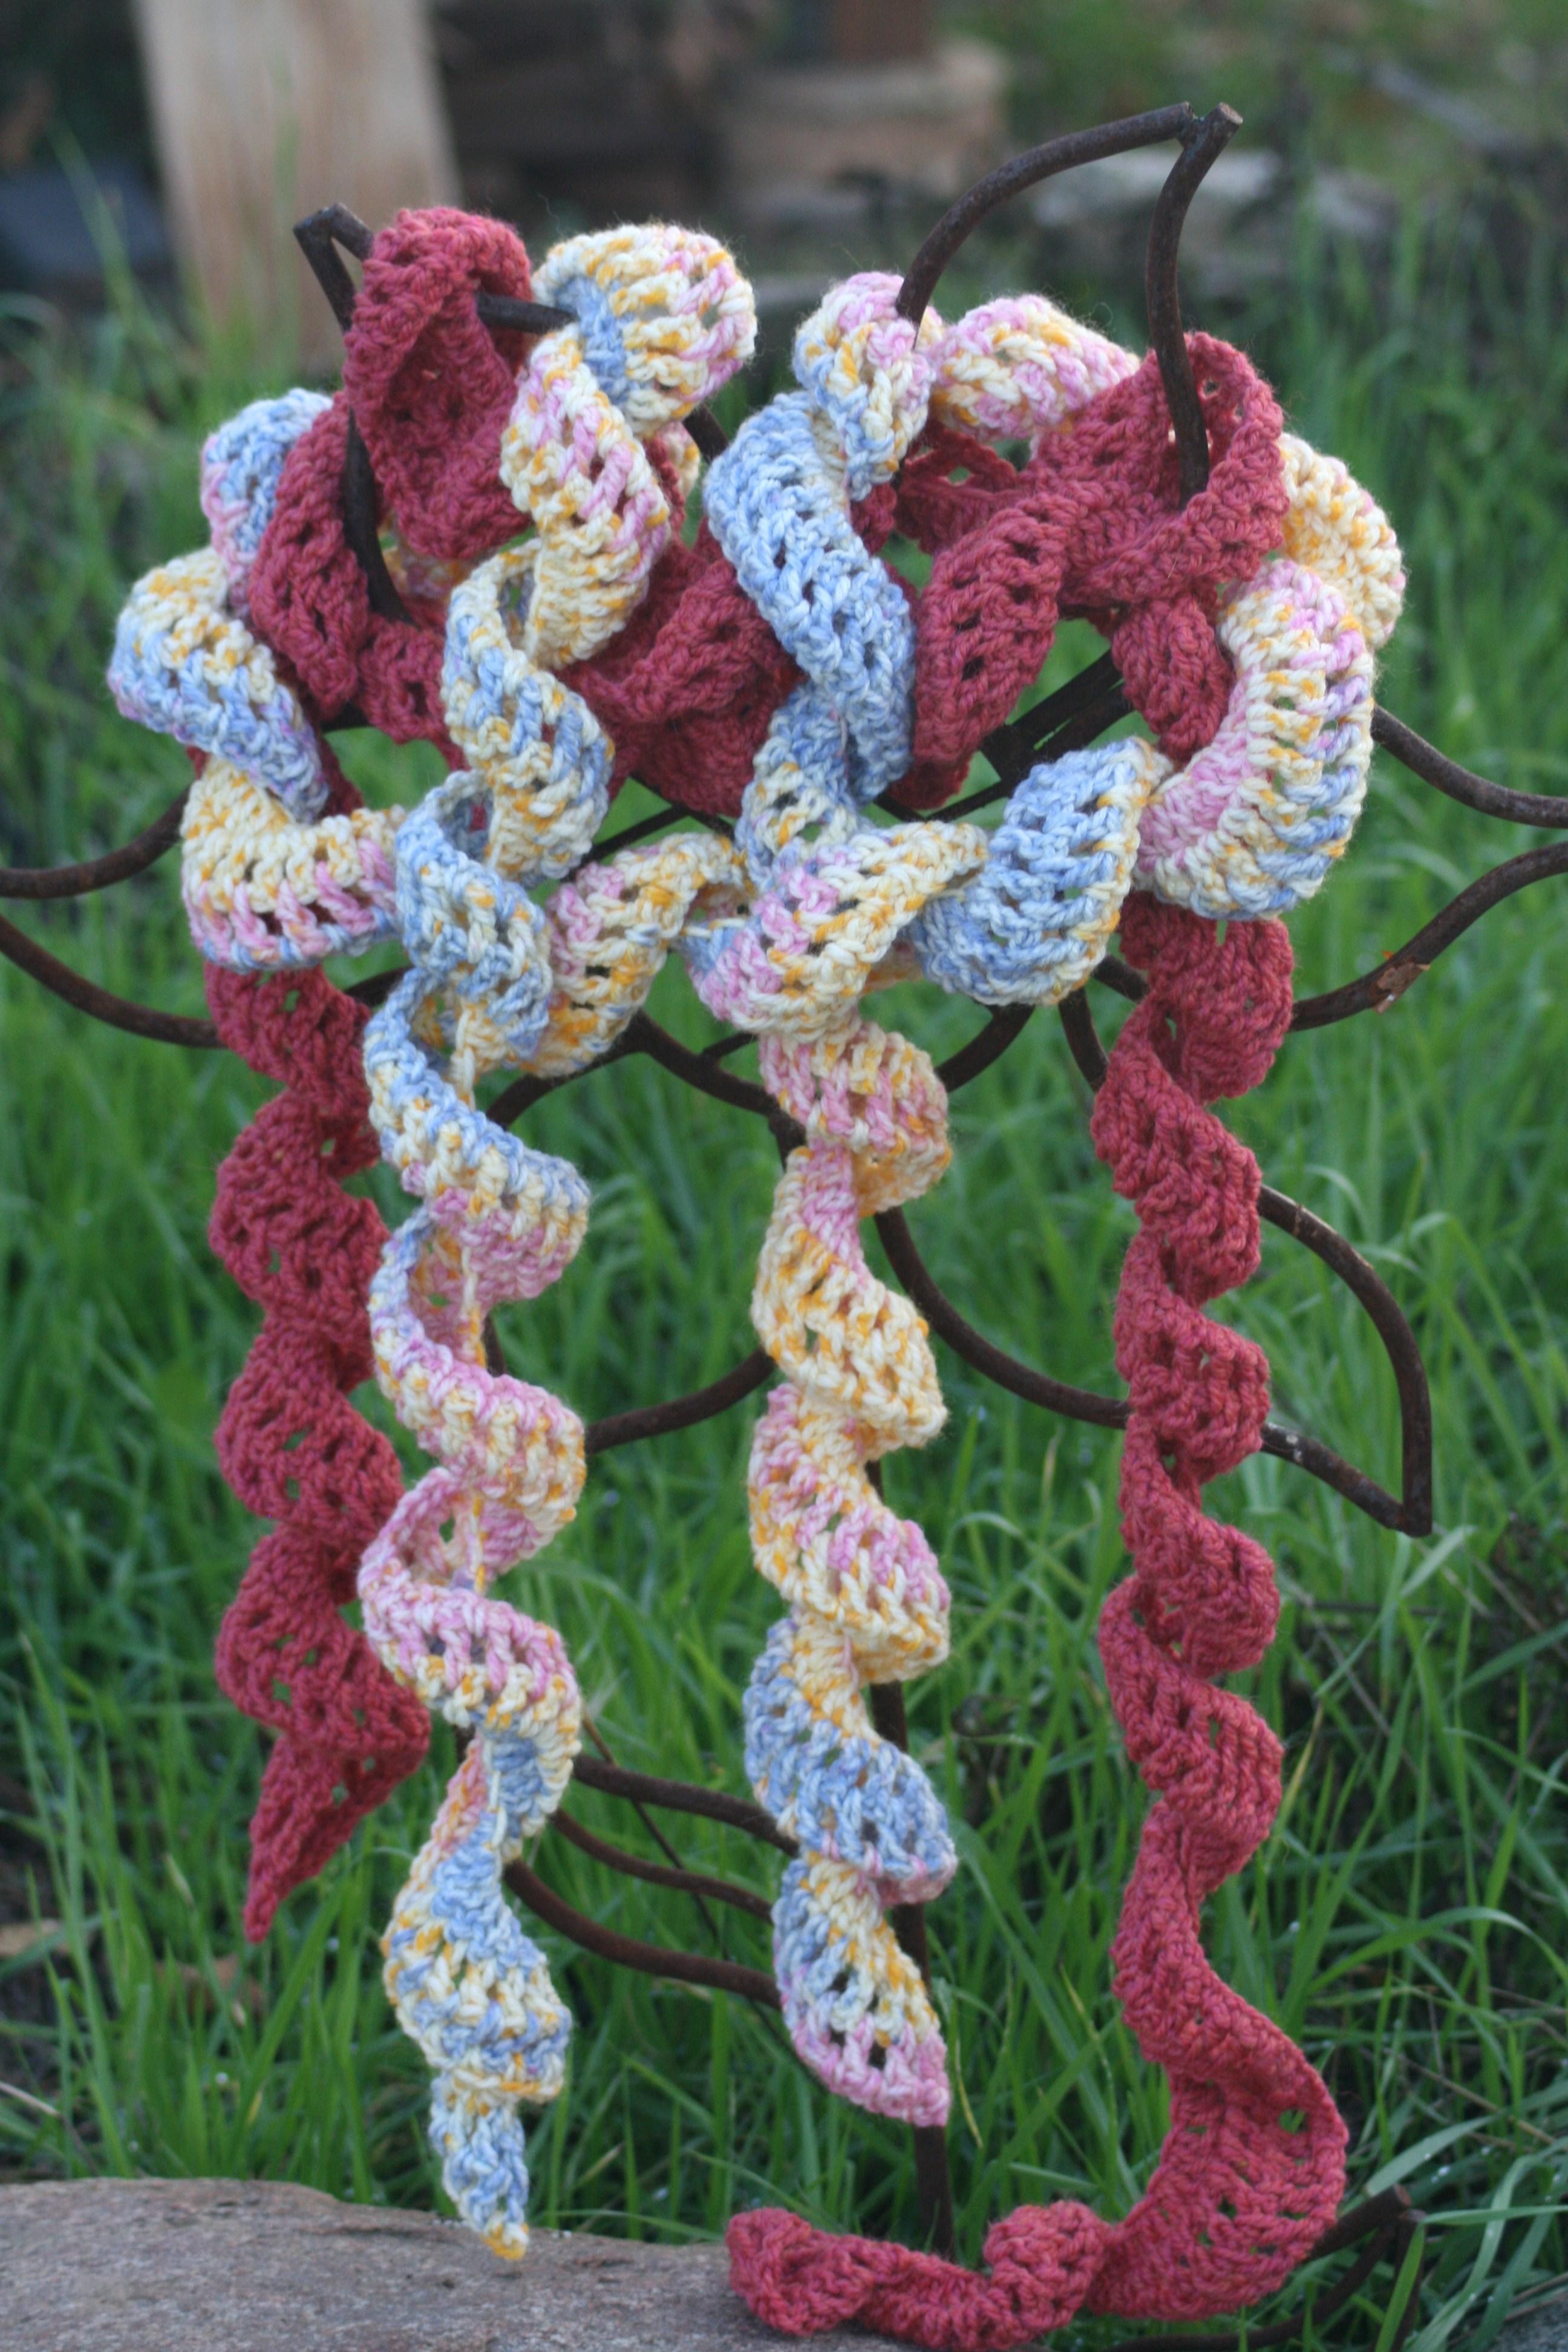
Today I am happy to share my Corkscrew Scarf. This is a fun project that can work up quickly in a wide variety of yarns, and is easily adjusted in length or width to make a scarf that fits just the way you want it.

The Corkscrew scarf was originally created as a project that “new to crochet” students could practice some stitches, while learning how to read patterns, in the crochet classes that I teach at my local yarn store, Lofty Lou’s. You can find me there most Tuesday mornings from 10-1:00, so if you happen to find yourself in the California Foothills, east of Sacramento, look us up and stop by.

corkscrew

Corkscrew Scarf by Linda Dean

You will find the pattern below, if you prefer a printable version, you can download it here,  Beginner Project-Corkscrew Scarf. If you enjoy this pattern and want to explore more of my designs, check out more of my free and for sale patterns here. I hope you enjoy the Corkscrew Scarf, and take a little time to enjoy a time of Make it for Me.

Corkscrew Scarf

by: Linda Dean

Twist and Turn! This fun scarf works up quickly and is a whimsical addition to any wardrobe.

Skill level:  Beginner

Finished measurements: 2.5”x 72”

Gauge: is not critical for this project

Material List:

  • Size I/9/5.5mm hook
  • Approximately 200yrd of medium weight yarn, sample used: (multi color)Plymouth Yarn Encore Colorspun medium weight 75% acrylic, 25% wool yarn (3.5oz/100g/200yrd/183m), 1 skein color# 7512 or (solid) Berroco Ultra Alpaca medium weight 50% Super Fine Alpaca, 50% Peruvian Wool yarn (3.5 oz/100g/215yrd/189m) 1 skein color #62178
  • Tapestry Needle


Abbreviations:

ch: chain

dc: double crochet

rep: repeat

sc: single crochet

sk: skip

sl st: slip stitch

st(es): stitches

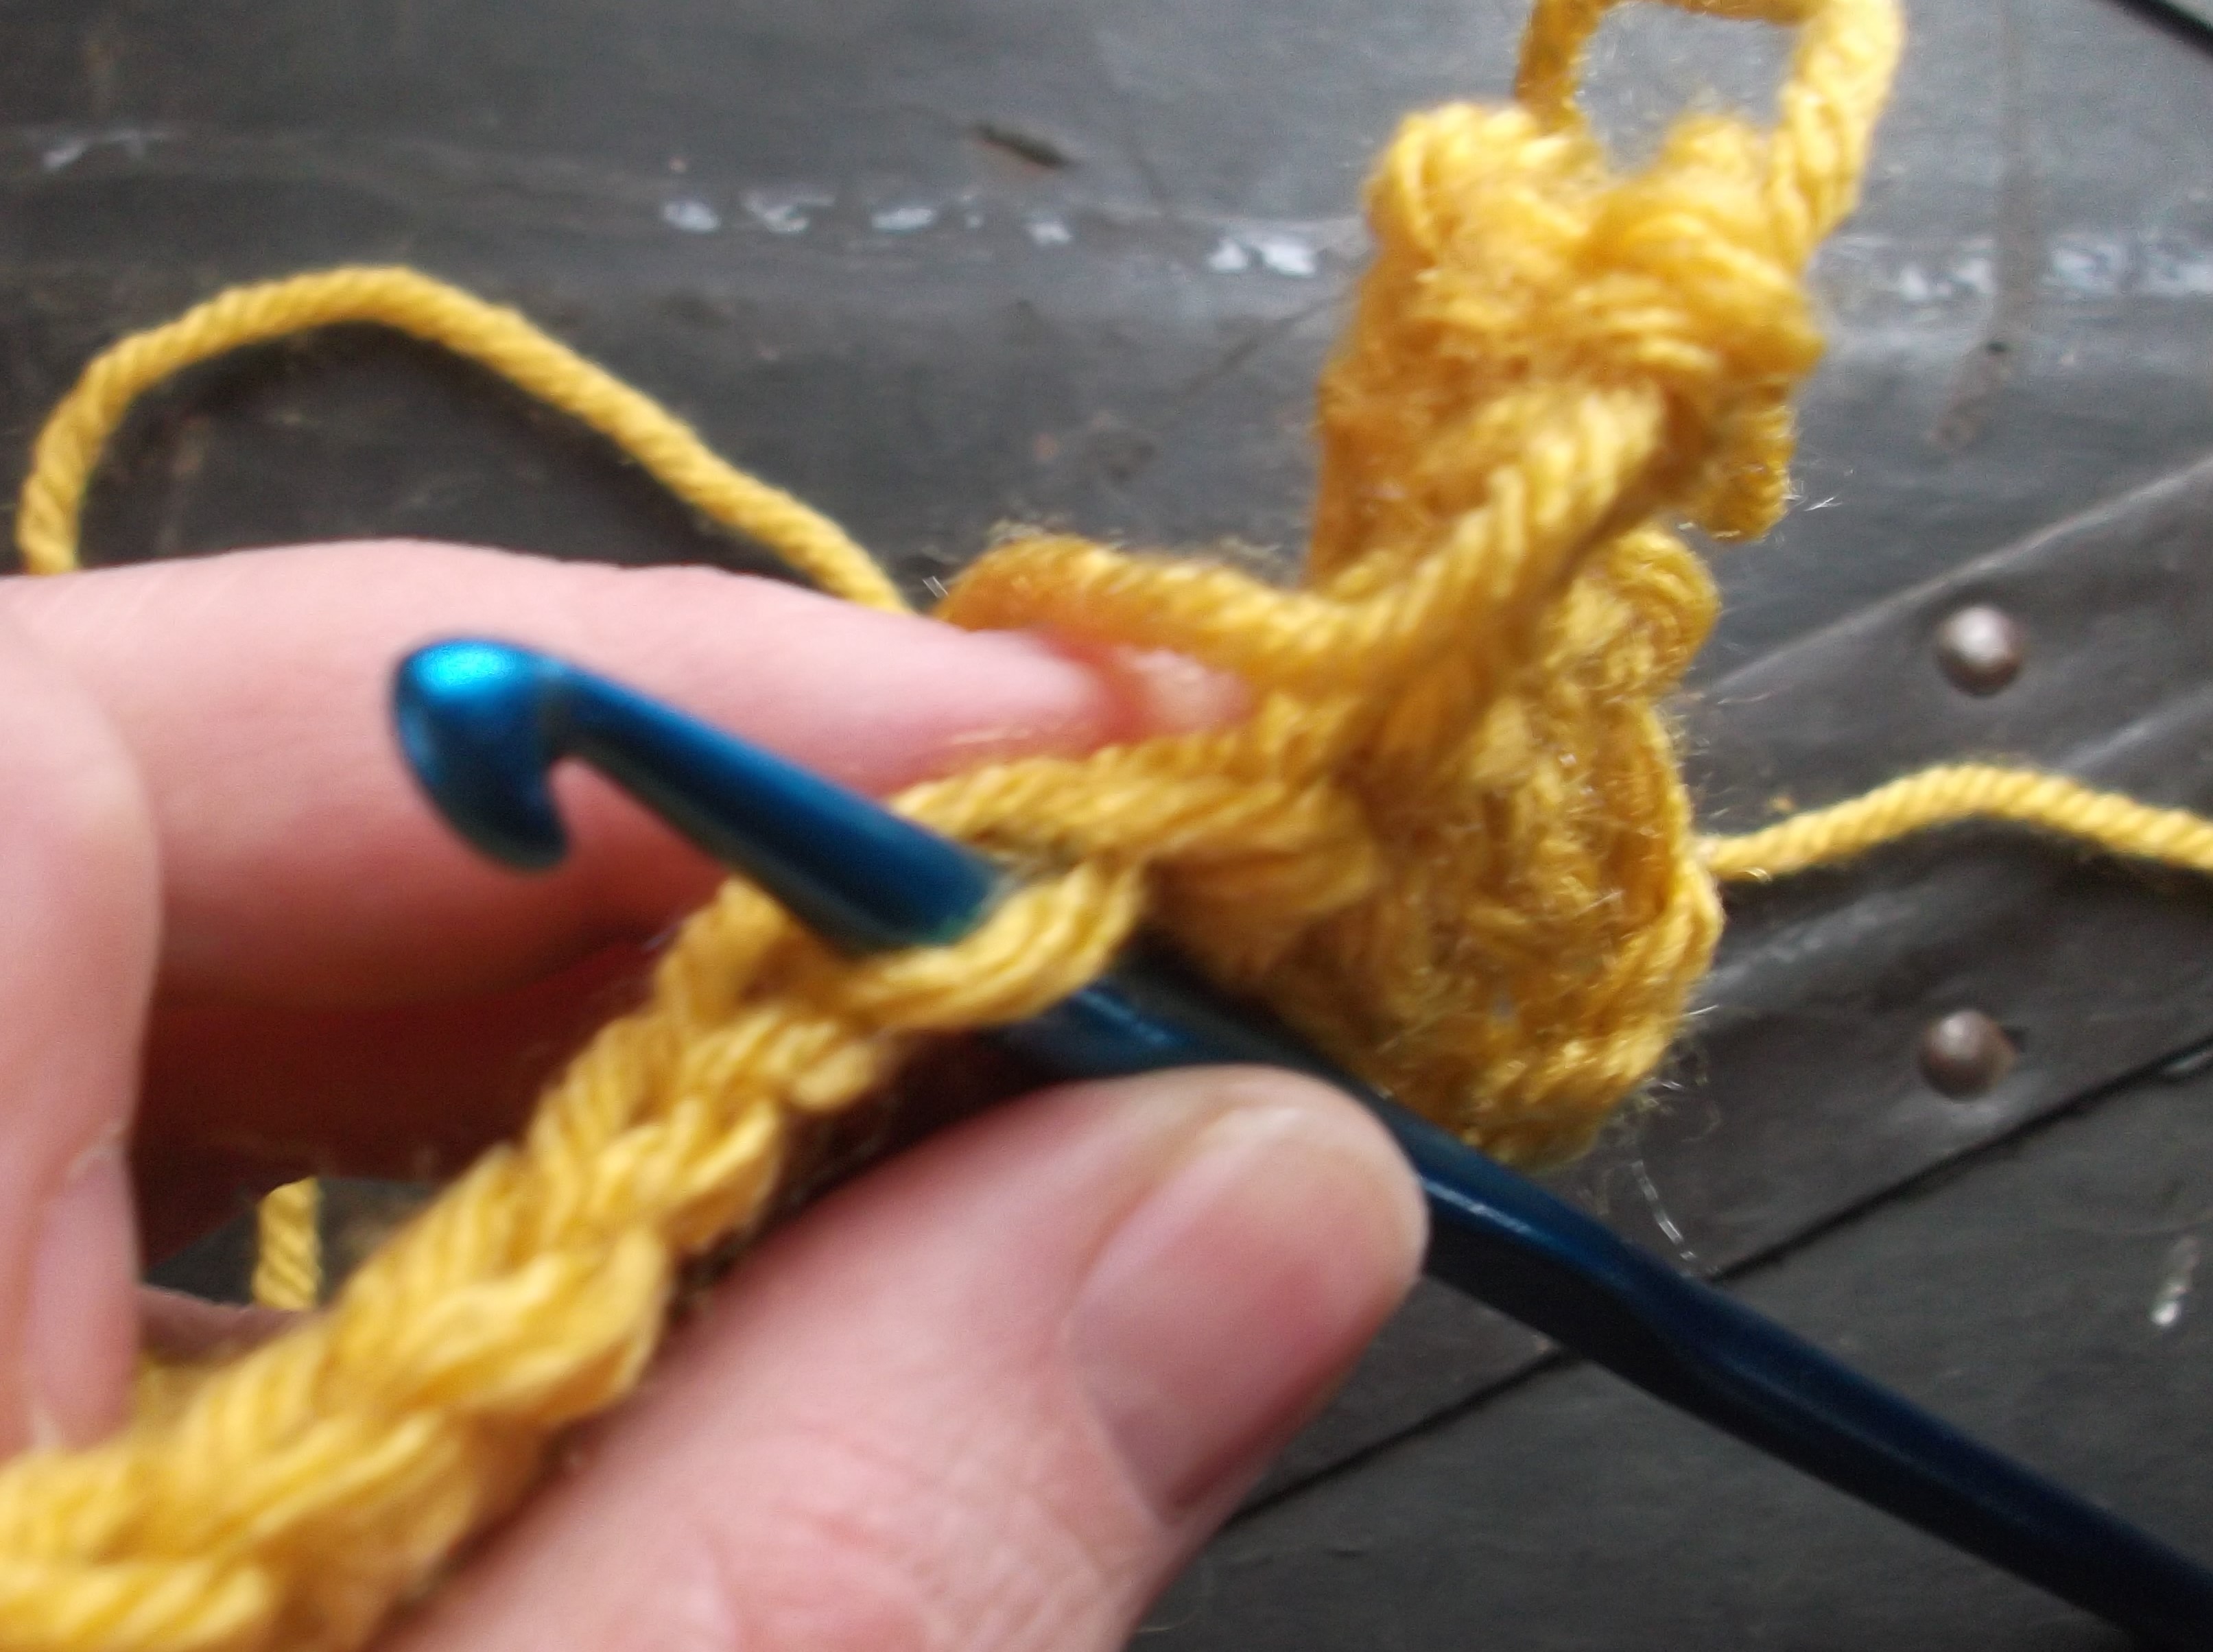
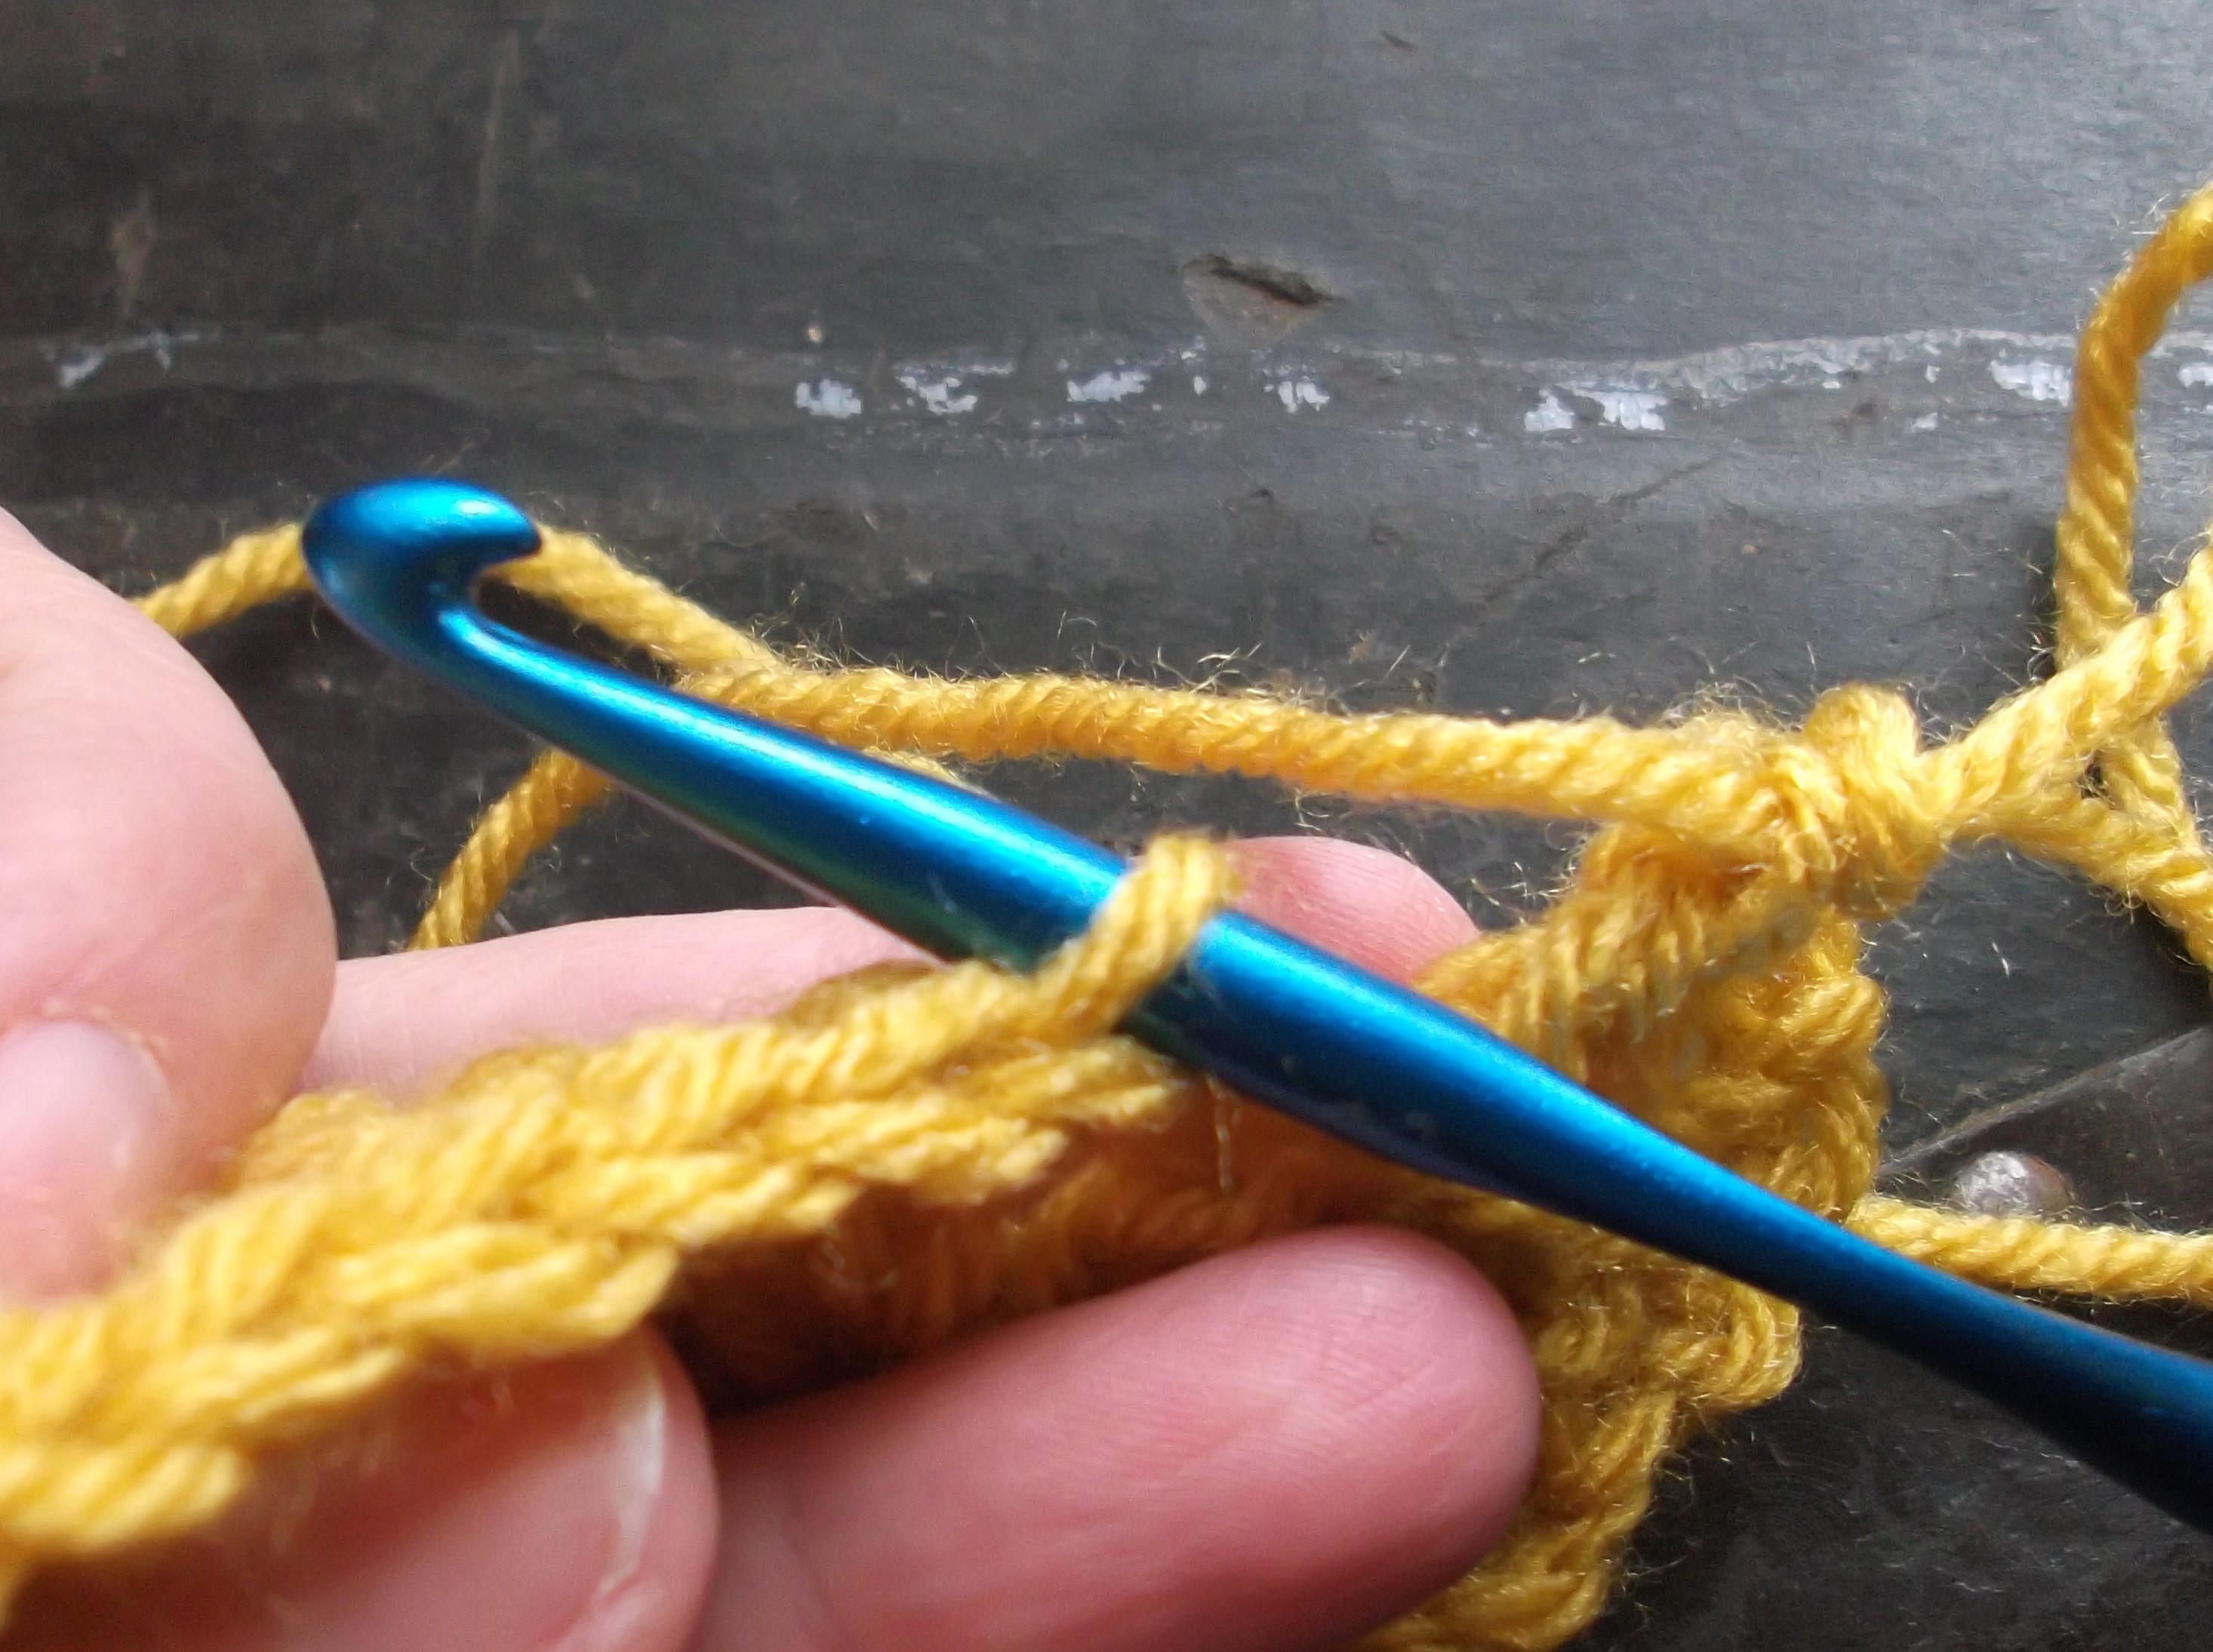
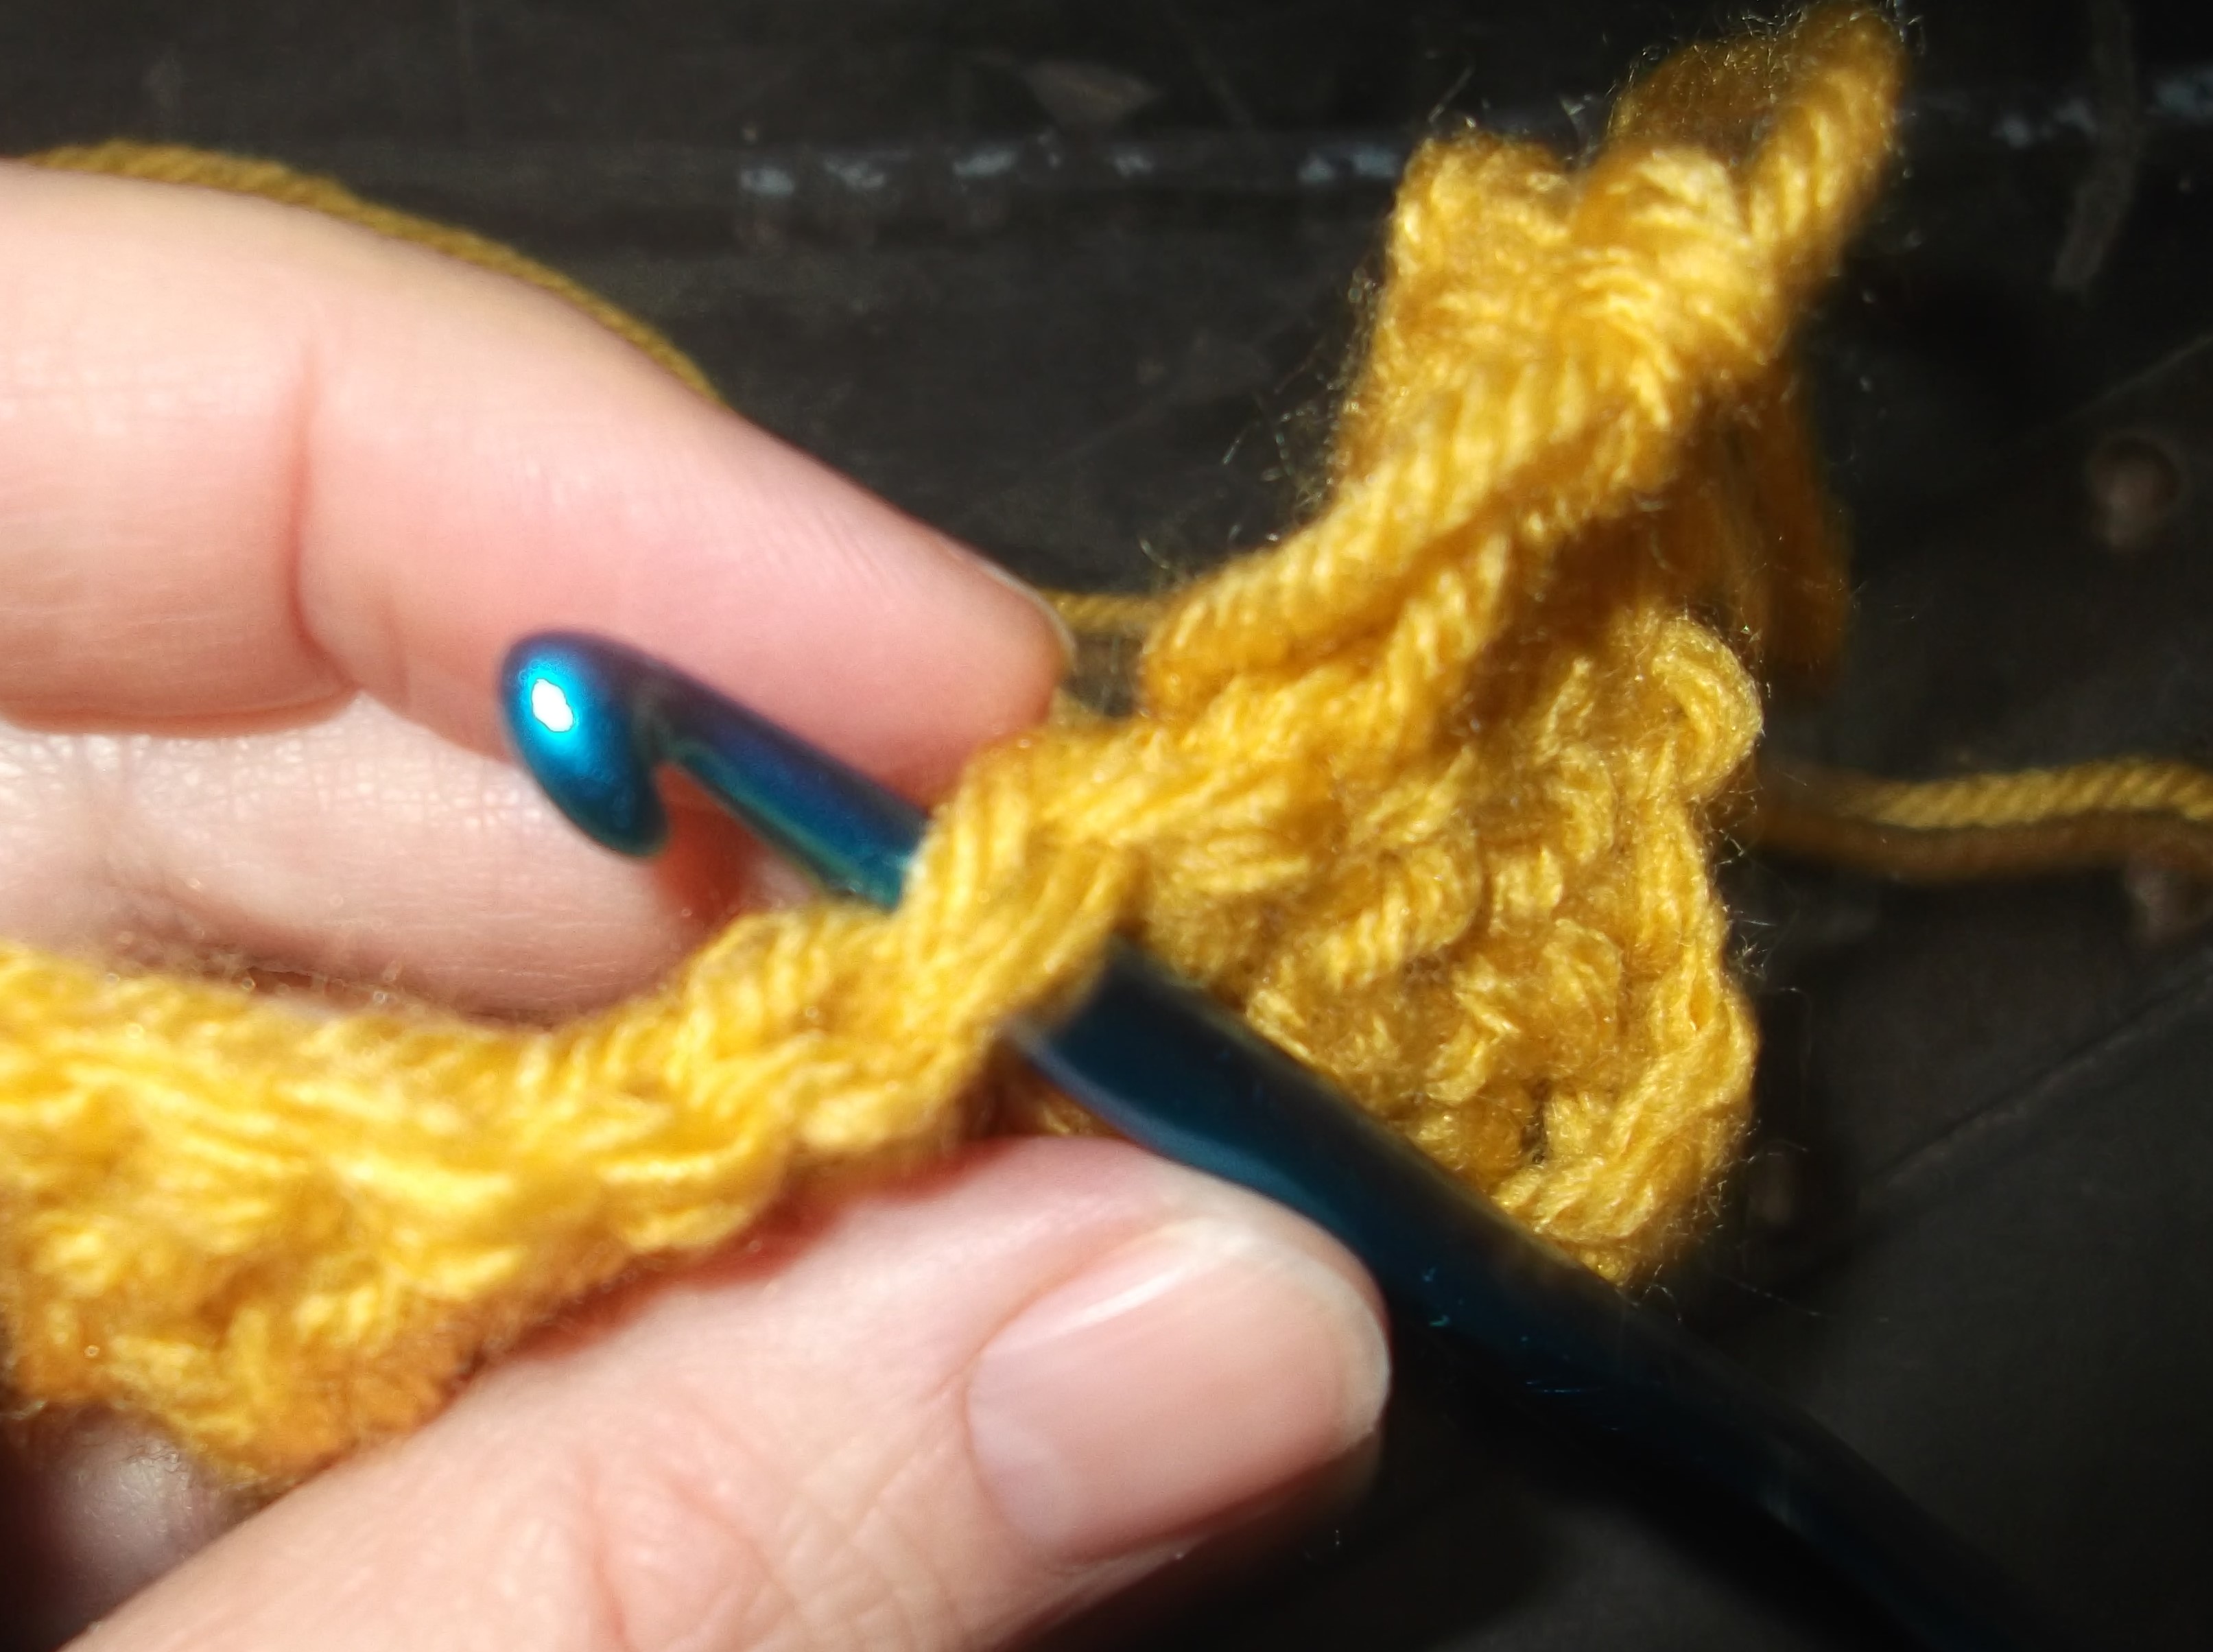
Row 1: Ch 182, dc in 4th ch from hook, 2dc in each ch across, turn.

Row 2: Ch 4 (counts as dc and ch 1), dc in next s, *ch 1, dc in next st; rep from * across, turn.

Row 3: Ch 3 (counts as dc), dc in same st, *ch 1, dc in ch-1 sp; rep from * across to last st, dc in last st, turn.

Row 4: Ch 1, sc in same st, *ch 1, sc in ch-1 sp; rep from * across to last 2 sts, ch 1, sc in last st, finish off.

Finishing    Weave in ends; twist scarf as desired.

© 2015 Linda Dean Crochet    #2015000T1   lindadeancrochet.com   Copying prohibited, intended for private use only


Simple Changes and What They Can Create

ScannedImageI always enjoy how a simple change can make quite an affect.

M22162_Refractions_300

Refractions Tunisian Wrap Photo courtesy of Annie’s

I find this to be true with one of my latest designs to be released, Refractions Tunisian Wrap, found in the Spring 2016 issue of Crochet! Magazine. This wrap only has 2 stitches and works short rows. That is it. Yet the effect it has is stunning. A definite eye catcher.

The difference in the stitch types really allows the yarn to shine. This is because of the way the yarn gets taken up in each stitch. So, even though I used the same yarn, the looks in the different triangles is very different, almost causing the yarn to work a double a duty in a way, by having a different “pooling” pattern.

Color pooling is when colors in a variegated yarn stack up upon one another in certain ways, and this wrap creates two very different appearances in this. One triangle has long color stripes, the other almost square blocks of color.

129037The other obvious difference in the triangles it that one seems solid, while the other is lacy. So not only do you have a differing color effect, you have a differing textural effect, without changing anything but the stitch!

One of the secretly great things about the way the triangles come together is that it just easily wraps around the neck, and hugs the shoulders. There is no slipping or falling off, it stays in place.

Okay, in case you may not have realized it, I enjoyed working this pattern. I hope you do too.


Fronts & Backs, the Confusion, the Difference

ScannedImageSometimes it can be the simplest things that trip us up; this is even true in crochet. Sometimes, it is just because we are overthinking things. This can be true when utilizing the front and back loops of a stitch. In crochet the standard fall back for all stitches is to work through both loops that are created at the top of a stitch, so if a pattern does not specify anything you are assumed to work through both loops, however there are times you do get a noted distinction….front loops and back loops.

DSCF1093

Working in the front loop, notice how the hook comes from the bottom of the loop upward.

It almost sounds too easy. Working in the front loops across….working in the back loops across….But I will admit, my brain sometimes holds onto the prior position of the loop, instead of where it really is right now. I think we have all had these moments. Our brain is a little groggy, a little overloaded, and a little set in its ways, so it just almost quits processing the information. By this I mean, when you work a stitch, the loop on the top closest to you is the front loop, and the on top furthest away is the back loop; when you turn your work, these same principles still apply, but now the names you just recognized for the loops to row before has switches. 

The position of the loops applies to the row you are currently working into, not the position of the loops on the stitch just being created.

DSCF1095

Working in the back loop, notice how the hook comes down from the top through this loop.

This does become an important distinction, as it gives the fabric a different look and structure. Working in the back loops of a row give a more textured feel to the fabric as well as creating a little more stretch. While working in the front loops adds a simple decorative element and a little extra height to the fabric overall. The reason for these differences is actually the nature of crochet stitches. If you really look at a row of stitches, you will find that they actually are a little tapered, with the right side facing you the back of a stitch will be a little taller than the front. It is this slant that creates the ribbing effects of some stitches, and the decorative effect of others.

DSCF1089

The standard method of beginning a stitch, if not otherwise stated, working under both loops.

Just keep in mind, that we all have those days, so if your fabric doesn’t look how you have expected, revisit if you are placing your stitch in the right location; it can make all the difference. 


People Bring Life to My Crochet

ScannedImageThere are times when my crochet needs an awakening. I can crochet for hours on end, pick up a skein and “play”, no pattern, no end goal, and still create something, it is a therapy, a routine. I create, but sometimes it just feels like the motions.

DSCF1009

Some of the woman that shared wonderful inspiration of crochet at the 2015 CGOA annual conference

Now, please, do not misunderstand; I love crochet. I have been placing hook to yarn for many decades, and evenings when I do not have a project in hand, I feel fidgety. I cannot go to long without at least making random stitches. Crochet travels with me, I have a spare skein of yarn and extra hook pin various places, but sometimes it doesn’t quite make me feel alive.

There is a simple fix for me on this, people. Getting together with others that use yarn can be such an energizing experience. It does not even have to be in person, chatting in emails, or phone calls can bring energy back to my work.

It can change a mood, and allow the spirit to soar. Looking back over my body of crochet projects, I took new directions, new types of projects, new types of yarns, after visiting with people that shared their passion. Positive spirits are contagious, and I need to remember that I need this to recharge and bring a new level of joy to my work, so it is not just work to my joy.


A Dragonfly for Change in the New Year

ScannedImageBeing the end of the year, I usually find it as a time of reflection. This year is no different, however as I was taking a count of the number of designs I created in 2015 I realize I have been busy…and I am not done yet. In 2015 I completed 32 designs (you can see some of them here), some for magazines, some for yarn companies, and some for my personal pattern store, but I want to add one more.

IMG_7351.1

Dragonfly Shawl

I am happy to release my latest pattern, available in my pattern stores on-line, The Dragonfly Shawl. So, I gave it the name of Dragonfly, as to me I see the edge panels as rows of dragonflies flying outward. Now I have not always thought of this little ancient insect, but since my wedding, several years ago, it has become a bit a totem representing that day for me.

I had an outdoor wedding, having the ceremony next to a pond in an apple orchard, and as I walked down the aisle I was surrounded by dragonflies. They beautifully danced me down the lawn to my husband. At the time I had guest comment on the dragonflies as bringing luck and magic to my life, yet looking up a simple search I see that many believe the dragonfly means change. What a great symbol for a new chapter in my life, as well as a New Year, so I feel it is fitting for this new design.

Scan_20151229

My wedding

This shawl was worked with only one skein of Blue Heron Cotton Rayon Twist Lace Yarn in the color of Bluegrass, and I actually had some left over. I love when a design works up this way, as it means that there is no extra ends to work in, no joining to worry about, I can just begin and finish in one complete clean piece. It is worked from the center of the top edge outward, ending with an airy scallop fans. The size is very generous, and the drape is fabulous.

IMG_7355.1

Dragonfly Shawl

If you are so inclined, please check out the pattern, or pass it along to friend (you can find it on Ravelry & Craftsy), and I will keep busy throughout 2016 creating more…now 33 complete means I was working up a new design every 11 days, and amazingly I did not feel that busy…guess I have room to complete even more next year.