Sweet Memories with Sato Sugar Shawl

ScannedImageI have some fond memories of my latest design.

0414161136

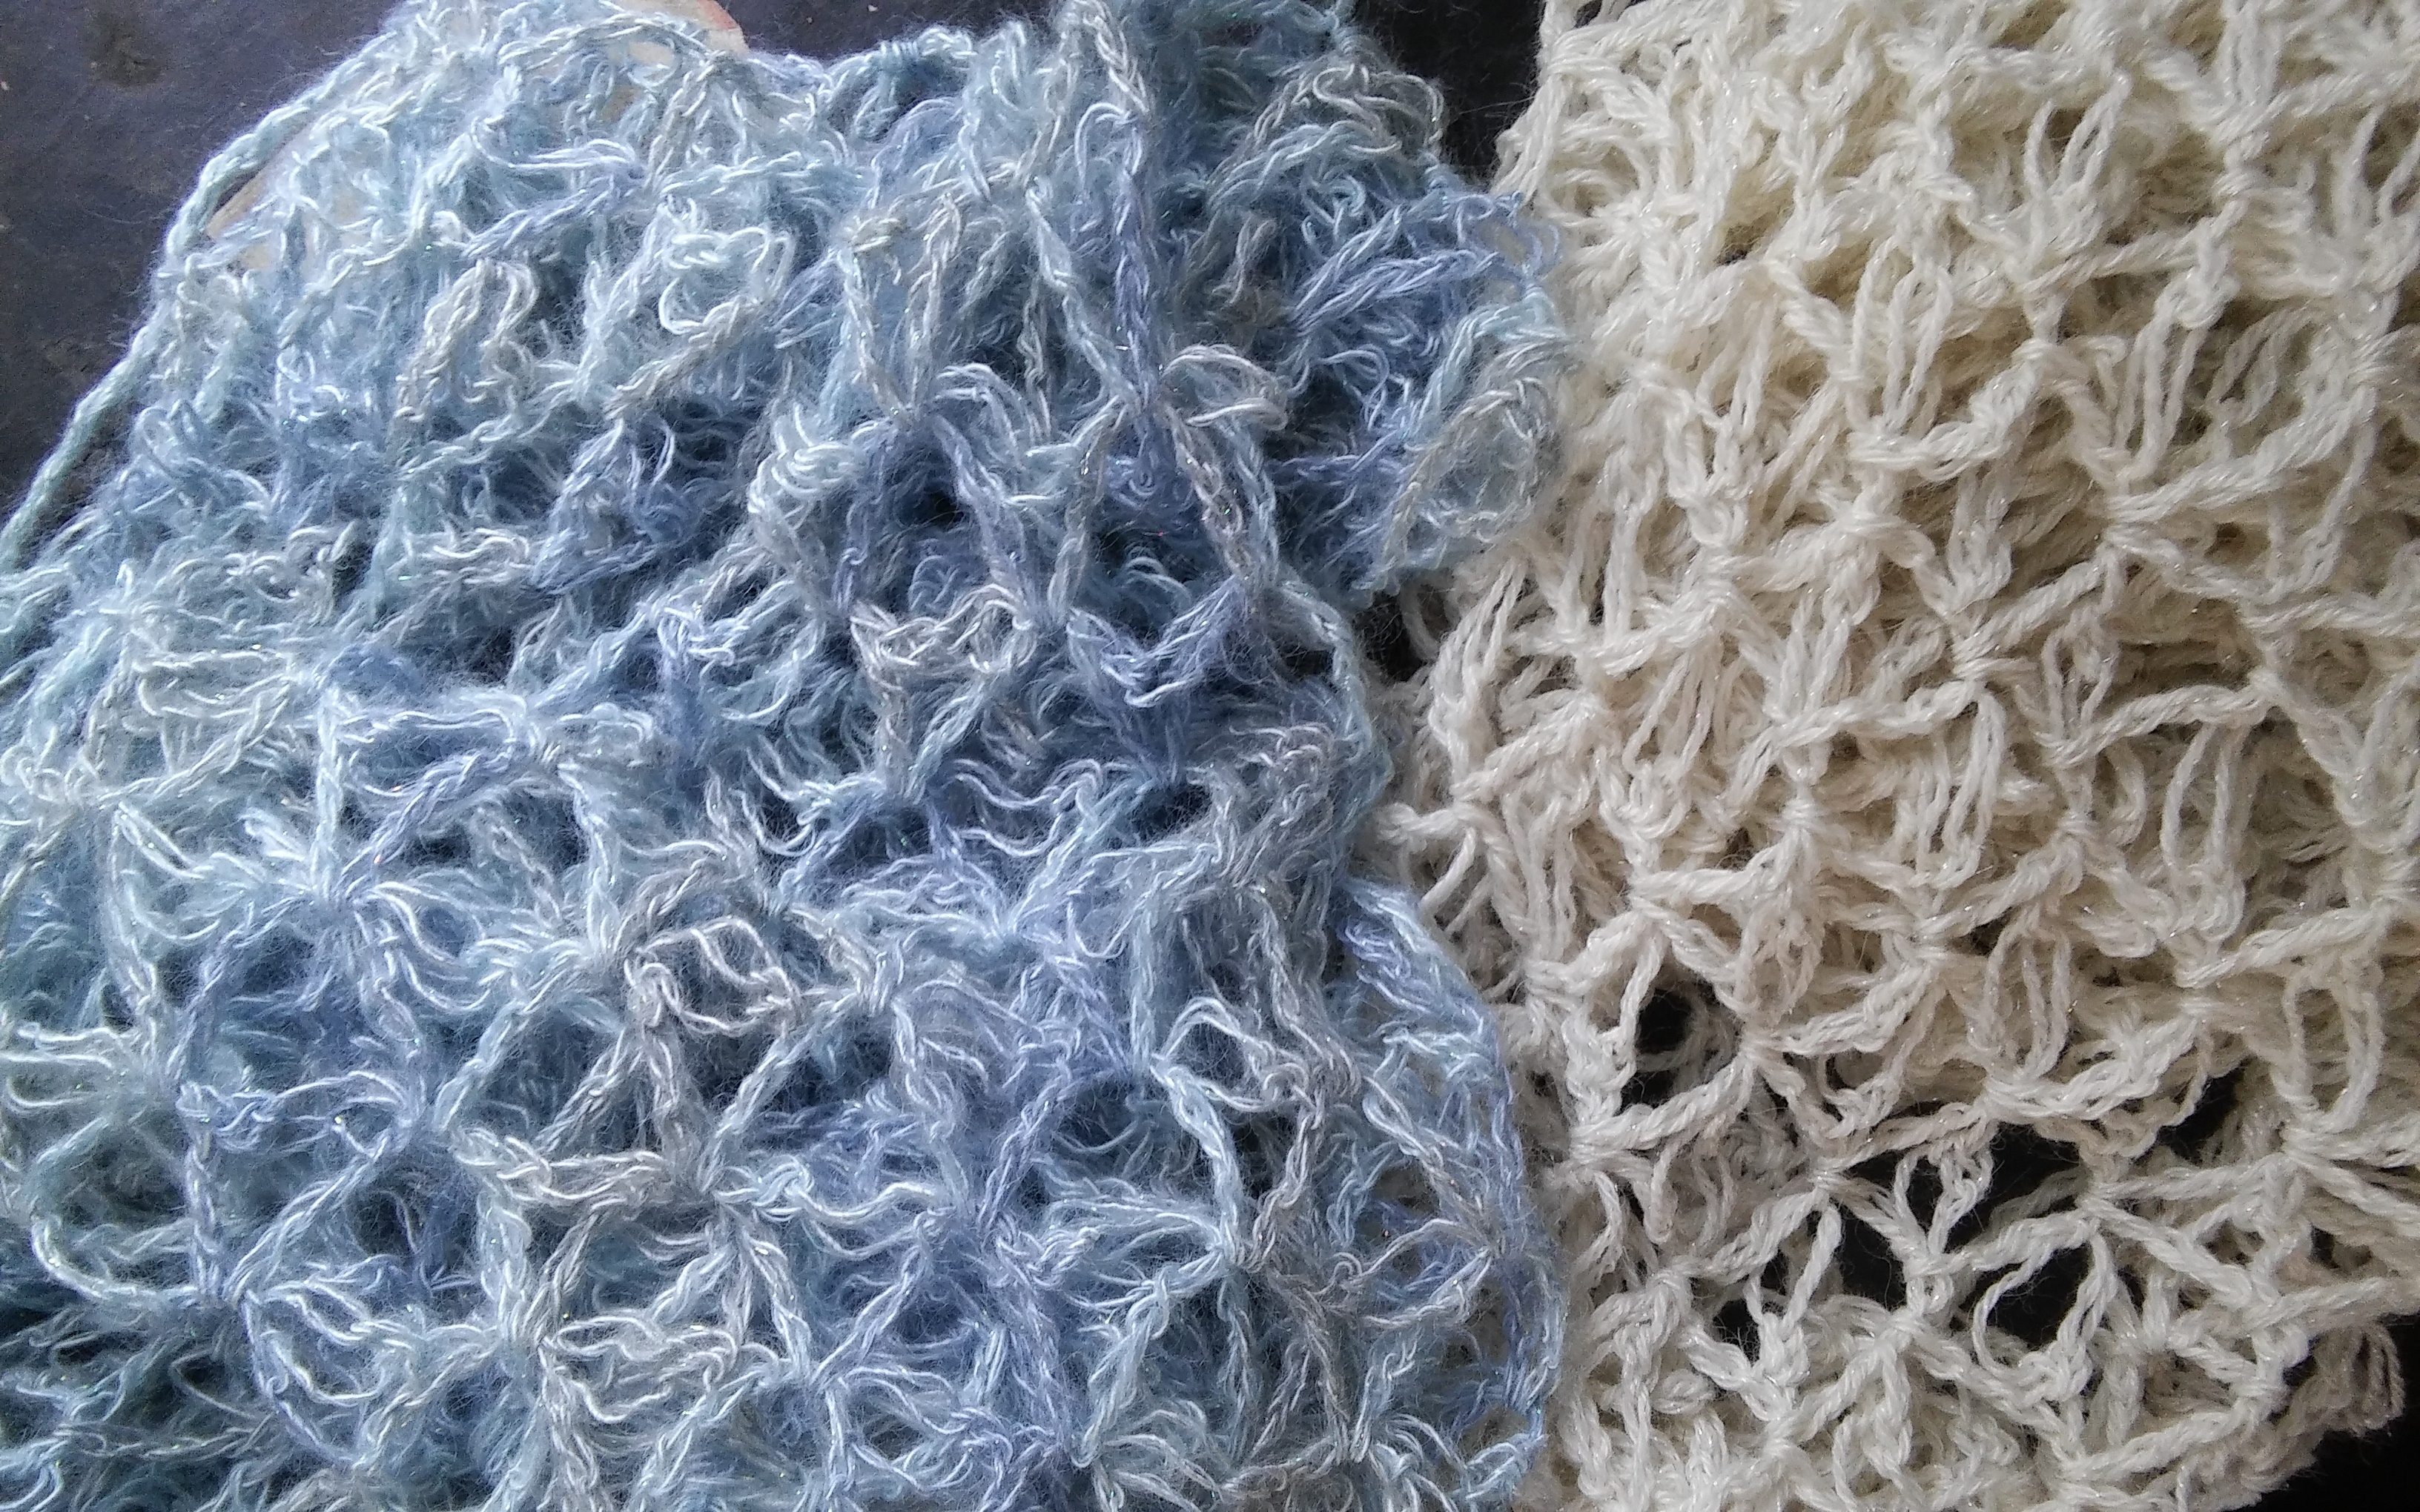
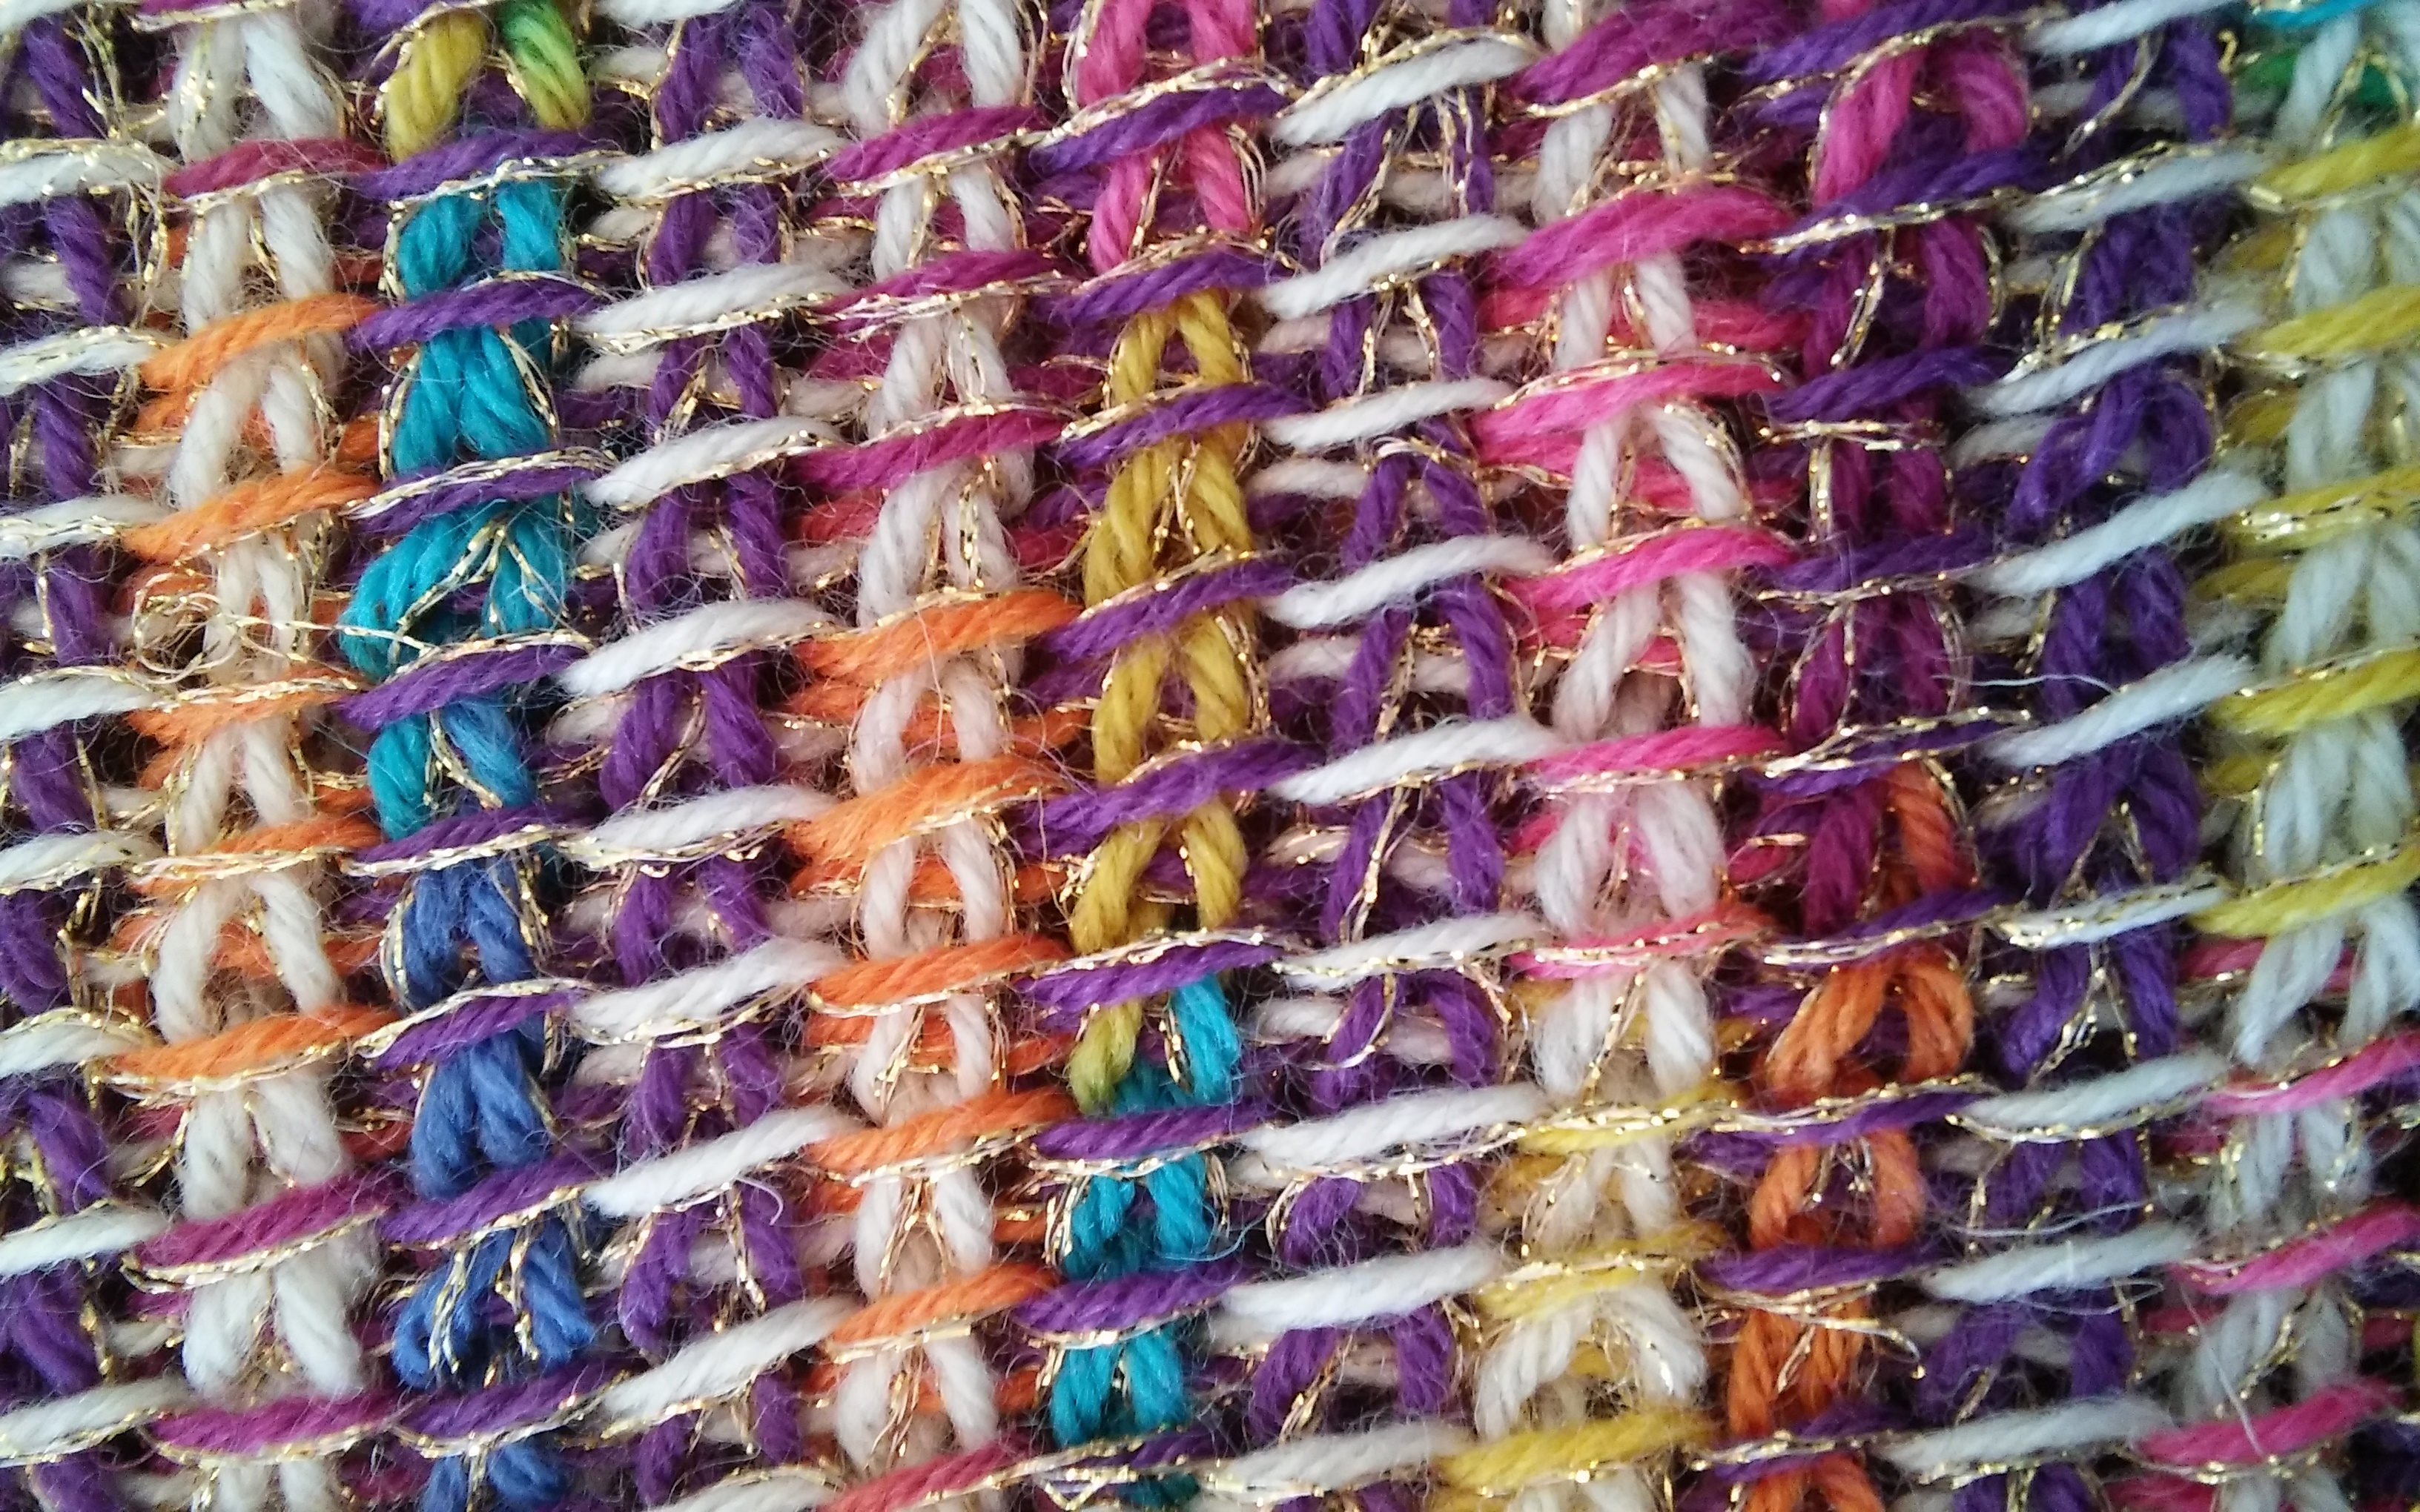
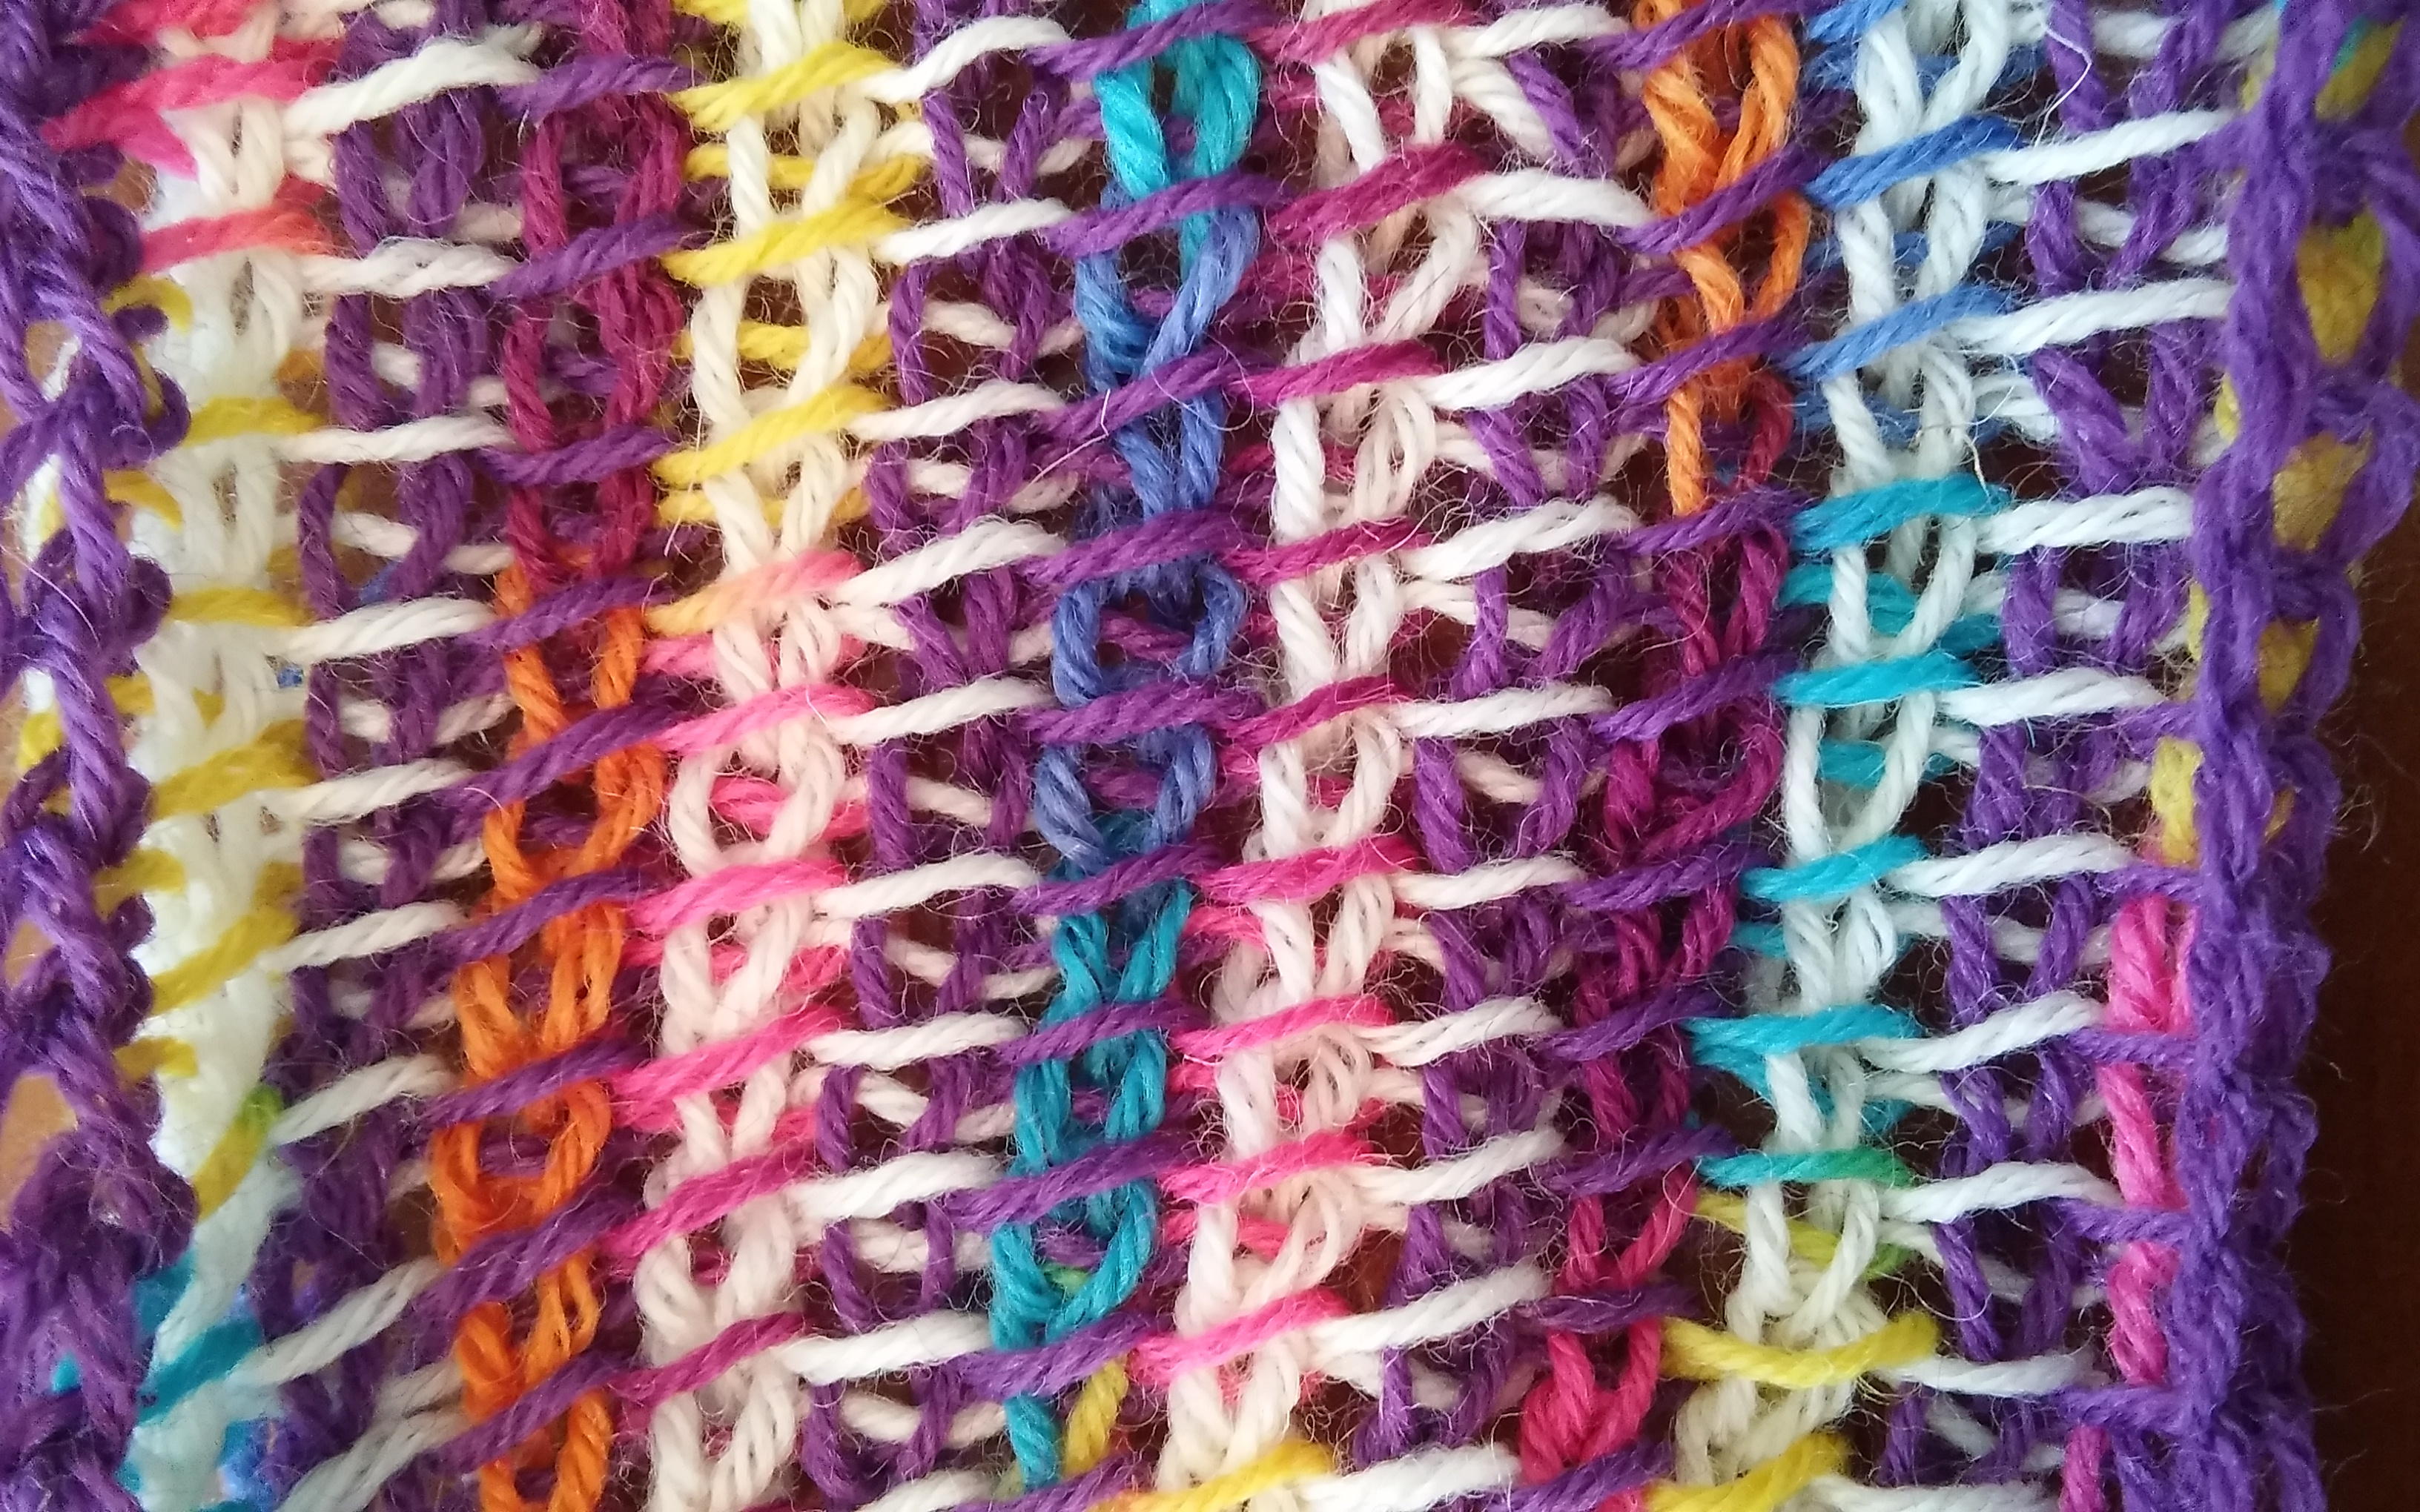
Original version in blue, published in cream.

Sato Sugar Shawl originally entered the world at a fashion show in San Diego, at the annual Crochet Guild of America Chainlink (or otherwise referred to as the Knit & Crochet Show). I had created it from 1 skein of a new yarn from Lisa Souza Dyeworks, Aurora, and seriously just finished it on my way to the show. I hadn’t even formally given it a name or anything.

Summer2016Crochet!_Sato Sugar Shawl

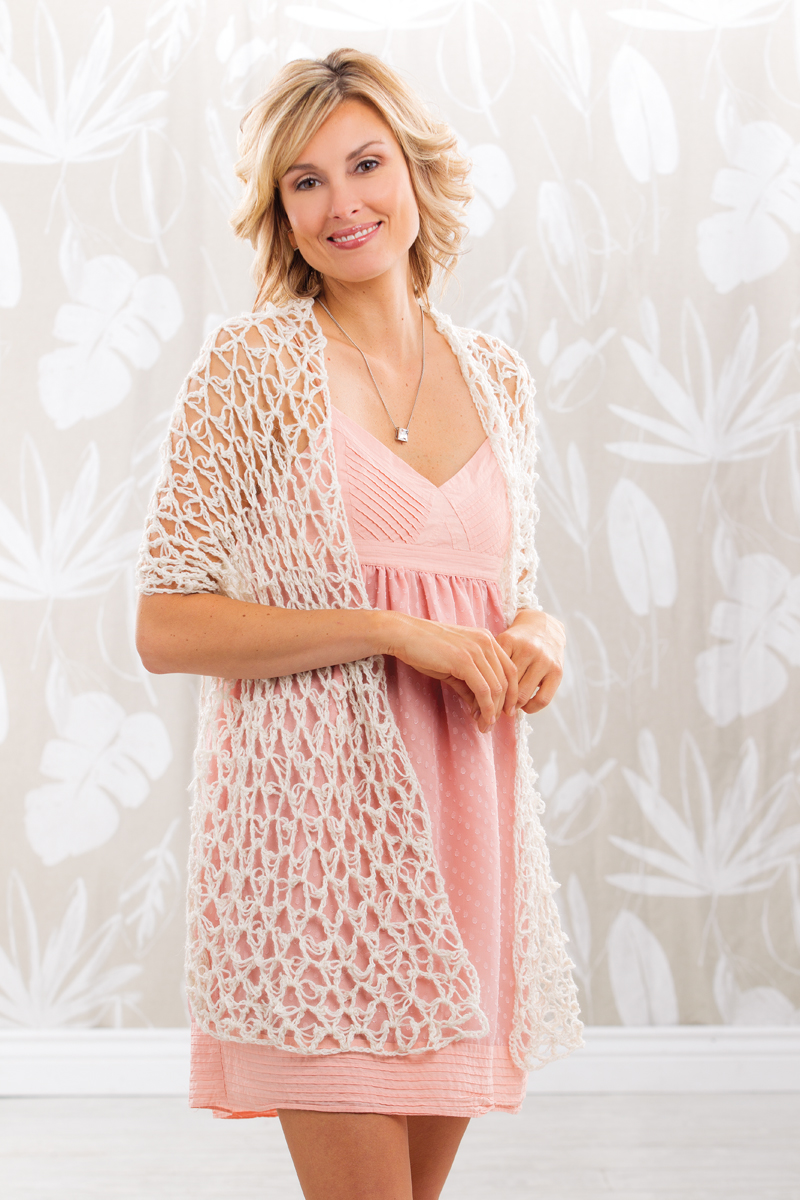
Sato Sugar Shawl, photo courtesy of Annie’s

I was encouraged to enter it in the annual members fashion show that happens at the banquet dinner. I agreed to model it, as I was already assisting in modeling other items for the show. I was hastily writing up its description in the back of the staging area, to be read by Ellen Gormley, editor of Crochet! Magazine. Not only was I attempting to put together a nice write up that I would have to walk on stage with, but I also had to make sure that Ellen could actually read my hand writing, which is no small feat.

I was getting input, ideas, and guidance from a wide variety of people that were modeling as well, with designer Vashti Braha giving me some excellent “romance” for the description. One of the things that struck me was a comment that Vashti made about how she had never seen the Love Knot stitch used in the way I had in this wrap. That took me back a little, as Vashti teaches classes on the Love Knot, she has researched its many ways of being made, when it was historically used and such, so to hear her mention that it was completely new to her caught me a little off guard, in a good way.

Summer2016_Crochet!
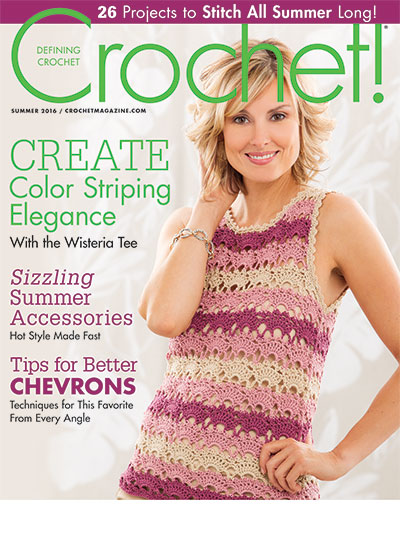
Later that night Ellen pulled me aside and said “submit it, I want it”, and the Sato Sugar Wrap made its way to the pages of Crochet! Magazine for the current Spring 2016 issue. Only the yarn and color were changed for the publication, everything else remains true to the original, I think it worked up nicely in the Berroco Folio Luxe.

It is always fun to see me designs newly released, they often have some story and memory with them, maybe not as all-encompassing as this one, but still they all have stories. Much like each gift I have created over the years, the memories that I have of choosing the yarn or the pattern for “so-and-so for that event and such”. The release time is often a while after I created it, so seeing the latest issue of a magazine can transport me back in time a little, bringing up memories and fostering new ideas.

Some Subtel or Not So Subtel Changes

ScannedImageOne thing that I enjoy experimenting with is visual effects in crochet. There are many different ways that this can be accomplished, textural stitches, various stitch locations, colors, but this time I was actually working with a carry a long thread.

0408161133a

Swatch using a Carry Along thread

I challenged myself to play with something that is relatively simple yet has interest. So I was working with a Tunisian Simple Stitch, changing color on every forward and return pass. I find that I really enjoy this with 3 colors as each row sets up really nicely for the next, and eventually you do not even have to think about what color you are on the strand you need is already there. (If you would like to give it a try for yourself, I have a free pattern using the stitch technique here.)

I was working with some vibrant colors, and wanted to tone it down a bit and even tie the colors together better, so I picked up some Twist Carry Along Yarn from Kreinik Threads and it did the trick. Many would find a complimentary color and add similar color thread to the work, I instead decided to go big, and I pared a color that would stand out, gold. This allows for the colors to actually find more harmony together. The eye begins to tone down the brightness of the vibrant yarns as they have a constant that is running through all of them. One of the reasons I chose the gold as the carry a long color was that if I am going to put in this extra work, I want it to be seen. I want someone to recognize my effort, if you have a hard time telling that there was something different done then it almost seems like there is no payoff for my extra work. I decided to be bold.

0408161132a

Swatch without a thread

Using a carry a long thread is actually pretty easy, you just work 2 strands together, one being your main yarn and the other being your thread. The only difficulty comes in changing the color of the main yarn, you want to make sure that you do not get everything too tangled, so remember to overlap your yarns in a consistent direction and keep the thread out of the twist.

So if you want to challenge yourself, reach into your stash of yarn and pull out a couple of yarns are random, now use them together, if the colors seem like they won’t work try using a thread, either the same as I tried, or even a metallic sewing thread or a beautiful embroidery type. See how it can change the effect. Play, you might find a pleasant surprise.

Crochet Month Celebration- Free Pattern & Discounts!

ScannedImageI can hardly believe that a month long celebration of crochet is really almost over. Crochetville put together quite the blog tour this year and I am grateful that they have invited me to attend again this year, (if you have missed any stops, make sure and check them out here).

linda.dean.crochet.express.ticket

I will admit that I have found it fun to see the focus on various social media outlets about Crochet Month, but in my personal reality nothing changed too much as crochet is my everyday celebration. I find a little something that fascinates me with this craft nearly daily. It may be the fact that there are so many different locations to place a stitch and get such a different effect that it is almost too numerous to count. It may be that the same pattern worked in a different yarn or with a different fiber can create a completely different look. It might also be that if you just change your hook everything can change. It might seem like small details, but these small details can make all the difference.

I know I probably sound like an artist that is explaining different shades of red, because the most important thing about crochet is the way it makes you feel to create. My personal soap box is that there is never “wrong” crochet, because if you enjoy it, that is all that matters. A statement that I students always enjoy is “If your friends point out your crochet mistakes, they are not your friends”.

To aide your enjoyment of the crochet celebration, I am sharing a free pattern. This pattern, The Small Empress Jeweled Egg, may be a little late for the Easter holiday, but as you may have the plastic eggs around, and these are cute additions that you can use for spring decorations. In addition I am giving a free pattern coupon for my Ravelry store. Buy any patterns totaling at least $9 and receive your choice of any pattern FREE by using code NatCroMo2016 until April 6, 2016.

Also, I am excited to share that I am teaching at the annual Crochet Guild of America conference, known as Chainlink in some crowds and the Knit & Crochet Show in others, this July in Charleston, SC. If you plan on attending, please consider my classes. I would love to meet you there!

Don’t forget to check out all the other stops today on this ride along the blog tour, places like my friend Vashti Braha, I always love reading what she has to say.

If you need some help or ideas for using beads, check out some of my tips here.

IMG_7358

Small Empress Jeweled Egg I do not know why the photo wants to be on its side….

Skill level: Advanced Beginner       Measures to fit plastic egg, with no ease

Material List:

  • Size F/5/3.75mm hook
  • Lincatex Gold Rush super fine weight 80% Rayon, 20% Metallised Polyester yarn (100m/25g per cone)
  • #6 size Czech glass beads 60 grams (beadbiz.org)
  • Small plastic egg, 1 1/4”wide x 1 7/8” long
  • Tapestry needle

Gauge: is not critical for this project

Pattern Note /Special Stitches

Bead Crochet (bc): Slip 1 bead to hook, YO, pull through loop on hook.

Double Crochet 2 together (dc2tog): YO, insert hook into indicated stitch, YO and pull through, YO pull through 2 loops, YO insert hook into next indicated stitch, YO pull through, YO pull through 2 loops, YO pull through last 3 loops.

Small Empress Ornament       Thread 60 beads

Round 1: Ch 4 (counts as foundation ch plus dc), bc, [dc, bc] all in 5th ch from hook 7 times, sl st to top of beg ch 4. (8 dc, 8 bc)

Round 2: Ch 3 (counts as first dc here and throughout), dc in same st, bc, [2 dc in next dc, bc] 7 times, sl st to top of beg ch 3. (16 dc, 8 bc)

Rounds 3-7: Ch 3, dc in next dc, bc, [dc in next 2 dc, bc] 7 times, sl st to top of beg ch 3. (16 dc, 8 bc)

Insert small egg and work subsequent rounds.

Round 8: Ch 2 (counts as first dc2tog here and throughout), sk next dc, bc, [dc2tog in next 2 dc, bc] 7 times, sl st to to of beg ch 2. (8 dc2tog, 8 bc)

Round 9: Ch 1, sc8tog  in all dc sts, finish off.

Abbreviations:

ch: chain

dc: double crochet

rep: repeat

sc: single crochet

sk: skip

sl st: slip stitch

st(s): stitch(es)

Easter Challenge, I Think Success

ScannedImageI was recently presented with a challenge, and honestly I enjoy designing this way.

IMG_7363

Empress Jeweled Egg US $3.50

Bead Biz, a great bead supply company, presented me a challenge to create a beaded ornament primarily for Easter. After some research and some playing I think I came up with a couple that fit the build pretty nicely.

At my home Easter is pretty quiet. We color eggs, finding that we love the jewel tones that come from dyeing brown eggs, then I may use the dyes to color yarns that I may have around (you can find out how to do that here). We snack on candy from baskets, may head out to an egg hunt at a local park, and generally enjoy day as a family. However doing some research into this challenge brought back some memories for me, and some of the images of egg decorations I found very fascinating. I remember as a kid, one year my mom decided to attempt some natural egg dying, using onion skins. I recall her poking pin holes on the ends of the eggs, and blowing the content, after much work, into a bowl, leaving the egg hollow. She then tied small leaves around the egg and rested it in her onion skin dye. After a great while she removed the egg and its bindings and she had a beautiful brown colored egg that had leave images. However what I remember most, is her finding the effort not entirely worth the outcome. She only did this craft once.

IMG_7368

Imperial Delight Jeweled Egg US $3.50

In designing these ornaments some of these memories joined me, so I managed to keep the overall design simple, but what I think are beautiful results. I really wanted the beads to shine, and I think I have succeeded in that. They really seem like the star of the show. I found that once I was completed with them, that I felt that I could find a place in my home for them year round. They can easily be adapted to the Christmas holiday traditions, as well as beautiful gifts to welcome a baby, a birthday, or even a hostess. They work up rather quickly, and with different bead color combinations can offer many stunning results. Each pattern actually has two designs, one for a large oval ornament, and one for a small plastic Easter egg, giving variety and additional options and inspiration.

I have both sets of patterns available on Ravery and Craftsy, and if you would like to check them out for yourself, I am offering a 20% off coupon code for all of my patterns through the end of March 2016 to celebrate National Crochet Month. So if you see anything you like at my Ravelry store, use code SW2016 and receive this discount until March 31, 2016.

If you want to learn more about using beads in your crochet? Or even your knitting? Considering attending my class “Beading 3 Ways” at the Knit & Crochet Show in Charleston, SC Saturday July 16, 2016. I am excited! It is my first time teaching at a national venue, if you happen to be able to attend, please check out my classes!

Inspiration from Broomstick

ScannedImageIt is so inspiring to share a concept with a student and see the spark in their eyes, and then see them make it their own. This has happened to me recently with an introduction discussion on Broomstick Lace.

I teach an informal crochet class at my local yarn shop, and keep it student driven, meaning that every student works on projects that they want to create and I teach them the parts they need to learn in an individual/group setting. I find that the students really get inspired from one another, and have such varied ideas for project that they want to create, this makes for a class that is different everyday highlights the beauty of how crochet can be some much to so many. The one constant is that I open every class with a new technique or skill.

IMG_7427

one simple row of Broomstick LAce

Last week I shared how to create Broomstick Lace, one student was inspired enough by this concept that she took it home and began working a row of it in her latest baby afghan. I love how she did not feel intimated by it, or feeling that she needed to find a pattern, she jumped right into how she could apply it to her latest project.

With this inspiration fresh in my heart, I wanted to share with you the basics to this traditional technique.

You can begin this stitch on a base of any fabric, you can even start it in a foundation chain, and it is really versatile. You use a large knitting needle, I typical do not use a needle smaller than a US 19 (15 mm) when using a light or medium weight yarn, the thing to keep in mind is that the larger the needle in relationship to the yarn the larger the “eye” of the stitch.

IMG_7419

Pull loops through base stitches and over a large knitting needle

Pull the working yarn over the needle, then insert your hook in the next stitch and pull up a loop, place this loop over the needle until you have pulled a loop through all the stitches in the row. Then you turn the work, and begin working the loops off the needle. This is done by inserting the hook through a number of loops on the needle (this number can vary, it can be as little as one, or as great as you like, often you see somewhere between 3 to 6 loops), yarn over, and pull a loop through these loops on the needle, chain 1, and work the either single or double crochet stitches in the space that the needle once sat, essentially in the loops. To maintain an even stitch count you want to add the same number of stitches as loops in the same stitches, for instance, if you are working in 5 loops, you want to place 5 stitches in the top of the loops. This process is continued across the needle.

IMG_7422

After loading the needle with loops, turn the fabric and work the loops off in groups, insert hook through loops, yarn over and pull through a loop, then chain 1

This is actually a very forgiving stitch, as if you somehow end up with too many or to little loops, you can correct the pattern by adding the number of stitches you should have in the top of the loops, so if you have 4 loops, but should have 5, work 5 stitches in the top of the loops and you have made corrections for the next row, while creating a piece that visually shows not difference.

IMG_7425

Working through the same space that the needle was located, work the same number stitches as there are loops into this space

This stitch may have originally received its name as being worked over a broomstick instead of a knitting needle, but has a reminiscent feel to Tunisian crochet and even Drop stitch crochet. These long loops pulled through stitches may be worked in different ways, but they create something uniquely crochet, and it is heart lifting to see them breathe new life.I can see them as rows of fabric, or used as an edging, they have great possibilities and are finding a new audience.