Working the Opposite for Nice Edges

ScannedImage
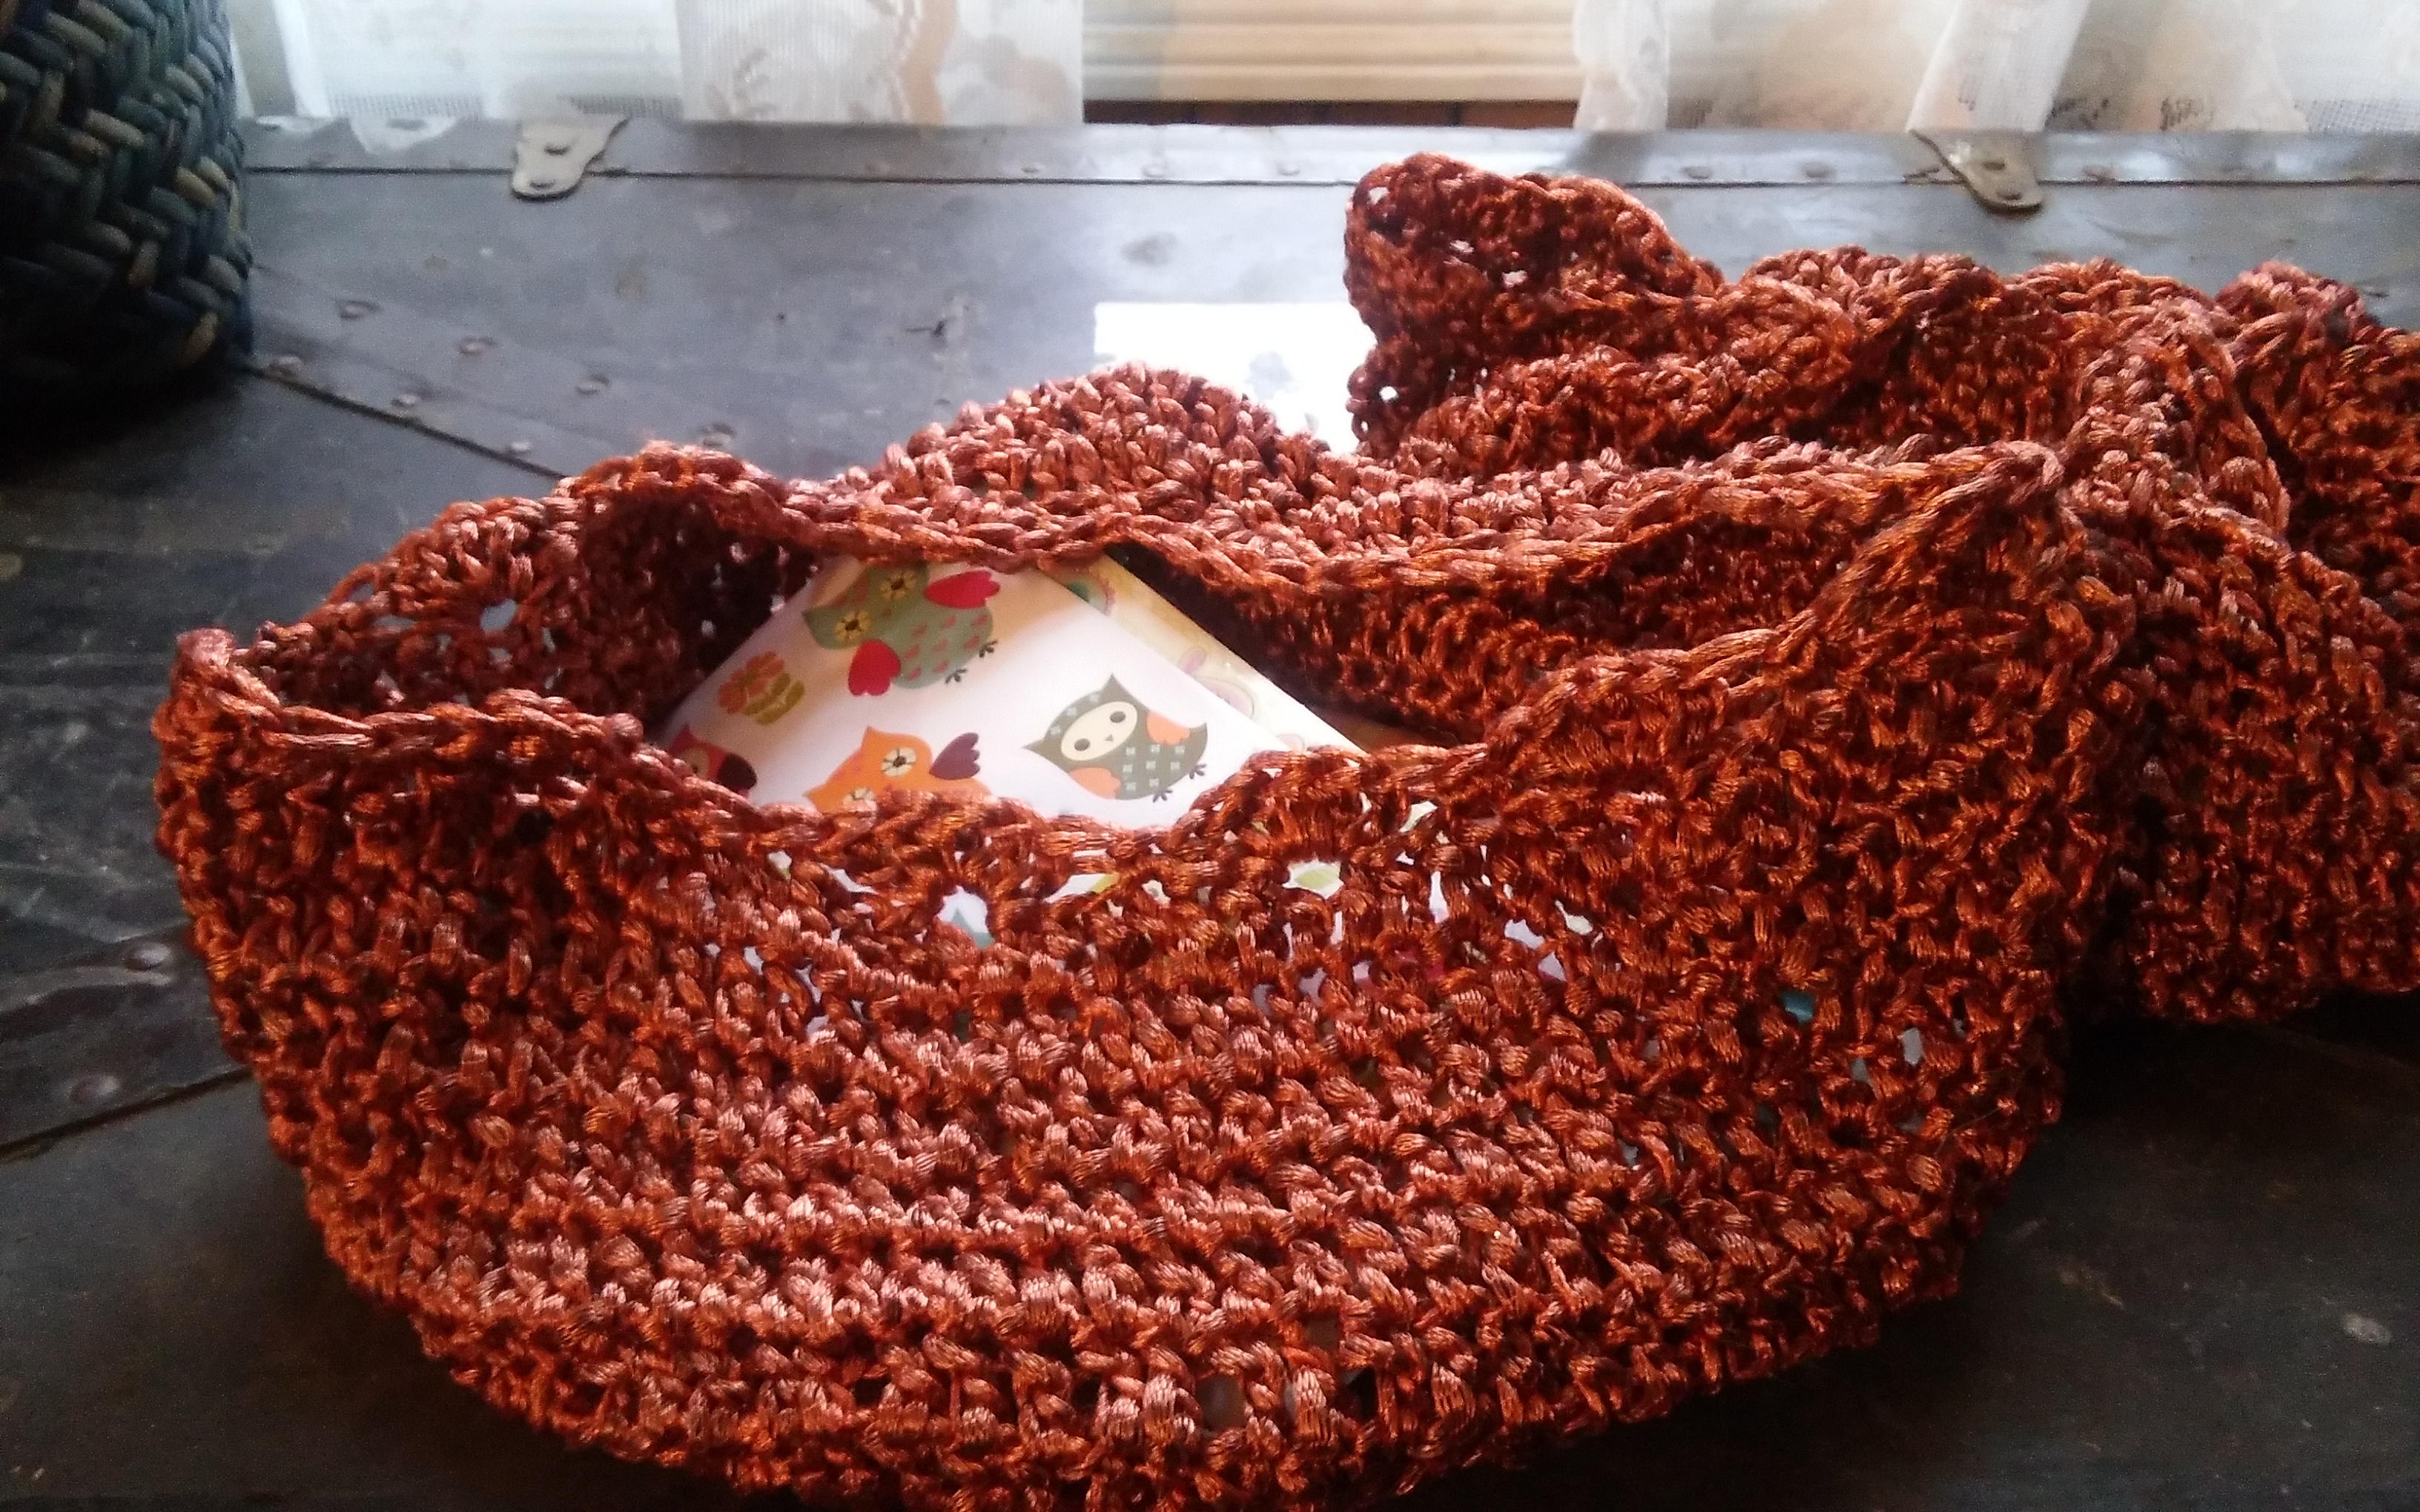
Sometimes all the difference in a handmade piece is the finishing. One of my favorite ways to finish a piece is with edging, and one I really like is the reverse single crochet, sometimes known as the “crab stitch”.

1216161043

The Reverse Single Crochet Stitch

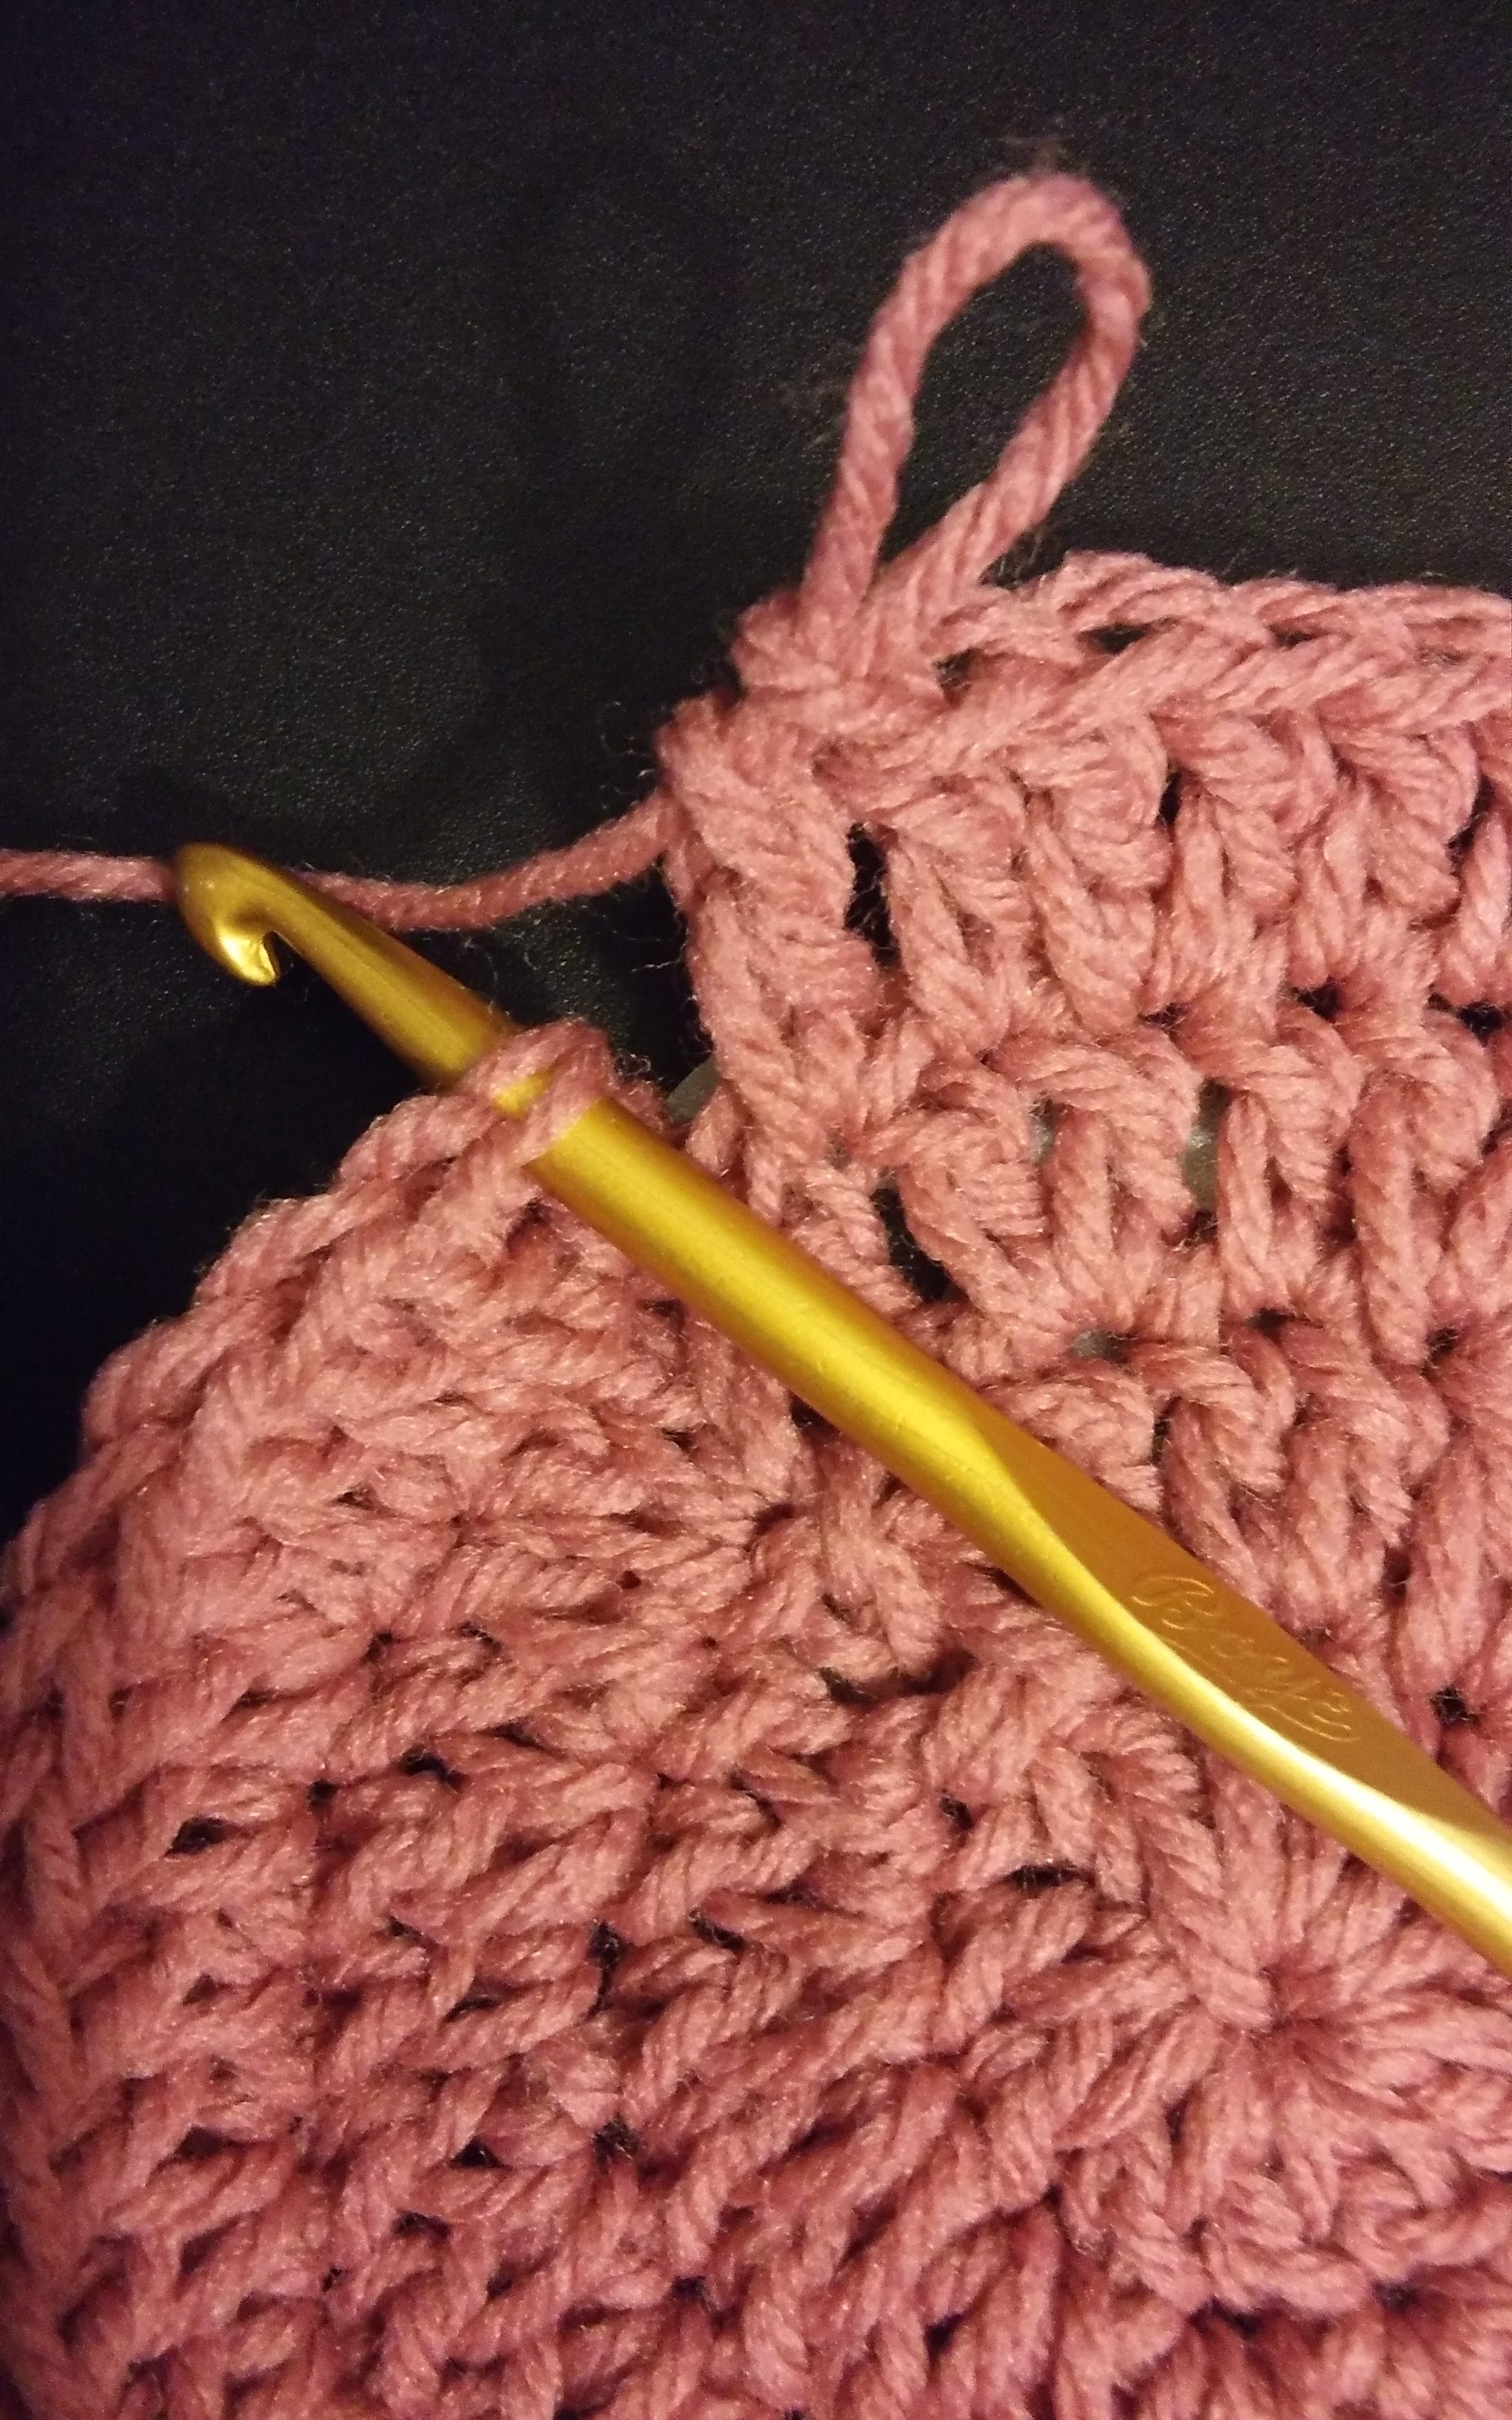
Crochet names, like “crab stitch” does not often tell you anything about the stitch, but at least “Reverse Single Crochet” gives you an idea…and it is pretty accurate. Essentially you are working a single crochet in the reverse direction.

1216161041

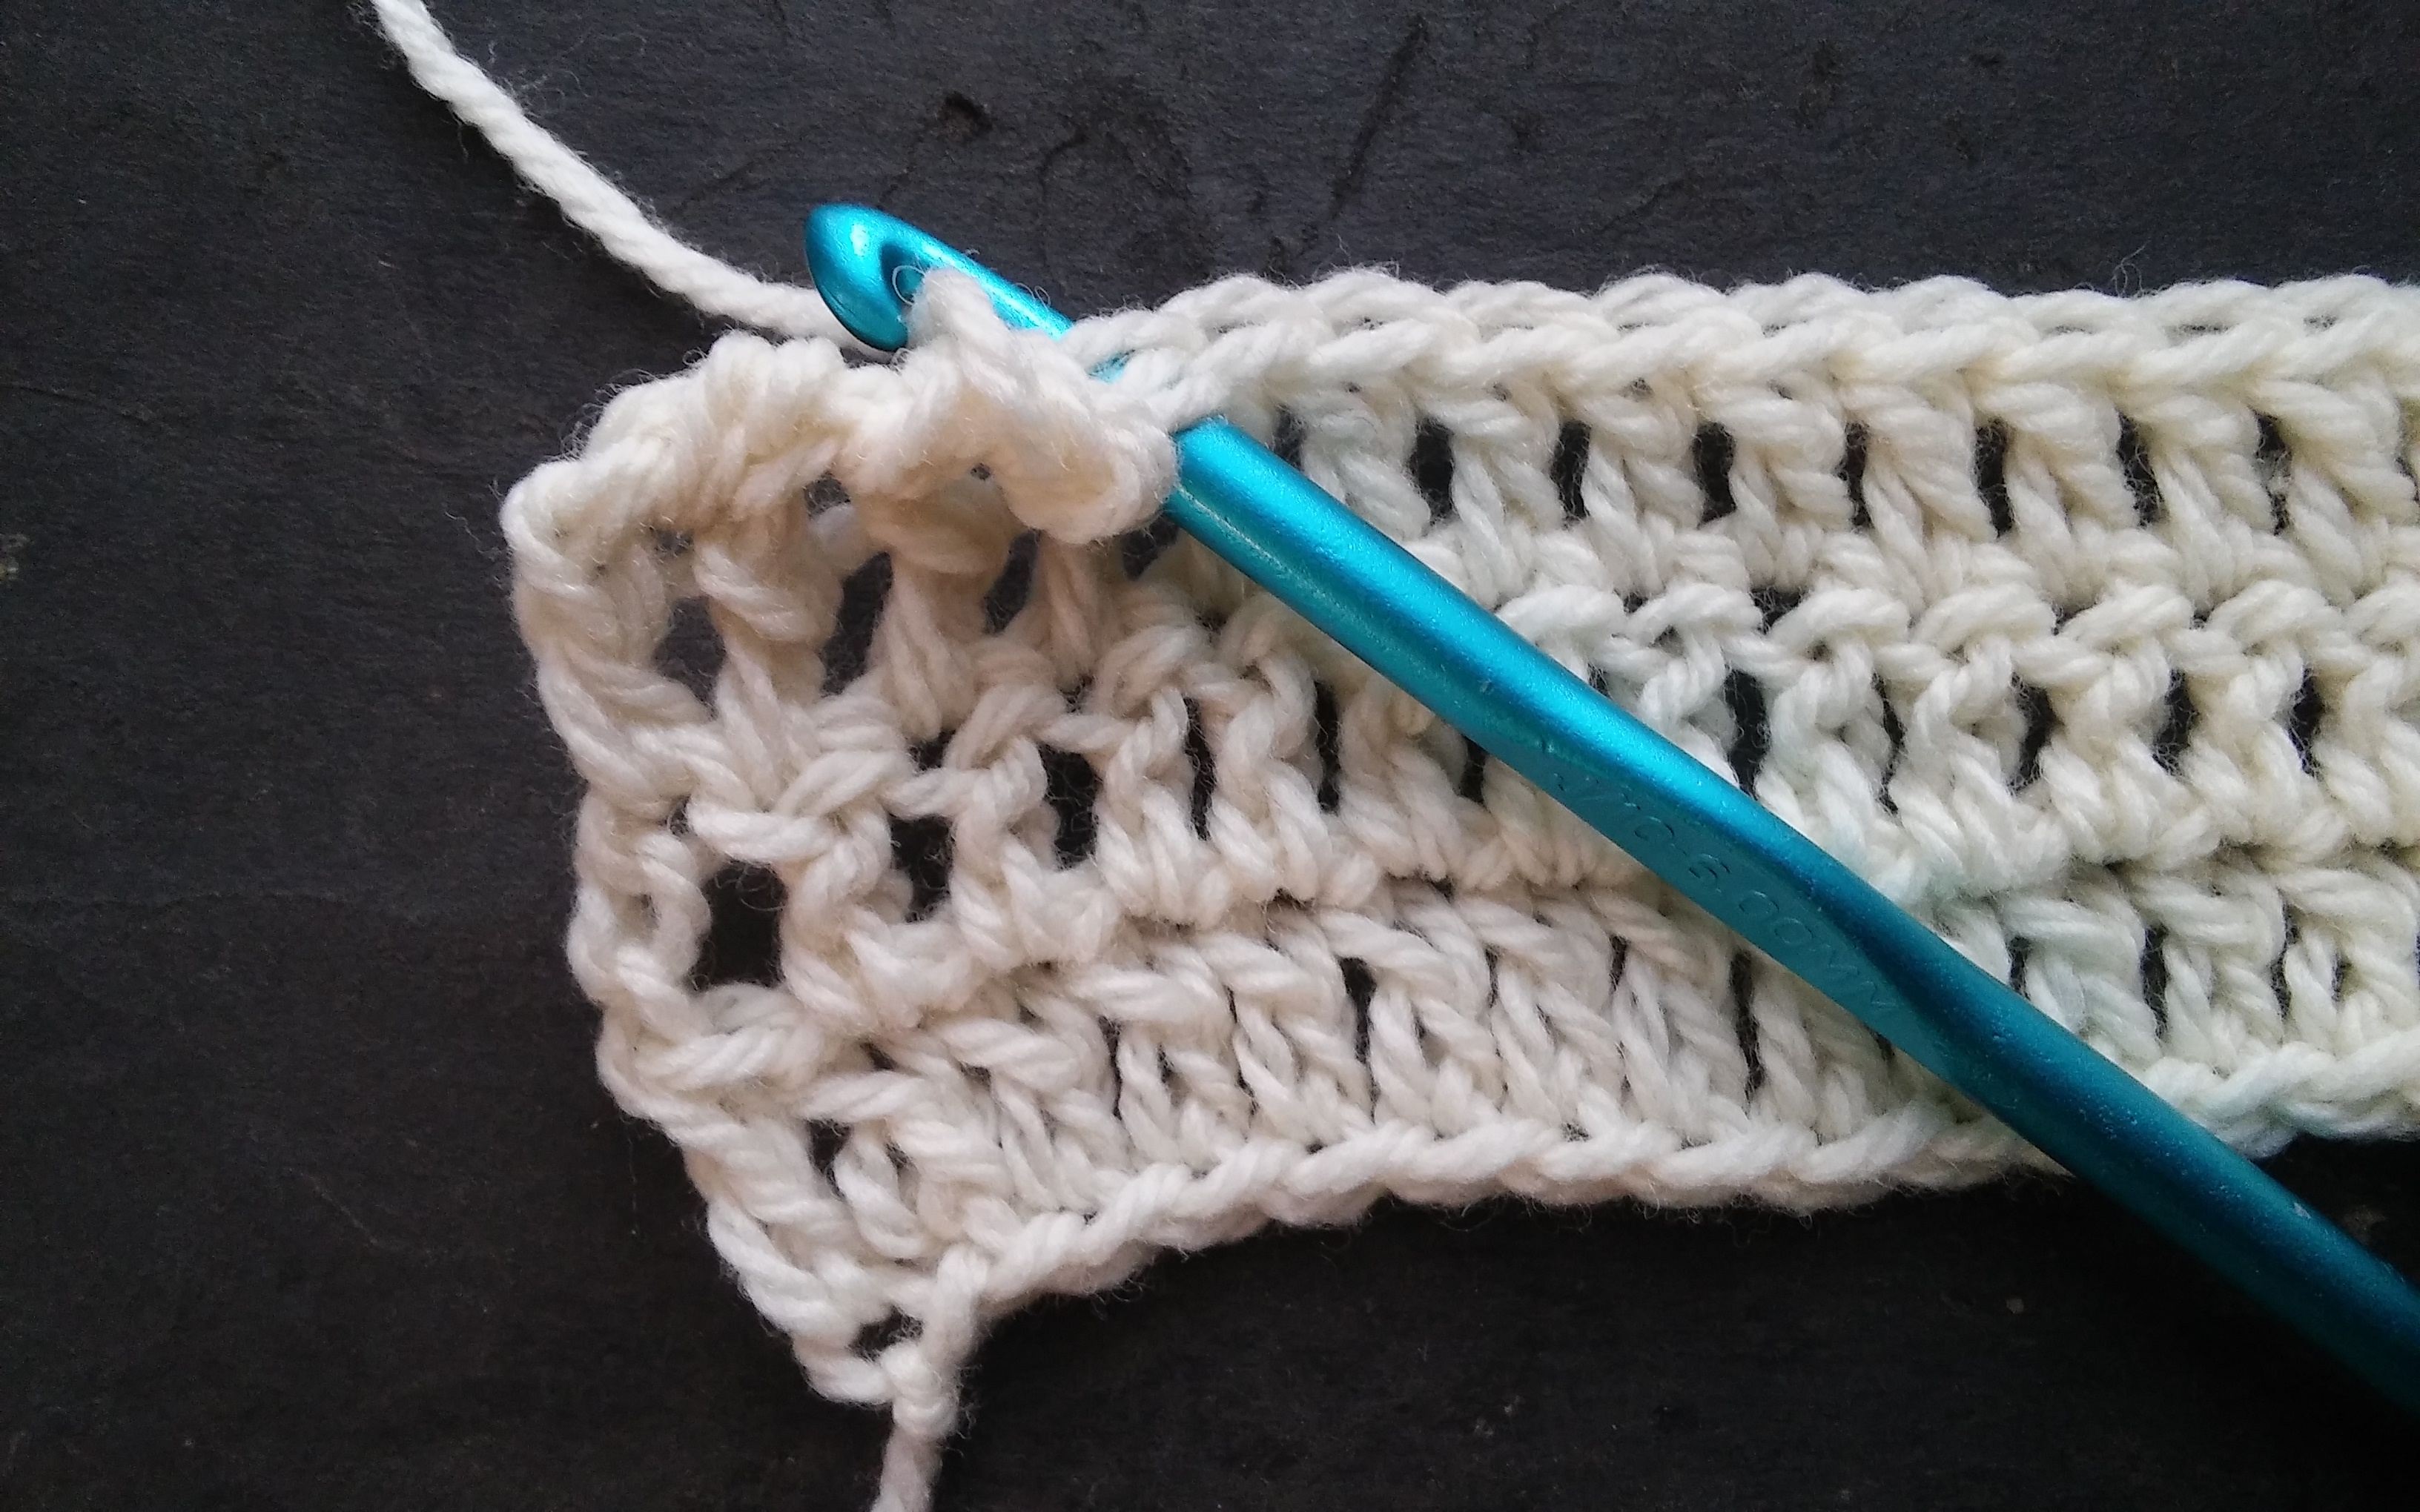
Insert your hook in the next stitch, from front to back, but in the Opposite direction from what you usually work.

You work the single crochet in the same manner, inserting your hook into the next stitch, yarn over, pull through a loop, yarn over and pull through two loops, but the difference is that instead of working in the normal direction of your crochet rows it is worked in the opposite stitches. So if you are right handed you will be working in the stitches located to the right of your work, and if you are left handed you will be working in the stitches to the left. This is in the opposite direction than you usually work.

1216161041a

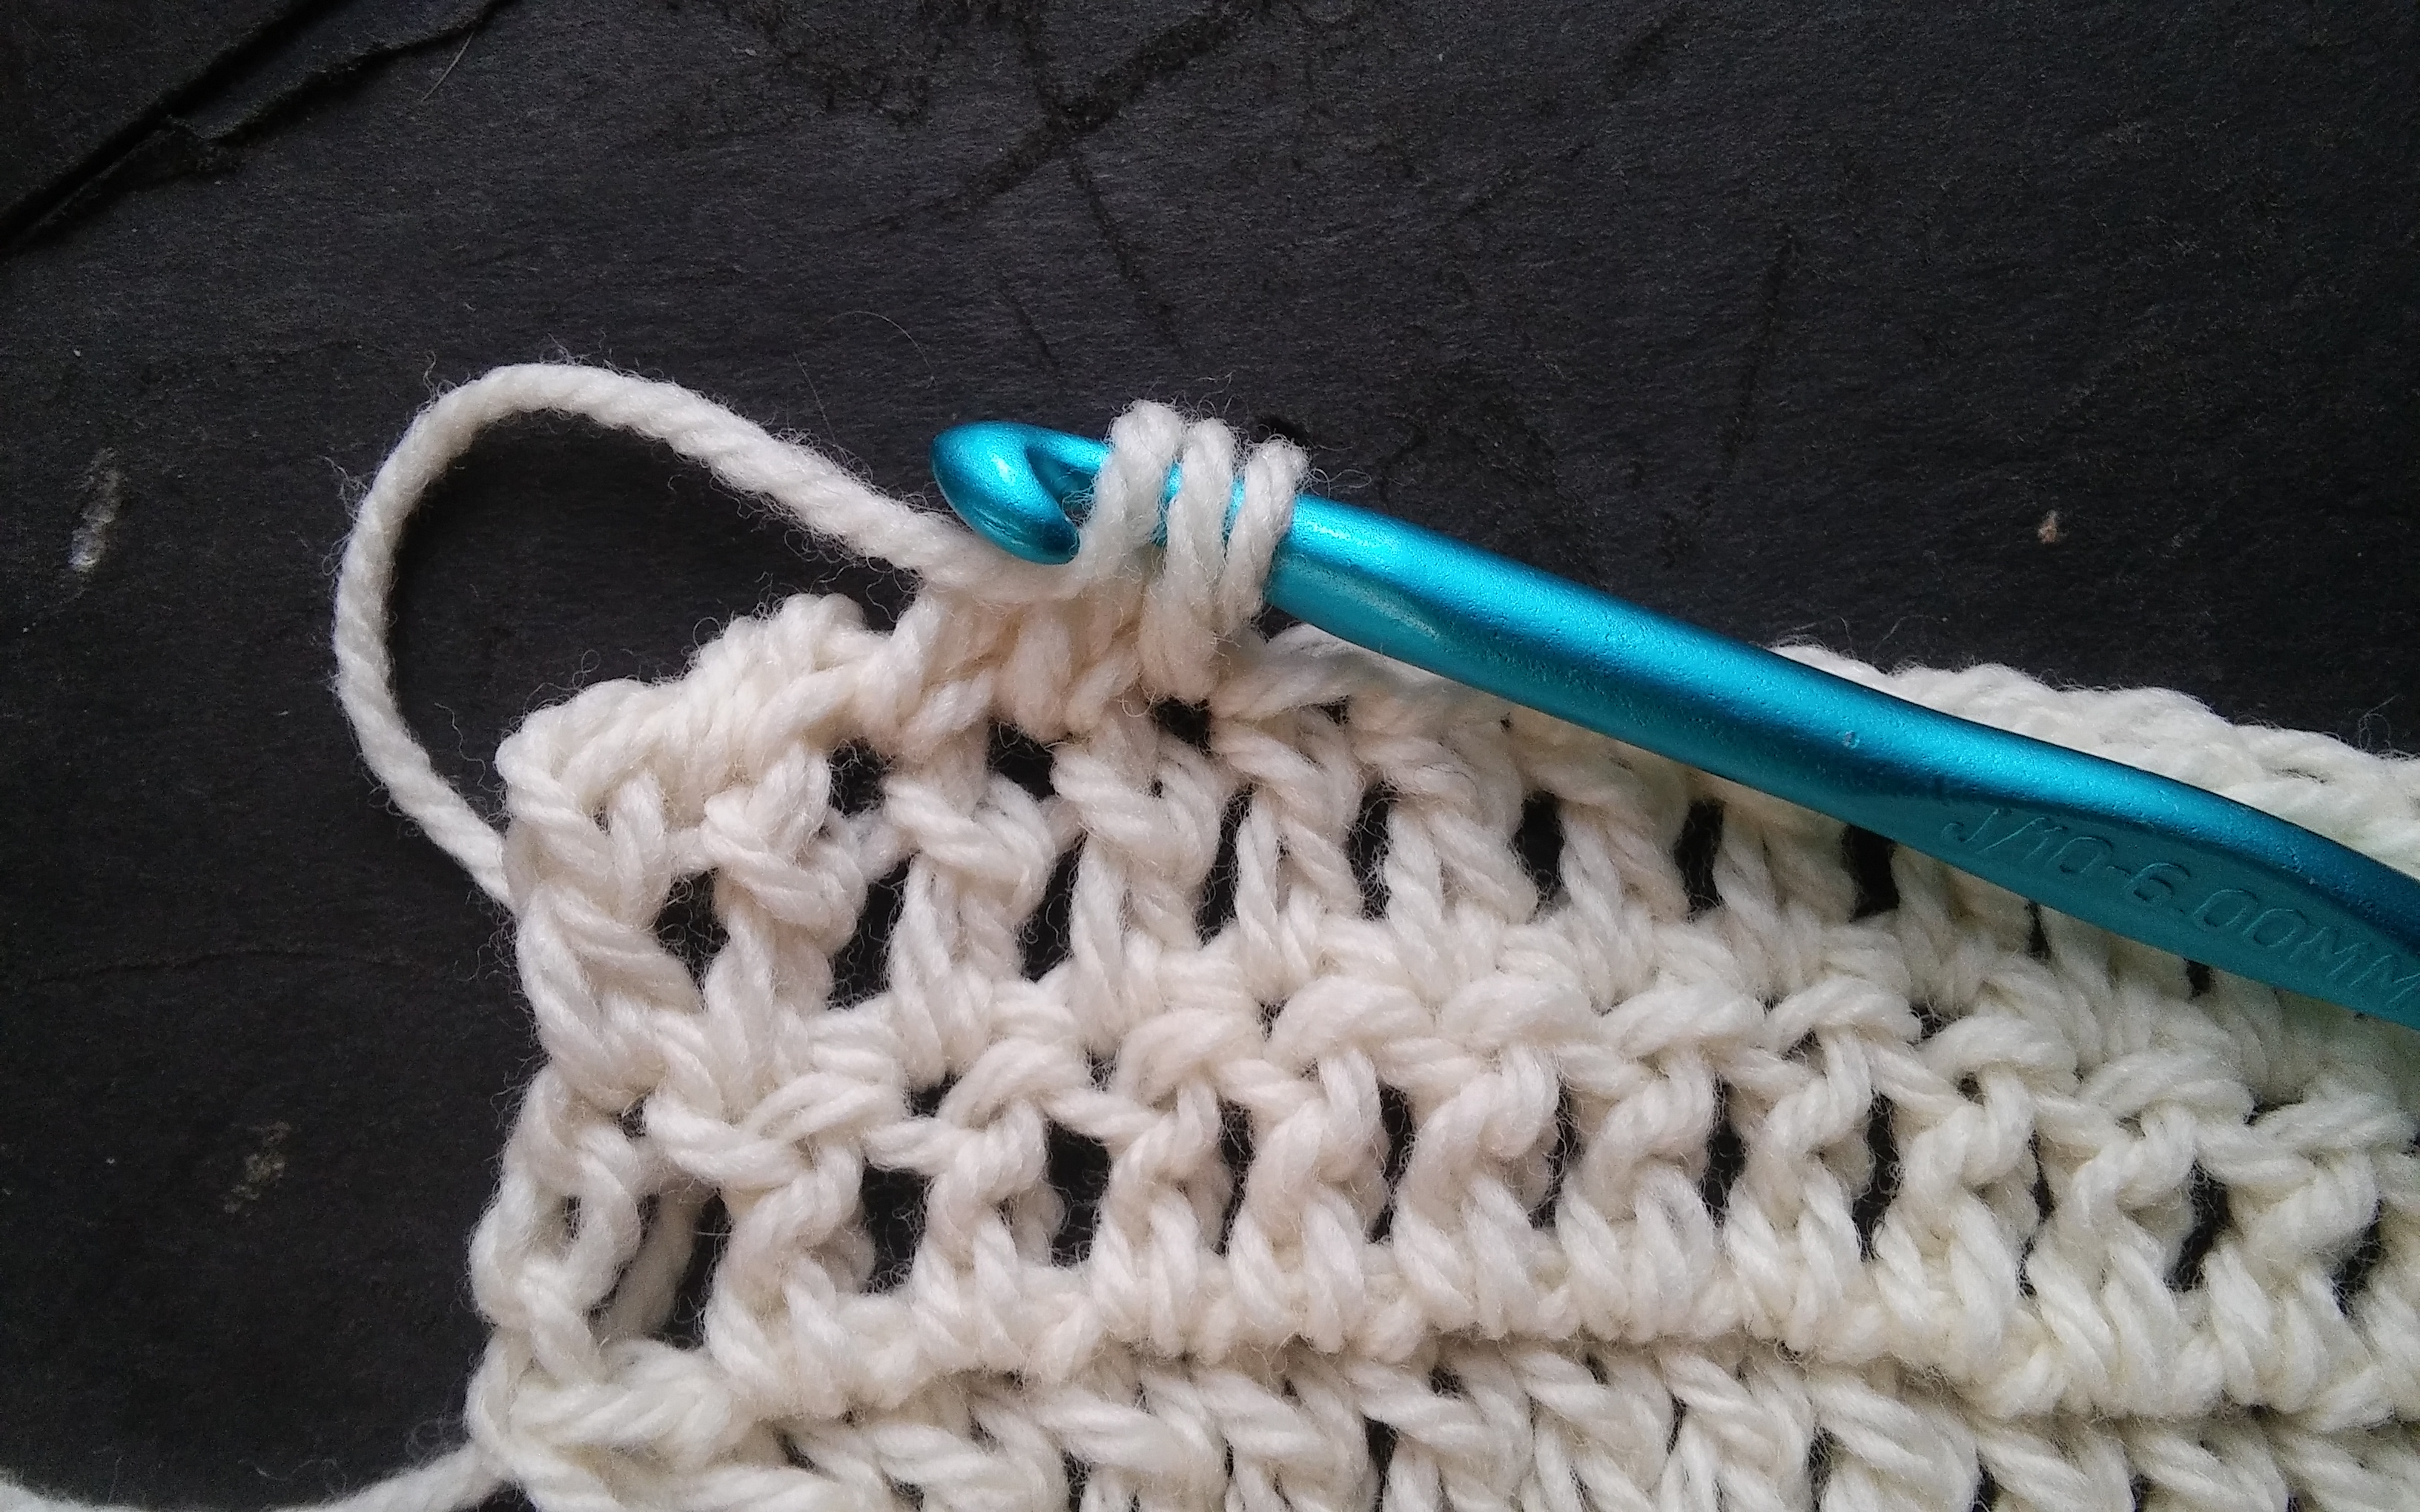
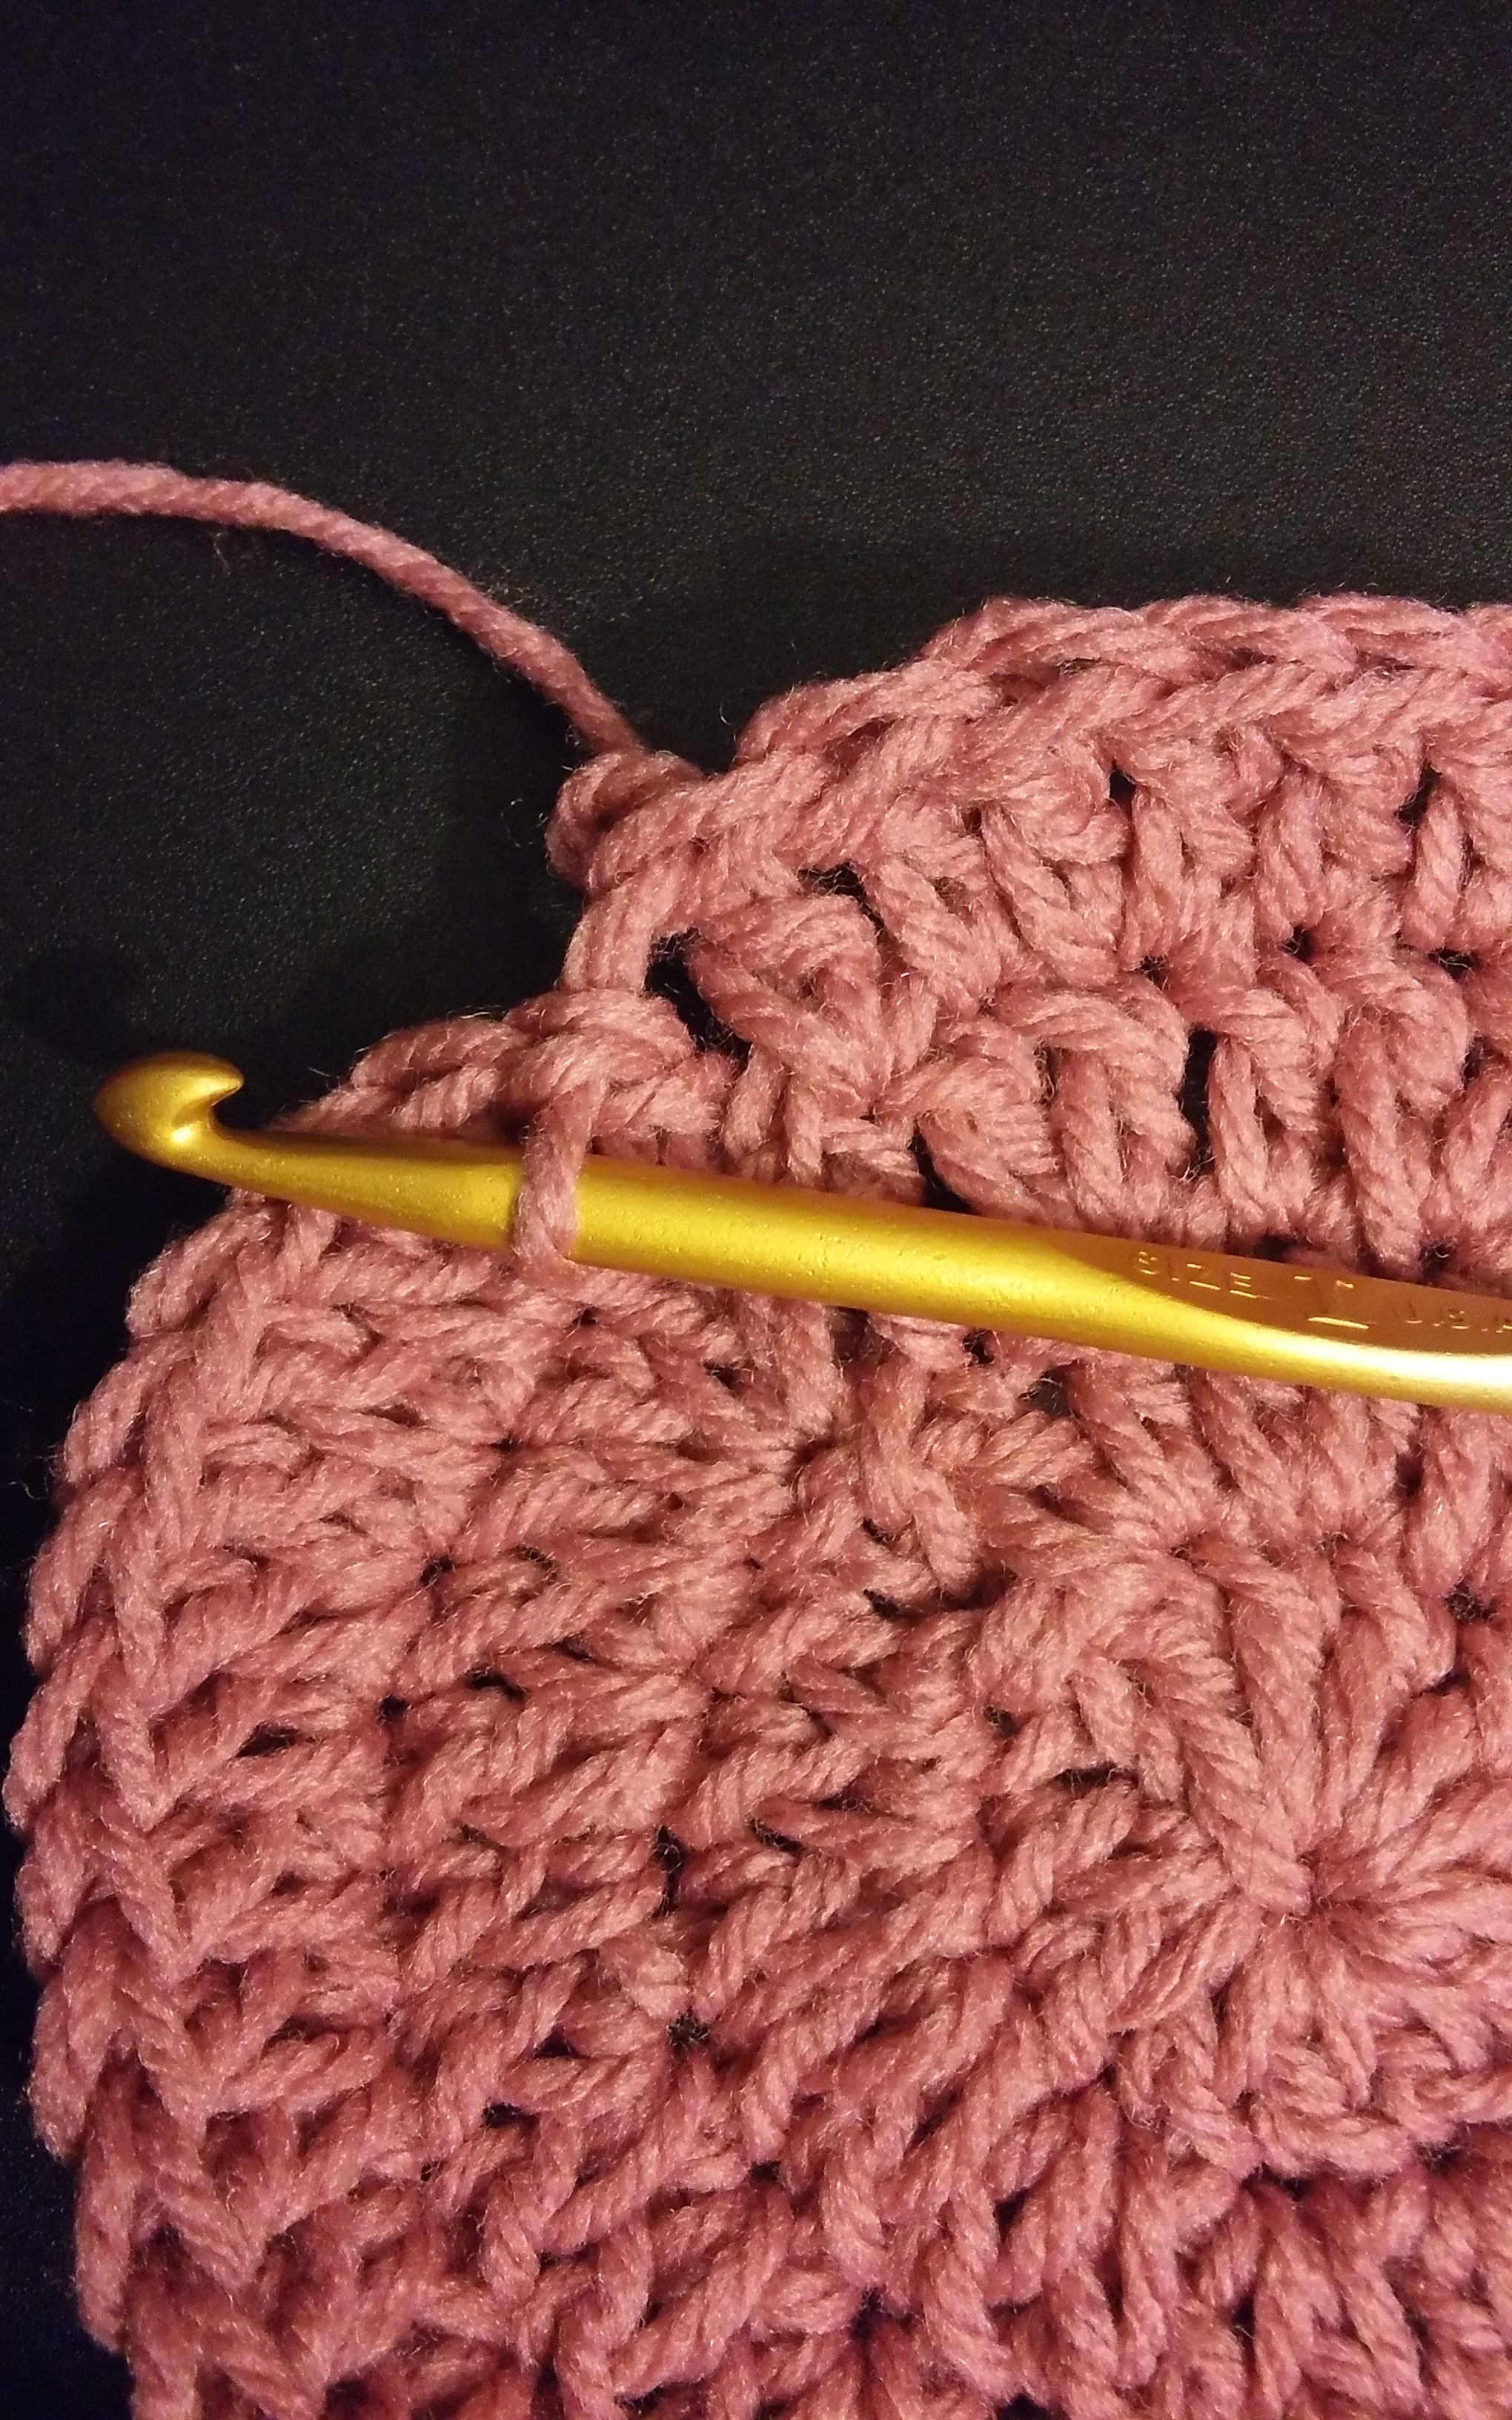
After yarning over and pulling through a loop, yarn over again and pull through 2 loops

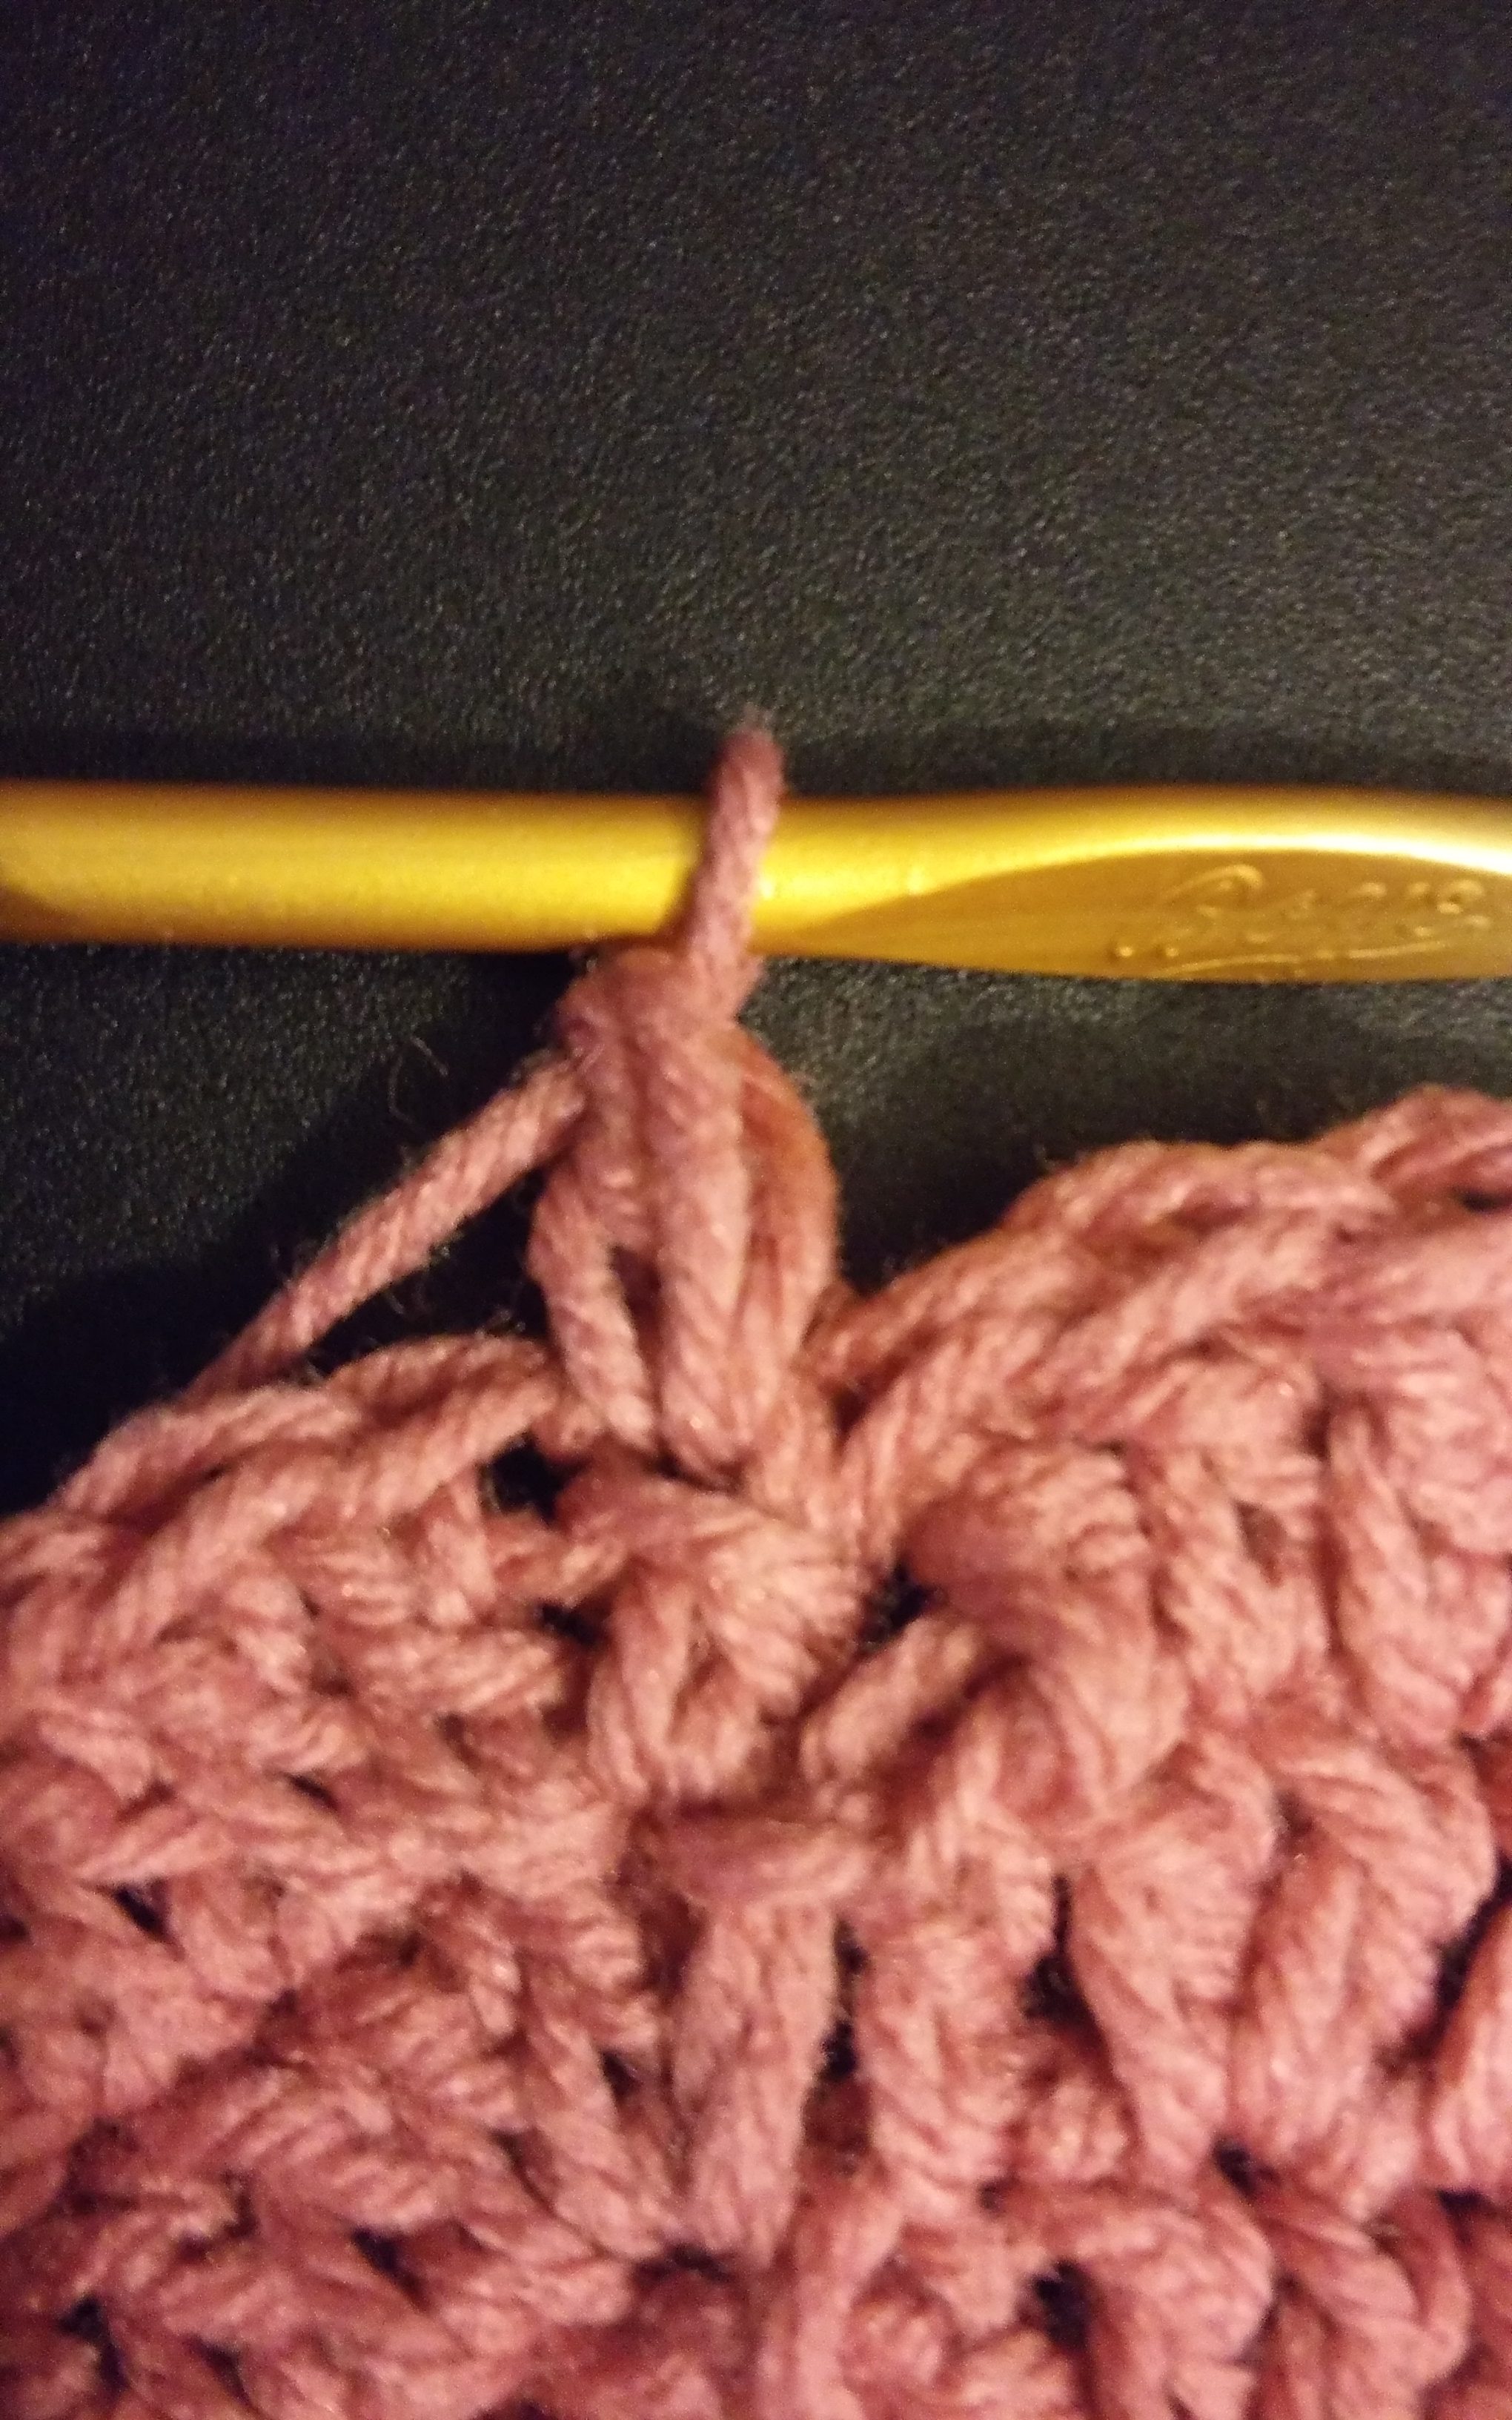
The most common error made when working this stitch is reversing the processes even further by inserting the hook from the wrong side of the fabric, this actually creates a single crochet stitch, but it is just a single crochet, just as if you had turned the work. So always insert the hook from the front of the fabric and complete the stitch.

1216161042

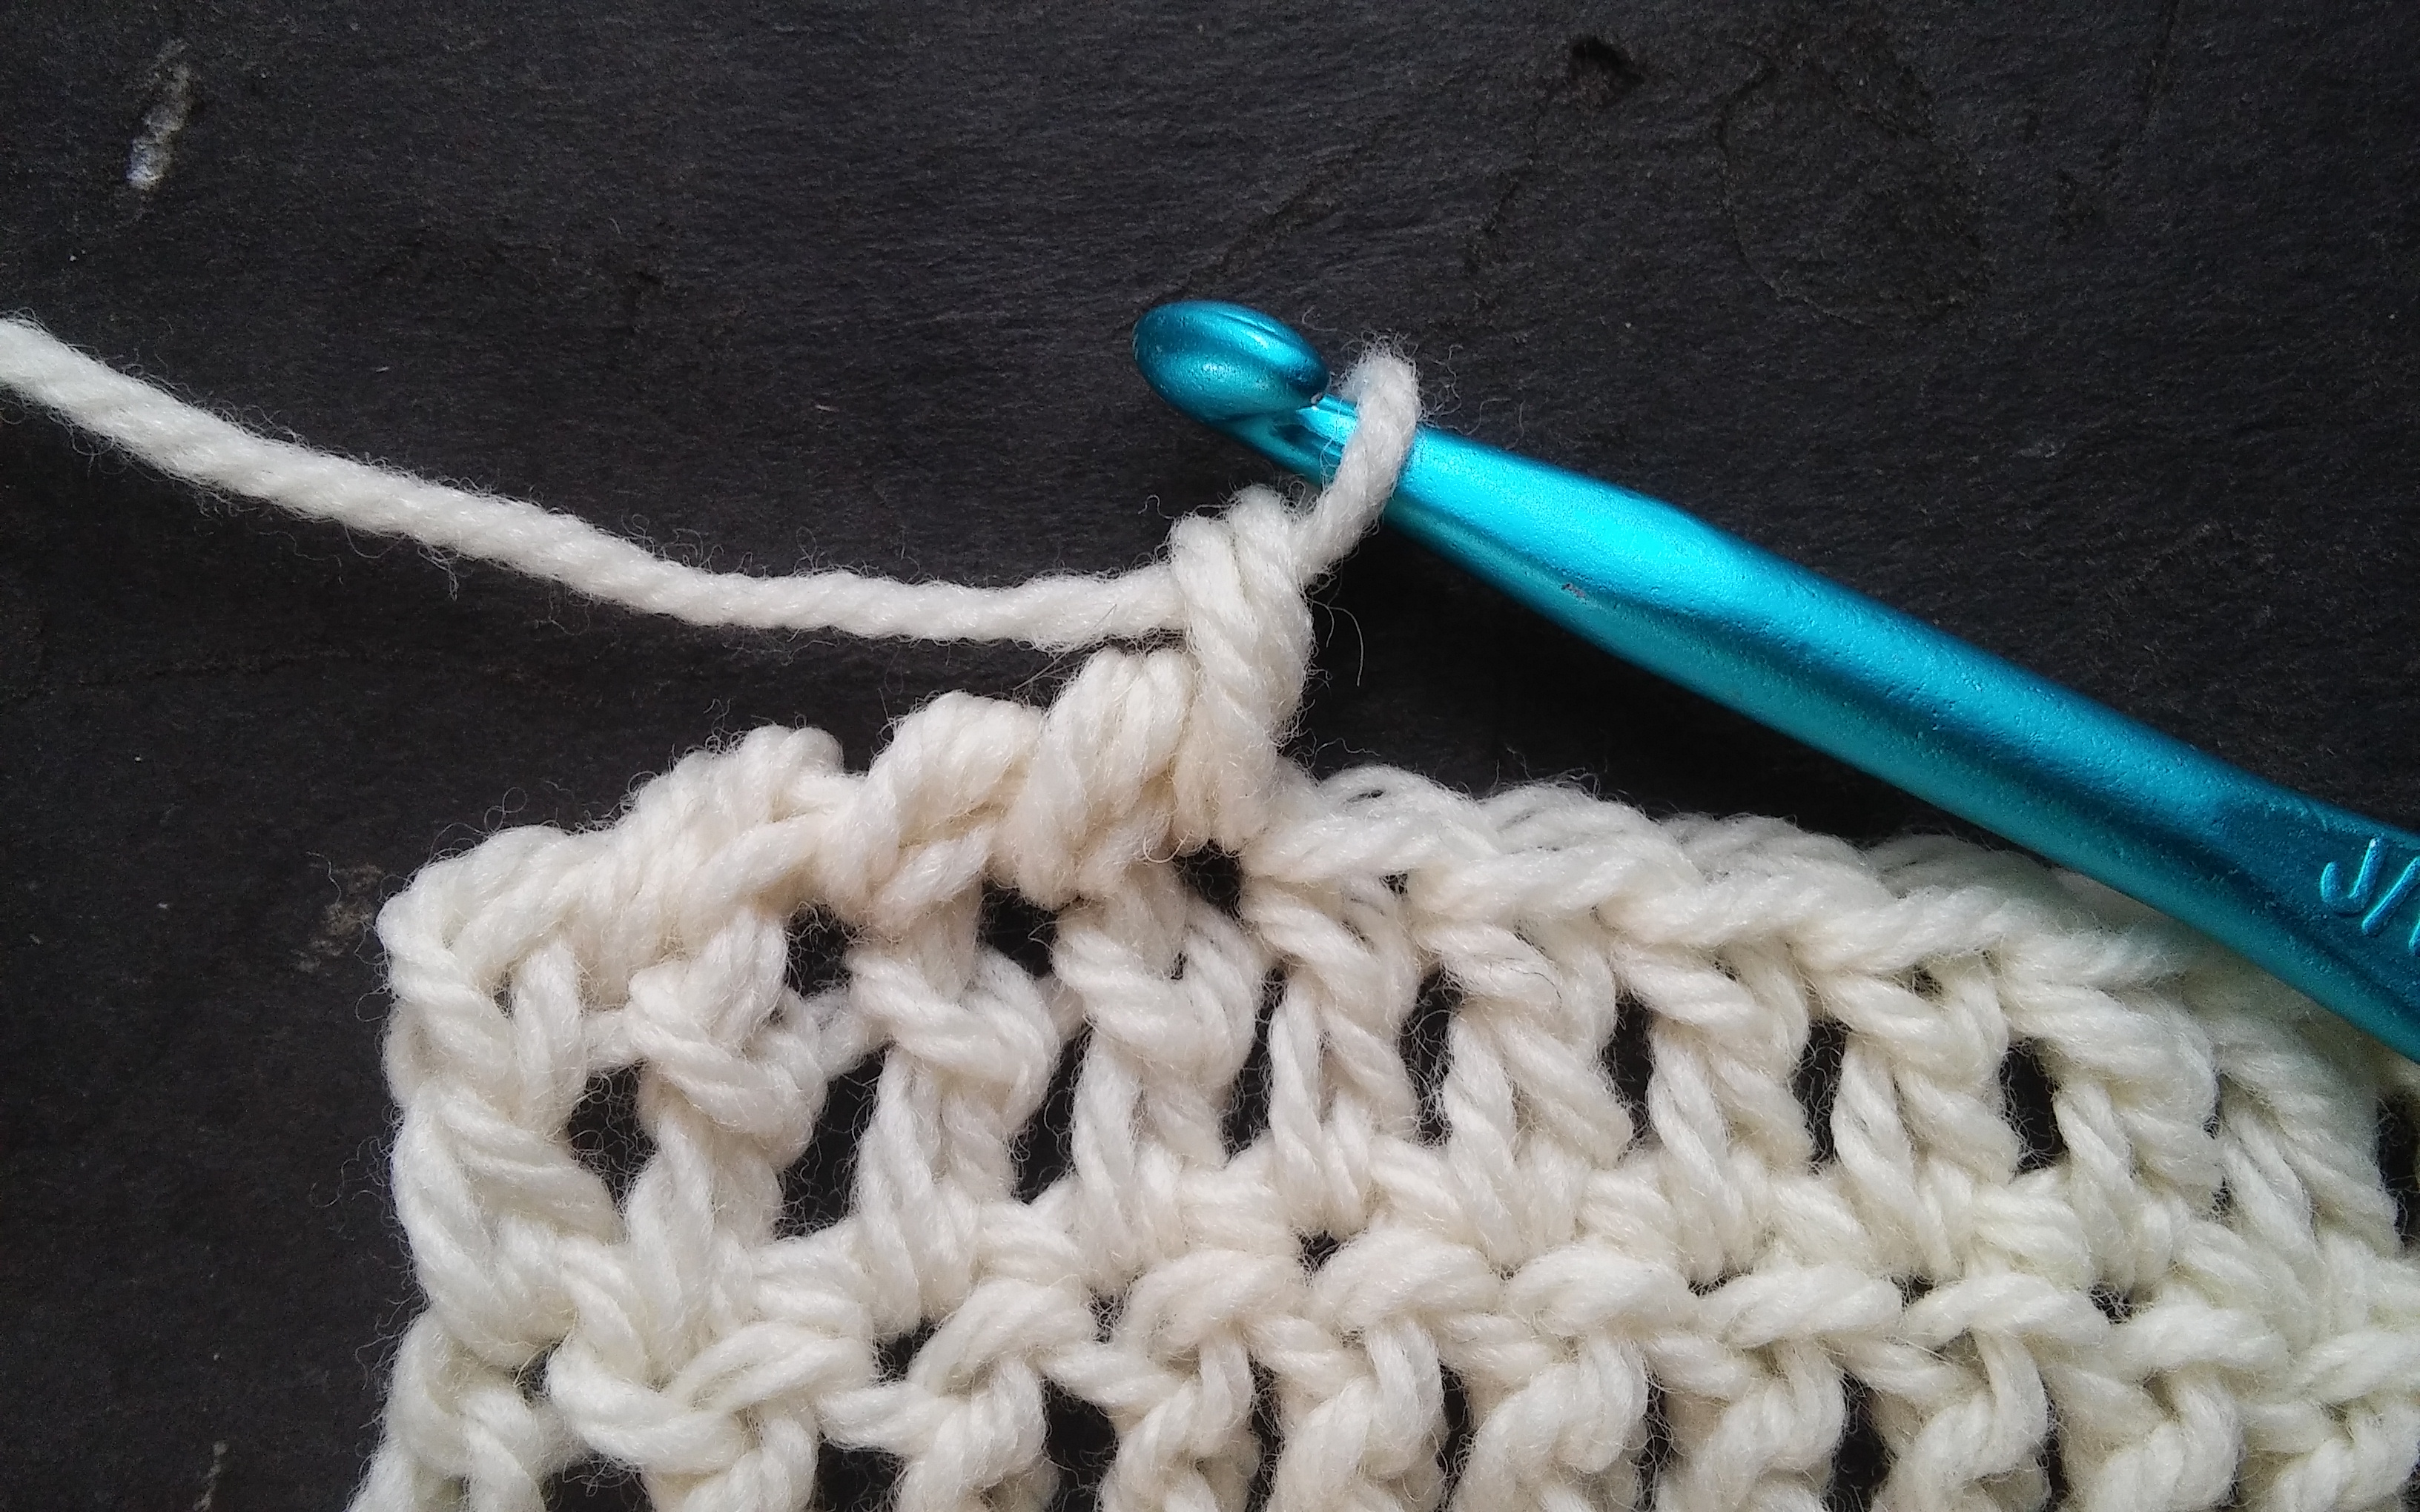
Relax your tension, and pull up your loops a little taller than usual.

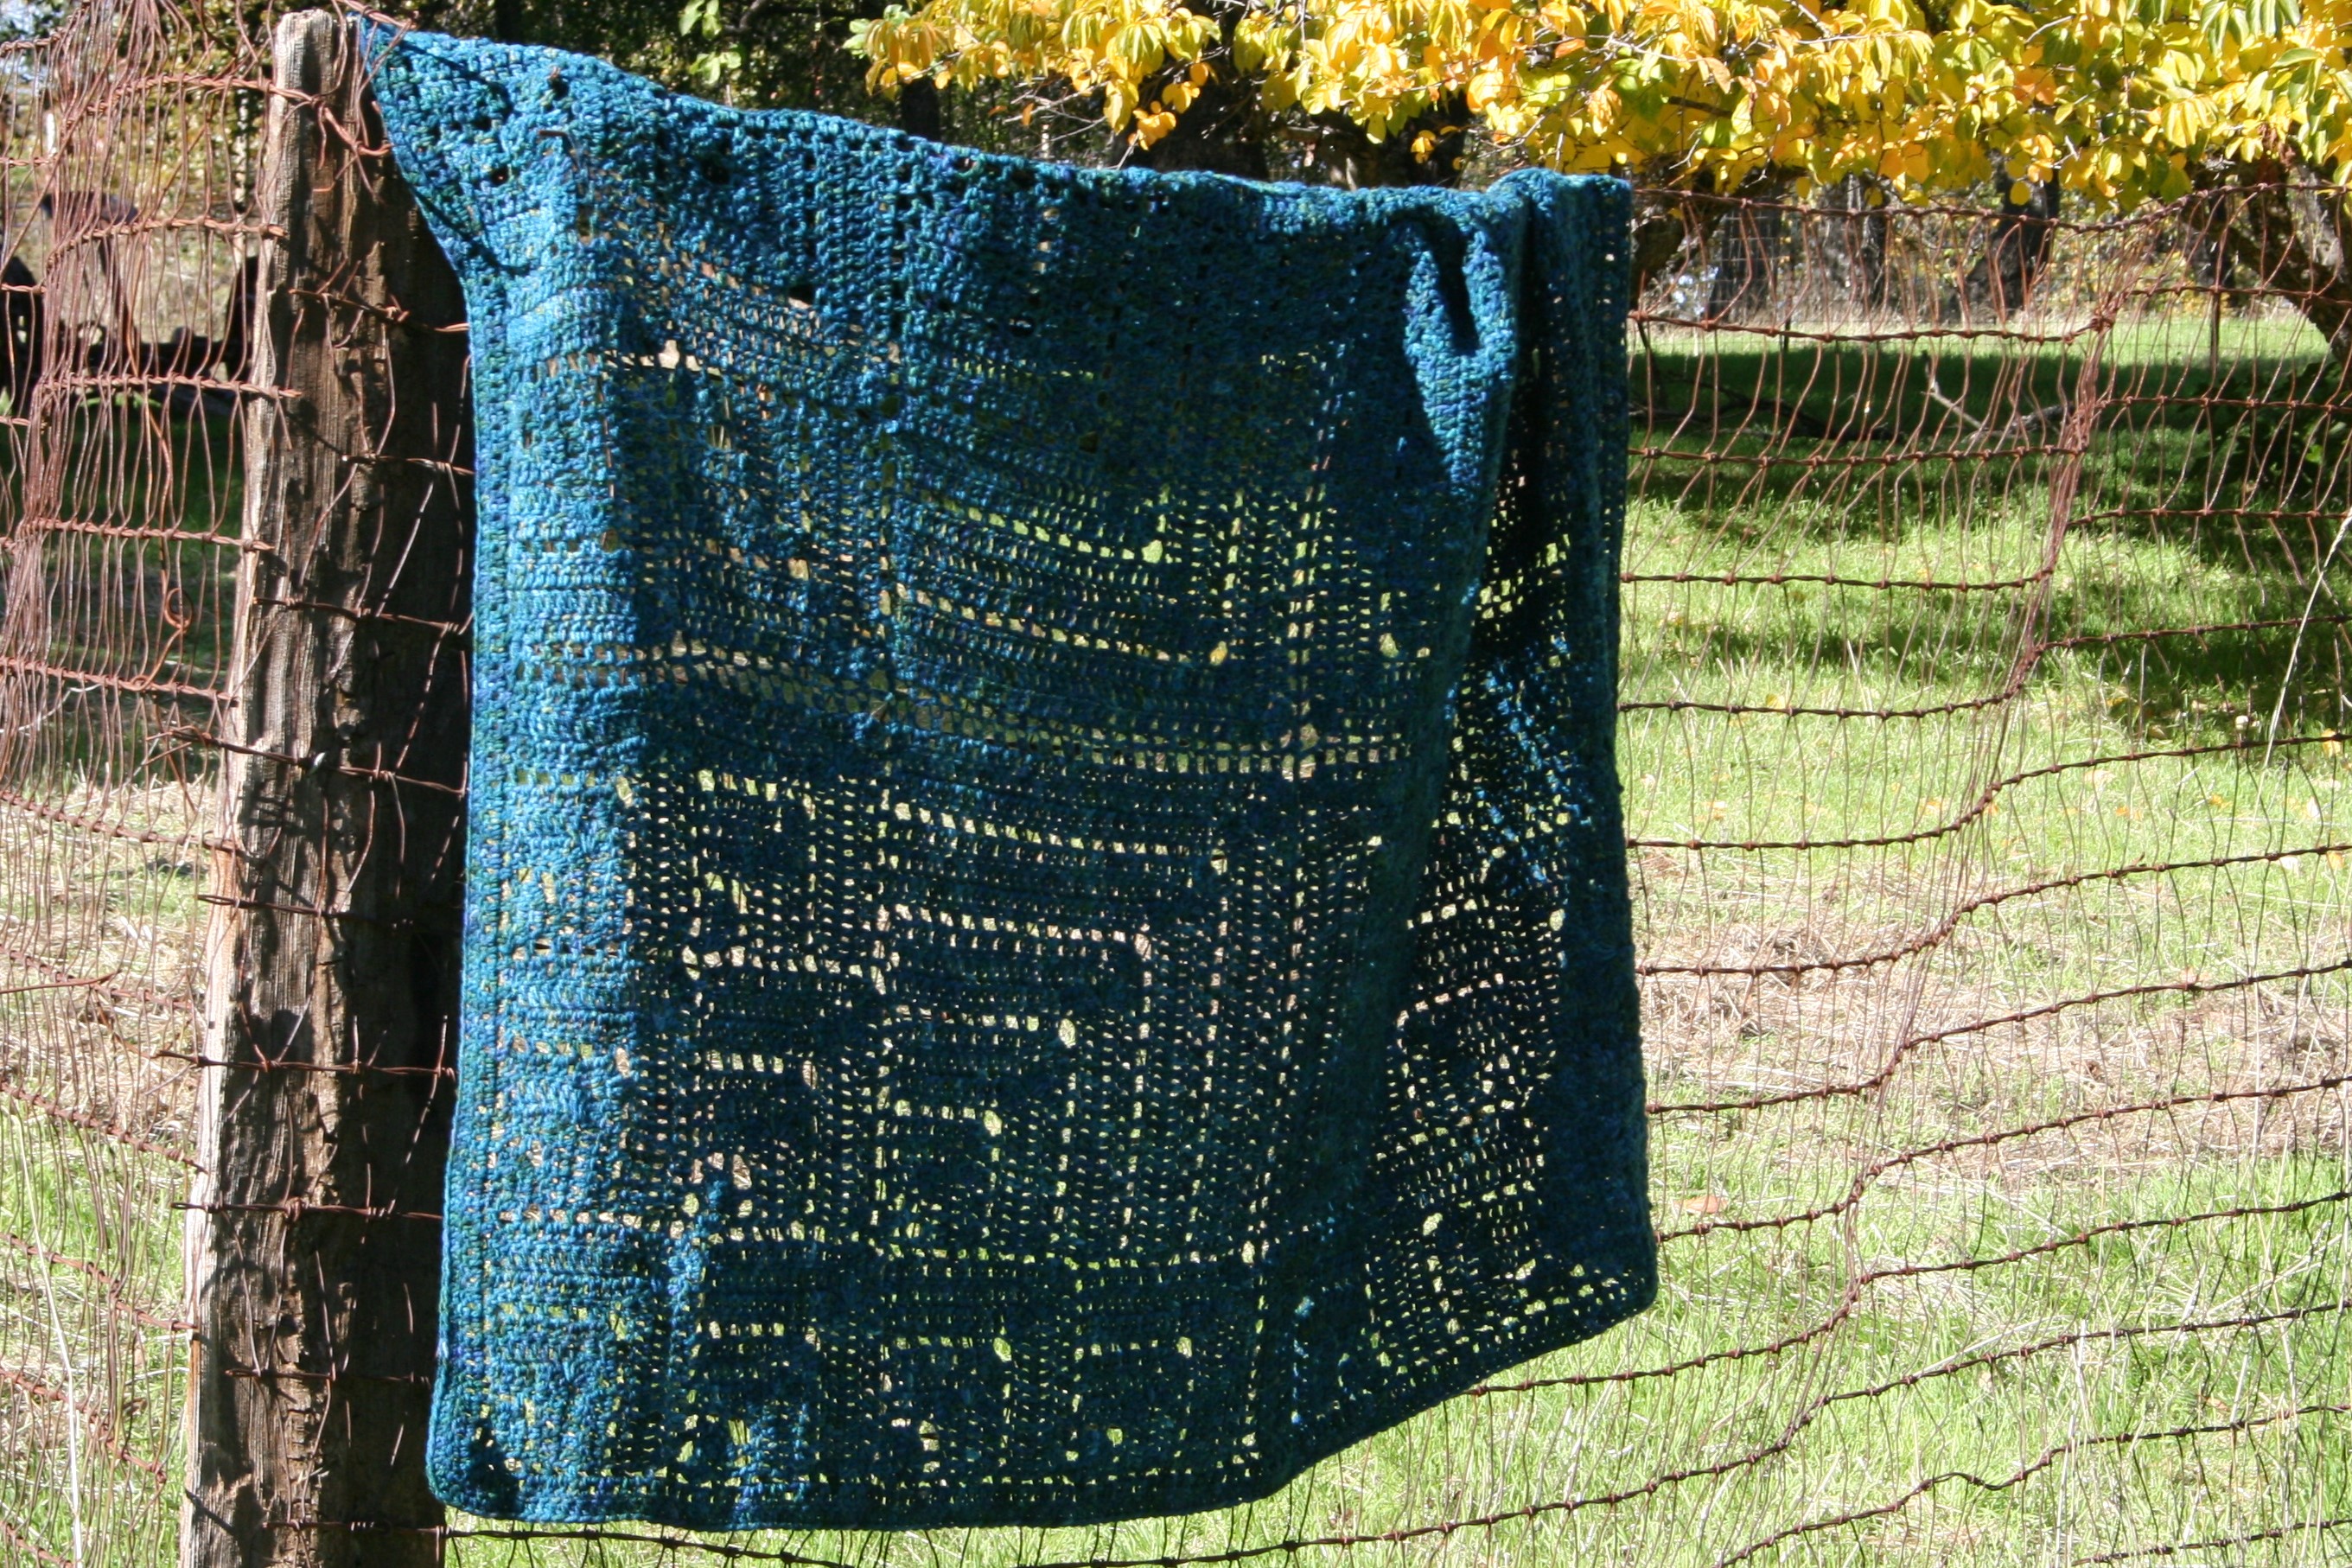
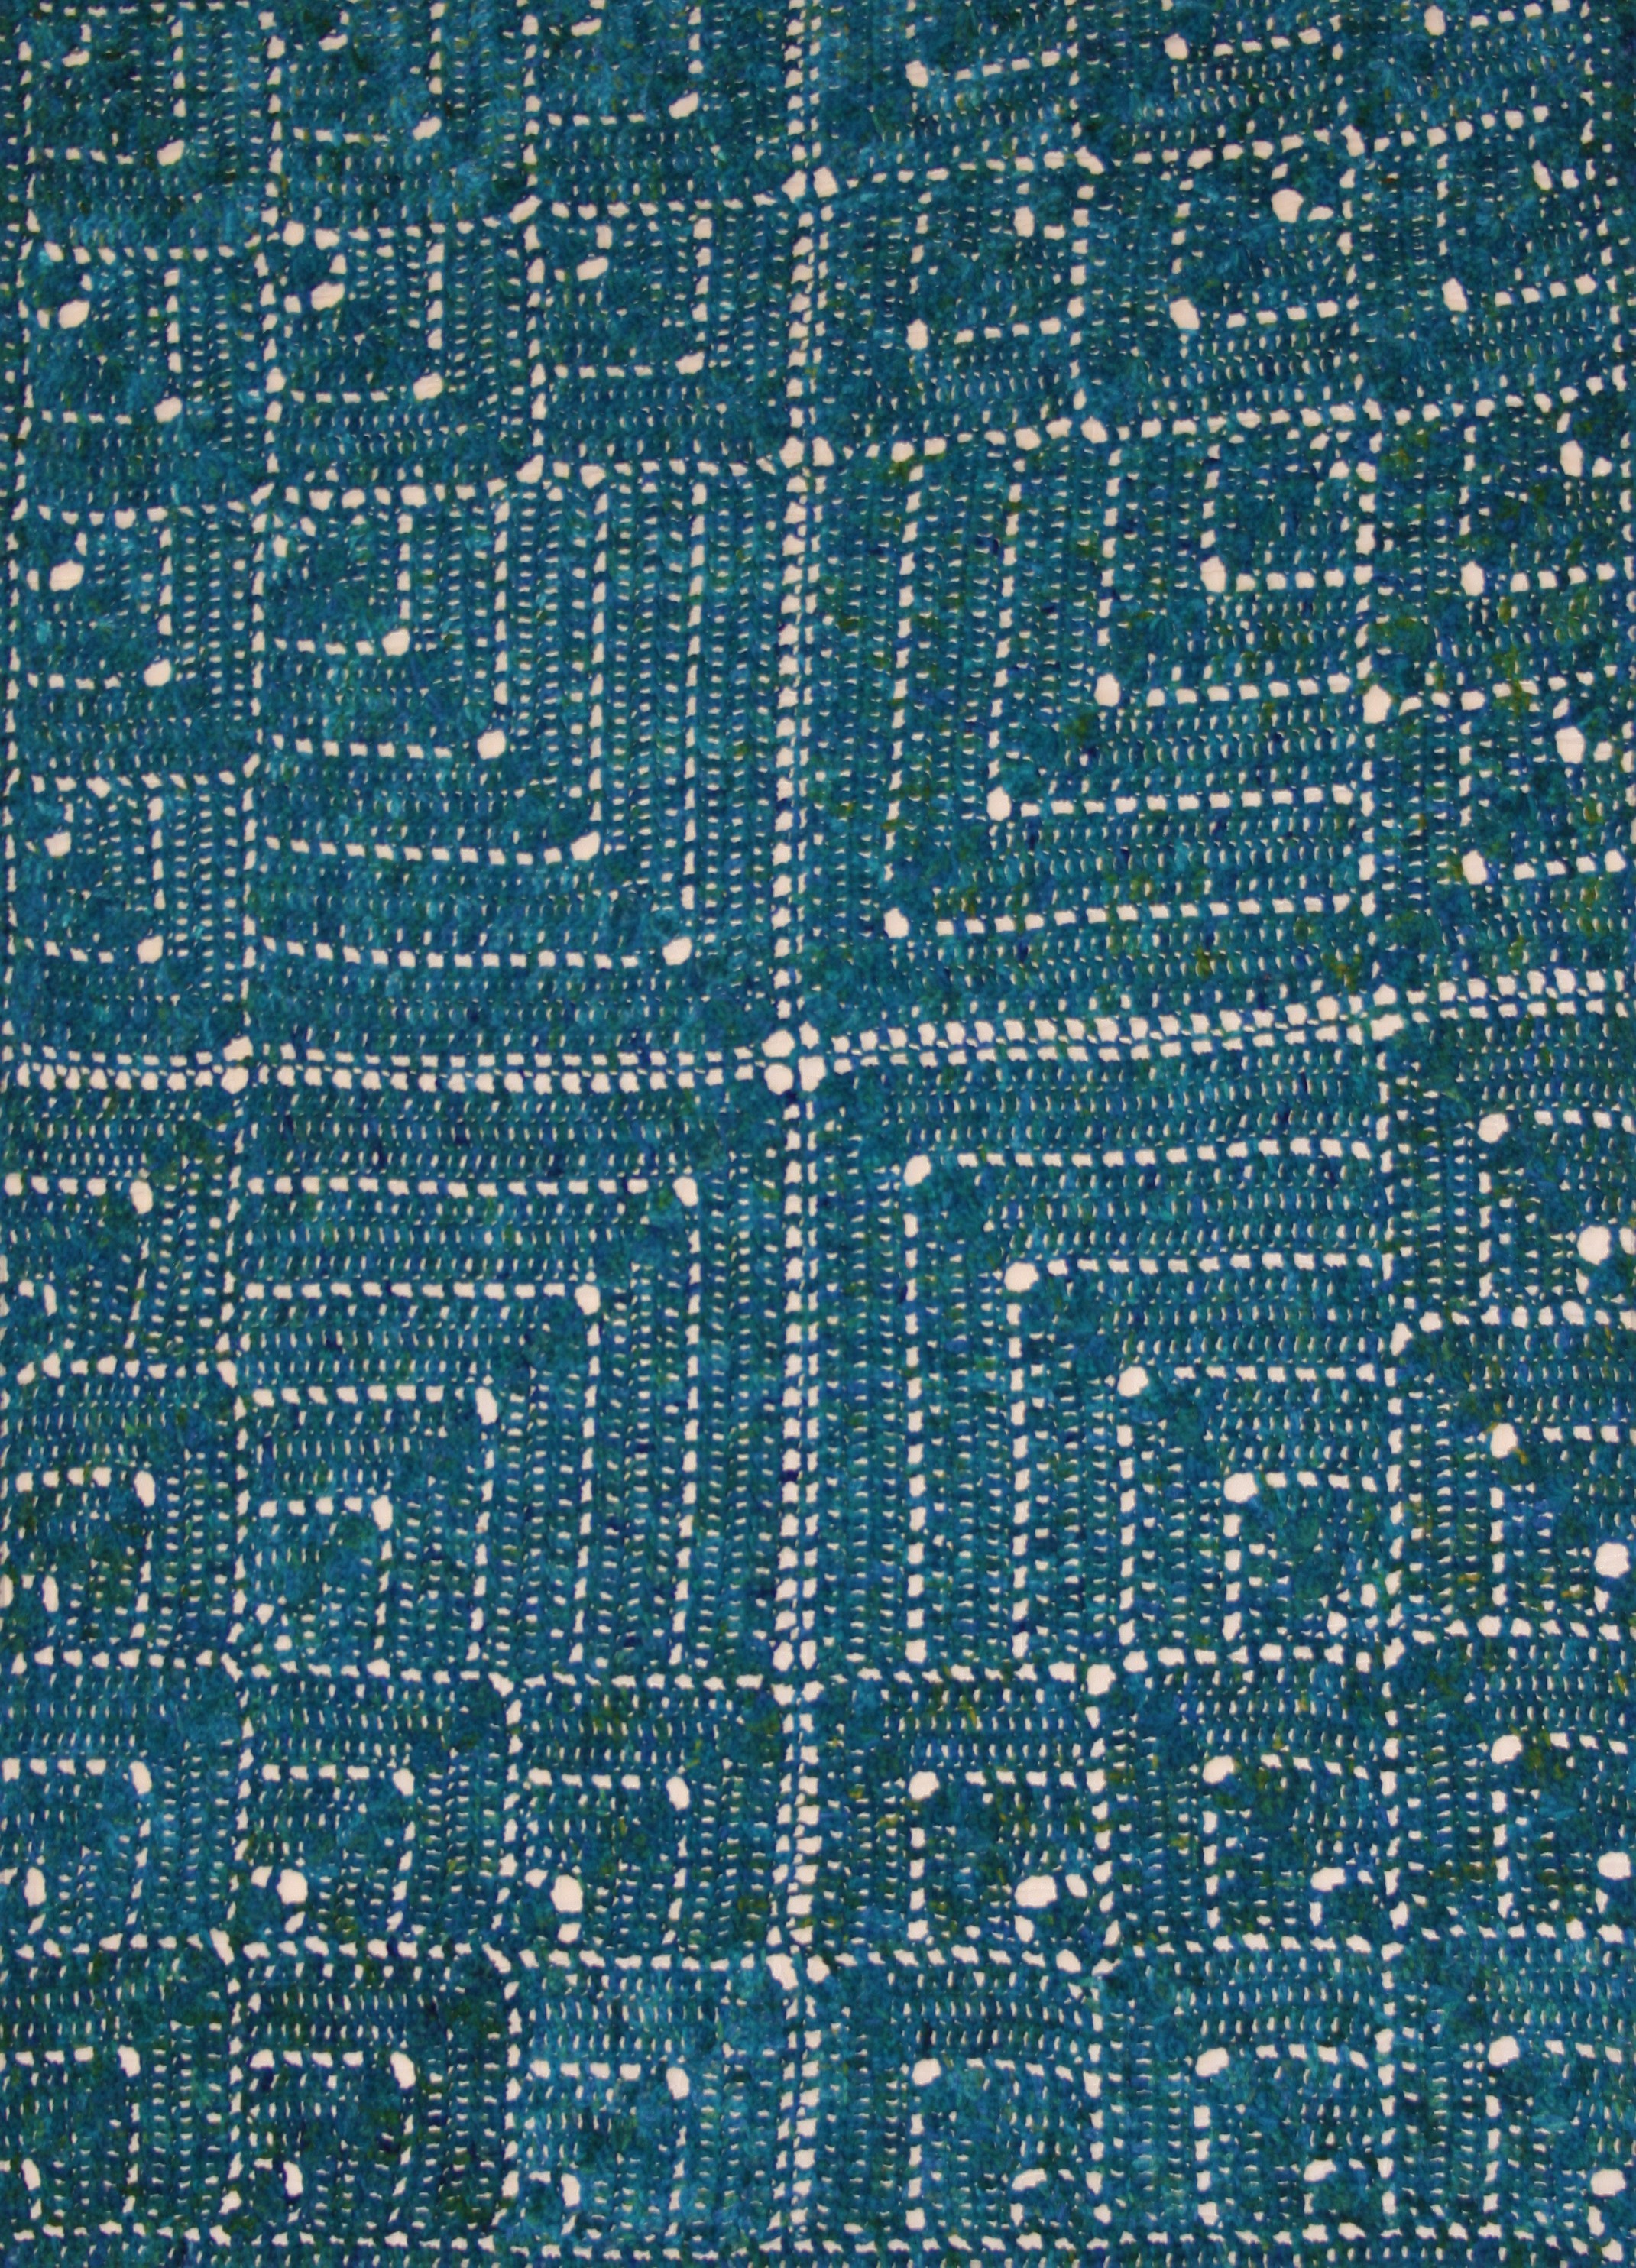
Starting this stitch can feel very awkward, and the first couple of stitches may look a little odd, but after you work a few you will start to see a stich that looks almost like a rope. It is this twisted effect of the stitch that really allows it to be used only as an edging.

Not only do I use this stitch as an edging, I occasionally use it as a joining stitch. I place the fabrics I am joining together wrong side together and work this stitch through both fabrics. It creates a raised rope at the edges of the fabrics. I find that this creates a nice textural effect as well as visual interest.

There is one tip I can offer to working this stitch, relax with your tension and pull up your loop a little higher than usual, this makes it a little easier to work in this different direction.

Crochet- More Than One Use

ScannedImageIn my home we have limited birthday parties. My kids have a family party every year, where they get to set the menu for dinner and we share the meal with any extended family that can attend. However, we have an agreement that when they turn 10 they can have a party with friends, at 13 they can have a sleepover party.

So as I am now dealing with my agreement to have a birthday party with friends, I actually undertake some crochet. Over the years my kids have attended many birthday parties, and they often come home with little gift bags full of trinkets and candy and this got me thinking. How often do I just throw out these gift bags full of empty candy wrappers, can I create something a little different, a little more practical…well I think I have.

1208160925

Scrap yarn hats as gift bags

I have taken some scrap yarn and created small hats, kid sized, and used them as gift bags. So after the party and all the treats have been eaten the guest have a hat to keep their heads warm or play a little dress up.

It may be a little time consuming, but I think it is worth it. My kids actually really like the idea, and find it fun that everyone can have a different color and a different style. Well at least so far my kids still appreciate my playing with yarn.

I do not have or follow a pattern, I just create a flat circle until it is about 6” to 6 ½“ (15-16.5mm) in diameter, and then stop increasing until it is about 7” (18mm) from the center to edge- the radius. I use a verity of stitches, whatever might tickle my fancy at the moment. Then I fill them with candies and toys to share with my children’s guests.

No Stitch Join and Standing Stitches

ScannedImageThe more I play in crochet, the more I realize there really are no rules.

It seems that with colder weather finally descending on my community, everyone wants to crochet hats; most of them first time crocheters. So, as of late I have been teaching how to start circles, all three different ways. I have been teaching how to increase stitches. I have been teaching how to join rounds.

An interesting thing with joining rounds, there are a couple of ways to do it, and it can give you some different results. The method that I have been playing with lately does not actually involve a stitch at all.

1130162014a

Remove hook from working loop, insert it in the point of the join.

1130162015a

Put working loop over hook and pull it through joining point.

When you get to the point of joining, the hook is removed from the working loop and inserted into the point of the join, the working loop is then slipped back on the hook and pulled through the point of join. This creates a join that has no extra yarn, no extra loops, and does not necessarily flatten out the stitch that is joined to as can happen with joining to a beginning chain.

If this is not enough, I added in a chainless starting stitch. So anytime you begin a new round or when working flat and turning your work, you usually chain a certain number of stitches to equate to the height of the stitches that are being worked. This is because all crochet stitches end at the top of the stitch, and thus the stitches next to it need to be of a similar height or it just pulls the stitches down. When beginning a new round the working loop is at the base poof the new stitches, and if no beginning chain is worked it can pull the stitch over and distort it. However, to get to this height of stitches, you do not necessarily need a chain.

1130162016a

Pull up a long loop and work a double crochet in the same stitch.

Sometimes this is called a standing stitch, essentially all it is, is a long loop. After pulling the loop through the joining point, pull it up nice and tall, then work a double crochet (or whichever stitch you may be working) in the same stitch. You can even work the long loop among the stitch making it even less visible.

There are always pros and cons to various techniques, and with these two I find that the join can create a slight distortion, but in a different manner then the slip stitch; also it is a little slower to work and when I am crocheting along mindlessly it definitely stops my rhythm. One of the things I really like about this join is that it closes any gaps that might be created in my stitch placements at the joining point.

With the standing join, it is nice that everything looks pretty uniform, and there is no beginning chain that looks different than the rest of the stitches, yet there are times that the long loop can get a little distorted and uneven for me, I guess I need to work on getting a more even tension with it.

I guess with crochet there is always more to discover.

Crochet in Autumn

ScannedImageAutumn is always a busy time of year in my home. There is the gathering of fruits and finding ways to preserve them, usually in the form jams and jellies, as well as dehydrated, but sometimes it is cakes and cookies and pies. With the United States celebrating Thanksgiving, it also becomes a time when family memories are created around food.

DSCF0561

Jams & Jellies

However in my life, it not only revolves around food, but yarns and crochet. This is the time of year for last minute holiday gifts, the time of year to reinvigorate hobbies that you work sitting next to a fire, the time of year to think warm thoughts and use that to envision warm items.

I find that I have many people looking for lessons, either private or in my standing classes, to hone their crochet skills, while an increase of requests for mended heirlooms, and custom gifts. So really autumn becomes a time when crochet seems to fill more minds.

For me this is juggled with the other responsibilities of life, birthday parties, holiday dinners, all those special events that always seem to save themselves for the very end of the calendar year. Every year I am surprised at how fast the last 8 weeks of the year just appear to fly by in a blink.

Items tend to come off my hook faster as well, it might be the added self-imposed pressure of getting everything done by a created deadline, or it could be that cold, wet, weather that keeps me moving my hook instead of enjoying the great outdoors. Either that might be the cause, it does help with productivity.

Even if this time of year seems to have time dissolving away, I still find it Thankful. My hands are busy, and my heart is full. What better way to enjoy the time of autumn.

An Afghan First for Me- Hand Dyed

ScannedImageThis is actually a first for me. Now I have made what seems like a gazillion afghans, I have designed several, but Transmute Square really is a first for me; It was designed specifically with hand dyed yarns.

img_7543-2

Transmute Square Throw

Why does that make it so different, well for starters most people feel like hand dyed yarns are out of the price range, and thus an afghan is really not affordable. So I managed to create Transmute with only 6 skeins of yarn.

The unique thing about this yarn, Lisa Souza Targhee, is that is 100% Targhee wool. Targhee wool is an American breed, please note America is not known as a very large producer of wool, most of the world’s wool comes from New Zealand and Australia. Yet Targhee is a new heritage breed in the United States, so for me, it is local. Granted being 100% wool it may felt, so it care for it I use the delicate setting on the washing machine and I hang it on the clothes line to dry (or you could use the dryer with an “air only” setting, or little or no heat). This yarn will create a throw that is warmer than its acrylic counterpart, even with open work.

img_7494-2

Transmute Square Throw

So aside from the yarn characteristics, the fact that it is hand dyed creates a different effect in designing, the color repeats of this colorway, Deep Sea, is subtle, but as with most of these yarns the color repeats are not exceptionally long. I broke up these little sections of color with open work, to allow the eye to continually find visual interest.

Created with miter squares, this throw is completely join as you go, so you do not have to sew any squares together. This allows for a carefree kind of project, in a design that can easily be used in a masculine or feminine setting. By varying the square size this throw has a dynamic impact on its surroundings while having a very modern flair.

So consider opening your experiences to some yarns that you may not have thought of, you never know what gem you might find, and check out my Transmute Square pattern to put them to use.