Tour Madeline Tosh

I got a unique opportunity….I got to tour Madeline Tosh yarns. I was at an industry meeting in Texas, and one of the highlights was getting to see the behind the scene action at the company.

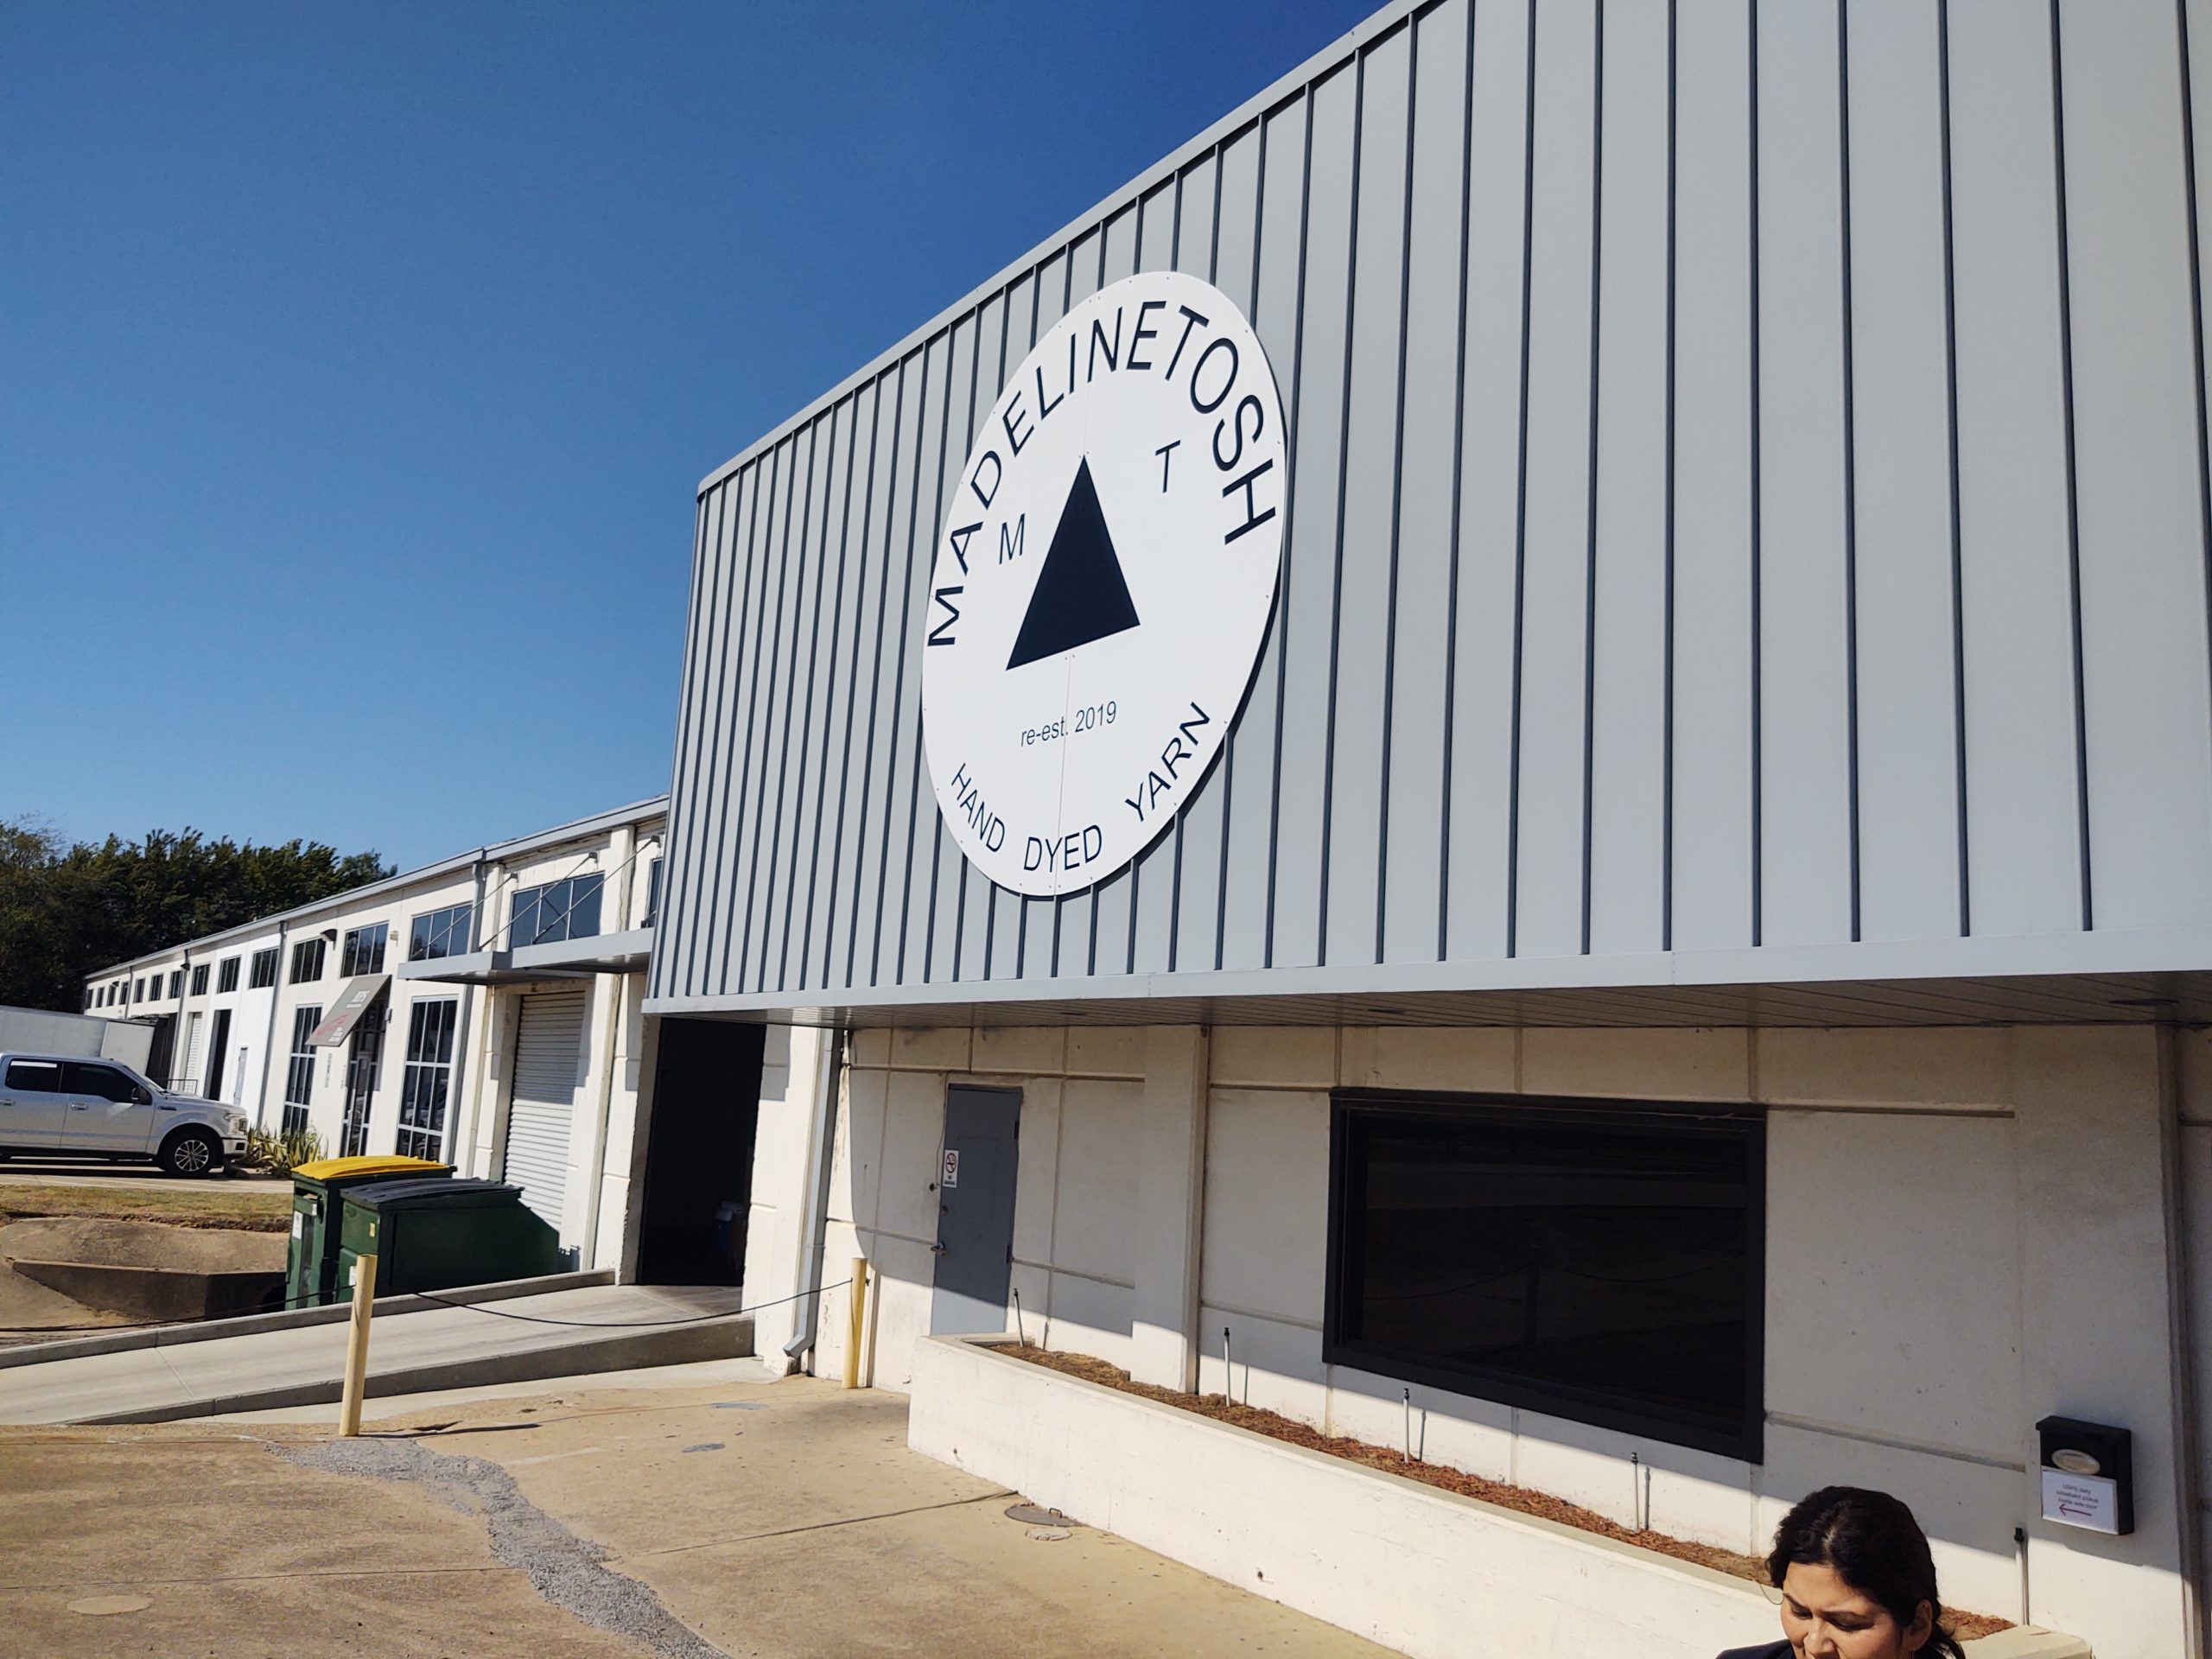
That means, all the steps in the process of them obtaining, dyeing, and bringing their beautiful yarn to the hands of crocheters and knitters everywhere.

What was most surprising to me was that this large yarn company still does everything by hand. The steps were the same as those I have witnessed many times when stopping by the chat at Lisa Souza Dyeworks. Lisa is the only employee, doing all the work herself, and Madeline Tosh does all the same steps and handwork, but with many more people.

Tour Madeline Tosh: How it starts

The process starts with winding yarn into hanks from cones. Fortunately there is a machine that can help to wind a few hanks at a time. It still needs human interaction, and someone to create the ties that keep the hanks orderly.

The white circles on the green bars, that is the machine that winds cones into hanks…10 at a time.

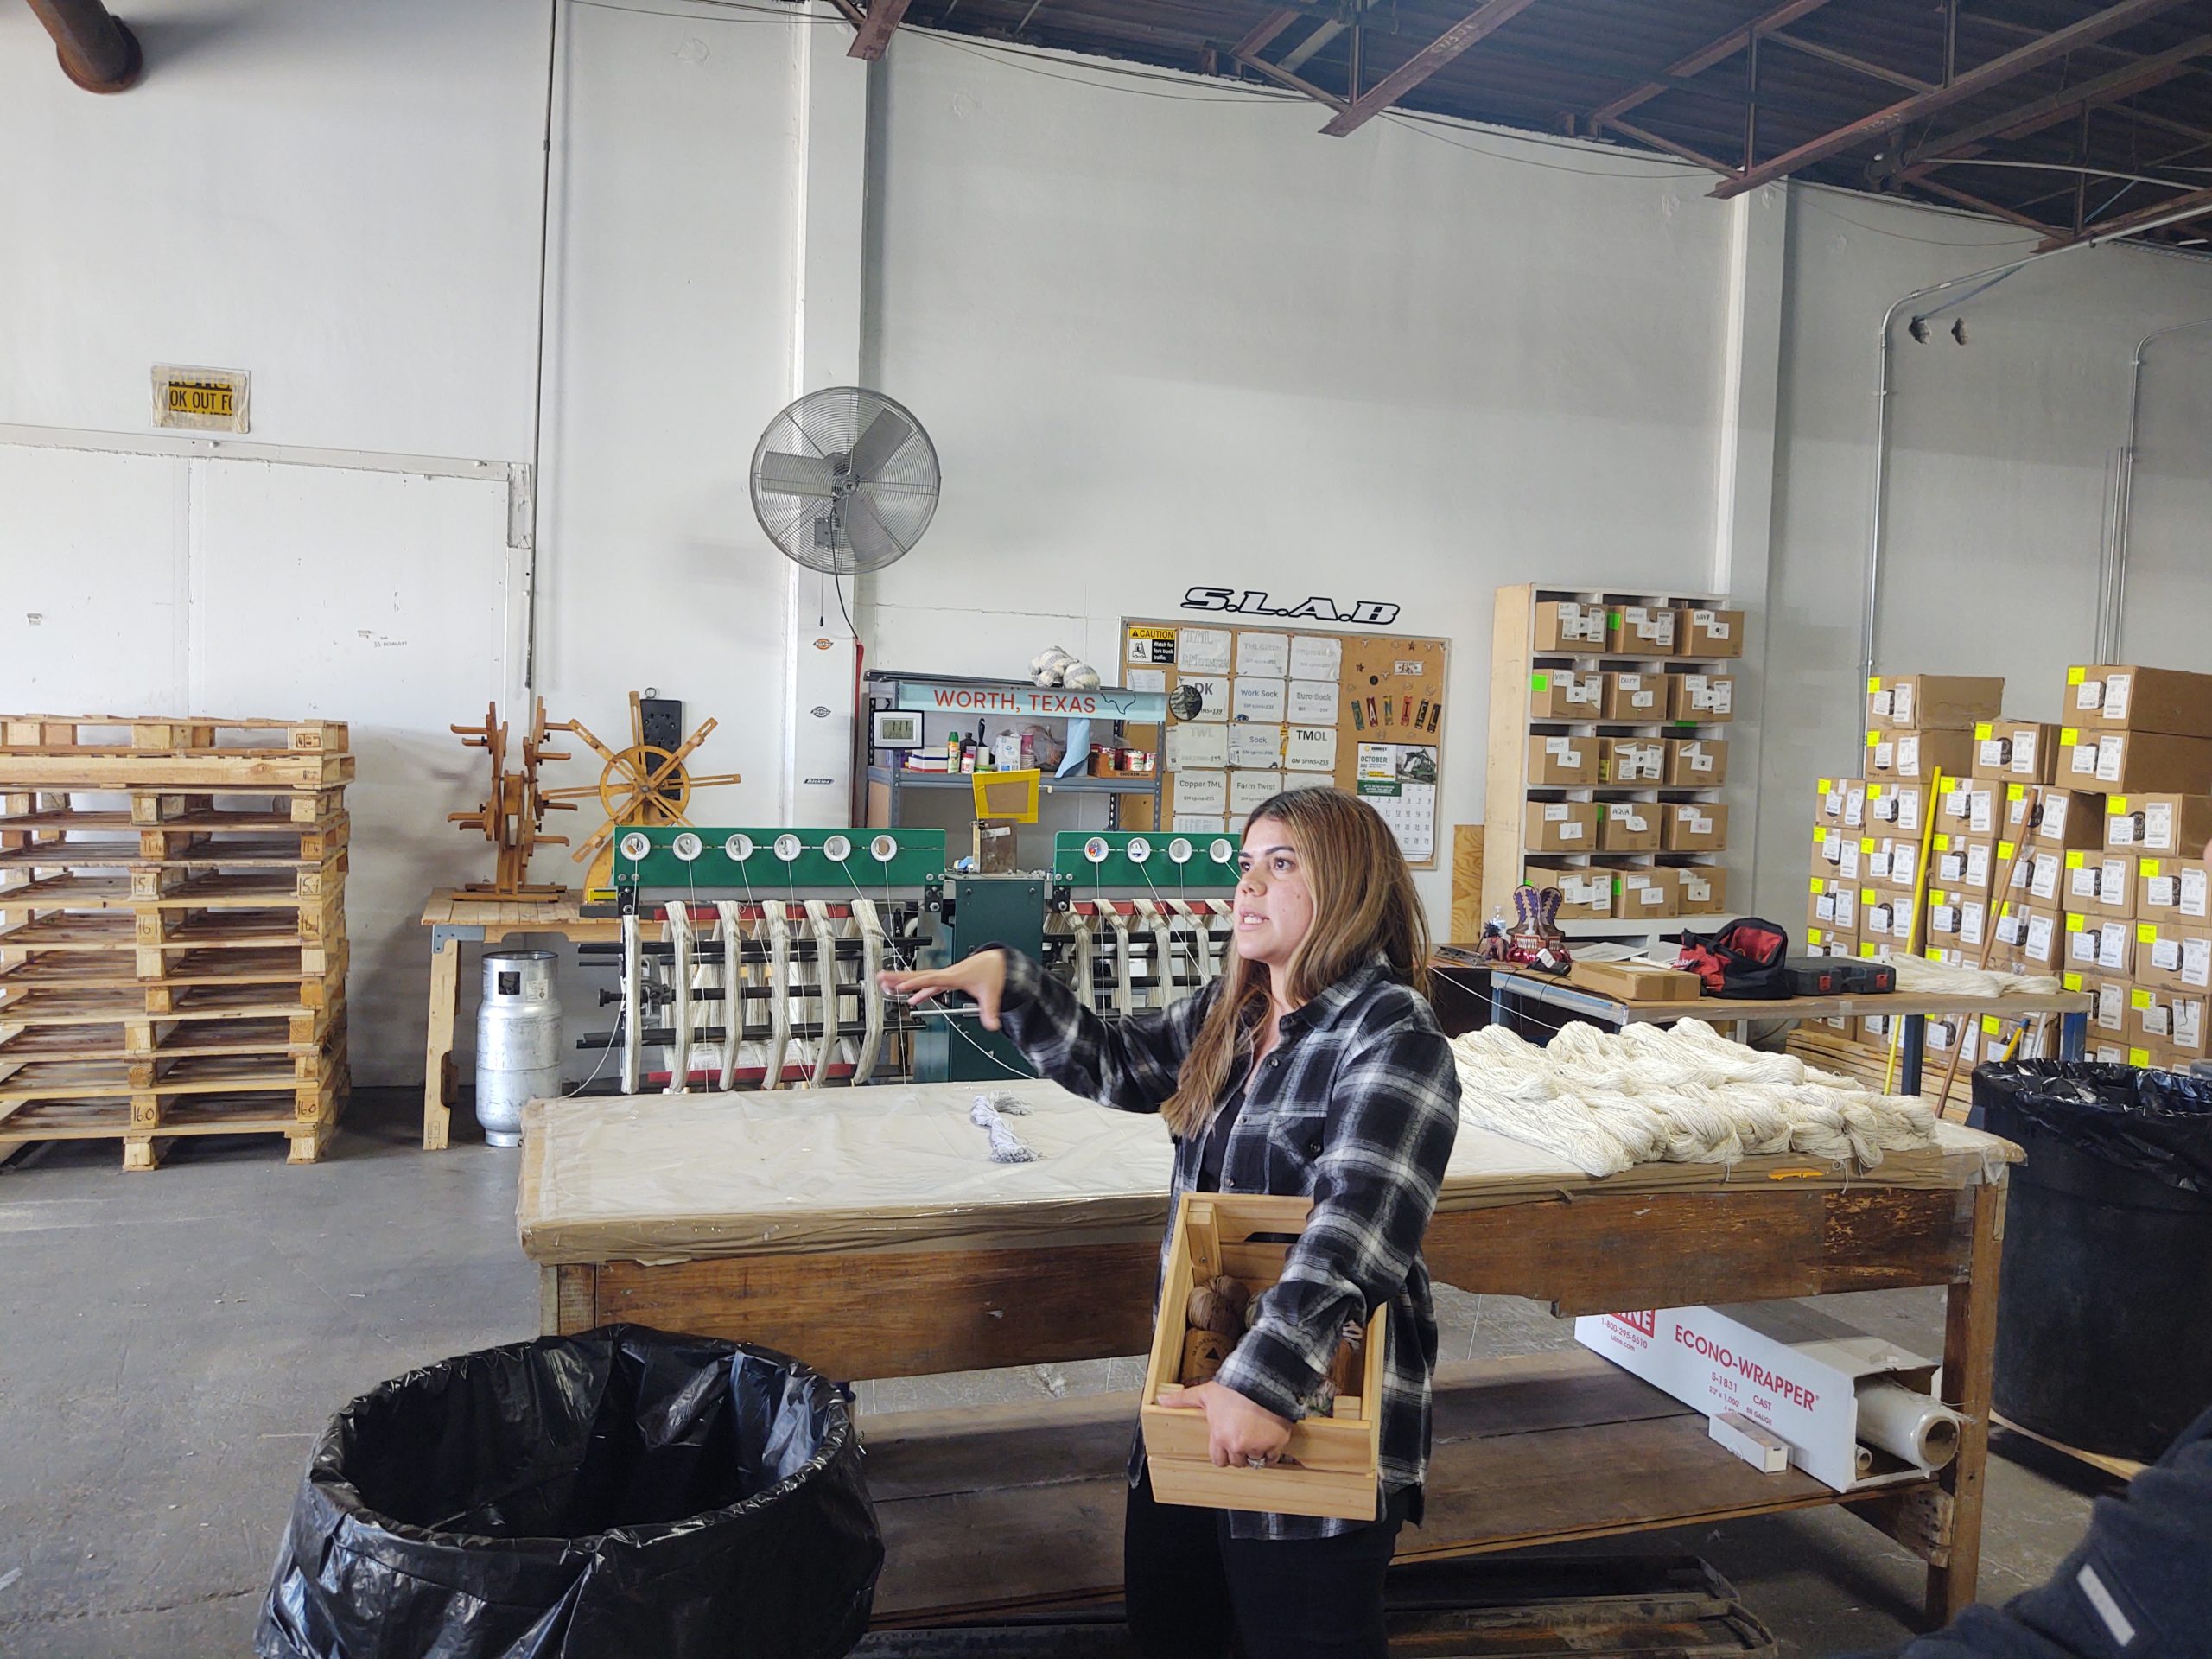
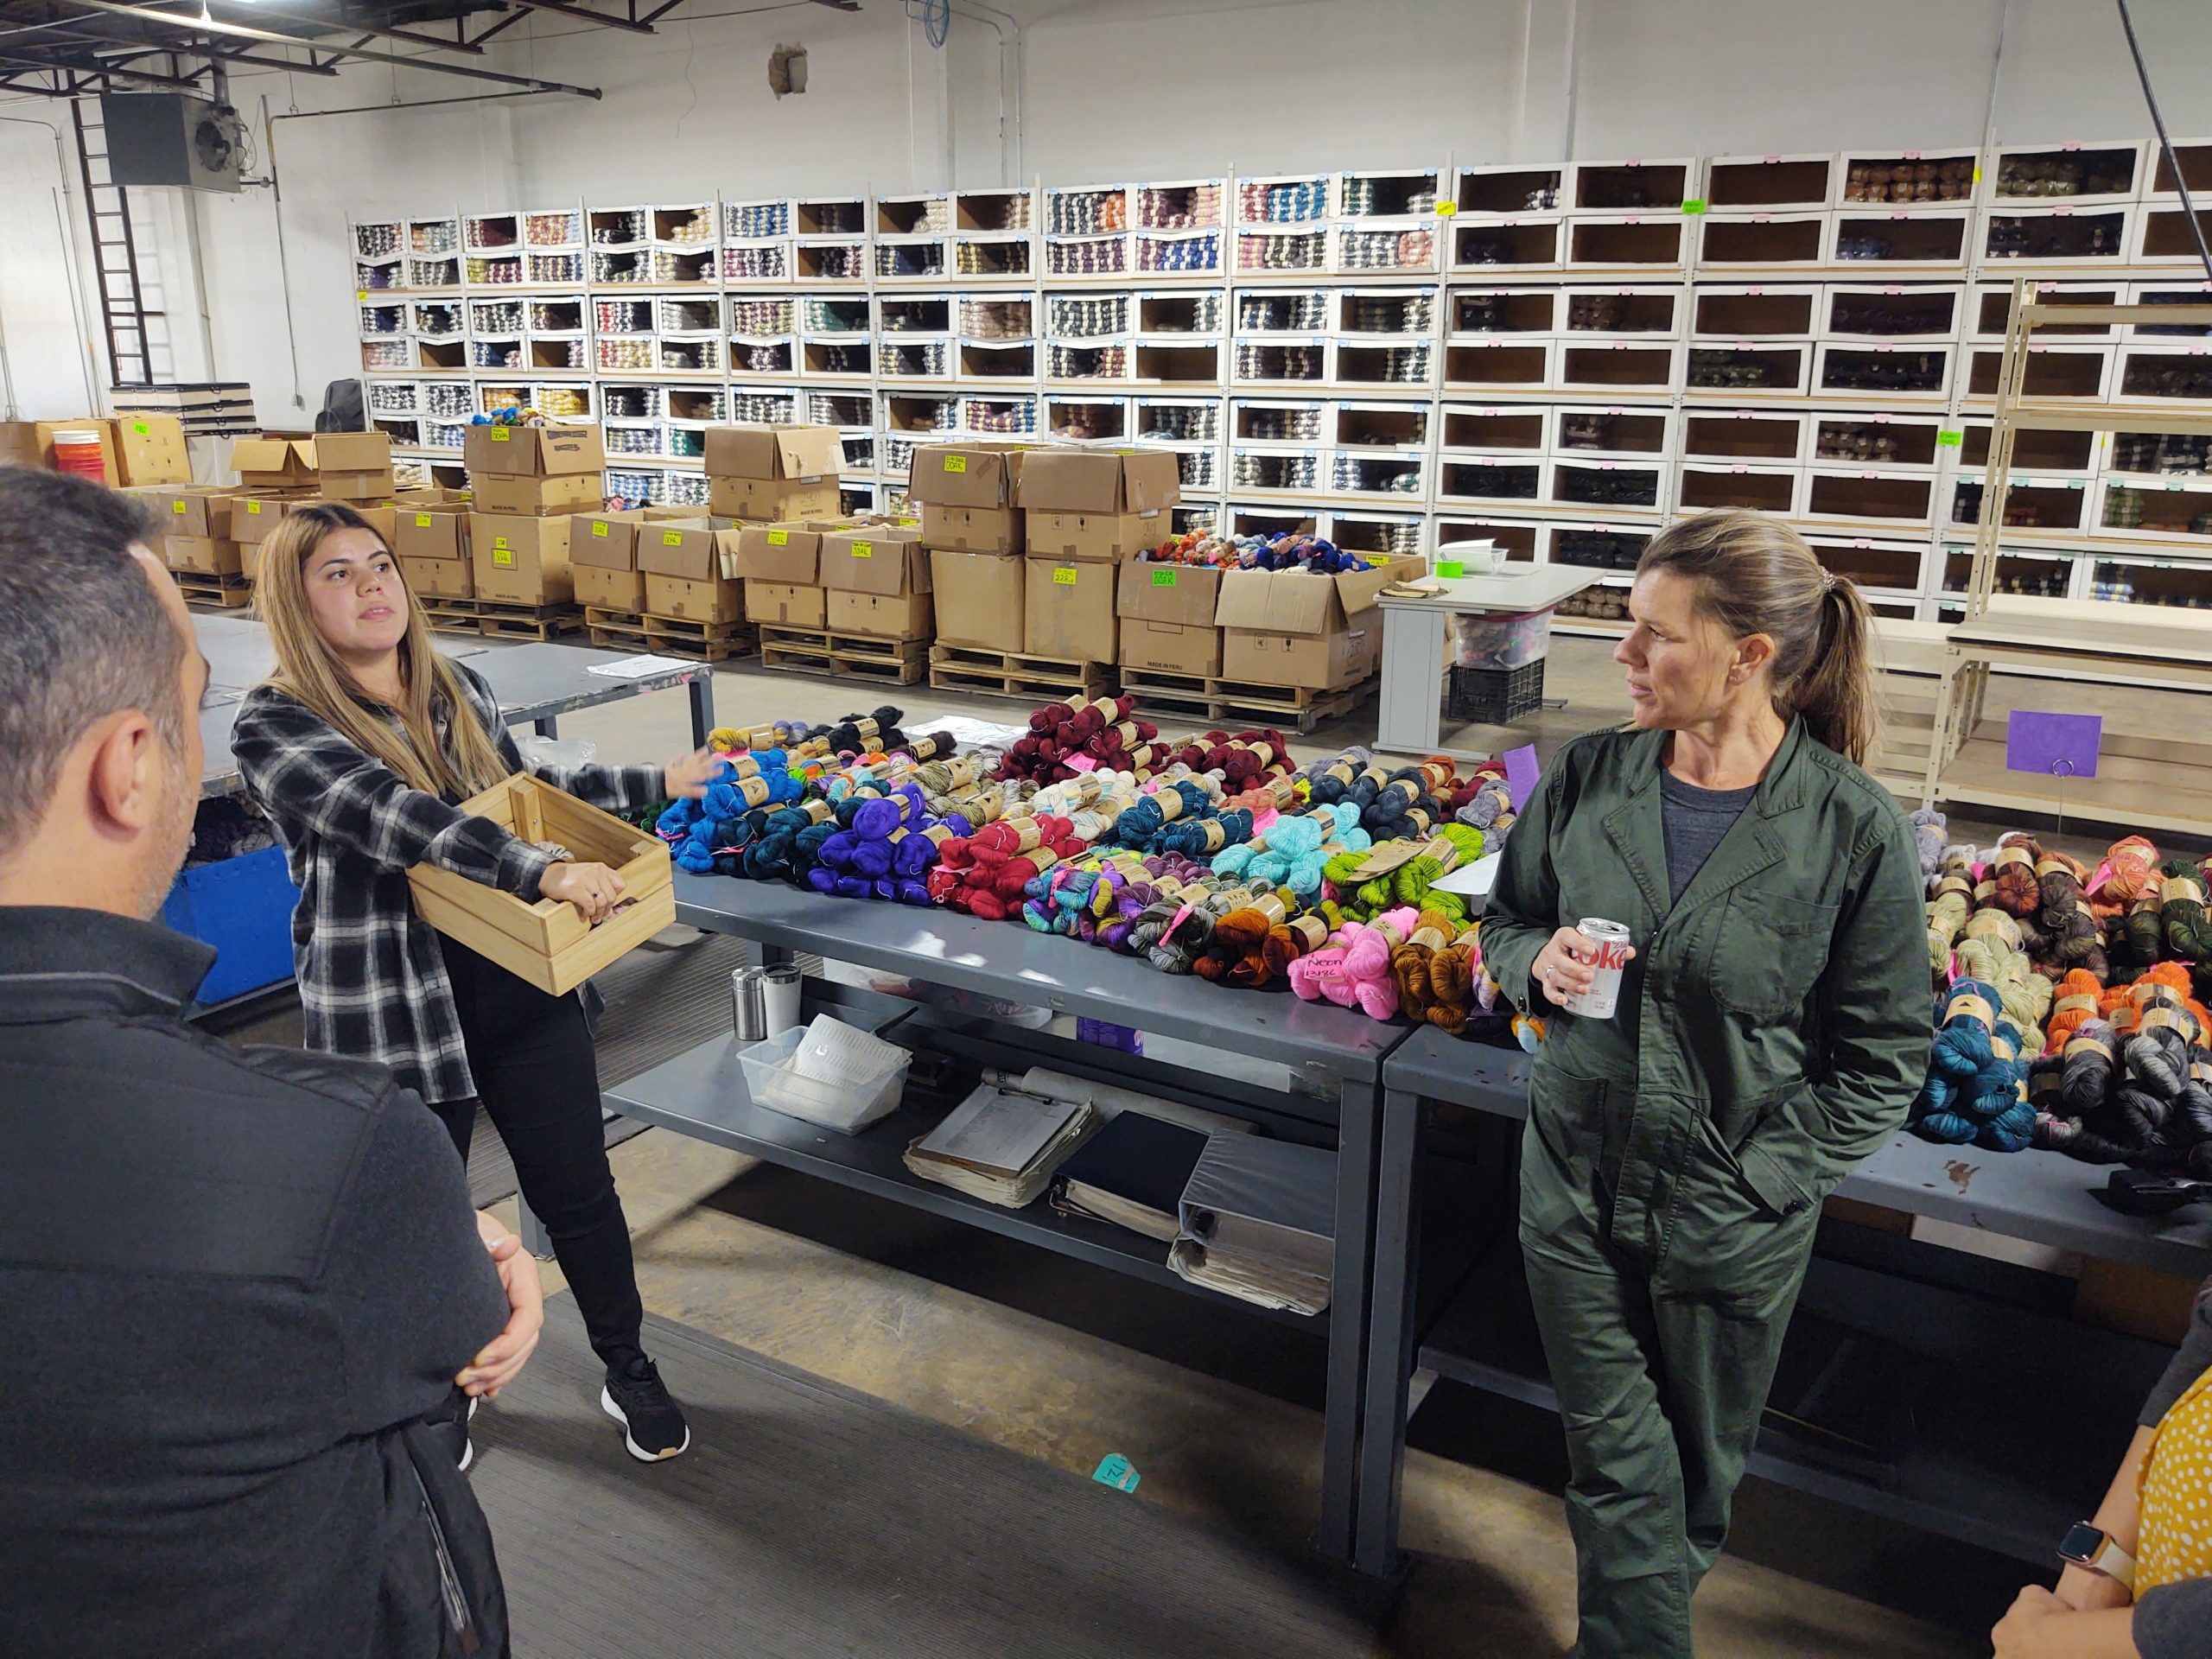
These hanks are then organized by fiber contents (the yarn bases). Now they are ready to make it to the process to be dyed. When an order comes in, these bases are pulled and taken to a dyers “kitchen”. The warehouse had several kitchen stations set up. Each with an employee that would fulfill orders, dyeing 2 hanks at a time.

The dye room…with “kitchen” stations, at least that is how I refer to them, with a stove top and pots…so they can dye 2 hanks at a time.

Tour Madeline Tosh: The Extras

If the order has “speckles” there is an additional special dye room. There is another employee that adds these extras. Just imagine speckling yarn…as a job…that just seems so cool.

The “special additions” dye room, where that add the extras like speckles of color.

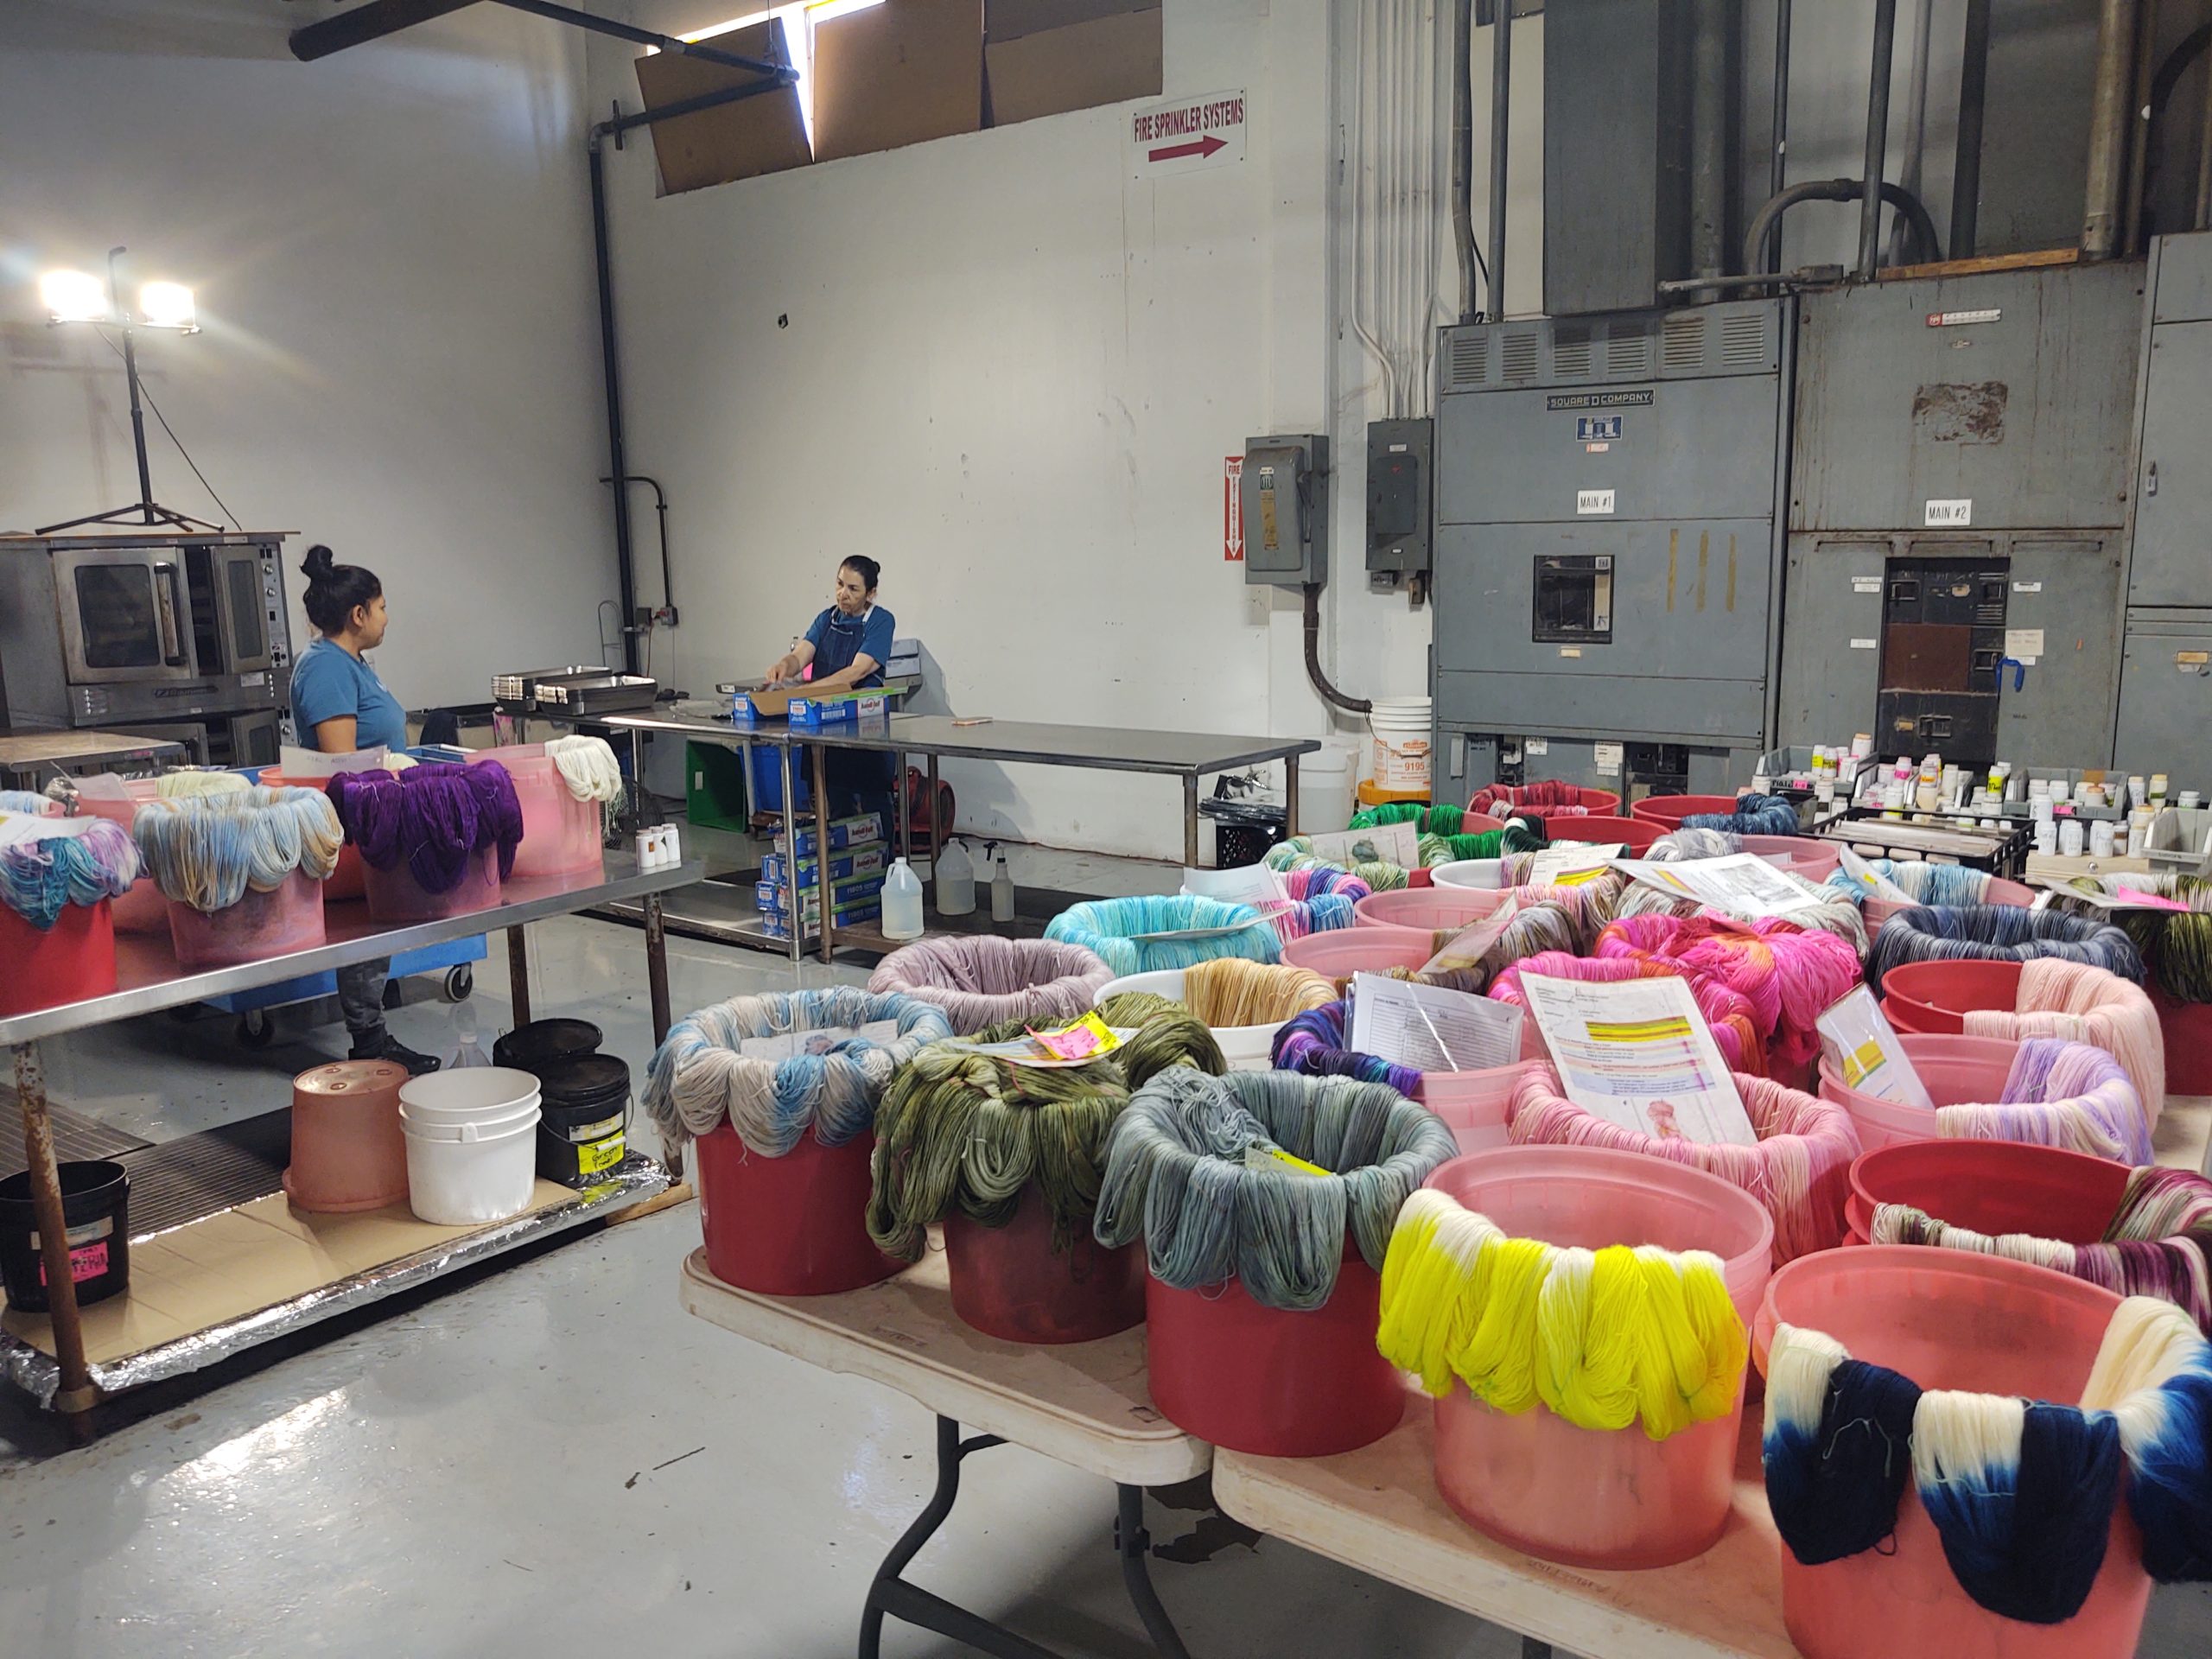
Color is then set, and yarn dried before being wound and labeled. All by hand. This is also where they have quality checks to ensure that only the best gets sent out into the world.

Labeling and quality control…well it is being discussed in the photo, at a table full of yarn pulled for a stores order…

Impressions

All the employees seems like they are family, with many working for the company for several years. They help in new color creations and naming. It seems like the place where people actually want to work, and that is always a nice feeling.

I was surprised at how it really was just a larger version of what Lisa Souza Dyeworks does. I guess when you find the formula that works, you don’t mess with a good thing.

Some different yarn dyeing techniques

If you want to check out some of my more unusual dyeing techniques, check out Tissue paper dyeing, and Easter Egg dyes.

Mosaic Magic Crochet- 1 of 3 Methods

The third type of Mosaic crochet is not as commonly used. It involves a type of spike stitch, and can be reversible. It is a bit more involved then the previous methods, but with stunning results.

The most famous patterns using this approach are in the book and video by Lily Chin, Mosaic Magic.

This method uses 2 rows of each color. Allowing for carrying the color changes up the side like Inset Mosaic, and not weaving in ends like that of Overlay Mosaic Crochet.

How to work the stitch- Mosaic Magic

Using Long Loop Double crochet, essentially working a regular double crochet, but the insertion is 2 rows below the working row. The “anchoring” loop is pulled up to the height of the fabric, as a long loop. Work this as such: Yarn over, insert hook into indicated stitch 2 rows below working row, yarn over, pull through a loop, pull up to height of fabric, and finish the double crochet.

Yarn over and insert the hook in the stitch 2 rows below, yarn over and pull the loop up to the height of the fabric.

A double crochet long loop, or double crochet spike or flame stitch is worked instead of a single crochet because it allows for a bit more fabric at the top of the stitch. A single crochet would create more gapping, or holes in the fabric.

Complete the double crochet as usual

One thing to consider with Mosaic Magic is that the “spike”, “long loop” or “flame” is not very wide. As such working 2 of these stitches next to each other does not create a flattering look. It doesn’t look completed, and a bit amateurish. To compensate for this, look for patterns that only have 1 drop down stitch in a sequence.

Mosaic Magic Method

Another benefit to this approach is that you can work stitches diagonally by simply not working in the stitch directly below. This can create some hounds tooth effects. Crossing the “spike” stitches can create rounded effects.

I would recommend that you give this or any of the 3 methods for Mosaic Crochet. Check out Lily Chin’s book for some Mosaic designs that are not as geometric as typical Overlay and Inset Mosaic. Basically, go play with color.

Inset Mosaic Crochet- 1 of 3 Methods

Inset Mosaic Crochet is an additional 1 of 3 methods of a unique color work within crochet. Creating geometric designs that have stunning results.

This technique has some pros and cons, and varies from Overlay Mosaic Crochet and Mosaic Magic.

Overlay Mosaic work is never turned, and every row has the yarn cut. Resulting in many ends to weave in. Inset Mosaic is worked with 2 rows, allowing you to carry the color changes along the side of the work.

Work rows of color, the design reaches a point that the opposite color will be “brought down” to create the vertical line. Where the vertical line is to be worked, the color below is worked as chain spaces skipping the stitches below.

Brown yarn shows chain spaces where the cream yarn is going to be worked to create vertical lines.

Now work the opposite color. Creating the vertical line is simply working a double crochet in the skipped stitches 3 rows below, in front of the chains.

The vertical cream lines, are worked as double crochet stitches in the stitches 3 rows below, with the chains of the brown color pushed to the back (wrong side) of the fabric.
Notice the chains are in the back of the stitches.

There is a “wrong side” and “right side” of the fabric.

Sides of the fabric are easily distinguished as the patterns for Inset Mosaic have longer lines, due to the 2 rows of the same color.

Right side of fabric for Inset Mosaic Crochet
Wrong Side of Inset Mosaic Fabric

Overlay Mosaic Crochet- 1 of 3 Methods

Overlay Mosaic Crochet is 1 of 3 mosaic crochet methods that are color work methods that create stunning geometric designs.

The Overlay Mosaic Method has some ready to see benefits, but is also has some draw backs especially compared to Inset Mosaic and Mosaic Magic.

Pros

To begin with it uses simple stitches, the entire base of the fabric is created with single crochet worked into the back loop. It creates bands of colors. Working double crochet loops 2 rows below in the unused front loop of the fabric. As a result this causes the color of the double crochet stitch to cover the color the row below. This ensures that the color work looks more difficult to work than it actually is.

Overlay Mosaic Crochet- work single crochet stitches in the back loop.
Overlay Mosaic Crochet, works a double crochet 2 rows below to create the dynamic color work.

Cons

However, this fabric is only worked on the right side, so you never turn. In addition, it is worked with only 1 row of color at a time. The result is a fabric that needs to be joined and fastened off for every row.

The easiest way to deal with the loose ends is to have fringe. Leaving the tails long of both the joining and fastening off. More modern methods have utilized this method in the round, so that the right side is always facing, and the color is carried at the join.

5 Rows of Overlay Mosaic Crochet- note that each row is joined and fastened off, and the fabric is never turned.
Working Row 6 of Overlay Mosaic Crochet

Mosaic crochet historically makes a cycle of popularity. This overlay method classically known for such patterns as Apache Tears and Navajo Indian Blanket.

I have stumbled across a Continuous Overlay Mosaic Crochet Method, put together by Susan Lowman. It is brilliant for creating this fabric in a flat method with far fewer ends to weave in. Make sure sand check out her video here. I like to use Overlay Mosaic for hats and fingerless gloves. I find this approach to be very straight forward and easy to follow. Creating some fun highlights for colors.

Overlay Mosaic patterns in hats

2 Ways -Thermal Crochet

Essentially there are 2 ways to create a thermal crochet stitch. I was first introduced to this technique over a decade ago. “Thermal” is worked one way, and today you can find it worked in a completely different manner. This is proves to me even more, that you cannot rely on the fancy names of crochet stitches, make sure and check the special stitches of a pattern.

However, I thought I would share what I have learned about this stitch. Basically a thermal stitch is one that creates a double sided fabric. Stitches are connected by working through the loops of 2 different rows to create the third.

Bottom Up method of Thermal Single Crochet Fabric
Top Down Method Thermal Single Crochet Fabric

Bottom Up -1 of 2 ways thermal crochet

I learned to connect these stitches from the “bottom up”. Insert the hook through the loop of the row 2 rows below upwardly and then through the front loop of the row typically be worked into. Yarn is wrapped around the hook and then pulled through these 2 loops. There is an additional yarn over, and pull through the last two loops; a single crochet thermal stitch is created. Learn it here.

Inserting hook from the “bottom up” to create the thermal single crochet

The bottom up method creates a fabric that has the “front” or “right” side of the fabric facing outward, while the “back” of the stitch is captured in the center of the fabric.

Top Down -1 of 2 ways thermal crochet

The latest way I have seen this stitch explained, uses the same loops of the stitch rows has the base of the stitch, but instead works the hook down through the front loop of the regular working row and then through the unused loop of the row 2 rows below.

Created from the “top down” method thermal single crochet

To prevent the stitches from twisting, the work is essentially worked “backwards”.  Meaning that you are crocheting the fabric in the opposite direction from that which you usually do. This “top down” method creates a fabric that has the “wrong” of “back” side of the fabric facing outward with the “front” encapsulated in the center.

There are some slight visual differences with these methods, and the Bottom up approach tends to lend itself better to working in the round.

This is an interesting stitch, either way you work it. I am continuing to explore its possibilities.