Crochet- Puffs, Bobbles and Popcorns

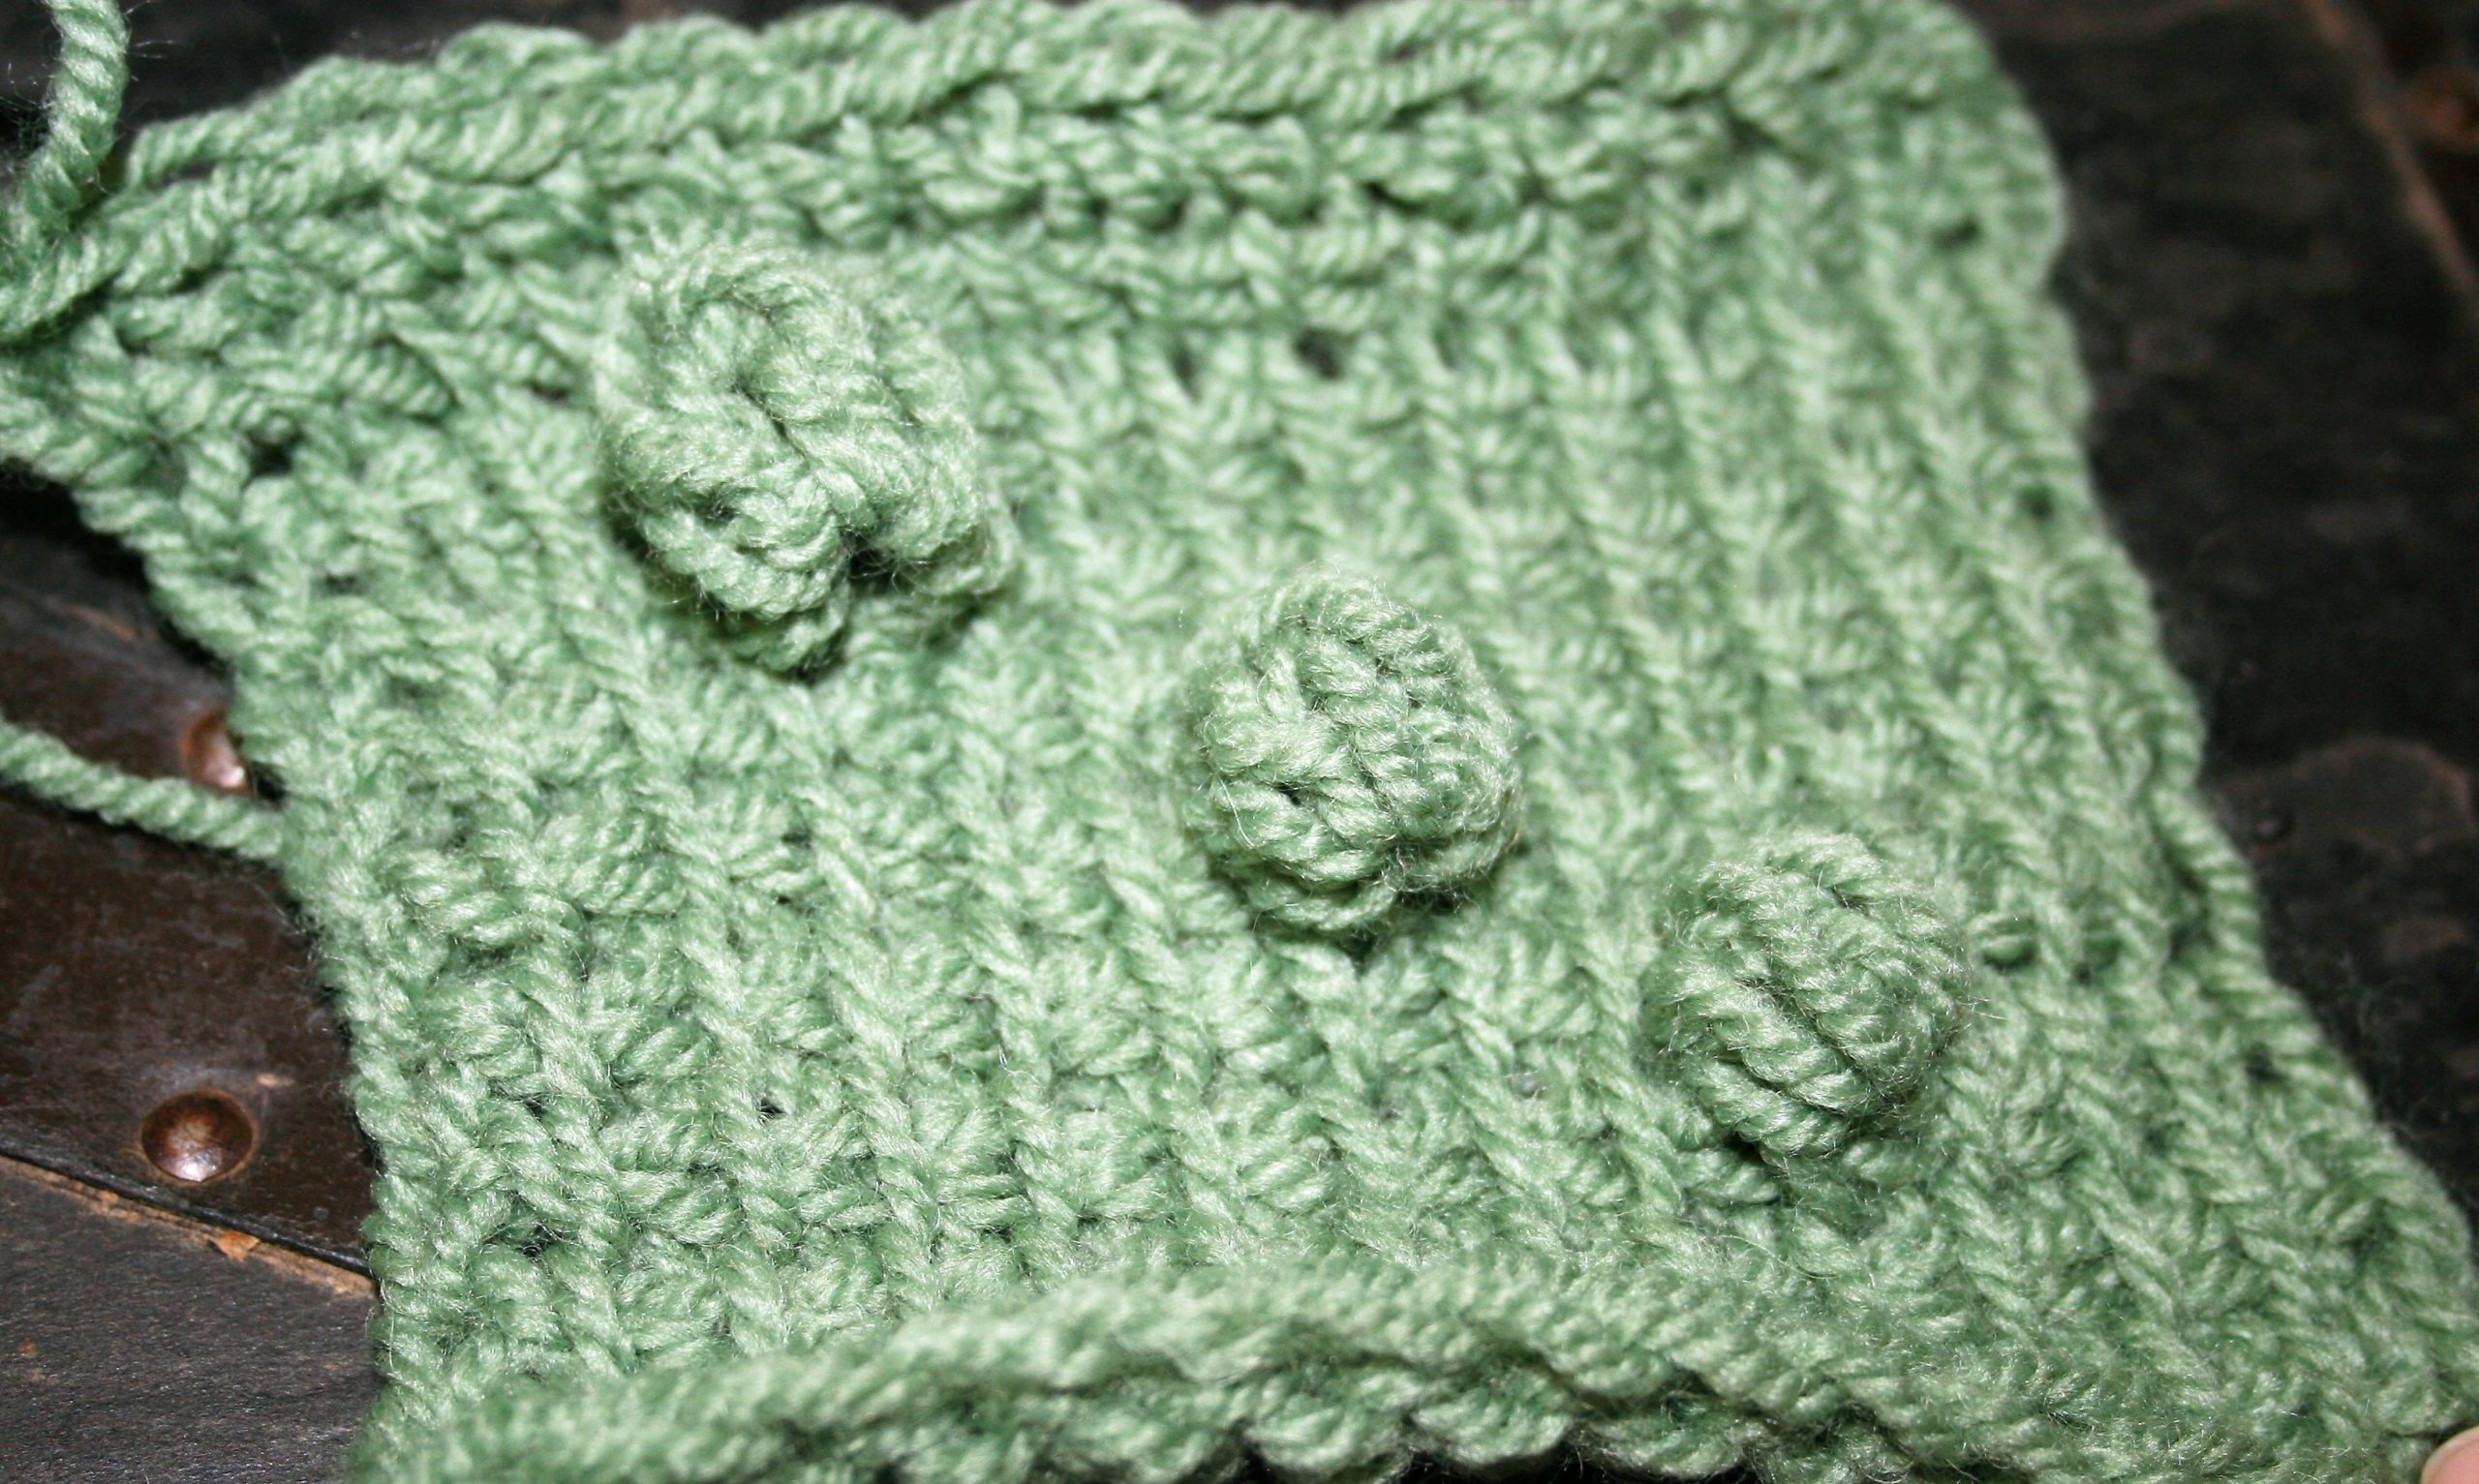
Crochet Puffs, Bobbles, and Popcorns are great ways to add texture for fabric. The differences between these stitch techniques is subtle, but help vary the size.

This stitches add great texture, and can even be worked in Tunisian Crochet.
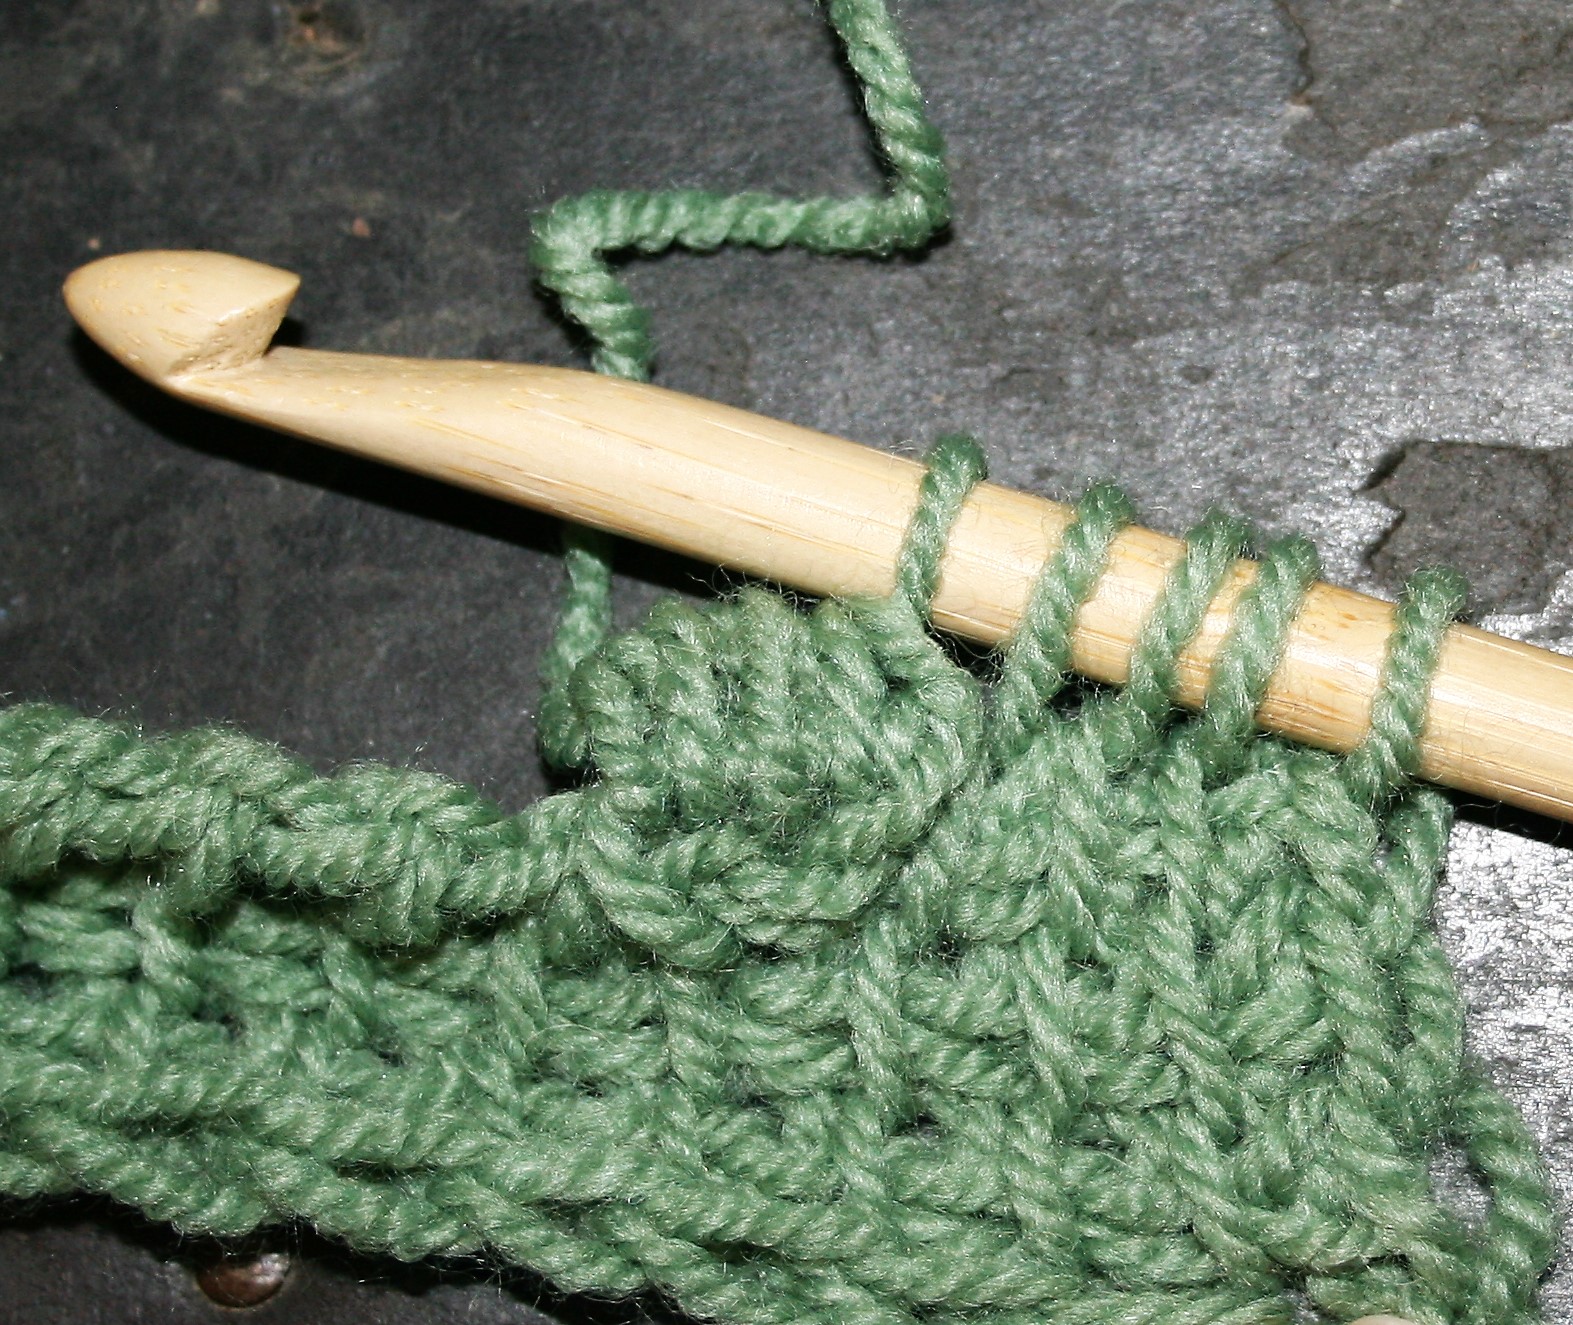
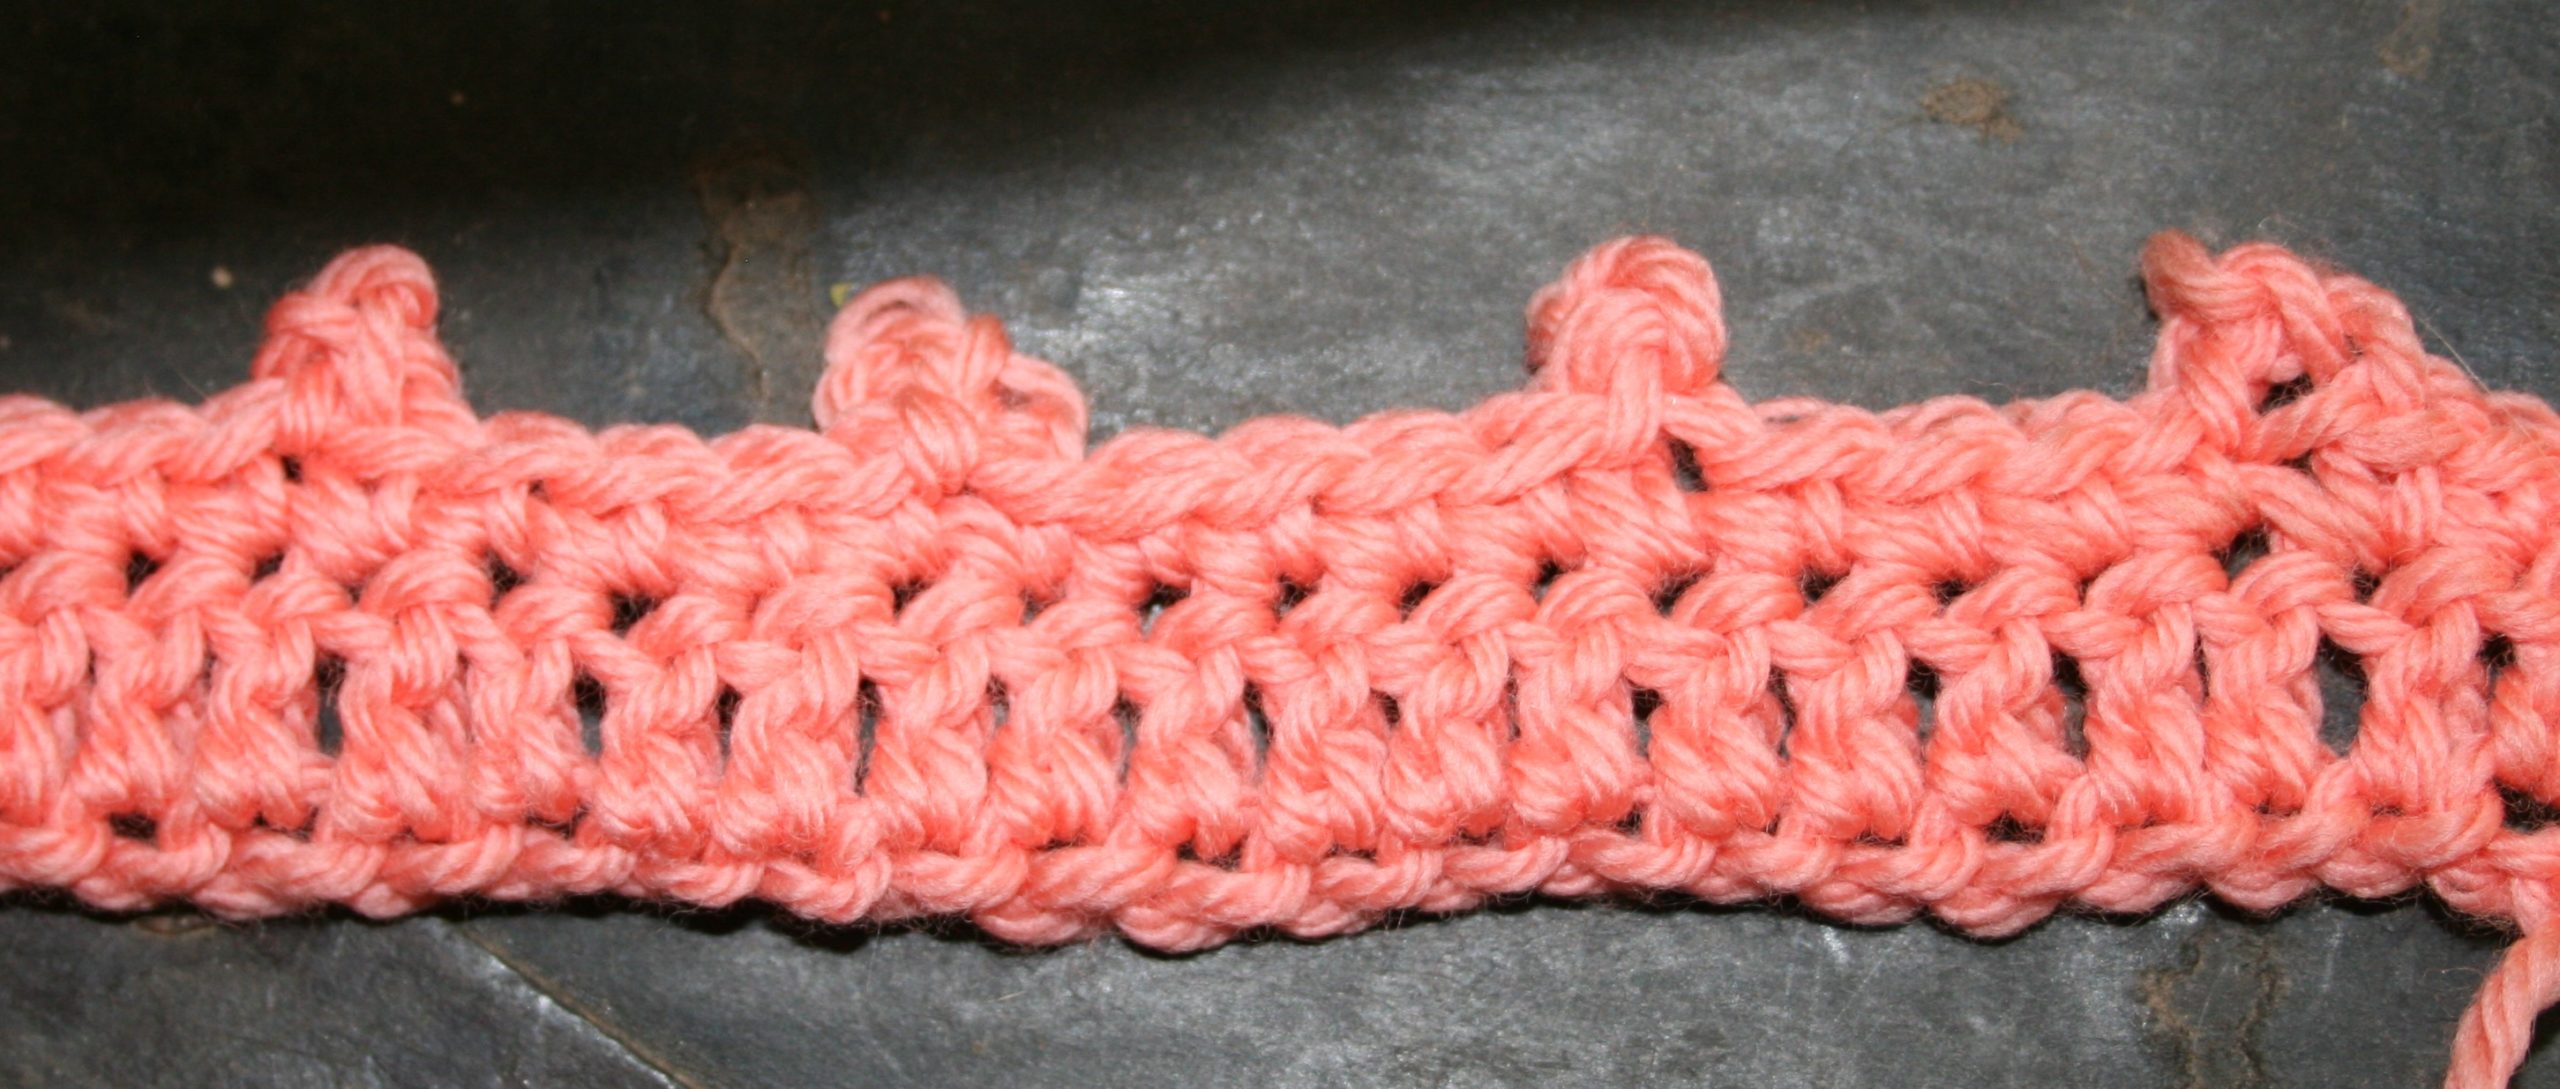
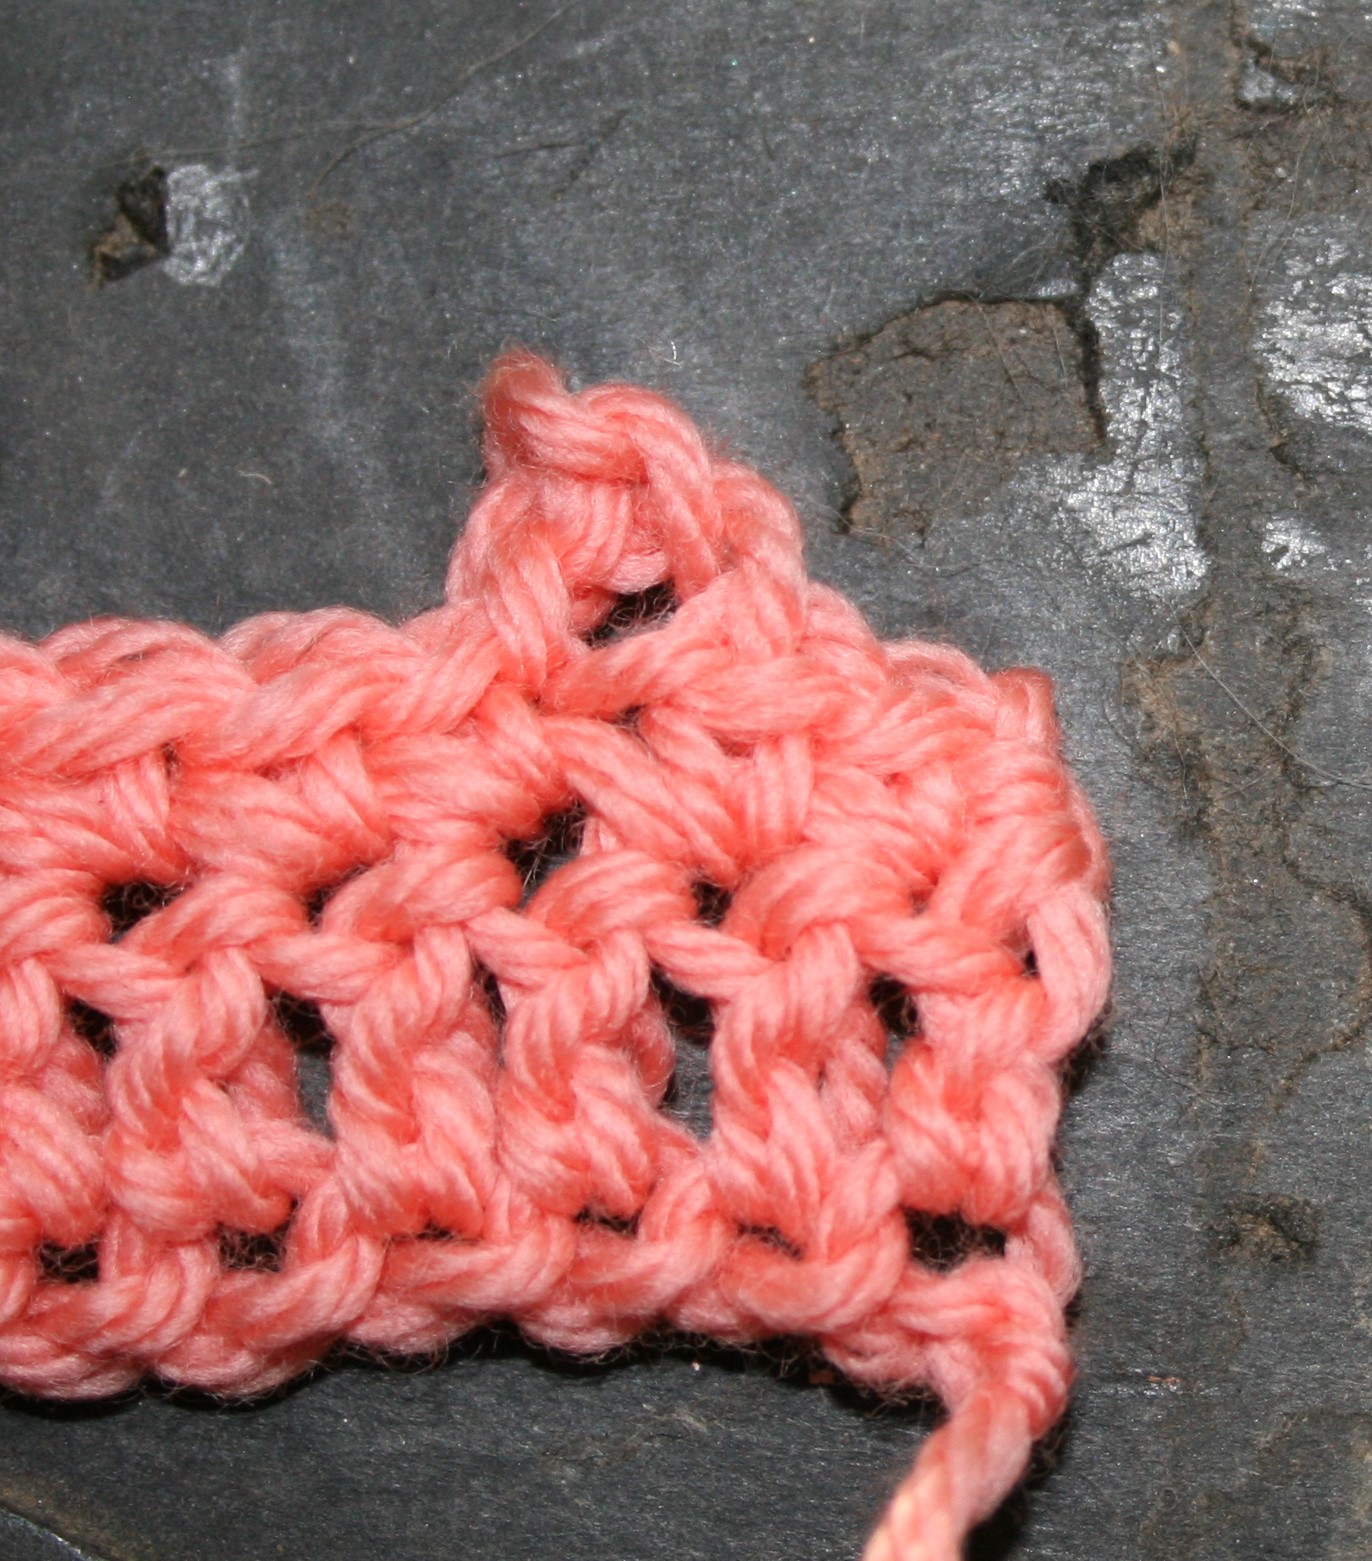
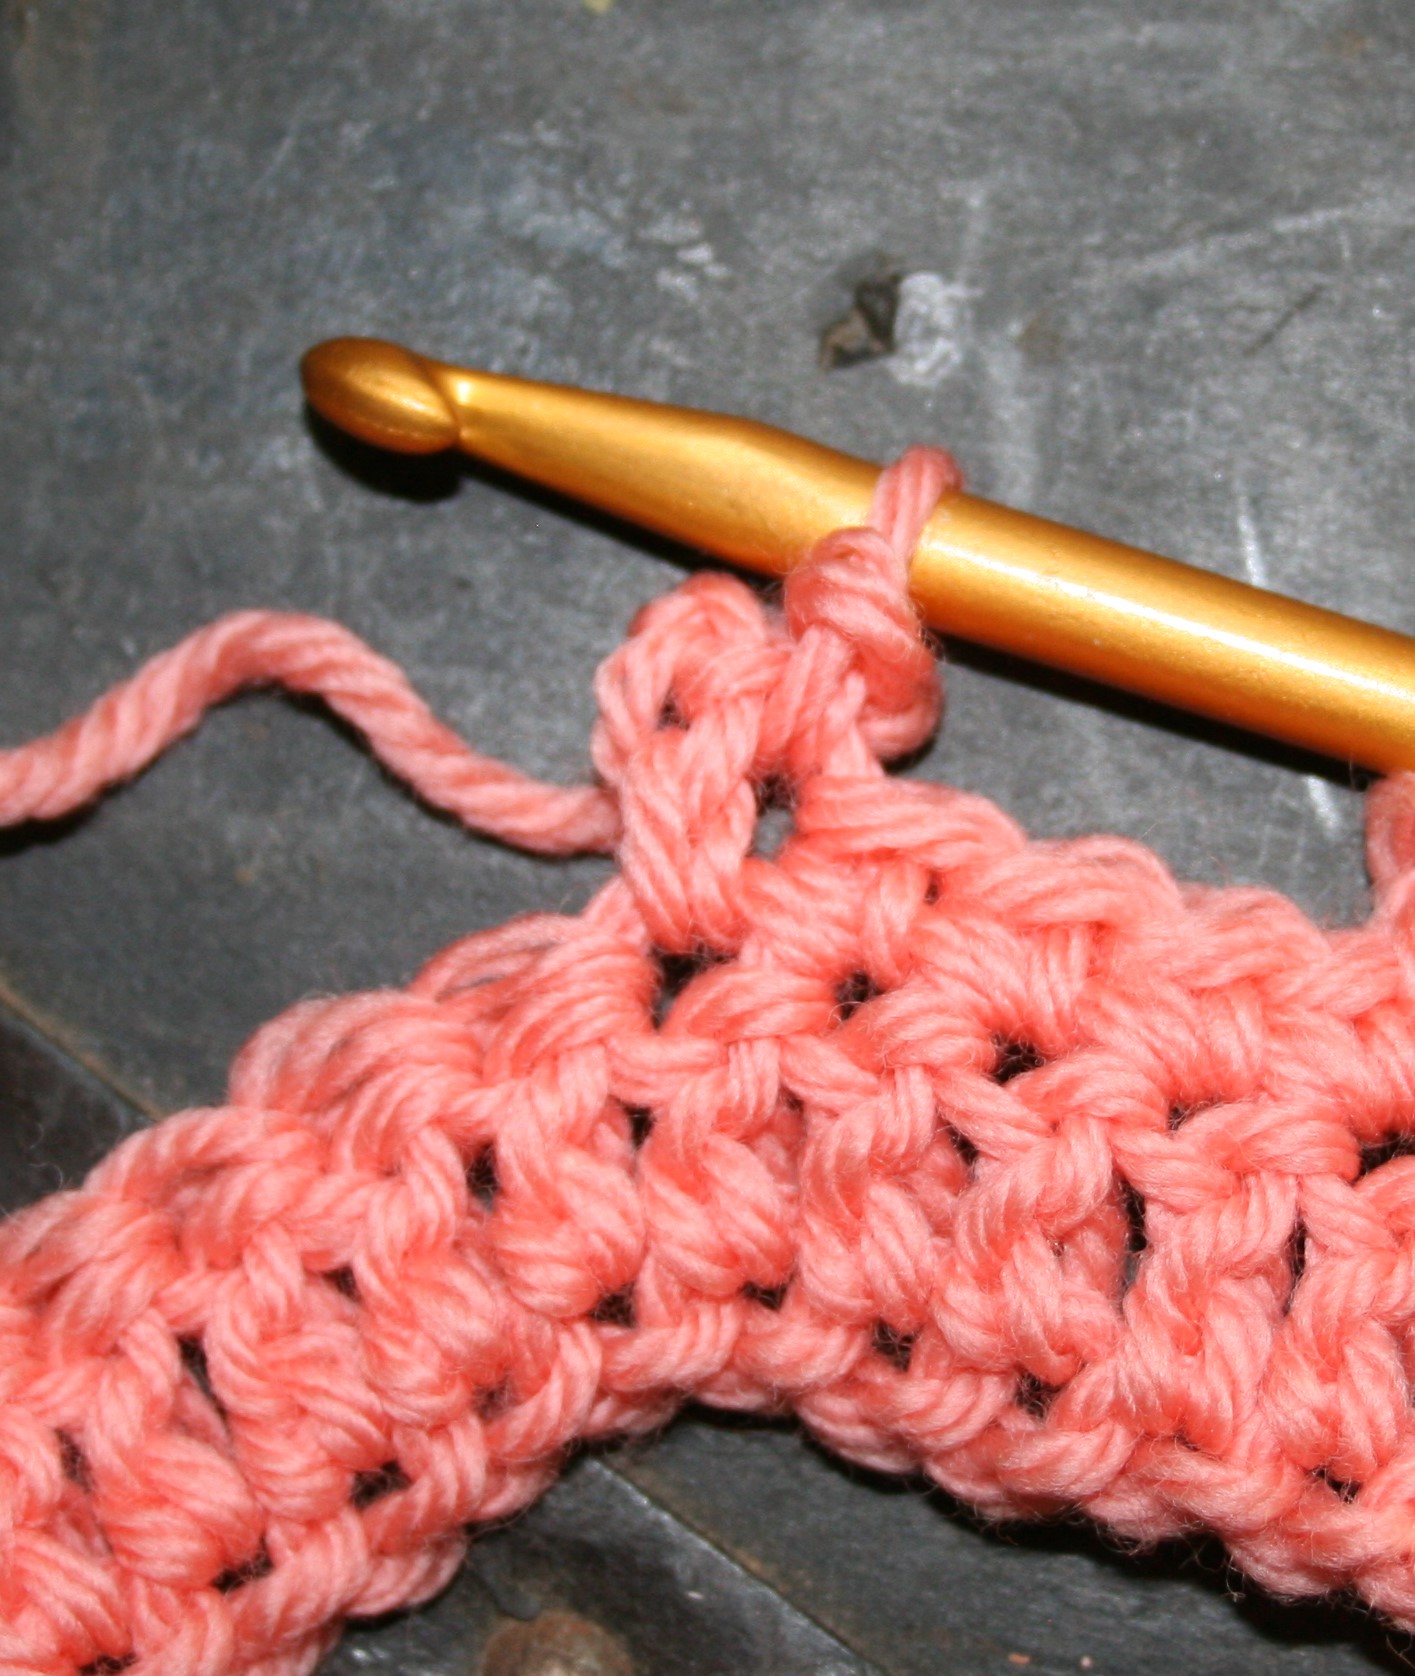
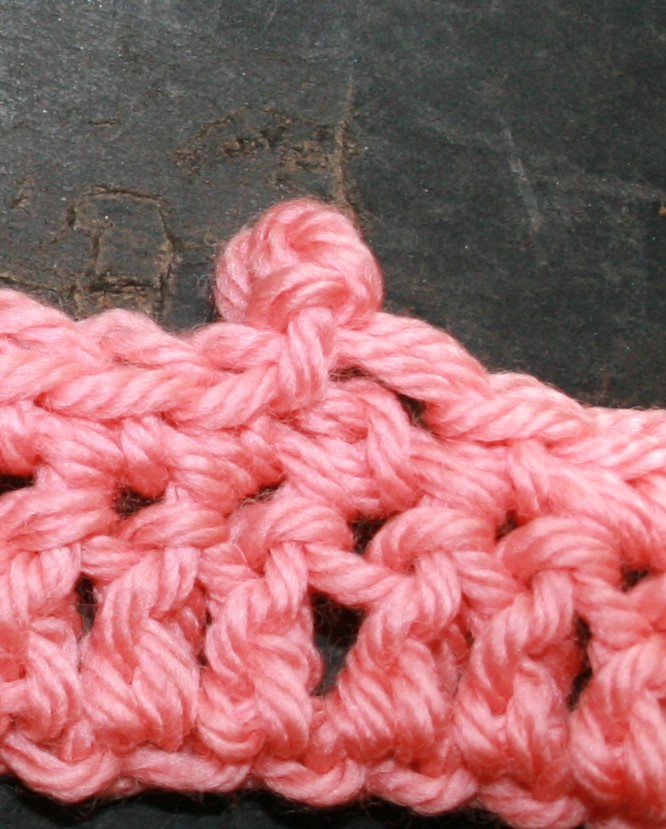
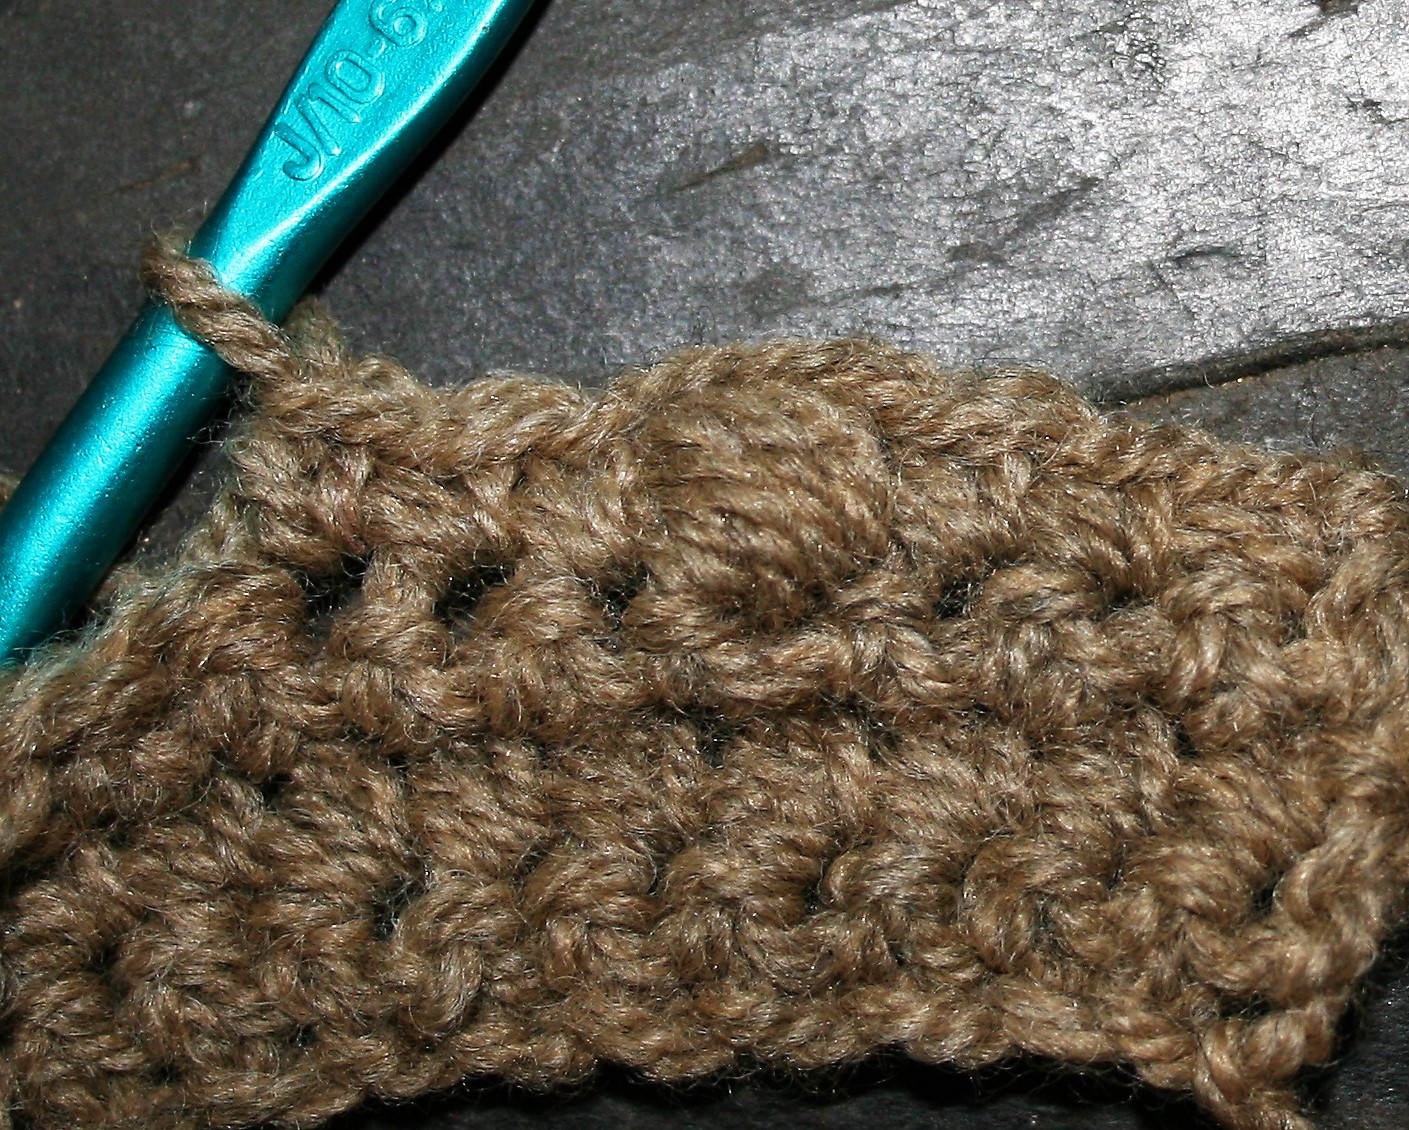
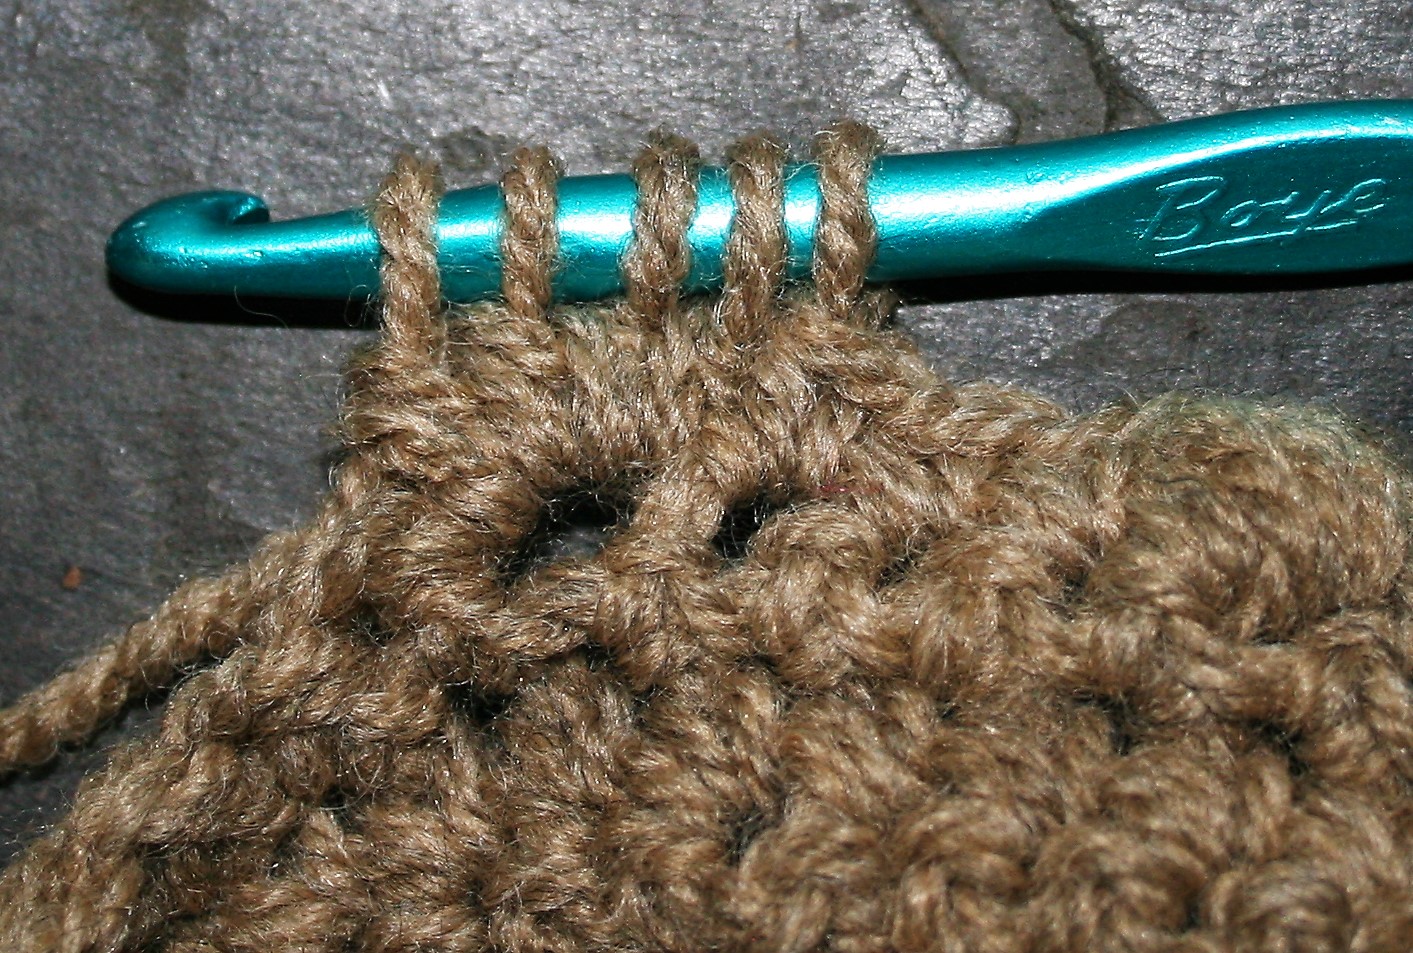
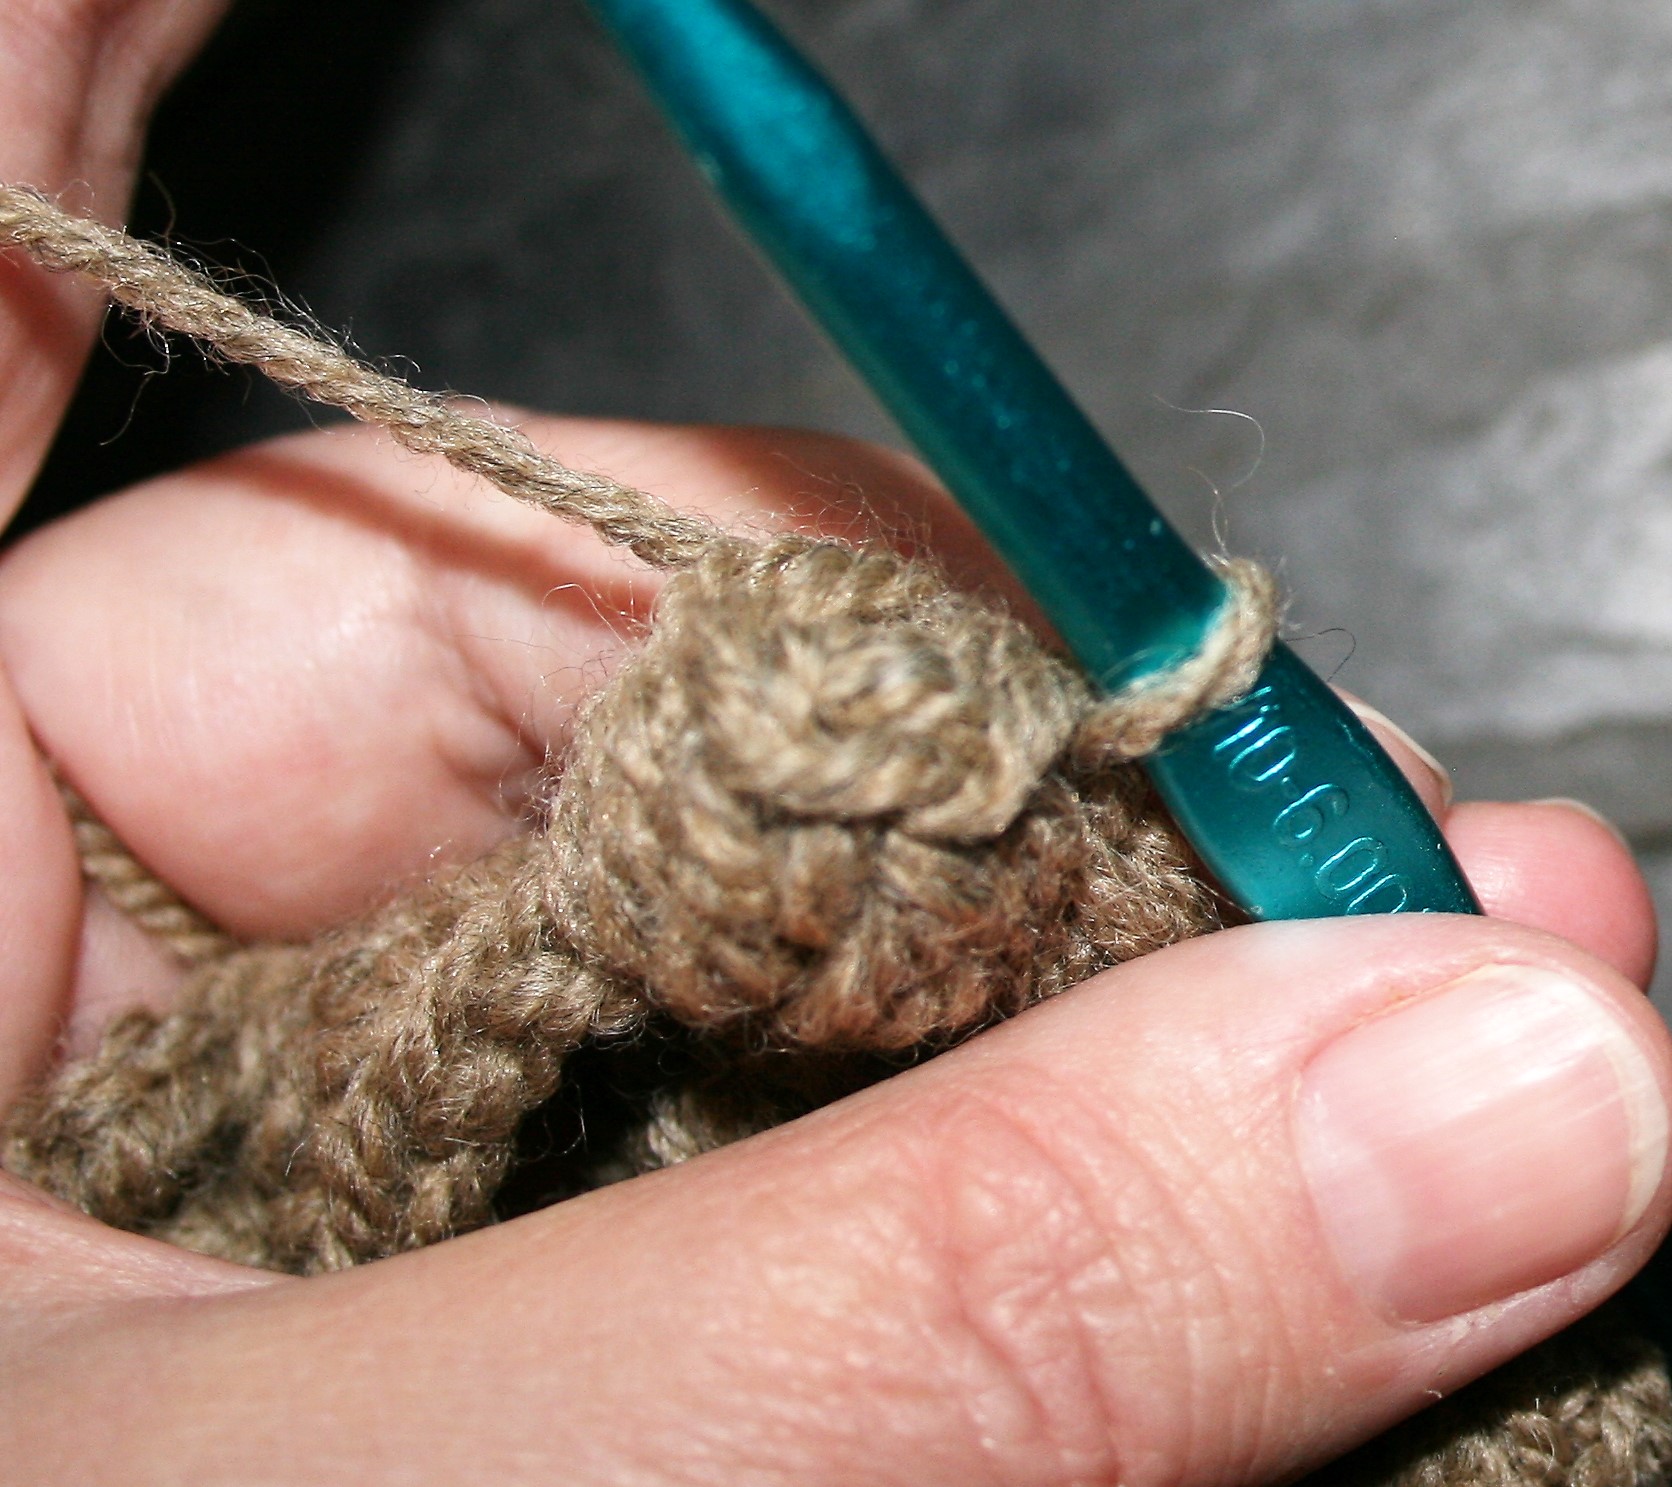
Texture in crochet, the big one is a forward facing Popcorn, followed by the medium size Bobble and a smaller size Puff.

Crochet Puffs

Puff stitch is many loops that are added to a hook. Beginning this stitch is very much like a single crochet, by inserting the hook and pulling through a loop. The process of adding loops happens by yarning over the hook and reinserting the hook into the same stitch, yarning over and pulling through a loop. Repeat This step a number of times. Finish by a final yarn over and pulled through all the loops.

Many loops are added to the hook to create the Puff stitch.
The Puff stitch is completed by yarning over and pulling through all the loops on the hook.

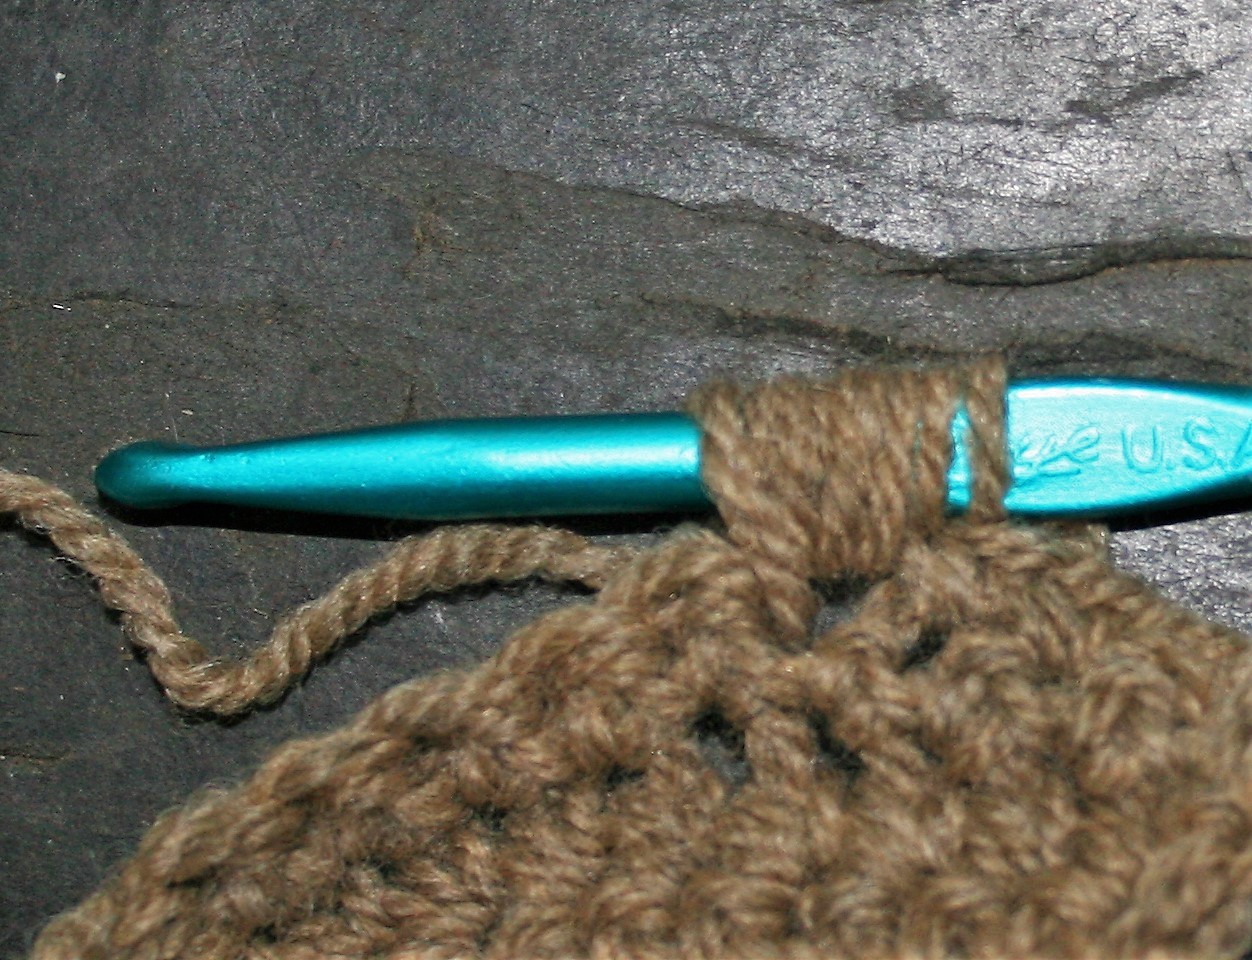
The more loops the fatter the puff stitch can be.

Fatter stitches can also be created by yarn weight. A thin yarn may not need as many loops as a lighter weight yarn to create a nice texture.

Another nice feature is that this stitch is reversible.
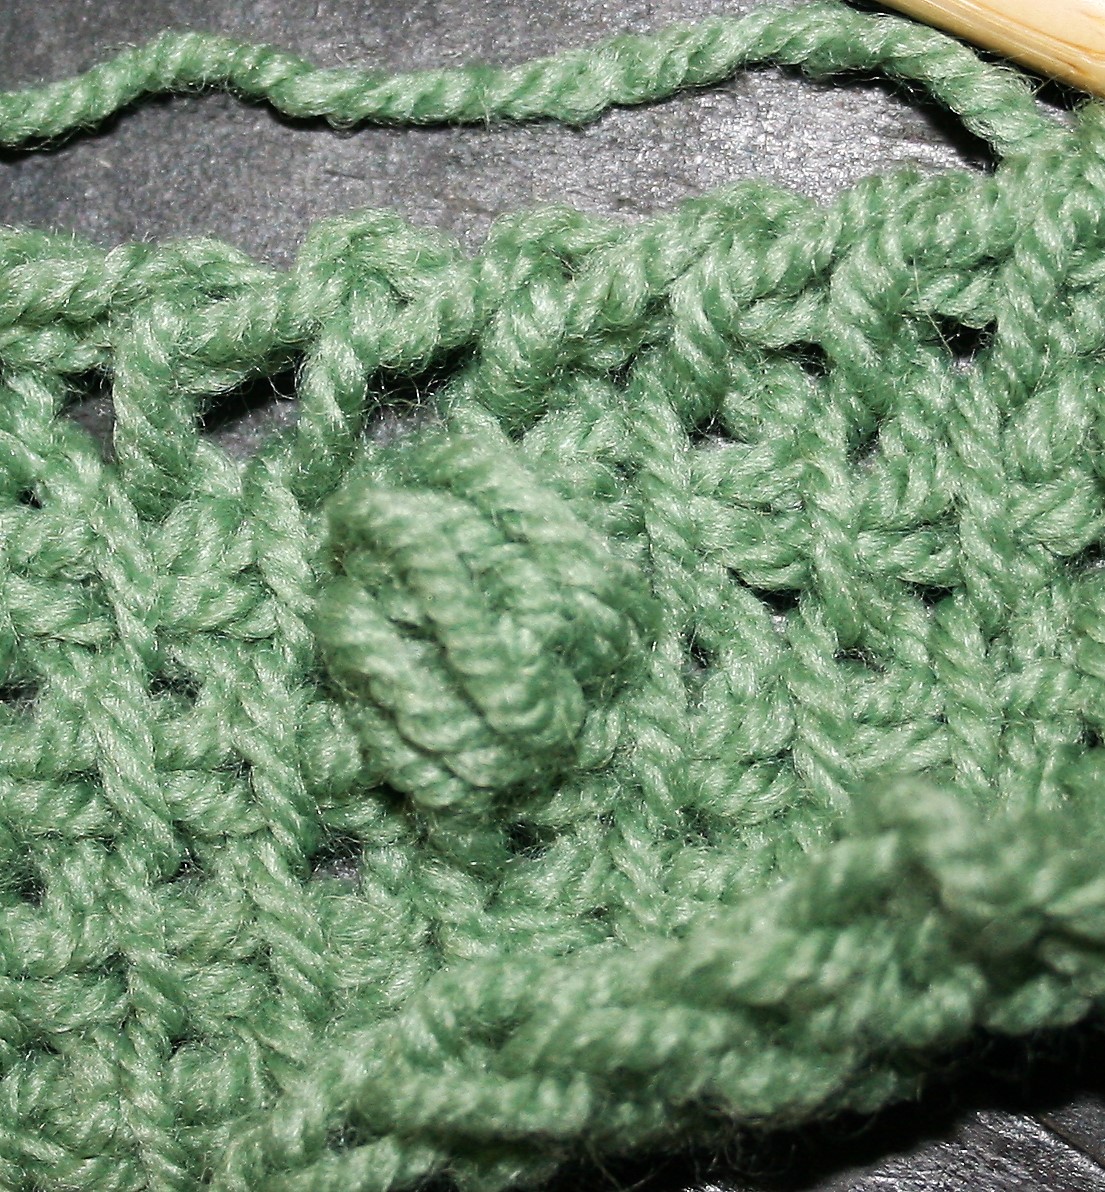
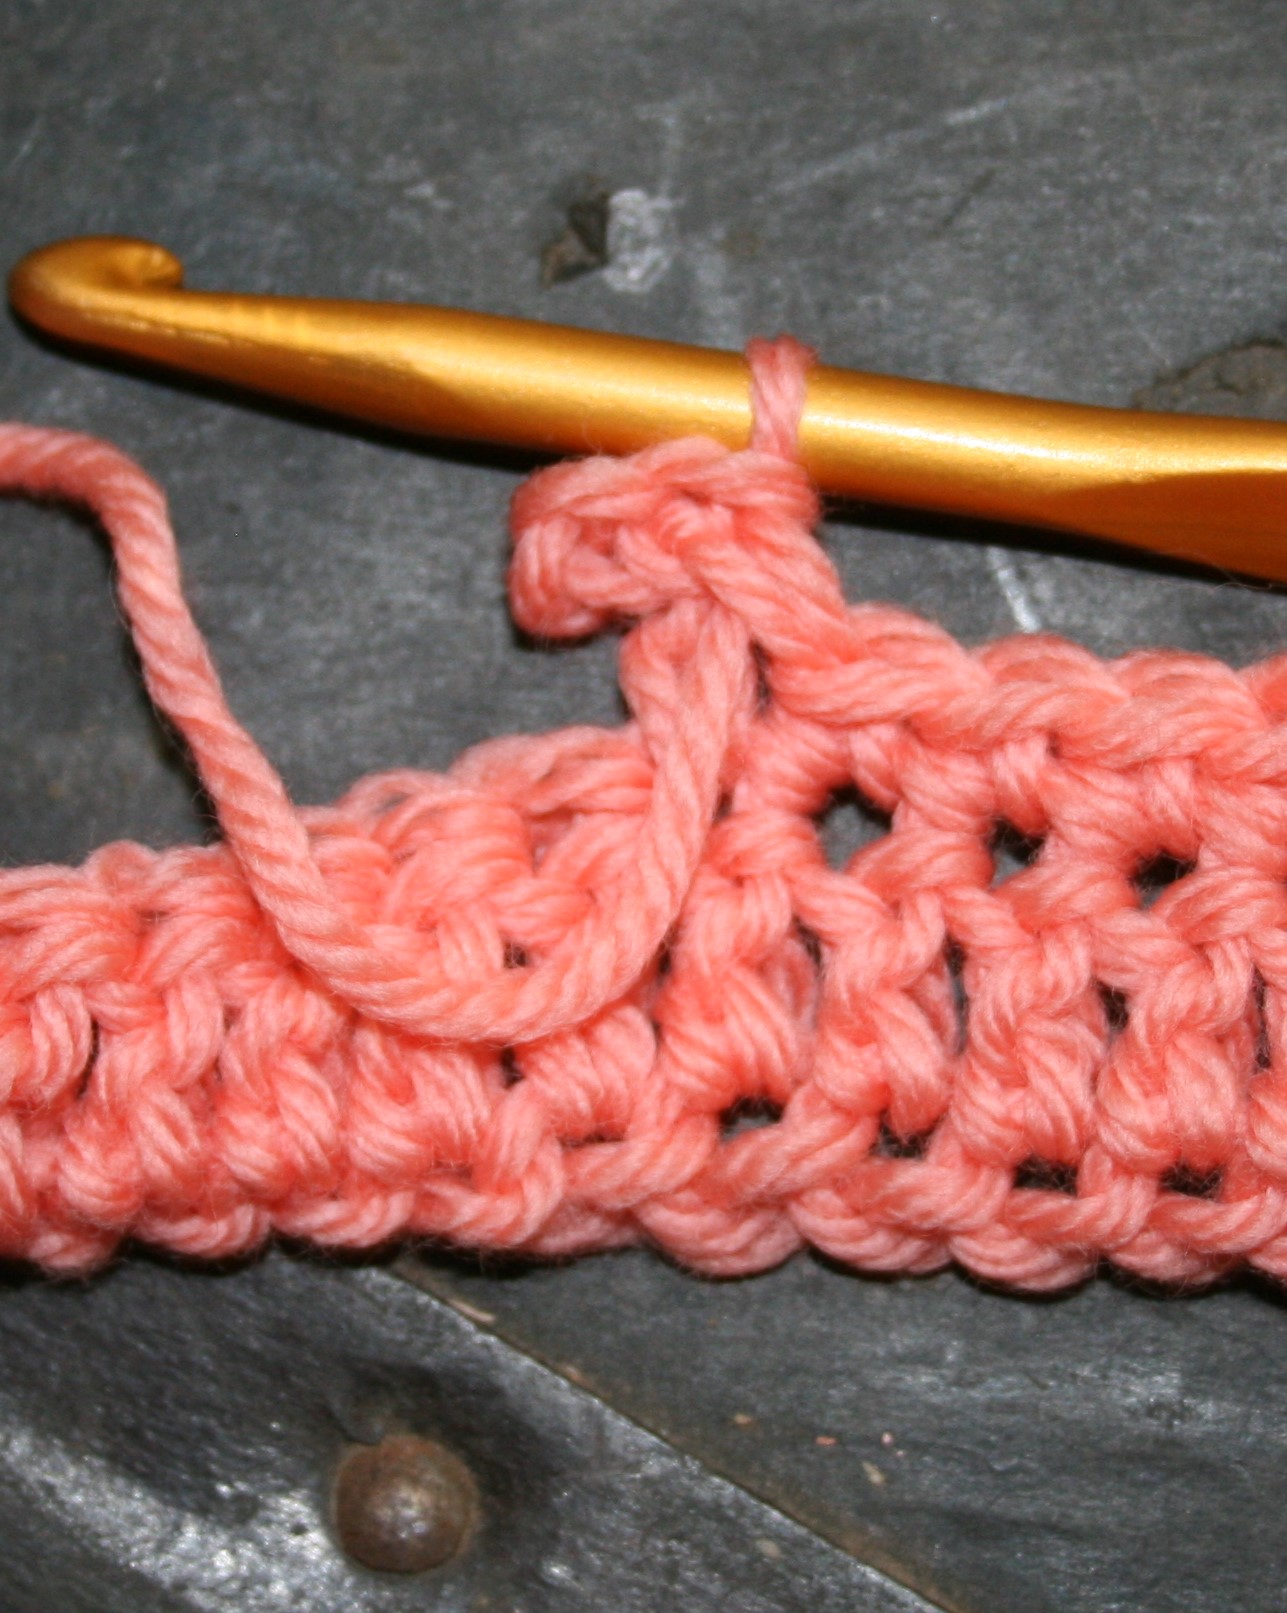
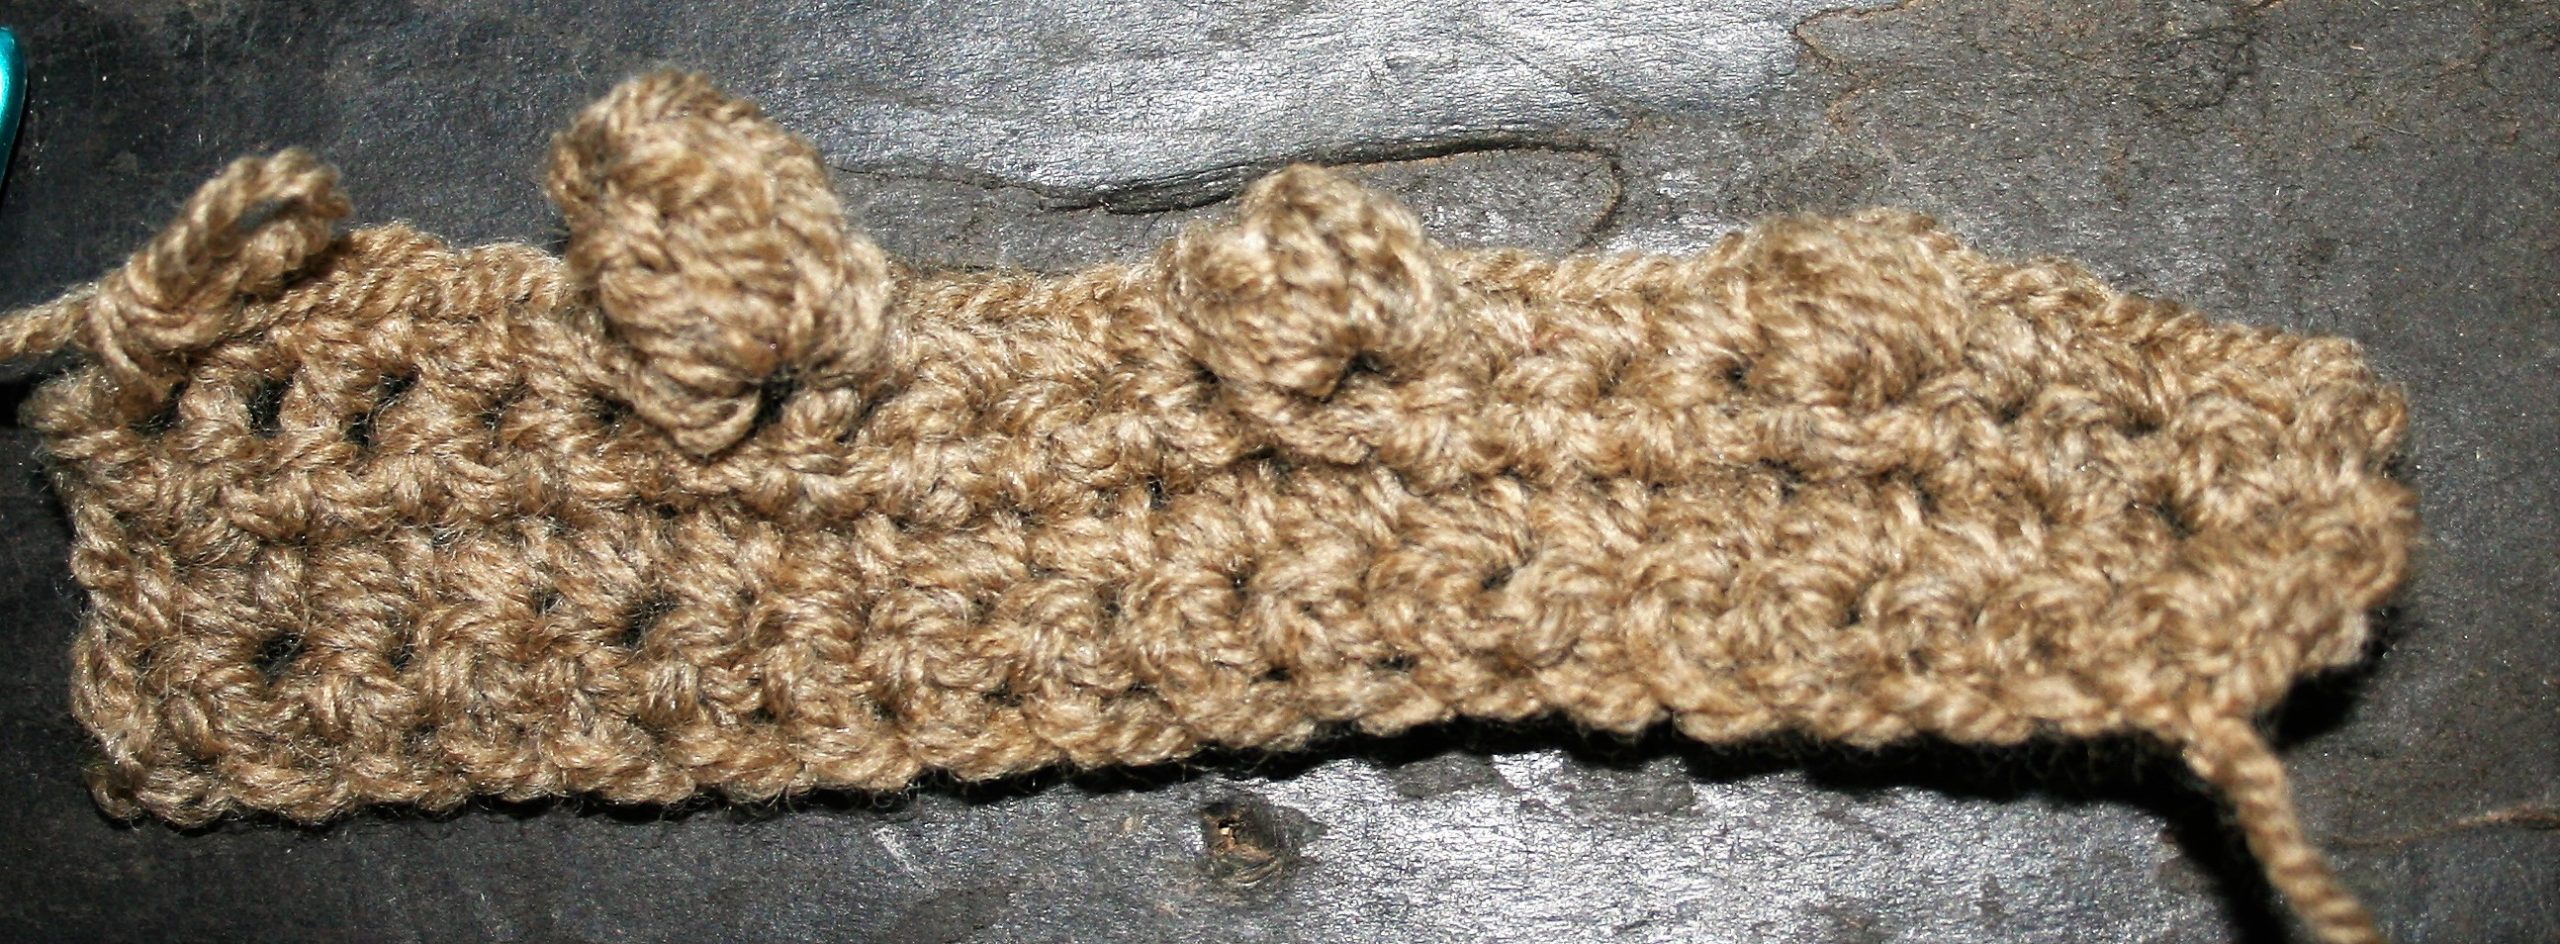
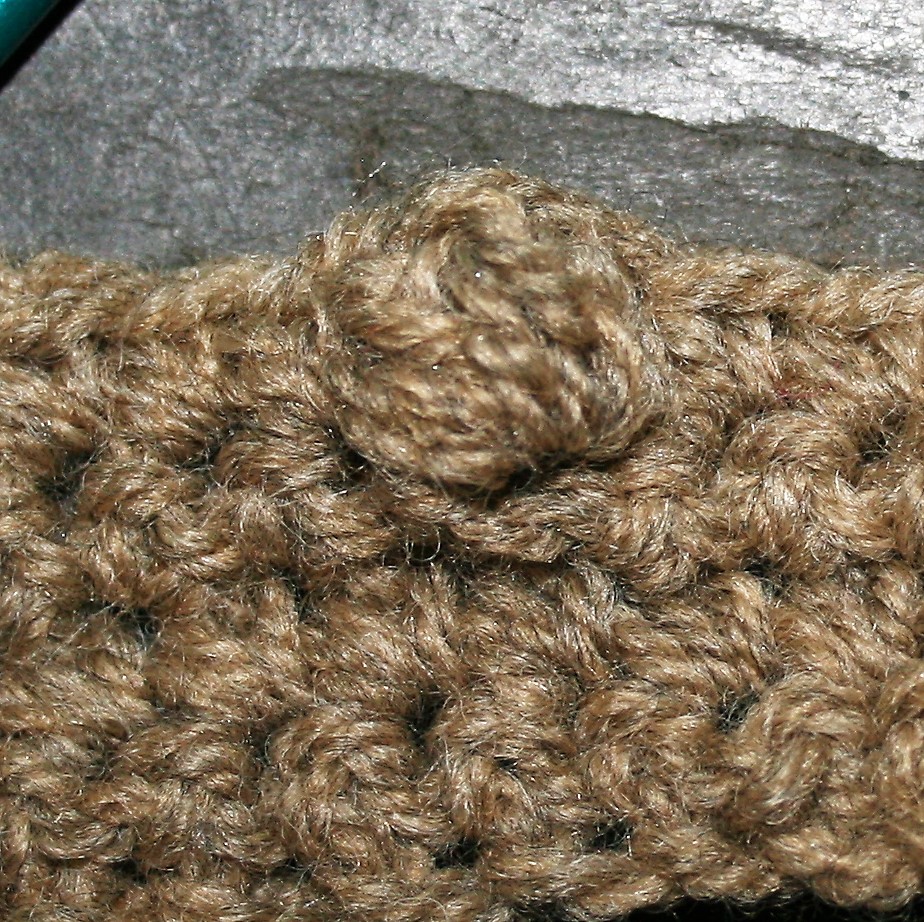
A completed Puff stitch

Crochet Bobbles

Bobbles are incomplete double crochet stitches worked in the same stitch. Work like a double crochet in the beginning. Work a double crochet until there is 2 loops left on the hook. Yarn over, insert you hook into the same stitch, yarn over and pull up a loop. Then yarn over and pull through 2 loops. Leaving remaining loops unworked repeat the process.

A set of partially completed double crochets create the base for this stitch.

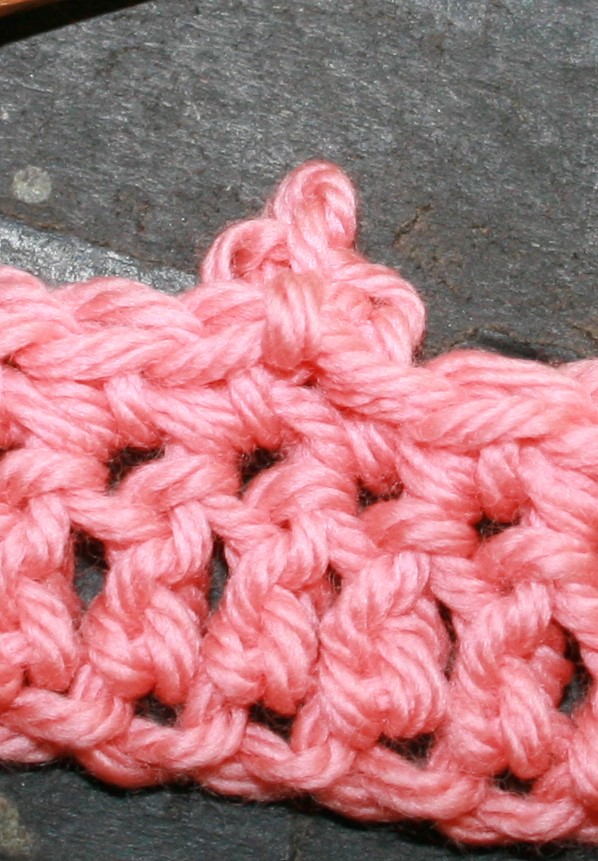
Bobble stitches naturally push themselves to the back of the fabric, and have more roundness by working an odd number of partially completed double crochet stitches.
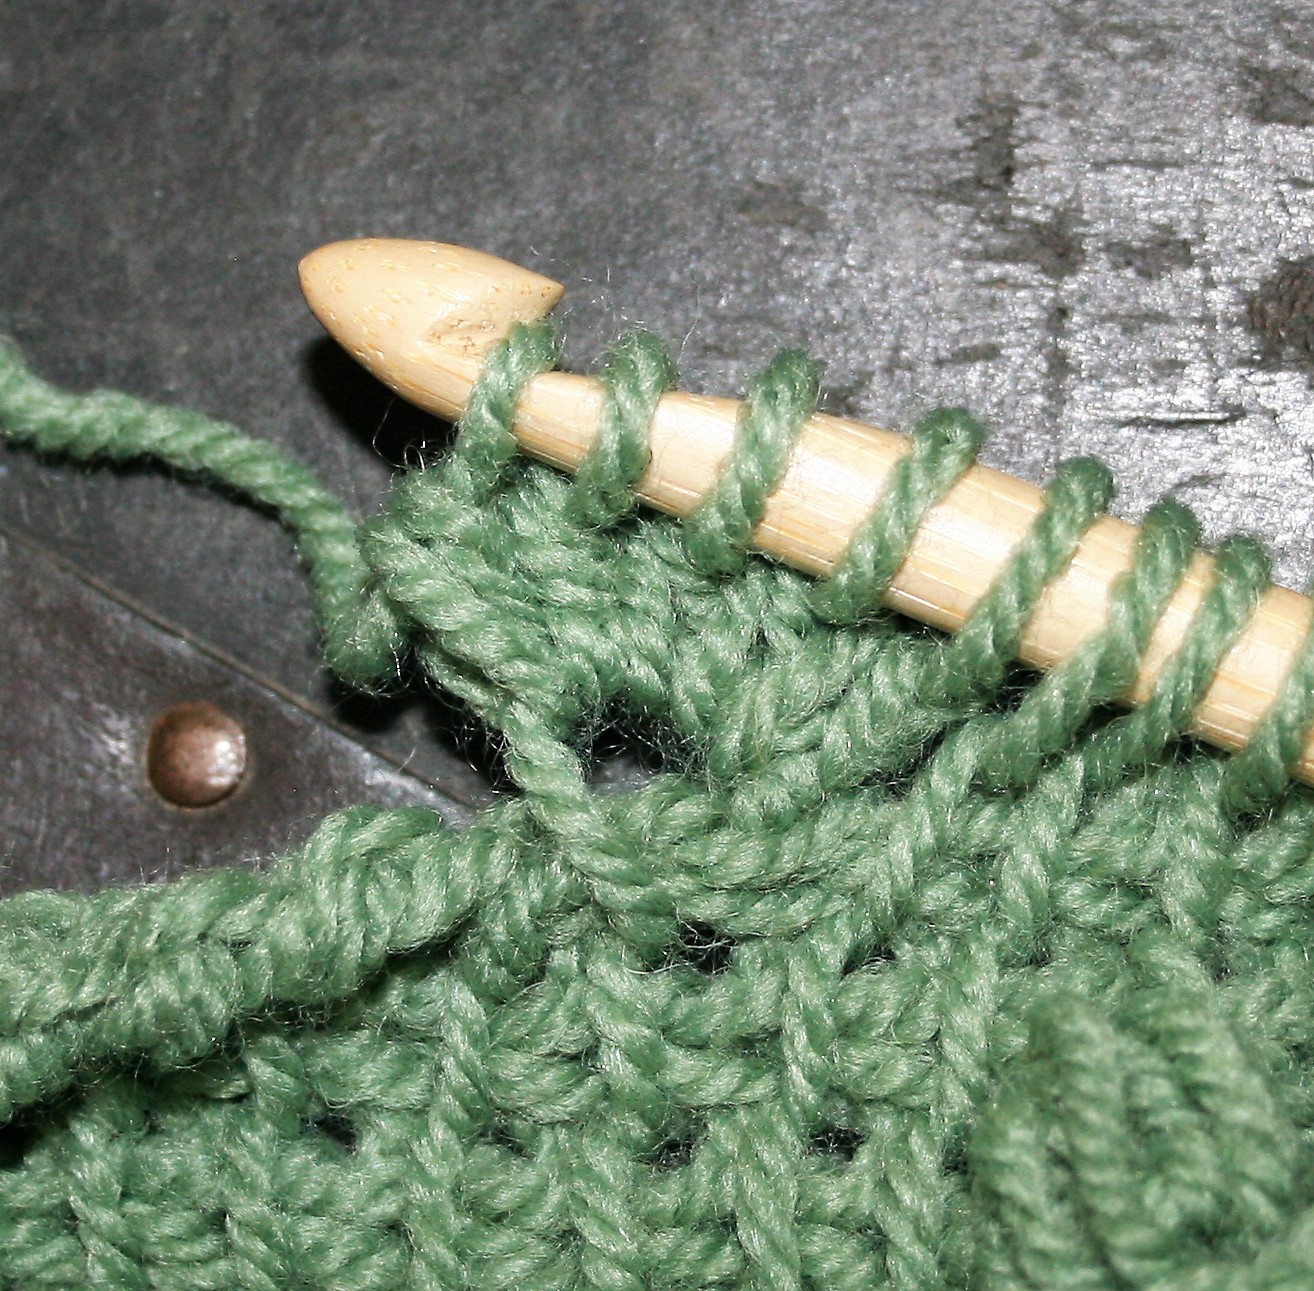
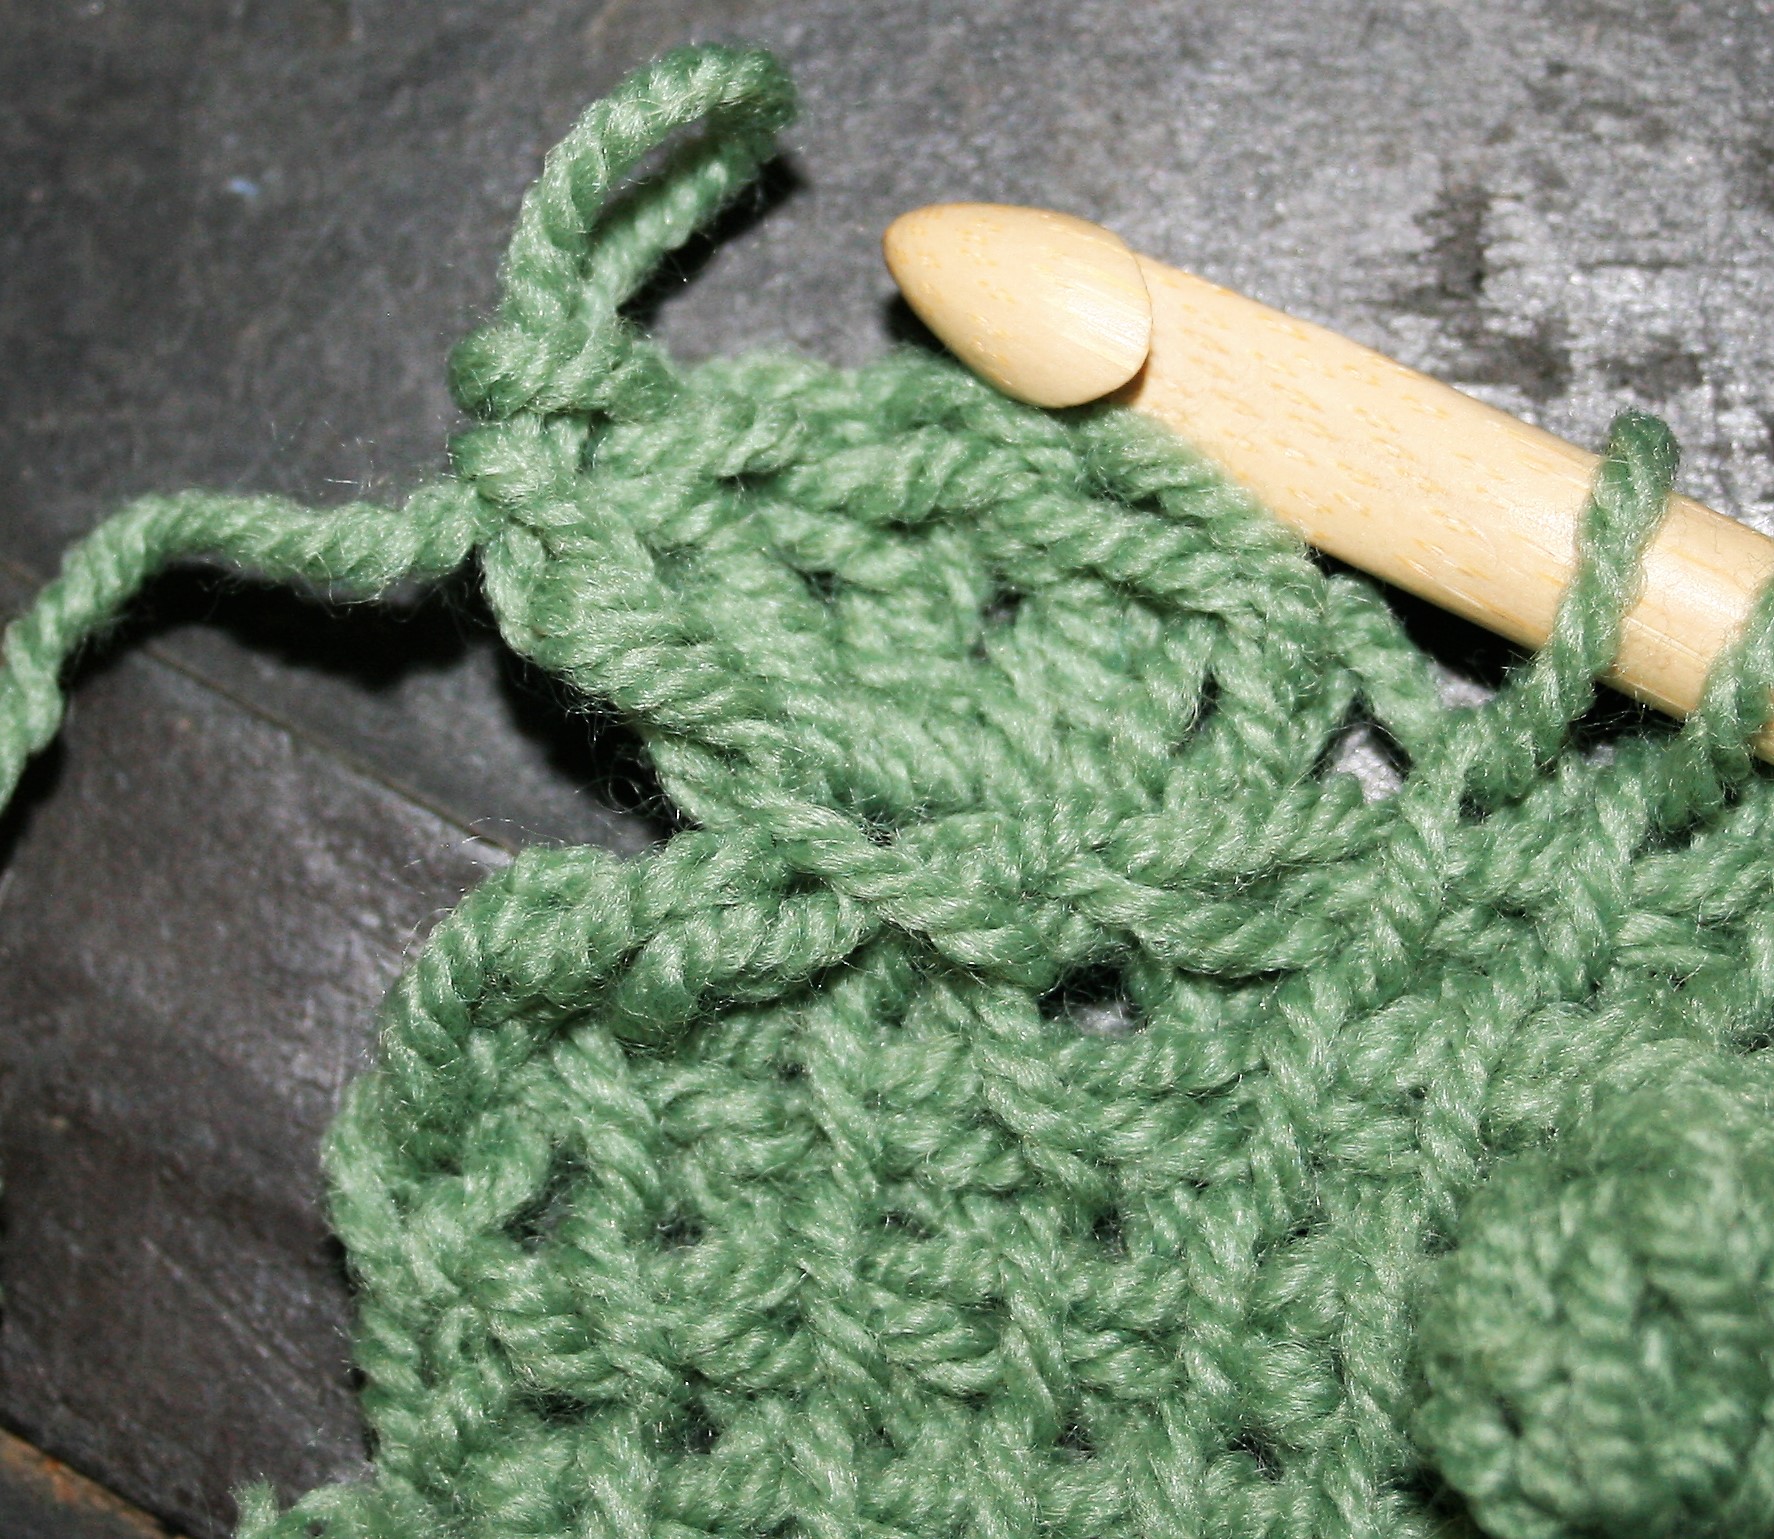
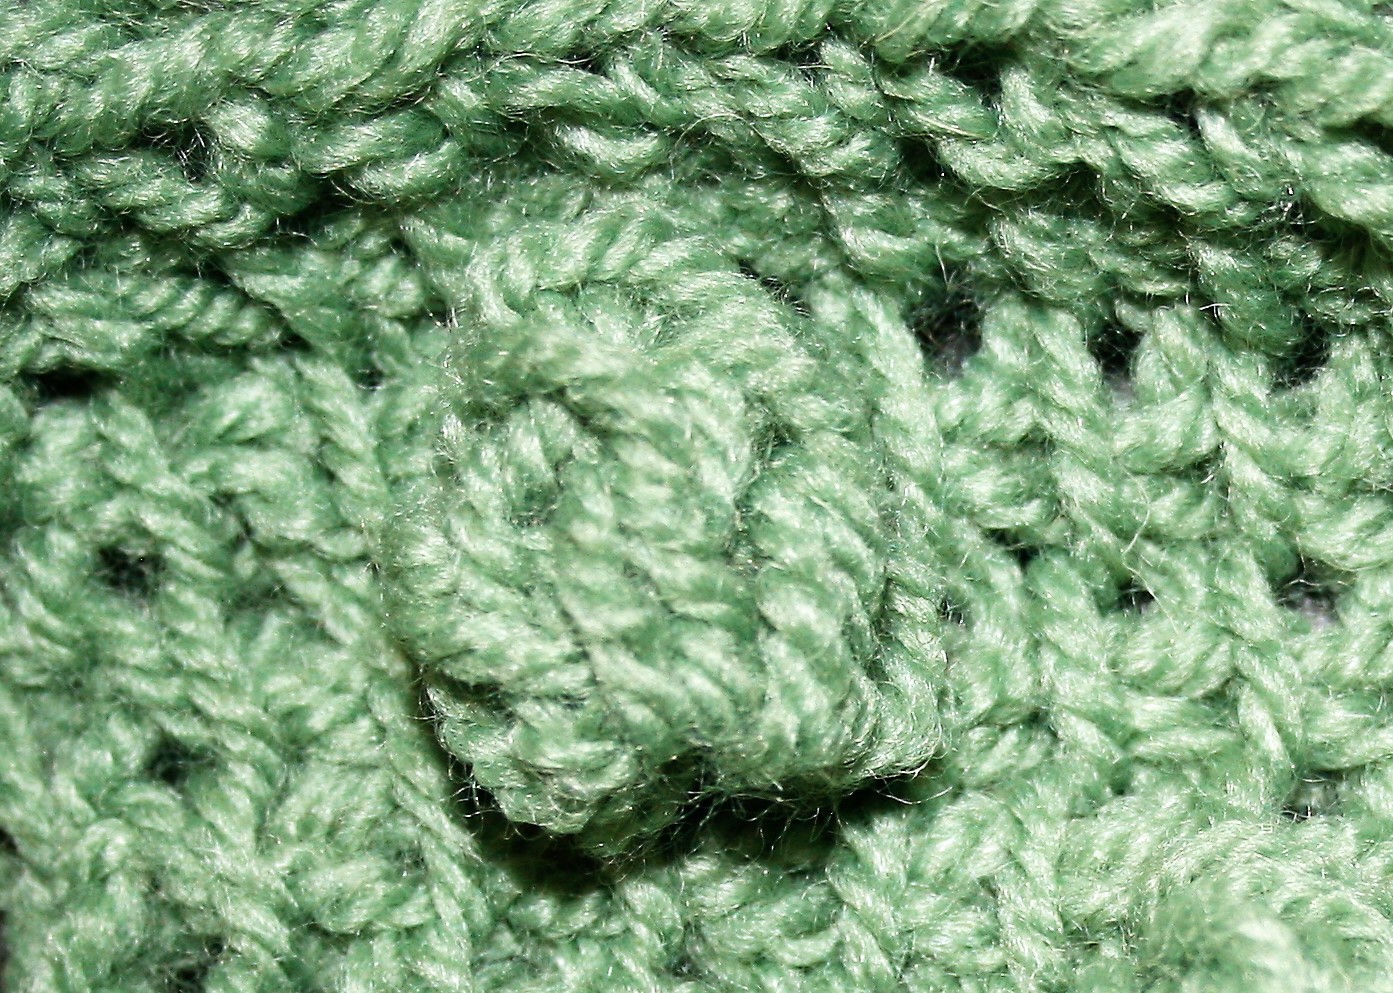
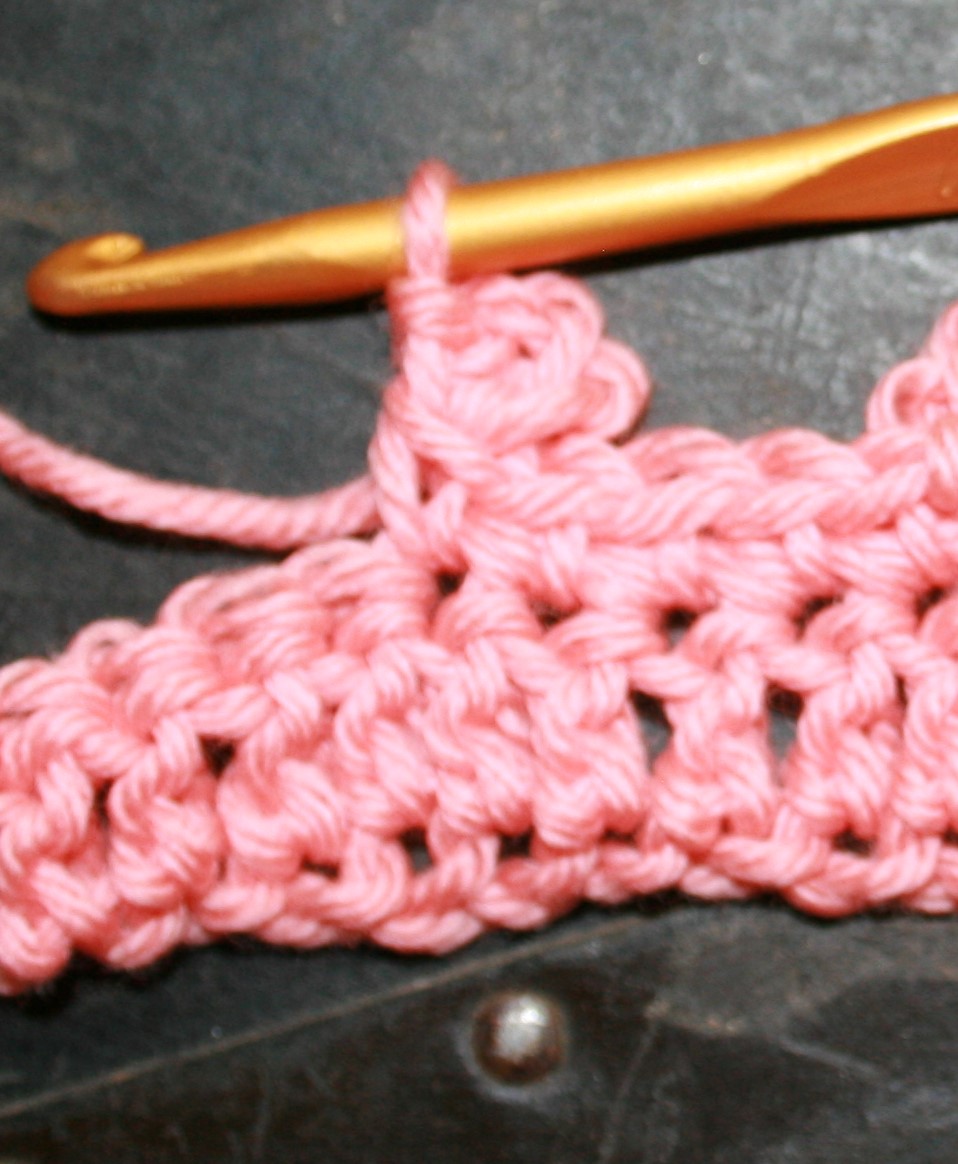
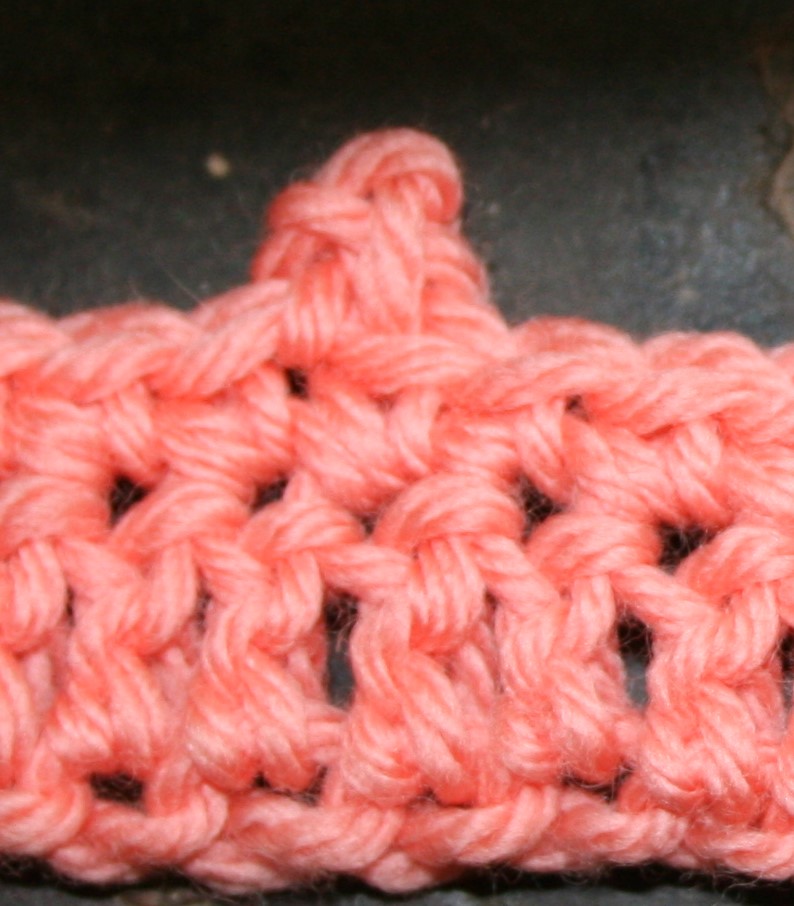
A completed Bobble

Crochet Popcorns

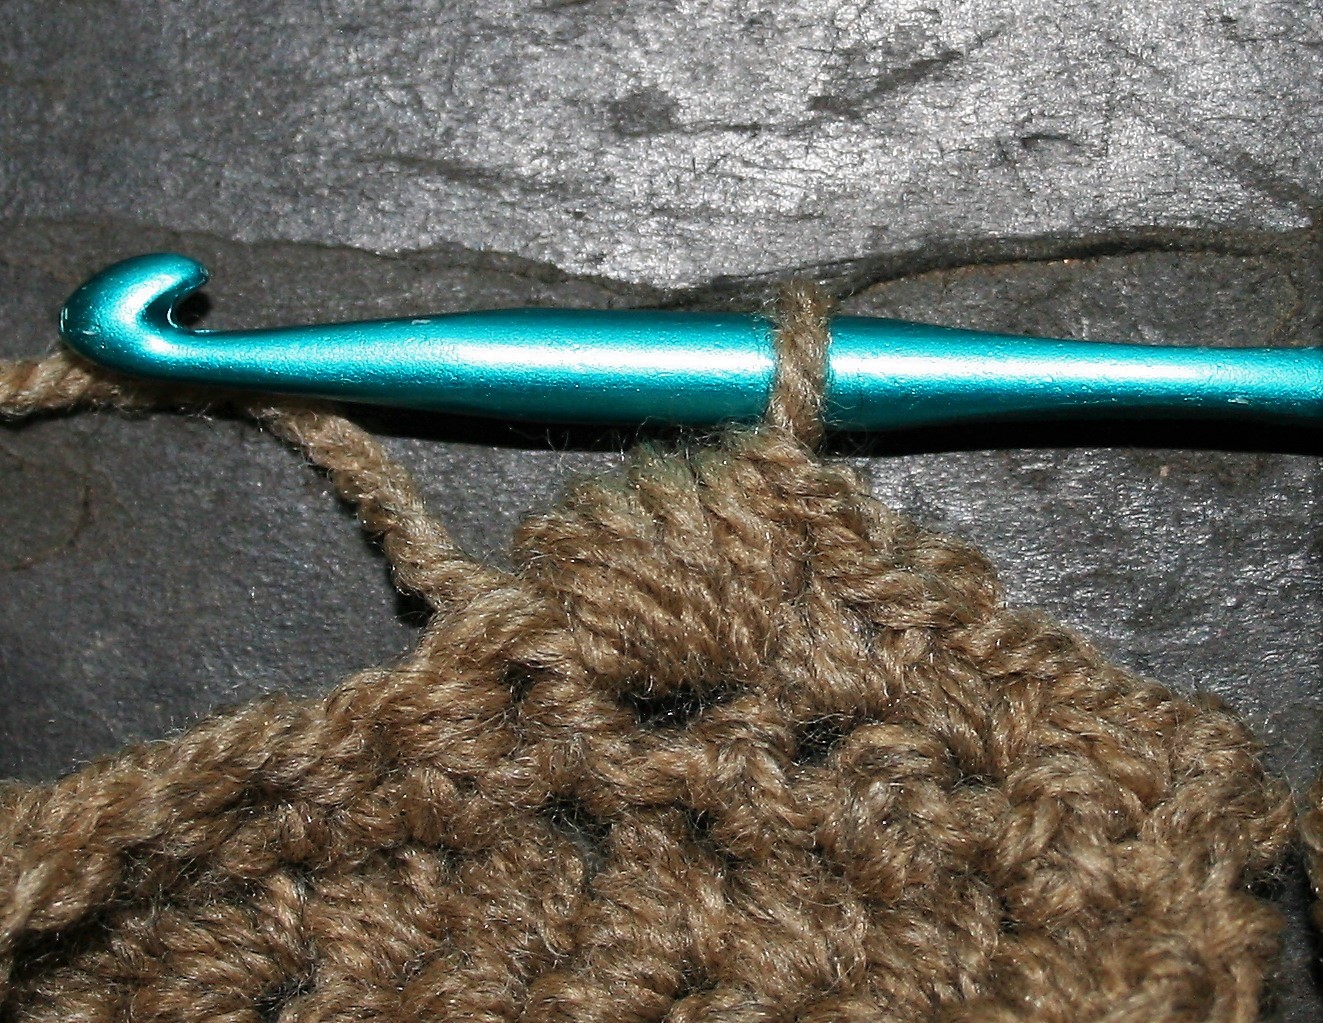
Creating popcorn stitches is actually a unique twist on shell stitches. Create this large texture bump by making a shell of double crochets. Remove the hook from the working loop and reinserted in the top of the first double crochet of the shell. The direction you insert the crochet hook in this stitch is what actually determines what side of the fabric the popcorn pushes to. Inserting the hook from the front to the back creates a forward facing popcorn, while inserting from the back to front creates a backward facing popcorn.

Reinserting the hook into the first double crochet of the shell, from front to back, creates a forward facing popcorn.

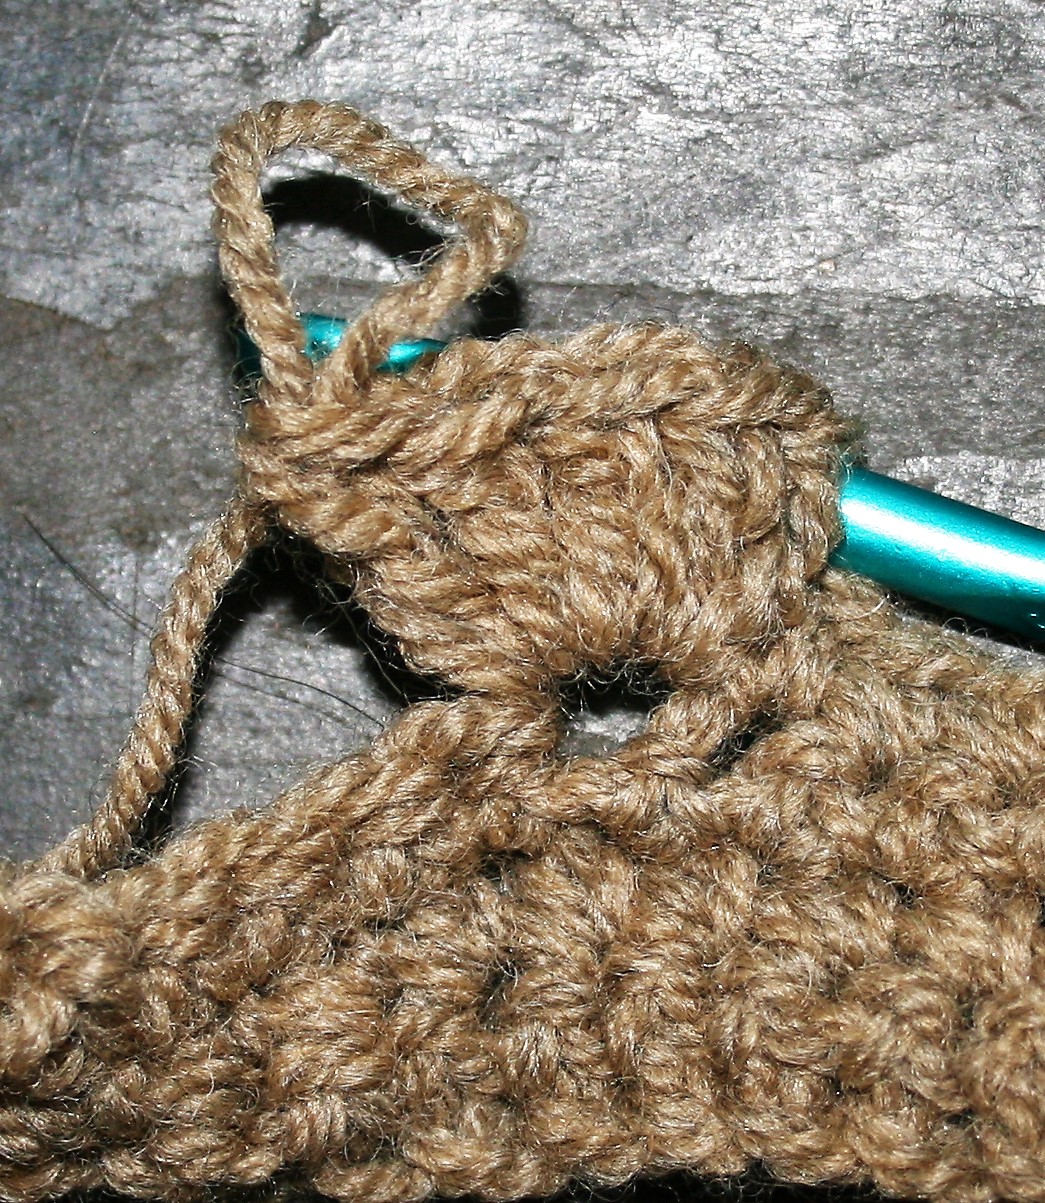
Reinsert the hook in the working loop and pull it through the stitch. This closes the top of the stitch.

Pull the working loop through the stitch to “close” the “shell” and create the popcorn.

Just as the bobble, by creating an odd number of double crochet stitches the popcorn can be more rounded.

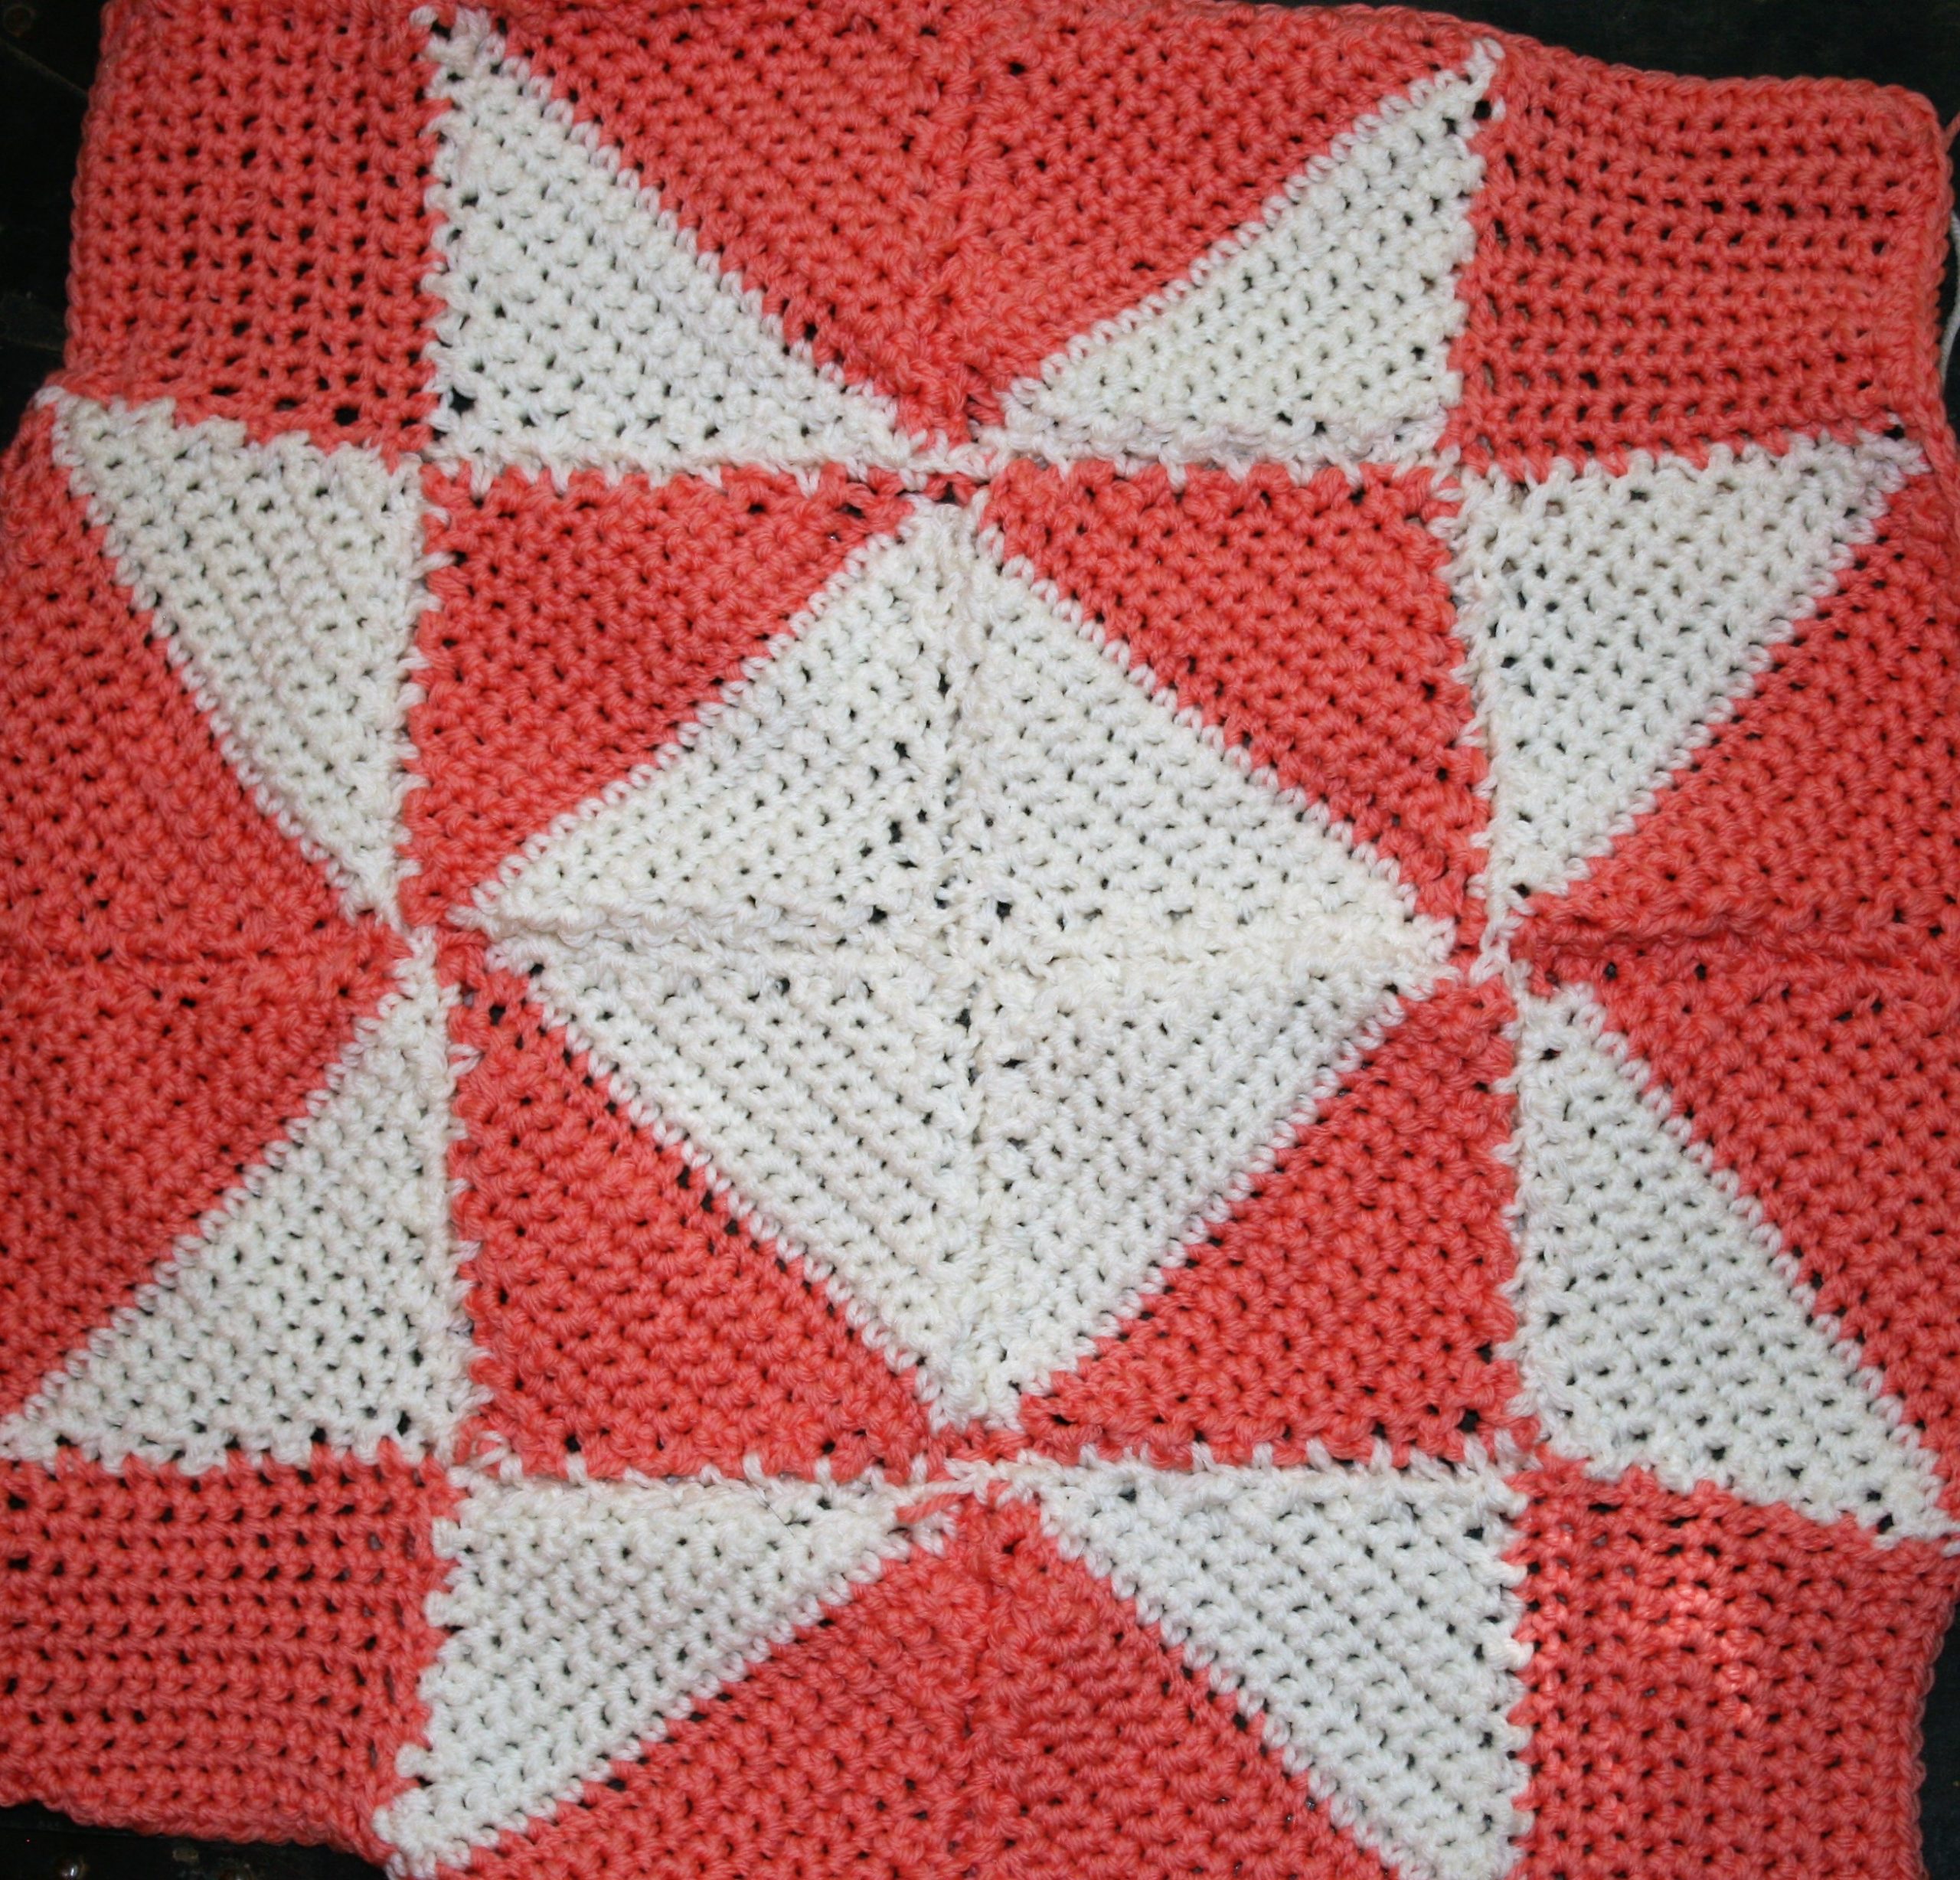
Crochet Puffs, Bobbles, and Popcorns stitches can dress up many projects and can be added just about anywhere on just about anything.

Tunisian Puffs, Bobbles, and Popcorns

Creating Tunisian puffs, bobbles and popcorns is relatively straight forward. They are an easy way to create texture in Tunisian Crochet. These three stitches all stand off the fabric, but vary in size.

Essentially this is an approach of working standard crochet within Tunisian. Working the texture stitches on the forward pass.

Tunisian Texture: Top: Popcorn, middle: Bobble, bottom: Puff

Tunisian Puffs

To work a Tunisian Puff Stitch yarn over, insert the hook into the stitch and yarn over and pull through a loop. This is basically working a yarn over before pulling up the loop of whatever Tunisian stitch you are working. (All the photo samples are worked with Tunisian Simple Stitch). Repeat this same technique multiple times in the same space. The last step is to yarn over and pull through all the loops you have worked in this stitch (including the first yarn over).

(Yarn over, insert hook, yarn over pull up a loop) repeat 3 times, yarn over, pull through 6 loops.
Competed Tunisian Puff Stitch

Tunisian Bobbles

Creating a Tunisian Bobble stitch requires a yarn over, insert hook into stitch, yarn over pull up a loop, yarn over and pull through 2 loop. This is much like many incomplete double crochet stitches. The techniques is repeated until the bobble is the desired size, and completed with a yarn over and pull through of all the partially completed stitches in the Tunisian stitch.

(Yarn over, insert hook, yarn over, pull up a loop, yarn over, pull through 2 loops) repeat 5 times, yarn over and pull through 5 loops
Completed Tunisian Bobble stitch

Check out the traditional crochet Bobble stitch for a comparison.

Tunisian Popcorns

Working a Tunisian Popcorn stitch, as you might expect is like working a traditional crochet Popcorn. However there is a slight difference. Start with a yarn over, and insert the hook into the stitch, yarn over and pull up a loop, yarn over and pull through 2 loops. Repeat this step one more time, then yarn over and pull through the last 3 loops on the hook. (The reason for this is that Tunisian does not typically complete stitches in the forward pass, as such the next adjacent loop on the hook is the loop of the previous stitch). This will complete 2 double crochet stitches together. Work a few more double crochets in this stitch, remove hook from last loop of completed double crochet, insert hook into the top of the 2 double crochets worked together, and pull the loop through.

(Yarn over, insert hook, yarn over, pull up a loop, yarn over pull through 2 loops) 2 times, Yarn over pull through 3 loops, work 3 double crochets in same stitch, remove hook from last loop, insert hook into first completed stitch in this demonstration, pull last loop through.
Completed Tunisian Popcorn Stitch

All return passes are worked the same, and the stitches are all pushed toward the front of the fabric. Notice that the texture lines up with the vertical lines of the Simple stitch in the photos. This helps to easily see where the stitches are located.

It has been one week.

It has been one week. One week since I was awoke by the sound of traffic.

I live in the foothills of the Sierra Nevada Mountains, and the road I live on is a major access for the community of Grizzly Flats. It was one week ago that from the traffic, being too heavy and commuting in the wrong direction, that I knew something was wrong.

I checked news sources and social media outlets, but it was at least 30 minutes until I found confirmation that Grizzly Flats was being evacuated due to fire. By morning I would learn that longtime friends had lost everything in the Caldor fire.

My turn- It has been one week

Only 24 hours later I would receive my own evacuation warning. My family loaded up the pets, packed the “important papers”, loaded up favorite mementos and left home. It is a surreal experience.

We have since returned home, as our notice is actually a “warning”, we are not under a “mandatory” evacuation. However we continue to live in a heightened state. Everything is still packed, and when things need to be used, they are re-packed immediately after. It is kind of like camping at home.

These are the times when you find out what is important. I am surprised at where crochet fit in this for me. Among my packings, I made sure my hooks found a vehicle. However only the yarns that I have current commitments had the same fate. The only completed projects that made the cut were ones that needed photography, as they are near a publication date. I didn’t pack any books, not any of my “specialty yarns”. I didn’t even pack my “specialty” or “collectable” hooks. Just the everyday hooks made the car, and that current projects made it there too.

Maybe it is because crochet is not a “thing” for me. Maybe the process is really what drives me. The movement of my hands, the twisting of the hook, the flow of the yarn between my fingers. Granted times like these make it difficult to be creative and design something new. Yet, crochet does keep my hands busy and my mind focused.

How you can help

As of today the fire has evacuated a physical area nearly half the size of the state of Rhode Island. If you want to assist those evacuated or how have lost everything, here is a site listing ways.

Crochet Quilt Blocks- the Half Square Triangle

Crochet quilt blocks lend themselves to unlimited creativity. These can be great for scrap projects or planned out artistic works.

Below I describe how to create your own simple geographic block, as well as some idea suggestions.

Ohio Star Crochet Quilt Block

In the world of quilting the half square triangle, even using just this block, the possibilities are endless. Essentially it is simply a square that is worked with two colors. It is divided on the diagonal, creating a look of two triangles with the long ends together.

Sizes for crochet quilt blocks

Create your own design, just ensure that these blocks are the same size, or equal fractions of each other. Meaning make big and little blocks. The big block might be 10” then the little squares should be 5” so that they can all be put together equally.

Getting started with your crochet quilt blocks

To begin, create a chain the desired length of the diagonal of the square. This chain should be an odd number. Work a single crochet decrease over the 2nd and 3rd chain (need to know how to work a single decrease, check it out here), single crochet in each chain across until 2 chains are left.   Single crochet decrease over the last 2 chains, then chain 1 and turn.

All subsequent rows of this half of the square are worked the same. Work a single crochet decrease over the first two stitches, single crochet in each stitch across until 2 stitches remain, then work a single crochet decrease over the last two stitches. Repeat this until only 2 stitches remain, and then single crochet decrease these tow stitches together.

Half Square Triangle Crochet Quilt Block

The next side

Using another color and the unused loops of the beginning chain. Work the same stitch technique of decreases on each side of the row.

The block is really just that simple. Now for some ideas. I have found plugging the term “half square triangle quilt” into a search engine, and then selecting the images option, that there is a great abundance of uses.

Ideas for Crochet Quit Block -Half Square Triangles

Some of my favorites are the Ohio Star block, Flock of Geese block, and Pinwheel blocks. The half square triangles that are created can be put together to form these larger blocks, then these blocks can be put together to create pillows, blankets, ponchos, the possibilities are only limited by imagination.

Crochet Picots- 4 Ways

Crochet picots can add a finished style to any fabric, and can be created 4 ways. Four different approaches can result in four different effects.

The Picot stitch is a little “bump” or “nub” that is created to embellish edges of fabrics. I have on occasion used a picot in the middle of a pattern. I have done this as a place to work stitches in subsequent rows. It really helps to center up the stitch location, while creating a very tight point in the design.

Four ways to make a picot L-R: Slip Stitch in front loop and side leg, slip stitch back to front atop stitch, slip stitch front to back atop stitch, slip stitch in first chain

The way that you create chain stitches can actually effect the outcome of the overall picot. I do not go into much detail about Yarn Over and Yarn Under in this post. You can learn more about it here. One of the primary differences is that Yarn Under the chain lays differently. This can cause the stitch to not stand out, resulting in a definite need for blocking.

Crochet Picot- Slip Stitch First Chain

There are many patterns that describe a picot by creating 3 chains and slip stitching in the first chain created. This creates a picot that is more flimsy, in the respect that is moves freer in all directions, than the other approaches. I feel that it is more likely to create a space between the stitch it is worked atop of and the next stitch worked.

Chain 3, slip stitch to first chain created
Picot created by slip stitch in first chain created

Crochet Picot- Slip Stitch Atop Stitch

Some patterns describe a picot as: “chain 3, slip stitch on top of the stitch the chain is worked atop”. I find that by working the slip stitch either from the front or the back can create a bit of a difference. Working a slip stitch from the front of the stitch to the back of the stitch, as is most readily done, twist for me. This doesn’t cause any problems, however I find that working the slip stitch from the back of the stitch to the front (in a completely different method than is traditional) creates a picot that sits more flat and dominate for me.

Chain 3, slip stitch atop stitch below chain (front to back)
Picot created with slip stitch atop stitch (front to back)
Chain 3, slip stitch atop stitch below chain (back to front)
Picot created by slip stitch atop (back to front)

Both of the “slip stitch to the top of the stitch” methods create a sturdy picot that stays in place. I also find that mine tend to recess to one side of the fabric.

Crochet Picot- Front Loop and Side Leg

The last approach to a picot is the method worked in the Crochet Guild of America’s Master Program. It results in a stable and readily repeatable picot that does not lead to any stitch distortion. This approach is uses a chain 3 and a slip stitch, inserting the hook through the front loop of the stitch that the chain is worked atop as well as the side of the “leg” of the stitch. I find the movement of creating this stitch to be a downward motion as I pick up the front loop, and a slight angle to catch the side of the leg that is away from all other stitches.

Chain 3, slip stitch through front loop and side leg of stitch below chain
Picot created through front loop and side leg

I find this approach to sit more in line with the fabric, from all angles, while being study.

Honestly, this last approach is often my go to, yet it can be more confusing written in patterns, so the picot stitch is often described as “in the first chain” or “atop the same stitch”. Just know that there is usually no reason that you cannot substitute the approaches to the picot stitch with one that you prefer instead. Give each approach a try and see what works best for you.