Creating Love Knots

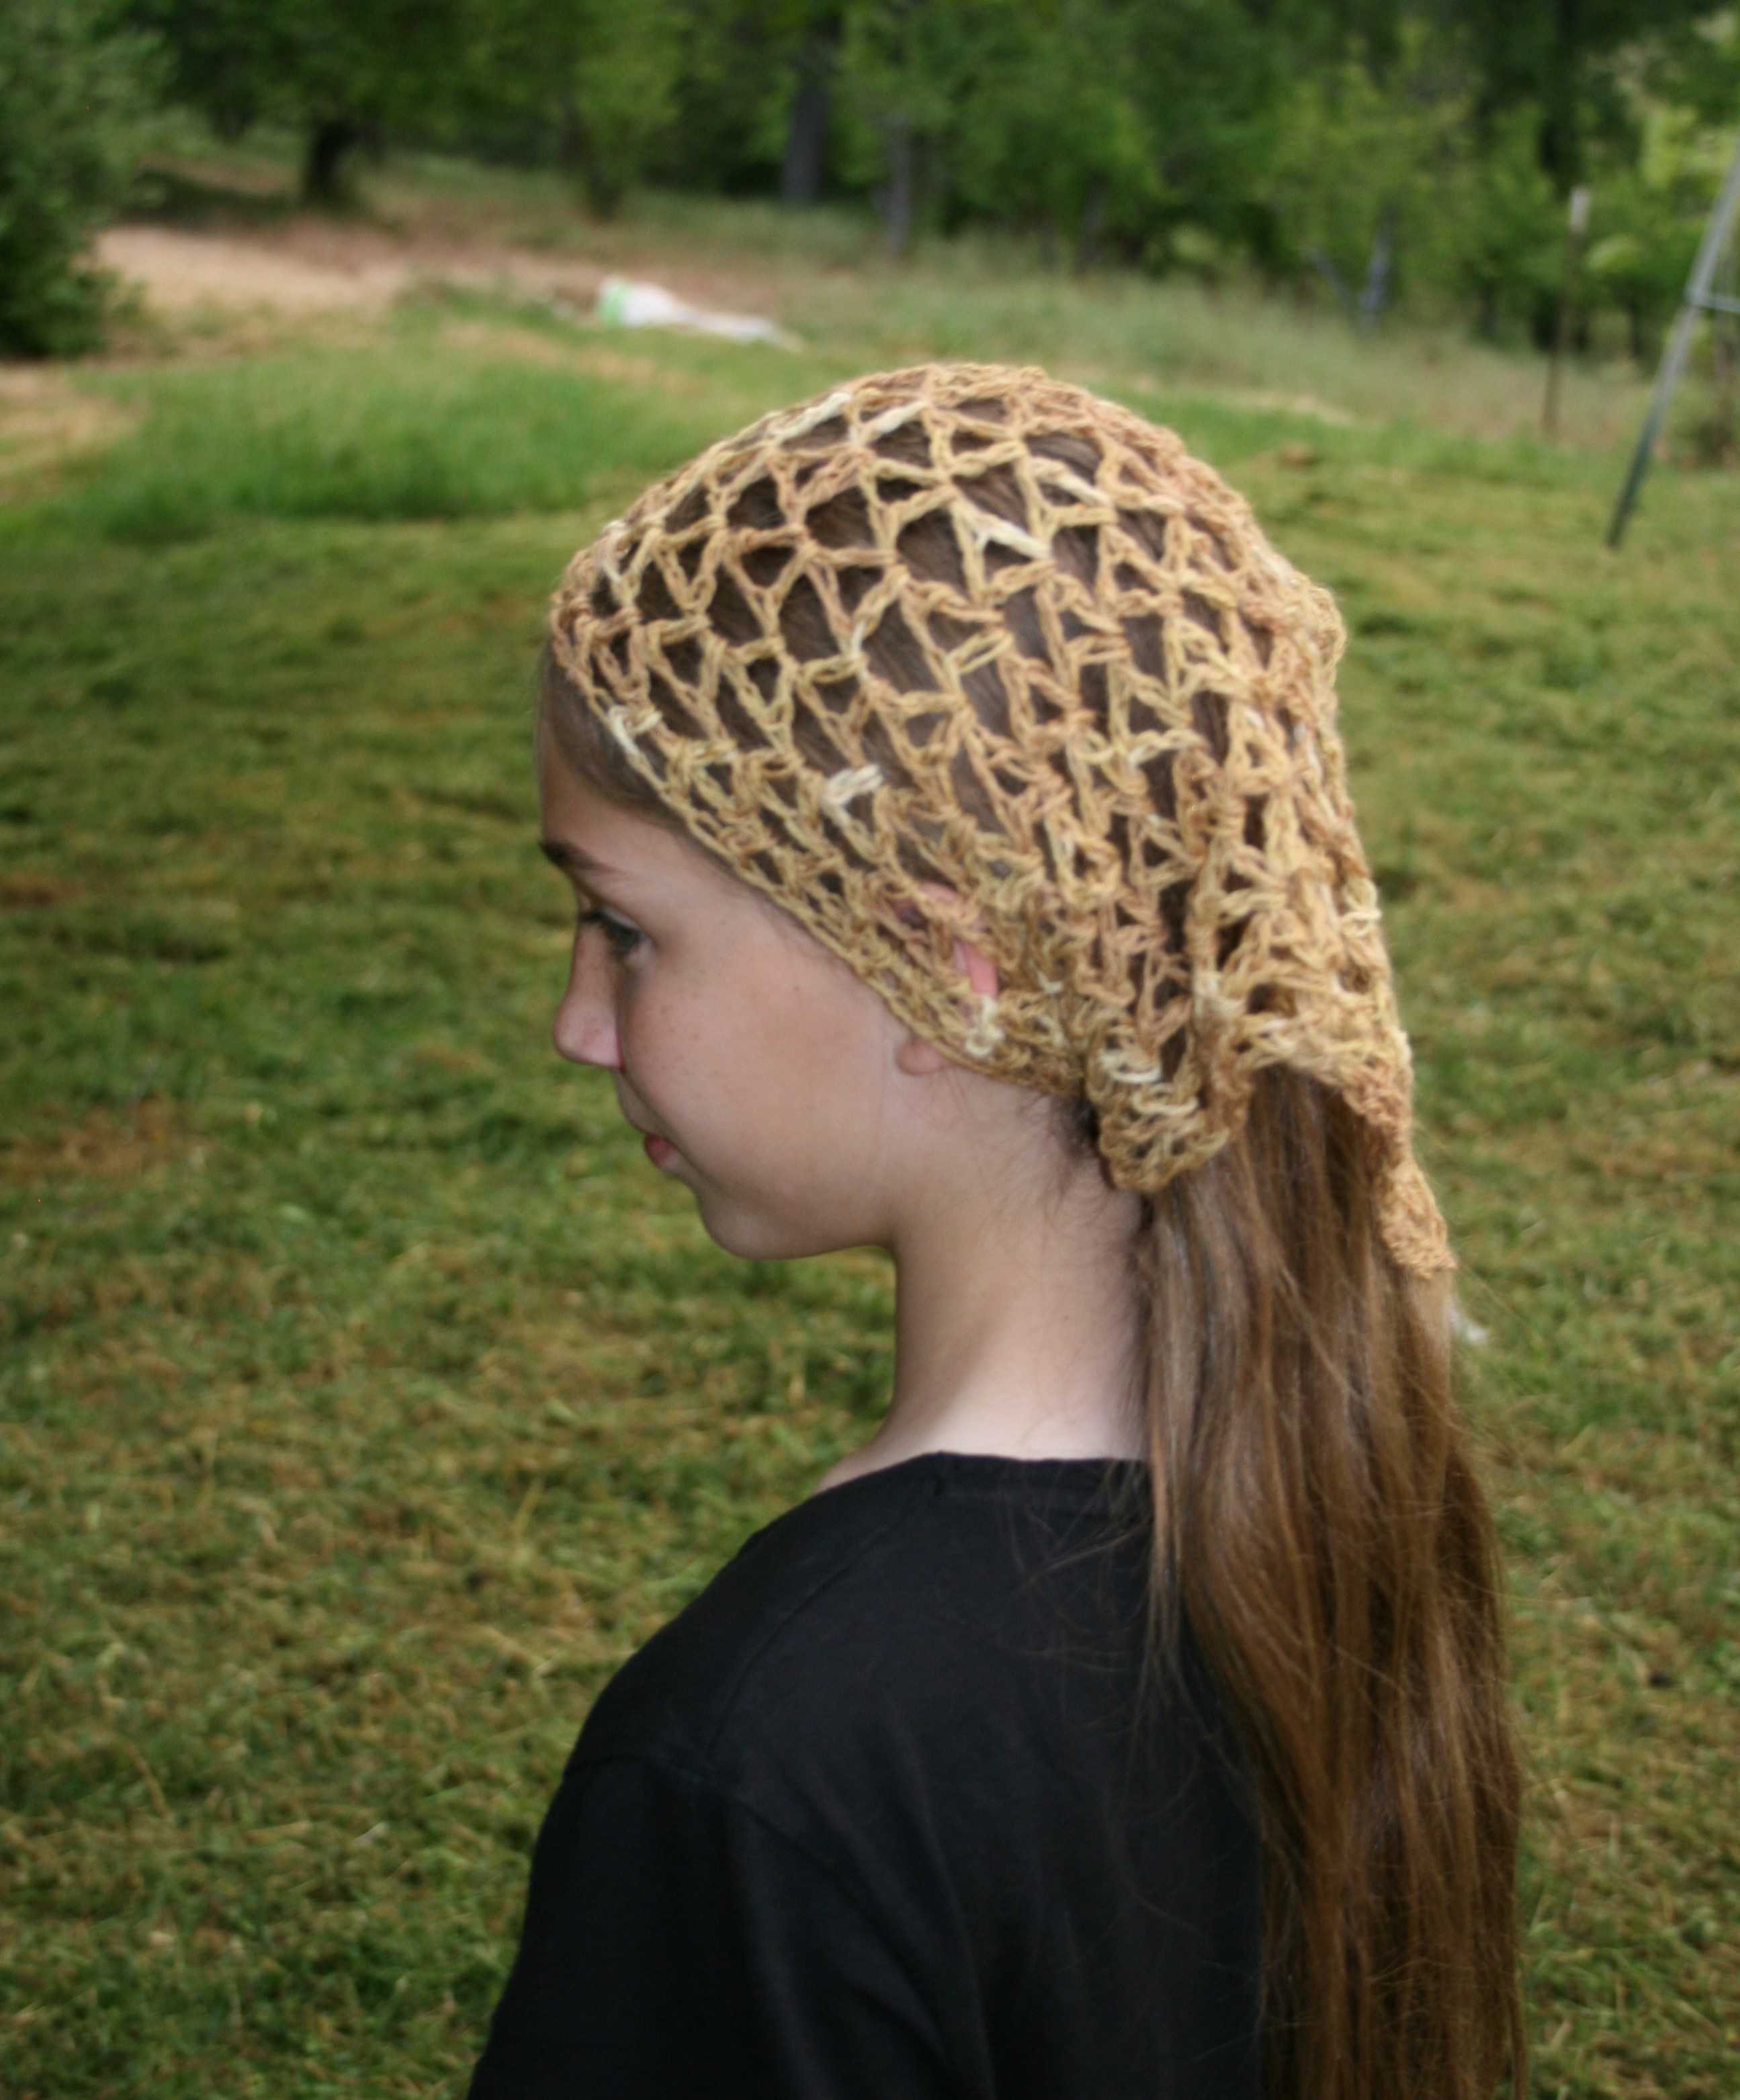
As summer approaches my design mind begins to drift toward stitches that are light and airy. With the change of season coming upon my region I have found myself playing with a classic crochet stitch referred to as a Love Knot (it is also recognized as a Solomon Knot).

This is a really airy stitch that highlights yarn in a very unique way. Yarn really has an opportunity to show its true nature be it springy or limp, squishy or firm, heavy or light. One of the things I really love about this stitch is how it really allows you to “stretch” the usage of the yarn, it is really easy to create an entire wrap (of a substantial size) with a mere 400 yards of light weight yarn. It feels like the yarn could go on forever.

Working the stitch might at first seem a bit cumbersome, but really you are essentially securing loose chain stitches.

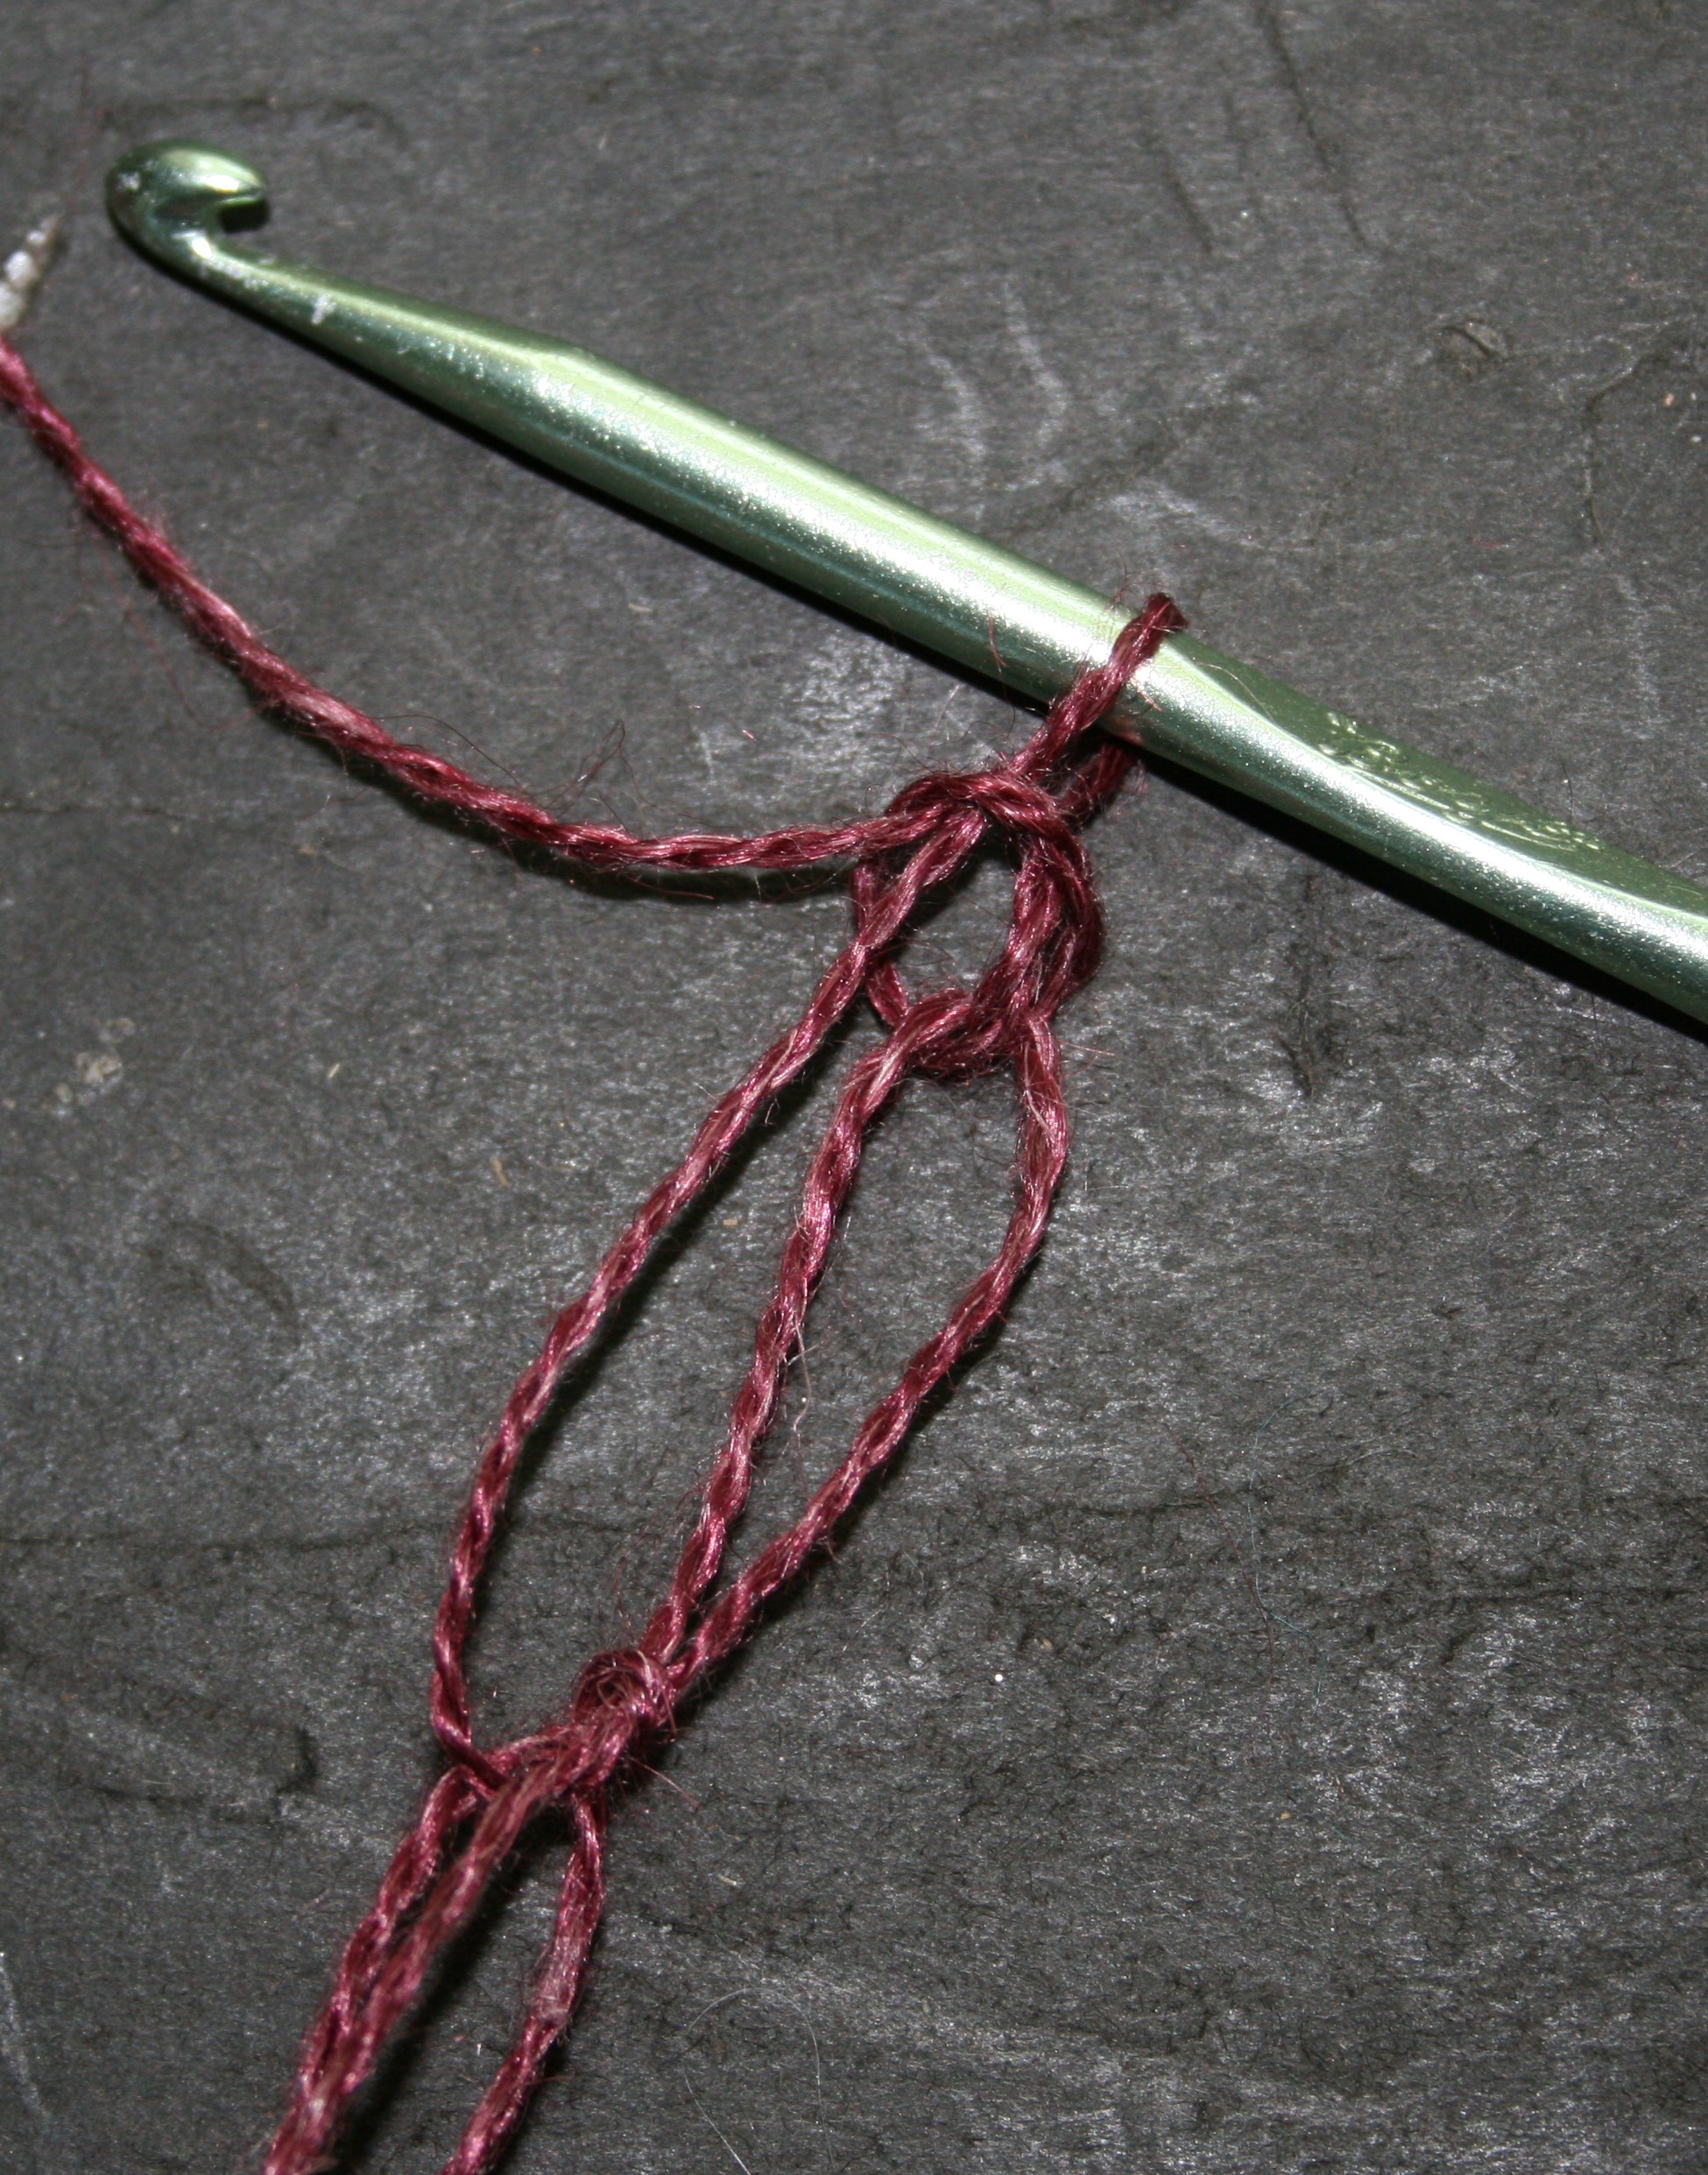
To create a Love or Solomon’s Knot you simply pull a loop through the stitch you have just completed, pull it up to a height you feel comfortable with repeating, I find I usually pull up a loop of about 1” (2.5cm) in height. Now yarn over and pull through the loop, just as if creating a chain stitch, I try to pinch the base of the “pull through” so that I can distinguish the yarn being pulled through the loop.

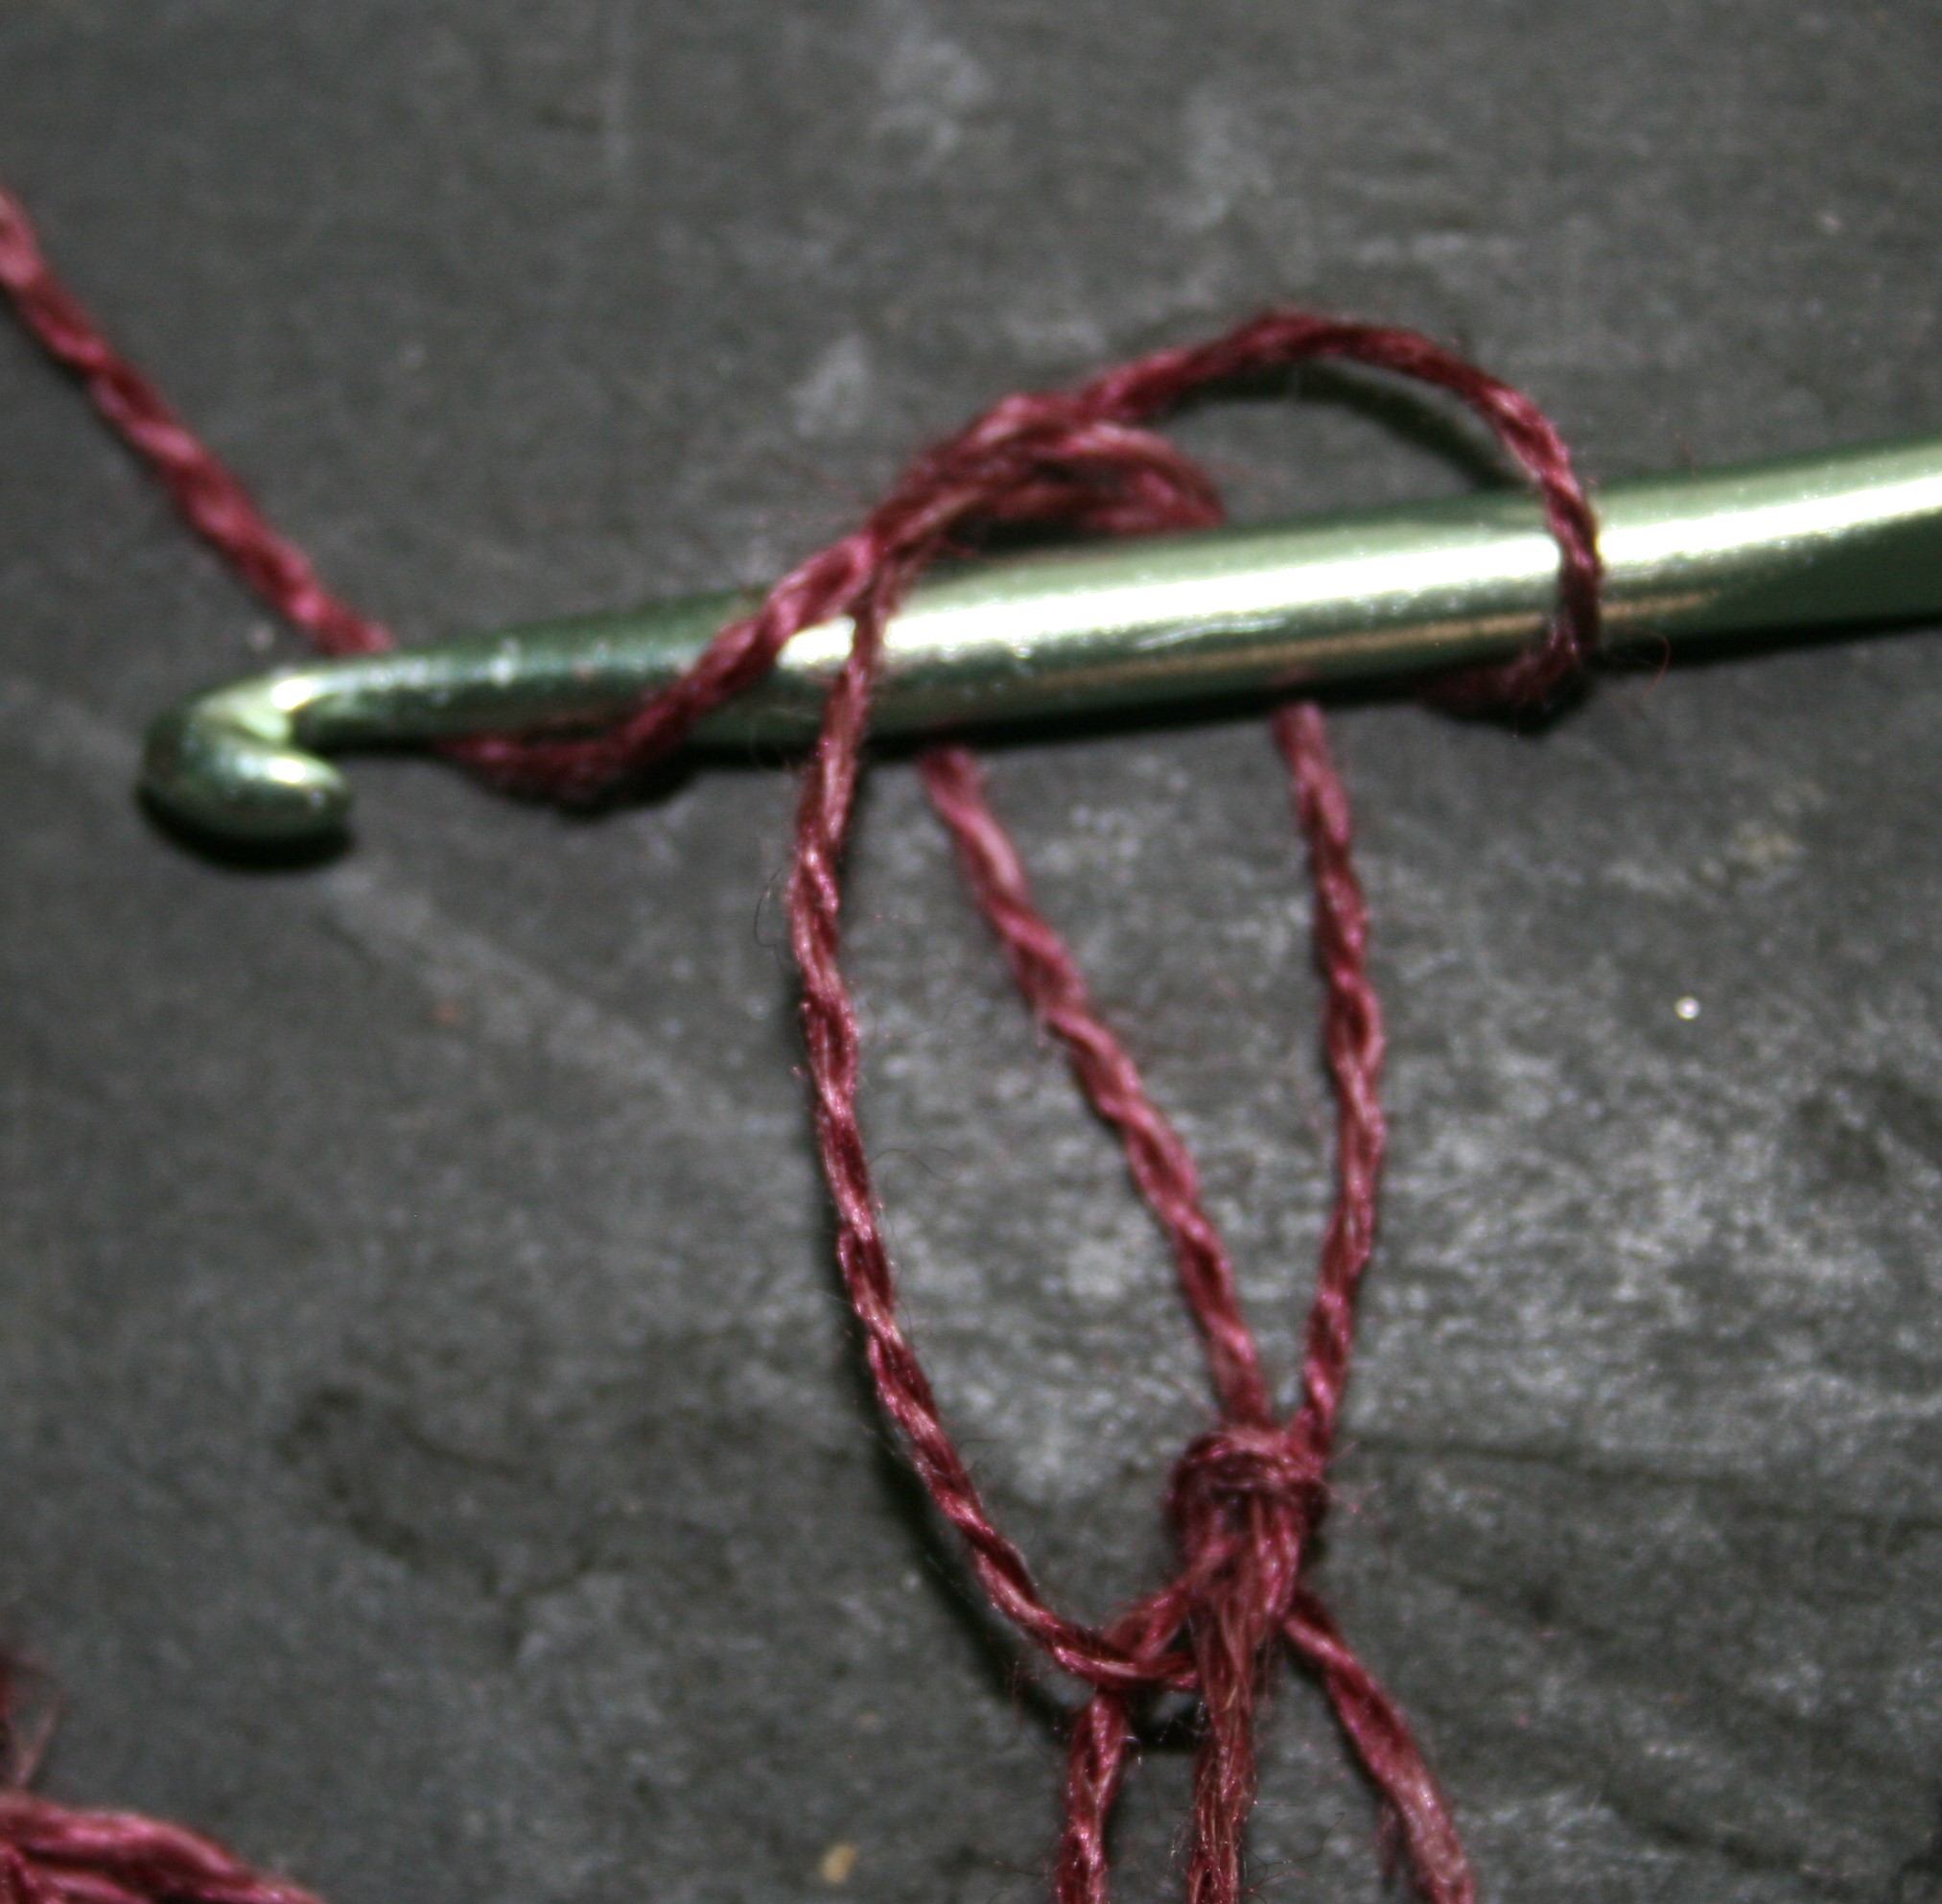
You then insert your hook between the “loop” and the “Pull Through”, yarn over and pull through a loop, you now have 2 loops on your hook. Yarn over and pull through both loops. This process is essentially creating a single crochet (a double crochet in UK) in the space between the “loop” and “pull through” of the long chain. This completes the stitch.

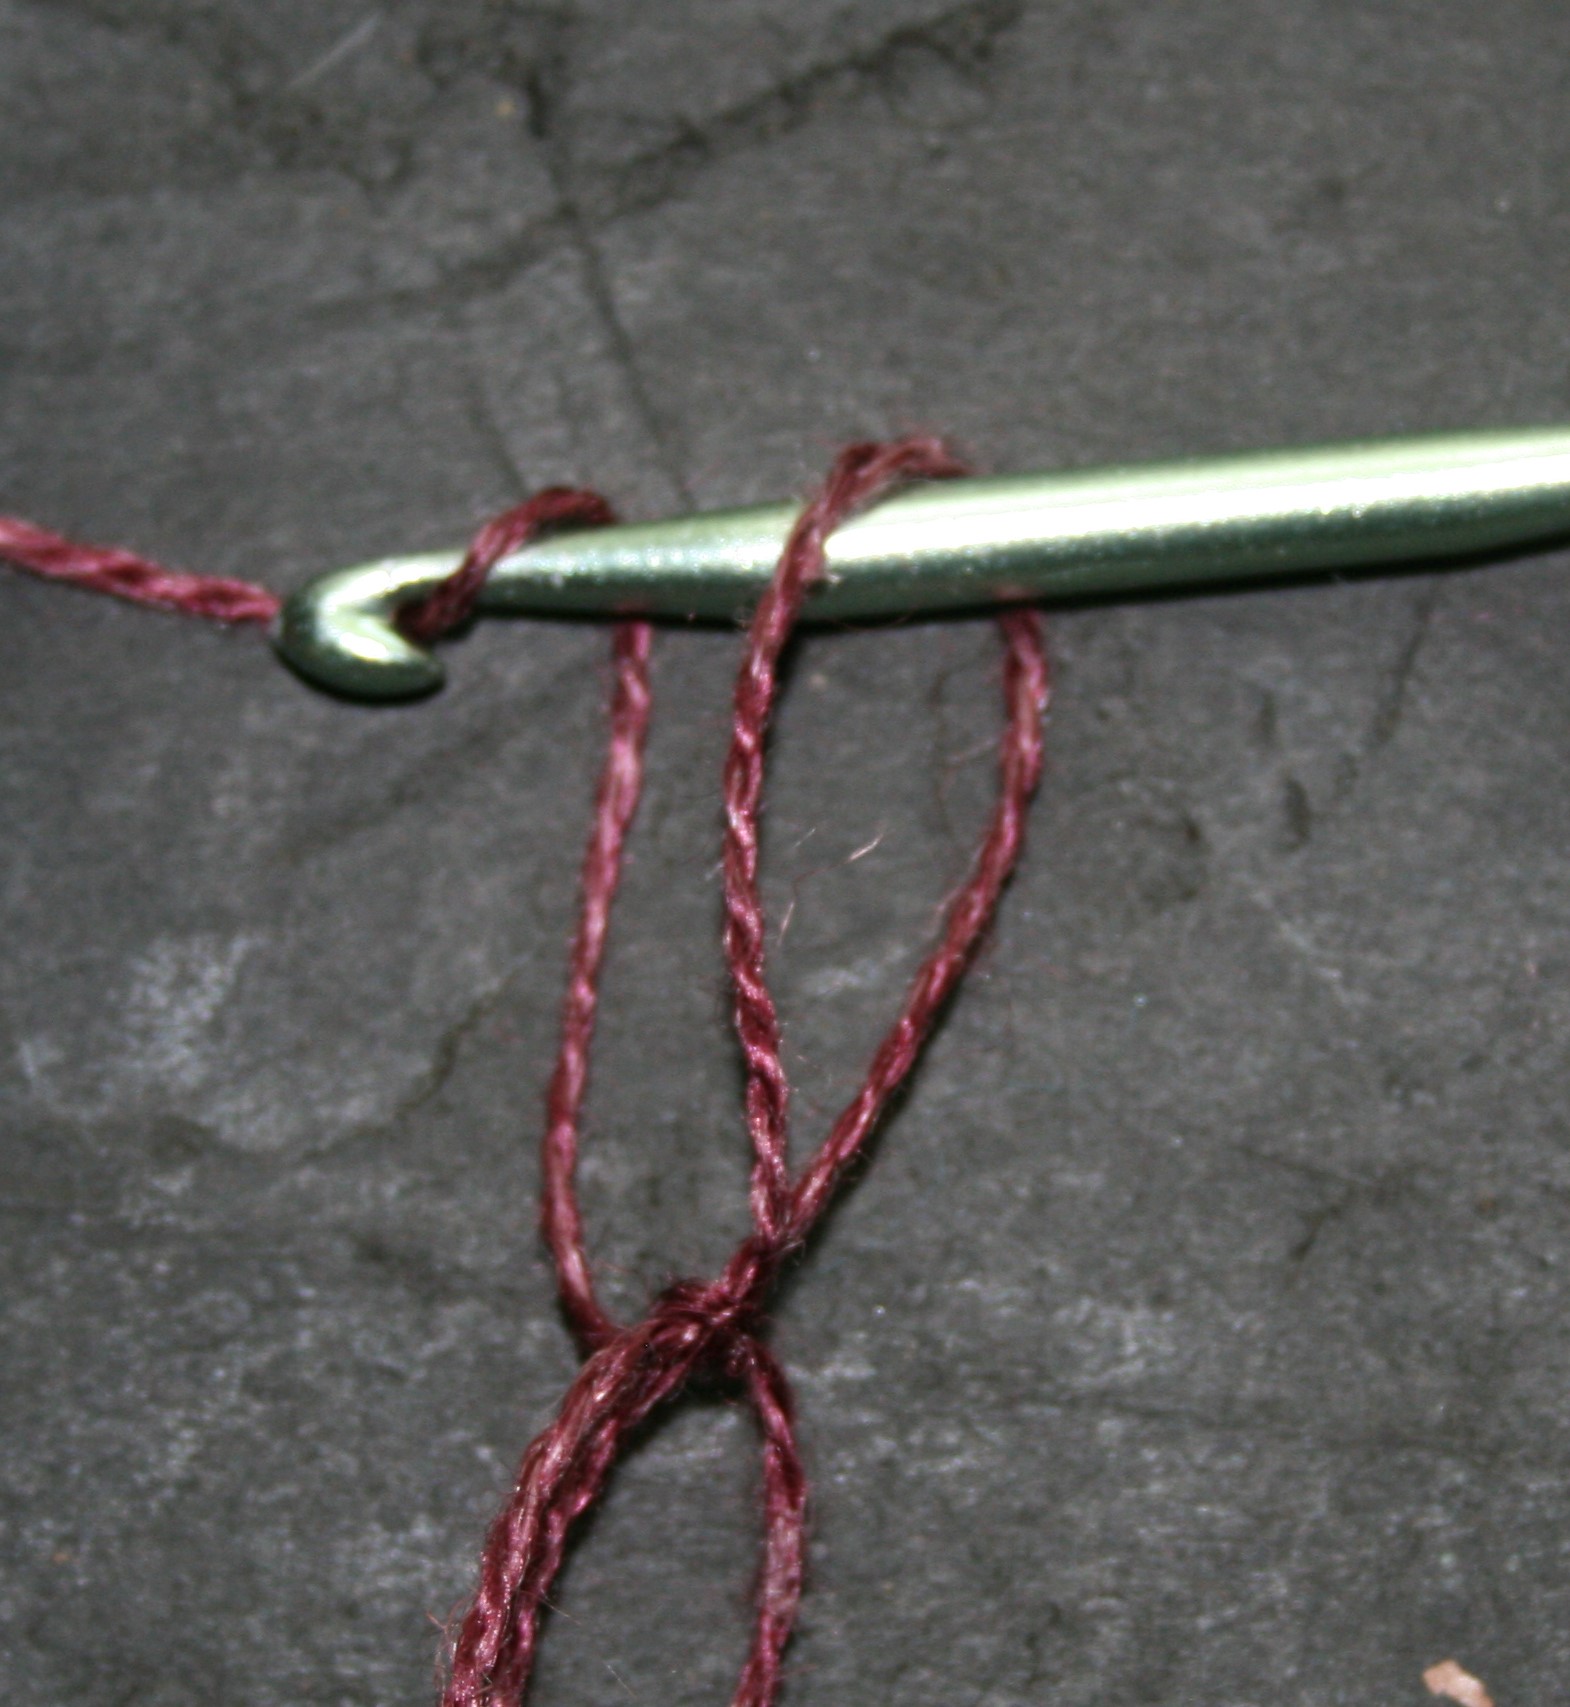
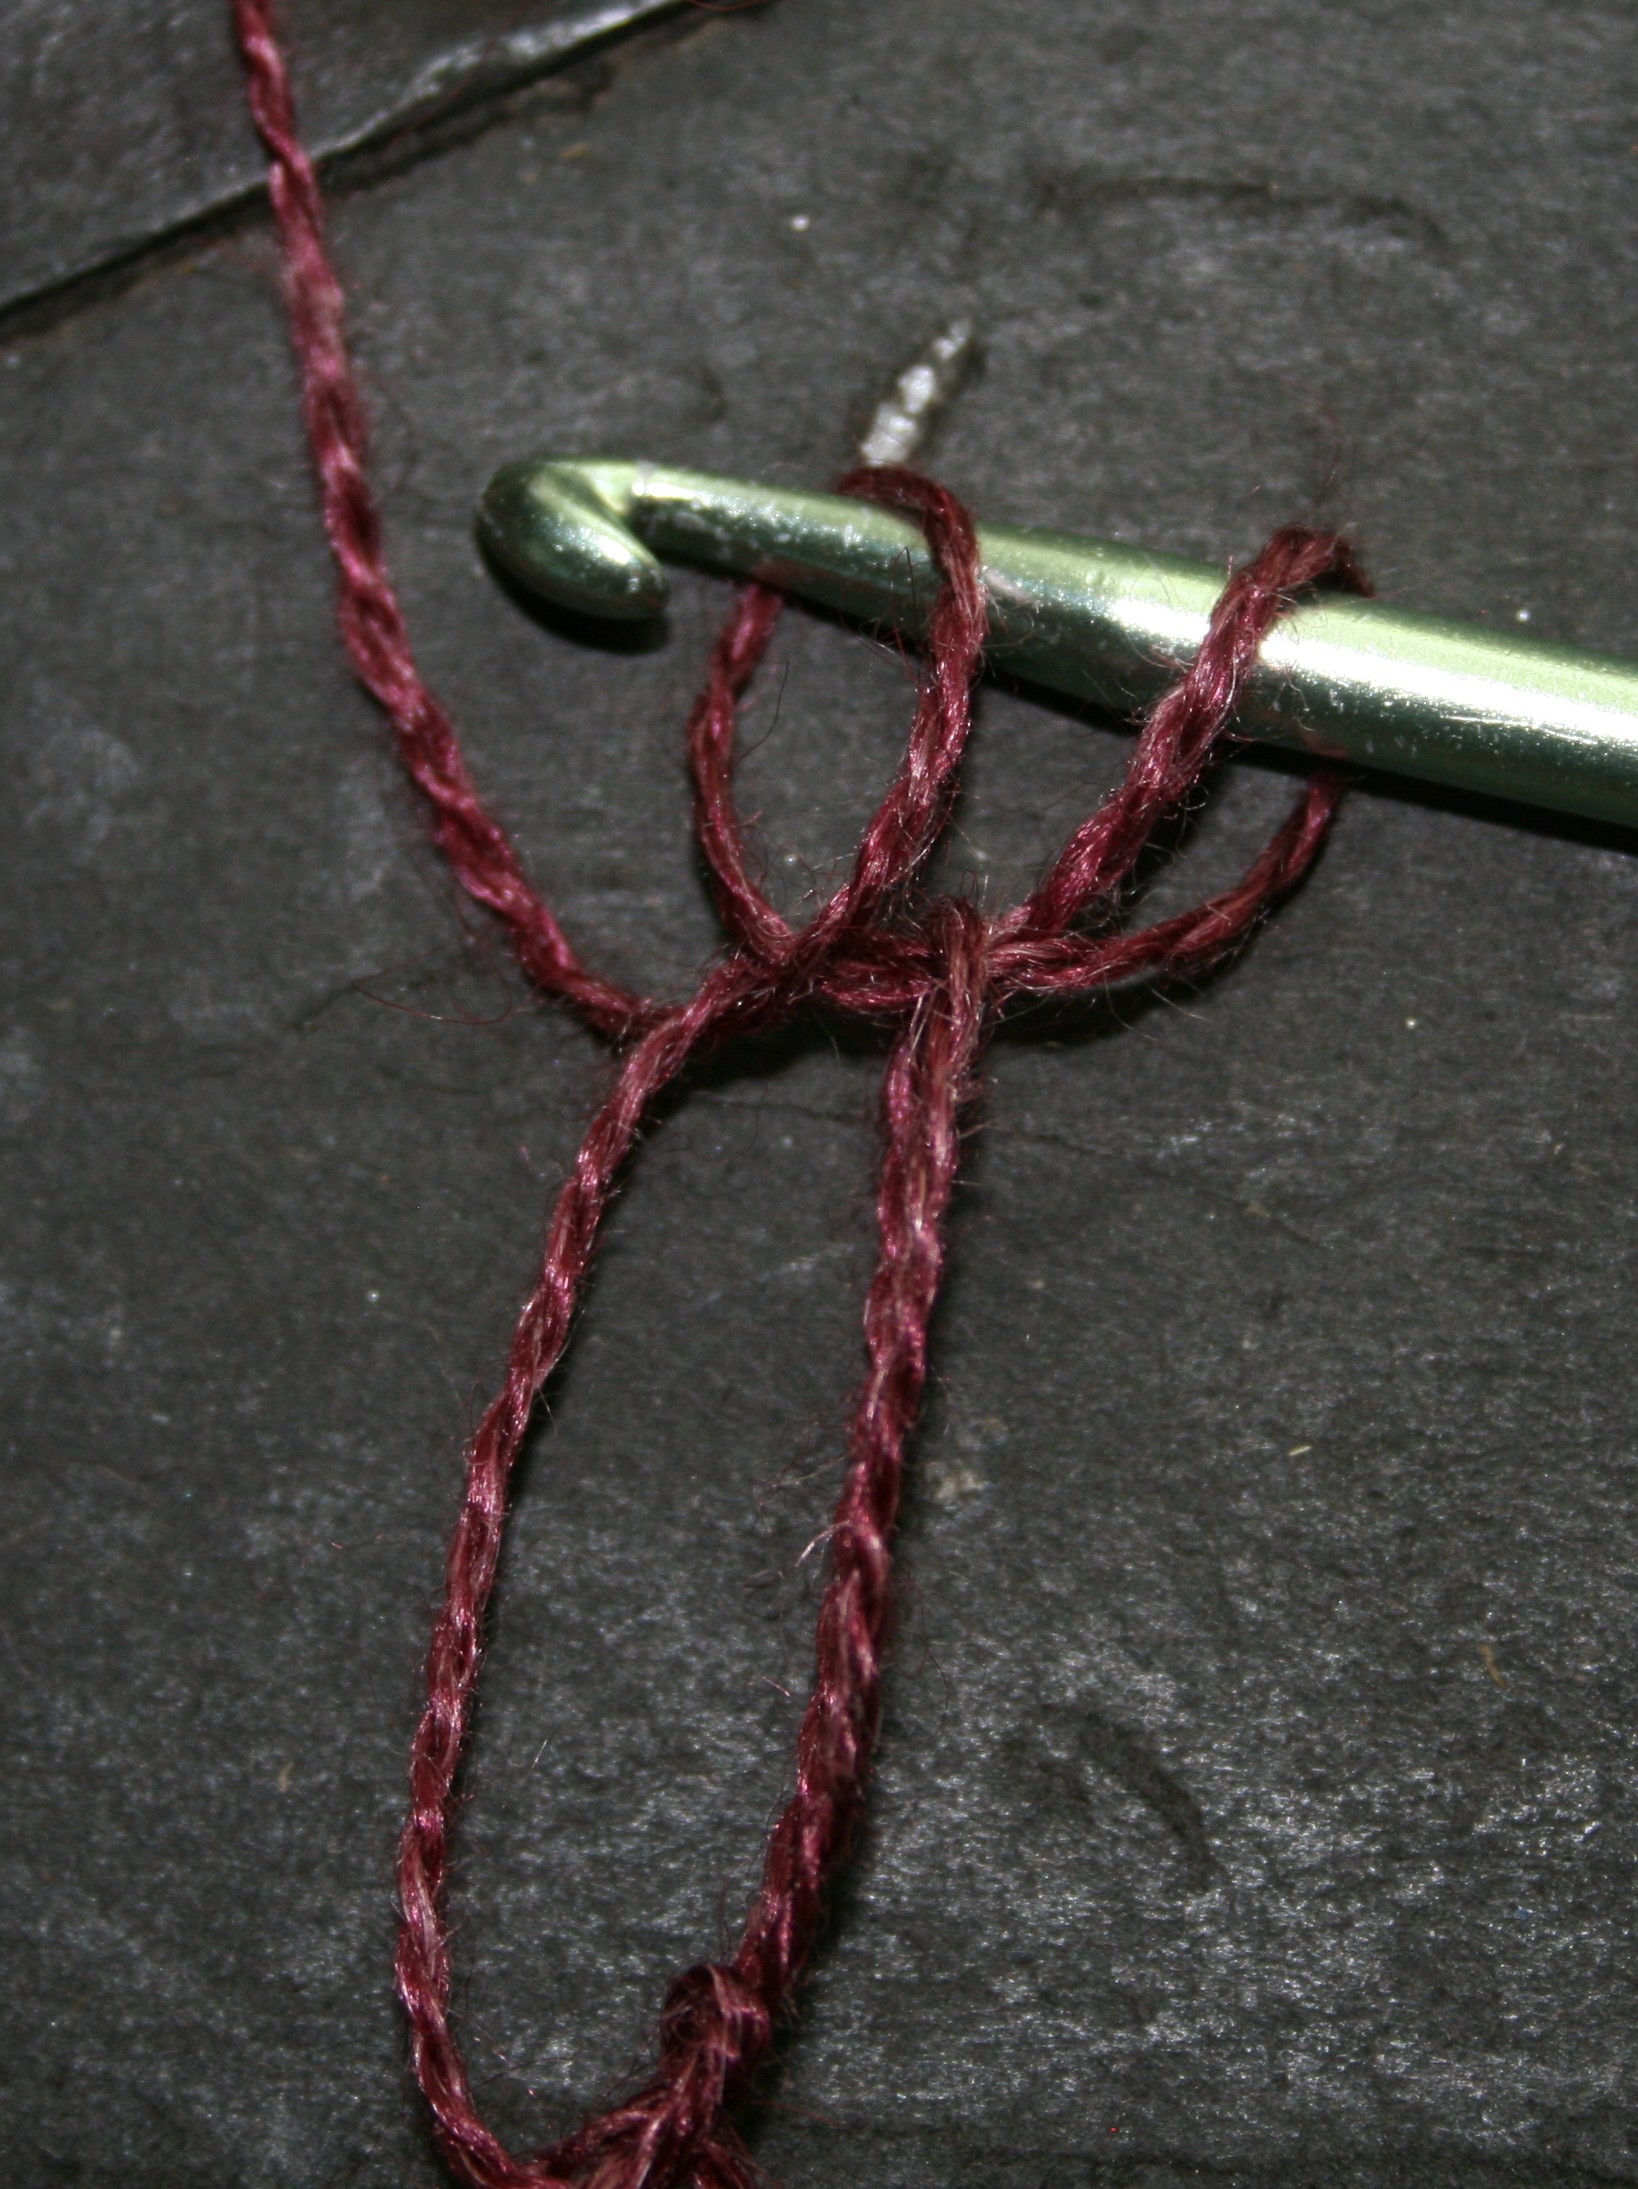
You repeat the process of these long chains with single crochets worked between the loop and pull through for as long as you want to work this stitch. This process creates a long chain, so create a fabric you have to work these stitches over themselves.

To work into a second row of the Love or Solomon Knot, after a knot is created, a stitch (a single (UK double) crochet is most common, but any stitch can really be worked) is then worked into the closing “single crochet” of another knot. Various patterns offer different approaches of when and what stitch to work into, but this is the basic process.

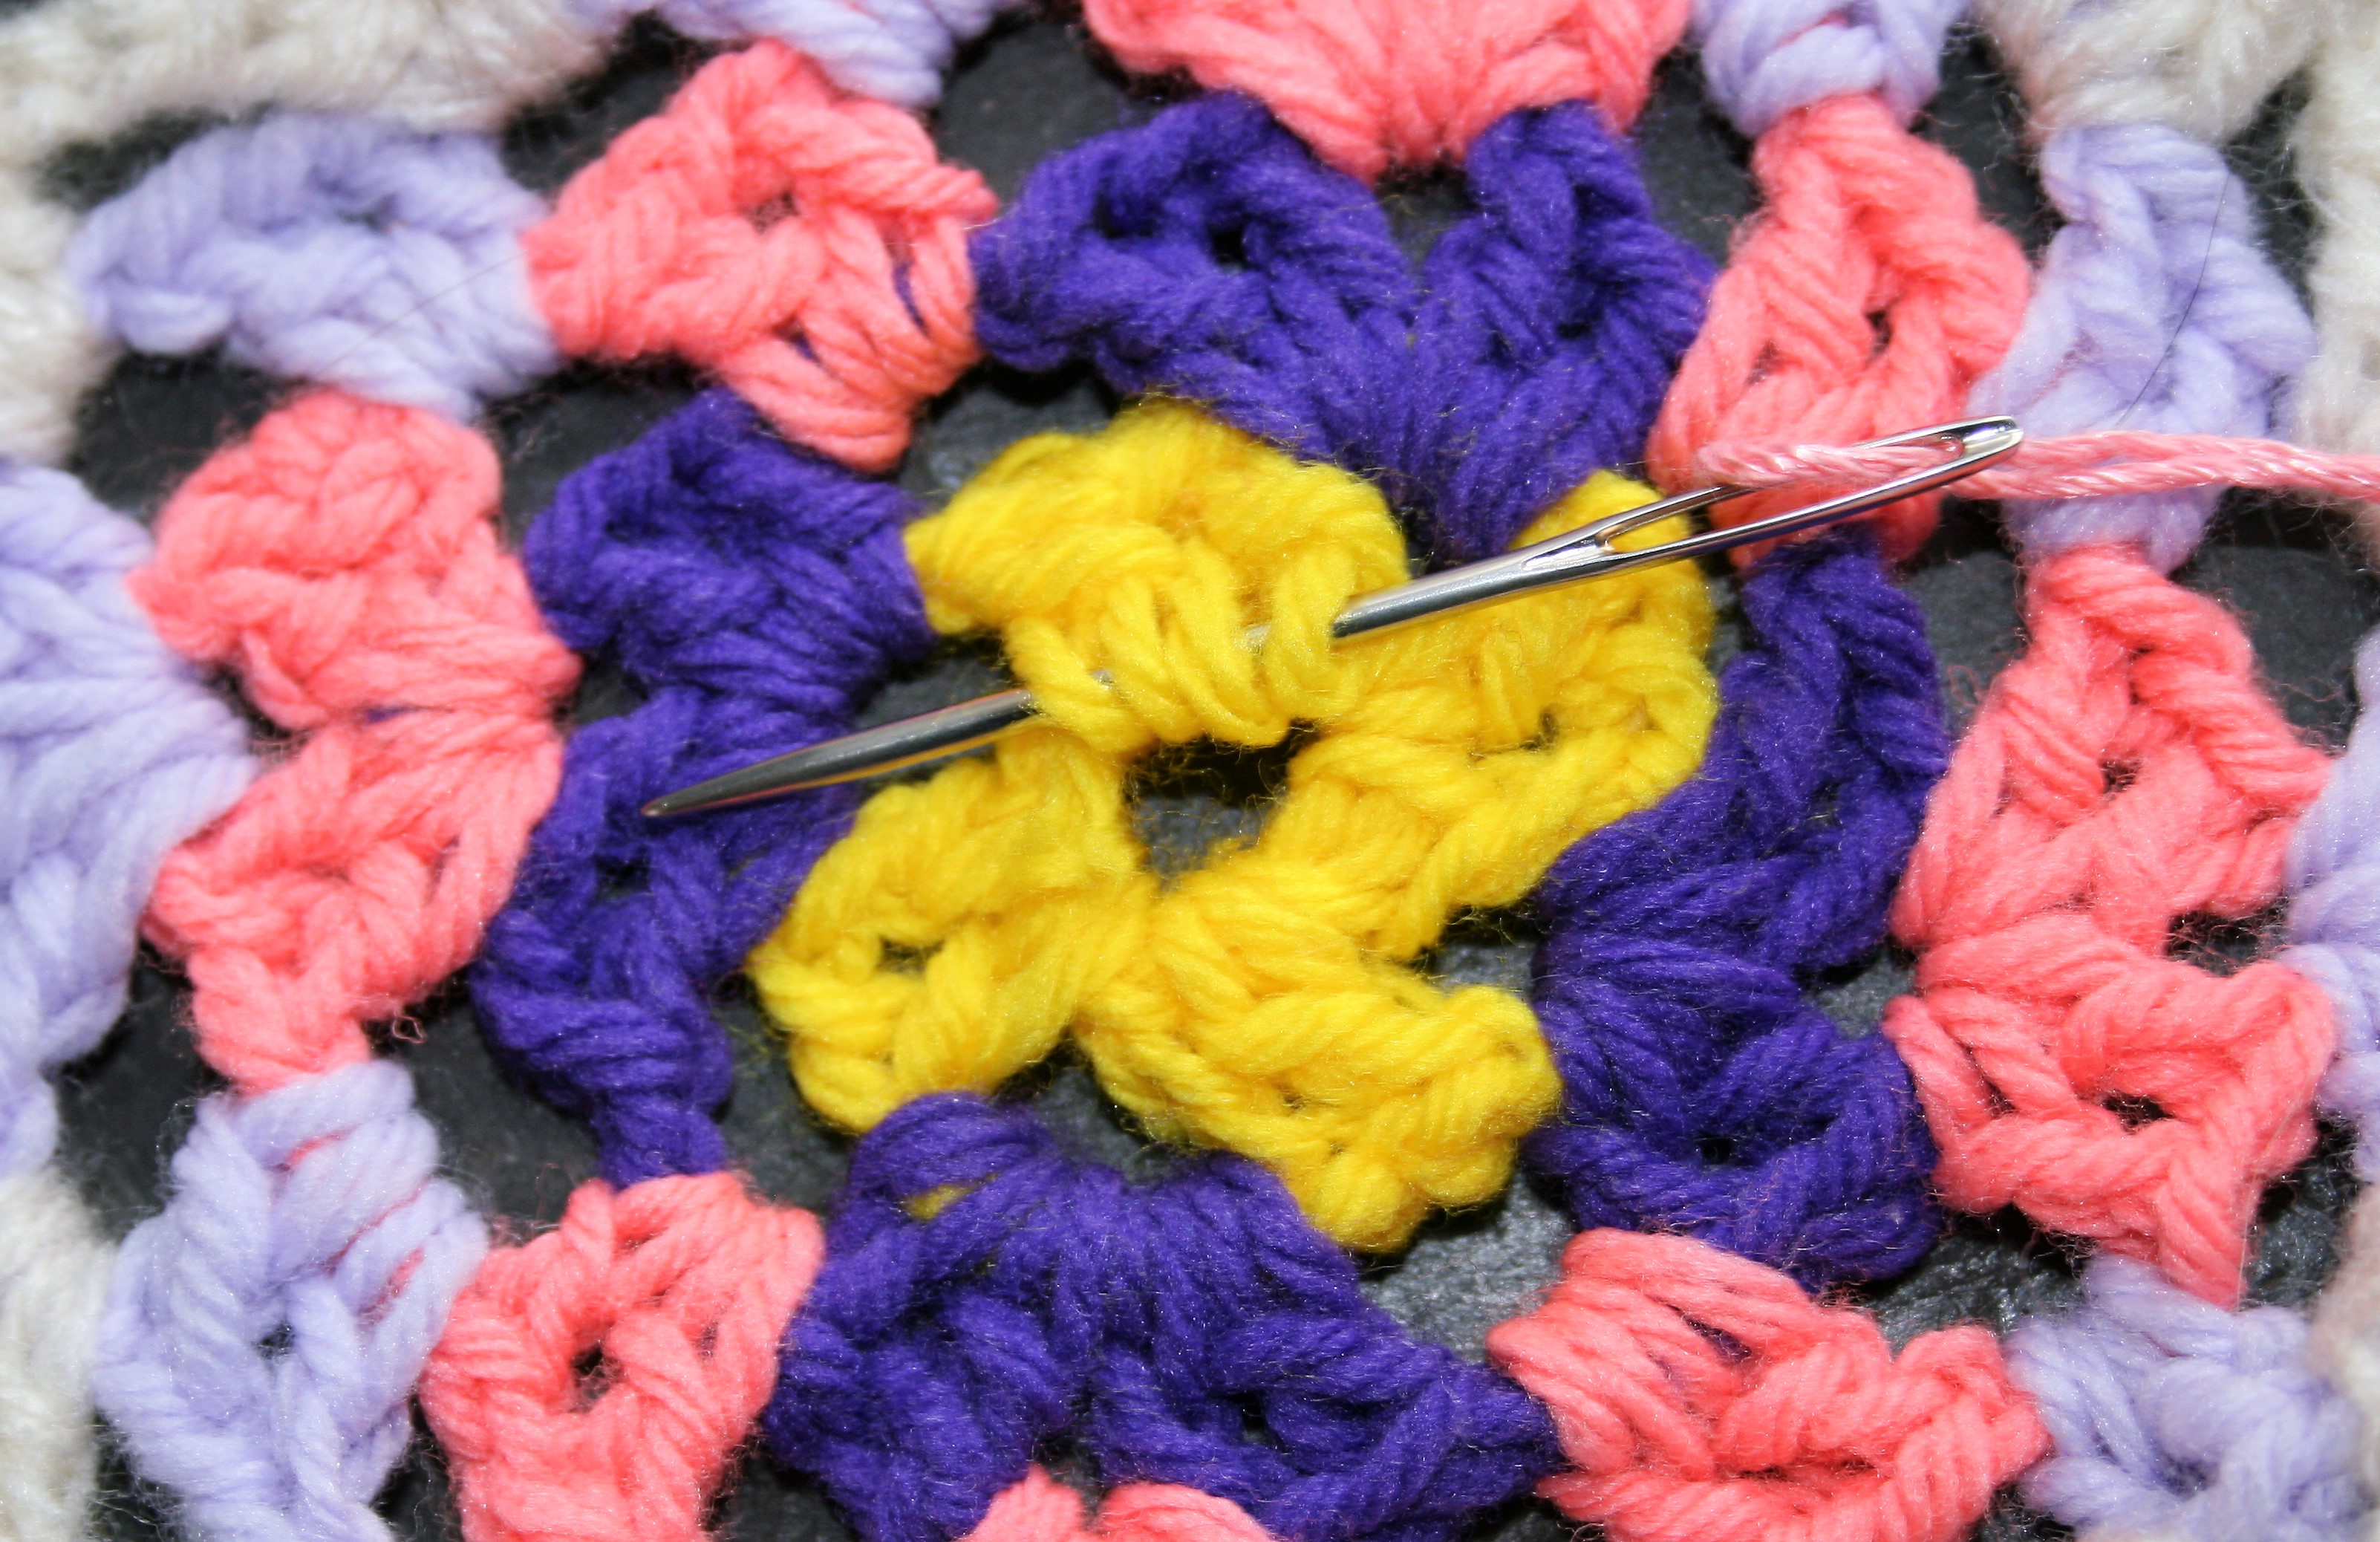
I find myself playing with technique lately, hoping to share something with you soon.


Life’s Journey- A Crochet Job

As I attend several graduations I ponder my days of completing high school and where I thought my life would go, and if someone told me that I would be designing and teaching crochet I seriously would have laughed at them. I even remember telling a friend my senior year of high school, after he was in awe of an afghan I had created that I should make and sell them for a living, that there was no money in such an endeavor.

Granted all these years later, I will not say that the money in crochet is great, but it is now my profession, even if it took an odd journey to get there.

Like most students graduating high school, or even college, I was never able to answer the question “where do you see yourself in five years?”. A great question, but one that always felt like I could not adequately answer.

I worked the food industry, I worked retail, I worked for startup companies and local government before finding myself currently in crochet. In reality I would probably still be working local government if there was not a change in the direction of the management that no longer wanted to employ part time workers. I had been working part time for a few years juggling the typical family demands of running a household and raising kids, and the costs that I would incur in the additional child care did not justify working full time.

When these management decision were made, I was fortunate to have already had an opportunity to sell my first crochet design. It began just a couple of years earlier, when I was attending an event with a silent auction and I won lessons on using a drop spindle.

I had already been crocheting for decades, but due to the speed of completing my projects I was wanting to find a way to enjoy the process longer, so learning how to make yarn on a drop spindle was an exciting adventure. During the lessons my instructor was telling me all about her local guild, and invited me to attend a meeting.

I admit I was a bit apprehensive, but after finally taking her up on her invitation, I met so many interesting people that fostered a new desire to learn and grow in all crafts related to fiber.

I then learned of the Crochet Guild of America, and that it had a Masters program. I decided to test my skills in this program, of which I graduated. I was then invited to attend the annual conference of this organization, with the encouragement of my family I attended. I met so many people and gained so much insight. With a determined new friend’s guidance I sold my first design, it was published the same week I left my job in government.

You never really know when life can completely change, you never know when a skill you used as a child will now become your income source. I do not know “where I will be in five years”, but I will continue to support the twists on turns of life’s journey.

Free Hair Scarf Pattern- Perfect for Spring!

Spring weather has really descended upon my home, and with it the need for fun and whimsical attire and free patterns. In addition to wanting to spice up my wardrobe, I have a bit of the spring cleaning bug. In undertaking my cleaning projects I find myself being distracted by small piles of yarn, left over partials of skeins.

In order to kill two birds with one stone, I have some up with a simple project to help my daughter up her hair back, and have a retro vibe, a hair scarf.

The hair scarf is worked from the back point and worked with increases on both sides until it is the desired length.

The airy stitch offers a lot of potential that can easily change the drape by changing fiber types. My sample is made up of a blend of Suri Alpaca, Wool, and Nylon, but changing to a cotton blend or a silk and the drape will be even greater.

If you have a bit of partial skeins around, and want to create a change for spring, check out my free pattern below.

Retro Hair Scarf

Materials:

  • About 100 yards of light weight yarn
  • Size I/9/5.5mm size hook

Gauge is not import for this project

Special Stitches

Beginning V Stitch (Beg V st): Ch 4, dc in same stitch

V Stitch (V st): (dc, ch 1, dc) in same space

Abbreviations:

Bet = between

Ch = chain

Dc = double crochet

Rep = repeat

Sk = skip

Sp(s) = space(s)

Row 1: Ch 5, dc in first ch, turn.

Row 2: Beg V st, sk 1 ch, V st in next ch, turn.

Row 3: Beg V st, V st bet Beg V and V st, sk 1 ch, V st in next ch, turn.

Row 4: Beg V st, V st bet each V st across, sk 1 ch, V st in next ch, turn.

Row 5-23: Rep Row 4. Fasten off. Weave in ends, block.


Relax with Pink Lemonade

My latest design! Aim to Squeeze Pink Lemonade Blanket is a great baby throw that just screams summer. Find it in the June 2018 issue of I Like Crochet.

It is worked as a half circle and then is squared up, to highlight a half of a pink lemon slice. I will admit, I really did not know that there were such things as pink lemons, not until I undertook this project. The colors are fabulous together, highlighting a yellow rind, sandwiched between blur and pink, then accented the white.

This is a fun project that keeps you engaged, while still allowing you to enjoy yourself. Working the half circle creates all of the lemon segments, you then add the peel and begin to square it up with the blue back ground. You then work the rind between the segments and sit back and relax with a glass of lemonade.

The yarn is Baby Soft by Lion Brand, so it is easy to find, and the colors always go so well together. It is soft and nice to work with.

If lemons are not your thing, I could easily see this as an orange, a grapefruit, lemon or lime. Any citrus can be worked into this design, making it a bit versatile.

I really like the large size of the half slice, as it really encompasses most of the dimensions of the throw. This really offers great visual interest, and makes for a very appealing addition to your home, or kids room.

This is noted as a kids blanket, but personally I like it myself as a nice lap afghan, it is a nice size and helps just take the chill off, or when I am on my patio it helps block the sun without being to hot.

I had a fun time with this project, and I hope you will too.

Crochet Disintegration- Knowing the Points

In all my crochet repairs I have learned some simple truths…there are points of crochet stitches that are more likely to break, disintegrate, or fail. Granted this is only understanding a “natural” break after wear or use, not the type of repairs that occur after the puppy finds a new toy in grandma’s afghan. Understanding where these points of natural breaks occur are really help in making repairs, and it also helps me understand how my stitches work together in the final fabric.

Fixing Disintegrating crochet stitchesIf you think of your crochet fabric as the construction of a building it is much easy to see that there are some points that are “load bearing” and where future repairs might need to happen. These “load bearing” points usually happen in a place that stitches are worked into. For example, the center of a motif is a classic area for a structural fail. Working multiple stitches in this one point puts a strain on the yarn, especially when the stitches are worked only over 1 strand of yarn.

Working in one loop, either front or back loops, of a stitch also is a point of stress on the yarn. This one strand of yarn is bearing all the stress of any tugs or pulls, and depending upon the composition of the yarn, or the twist of the ply on the yarn, some fibers do not handle this stress as well as others.

If you encounter these points of stress beginning to fail in your fabric, there are some simple ways to make the repair.

The first step if to thread a yarn needle and catch all the loose loops from the base of the stitches that affected.

After securing these loops, the next task depends upon the stitch that has failed. If it is a center of a motif, one can usually thread yarn around the join or center of the motif, working under all the stitches in the center and essentially creating a new center loop, and secure this new loop.

If it is the top of another stitch that has failed, well this become a bit more of an operation. Dependent upon how damaged the stitch is, you may need to remove the stitch and re-stitch it, or simply catch its loose loops and using a threaded yarn needle “sew” in the manner of which the yarn would be pulled through if being stitched. This process takes a bit more confidence, and maybe some practice, but you can save history with a bit of patience.

The best tip I can share for fixing the disintegration points, is not to attempt to work everything in one sitting. I find that I can only work for about 15 minutes at a time, as it is such focused work. Do not feel that it is a quick undertaking. Be patient, and it will come.