Cotton Classic- a Little Different than “Traditional”

Some yarns always inspire me, some always tell me what they want to be, others, well maybe not so much. Cotton Classic by Tahki Stacy Charles is one of the former, it can always find a design in my mind.

Cotton Classic is 100& Mercerised Cotton and this sometimes causes people to pause. The term cotton is generally understood, it had a great marketing campaign throughout the 1980’s about how it is a naturally grown product that lets the fabric breath. Cotton also is stronger when wet, has limited stretch, and many think of it shrinking when first washed. This first wash shrinking, is not like felting of wool, this is essentially because cotton, being a short in length fiber, has more “twist” worked into the yarn in order to hold the fibers together (if a strand is long it does not need to be twisted together as much to hold, while something short needs to have more twists to ensure the hold) this puts a lot of tension on the fiber. When the yarn (of cotton shirt) finally gets fully submerged in water it actually allows the fiber to relax, this allows it to release the tension, and this caused the fiber to contract. So cotton will only shrink in the first washing whereas wool will continue to shrink with washings.

Cotton Classic by Tahki www.lindadeancrochet.com

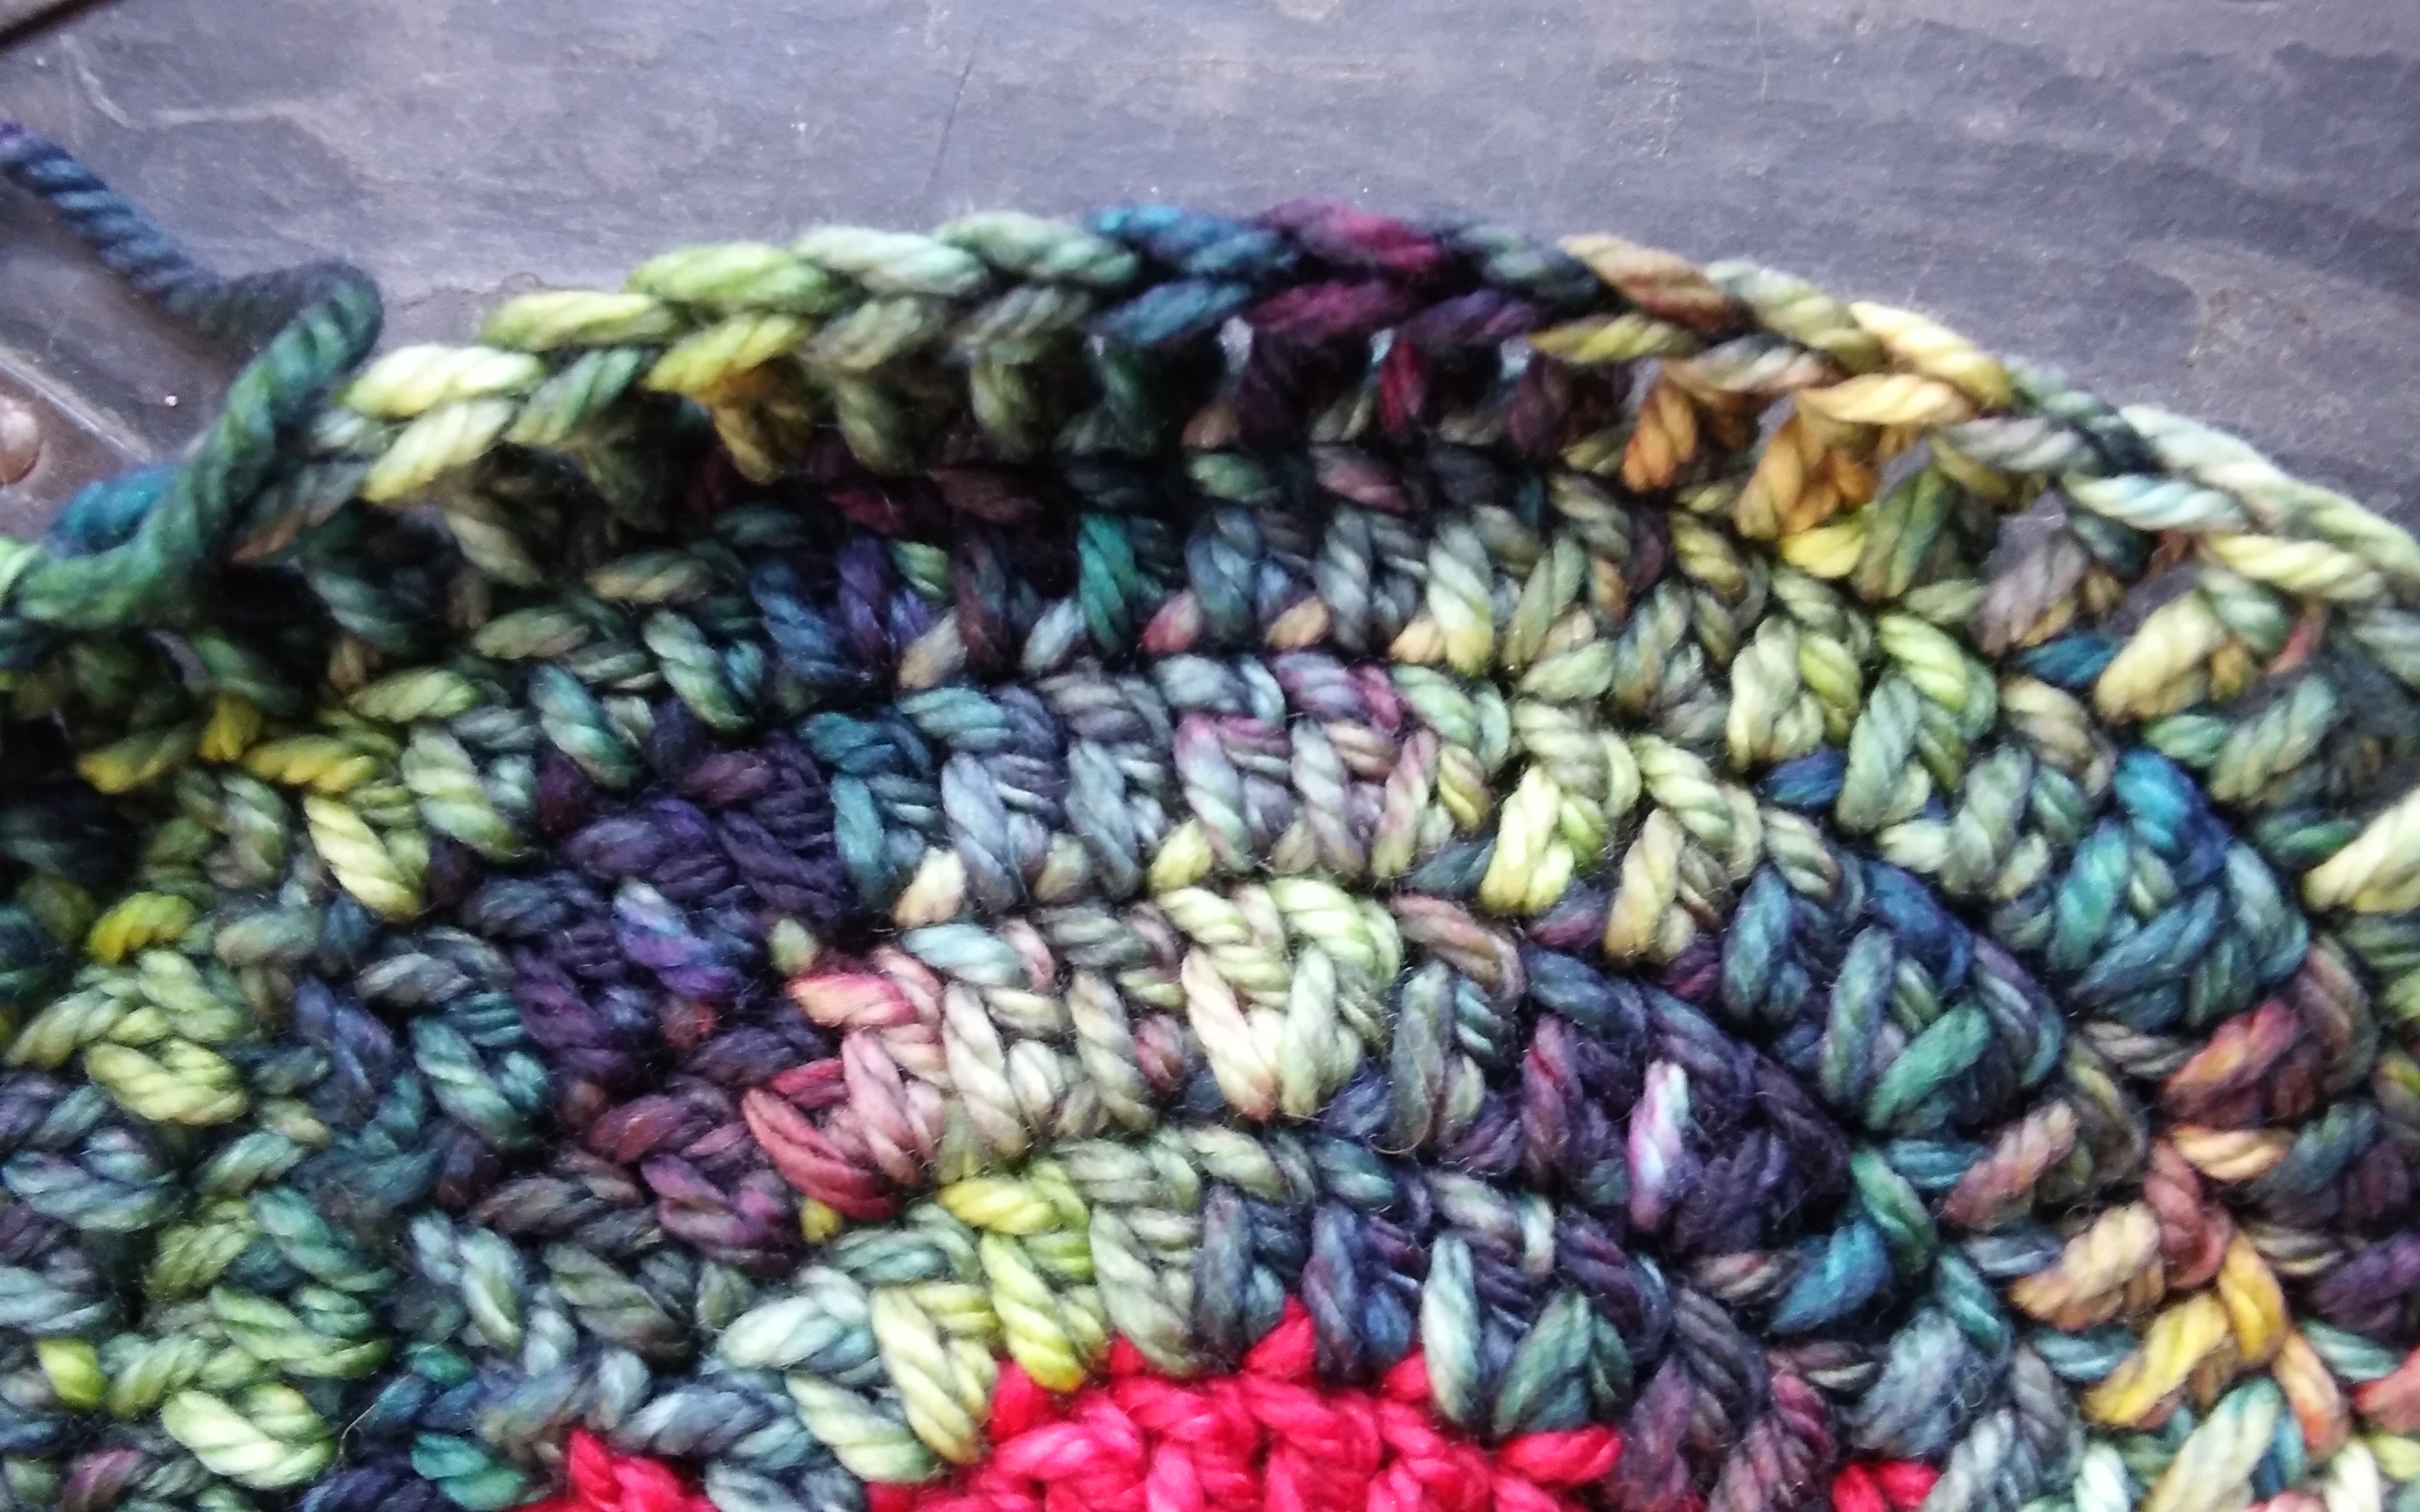
Cotton Classic by Tahki Stacey Charles

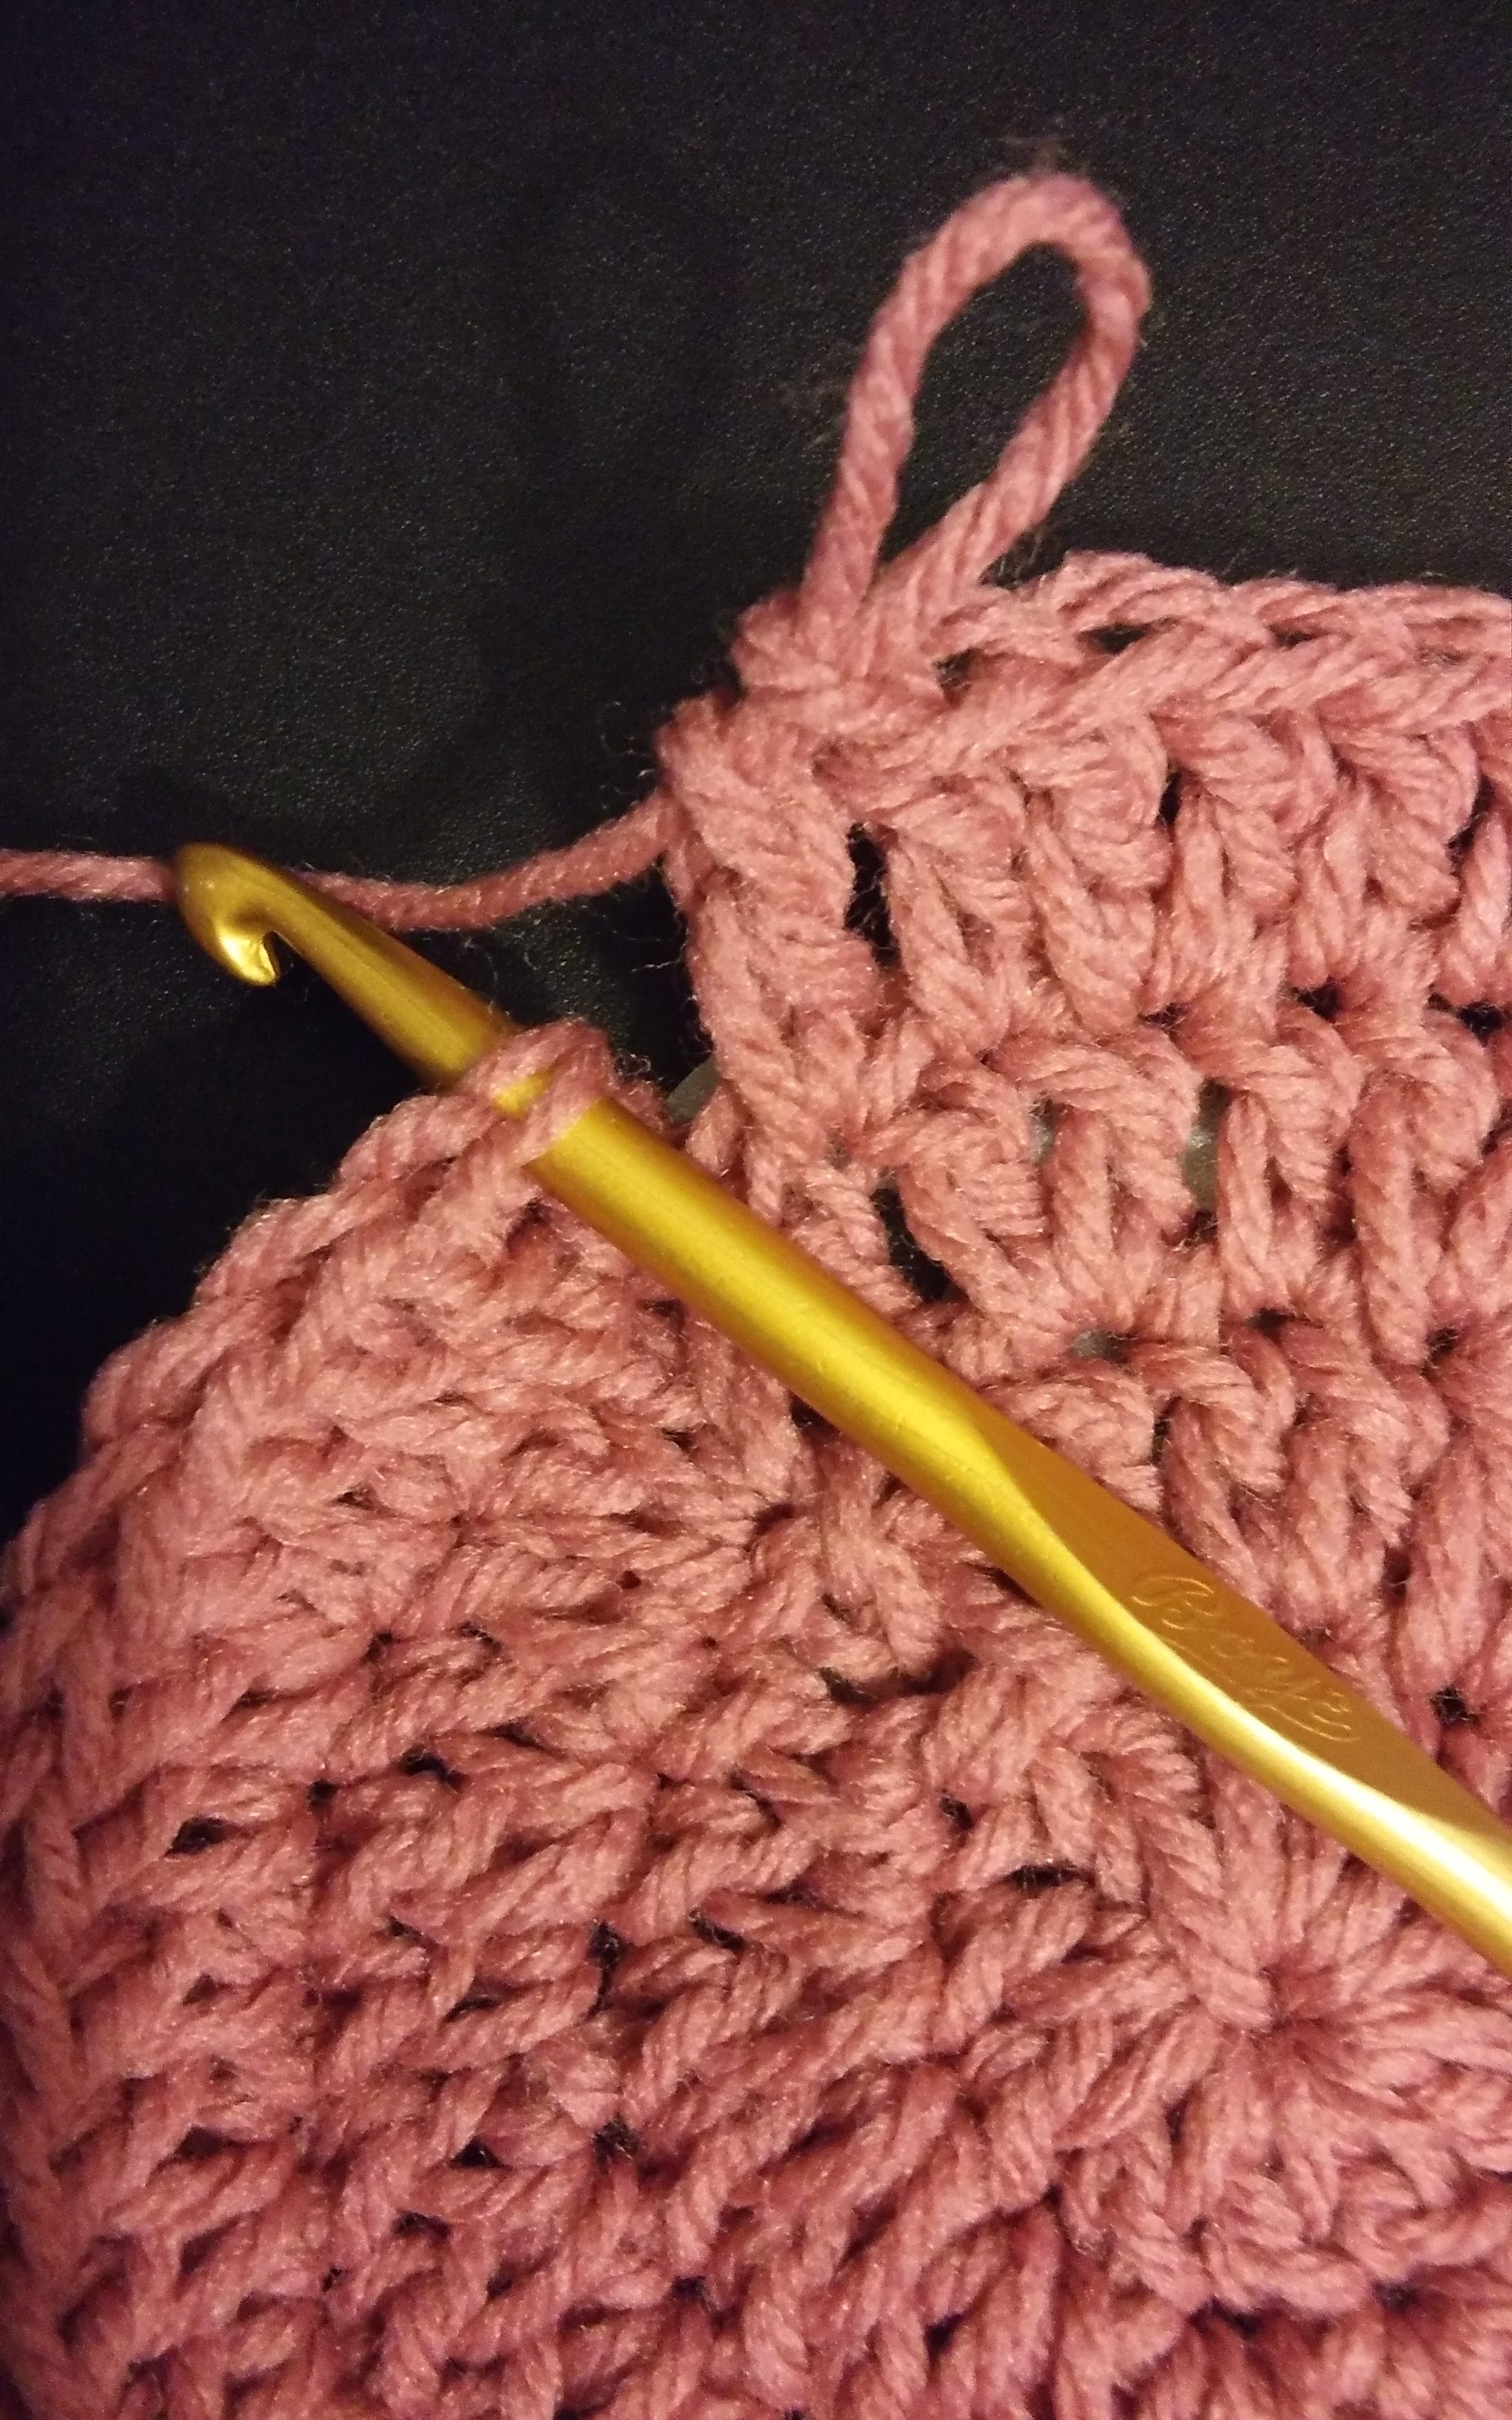
The term that confounds many is Mercerised. Mercerised is a process that removes the slight halo effect that can accompany a cotton fiber, this is essentially the tiny ends of the fiber protruding from the yarn. To Mercerise the yarn, or thread is brought over an open flame to burn off the fibers. This creates a yarn that has a nice smooth finish that has great stitch definition. Another side effect of this process is that it does not allow the cotton to absorb water as is normally considered. Thus Mercerised Cotton is not recommended for dish clothes, where regular cotton will work wonderfully.

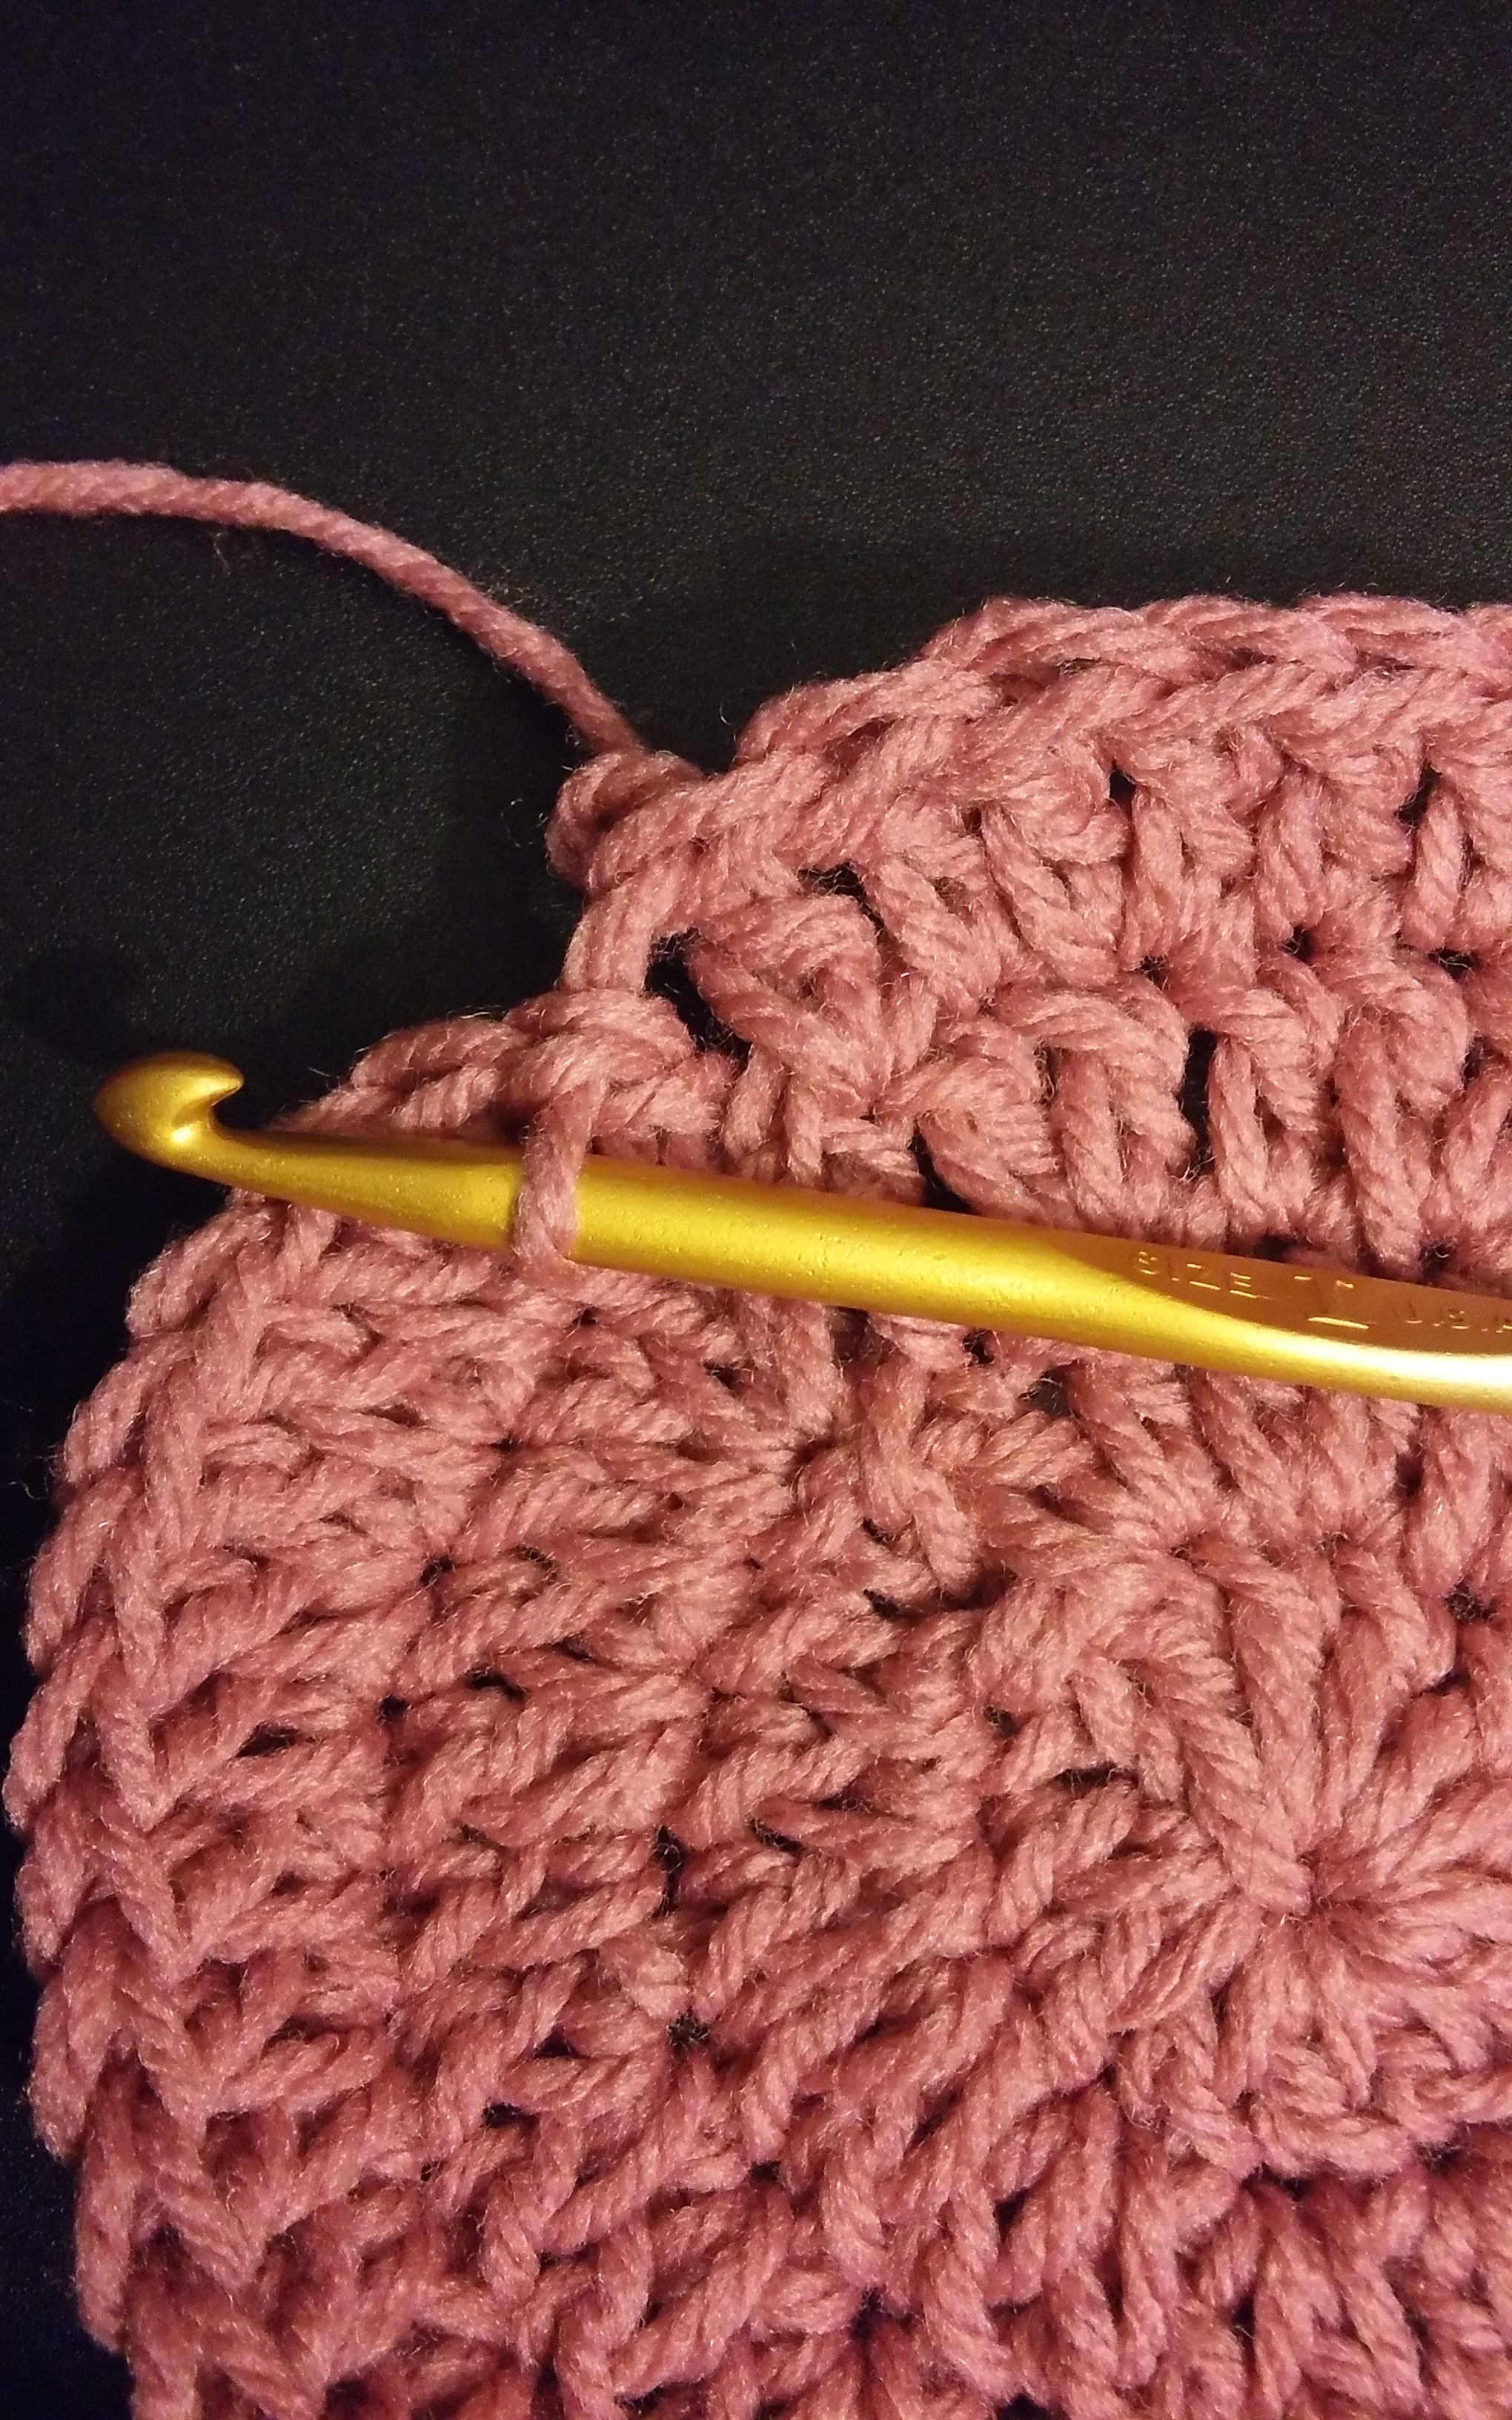
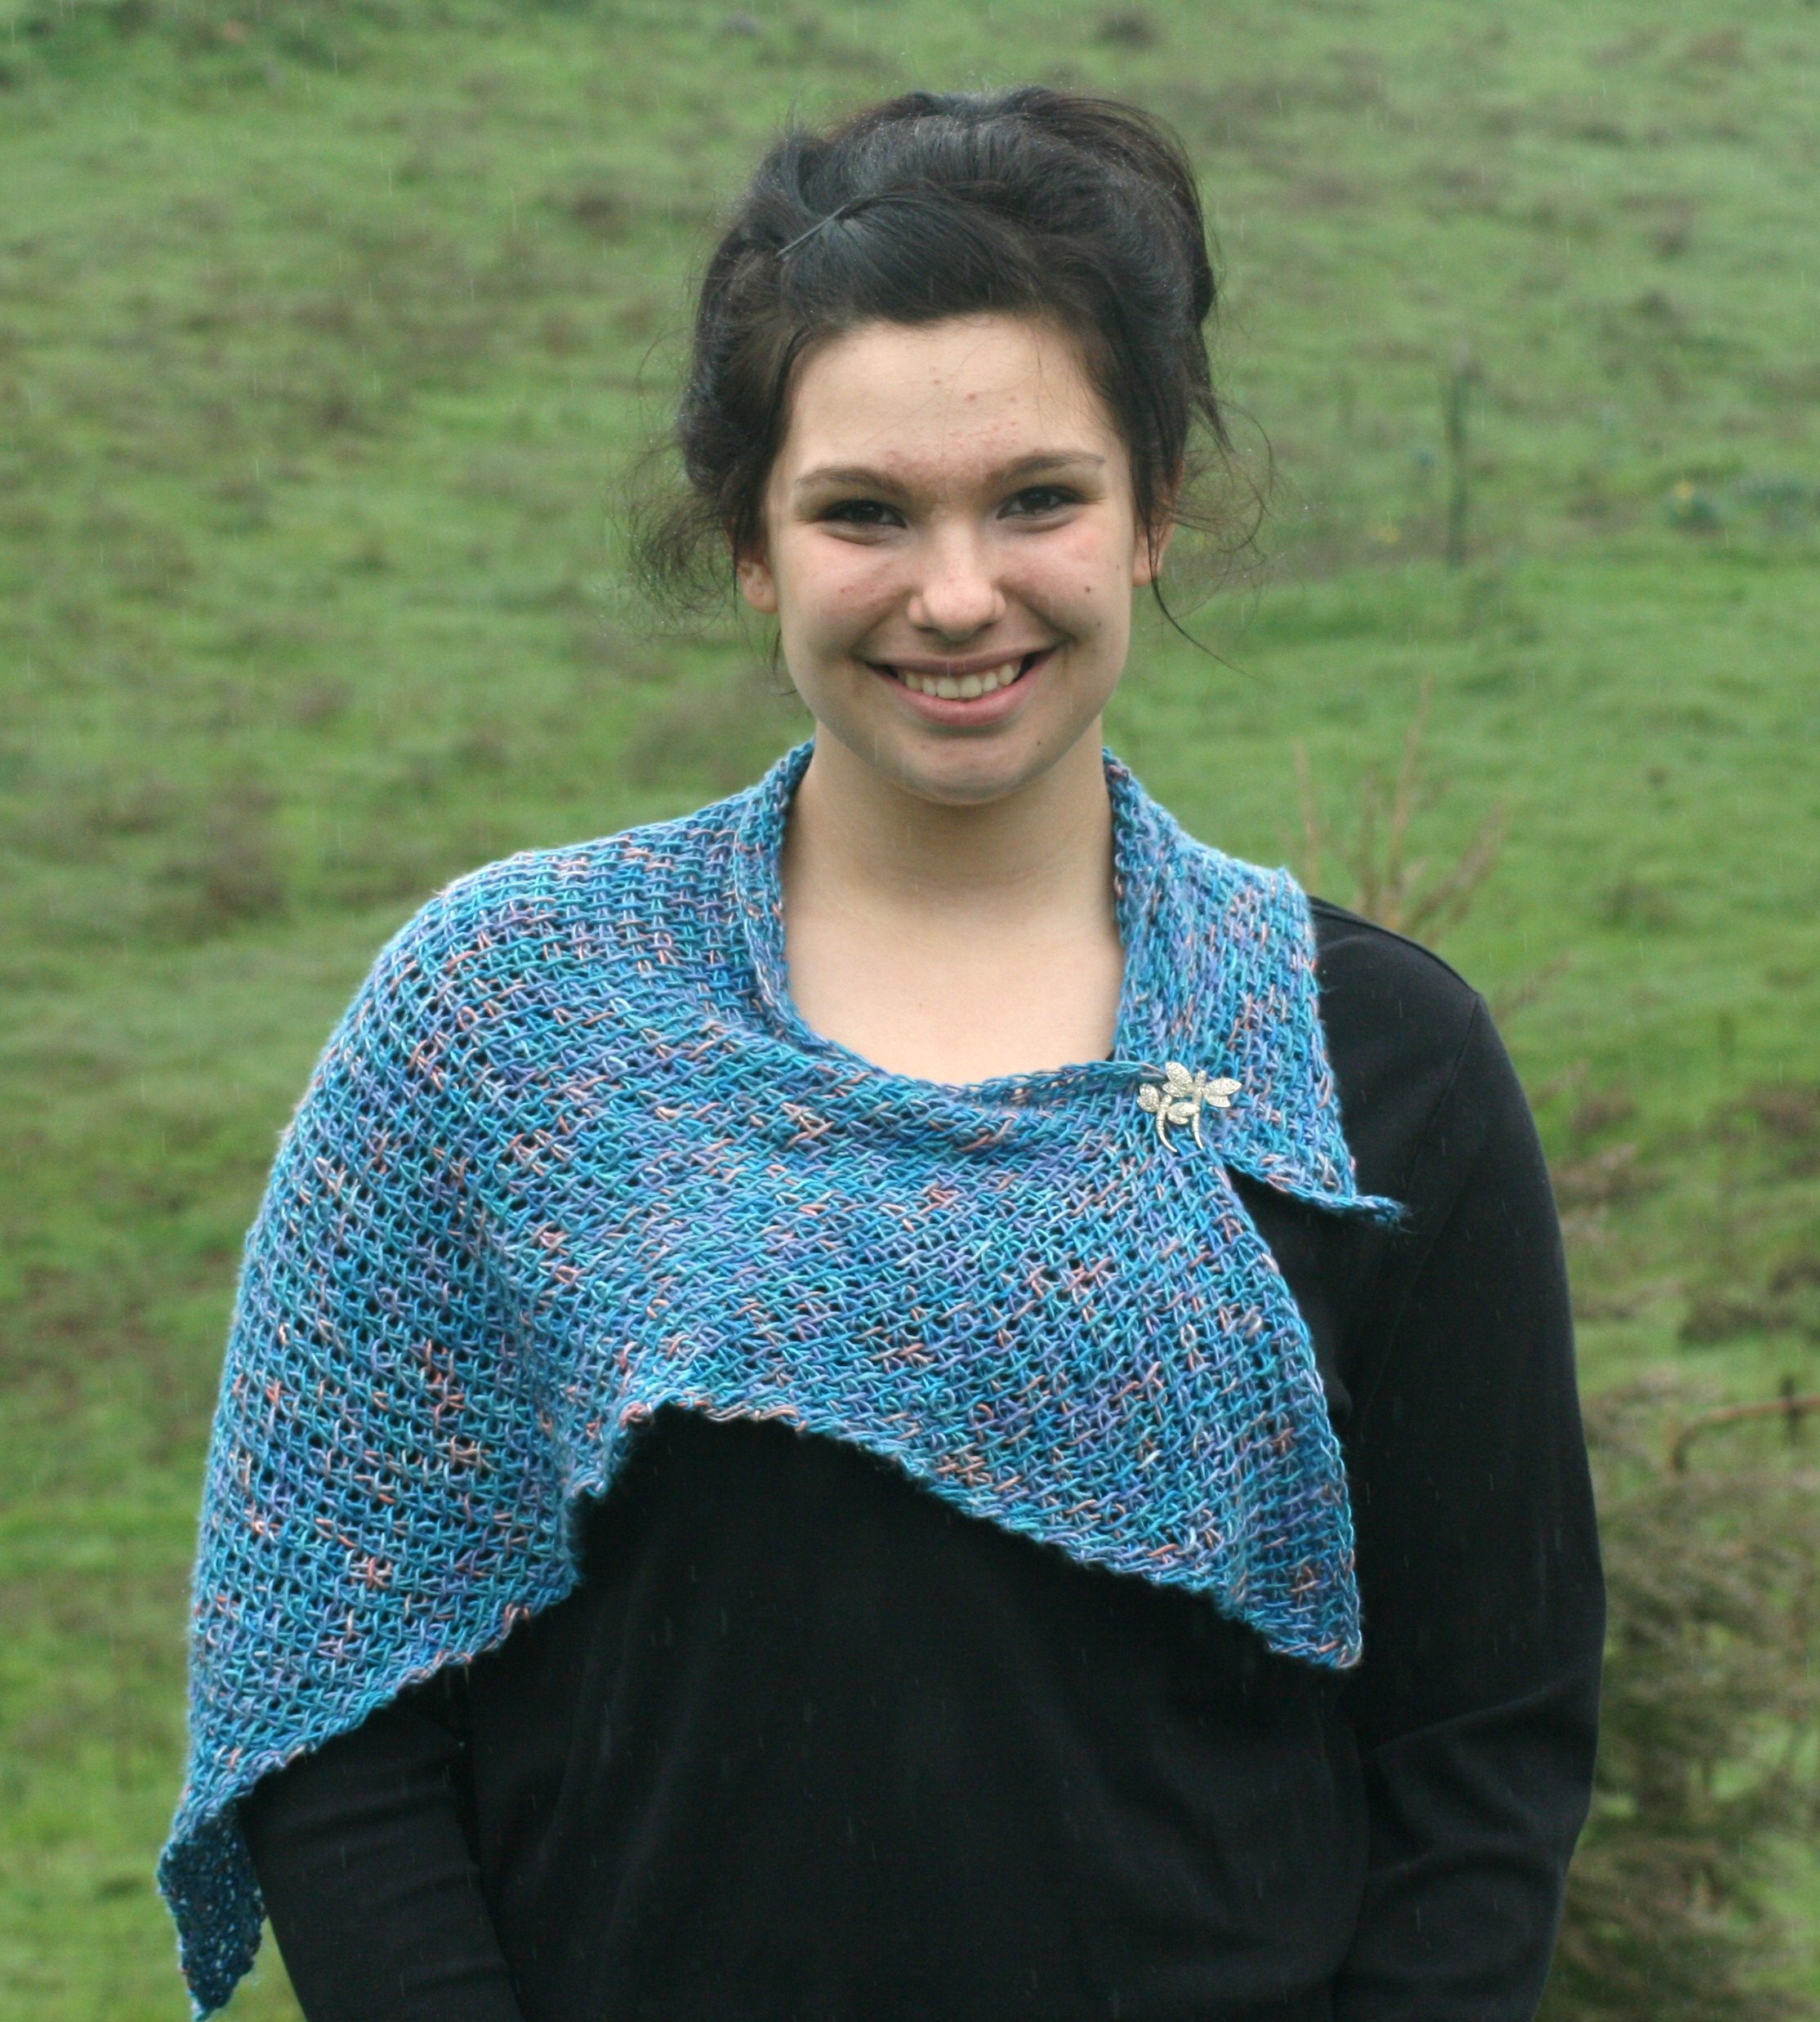
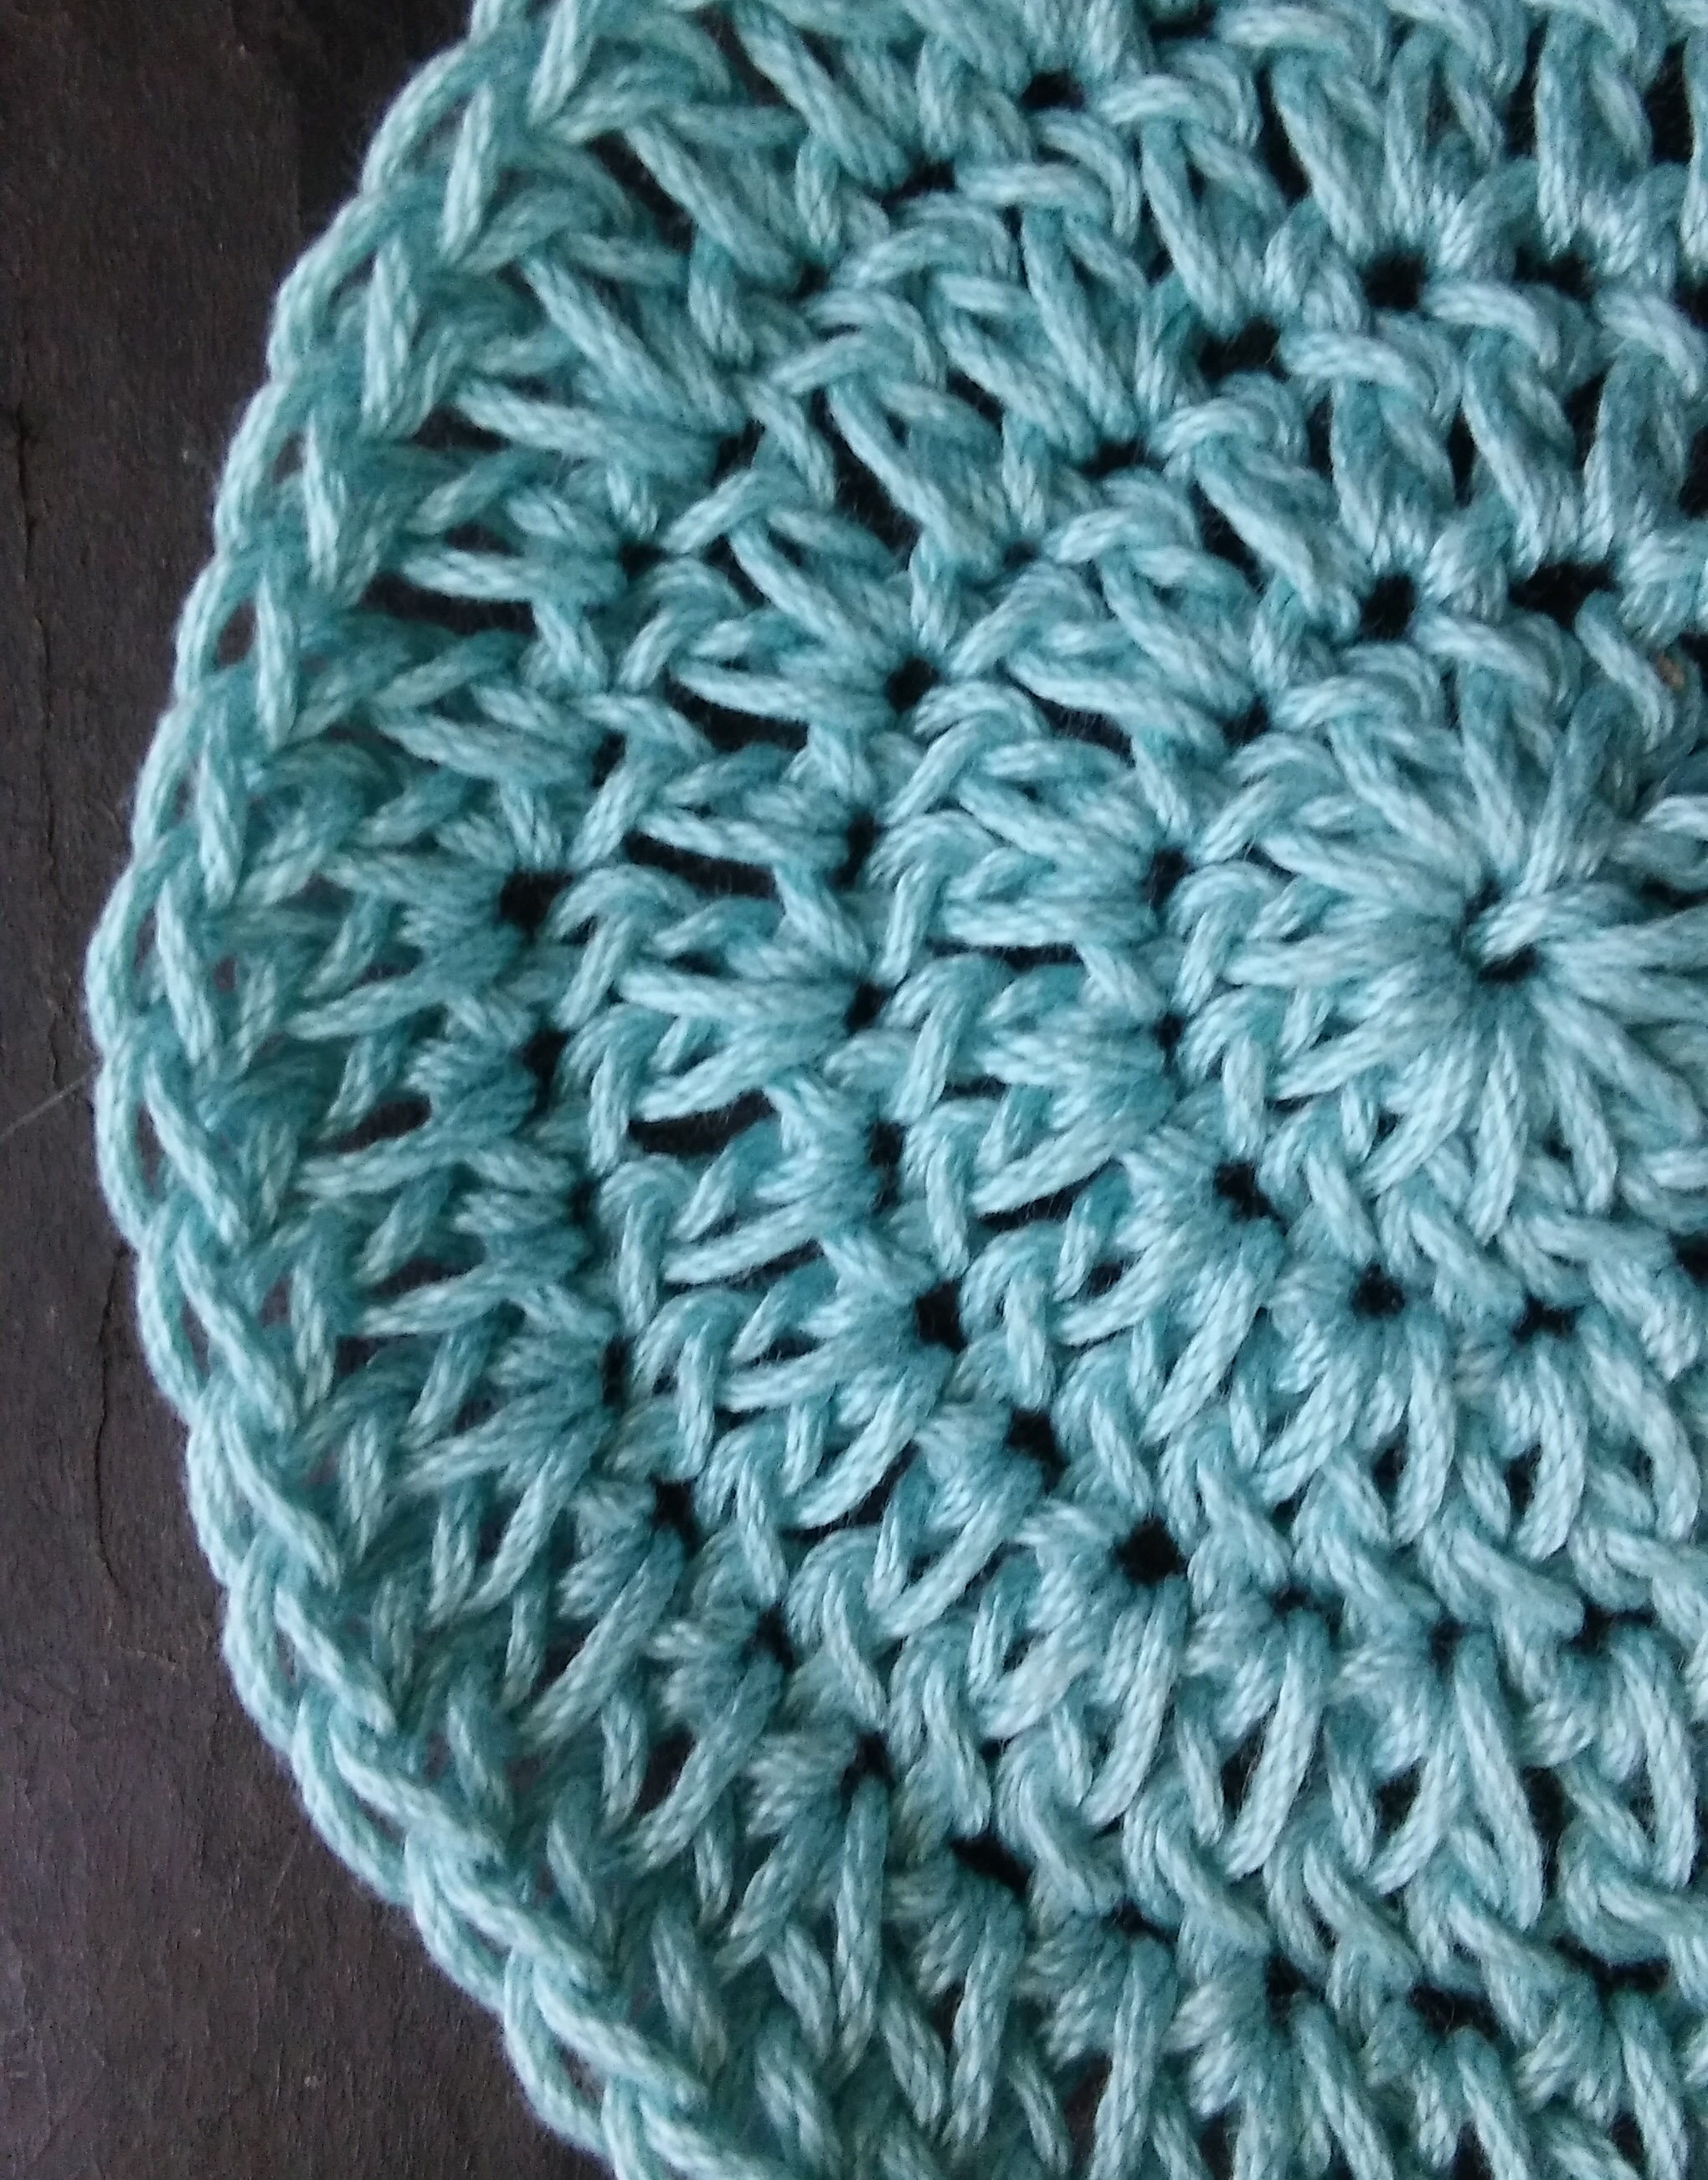
I find Cotton Classic is wonderful for warm weather projects, dressy scarves, home décor items, a great market bag. I even love it for tank tops and cover ups. This yarn has a wide arrange of colors available, and it shows of lace work stitches and textural stitches fabulously. It comes in small hanks of 1.75oz/50g with 108 yds/100m. It is a light weight and has nice drape on larger hooks.

Consider it for your next summer weather project, and don’t worry about this cotton reminding you of a dish rag.

Crocheting the Mark

The other day I was going through an old box and I stumbled across some “early to me” crochet. I recall, about the time I was learning to crochet at age 10, at school I received a crocheted bookmark. My teacher had a friend who crocheted and she had created a bookmark with a “curly q”. My teacher gave them as prizes to students that had met her reading goal, I cannot recall exactly what the goal was but I remember the prize.

Curly Q bookmark in use

I remember being in awe of how it was made. Being a new crocheter I had no idea how the twists were created. I used that bookmark for years, and several years later, after becoming more proficient in crochet, figuring out how it was made. I have since recreated this bookmark for teachers of my children. They have used them in much the same way as my teacher years ago, meeting a goal and getting a reward.

I am sharing this stitch pattern for this bookmark in the hopes that you might make a few and share them with teachers or your local library, helping sharing the gift of reading. I know that many think that all books are going digital, but there is something about holding a book and moving your bookmark through the pages that has a gratification that can’t be completely explained.

More of the Curly Q bookmark in use

This is a really loose pattern, I don’t know if I should even all it a pattern, I am basically sharing how I create mine, and none of the stitch counts are really important. The gauge does not matter, it doesn’t matter what yarn or hook your use. To begin you chain anywhere between 6 and 8, slip stitching to the first chain to create a ring. I then chain 1 and place about 12 single crochets in the ring, slip stitch to the beginning single crochet. Now create a chain of about 18” to 24”, then double crochet in the 4th chain from the hook, add 2 more double crochets to the same stitch as the last, work 3 double crochets in each of the next several chains, working until you feel the “curl” you are making is long enough. Finish off, and weave in all ends.

That is all there is to it. The chain section lays in between the pages while the “curly q” can slip through the ring to secure around the book binding. This is a simple scrap project, and one I find fun and fast.

Big Squeeze by Ancient Arts- A Lofty Experience

I have played with a lot of yarn over the years, but I do not think that I have ever found a yarn that is so forgiving, or as “squishy” as Ancient Arts Big Squeeze.

This yarn is 100% Superwash Merino, as a result it will not felt or shrink but has a very soft feel. The way this yarn is spun it has a great loft to it, and this has a couple of benefits. Not only is it forgiving in the stitches, and adjusting well for uneven tension, but it also holds more air making it warmer.

Ancient Arts Yarn www.lindadeancrochet.com

Ancient Arts Yarn Big Squeeze color Frolic

This bulky weight yarn comes in a skein size of 127 yards (116 meters), which is comparable to other skeins of this weight, and one skein can easily complete a scarf or hat project. With the larger yarn, it garners a need for a larger hook a J/10/6.00mm will give you a pretty dense fabric, and you may prefer working with a hook size of at least K/10 ½ /6.5mm or greater.

The smooth even ply of this yarn also gives great stitch definition so it makes your stitches the star of the show, even though it comes in over 125 brilliant colors.

I feel this yarn will work up nicely in any home décor, simple accessory, or outer wear garment project. Due to the weight and lofty, it is obviously not the choice for small delicate items (in either look or feel). I also would not necessarily recommend it for projects that have a lot of fine detail, as the large bulk and hook make the details almost disappear.

My overall impression of this yarn is that I could just wrap myself in it and it would be a pillow and a blanket, maybe an all in one cocoon, which I could happily go about my day. It is a dream to work with.

No Stitch Join and Standing Stitches

ScannedImageThe more I play in crochet, the more I realize there really are no rules.

It seems that with colder weather finally descending on my community, everyone wants to crochet hats; most of them first time crocheters. So, as of late I have been teaching how to start circles, all three different ways. I have been teaching how to increase stitches. I have been teaching how to join rounds.

An interesting thing with joining rounds, there are a couple of ways to do it, and it can give you some different results. The method that I have been playing with lately does not actually involve a stitch at all.

1130162014a

Remove hook from working loop, insert it in the point of the join.

1130162015a

Put working loop over hook and pull it through joining point.

When you get to the point of joining, the hook is removed from the working loop and inserted into the point of the join, the working loop is then slipped back on the hook and pulled through the point of join. This creates a join that has no extra yarn, no extra loops, and does not necessarily flatten out the stitch that is joined to as can happen with joining to a beginning chain.

If this is not enough, I added in a chainless starting stitch. So anytime you begin a new round or when working flat and turning your work, you usually chain a certain number of stitches to equate to the height of the stitches that are being worked. This is because all crochet stitches end at the top of the stitch, and thus the stitches next to it need to be of a similar height or it just pulls the stitches down. When beginning a new round the working loop is at the base poof the new stitches, and if no beginning chain is worked it can pull the stitch over and distort it. However, to get to this height of stitches, you do not necessarily need a chain.

1130162016a

Pull up a long loop and work a double crochet in the same stitch.

Sometimes this is called a standing stitch, essentially all it is, is a long loop. After pulling the loop through the joining point, pull it up nice and tall, then work a double crochet (or whichever stitch you may be working) in the same stitch. You can even work the long loop among the stitch making it even less visible.

There are always pros and cons to various techniques, and with these two I find that the join can create a slight distortion, but in a different manner then the slip stitch; also it is a little slower to work and when I am crocheting along mindlessly it definitely stops my rhythm. One of the things I really like about this join is that it closes any gaps that might be created in my stitch placements at the joining point.

With the standing join, it is nice that everything looks pretty uniform, and there is no beginning chain that looks different than the rest of the stitches, yet there are times that the long loop can get a little distorted and uneven for me, I guess I need to work on getting a more even tension with it.

I guess with crochet there is always more to discover.

Tunisian Mini Shawl- Free Pattern!

ScannedImageWelcome to those visiting me from ELK Studios! Enjoy the Crochet-a-Long (if you would like to join, please check out the ELK Studio Christmas Present CAL)

Hard to believe that the holidays are fast approaching! To help work up some holiday gifts I am sharing my Tunisian Mini Shawl pattern. This is a shawl that is worked from the bottom point upward, with increases on either end of the row. I will admit that the very first row can seem like a bit of a challenge, but it becomes a simple repeat after that.

IMG_5531

Tunisian Mini Shawl

Tunisian Mini Shawl by: Linda Dean 

Add a little color to your wardrobe and brighten up any ensemble with this silk mini shawl. Worked in Tunisian crochet on a large hook, this project works up quickly and can be easily made into a full size shawl. Don’t be discouraged by the tricky start, it gets easier by row 2!

Skill Level: Advanced Beginner/Intermediate

Finished Size: 40” wide, 24.5” long

Materials List (for sample):

Tunisian Crochet Hook size P/ 11.5mm or size needed to achieve gauge.

1 skein Lisa Souza Glacier, sport weight, 100% Bombyx Silk Yarn (273yds/3.5 oz, 250m/100g) color: Flahridduh (www.lisaknit.com)

Tapestry needle

Material list options:

Any fine to medium weight yarn

Tunisian hook at least 2 sizes larger than standard crochet hook to be used for chosen yarn (i.e. if you would use a H/8/5.00mm standard crochet hook with yarn then use a K/10 ½/6.5mm Tunisian hook)

Tapestry needle

Gauge: 10.5 tss /8.5 rows =4”

Pattern Note

Each row consists of a forward pass and a return pass.

Increases are worked on either side of this triangle by addition of loop to hook; worked by inserting hook into the same stitch as previously worked, but in a different location.

Abbreviations:

ch: chain

rep: repeat

RP: Return Pass: YO, pull through first loop, *YO and pull through 2 loops on hook; Rep from * across row until 1 loop remains on hook. (need a visual? Check out my tutorial)

Tss: Tunisian Simple Stitch: Insert hook behind vertical bar, YO, pull up a loop. (need a visual? Check out my tutorial)

sc: single crochet

st(s): stitch(es)

YO: yarn over hook

Row 1: Ch 2, insert hook from back to front through the ch closest to hook (this is so that the current working loop does not work off), YO, pull up a loop, insert hook in back bump next ch, YO, pull up a loop, insert hook between the remaining two loops of same ch just worked in, YO, pull up a loop (4 loops on hook), RP.

Row 2: Insert hook from back to front of the loop created just below working loop, YO, pull up a loop, Tss in each bar across to end (including bar directly below starting loop), and end by inserting hook through ch st, YO pull up a loop, insert hook between 2 loops remaining of ch, YO, pull up a loop (6 loops on hook), RP.

Rows 3-52: Rep Row 2, increasing by 2 stitches every row as established. (106 loops on last row)

Row 53: Ch 1, sc through each bar across, and through last ch st.

Finish off.  Weave in all ends.

©2013 Linda Dean Crochet