Batiste- Some Nice Texture and Color

What some may not realize about my yarn reviews…they are really just for me. Yes, I am a bit selfish. However I have found that by reviewing a yarn weekly, it helps me hone my skills. Don’t get me wrong I hope you, the reader, gets some insight too, but I helps me focus on a fiber that I have in my working stash and imagine its possibilities. So you will see me discuss the fiber content, as this can really effect the drape and performance of the yarn, I also will remind myself of how it feels and if it works up well. I note the weight and length of the skein so that I can keep a mental note of how many skeins it would take to work up a desired project.

www.lindadeancrochet.comI recently travels to a yarn trade show. There are many various companies and different yarns to touch hold and get inspired by. Honestly, it can be a bit overwhelming, but it has provided me with some new yarns to critique and make notes about, such as Batiste from Knit One Crochet Too.

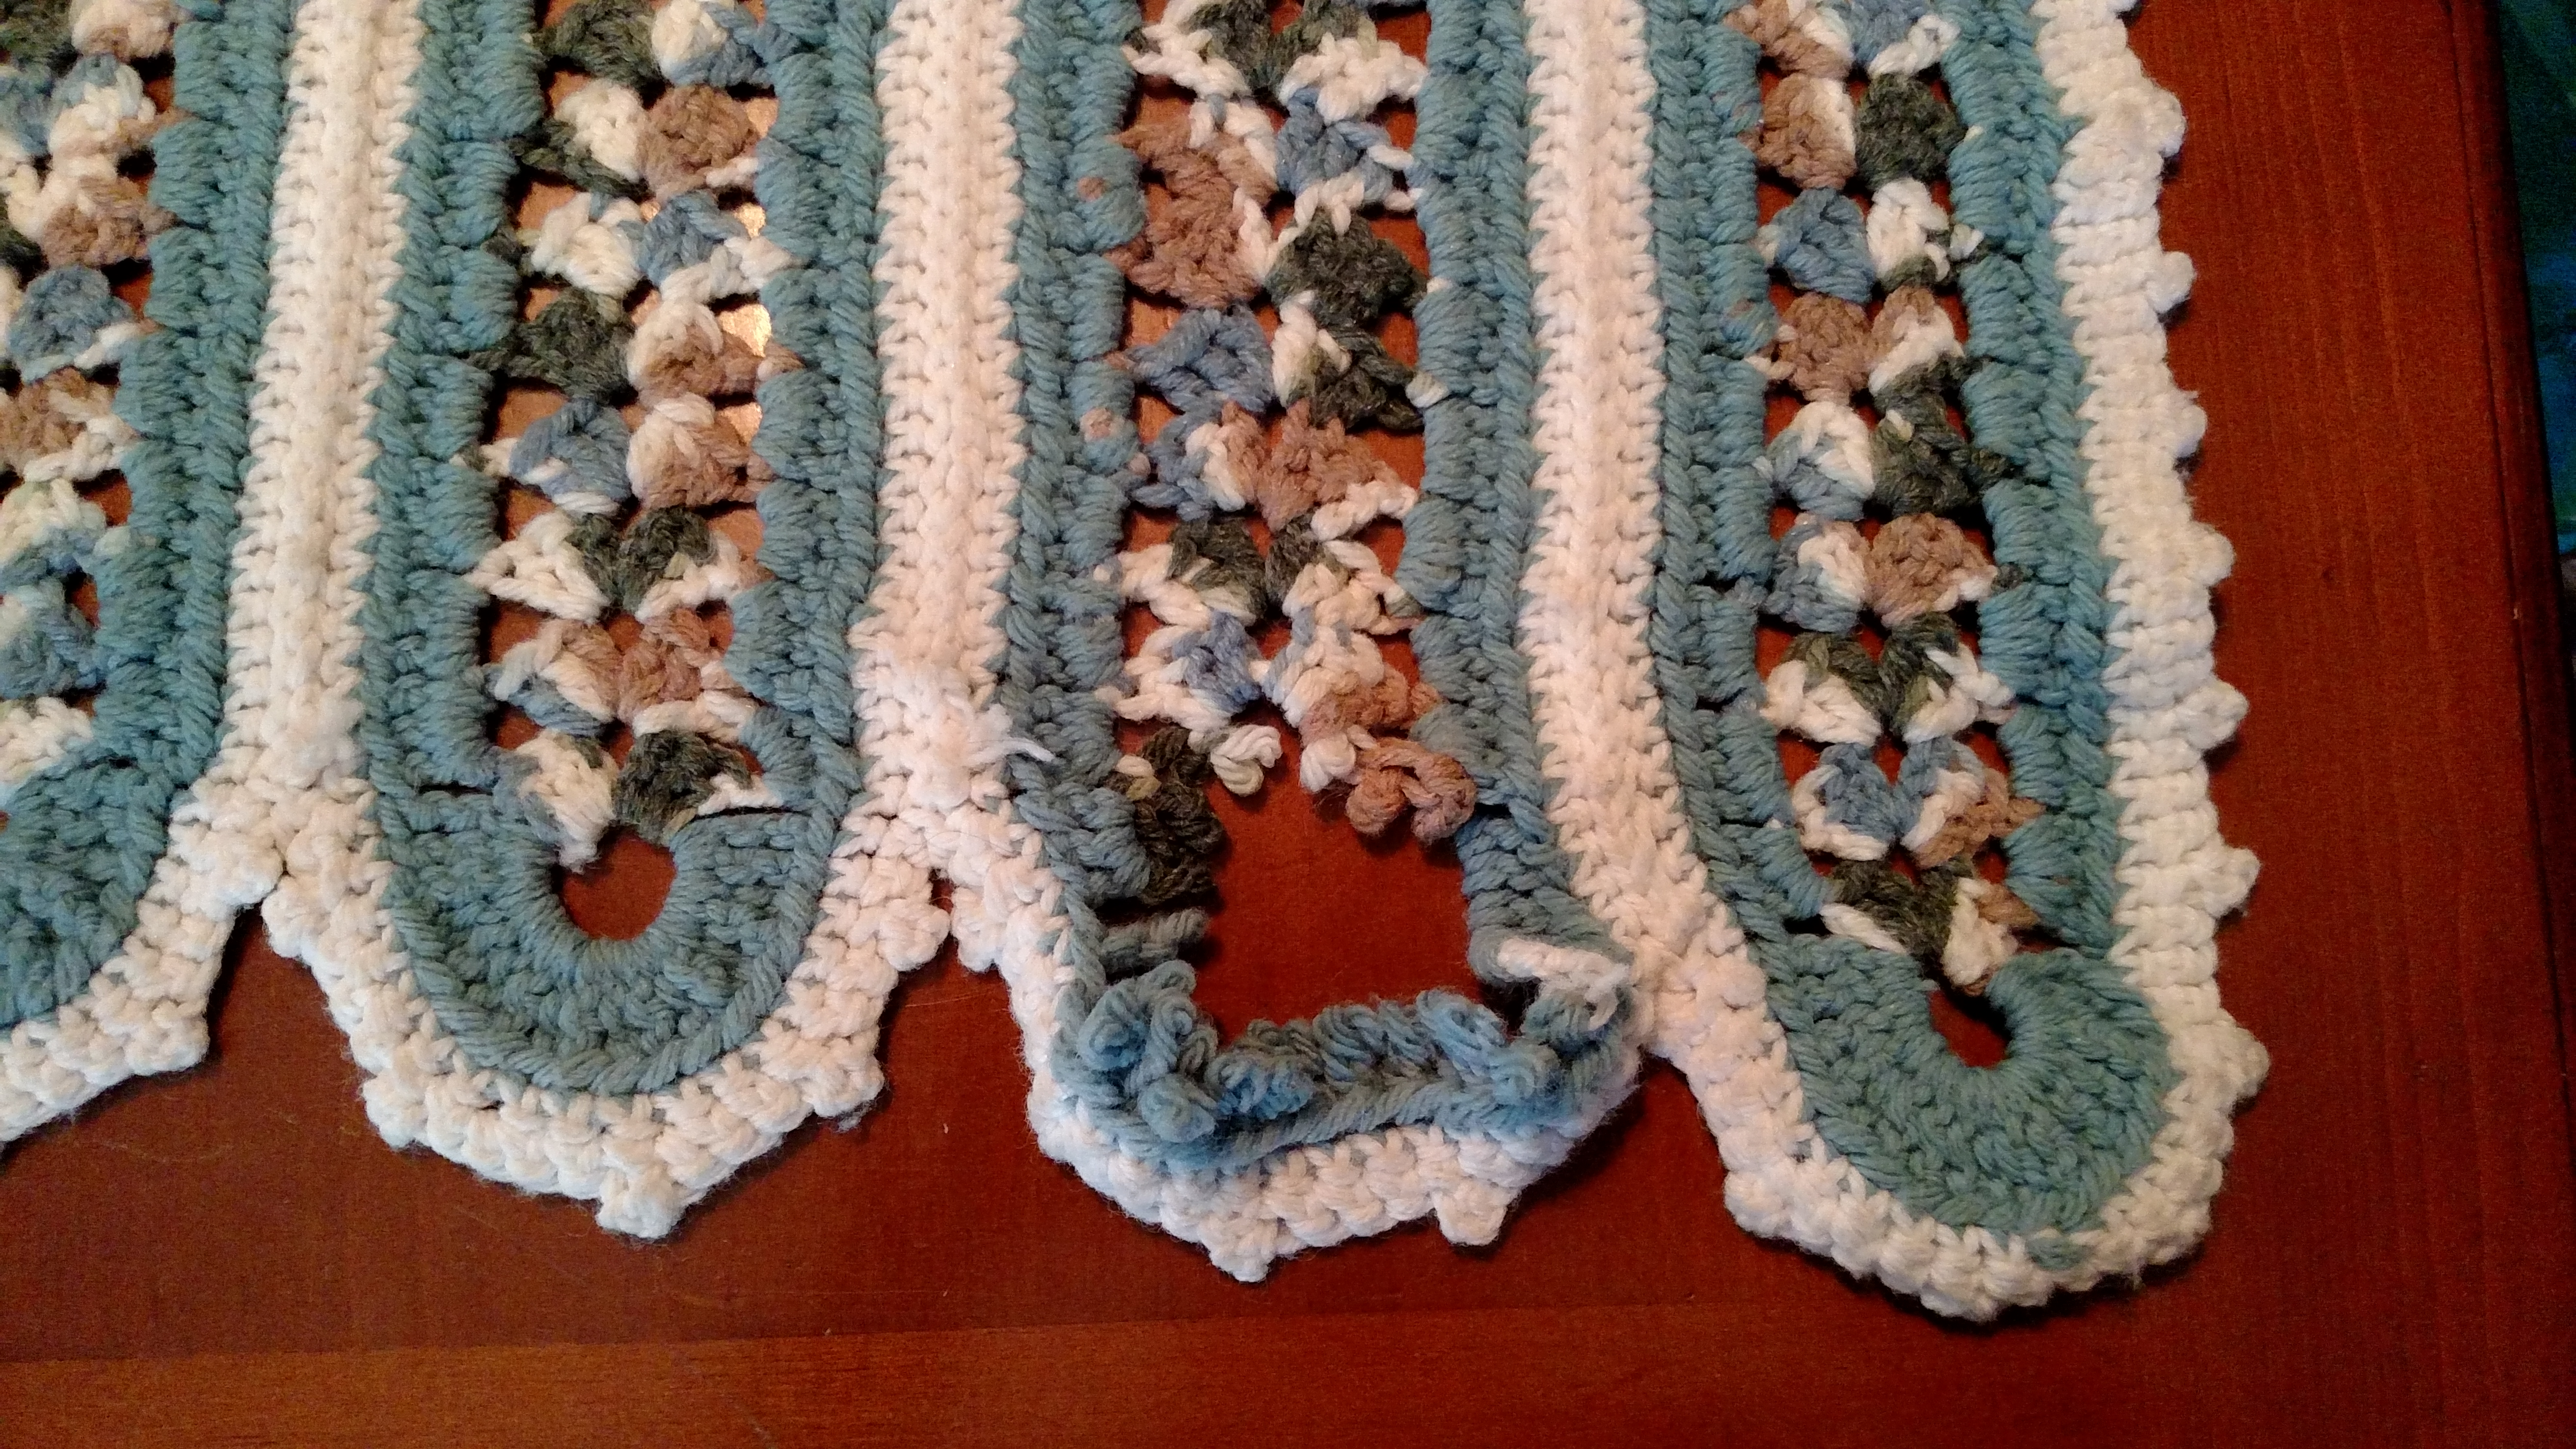
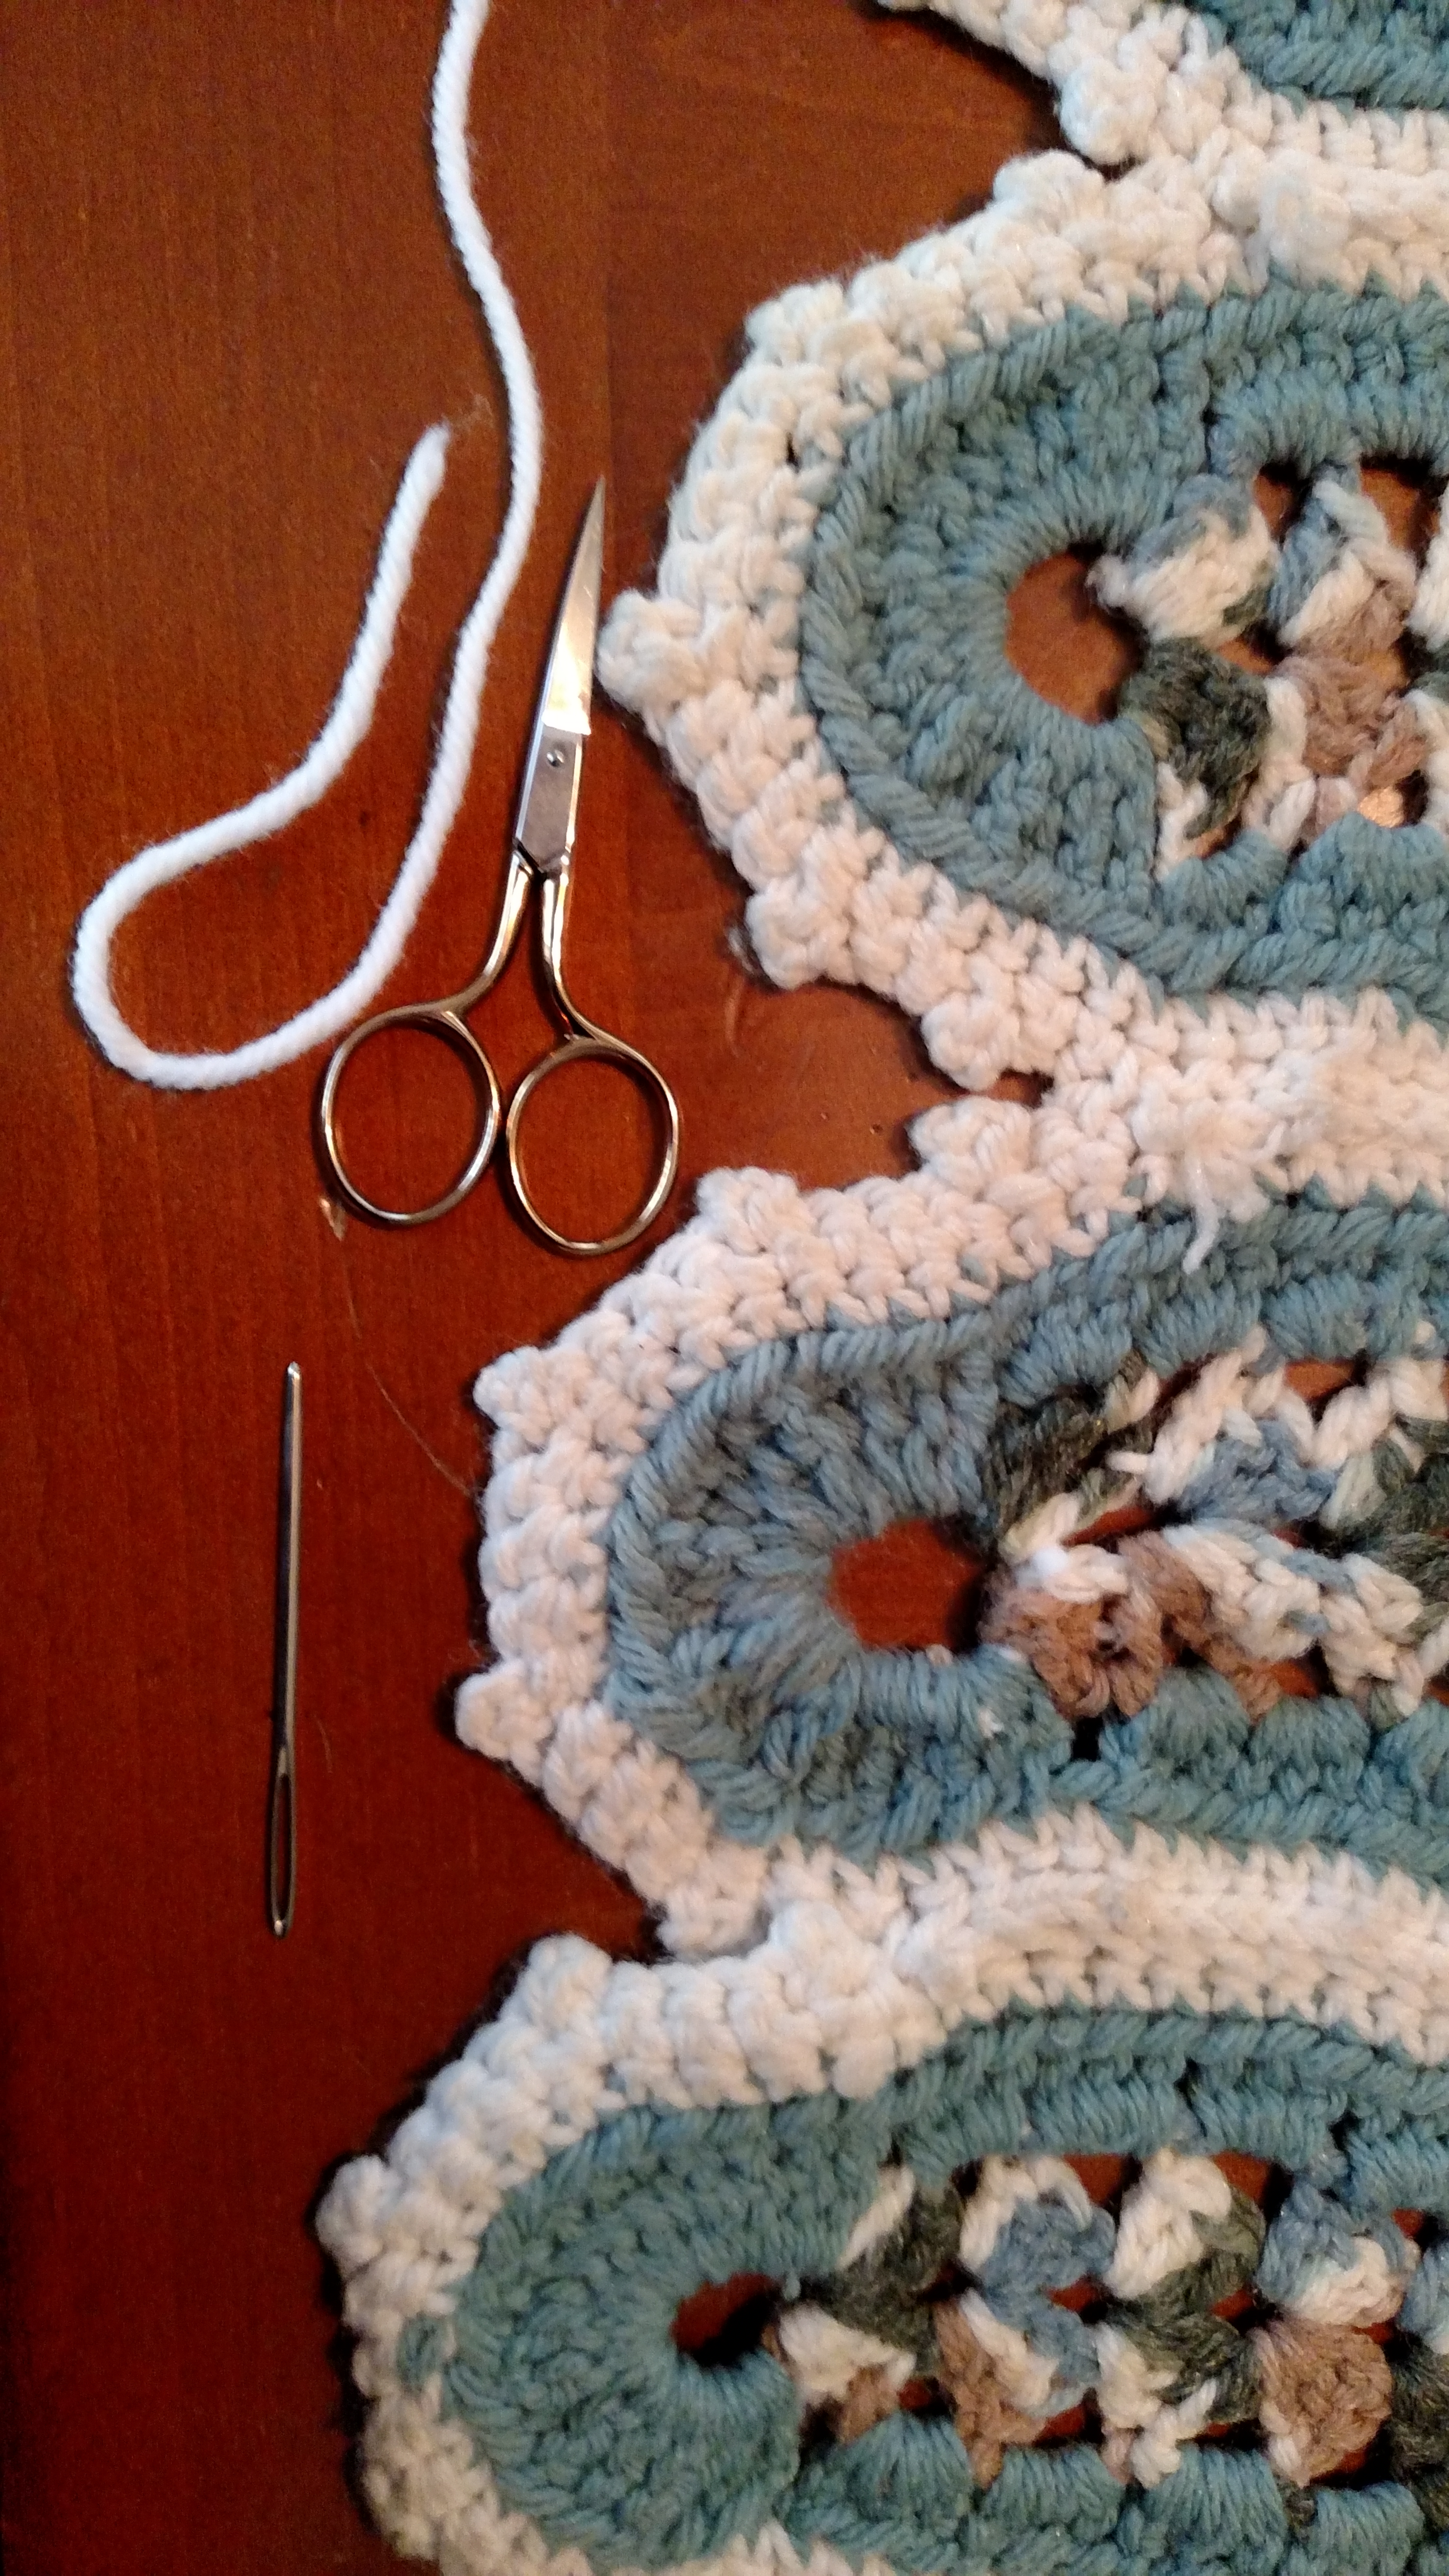
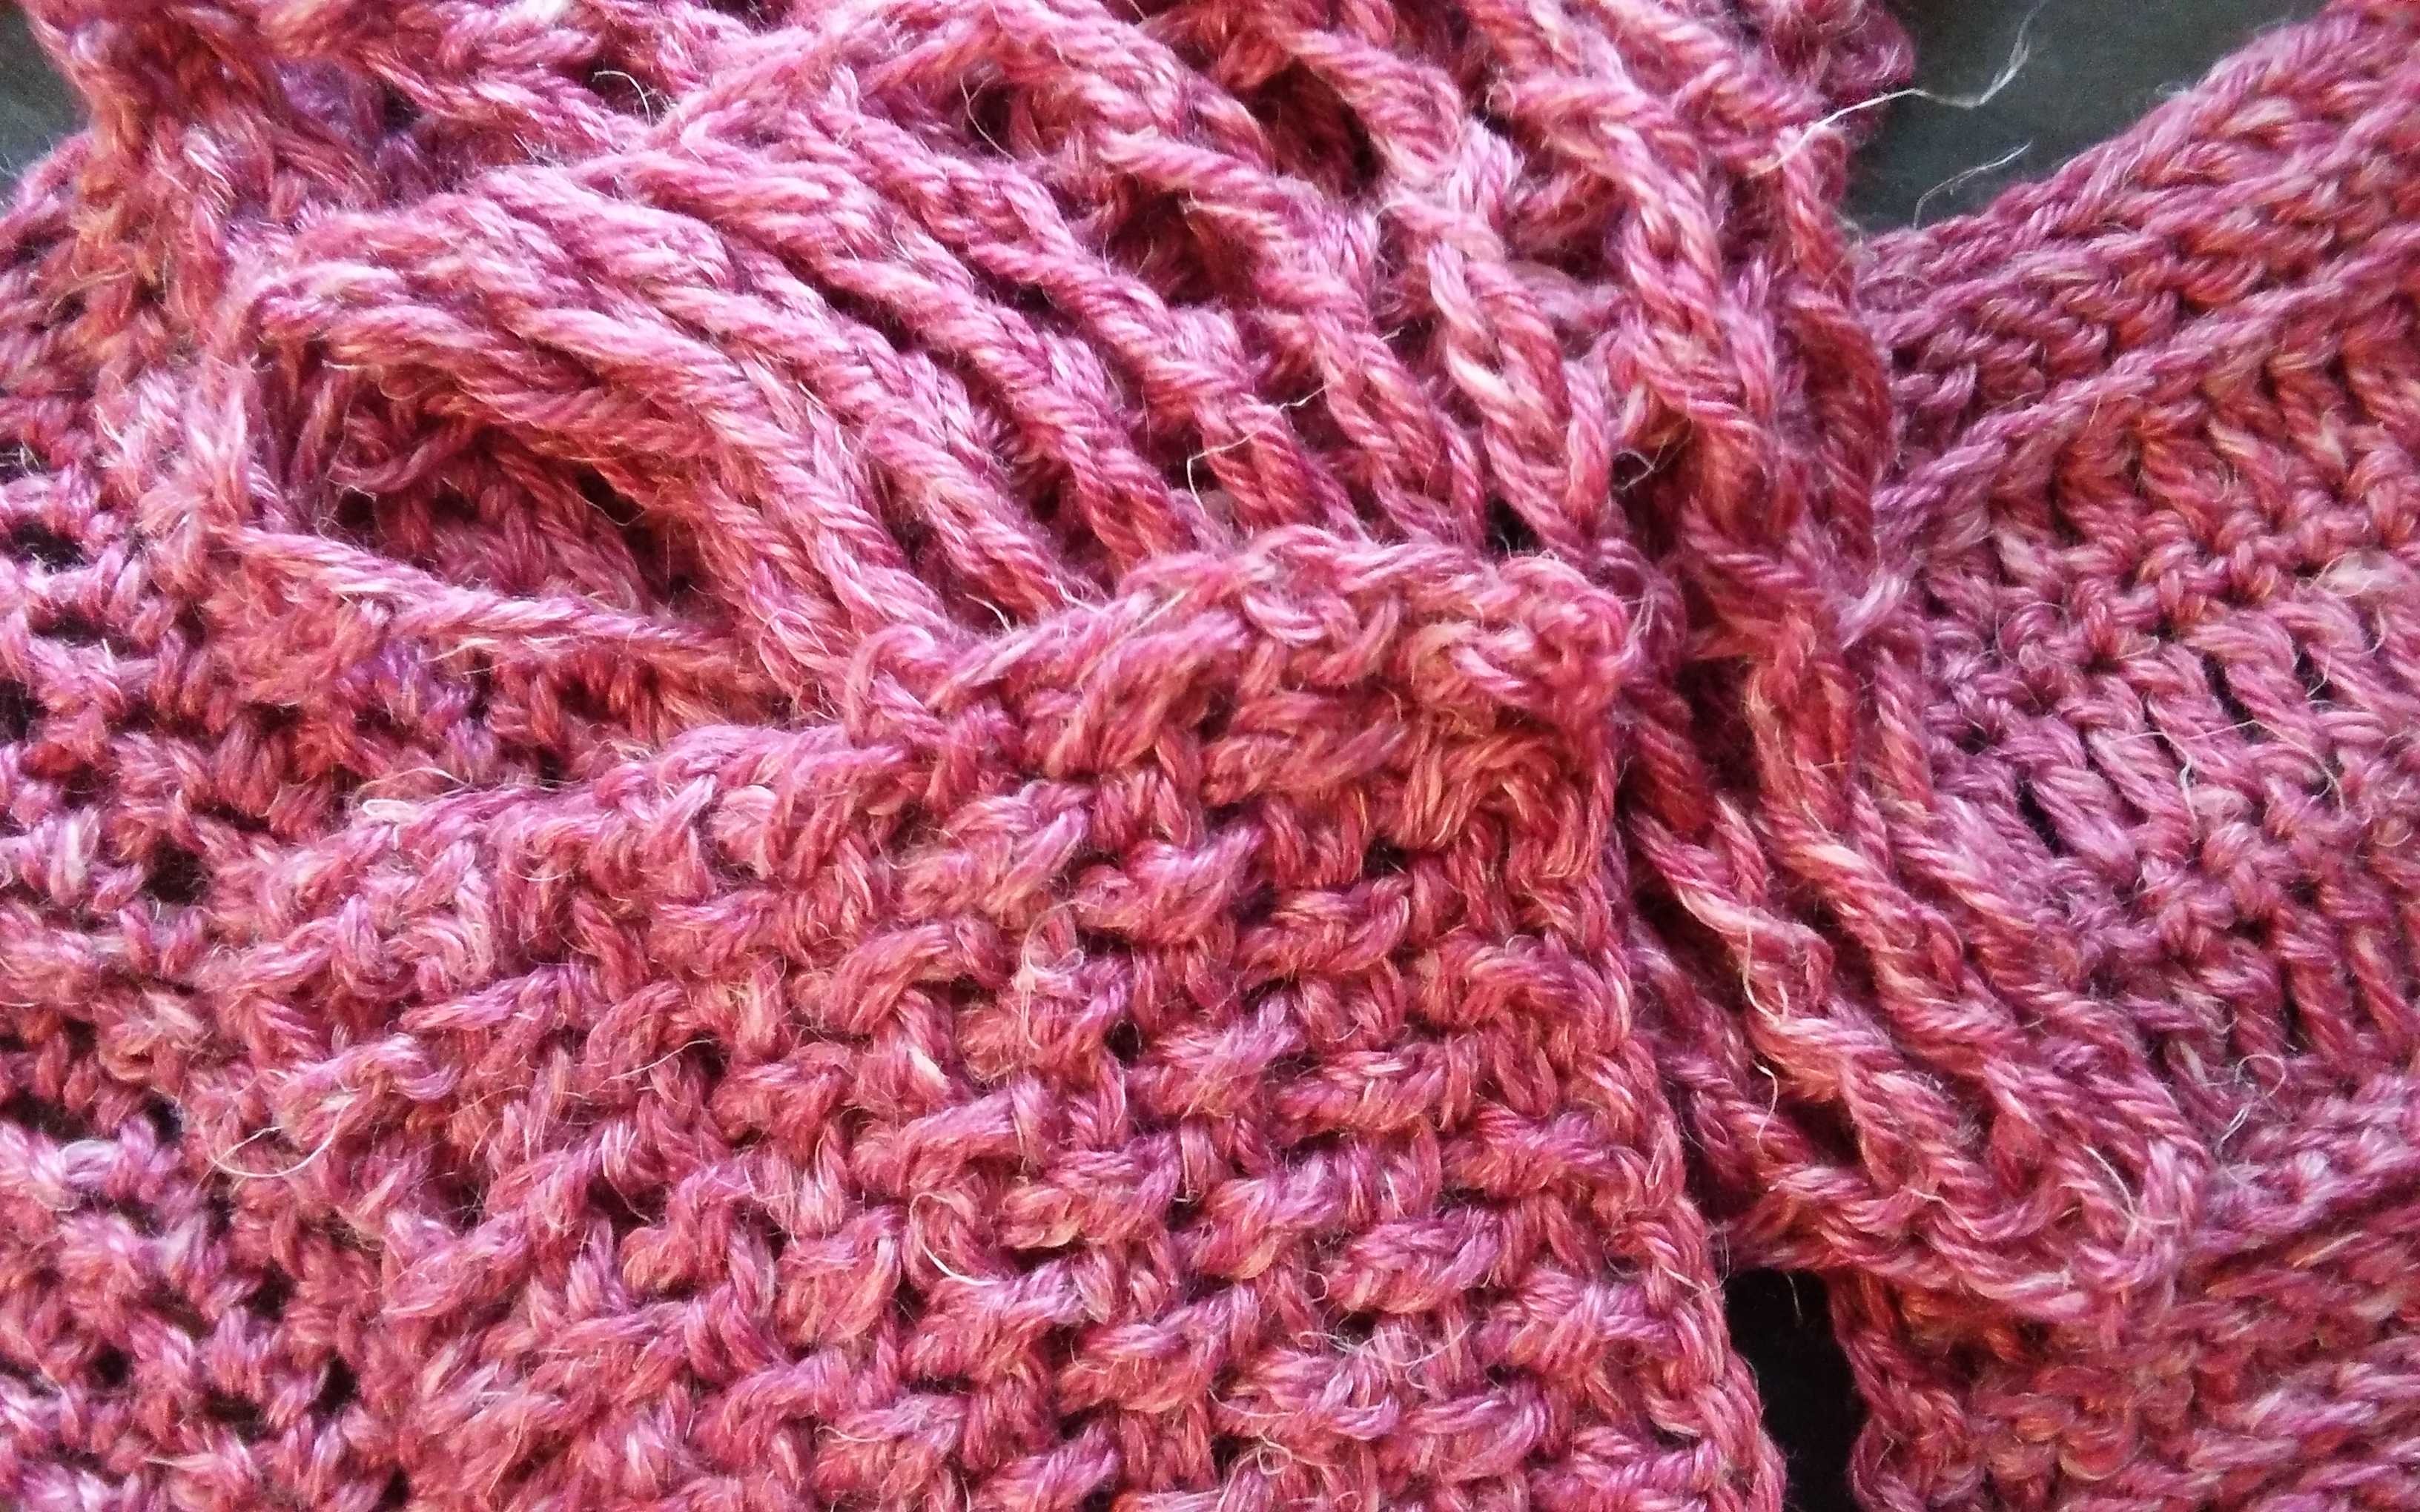
I cannot say that I have ever worked with yarn from this company before, I have seen it and heard the name, but never had the pleasure of crossing paths with a skein before. Batiste is made up of 50% fine merino wool 30% linen and 20% silk. The soft nature of the merino really shines through, while the linen offers a bit of a heather appearance in the color. The linen also offers the yarn a bit more structure and can allow the fabric to appear wrinkled or creased if put under pressure.

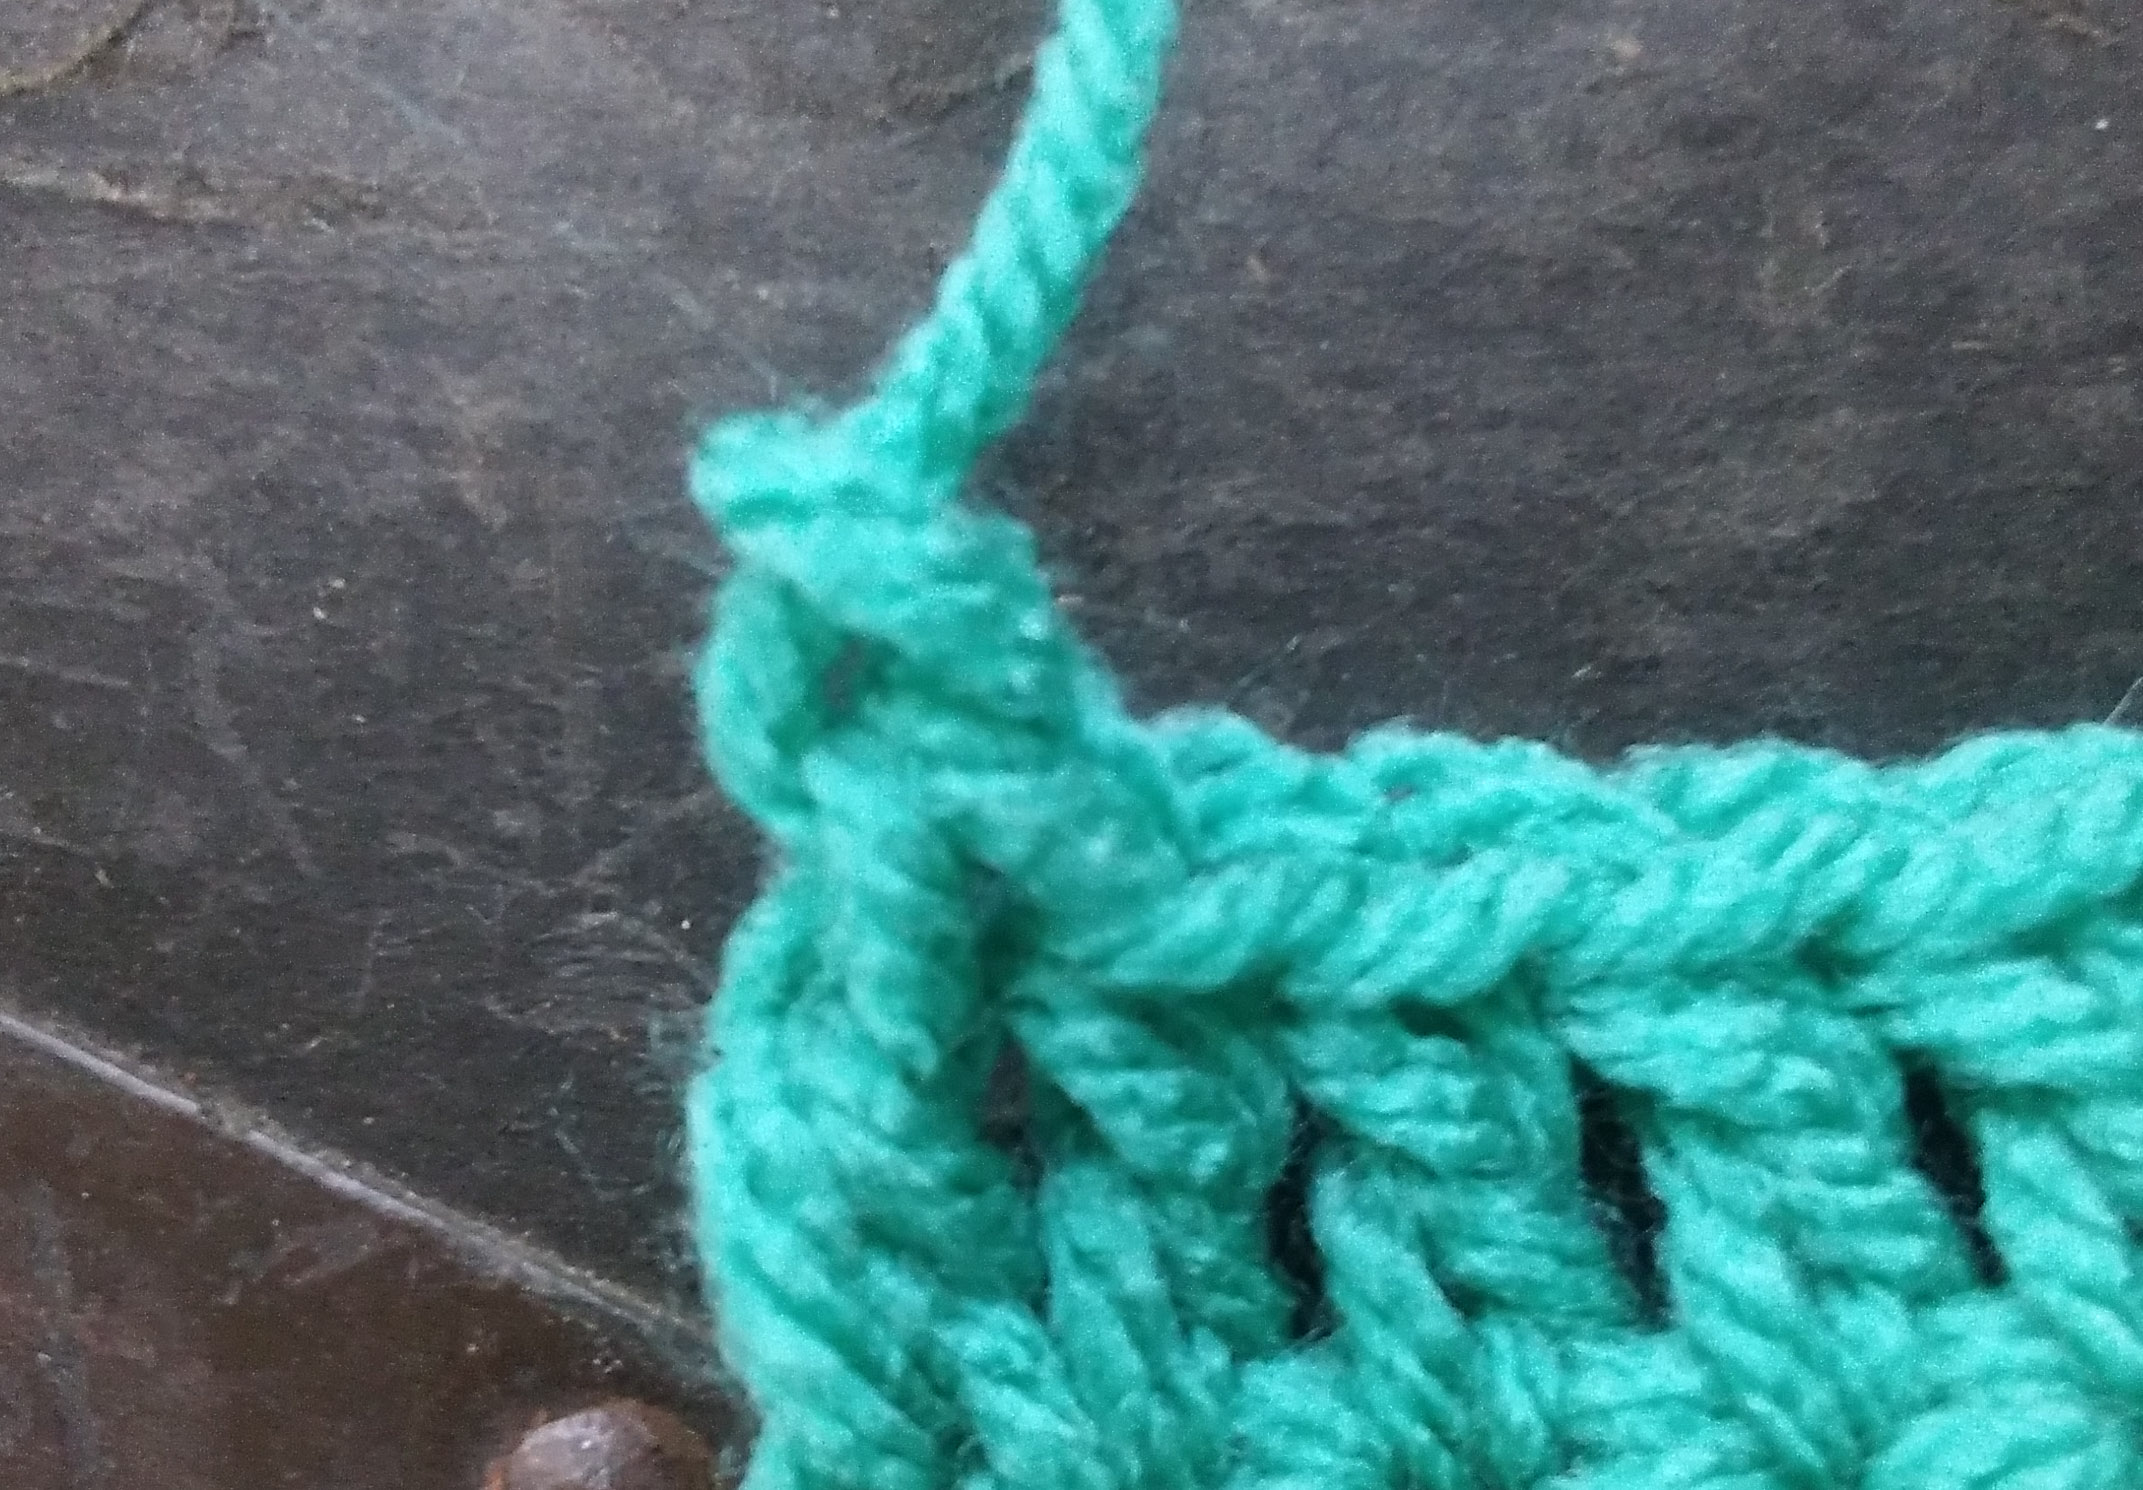
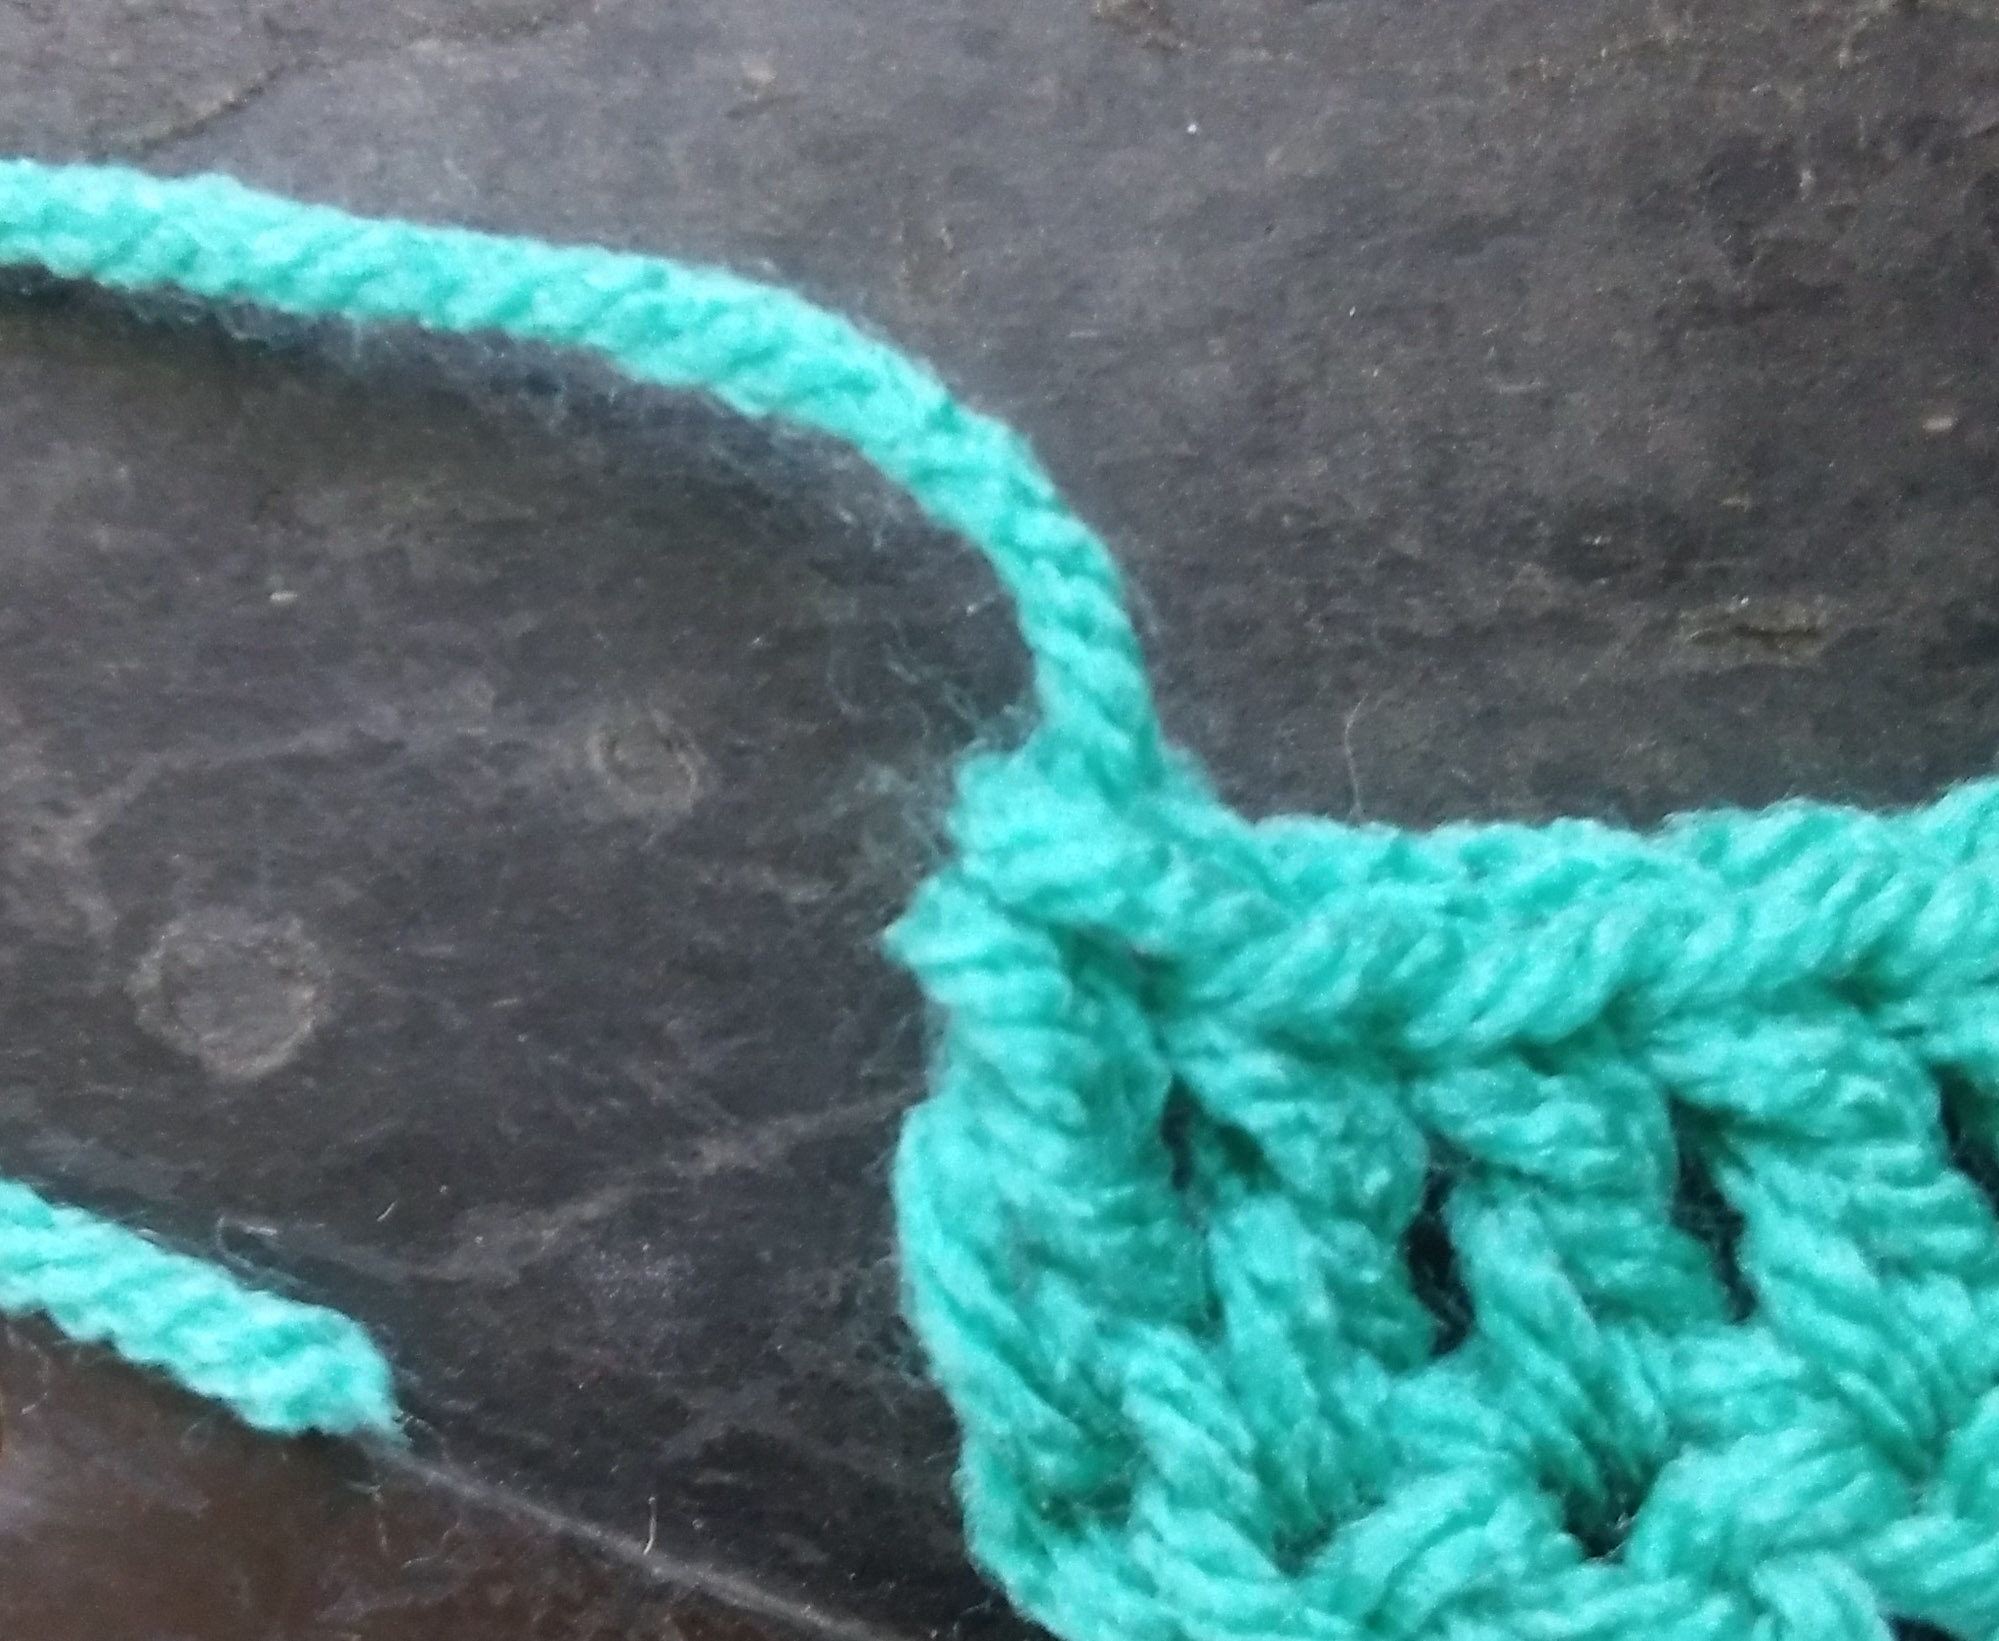
Even with the heathering it still has nice stitch definition, showing texture a bit more subtly than some yarns, but still very nice. It is listed as a Fine weight yarn, but I felt really comfortable using a 5.00mm hook (size H/8) so it didn’t feel at all too fine.

I can easily see this worked up as a garment or accessory close to the skin. The hank has a decent size with 208 yards/190 meters at 50 gram/1.75oz, so a small light shawl might take only 2 hanks, but I would prefer to use at least 3 to get a nice size.

Overall, a nice yarn that spurs some ideas. If you want to check out more of my yarn thoughts select the “Yarn Play” under the website categories.


Crochet Really Is The Love

There are moments that crochet can remind you that how powerful and important the skill can be. One such moment happened recently, as I was repairing an afghan that was brought into my local yarn store.

Repairs can seem intimidating, but really they are just a bit time consuming. Often the most difficult part is finding yarn or thread that matches the piece being repaired. Fortunately I am a bit of a pack rat, so I have a pretty extensive yarn collection. This allows me to have some flexibility in finding a suitable yarn to use. The next really important thing is to catch all of the loose loops of the stitches still intact to ensure that they do not unravel further. This also helps to see where the damage actually stems from and helps gain insight in how to fix it.

The repair that I just completed was one that can be fairly common, any time there are many stitches worked in one place there tends to be more stress on the yarn the stitches are worked into. Sometimes these strands fail and allow all the stitches to become unsecured at the base.

When I undertook the repairs I did not know the story behind it, I did not know the special memories or meanings in these stitches. I just knew that it was important to someone. I never strive to “improve” the quality of the piece, if loose ends are not securely woven it, I just check to make sure that they are not unraveling the fabrics. I try to keep the character that the piece came to me with. I try to just bring the fabric back to whole so that it can continue to be treasured.

I often later learn the stories, some for a grandmother’s handiwork, a sister’s gift, and in the case of my last repair a wife’s final gift to be shared with the first grandchild. It is on these occasions that I really appreciate how much crochet is more than just yarn and stitches, it is love. I am fortunate that I can help that love continue to shine.

Soxy Lady Can Take You Places

It is easy to shy away from yarns that have “Sock” anywhere in its name, or on its label, after all a few crocheters work up socks, but not most. However the name really should not place a limit on its possibilities.

Sock yarn is typically a lighter weight, either a fine or lace weight and sometimes even a light weight. By weight I am meaning the diameter of the strand, the smaller the diameter the skinnier the yarn, the smaller the weight. Some yarns will identify this on a numbering system, in which case sock yarn can range from a number 1-3, with a number 2 being the most common.

Diamond Luxury Soxy Lady www.lindadeancrochet.com

Diamond Luxury Soxy Lady yarn

I have been playing with Diamond Luxury Soxy Lady, which is comprised of 60% superwash wool, 20% alpaca, and 20% nylon, with a generous yardage of 437yrd/400m/100g per hank. It is soft in the hand and creates a nice stitch definition. It has a bit of springiness yet not enough to compete with the openness of lace work.

There can be a benefit to working with a sock yarn, especially if you are not use to using “luxury” yarns. One of the most obvious benefits is price. Price per yarn makes this a very economical value. In some cases you can make a complete shawl from a hank or two of sock yarn, and feel like you have created something of heirloom quality.

Another benefit is that it is usually created with some durable fibers. Often the fibers will be machine washable, such as superwashed or boiled wools, making lit more family friendly and easy to care for. It usually contains a filament that gives added strength to the overall yarn construction and use, such as silk, nylon, or some polyesters. This fibers are strong and wear well, and when you ideally make socks you do not want to replace the heels all that often. So the yarn is designed to wear better and hold up longer.

Often the color variety is vast and the selection of yarn is great. Smaller yarn companies offer a sock weight yarn, and fun colors are always available. Some have short color repeats, some have long color repeats, some have muted tones, and others are vibrant. There really is a lot of selection.

The Soxy Lady by Diamond Luxury fit all the above characteristics, and I can see great possibilities for it in the future.

Crochet Hats De-Mystified

It is interesting that you completely forget how you felt about something before it became common place. Okay, that sentence could apply to many things in today’s day and age, however I was personally thinking of my crochet. A conversation I had with a student juggled a little something free in my mind about hats.

I find crocheting hats a pretty relaxing past time at this point in my life, enough so that the yarn I post about on Fridays … that swatch usually becomes a hat…but I didn’t always feel that way. Hats were intimidating to me, probably because the only crochet hats I had seen as a kid growing up were usually worked vertically with short rows. I had never really seen a top down, or even bottom up worked crochet hat, until probably college.

Top down hats start as a flat circle

That does make my crochet life sound a bit sheltered, maybe it was. I did teach myself after all and I primarily crocheted with “hand-me-down” yarn form other people’s stashes. I made doll clothes and scarves, but if it was something to be adorned or admired, I made afghans …hundreds of them.

Anyway, when I would contemplate working a hat, I was always befuddled by the dome shape, and having it actually fit. Little did I realize how easy it was to make, so easy that since I learned it I have never looked back. Essentially a top down crochet hat begins with a flat circle. Yes, a flat circle. This seems a little counterintuitive, but it works. Creating a flat circle simply requires adding the number of stitches worked in round 1 to be added evenly throughout all other rounds. Meaning if I begin the first round with 12 double crochets, then I add 12 double crochets evenly in each following round, so round 2 would have 24 double crochets, and round 3 would have 36 double crochets.

After the circle is worked to a point where the outer edge, the circumference, measures the circumference of the head (usually somewhere between 20” and 22” (51-56 cm) for a typical adult), then you quit working any increasing stitches and continue working even (a single stitch in every stitch around), until you have the hat the desired length.

Here is a really basic pattern for a hat, nothing fancy…

Using any yarn and a corresponding hook,

Rnd 1: Ch 4, 11 dc in 4th ch from hook, sl st to top of beg ch. (12 dc)

Rnd 2: Ch 3, dc in same st, 2 dc in each st around, sl st to join. (24 dc)

Rnd 3: Ch 3, dc in same st, dc in next st, [2 dc in next st, dc in next st] around, sl st to join. (36 dc)

Note: Depending on your yarn and hook only continue working Rnds until circumference of hat is met with circumference of the circle, then work Body of Hat.

Rnd 4: Ch 3, dc in same st, dc in next 2 sts, [2 dc in next st, dc in next 2 sts] around, sl st to join. (48 dc)

Rnd 5: Ch 3, dc in same st, dc in next 3 sts, [2 dc in next st, dc in next 3 sts] around, sl st to join. (60 dc)

Rnd 6: Ch 3, dc in same st, dc in next 4 sts, [2 dc in next st, dc in next 4 sts] around, sl st to join. (72 dc)

Rnd 7: Ch 3, dc in same st, dc in next 5 sts, [2 dc in next st, dc in next 5 sts] around, sl st to join. (84 dc)

Body of Hat

Ch 3, dc in each st around, sl st to join. Repeat this Rnd until hat is desired length.

Fasten off and weave in ends.

Make a few hats, and considering helping your local community by donating a few to your local homeless shelter.

A Simple End Two Ways for Crochet

I have found some debate on how one ends their work. This might seem like a something quite simple, but there a couple of different ways I have seen it done, and I am sure there are others.

Finish off. www.lindadeancrochet.com

Pulling the cut yarn through the last loop on hook.

At the end of a pattern it will say finish off or fasten off, both essentially mean the same thing, cut your yarn and end your work. It is the process to end your work that can get some discussion. No one really talks about it, as many are afraid that they may not being doing it correctly and they don’t want anyone to know. So this gets discussed in small private groups that people do not feel judged in, or when a brand new crocheter asks the question to a large group.

The two most common I have found in my discussions are to complete the stitch, leaving 1 loop on the hook, cutting the yarn and pulling through this one loop. This does leave a slight “bump” at the end of your work, because in a sense you are creating a knot. I will be honest, this is the approach I most often use, I like to feel that the end will not come undone, basically it is a piece of mind for myself.

Finish off. www.lindadeancrochet.com

Pull cut yarn though the end of last stitch.

The second is to finish the last stitch, cut the yarn and pull it through the last stitch. This is the method used when working an invisible join, and l feel it can have a really nice finish off, if you are prepared to weave in your ends immediately. There is the benefit of not having any extra little knot at the end of the work, giving a soft even feel across the entire fabric.

There really is not right or wrong way to finish off, it is a matter pf personal preference. You may feel that in some instances a different finish can benefit your work, and that is fine. As always as long as you are happy with your work, that is all that is important.