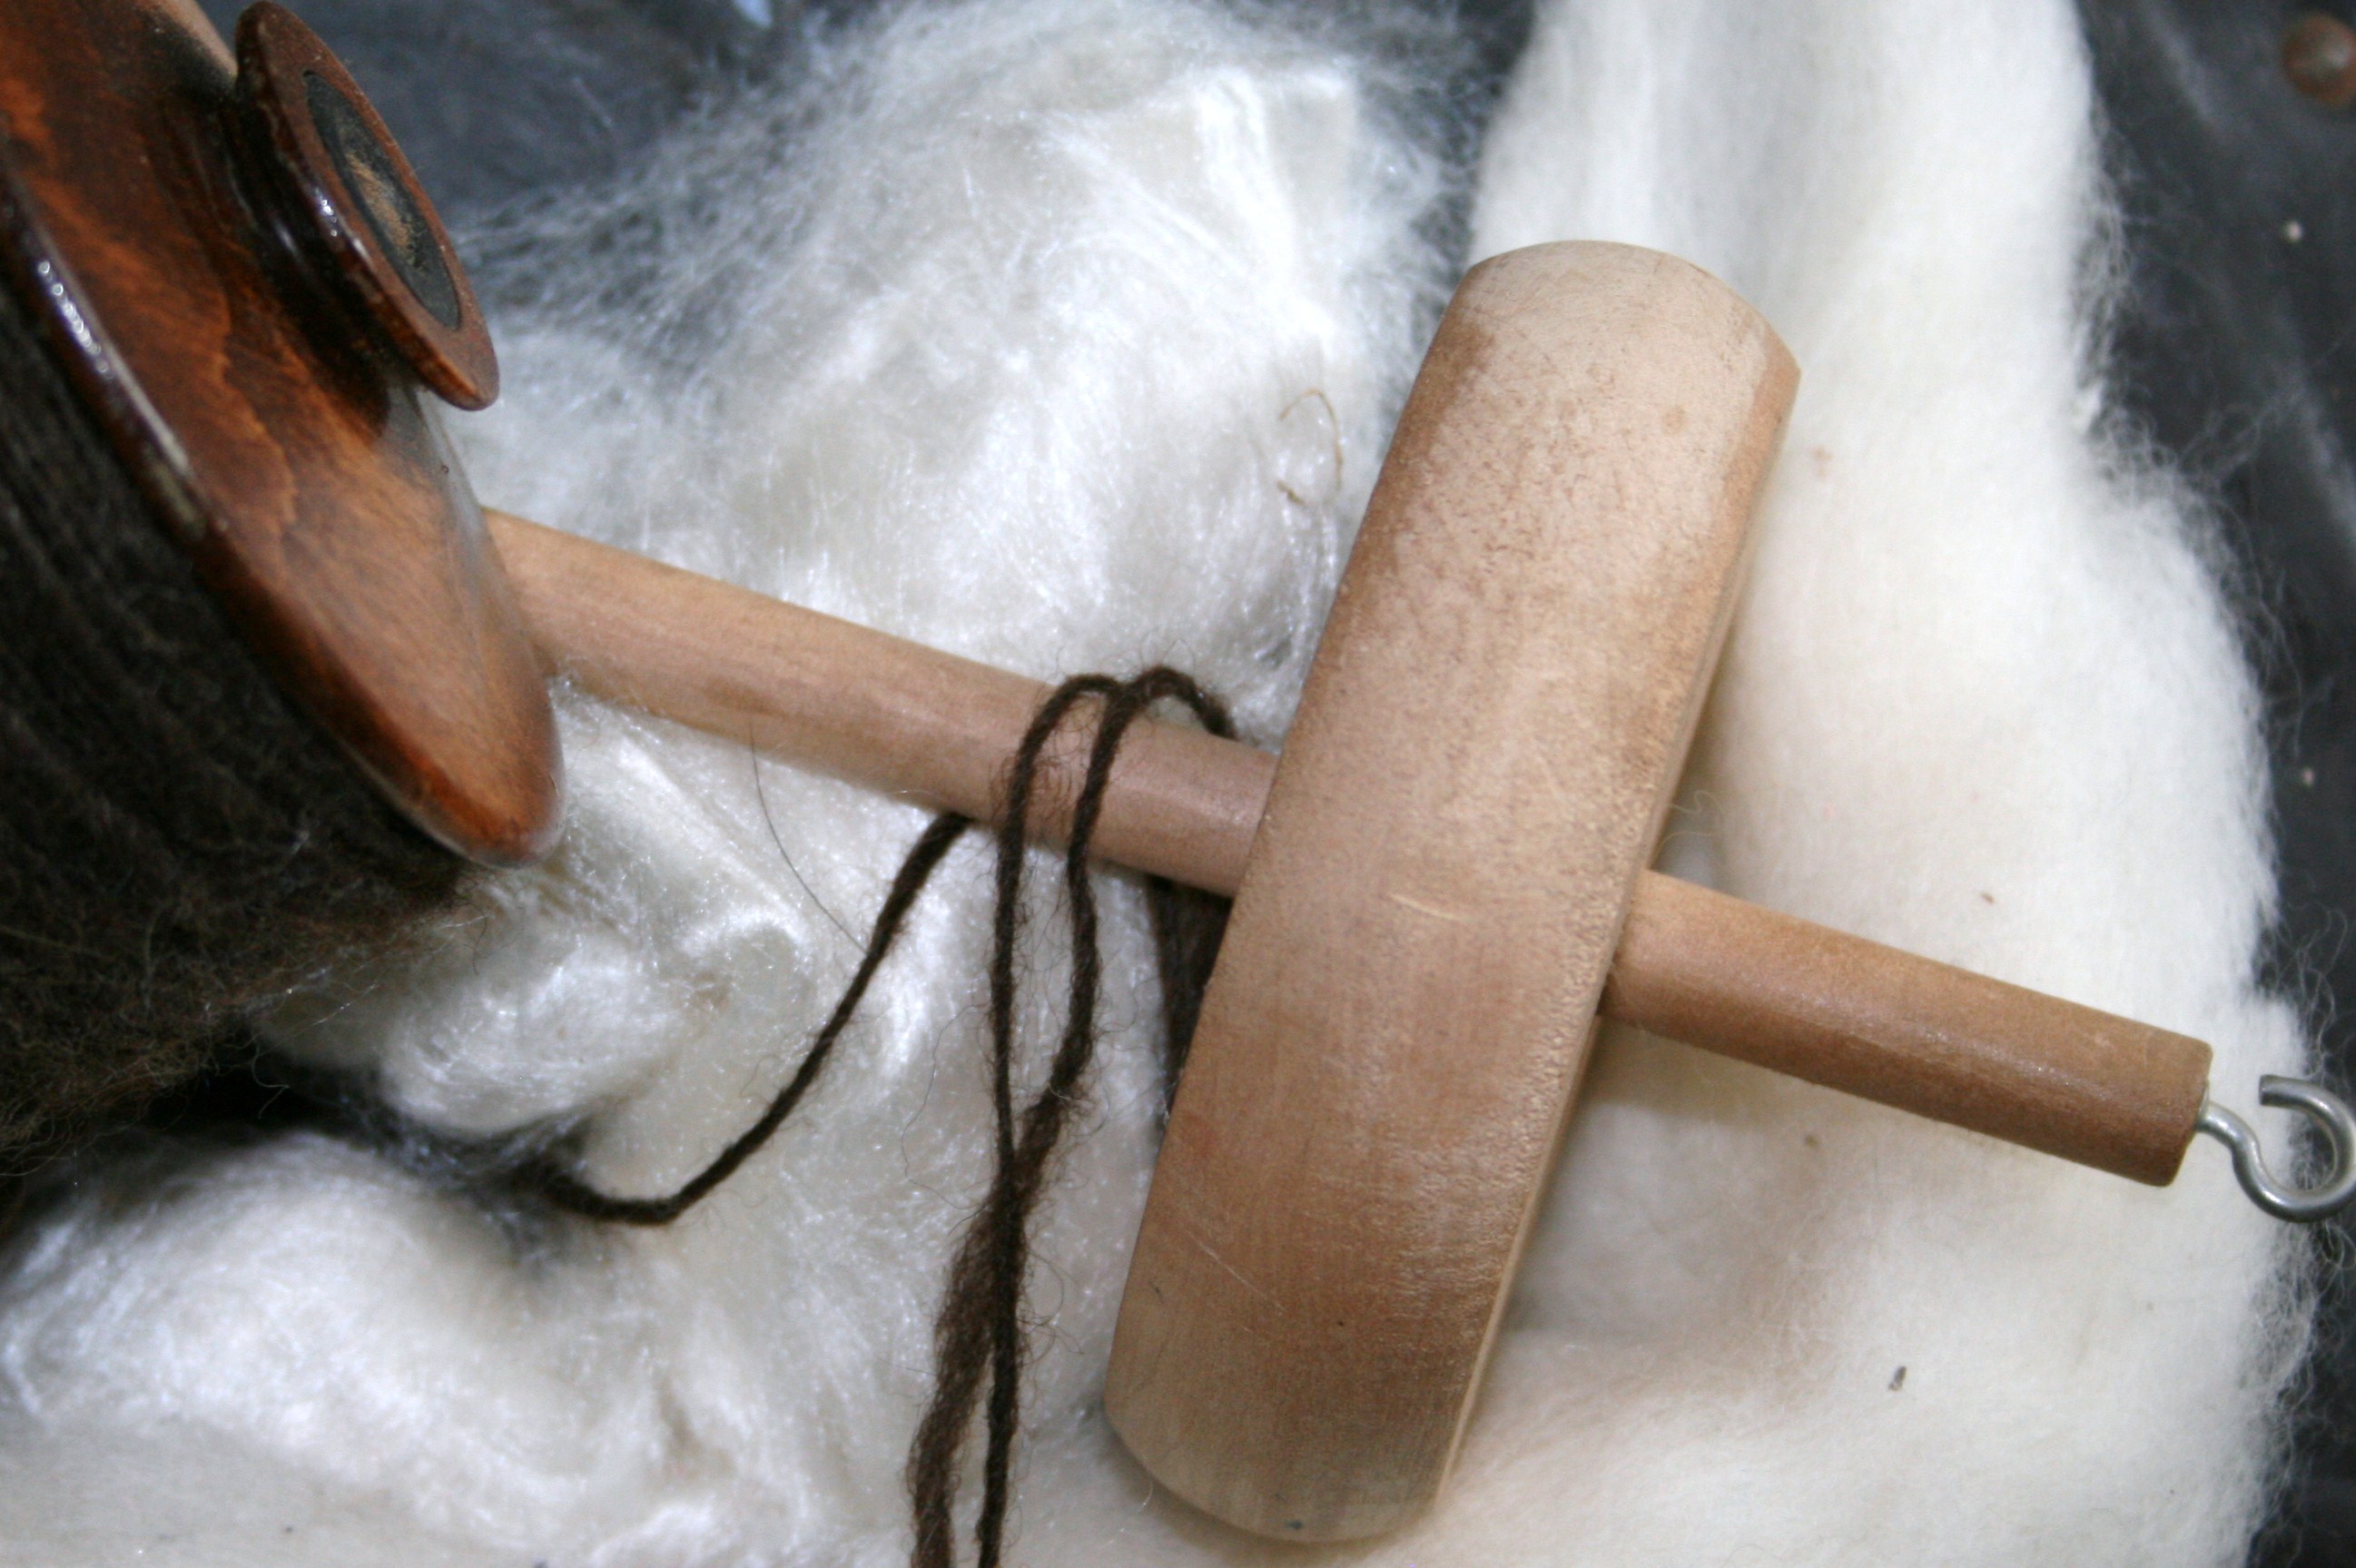
Spring weather has really descended upon my home, and with it the need for fun and whimsical attire and free patterns. In addition to wanting to spice up my wardrobe, I have a bit of the spring cleaning bug. In undertaking my cleaning projects I find myself being distracted by small piles of yarn, left over partials of skeins.
In order to kill two birds with one stone, I have some up with a simple project to help my daughter up her hair back, and have a retro vibe, a hair scarf.
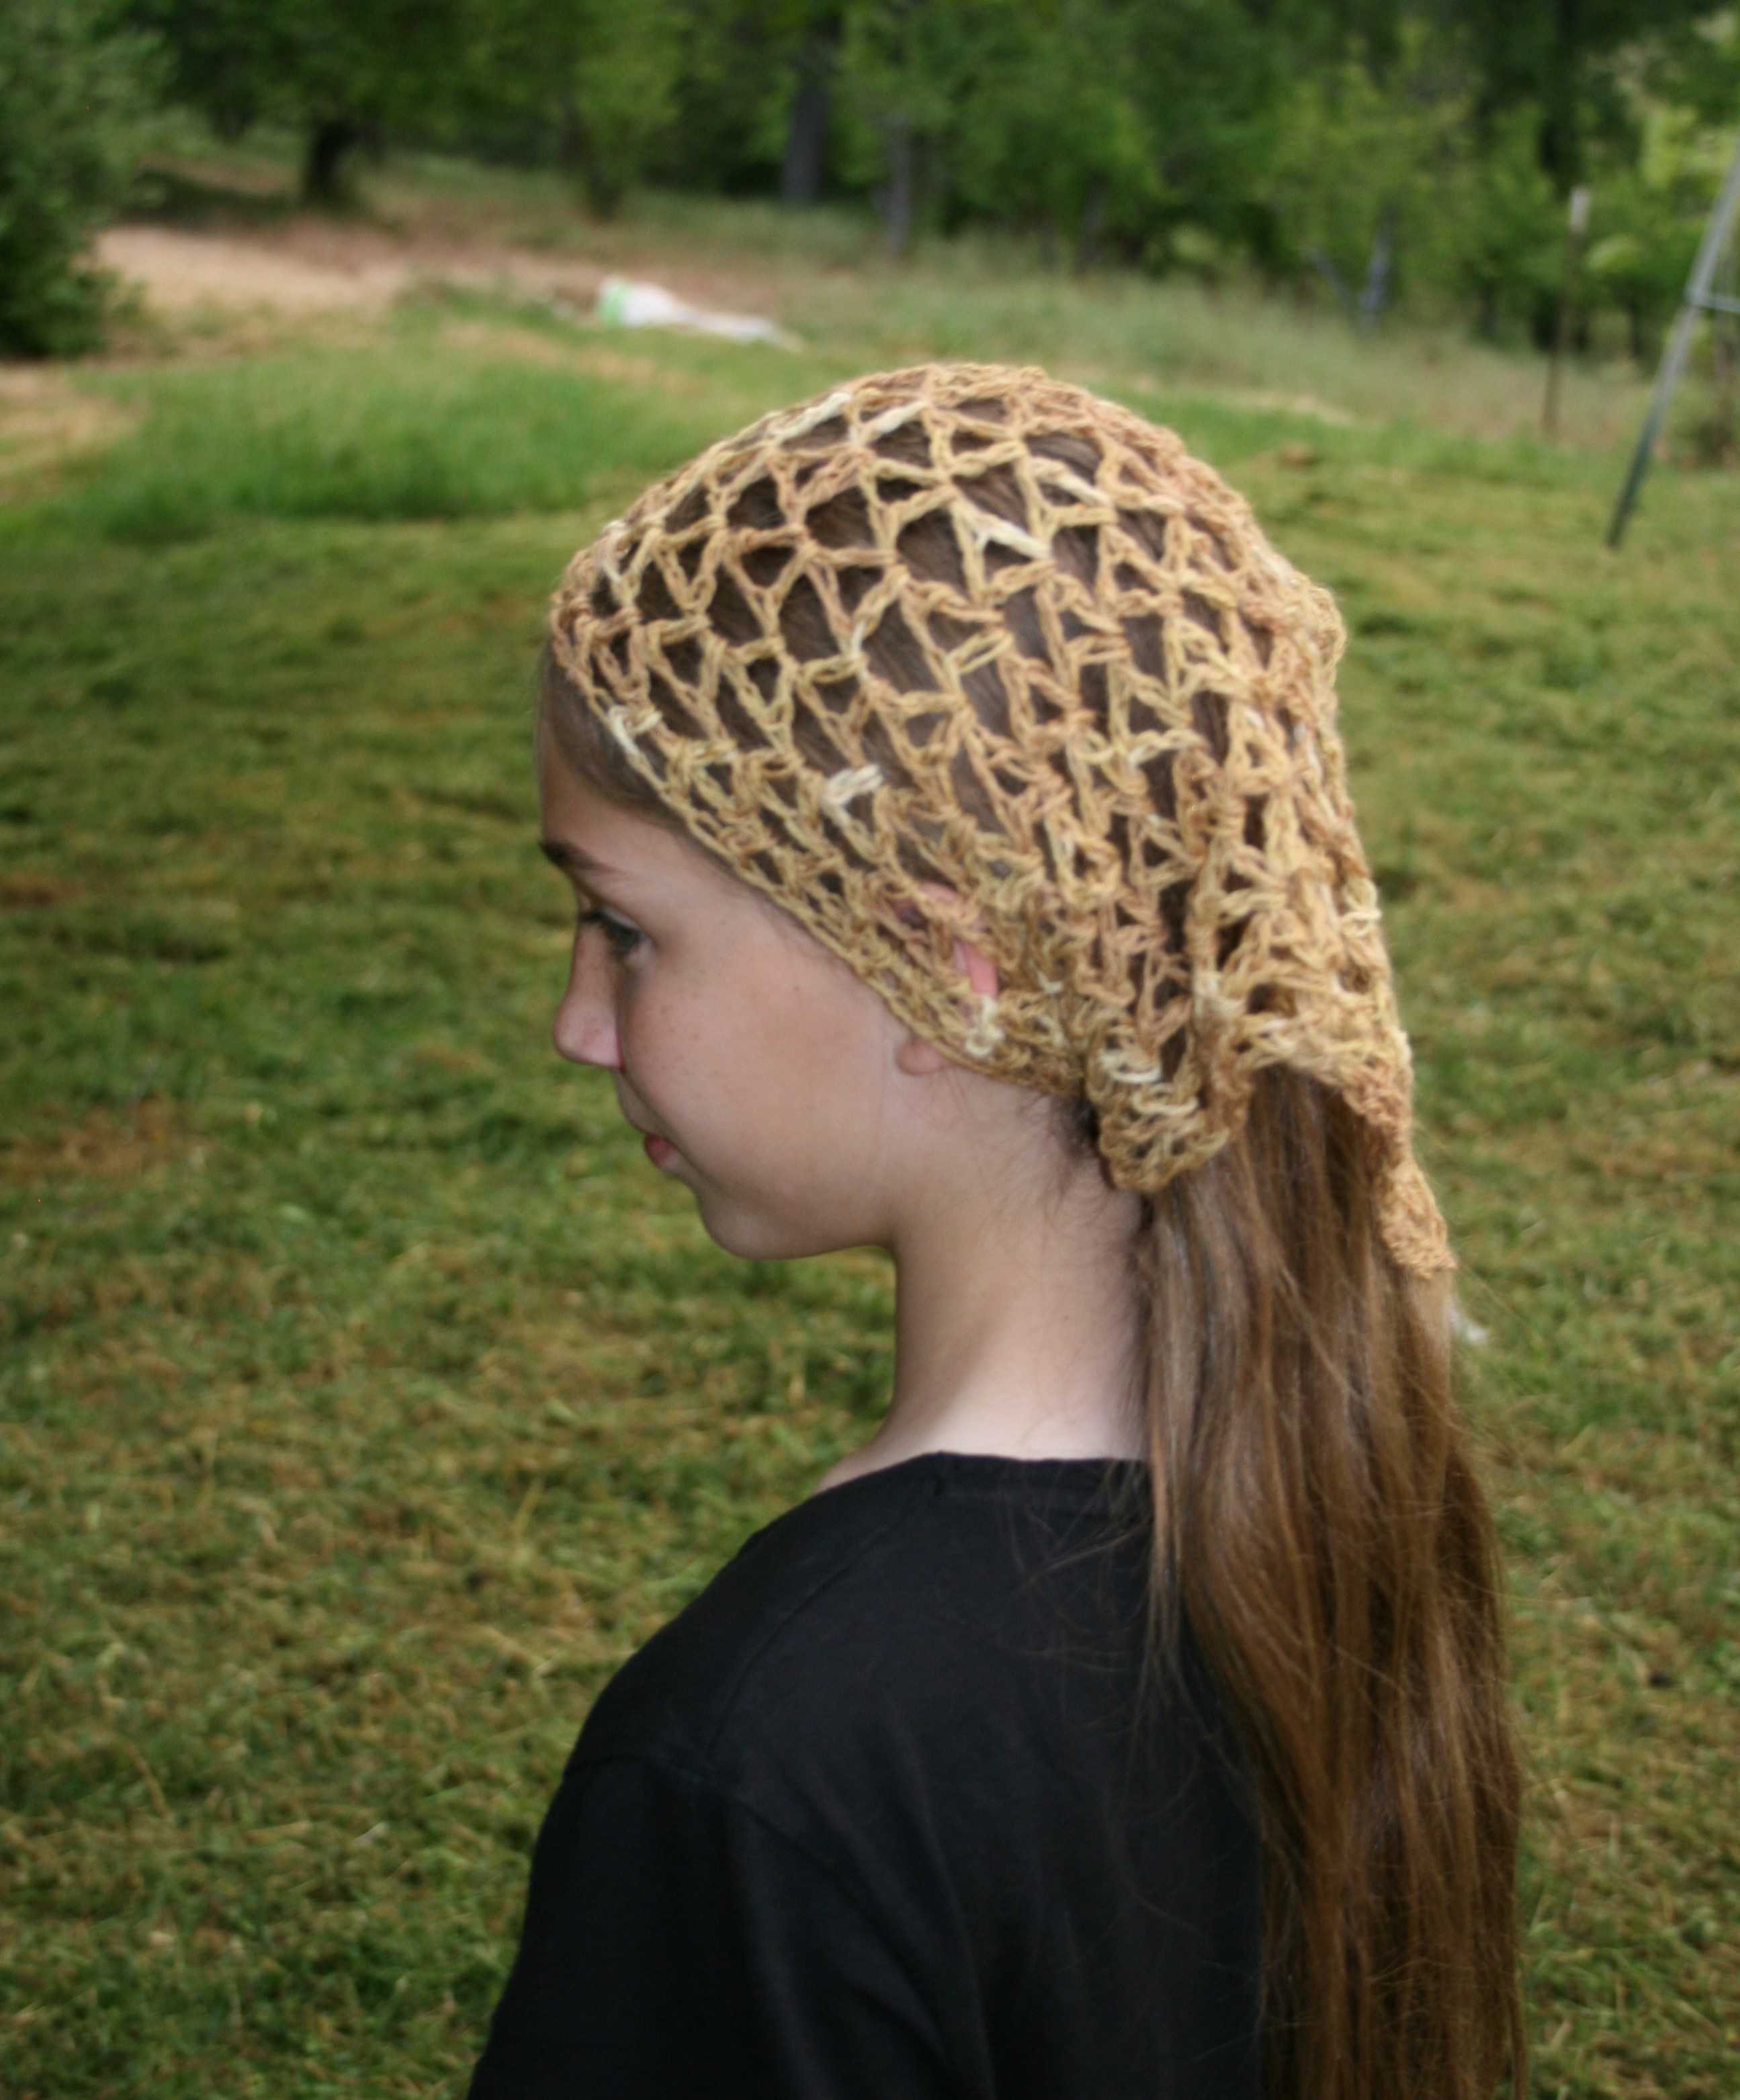 The hair scarf is worked from the back point and worked with increases on both sides until it is the desired length.
The airy stitch offers a lot of potential that can easily change the drape by changing fiber types. My sample is made up of a blend of Suri Alpaca, Wool, and Nylon, but changing to a cotton blend or a silk and the drape will be even greater.
If you have a bit of partial skeins around, and want to create a change for spring, check out my free pattern below.
 Retro Hair Scarf
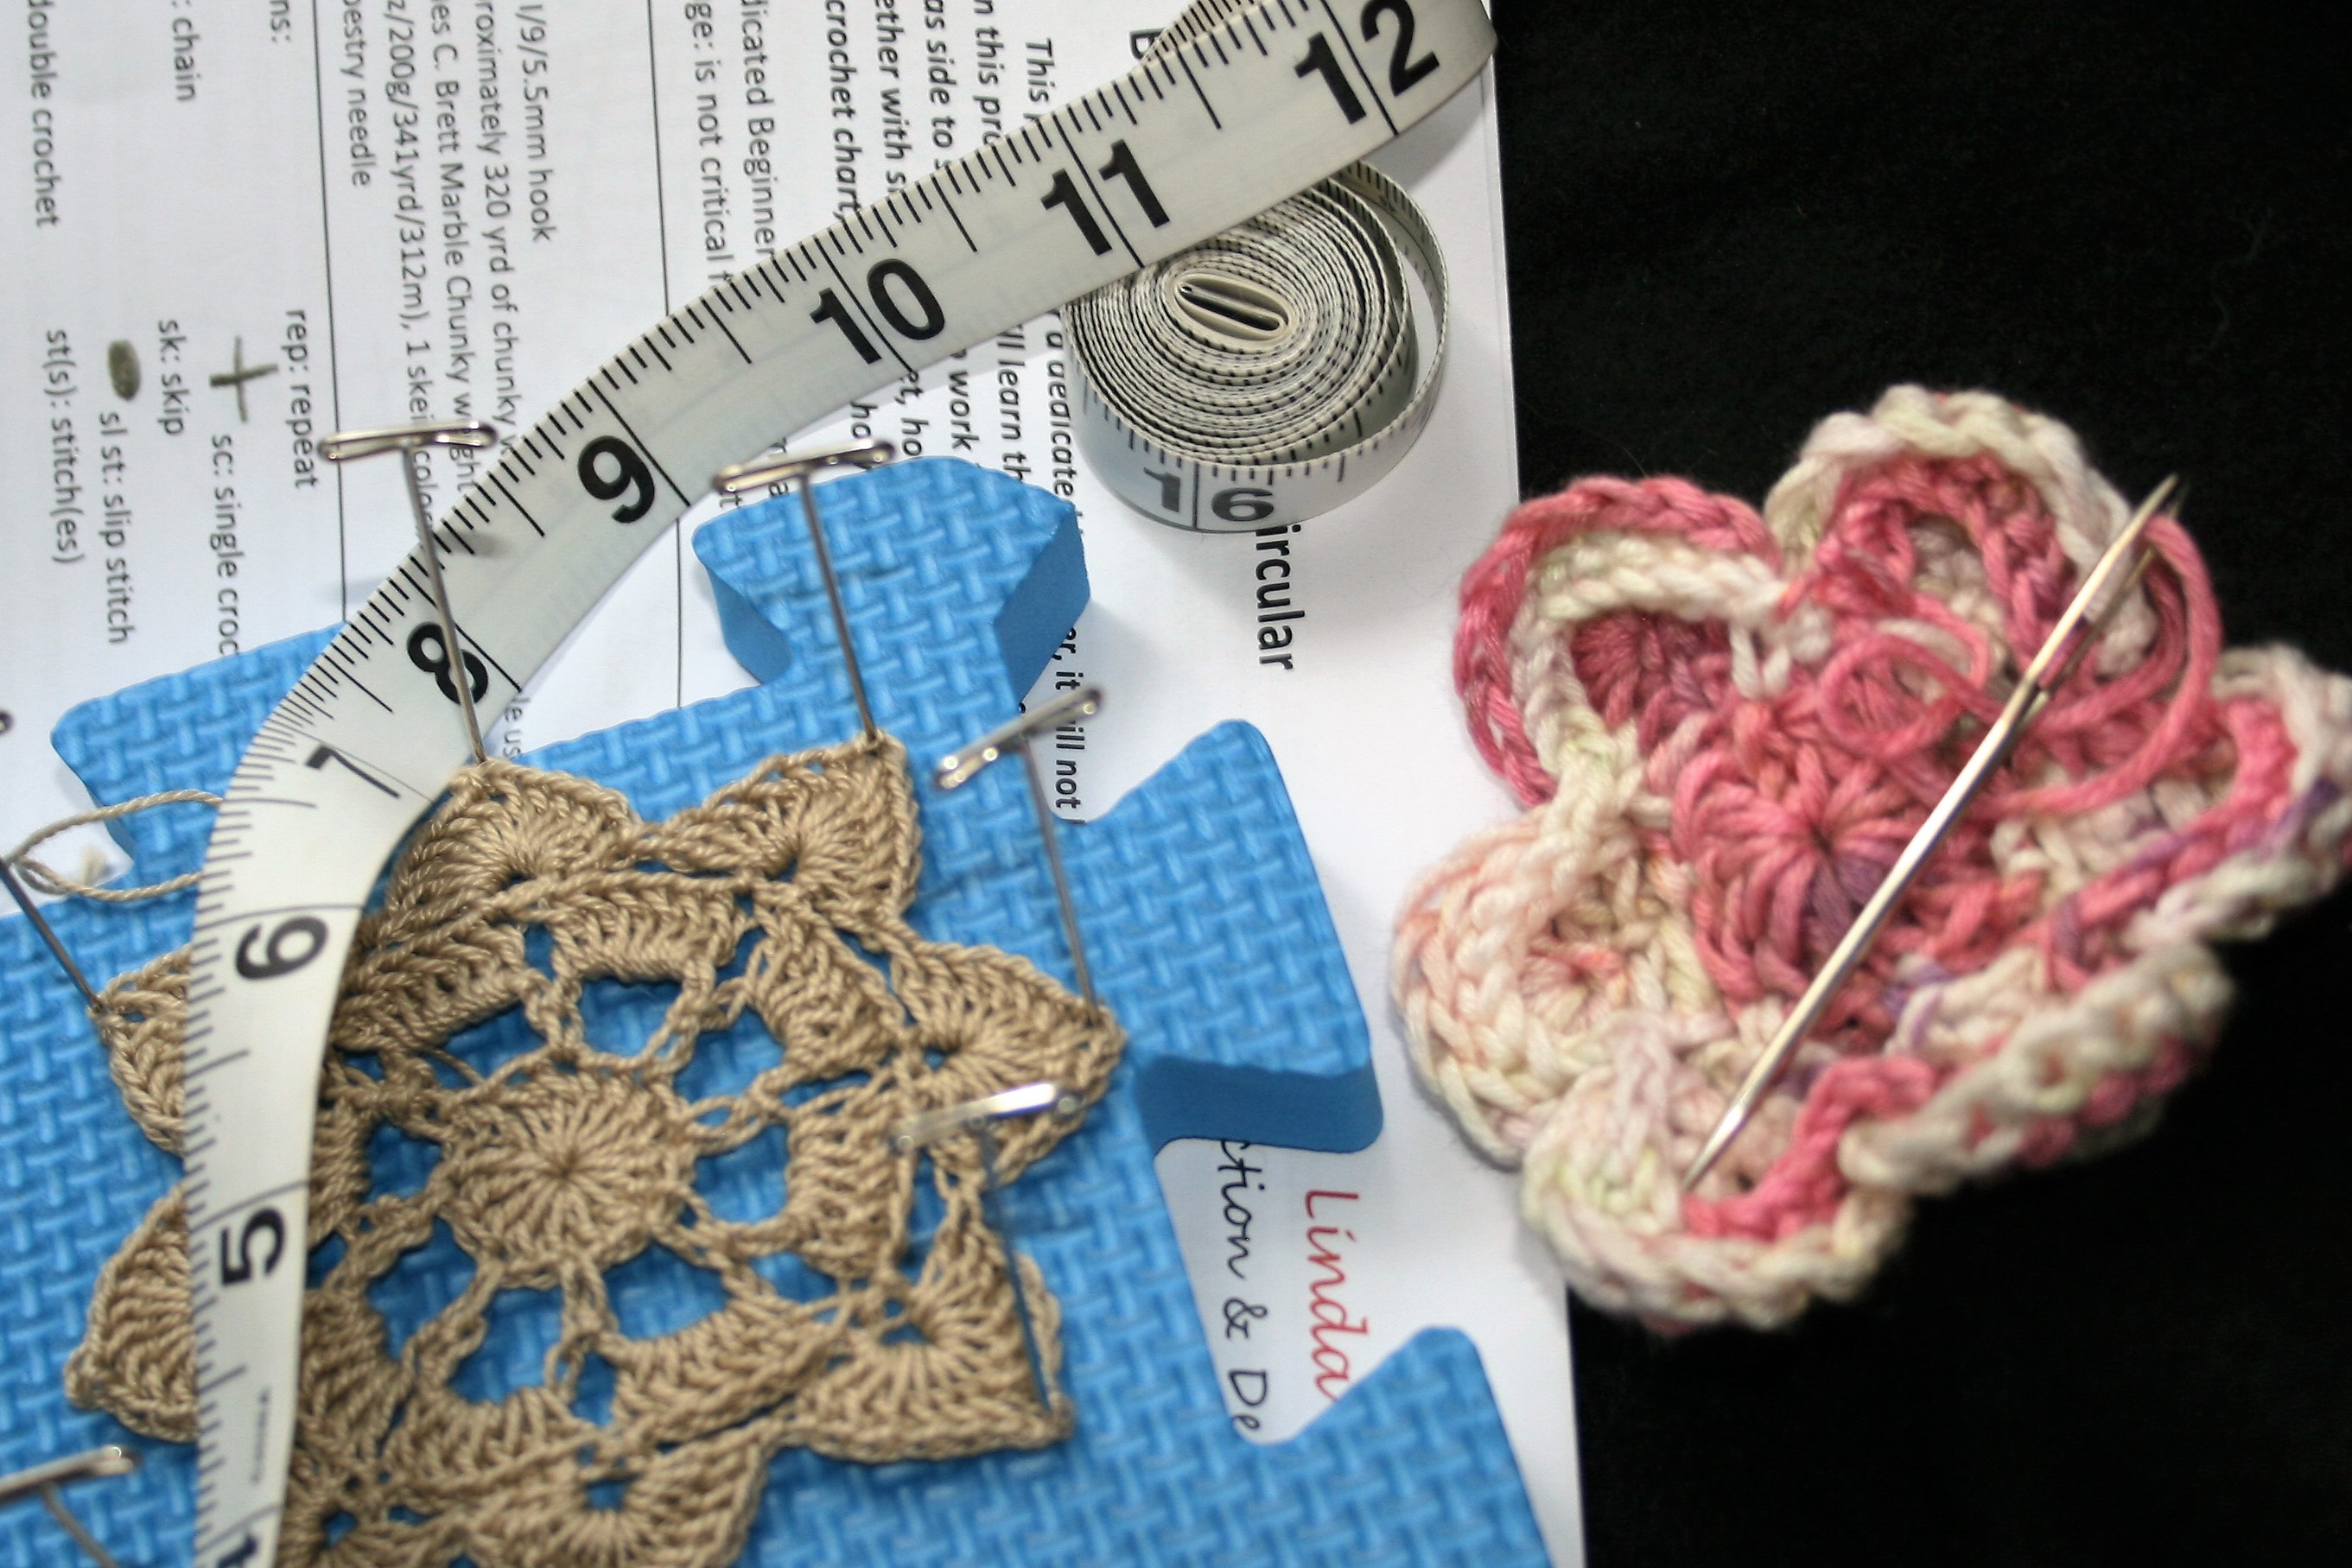
Materials:
- About 100 yards of light weight yarn
- Size I/9/5.5mm size hook
Gauge is not import for this project
Special Stitches
Beginning V Stitch (Beg V st): Ch 4, dc in same stitch
V Stitch (V st): (dc, ch 1, dc) in same space
Abbreviations:
Bet = between
Ch = chain
Dc = double crochet
Rep = repeat
Sk = skip
Sp(s) = space(s)
Row 1: Ch 5, dc in first ch, turn.
Row 2: Beg V st, sk 1 ch, V st in next ch, turn.
Row 3: Beg V st, V st bet Beg V and V st, sk 1 ch, V st in next ch, turn.
Row 4: Beg V st, V st bet each V st across, sk 1 ch, V st in next ch, turn.
Row 5-23: Rep Row 4. Fasten off. Weave in ends, block.