 Thank you for joining me for my Moogly CAL Square! As a time of year of giving thanks, I am very thankful to be invited to participate in the project, and I hope you enjoy my contribution as the last square for the year.
If you are unfamiliar with The Moogly Yearly Afghan CAL, you can learn more about this project, learning a new 12″ square every 2 weeks, here at Mooglyblog.com.
I tend to like a little different angle in my squares, hence to rotation to create a diamond in the center. This square changes colors every round, but you can create it in many different color configurations. As for the name of this square, Deborah is a long time student, and supporter of my crochet career. She makes a point of sharing her love of baking with all the other students at the weekly crochet classes I teach at my local yarn store, and is always encouraging to everyone. So the name is another sign of thanks.
Deborah’s Diamond Square by: Linda Dean
Small Shells create a center diamond that is framed in color, having a modern feel with classic charm.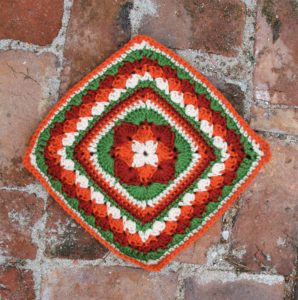
Finished Size: 12”x 12”
Materials List:
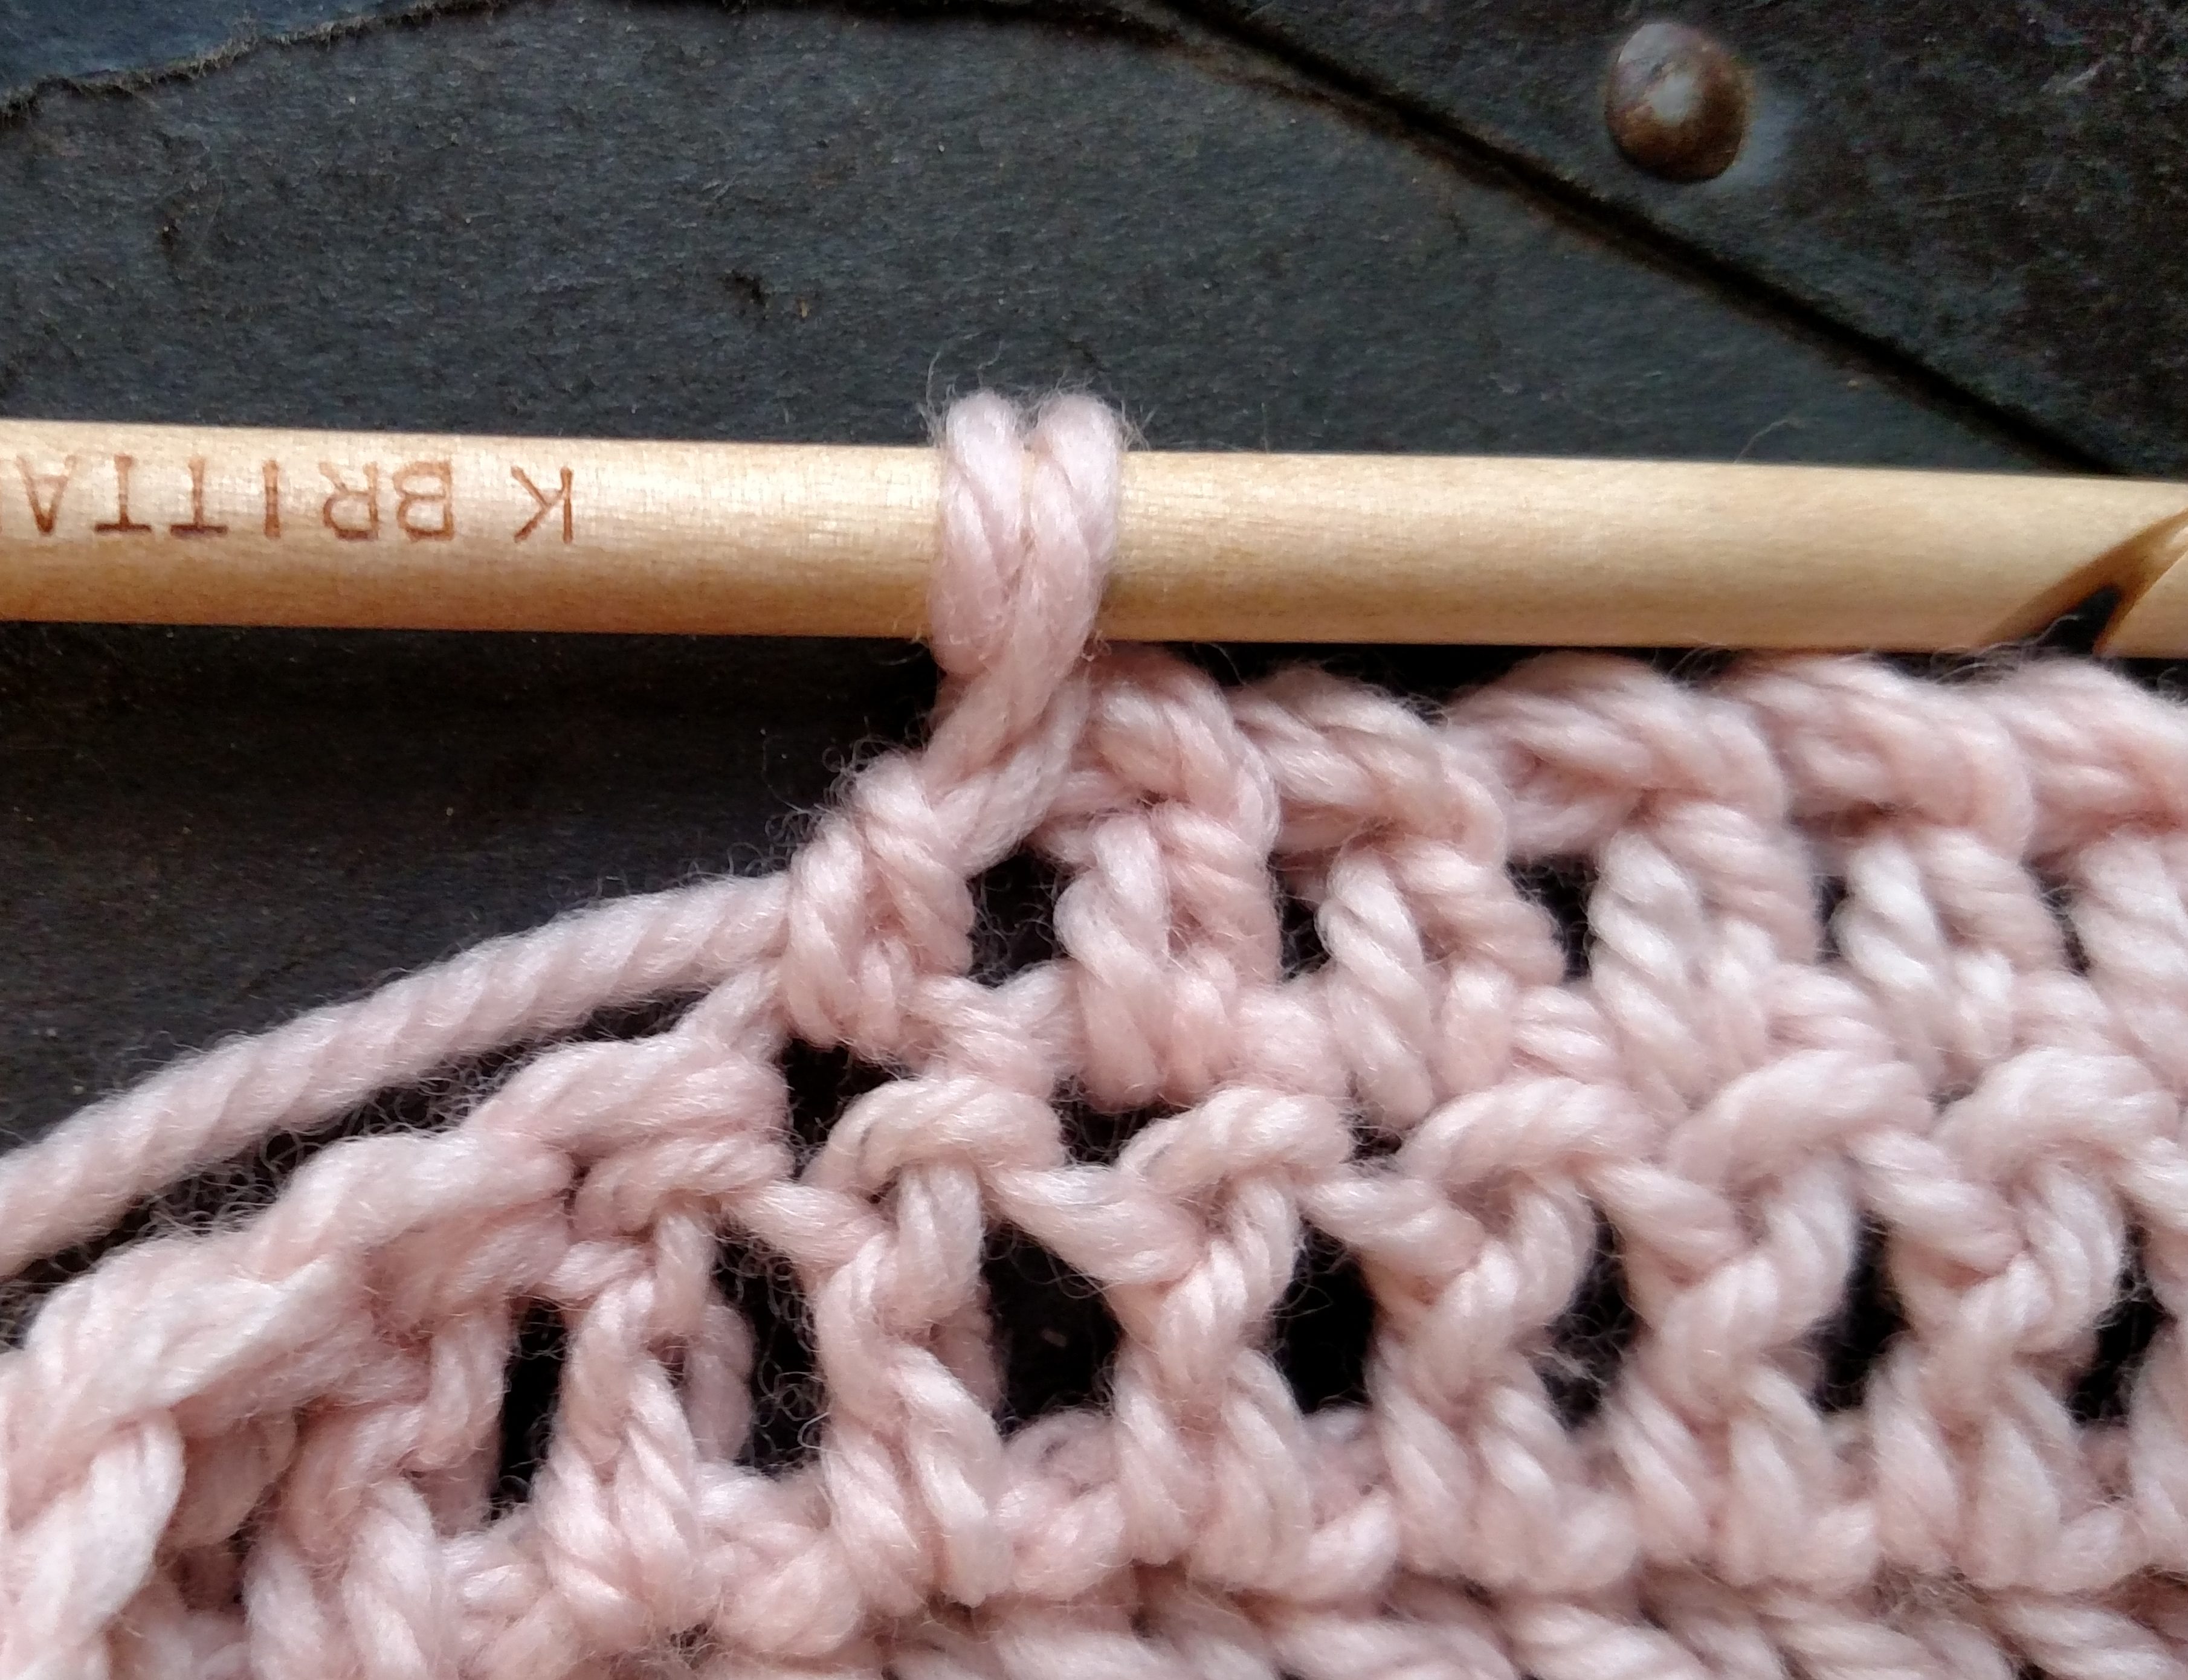
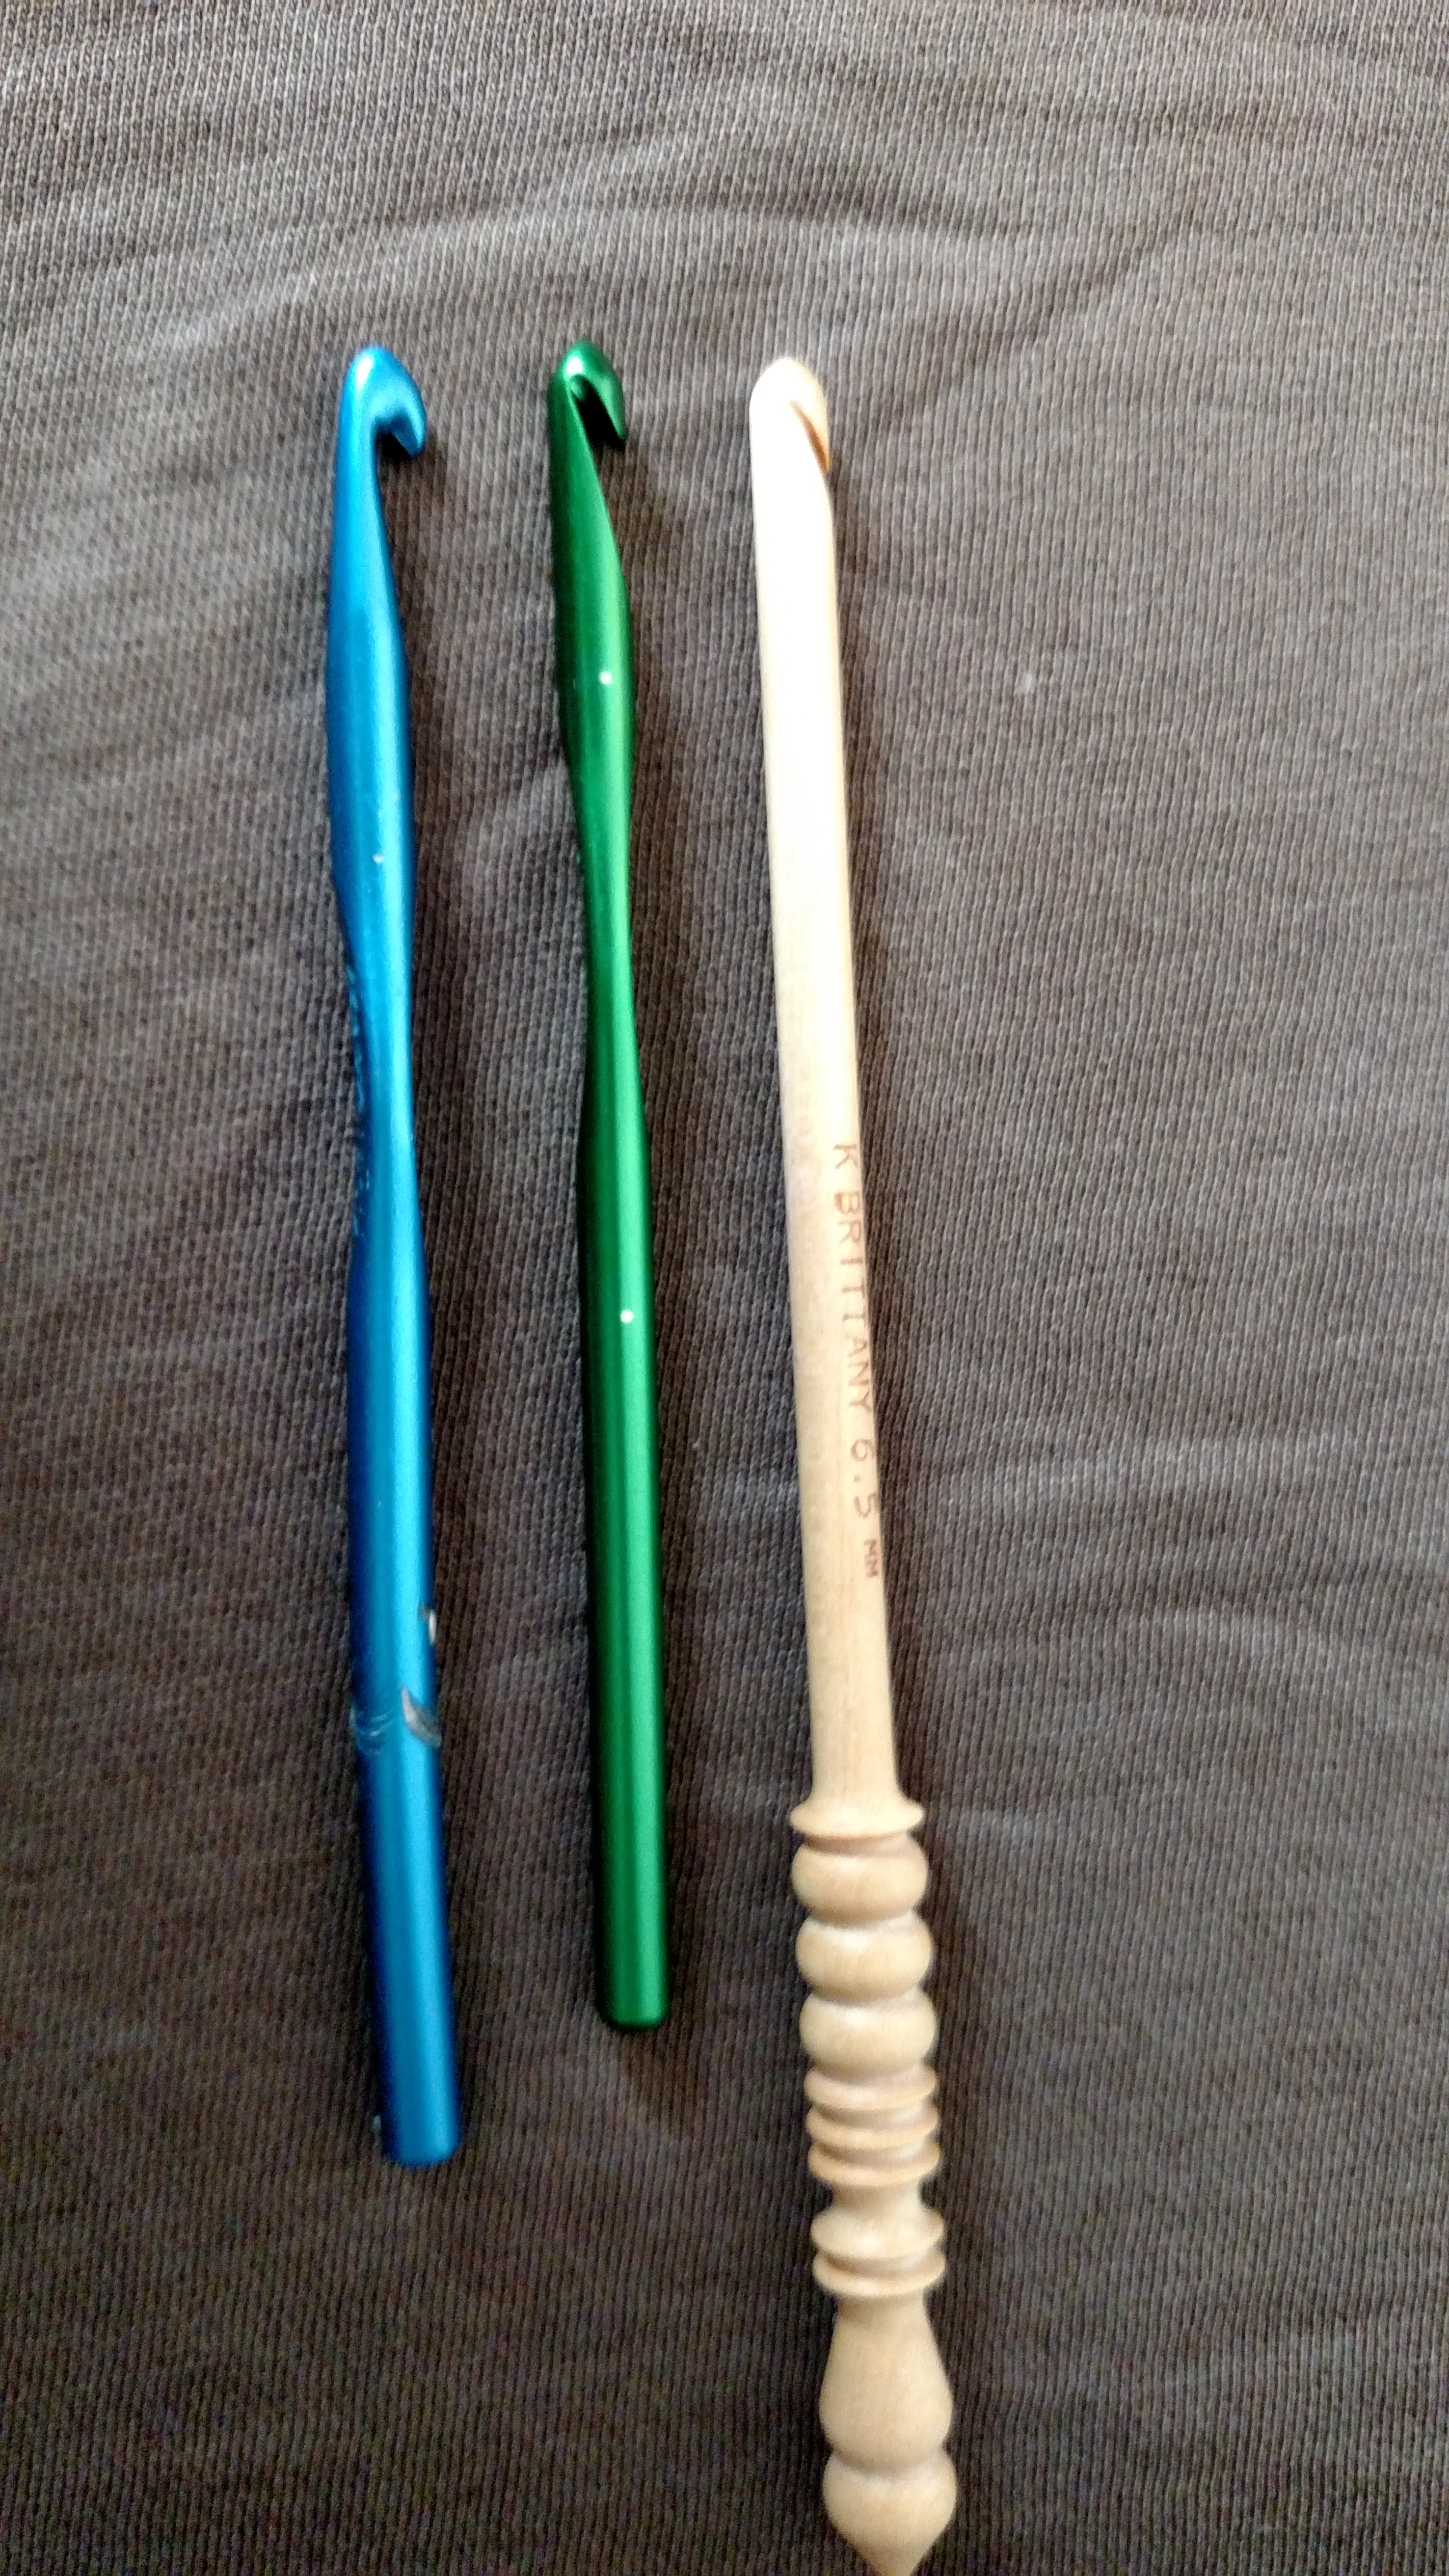
- J/10/6.00mm size crochet hook
- Lion Brand Vanna’s Choice medium weight 100% Acrylic yarn (3.5oz/100g/170yds): 1 skein each color: (A) #123 Beige, (B) #134 Terracotta, (C) #133 Brick, (D) #172 Kelly Green
- Tapestry needle
Abbreviations:
ch: chain
dc: double crochet
hdc: half double crochet
sk: skip
sp(s): space(s)
st(s): stitch(es)
YO: yarn over
Rnd 1: With color A, ch 4, sl st to first ch forming a ring, ch 2 (counts as hdc), 2 dc in ring, hdc in ring, [hdc, 2 dc, hdc] in ring three times, sl st to join, fasten off. -8 hdc, 8 dc
Rnd 2: With color B join to last st of Round 1, ch 3 (counts as dc) 5 dc in same st as join, sk 1 st, sc in next dc, sk 1 st, [6 dc in next hdc, sk 1 st, sc in next dc] three times, sl st to join, fasten off. – 4 sc, 24 dc
Rnd 3: With color C, join to any sc, ch 3 (counts as dc), 10 dc in the same st, sk 2 dc, sc in next 2 dc sts, sk next 2 dc, [11 dc in next sc, sk 2 dc, sc in next 2 dc, sk next 2 dc] three times, sl st to join, fasten off. -8 sc, 44 dc
Rnd 4: With color D, join to last st of Round 3, ch 3 (counts as dc), 5 dc in same st as ch, 6 dc in next sc, sk 4 sts, sc in next st, ch 1, sk 1 st, sc in next st, [6 dc in next 2 sc, sk 4 sts, sc in next st, ch 1, sk 1 st, sc in next st] three times, sl st to second to the last st join, fasten off. -8sc, 48 dc
Rnd 5: With color A join in any ch-1 sp, ch 1, sc in same sp, sc in next 6 sts, [hdc in next st, ch 1, hdc in next st, sc in next 13 sts] three times, hdc in next st, ch 1, hdc in next st, sc in remaining 6 sts, sl st to join, fasten off. – 52 sc, 8 hdc
Rnd 6: With color B, join in any ch-1 sp, ch 3 (counts as hdc and ch 1), hdc in same sp, sc in each st across to ch-1 sp, [(hdc, ch 1, hdc) in next ch-1 sp, sc in each st across] three times, sl st to join, fasten off. –60 sc, 8 hdc
Rnd 7: With color C, join in any ch-1 sp, ch 3 (counts as hdc and ch 1), hdc in same sp, sc in each st across to ch-1 sp, [(hdc, ch 1, hdc) in next ch-1 sp, sc in each st across] three times, sl st to join, fasten off. –68 sc, 8 hdc
Rnd 8: With color D, join in any ch-1 sp, ch 3 (counts as hdc and ch 1), hdc in same sp, sc in each st across to ch-1 sp, [(hdc, ch 1, hdc) in next ch-1 sp, sc in each st across] three times, sl st to join, fasten off. –76 sc, 8 hdc
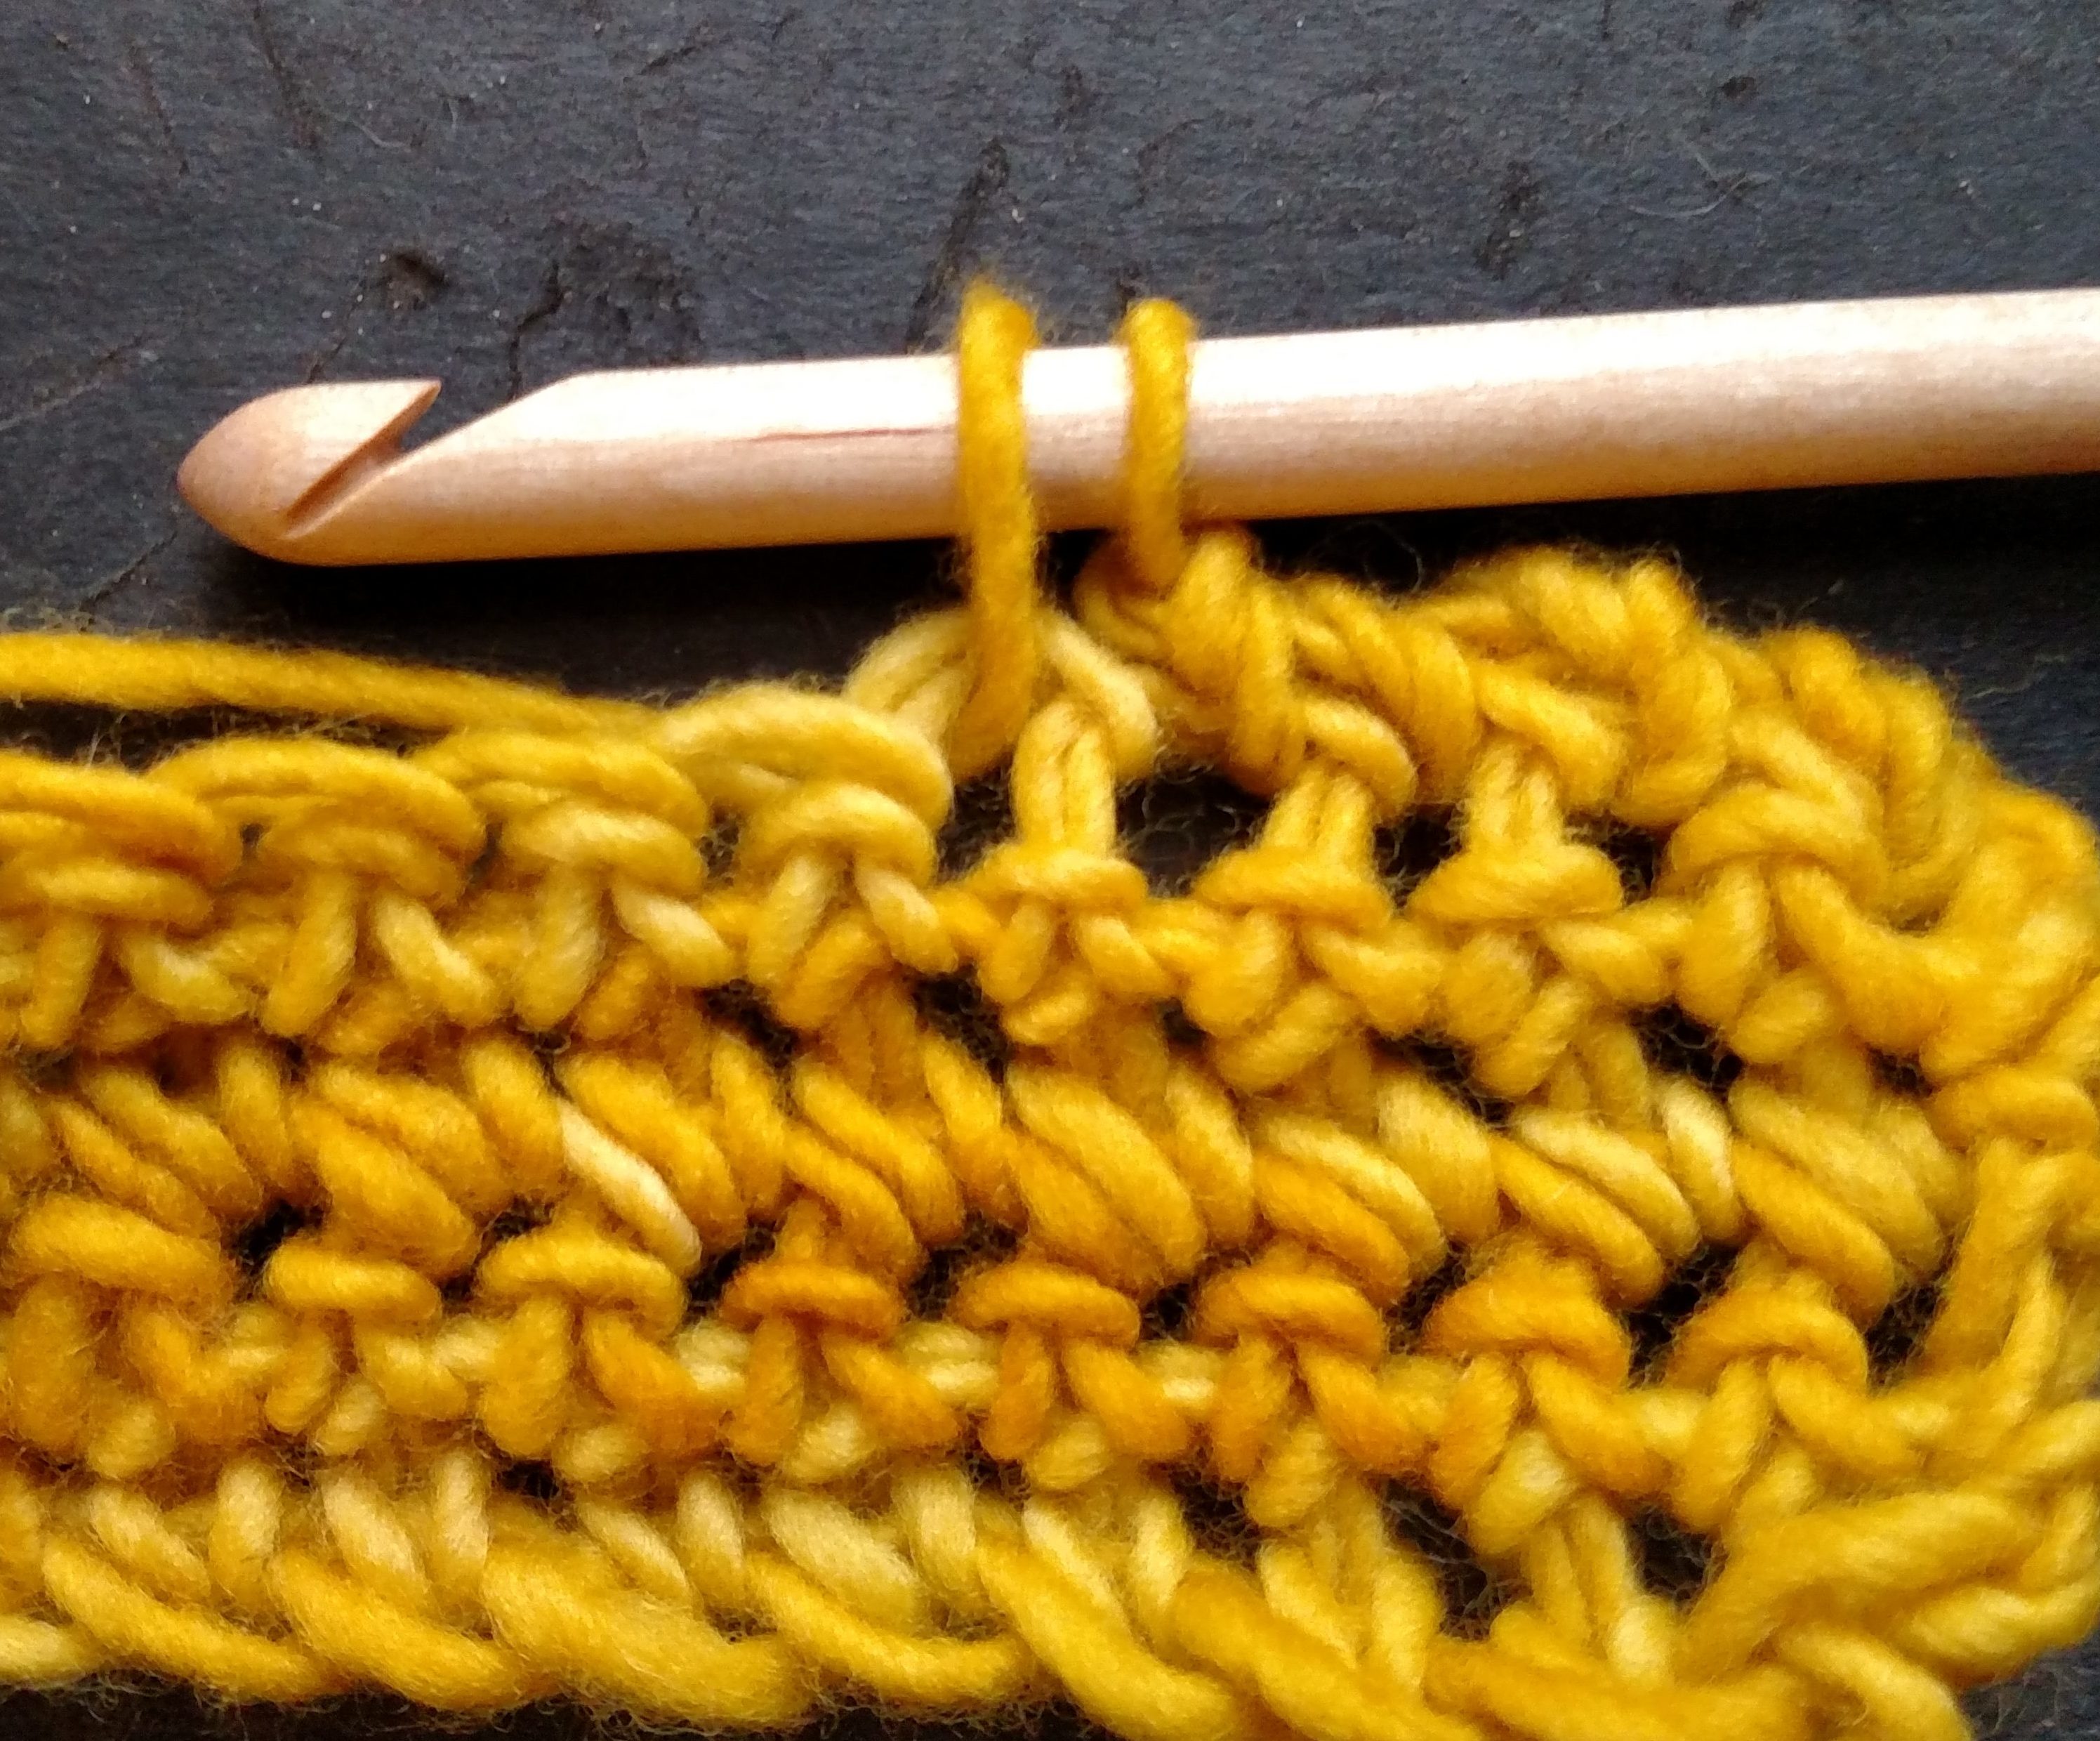
Rnd 9: With color A, join to any ch-1 sp, (sc, ch 1, sc) in same sp, sk hdc, [sk 1 st, 3 dc in next st, sk 1 st, sc in next st] five times, *(sc, ch 1, sc) in ch-1 sp, sk hdc, [sk 1 st, 3 dc in next st, sk 1 st, sc in next st] five times; rep from * around, sl st to join, fasten off. – 28 sc, 60 dc
Rnd 10: With color B, join to any ch-1 sp, ch 3 (counts as hdc and ch 1), hdc in same sp, sk sc and 1 dc, sc in next dc, 3 dc in next sc, [sk 1 dc, sc in next dc, 3 dc in next sc] across to ch-1 sp, *(hdc, ch 1, hdc) in ch-1 sp, sk sc and 1 dc, sc in next dc, 3 dc in next sc, [ sk 1 dc, sc in next dc, 3 dc in next sc] across to ch-1 sp; rep from * around, sl st to join, fasten off. -8 hdc, 28 sc, 60 dc
Rnd 11: With color C, join to any ch-1 sp, ch 4 (counts as dc and ch 1), dc in same sp, hdc in next hdc, [3 dc in next sc, sk 1 dc, sc in next dc] across, hdc in hdc *(dc, ch 1, dc) in ch-1 sp, hdc in next hdc, [3 dc in next sc, sk 1 dc, sc in next dc] across, hdc in hdc; rep from * around, sl st to join, fasten off. -8 hdc, 20 sc, 68 dc
Rnd 12: With color D, join to any ch-1 sp, ch 4 (counts as dc and ch 1) dc in same sp, hdc in next dc, hdc in next hdc, [sk 1 dc, sc in next dc, 3 dc in next sc] across, hdc in next hdc, hdc in next dc, *(dc, ch 1, dc) in ch-1 sp, hdc in next dc, hdc in next hdc, [sk 1 dc, sc in next dc, 3 dc in next sc] across, hdc in next hdc, hdc in next dc; rep from * around, sl st to join, fasten off. – 16 hdc, 20 sc, 68 dc
Rnd 13: With Color A, join to any ch-1 sp, ch 3 (counts as hdc and ch 1), hdc in same sp, sc in each st across, *(hdc, ch 1, hdc) in ch-1 sp, sc in each st across; rep from * around, sl st to join, fasten off. – 8 hdc, 104 sc
Rnd 14: With Color B, join ot any ch-1 sp, ch 3 (counts as hdc and ch 1) sc in each st across, *(hdc, ch 1, hdc) in ch-1 sp, sc in each st across; rep from * around, sl st to join, fasten off. -8 hdc, 112 sc
Weave in ends, block if desired.

 I thought it would feel different, not crocheting for 2 weeks, but surprisingly it was a bit liberating.
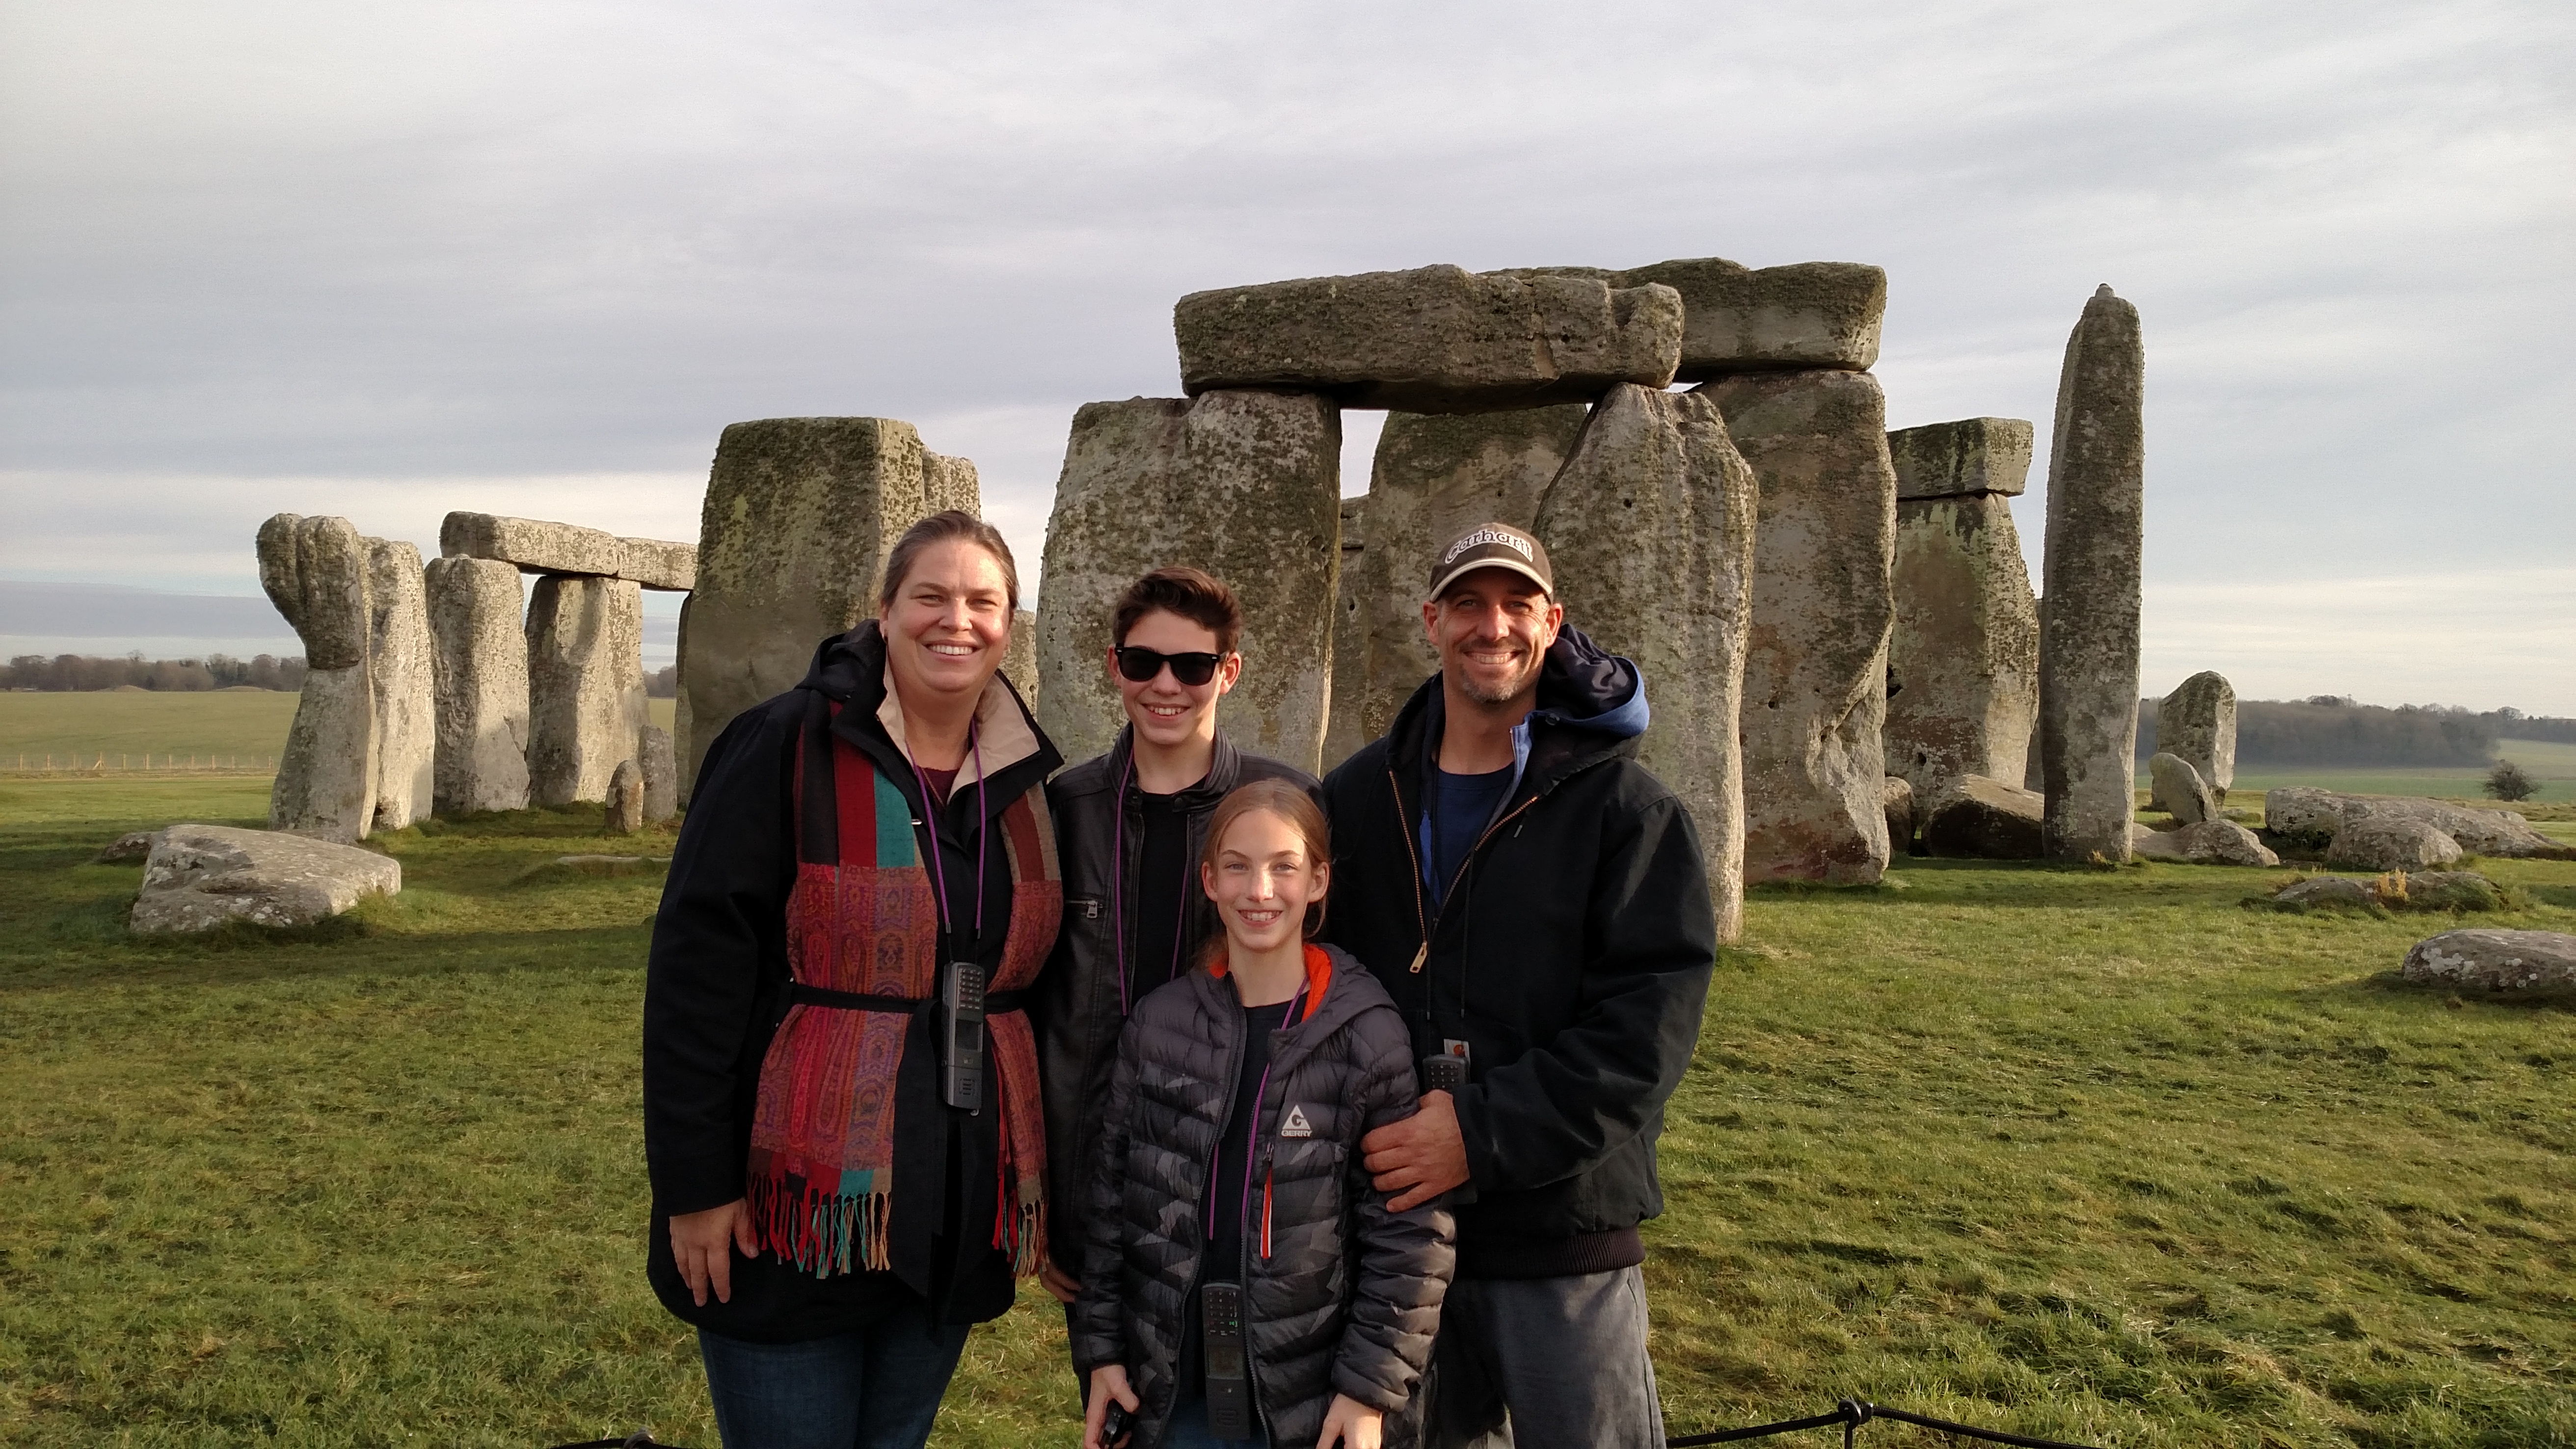 into an adventure, an adventure we would love to do again.
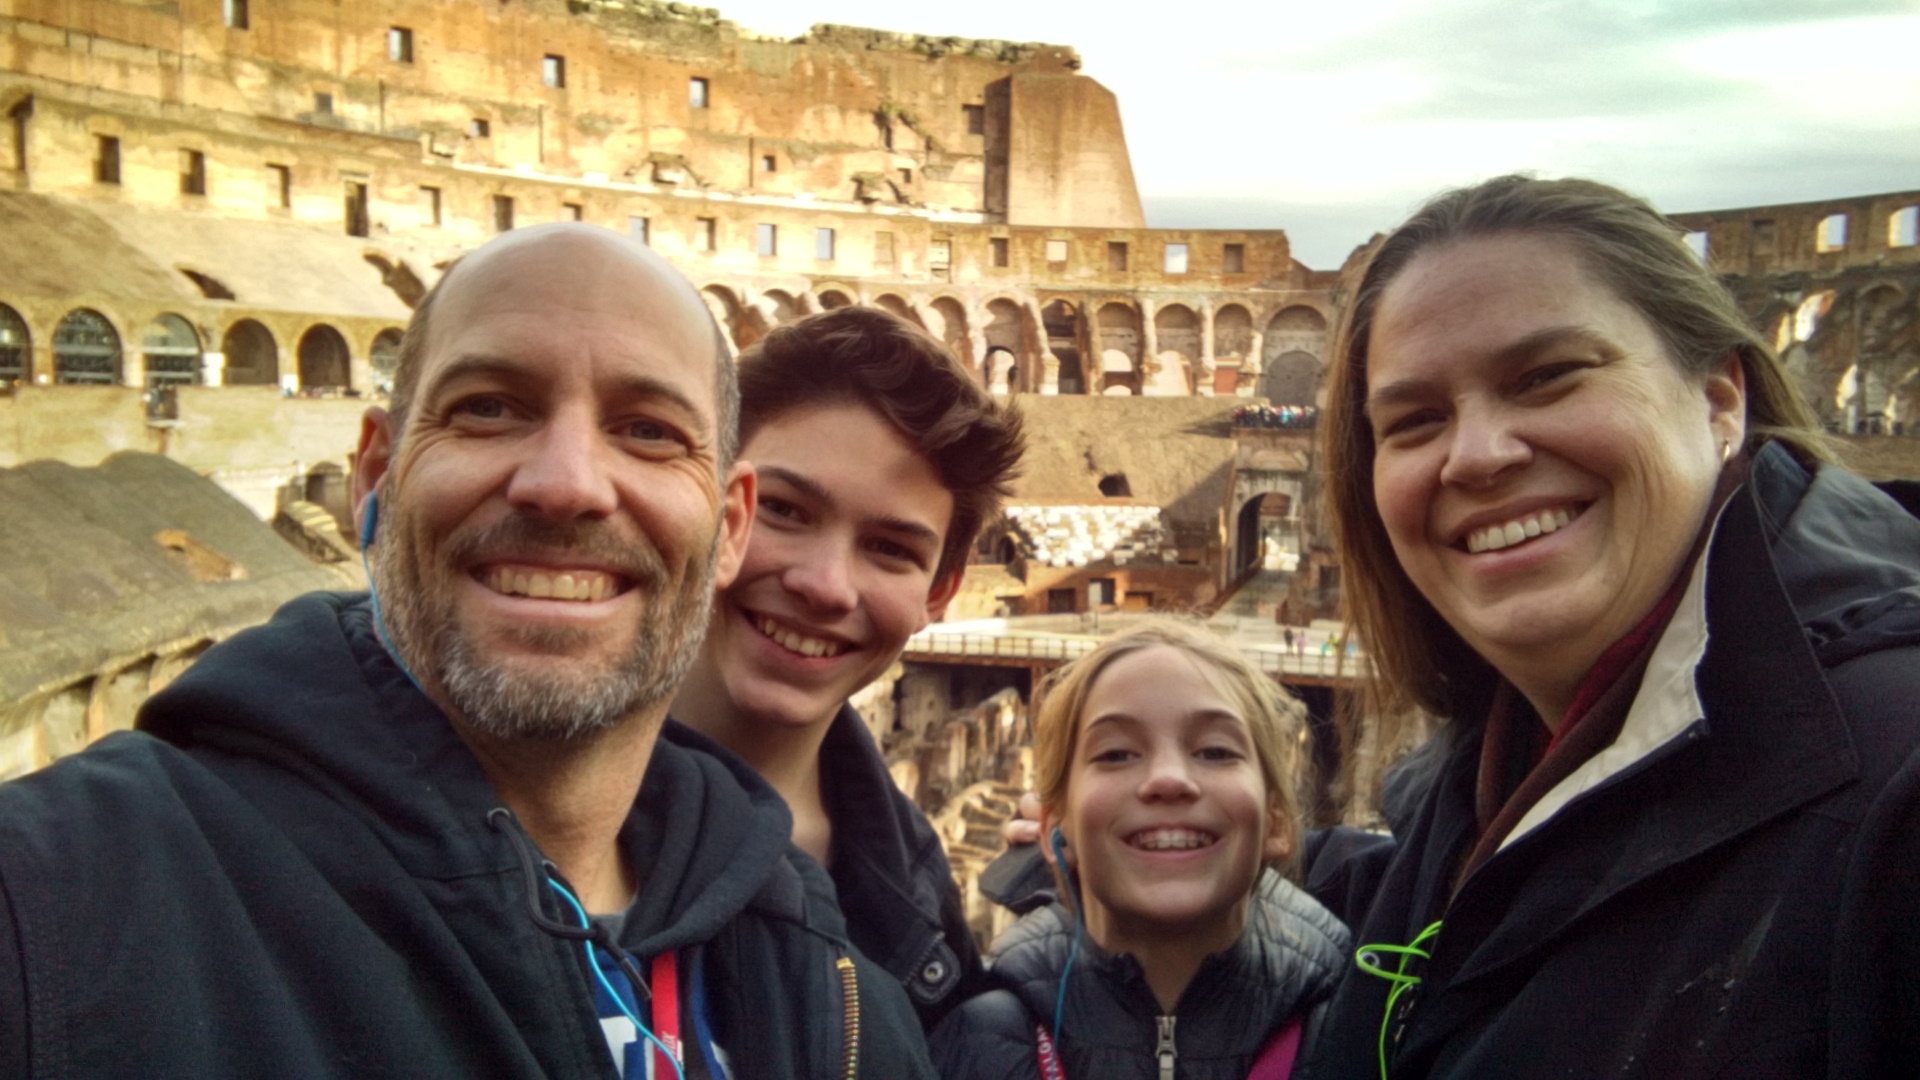 When I got home again, and dug those projects out of my backpack, they felt fresh and new. It was like my whole body, all of my ideas and inspirations were able to be rejuvenated and see my stitches with fresh eyes. I cannot remember when I last felt that way about my hand craft, it has to have been at least several years, and I do not know that just putting it down at home without the adventure would have yielded the same result. My hooks feel lighter, my ideas crisper, I hope this side effect has some staying power, but if it doesn’t at least I have an idea of how to recapture it again.