The other day I was going through an old box and I stumbled across some “early to me” crochet. I recall, about the time I was learning to crochet at age 10, at school I received a crocheted bookmark. My teacher had a friend who crocheted and she had created a bookmark with a “curly q”. My teacher gave them as prizes to students that had met her reading goal, I cannot recall exactly what the goal was but I remember the prize.
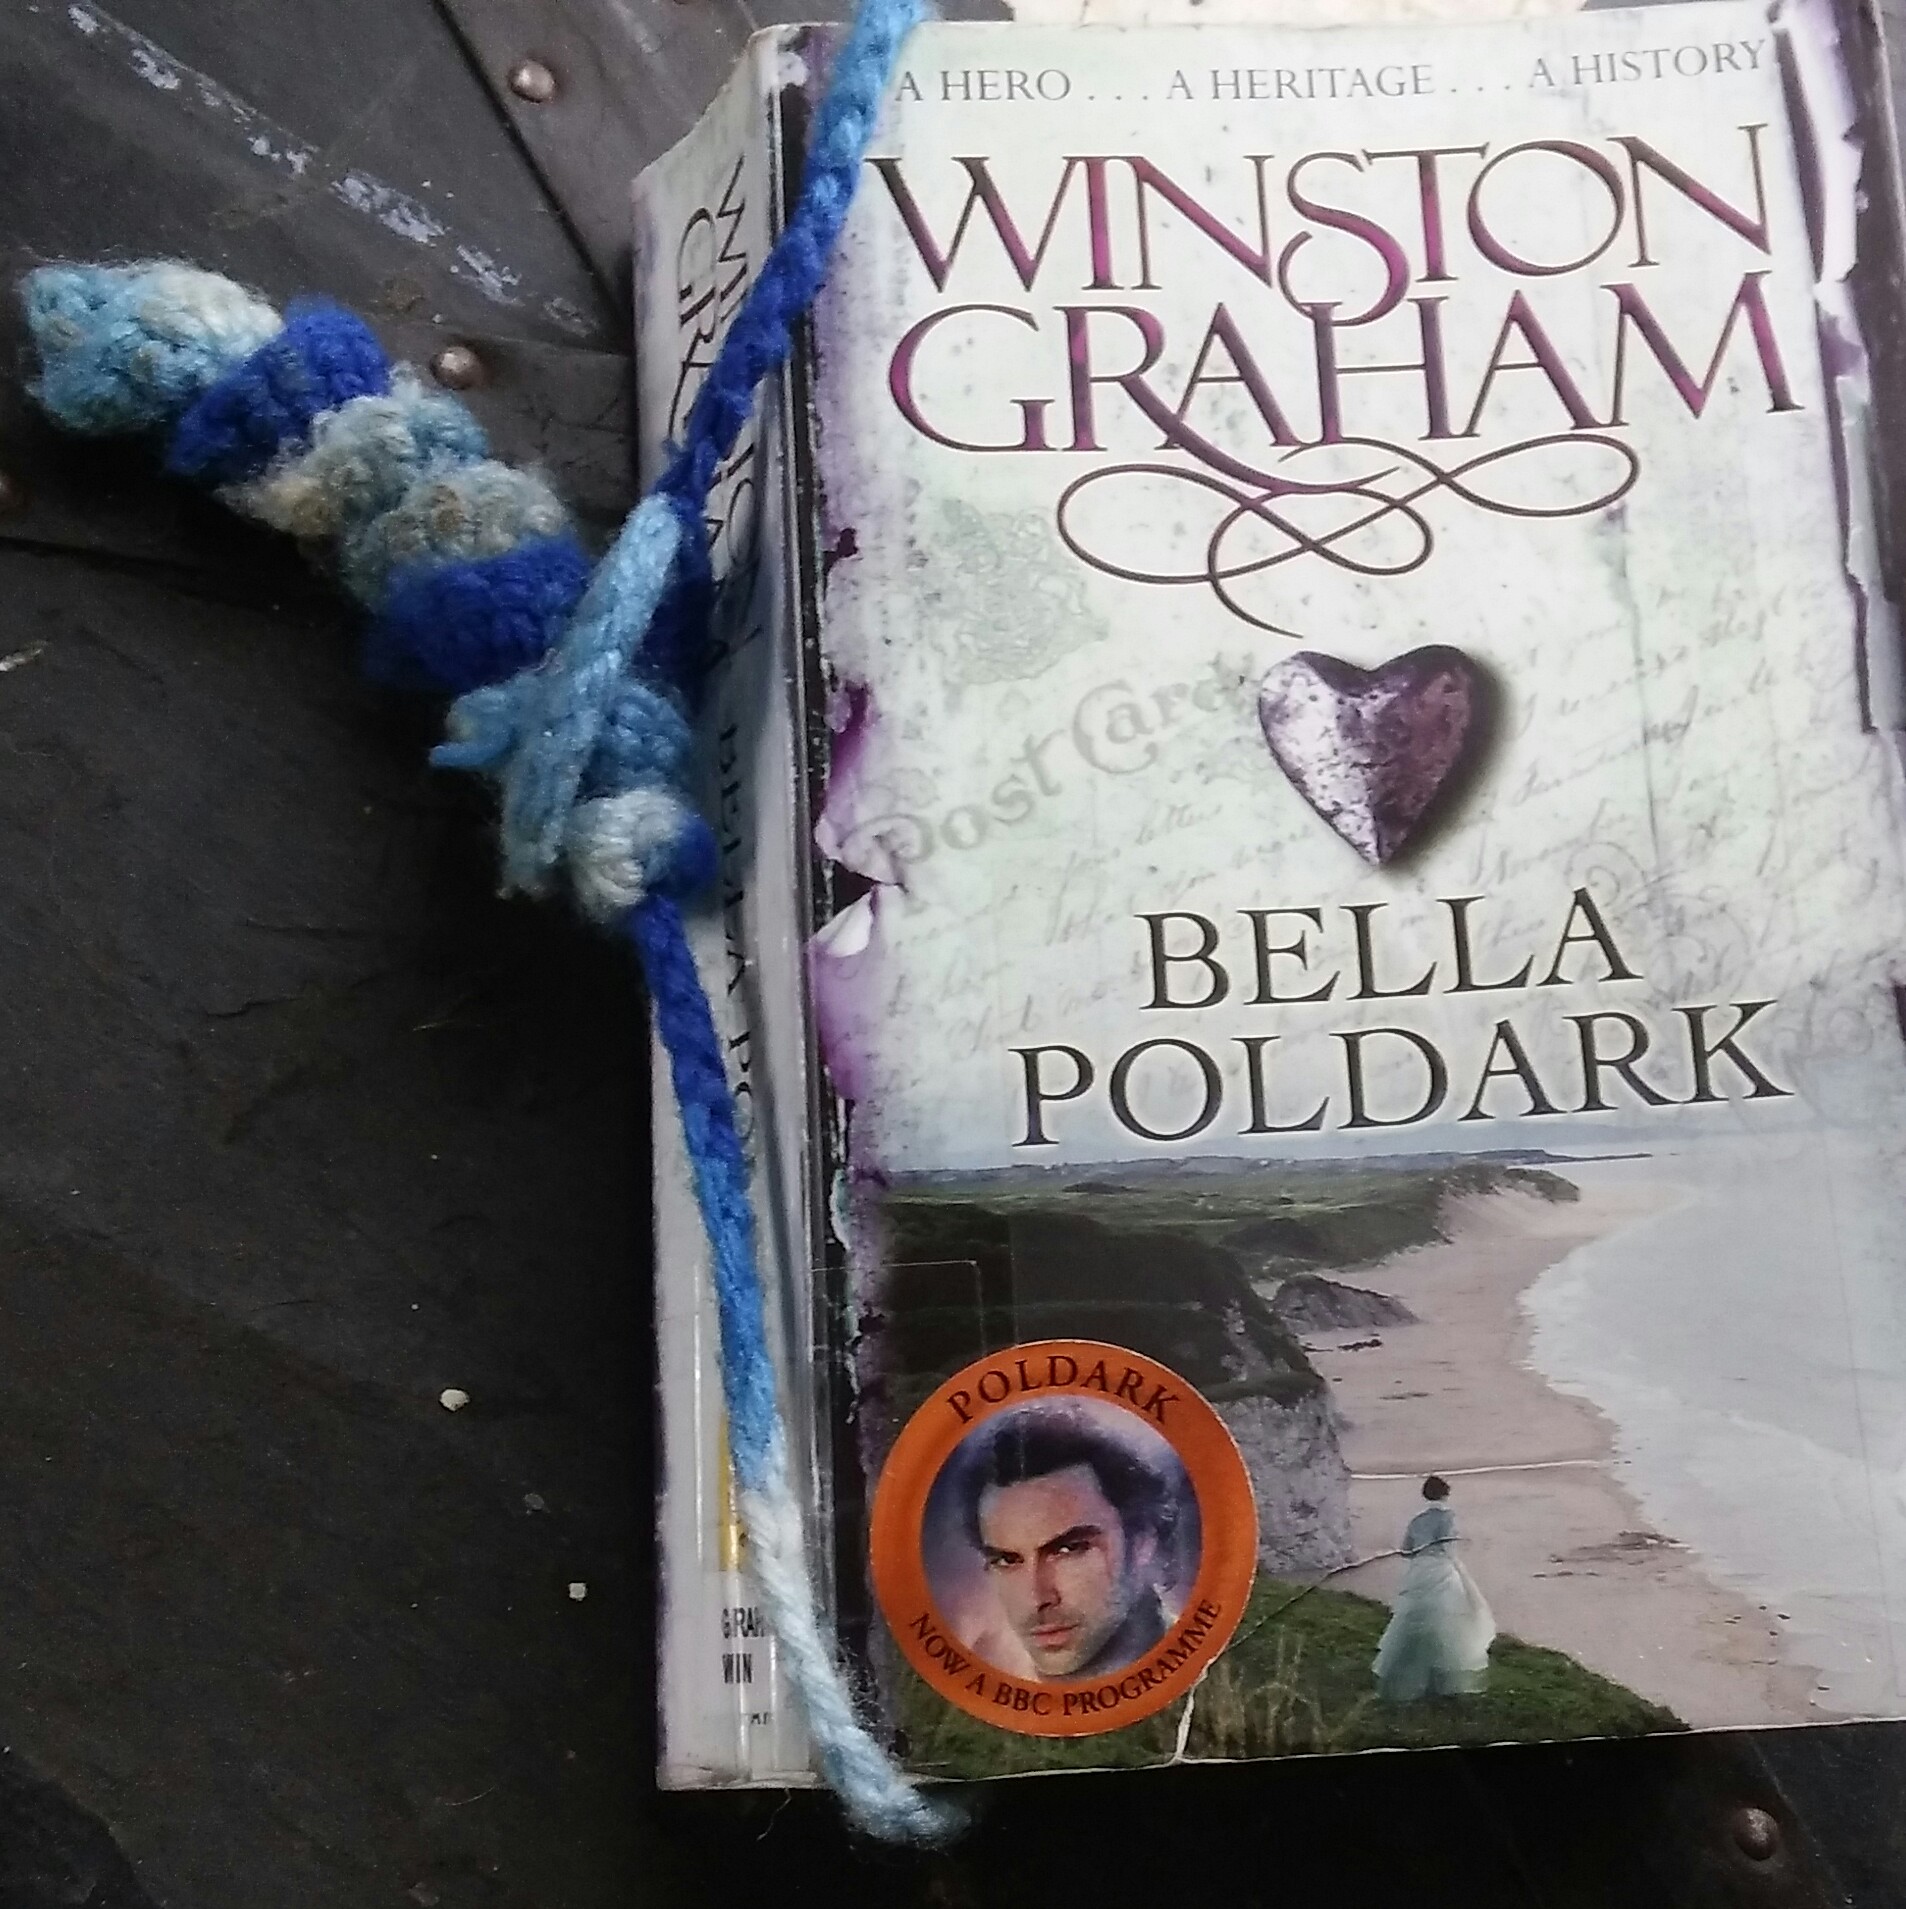
Curly Q bookmark in use
I remember being in awe of how it was made. Being a new crocheter I had no idea how the twists were created. I used that bookmark for years, and several years later, after becoming more proficient in crochet, figuring out how it was made. I have since recreated this bookmark for teachers of my children. They have used them in much the same way as my teacher years ago, meeting a goal and getting a reward.
I am sharing this stitch pattern for this bookmark in the hopes that you might make a few and share them with teachers or your local library, helping sharing the gift of reading. I know that many think that all books are going digital, but there is something about holding a book and moving your bookmark through the pages that has a gratification that can’t be completely explained.
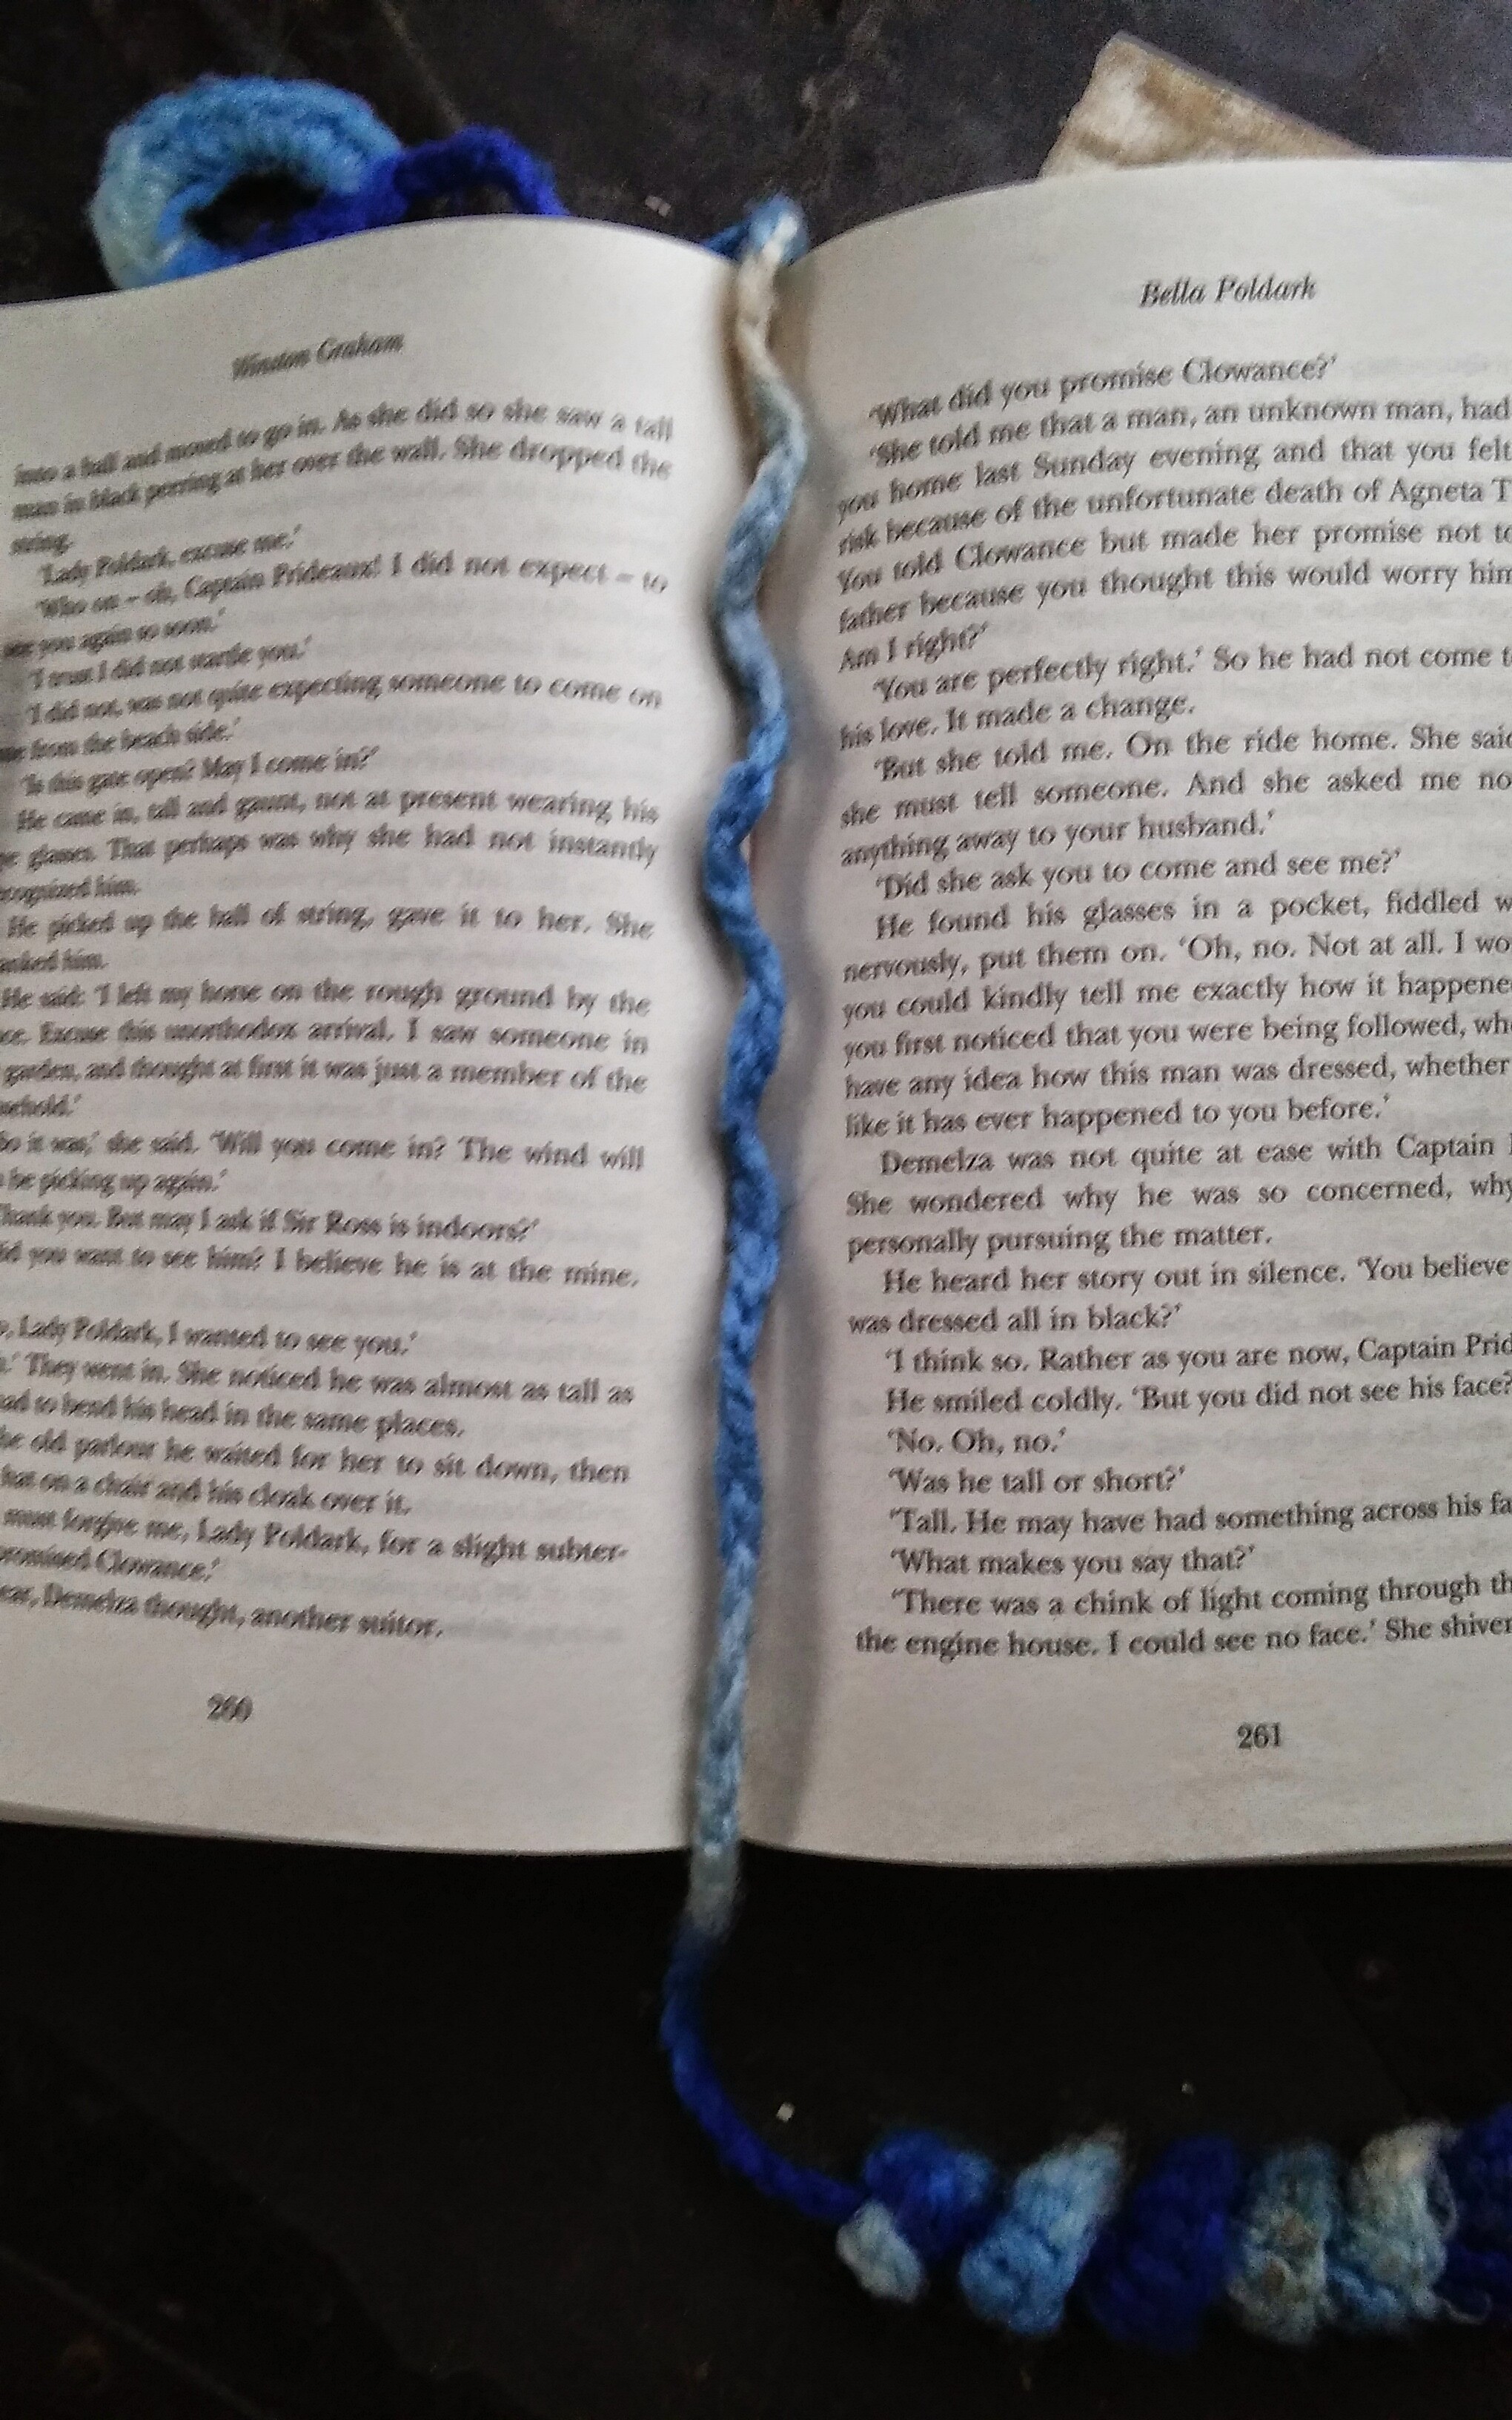
More of the Curly Q bookmark in use
This is a really loose pattern, I don’t know if I should even all it a pattern, I am basically sharing how I create mine, and none of the stitch counts are really important. The gauge does not matter, it doesn’t matter what yarn or hook your use. To begin you chain anywhere between 6 and 8, slip stitching to the first chain to create a ring. I then chain 1 and place about 12 single crochets in the ring, slip stitch to the beginning single crochet. Now create a chain of about 18” to 24”, then double crochet in the 4th chain from the hook, add 2 more double crochets to the same stitch as the last, work 3 double crochets in each of the next several chains, working until you feel the “curl” you are making is long enough. Finish off, and weave in all ends.
That is all there is to it. The chain section lays in between the pages while the “curly q” can slip through the ring to secure around the book binding. This is a simple scrap project, and one I find fun and fast.