Cathy’s Classic Handbag- Make It For Me!

Thank you to ELK Studio for putting together this Make it For Me event! what a nice way to kick off the new year, after months of crocheting gifts for everyone else it is time to rejuvenate and focus a bit more inward and create something for you! (Check out the entire list of month long projects here)

I am thrilled to be able to join this event with my Cathy’s Classic Handbag. It is made with less than one skein, so you can reach into your stash. I even provided two options for handles…I really like the wooden round handles, but reality…I enjoy crocheting and getting to the craft store or even ordering on line means I am not finishing it the same day I start, so I provided a crochet handle option too. (If you want to learn how to attach the wooden handles, I have some instructions to help you here).

This handbag was inspired by one of my students. Cathy always has a smile and carries herself with a rural, country chic charm. She brightens the room no matter what her day may have contained, and to get all dressed up I could see her with this classic style.

Cathy’s Classic Handbag by: Linda Dean

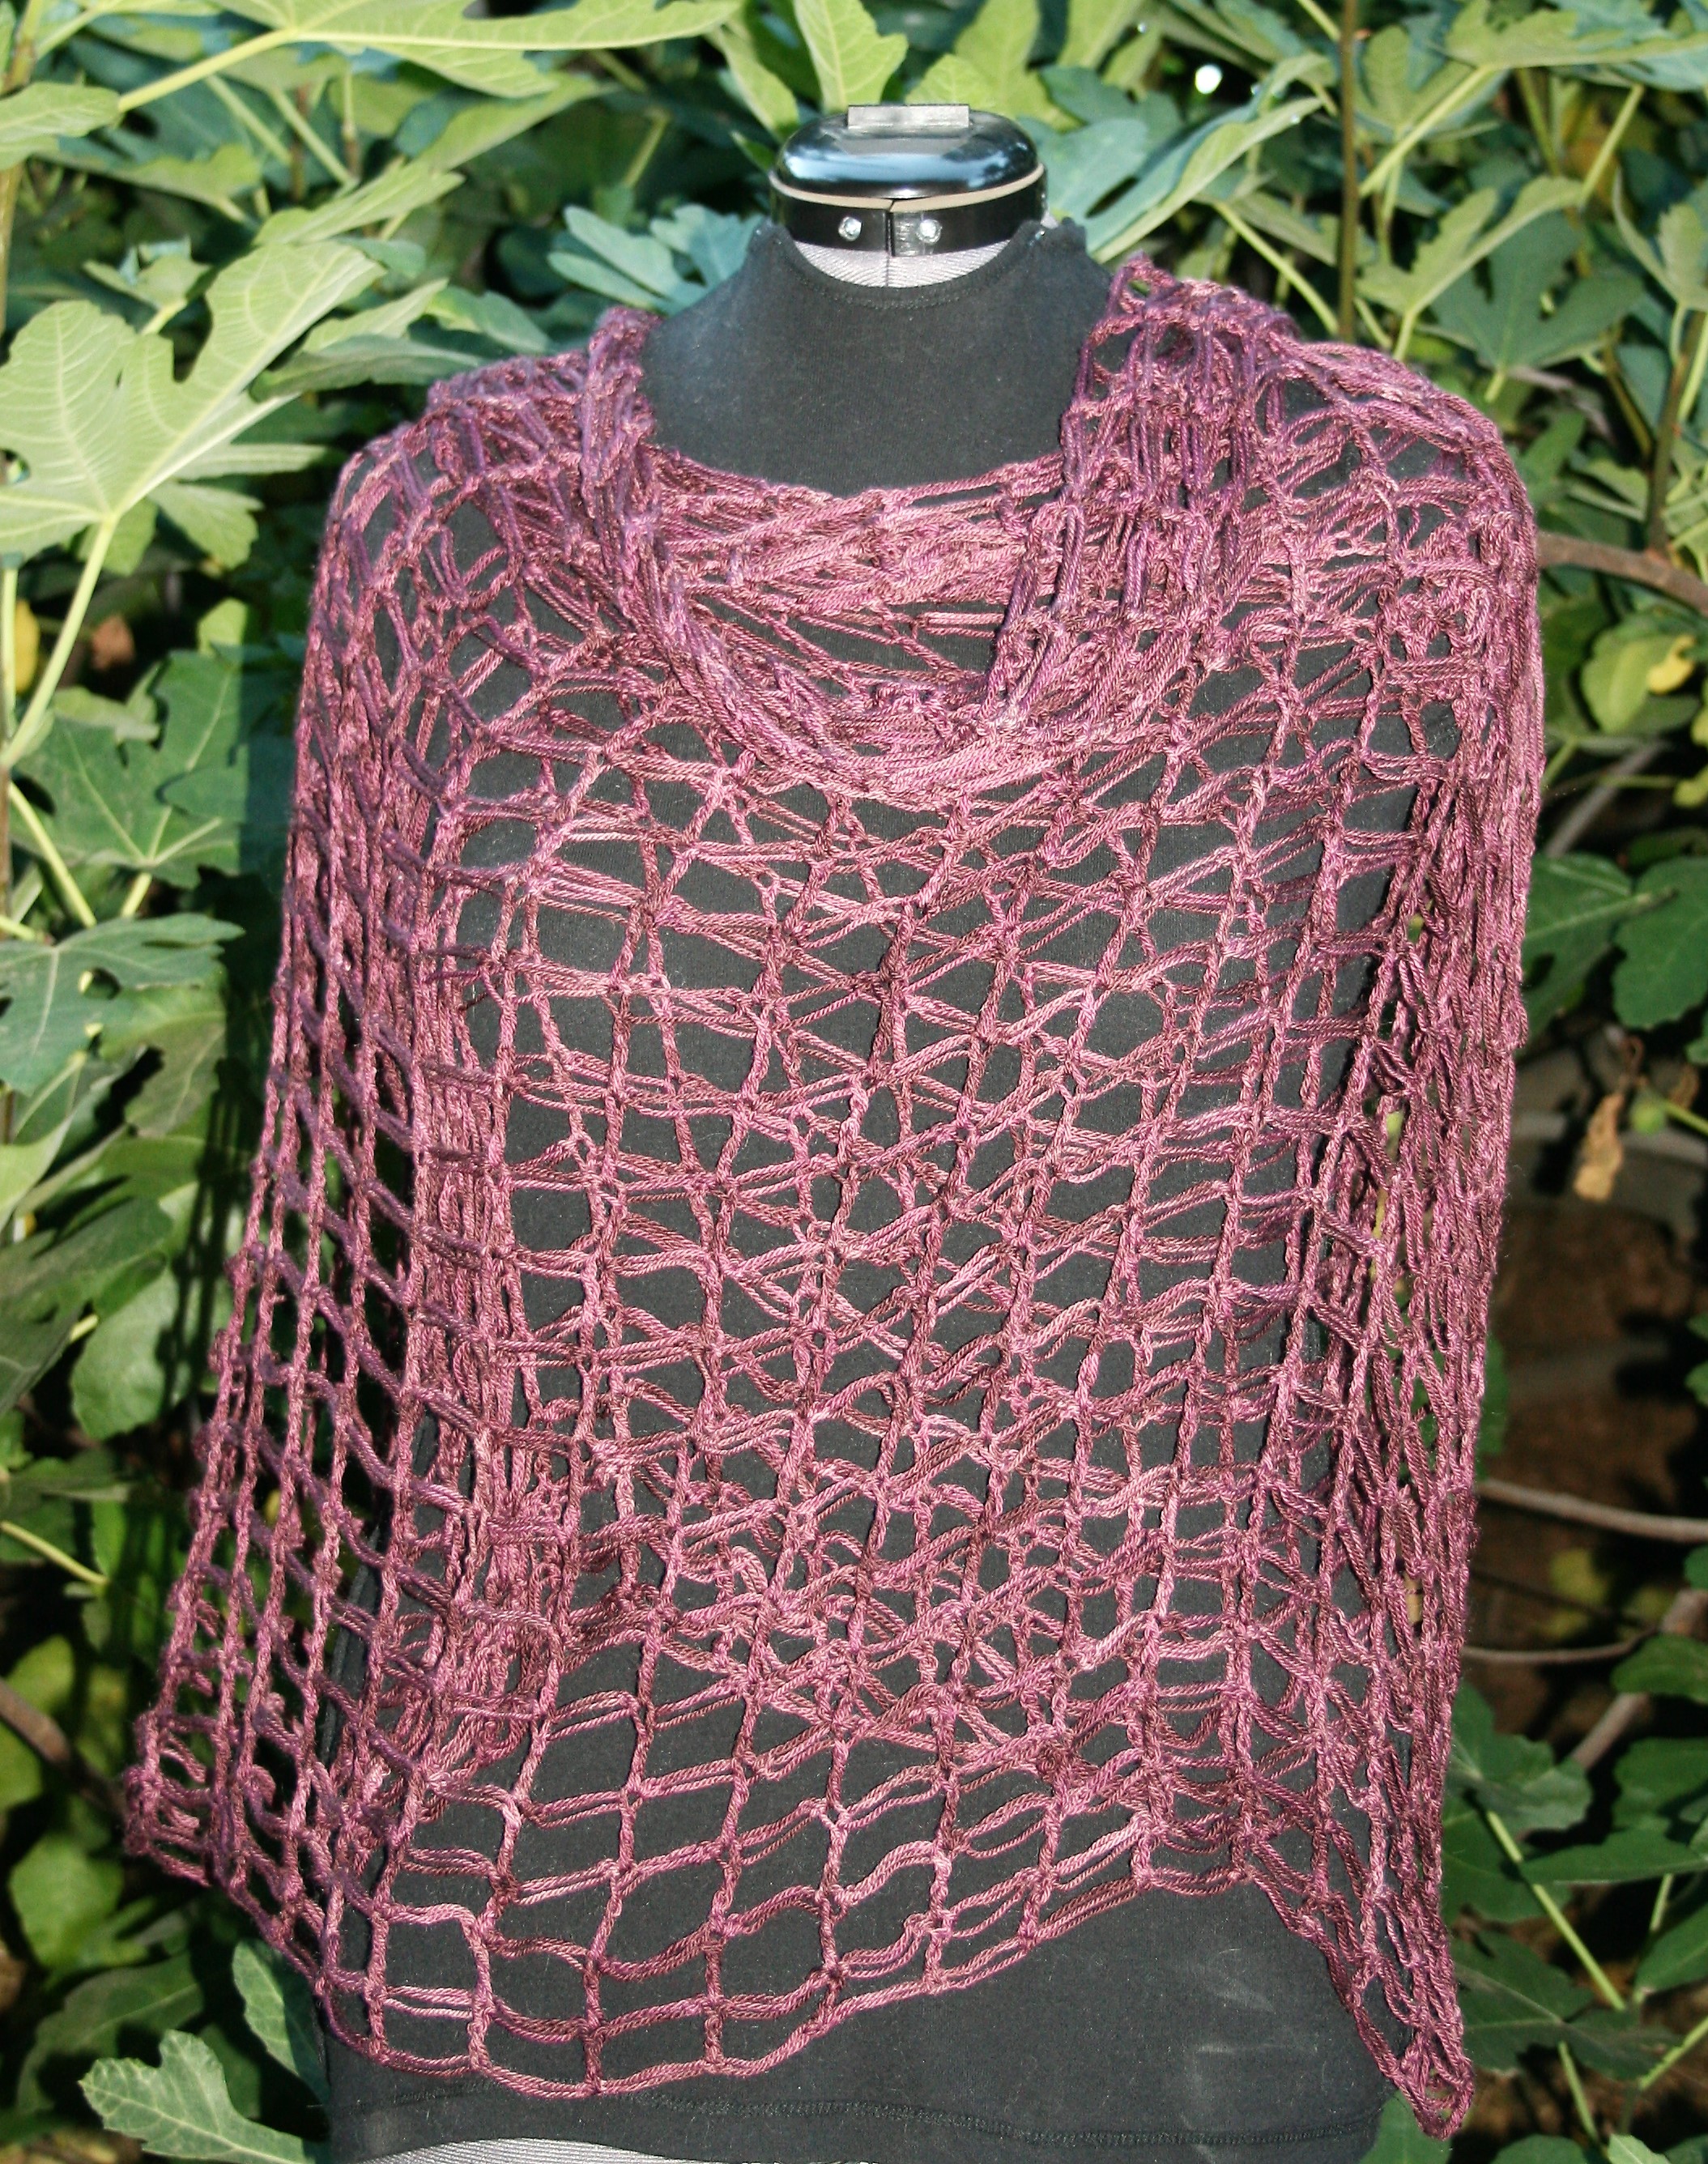
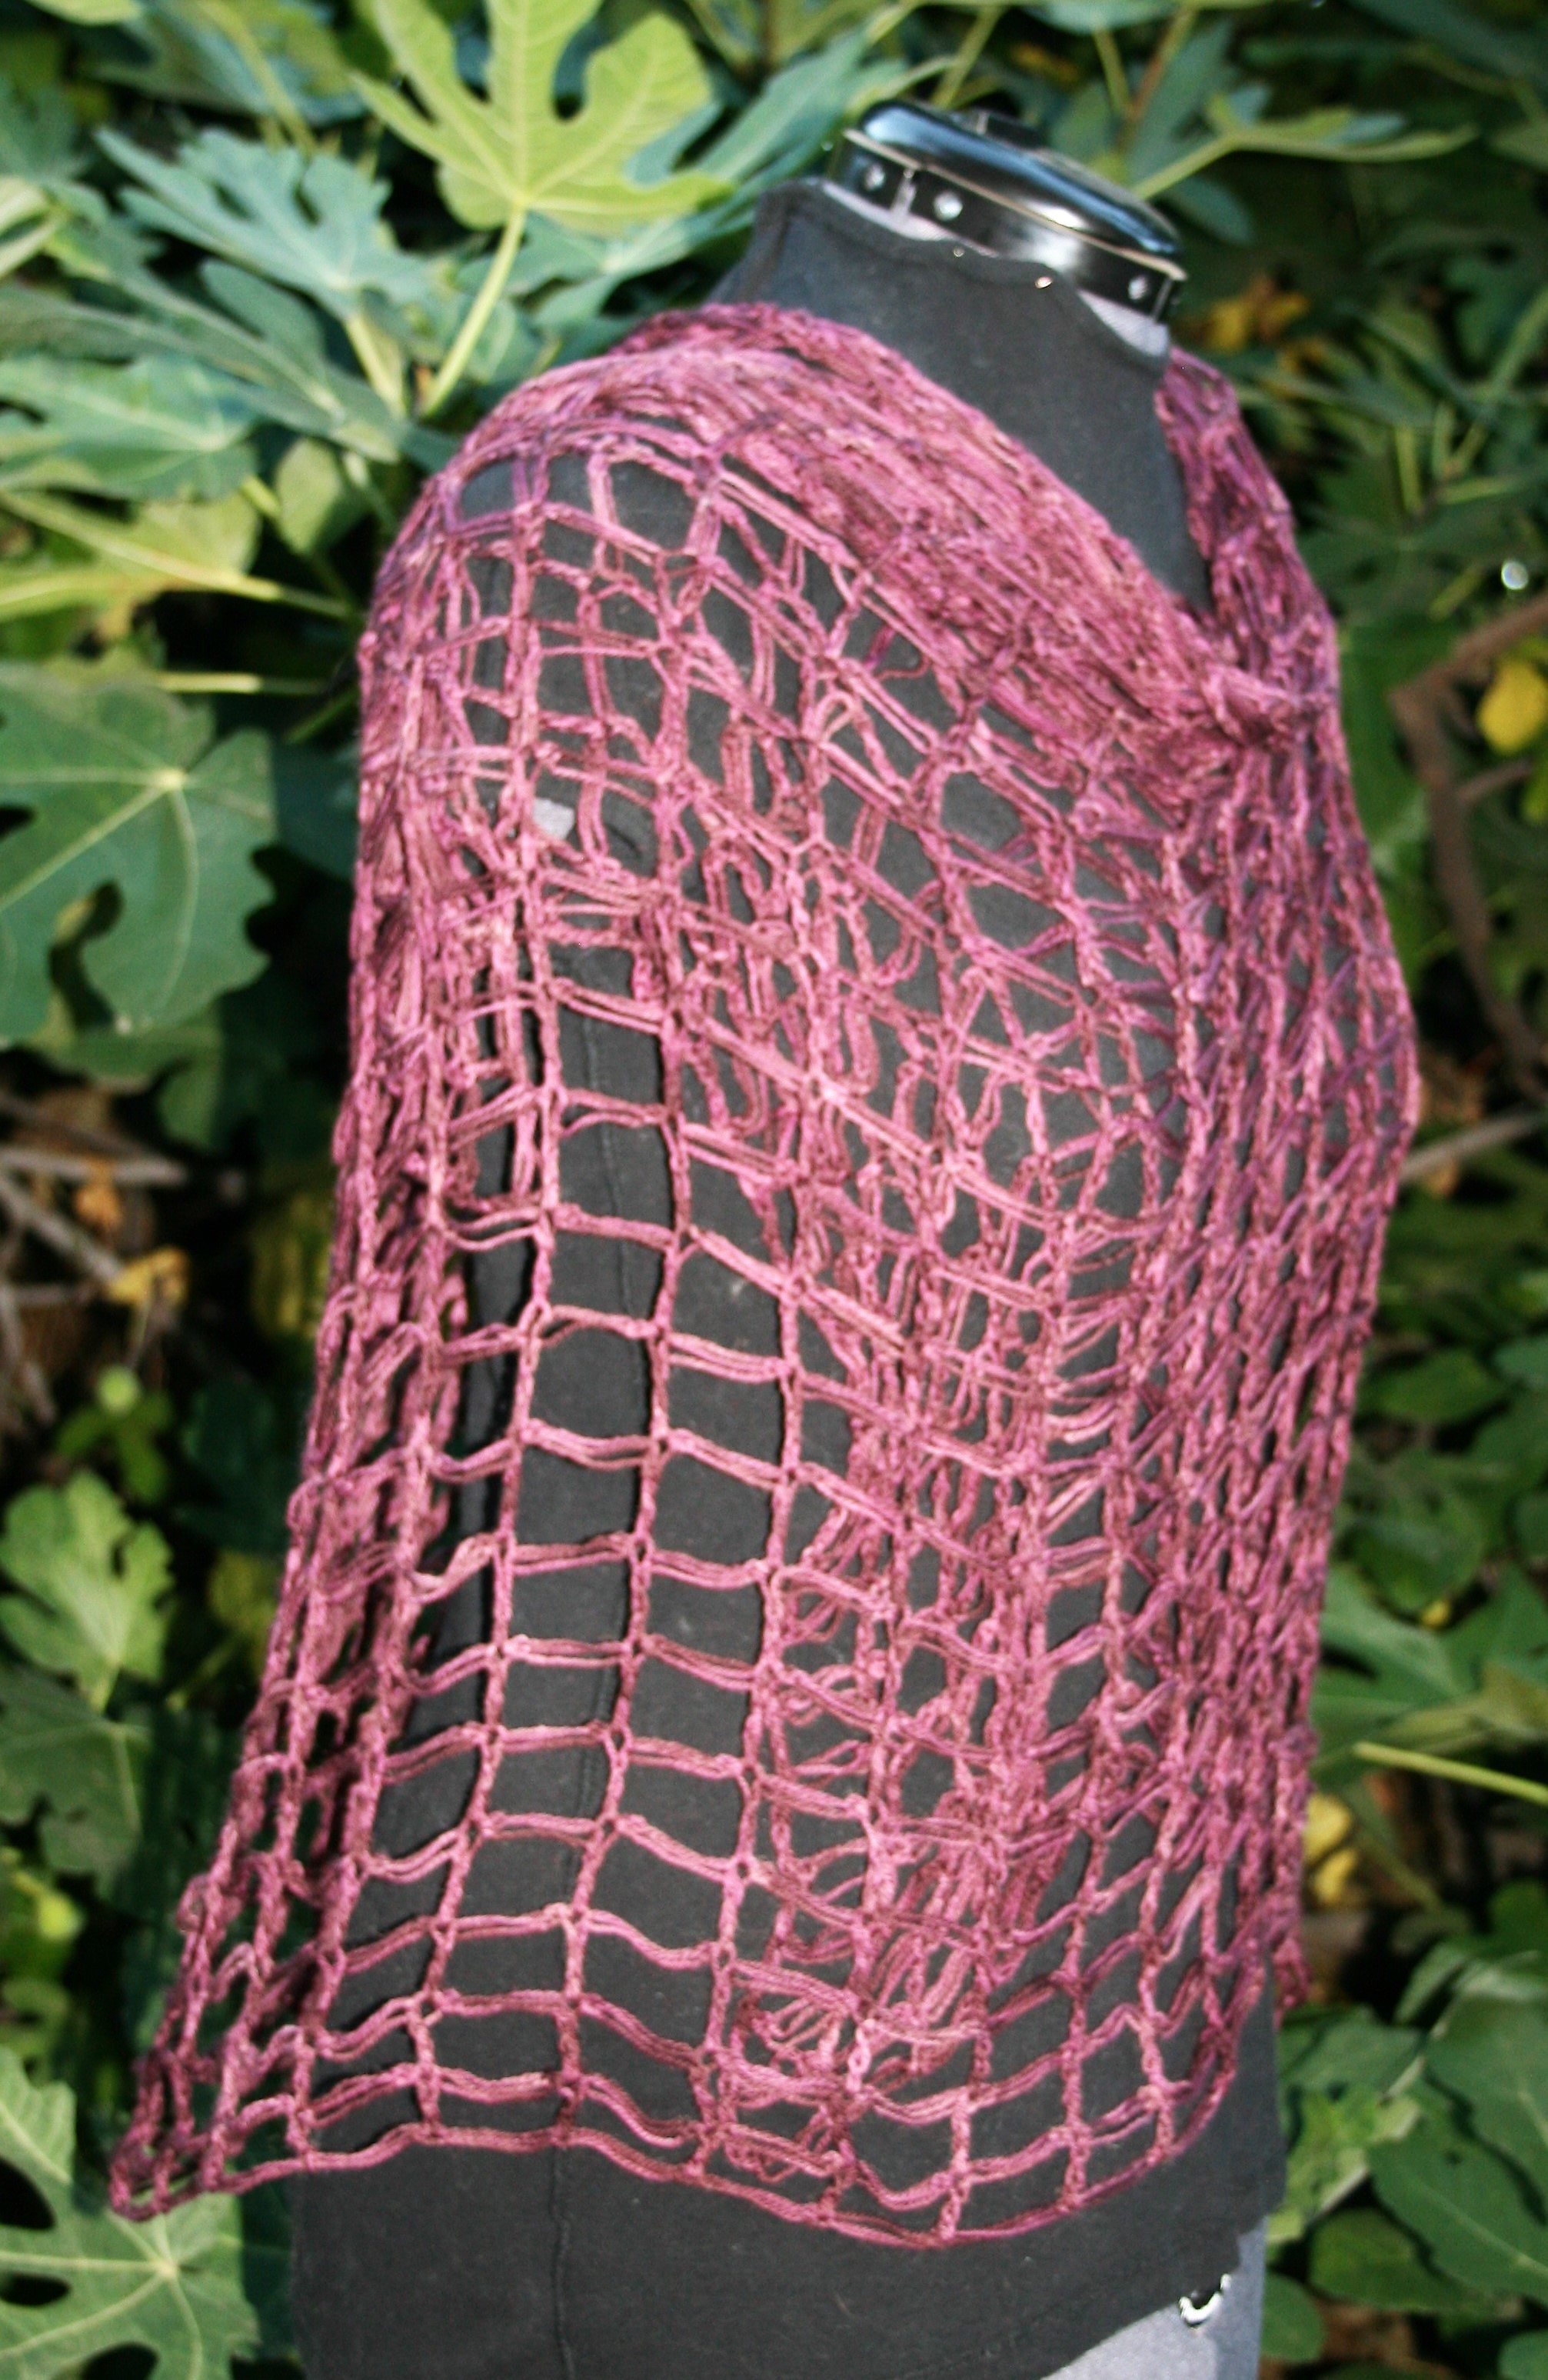
A classic handbag that is fast to work up and has a lot of charm. A bit of stretch and a bell shape add to this great purse. With optional handle options you can utilize a simple round wooden handle or crochet your own. 

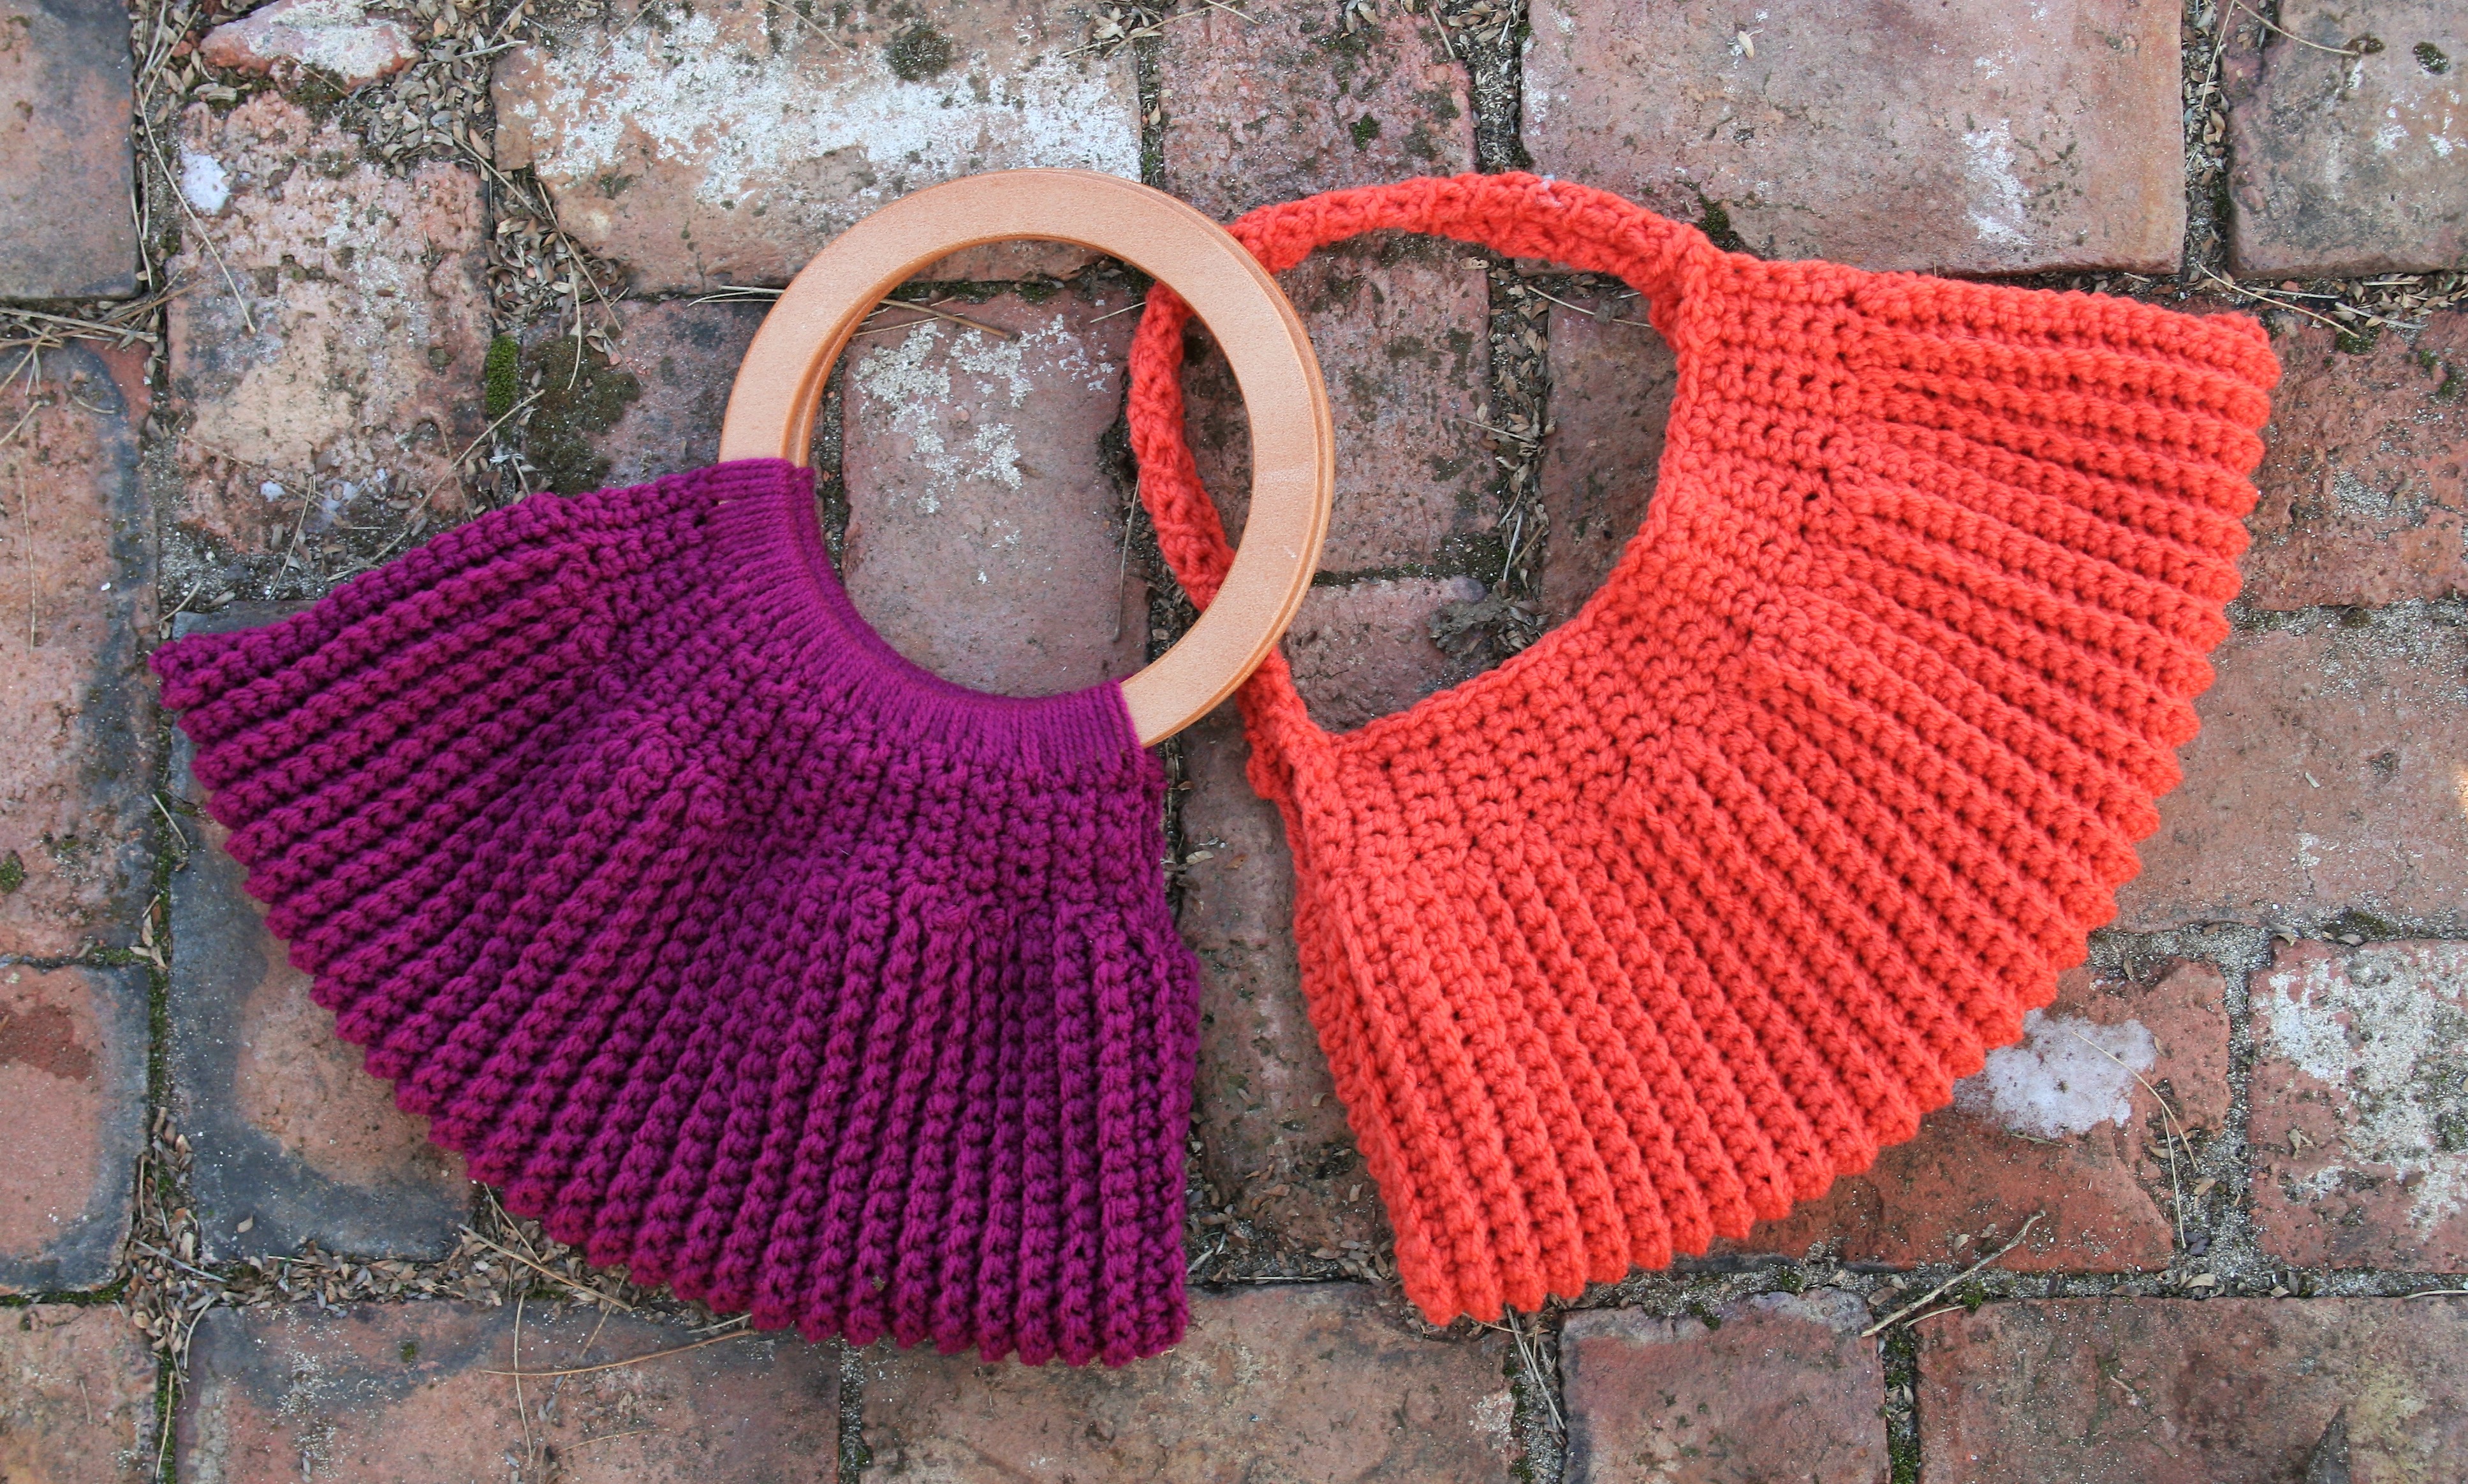
Skill Level: Advanced Beginner

Finished Size Approximately: 7”x 16” (18 x 40.5 cm)

Gauge: 12 sts /16 rows=4”

Materials List:

  • K/10 ½/6.50mm size crochet hook
  • Red Heart With Love medium weight 100% acrylic (370yds/338m/7oz/198g) Sample color: 1907 Boysenberry or #1971 Tigerlily
  • Tapestry needle
  • Everything Mary Round Wood Handle (optional)

Abbreviations:

blsc: back loop single crochet (need help identifying the back loop, check this out)

ch(s): chain(s)

rem: remaining

rep: repeat

sc: single crochet

sp(s): space(s)

st(s): stitch(es)

yo: yarn over

Pattern Notes

The body of the bag is worked from one side across the bottom to the other side.

The body of the bag is worked with short rows.

The handles of the bag are attached to the row ends of the bag.

There are 2 options provided for handles.

Row 1: Ch 45, sc in 2nd ch from hook, sc in each ch across, turn. -44 sc

Row 2: Ch 1, sc in next 5 sts, blsc in next 34 sts, leaving rem sts unworked, turn.  -39 sc

Row 3: Ch 1, blsc in next 34 sts, leaving rem sts unworked, turn. -34 sc

Row 4: Ch 1, blsc in next 34 sts, sc in next 5 sts of the row 2 below, turn. -39 sc

Row 5: Ch 1, sc in next 5 sts, blsc in next 34 sts, sc in next 5 sts of the row 2 below, turn. -44 sc

Row 6-61: Rep Rows 2-5 fourteen times.

Wooded Handle Attaching (Option 1)

Working along the row ends, sc around the wooden handle, working 32 sc across edge. Fasten off. (For tips on how to work around the handle, check out this tutorial)

Repeat on opposite side.

Crochet Handle Attaching (Option 2)

Ch 1, working along the row ends, 4 sc in first row end, working in a spiral (meaning that you are working in the round but are not joining the round, you continue working in the next stitch) to create a cord, blsc in the first sc worked in the end row, blsc in each sc until the cord measures about 14” (35.5cm), sl st to opposite end row from the beginning of the cord, sl st next 3 sts of cord to same st, sc in each row end across to beginning of the cord, fasten off.

Seaming

Folding handles together, whip stitch the open ends of the purse leaving between 1-2” open from the handles.

Weave in ends.

Scrap Use Free Pattern

I just completed the Craftvent CAL from Jimmy Beans Wool (if you missed it, but want to work up the pattern, find details here). When I was done, I had several little yarn ball left overs, so I had to find something to do with them.

Yes, I am one of those crocheters, the type that does not like to waste any yarn. This means that I have options for scrap projects. With these left over bits, from the “Sugar Plum” colors of the project already go really well together, so visually anything will look pretty good.

I started out thinking I would make a little draw string bag, but as I got into the project I realized that I had enough yarn to actually make a hat, and a hat is going to get a bit more wear in my household.

I have shared this scrap pattern below, and the notation of how you can turn this into a drawstring bag.

Please note that I do not have any length of the yarn used noted, as really it is just scraps. You could put any colors together anyway you want.

I used an H/8/5.00mm hook and light weight yarns (for a listing of the yarns in the projects, they are the same as the yarns in the Craftvent Quest Shawl, listed here). To help you hat fit perfectly, I share information here.

Scrap Hat

Rnd 1: Ch 4, 11 dc in 4th ch from hook, sl st to join to beg ch.

Rnd 2: Ch 3, dc in same st, 2 dc in each st around, sl st to join.

Rnd 3: Ch 3, dc in same st, dc in next st, [2 dc in next st, dc in next st] rep around, sl st to join.

Rnd 4: Ch 3, dc in same st, dc in each of the next 2 sts, [2 dc in next st, dc in next 2 sts] rep around, sl st to join.

Rnd 5: Ch 3, dc in same st, dc in each of the next 3 sts, [2 dc in next st, dc in next 3 sts] rep around, sl st to join.

Rnd 6: Change color, ch 1, 2 sc in back loops of same st, sc in back loops of next 4 sts, [2 sc in back loops of next st, sc in back loops of next 4 sts] rep around, sl st to join.

Rnd 7: Change color, ch 1, 2 sc in back loops of same st, sc in back loops of next 5 sts, [2 sc in back loops of next st, sc in back loops of next 5 sts] rep around, sl st to join.

Rnd 8: Change color, ch 3, dc in back loop of same st, dc in back loop of next 6 sts, [2 dc in back loop of next dc, dc in back loop of next 6 sts] rep around, sl st to join.

Rnd 9: Change color, ch 3, dc in each st around, sl st to join.

Rnd 10: Change color, ch 1, sc in back loop of each st around, sl st to join.

Rnd 11: Change color, ch 3, dc in back loop of each st around, sl st to join.

Rnd 12: Change color, ch 3, dc in each st around, sl st to join.

Rnd 13: Ch 3, dc in each st around, sl st to join.

Rnd 14: Ch 3, dc in each st around, sl st to join.

Rnd 15: Change color, ch 1, sc in back loop of each st around, sl st to join.

Rnd 16: Change color, ch 1, sc in back loop of each st around, sl st to join.

Rnd 17: Change color, ch 3, dc in back loop of each st around, sl st to join.

Rnd 18: Change color, ch 3, dc in each st around, sl st to join.

Rnd 19: Change color, ch 1, sc in back loop of each st around, sl st to join.

Rnd 20: Change color, ch 3, dc in back loop of each st around, sl st to join.

Rnd 21: Change color, ch 3, dc in each st around, sl st to join.

Rnd 22: Change color, ch 1, sc in back loop of each st around, sl st to join.

Rnd 23: Change color, ch 1 sc in back loop of each st around, sl st to join. Fasten off. Weave in ends.

Simple Bag

Work as for Hat in Rnds 1-19.

Rnd 20: Change color, ch 4, sk next dc, dc in next st, ch 1, sk 1, [dc in next st, ch 1, sk 1] around, sl st to join.

Rnd 21: Change color, ch 3, dc in each st and ch-sp around, sl st to join.

Rnd 22: Change color, ch 1, sc in back loop of each st around, sl st to join.

Rnd 23: Change color, ch 1 sc in back loop of each st around, sl st to join. Fasten off. Weave in ends.

Drawstring

Create a chain about 50” long, turn and sl st in each ch across, fasten off.

Weave drawstring through the ch-sps of Rnd 20, then weave ends around to opposite side, ensuring that the tie is wrapped around the bag twice. Tie ends of drawstring together, and pull pull closed.


Holiday Stashdown- Moebuis Cowl, Free Pattern

Wow! How is it already December? Thank you for joining me as part of the Holiday Stash Down. Check out all 15 designs, that have been released each Monday since September in an effort to help everyone get ready for the holidays.

Today I am sharing the Vas’s Hug Moebius Cowl, you could really call if an infinity scarf too, but either way I think you will enjoy it. It is worked with 2 skeins of Paintbox Yarns Simply DK, I used 2 contrasting yarns for a nice visual.

It is worked up as a long rectangle, with color changes on the same side so you can do yarn carries. Then it is seamed and edged. The Row repeat is simple, so you can finish up this project quickly and have it ready in time for you holiday gift giving.

Enjoy!

Vas’s Hug Moebius Cowl

Materials: 

*Hook size I/9/5.5mm

*Paint Box Yarns Simply DK, light weight, 100% acrylic yarn (3.5oz/100g/302yrd/276m), 1 skein each of color  #142 Tea Rose(A) & 105 Slate Gray(B)

Gauge: 4 (2dc, ch 2, sc) stitches/ 6 rows=4″ (10cm)

Finished Size: 10″ x 72″ (25 x 183 cm)

Pattern Notes:To weave in fewer ends, simply carry the yarn changes up the edge of the cowl. When working the edging you will crochet of these “yarn carries”. (Check out an example here)

If you need more visuals for working this stitch pattern, you can find it listed as the “Titter Tat” stitch here, on my blog.

Row 1: With B, ch 42, sc in 2nd ch from hook, [ch 4, sk 3 ch, sc in next ch] 10 times, turn. -10 ch -4 sps

Row 2: (2dc, ch 3, sc) in each ch-4 sp across, turn.

Row 3: (2 dc, ch 3, sc) in each ch-3 sp across, change to color A, turn.

Row 4: (2 dc, ch 3, sc) in each ch-3 sp across, turn.

Row 5: (2 dc, ch 3, sc) in each ch-3 sp across, change to color B, turn

Row 6: (2 dc, ch 3, sc) in each ch-3 sp across, turn

Rows 7-106: Rep Rows 3-6 twenty five times

Row 107: Rep Row 3

Row 108: Rep Row 4

Row 109: (Joining Row) Lay fabric out flat, turn Row 108 around and fold fabric so that Row 108 and Row 1 are together (the twist adds the Moebius), (2dc, ch 1, sl st to around skipped ch-3 of beg ch adjacent to row, ch 1, sc) in each ch-3 sp across. Fasten off.

Edging

Rnd 1: With Color B join to any stitch on any edge, ch 1, evenly sc around (because of the twist placed to create the Moebius, this one edge will continue all the way around both sides of the cowl), sl st to join, change color A, turn.

Rnd 2: Ch 1, sc in each st around, sl st to join. Fasten off, weave in ends, block.

Ann’s Angles Square

I am so honored to be invited to participate in this years Moogly CAL 2018 Afghan Block! This is the last square for 2018, find all the rest here, and complete your own throw using one of each square.

This year I have been playing with miter squares, and thought I would share the skill with you. A miter square is worked from two outside edges, with a decrease at the corner, until no stitches are left on either edge, creating a square.

However with this design, I then added to two edges to create an effect that is similar to a look of a square atop a square, or some say even an arrow.

The name is derived from one of my students, Ann. She is my world traveler that shares stories of all of the exotic lands she has visited. She is also a former high school mathematics instructor, and always keeps us on point with the the patterns and the various ways that the stitch counts can be effected.

Ann’s Angles Square

Materials:

*Red Heart With Love: #1562 Jadeite (A), #1101 Eggshell (B), #1207 Cornsilk (C), #1971 Tigerlily (D)

*Hook J/10/ 6.00mm

Gauge

Square= 12″ x 12″ (30.5 x 30.5 cm)

Row 1: With A, ch 42, sc in 2nd ch from hook, sc in next 18 sts, sc3tog over the next 3 chs, sc in the last 19 chs, turn.

Row 2: Ch 1, flsc in same st, flsc in next 17 sts, sc3tog over next 3 sts, flsc in last 18 sts, turn.

Row 3: Ch 1, flsc in same st, flsc in next 16 sts, sc3tog over next 3 sts, flsc in last 17 sts, turn.

Row 4: Ch 1, flsc in same st, flsc in next 15 sts, sc3tog over next 3 sts, flsc in last 16 sts, turn.

Row 5: Ch 1, flsc in same st, flsc in next 14 sts, sc3tog over next 3 sts, flsc in last 15 sts, change to color B, turn.

Row 6: Ch 1, flsc in same st, flsc in next 13 sts, sc3tog over next 3 sts, flsc in last 14 sts, turn.

Row 7: Ch 1, flsc in same st, flsc in next 12 sts, sc3tog over next 3 sts, flsc in last 13 sts, turn.

Row 8: Ch 1, flsc in same st, flsc in next 11 sts, sc3tog over next 3 sts, flsc in last 12 sts, turn.

Row 9: Ch 1, flsc in same st, flsc in next 10 sts, sc3tog over next 3 sts, flsc in last 11 sts, turn.

Row 10: Ch 1, flsc in same st, flsc in next 9 sts, sc3tog over next 3 sts, flsc in last 10 sts, change to color C, turn.

Row 11: Ch 1, flsc in same st, flsc in next 8 sts, sc3tog over next 3 sts, flsc in last 9 sts, turn.

Row 12: Ch 1, flsc in same st, flsc in next 7 sts, sc3tog over next 3 sts, flsc in last 8 sts, turn.

Row 13: Ch 1, flsc in same st, flsc in next 6 sts, sc3tog over next 3 sts, flsc in last 7 sts, turn.

Row 14: Ch 1, flsc in same st, flsc in next 5 sts, sc3tog over next 3 sts, flsc in last 6 sts, turn.

Row 15: Ch 1, flsc in same st, flsc in next 4 sts, sc3tog over next 3 sts, flsc in last 5 sts, change to color D, turn.

Row 16: Ch 1, flsc in same st, flsc in next 3 sts, sc3tog over next 3 sts, flsc in last 4 sts, turn.

Row 17: Ch 1, flsc in same st, flsc in next 2 sts, sc3tog over next 3 sts, flsc in last 3 sts, turn.

Row 18: Ch 1, flsc in same st, flsc in next 1 st, sc3tog over next 3 sts, flsc in last 2 sts, turn.

Row 19: Ch 1, flsc in same st, sc3tog over next 3 sts, flsc in last st, turn.

Row 20: Ch 1, sc3tog over next 3 sts, fasten off.

Working over the ends of rows.

Row 21: With color D, join to either of edge of Row 1, ch 1, evenly work 19 sc sts across edge, 3 sc in last stitch of row 20, working down the other edge or rows, evenly work 19 sc sts across edge, turn.

Row 22: Ch 1, flsc in same st, flsc in next 19 sts, 3 sc in next st, flsc in next 20 sts, turn.

Row 23: Ch 1, flsc in same st, flsc in next 20 sts, 3 sc in next st, flsc in next 21 sts, turn.

Row 24: Ch 1, flsc in same st, flsc in next 21 sts, 3 sc in next st, flsc in next 22 sts, change to color C, turn.

Row 25: Ch 1, flsc in same st, flsc in next 22 sts, 3 sc in next st, flsc in next 23 sts, turn.

Row 26: Ch 1, flsc in same st, flsc in next 23 sts, 3 sc in next st, flsc in next 24 sts, turn.

Row 27: Ch 1, flsc in same st, flsc in next 24 sts, 3 sc in next st, flsc in next 25 sts, turn.

Row 28: Ch 1, flsc in same st, flsc in next 25 sts, 3 sc in next st, flsc in next 26 sts, change to color B, turn.

Row 29: Ch 1, flsc in same st, flsc in next 26 sts, 3 sc in next st, flsc in next 27 sts, turn.

Row 30: Ch 1, flsc in same st, flsc in next 27 sts, 3 sc in next st, flsc in next 28 sts, turn.

Row 31: Ch 1, flsc in same st, flsc in next 28 sts, 3 sc in next st, flsc in next 29 sts, turn.

Row 32: Ch 1, flsc in same st, flsc in next 29 sts, 3 sc in next st, flsc in next 30 sts, change to color A, turn.

Row 33: Ch 1, flsc in same st, flsc in next 30 sts, 3 sc in next st, flsc in next 31 sts, turn.

Row 34: Ch 1, flsc in same st, flsc in next 31 sts, 3 sc in next st, flsc in next 32 sts, turn.

Row 35: Ch 1, flsc in same st, flsc in next 32 sts, 3 sc in next st, flsc in next 33 sts, turn.

Row 36: Ch 1, flsc in same st, flsc in next 33 sts, 3 sc in next st, flsc in next 33 sts, 3 sc in next st, working on edge of Rows 21-36 evenly sc across to the unused loops of the beg ch of row 1, sc in the next 20 unused loops, 3 sc in next st, sc in the next 20 unused loops, continue evenly sc across the ends of Rows 21-36, 2 sc in last st, sl st to join. Fasten off, weave in ends, block.


Woven Kisses Wrap- Free Pattern

For the last few years I have released new patterns featuring yarn from Lisa Souza Dyeworks to highlight the New York Sheep in Wool show, affectionately known to many simple by the town that hosts it, Rhinebeck. This year is no different.

With Rhinebeck occurring this next weekend, October 20 & 21, 2018 at the Duchess County Fairgrounds, I have designed a new shawl; Woven Kisses.

Woven Kisses is essentially a mesh, but not created with your most common stitches. It is worked with tall stitches and Love Knots (aka Solomon Knots). It works up quickly, and adds a great airiness while giving beauty. If you need to learn how to create these lofty stitches, I share how here.

This wrap is airy and have a beautiful drape. One of the things that I always find interesting is that even with the openness, it is quite warm, making for a delightful project. In addition, this entire wrap is created with only one skein of yarn, everyone loves that. It helps keep things cost effective, while also only having 2 ends to weave in, my favorite kind of project.

Even if you cannot attend Rhinebeck, you can enjoy this design, since I am sharing it as a free pattern. I hope you enjoy it and that it helps you get into the crochet season.

Woven Kisses Wrap

Materials

  • Hook size 1/9/5.5mm
  • Lisa Souza Yarns Delux Sock light weight 80% superwash merino, 10% nylon 10% cashmere (4oz/495yds): 1 skein color: Rhinebeck 2018 (www.lisaknit.com)

Gauge is not critical for this project

Finished Size approximately 24” x 84”

Row 1: Ch 2, sc in 2nd ch from hook, 50 LK, turn.

Row 2: Ch 4 (counts as tr now and throughout), LK, tr in knot between 2 LK, [LK, tr between next 2 LK] rep 48 times, LK, tr in last knot, turn.

Row 3: Ch 4, [LK, tr in next tr] rep across, turn.

Row 4-26: Rep Row 3. Fasten off, block.