A Crochet High- Returning from Conference

Last week I was teaching at the Crochet Guild of America annual Chainlink conference in Portland, Oregon, and you know it had to be a good time when it takes you 4 days to finally unpack. Okay 4 days may not seem like long to some, but I am usually unpacked the same day I arrive home with the laundry in the washer….however this time I just didn’t have the energy, I left it in Portland.

I taught a variety of classes, interestingly enough, I taught 4 classes at a crochet conference and none of them were actually crochet. Well one was, but it was about understanding patterns and how to read them better, the other 3 were not nearly as crochet focused.

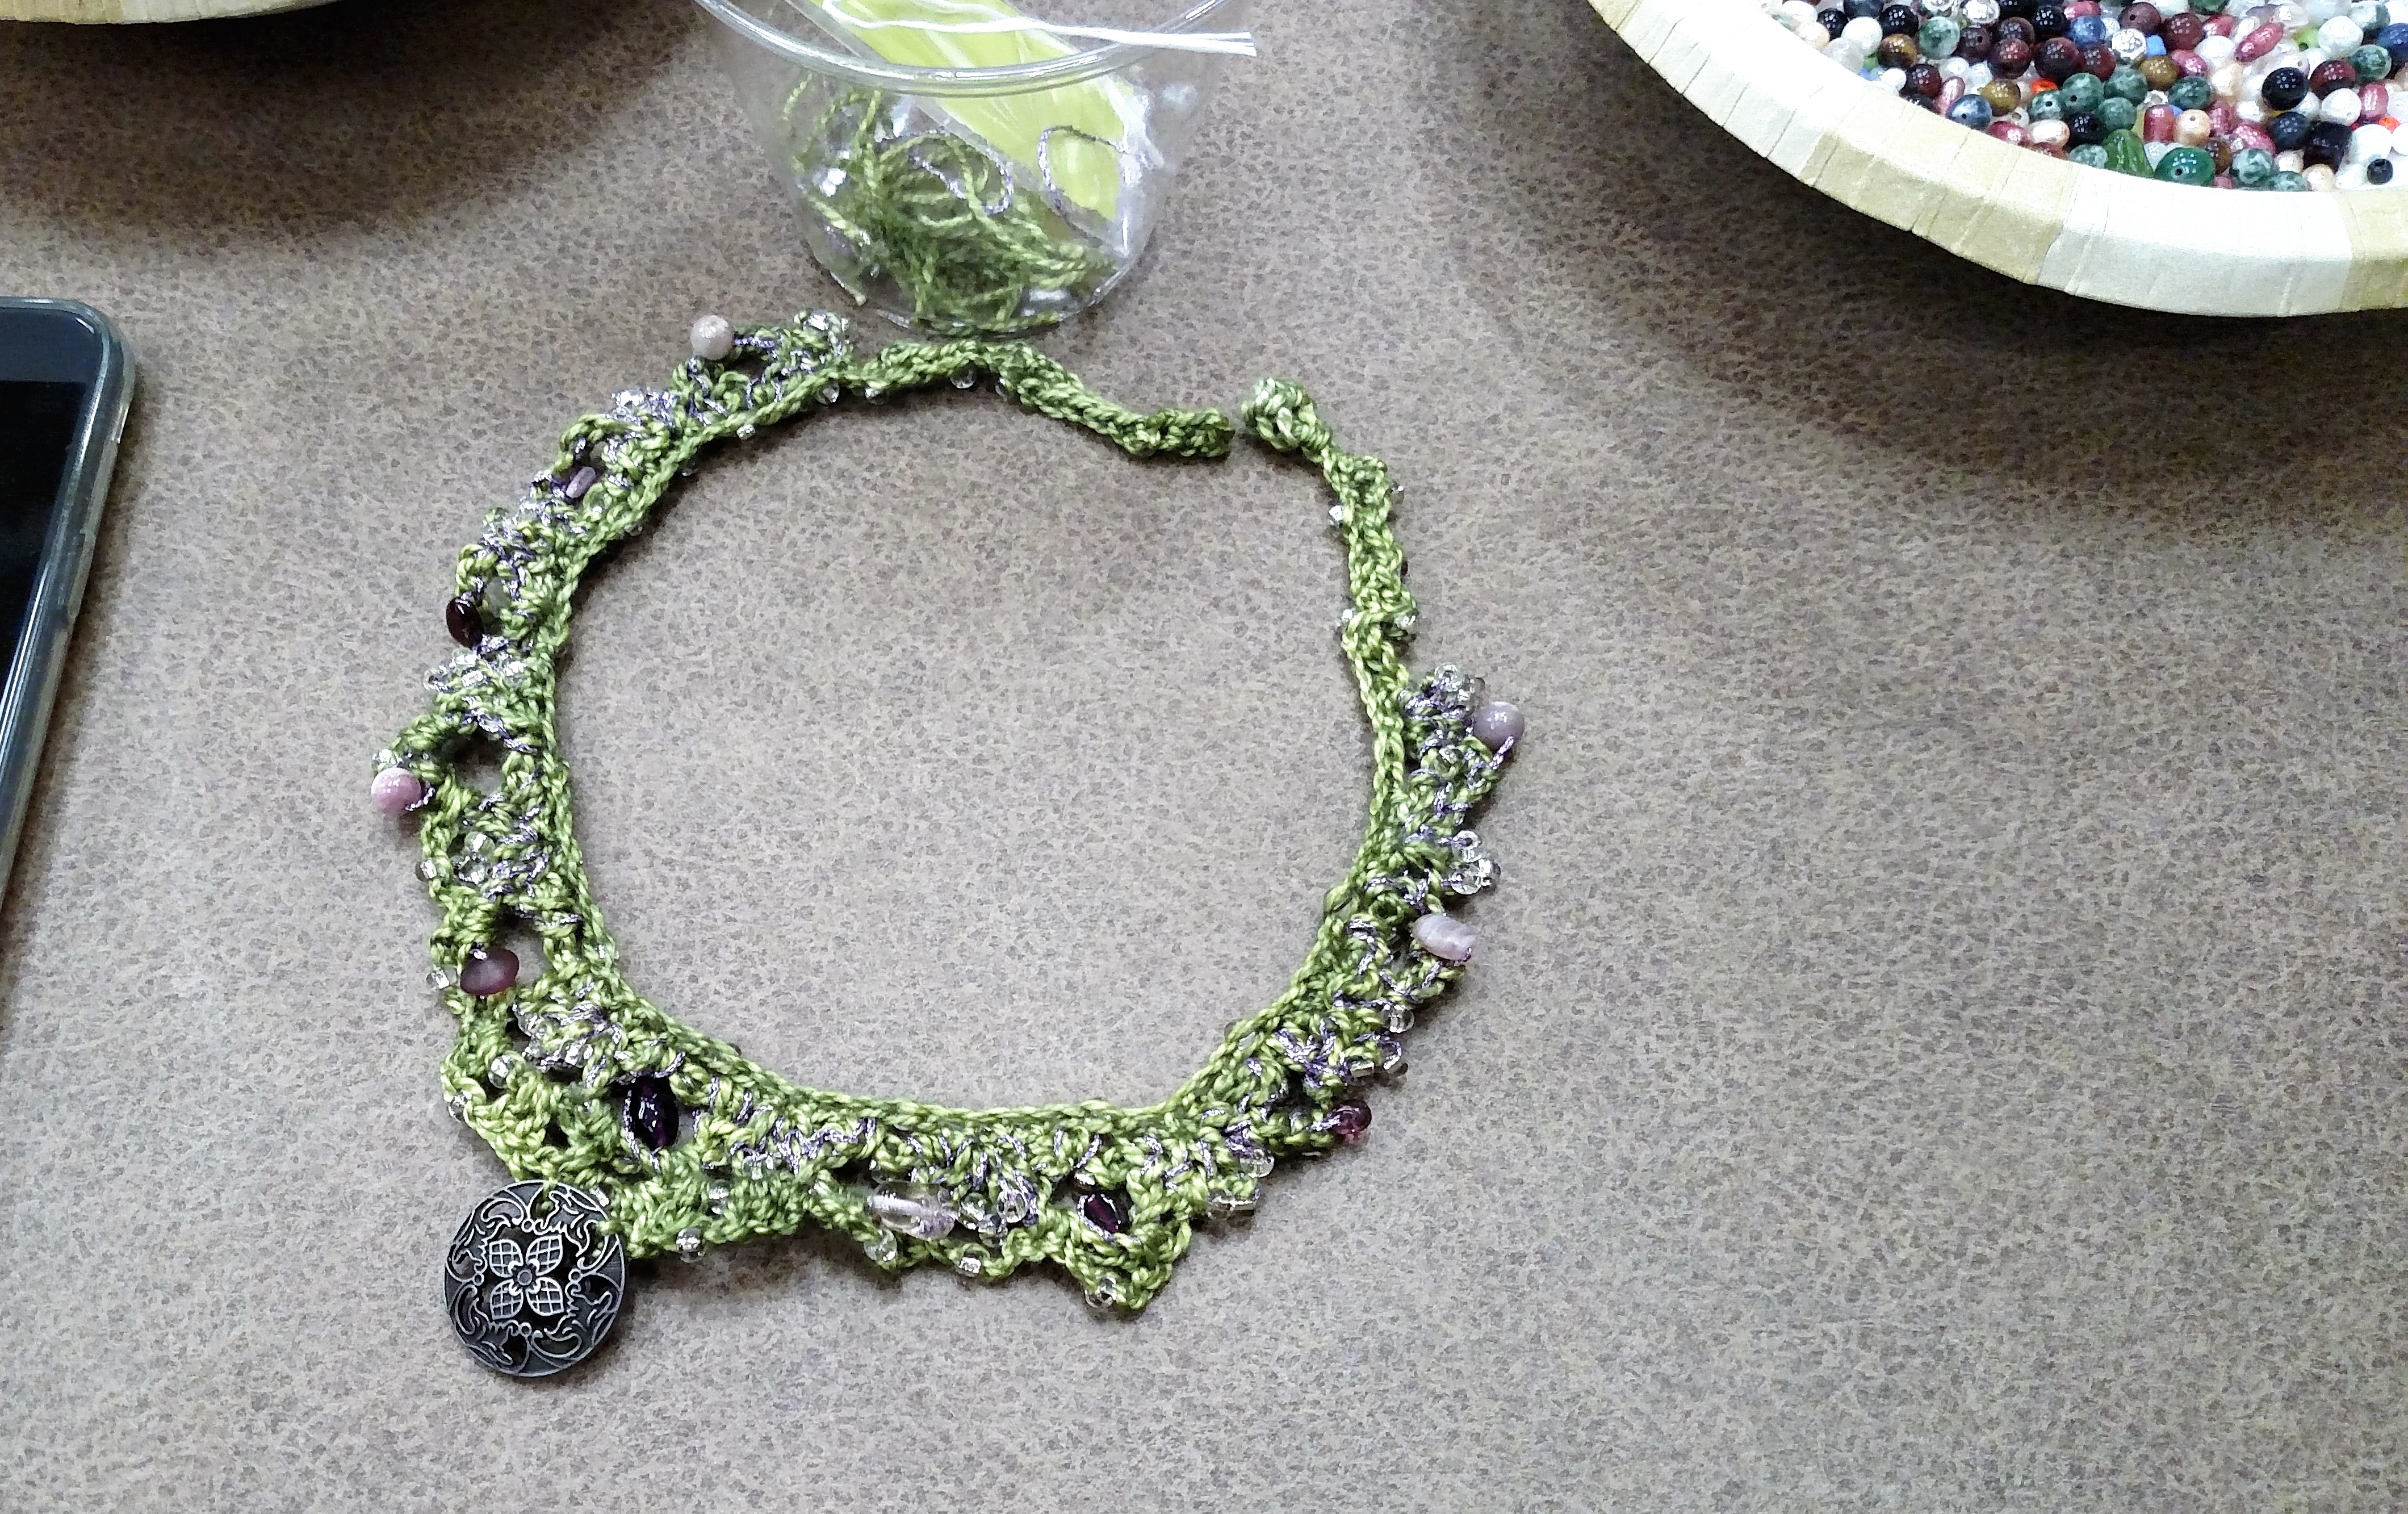
I taught how to use beads in your work in my Beads 3 Ways class. It was a room full and everyone put their own style and twist on the necklace we were creating. There were definitely some talented and creative people in that room. They took silk, and threads (from Kreinik threads), and beads (from Bead Biz) and learned different applications to add them to their crochet (or knitting) projects.

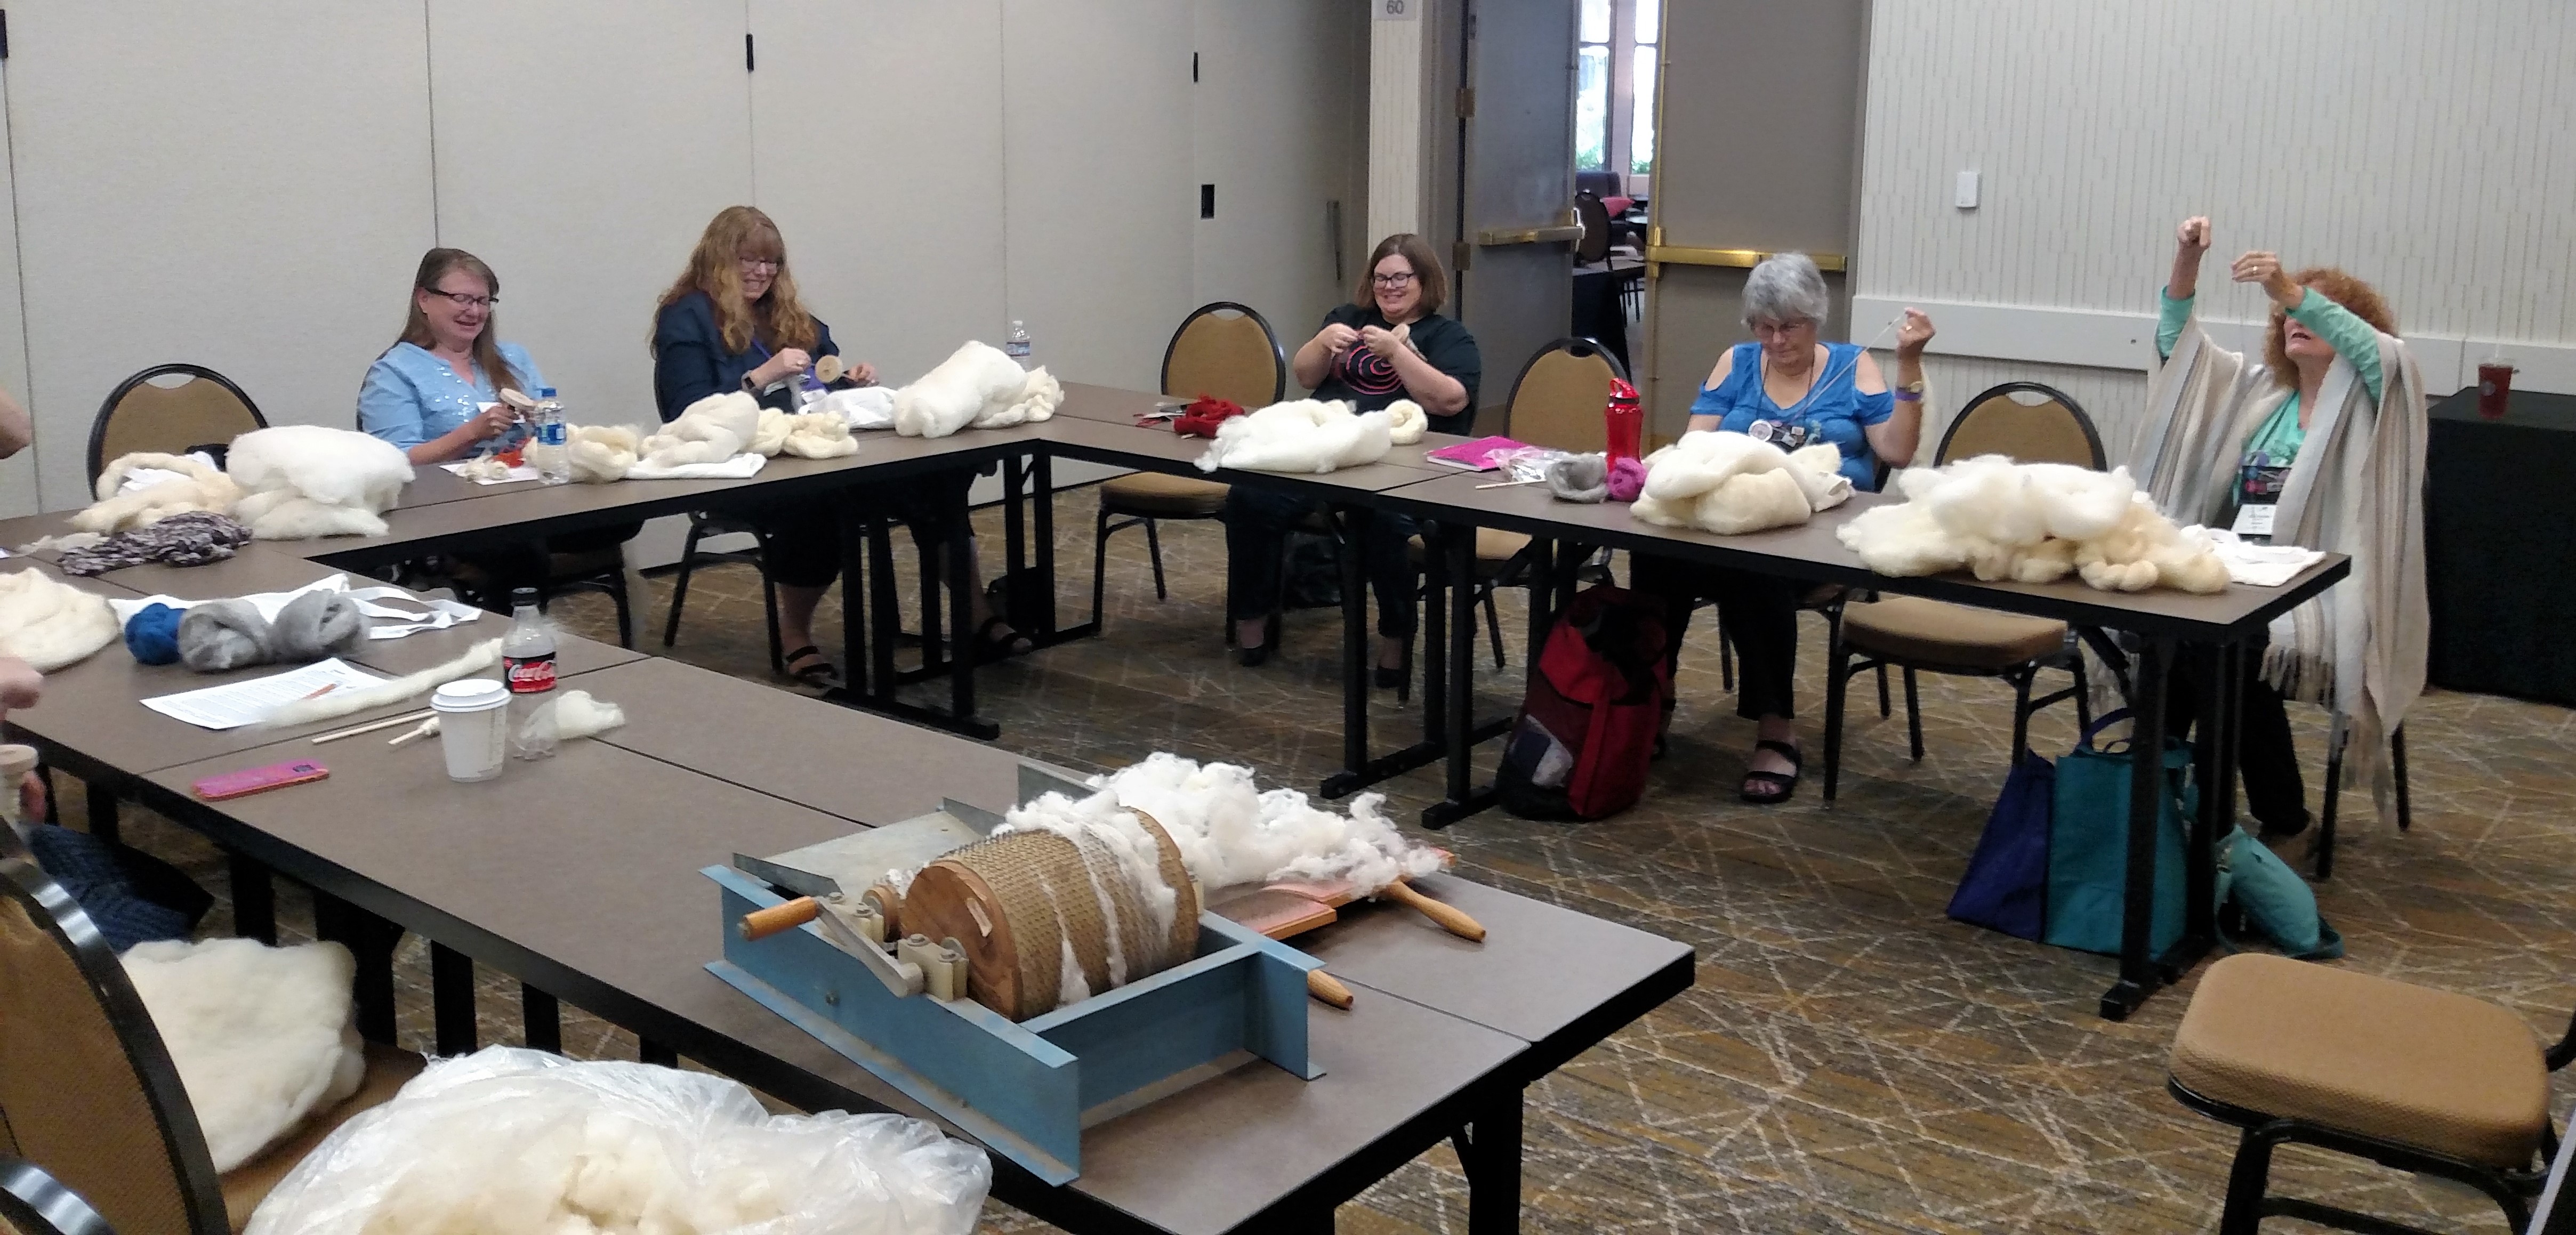
Then I spent the entire day teaching people how to actually make yarn in my Drop Spindle class. Everyone made yarn, which is an exciting prospect just in itself. We worked with some different fibers (from Weaver Creek Fibers), and got the hang of drafting, spinning, and parking. We then plied our works and got to experience how to card wool. I haven’t taught that class in a while, and I have to say I was so impressed with what the students created.

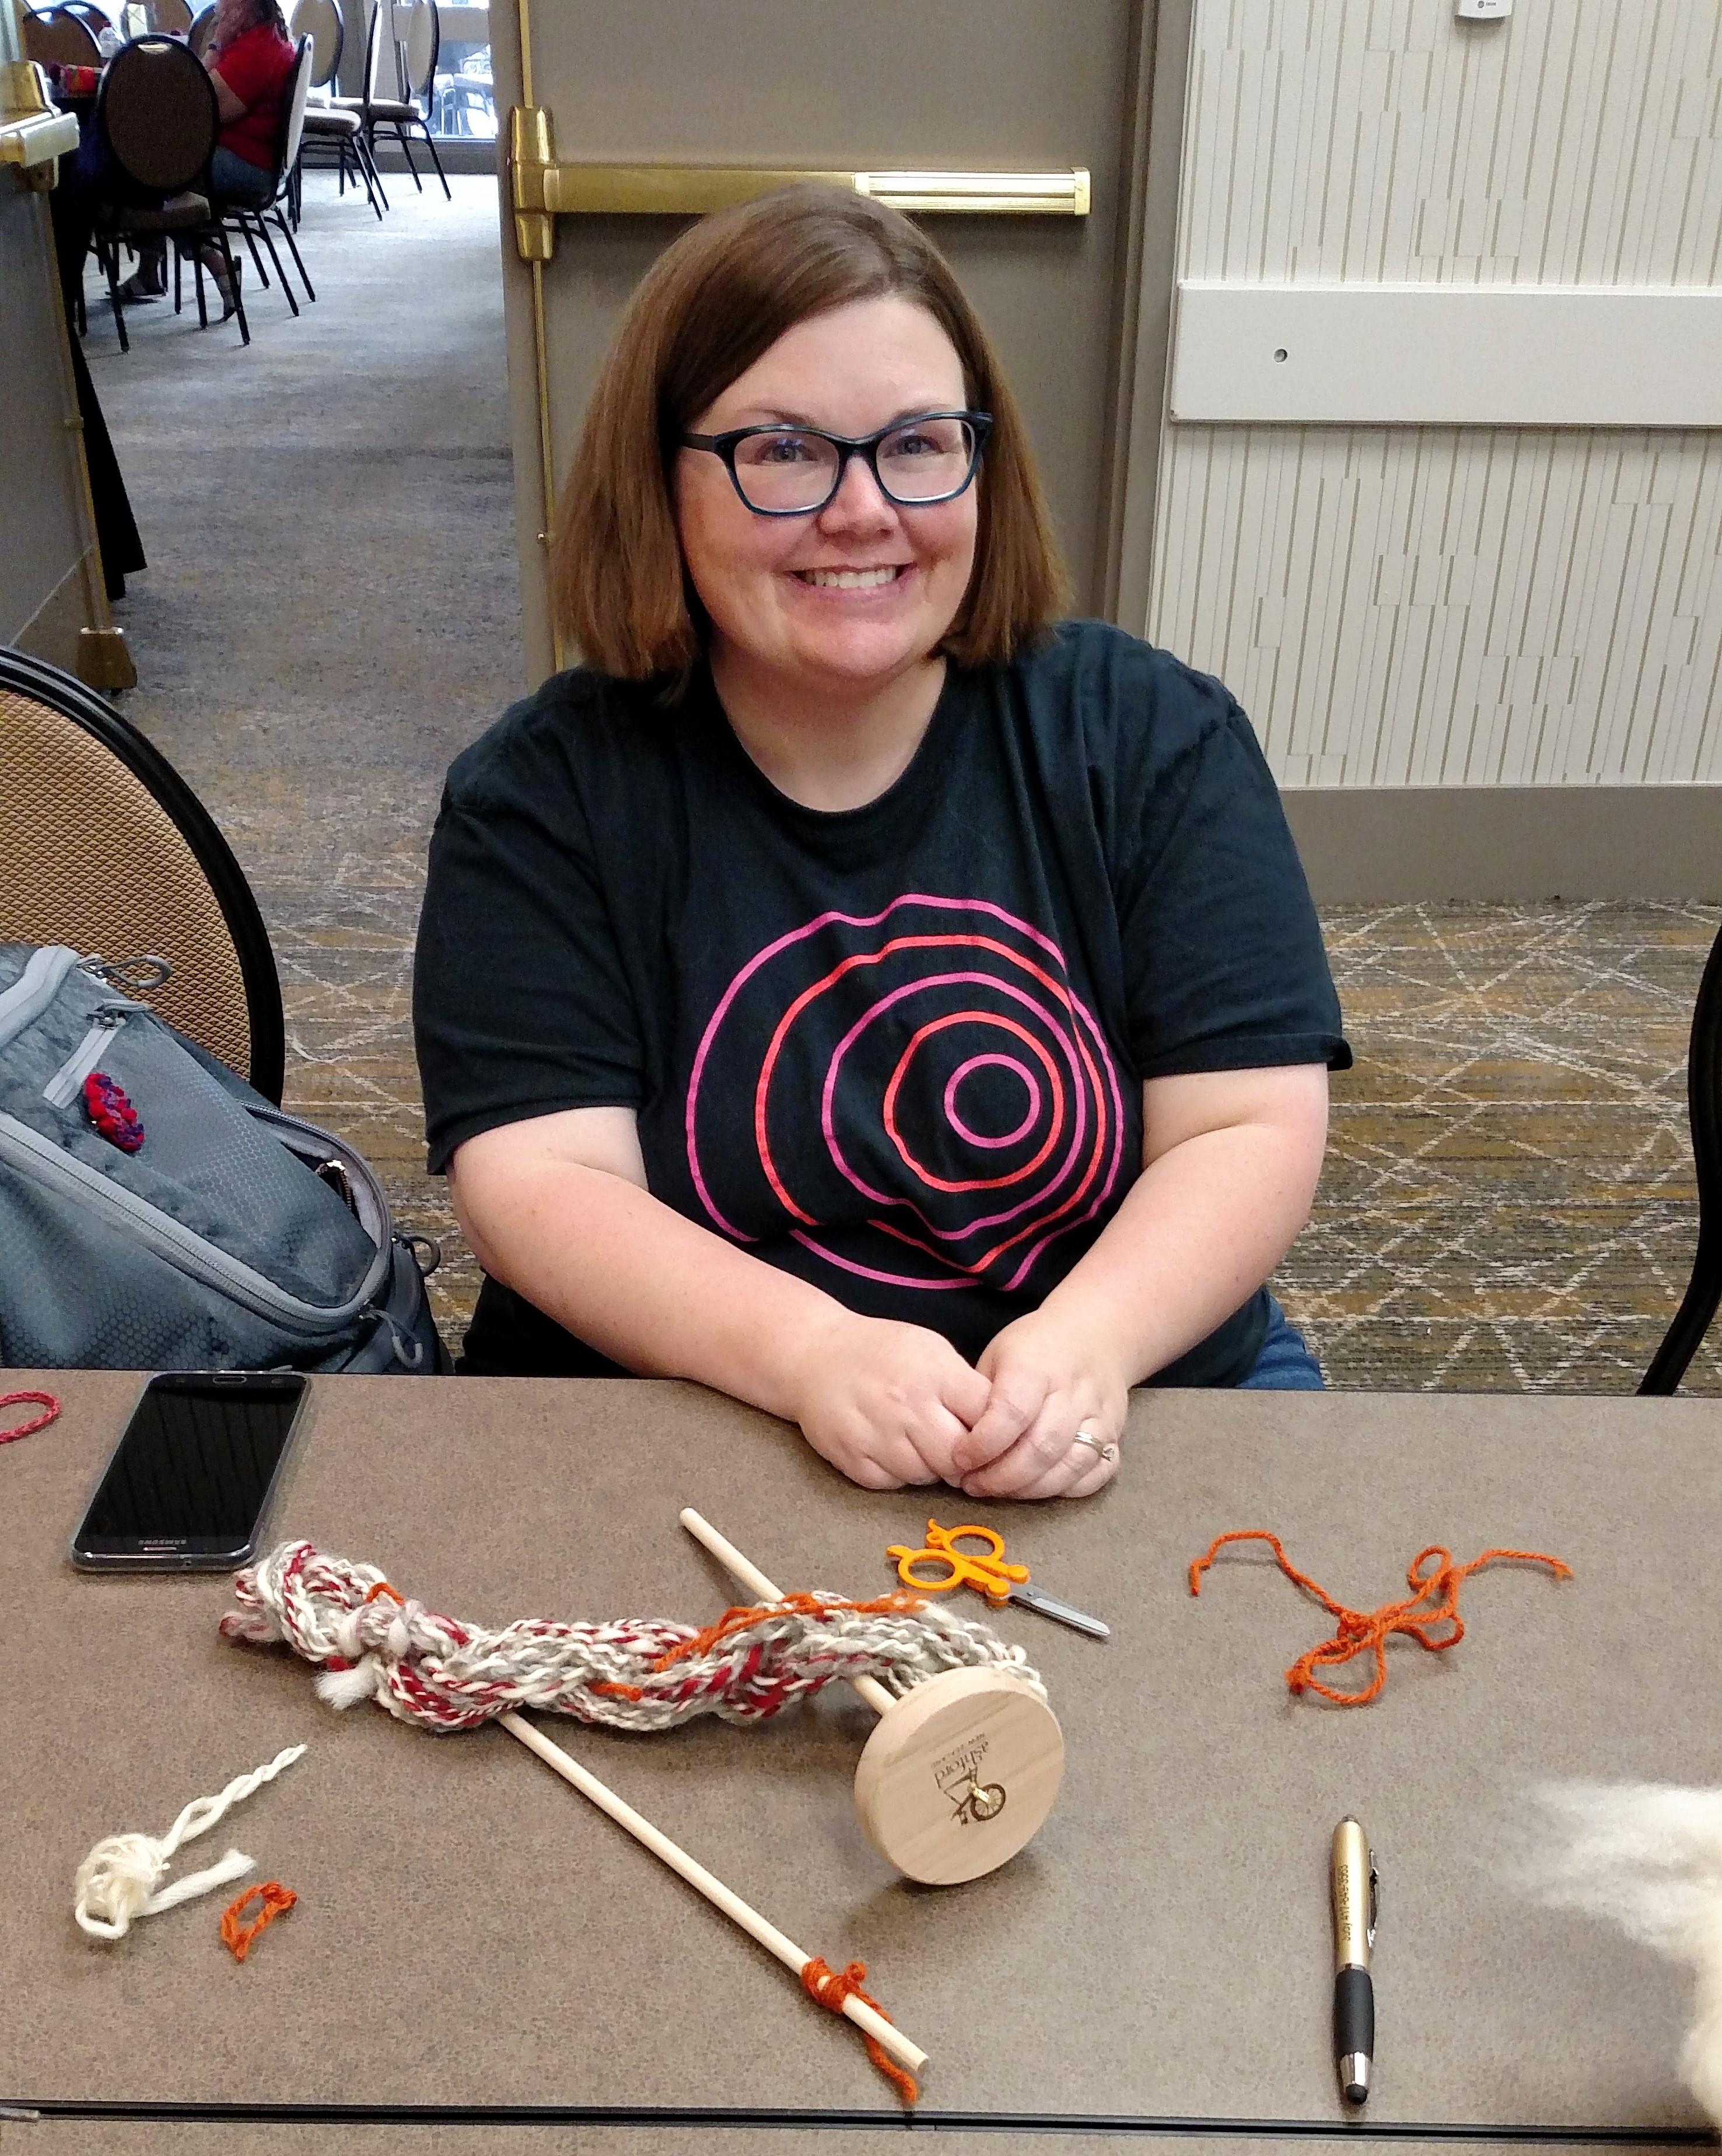
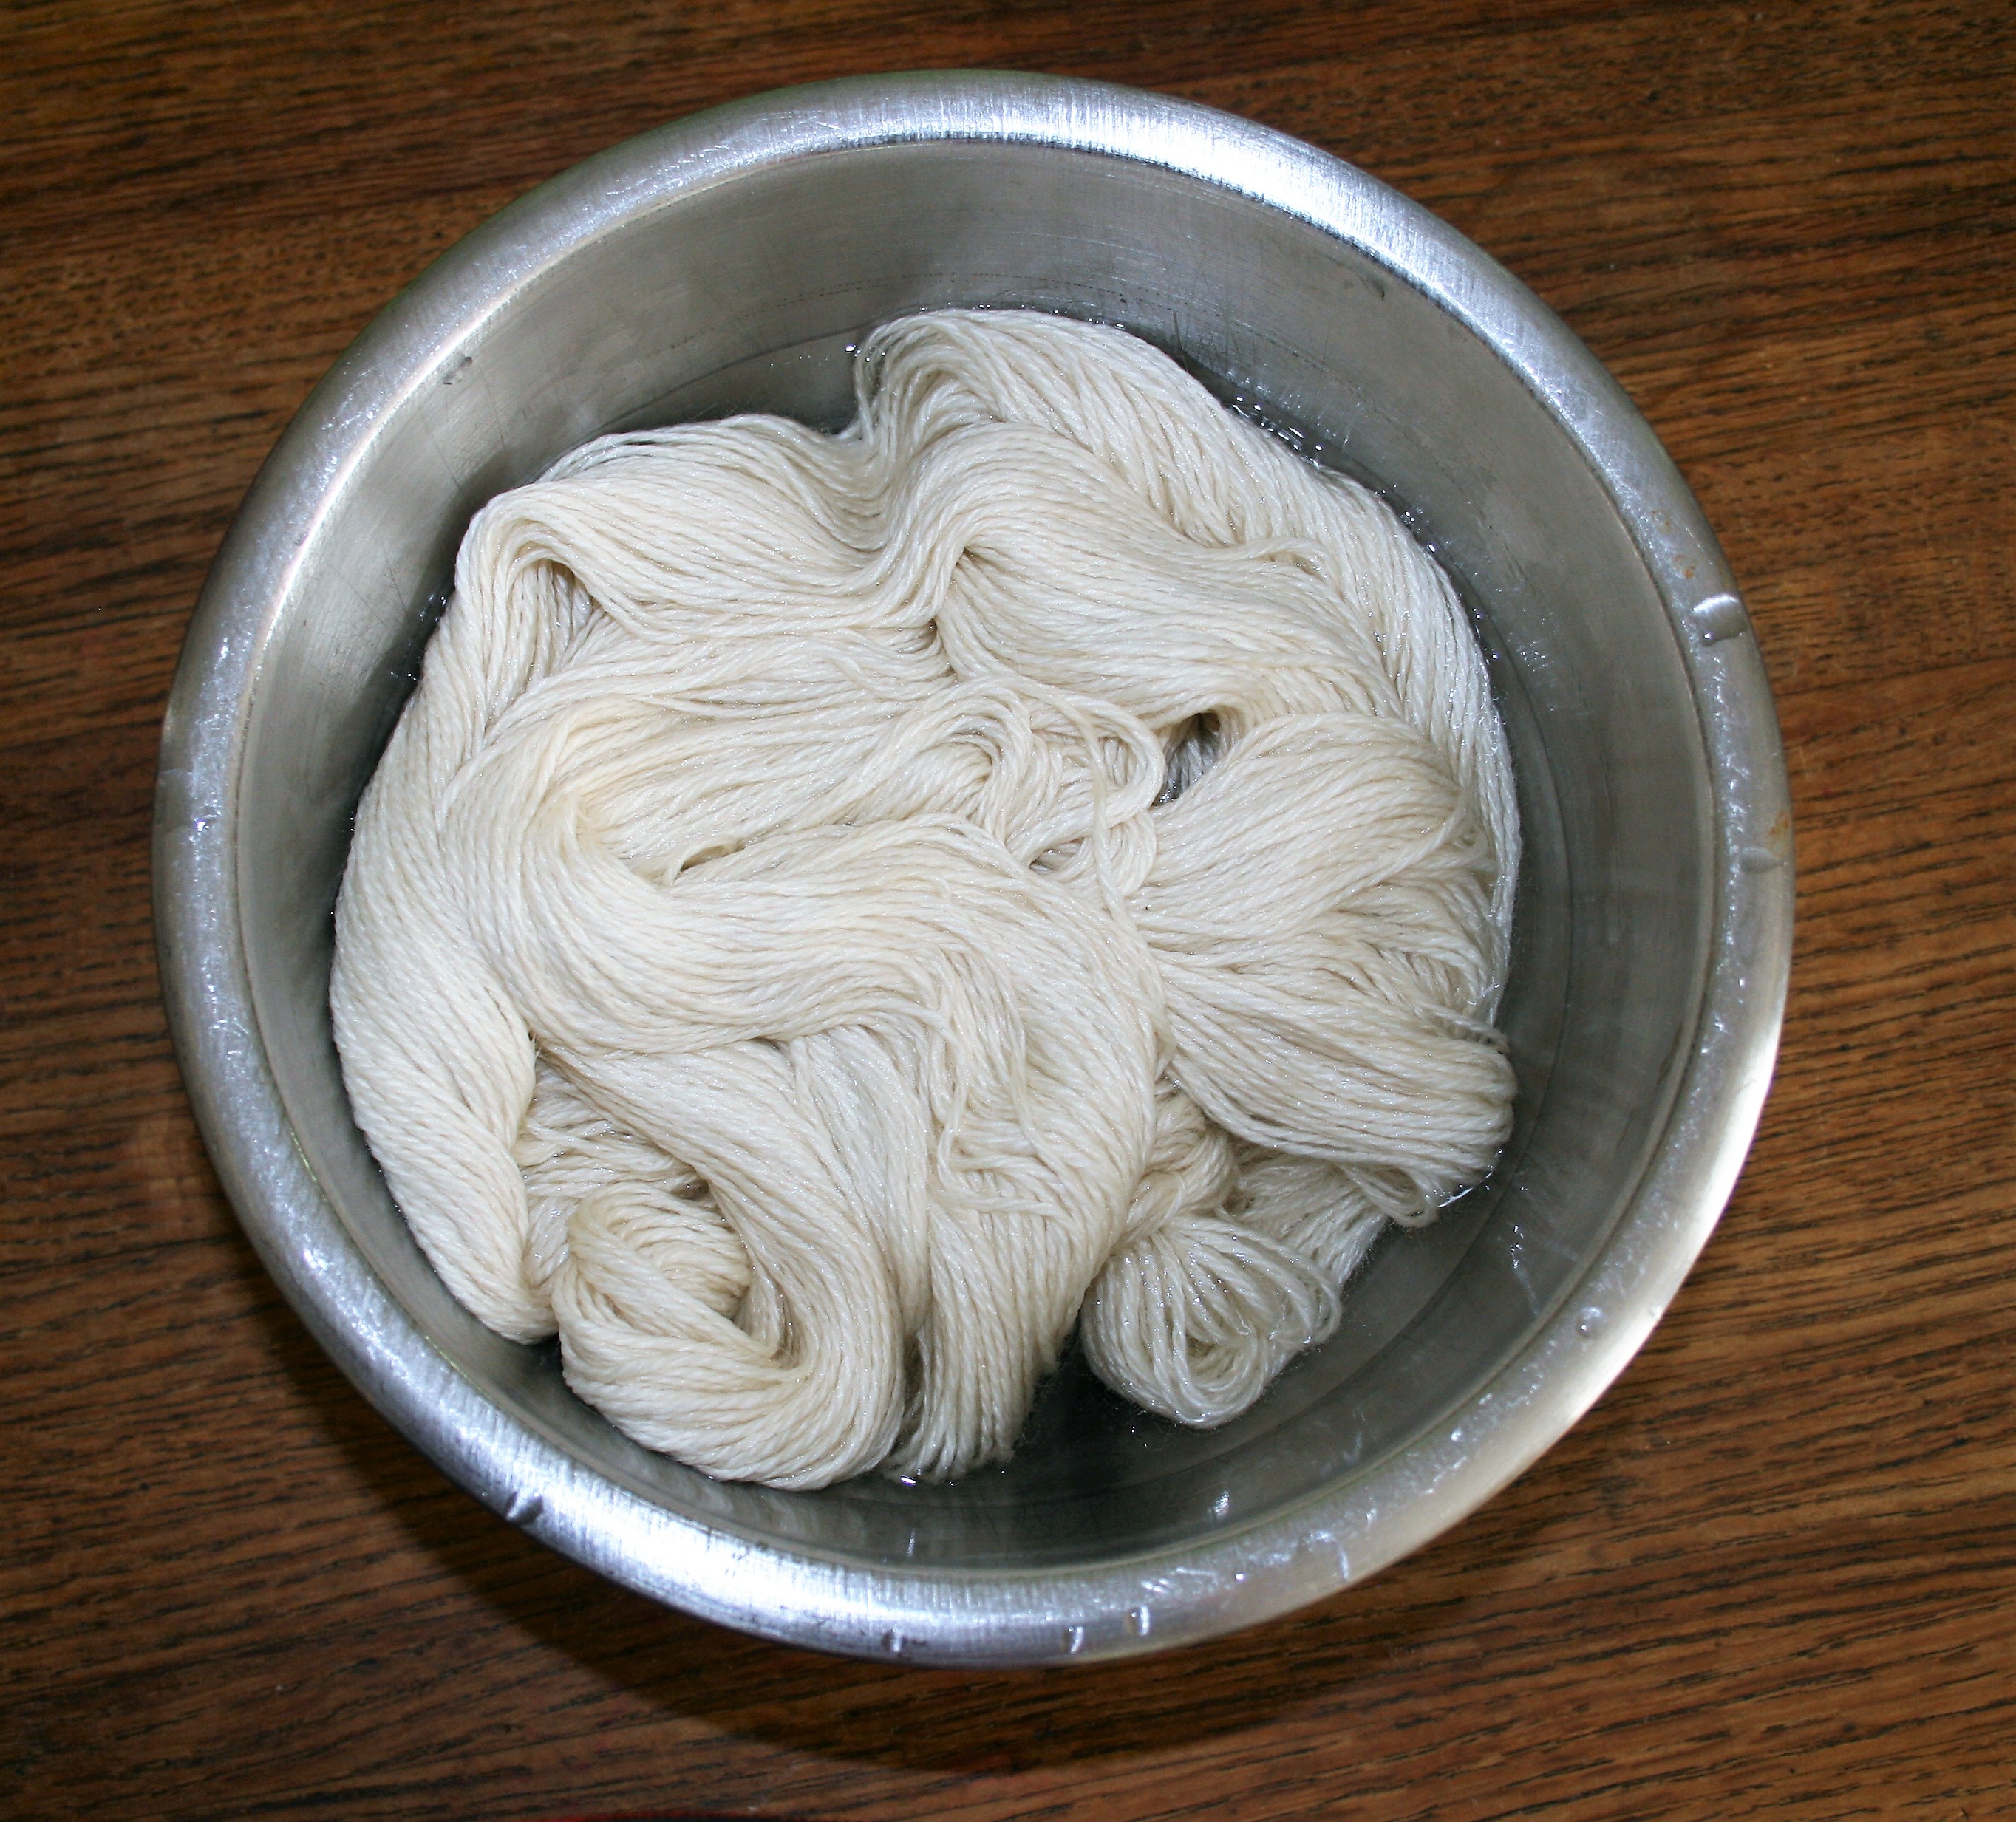
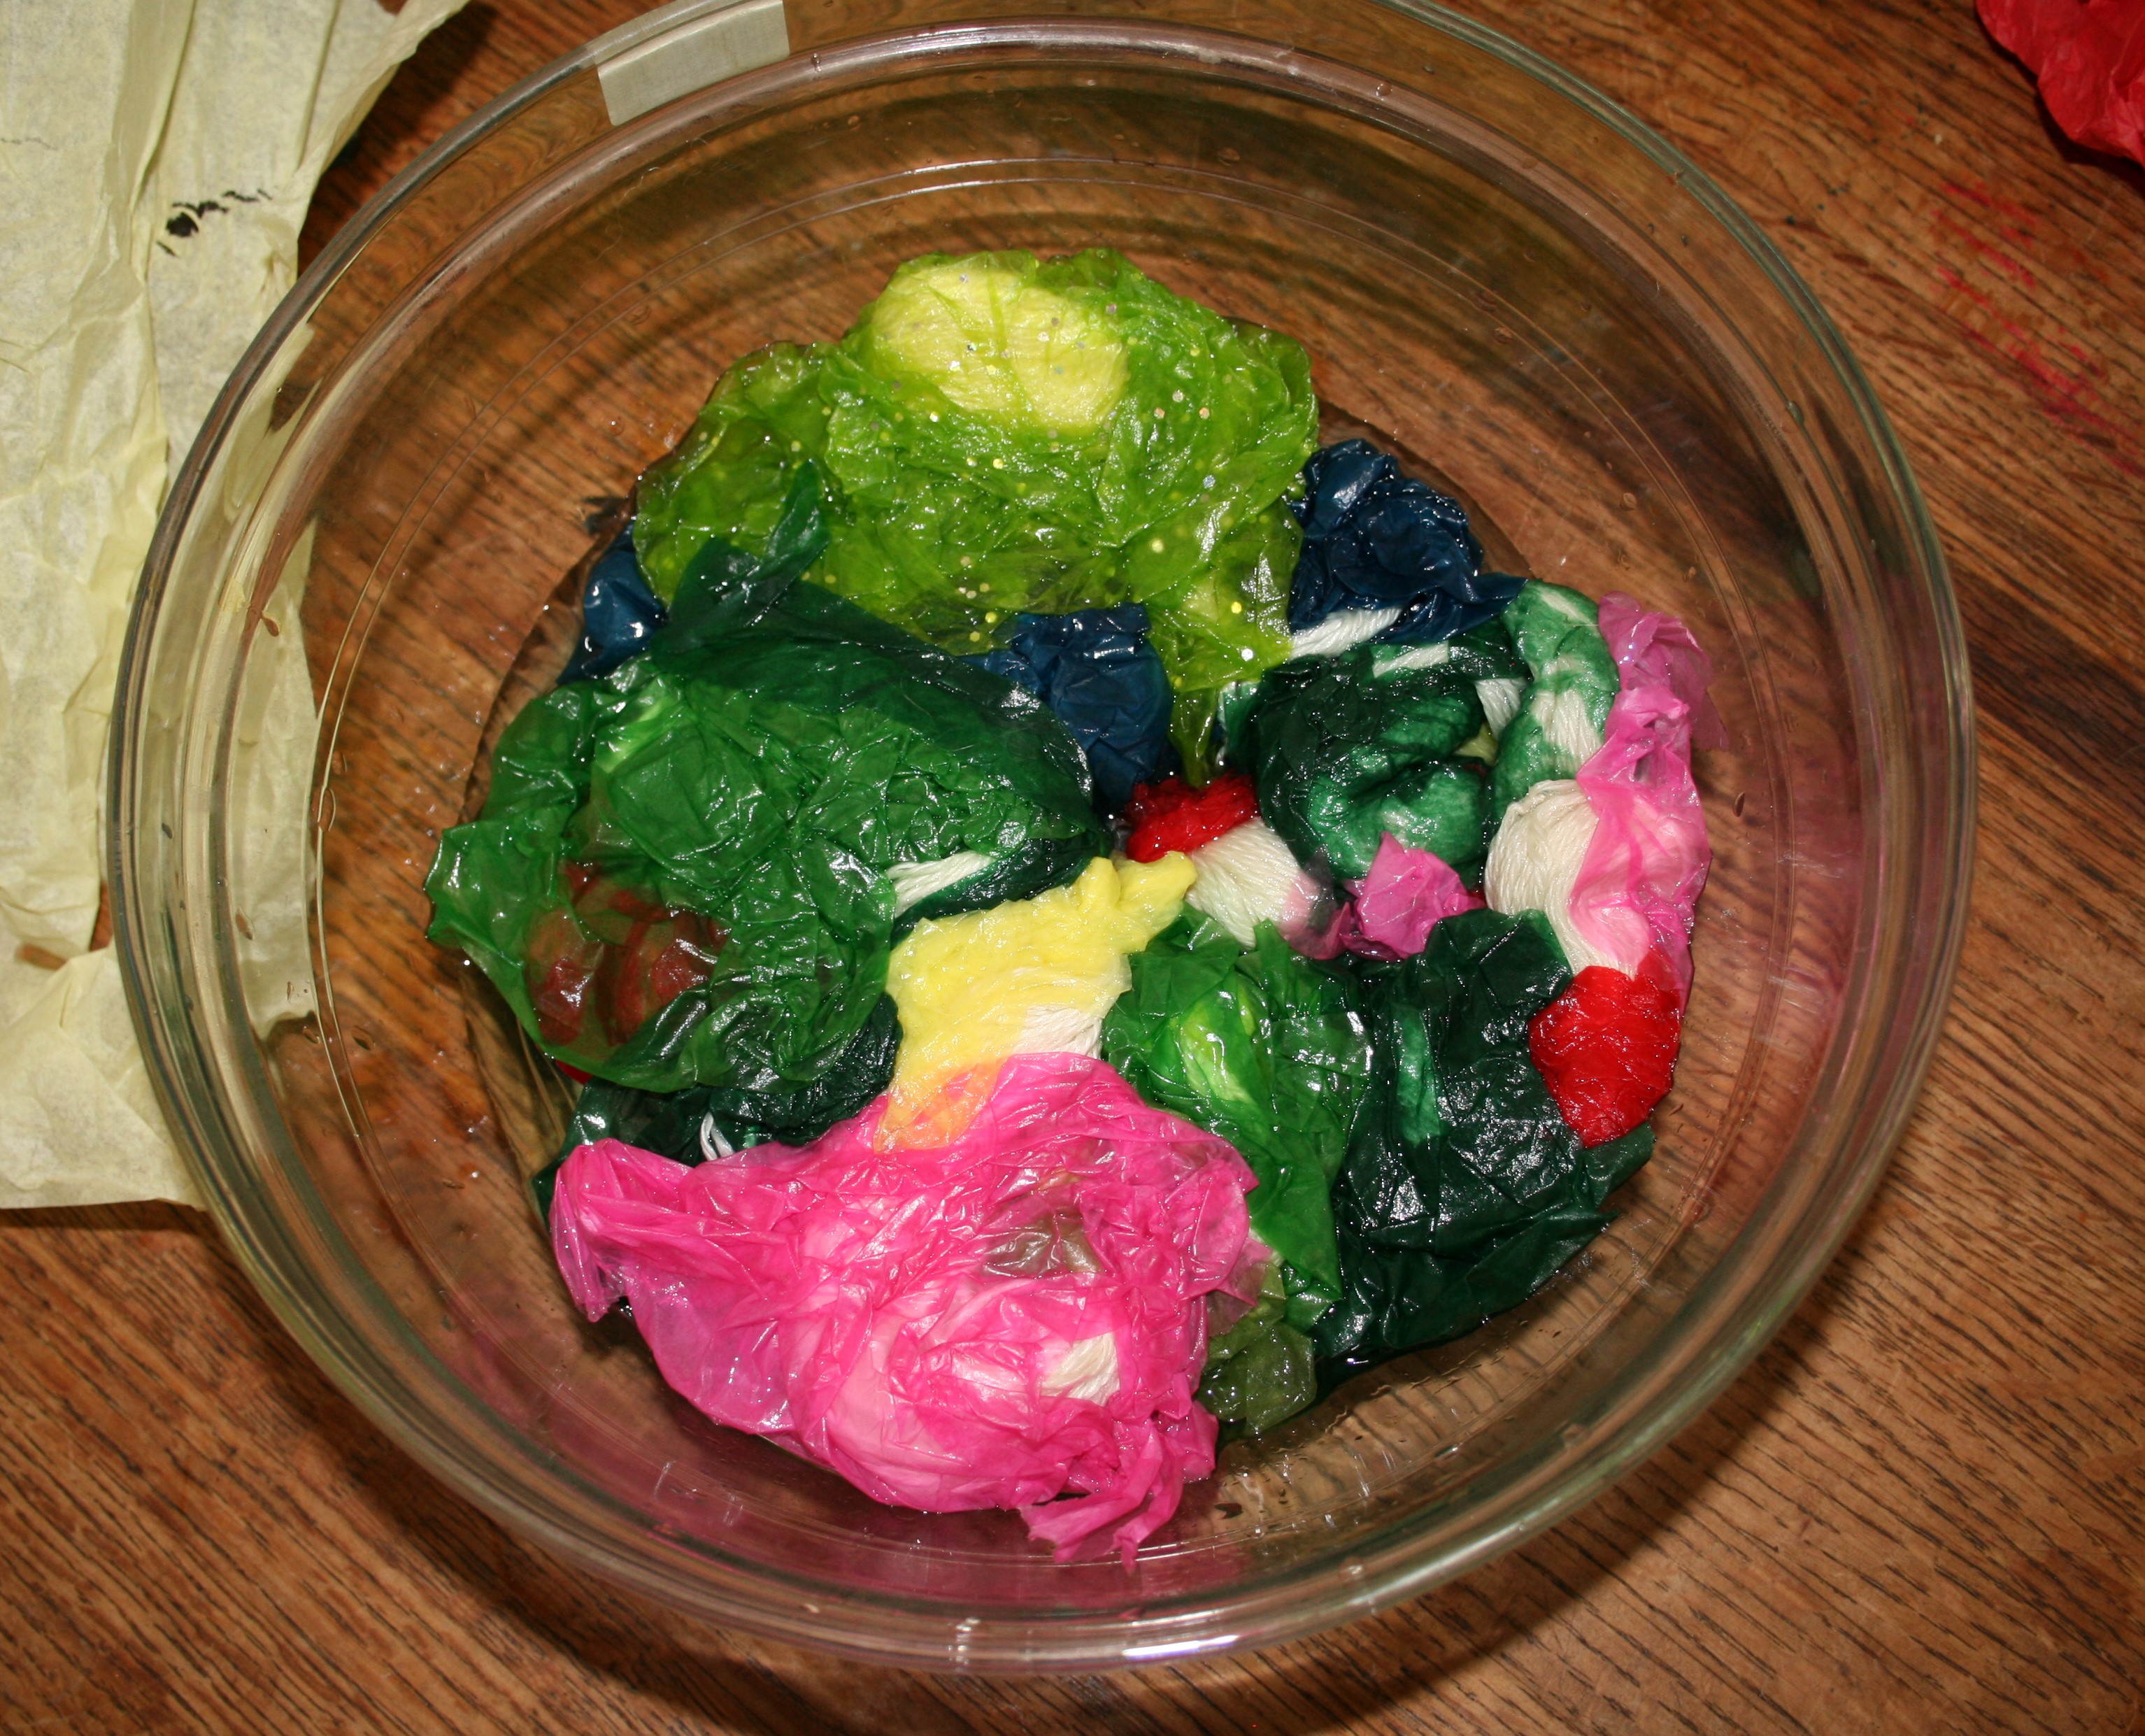
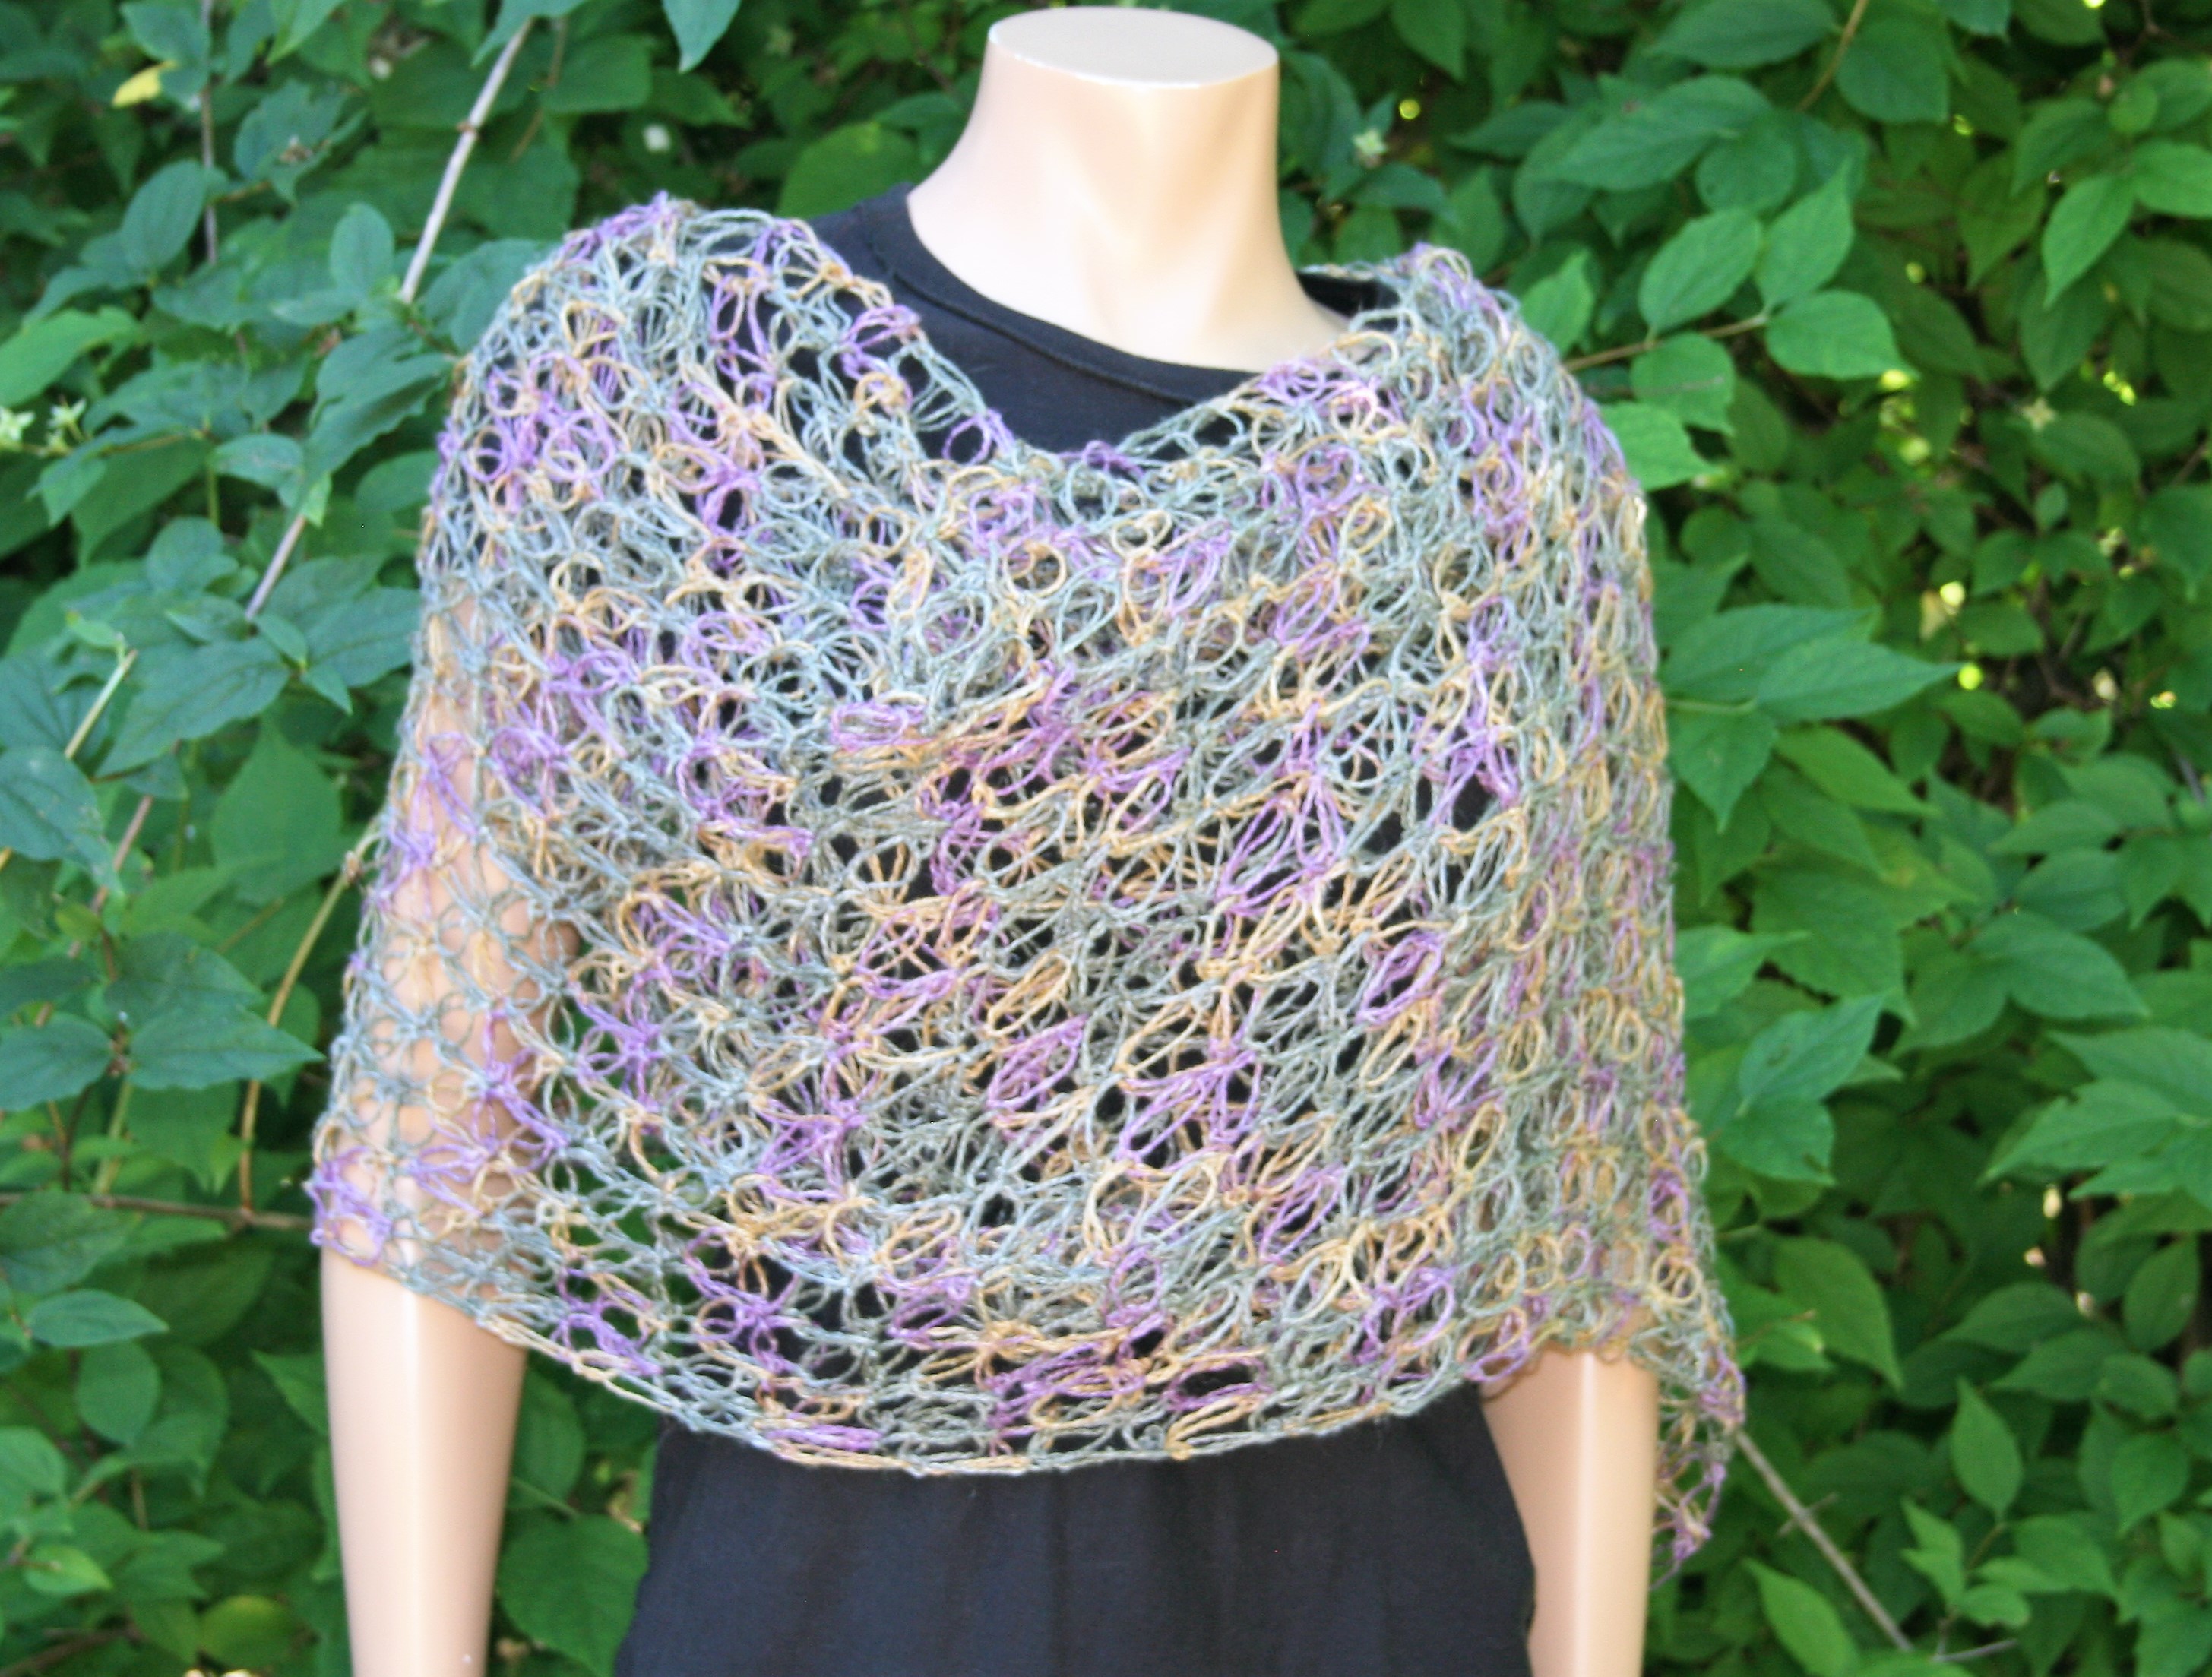
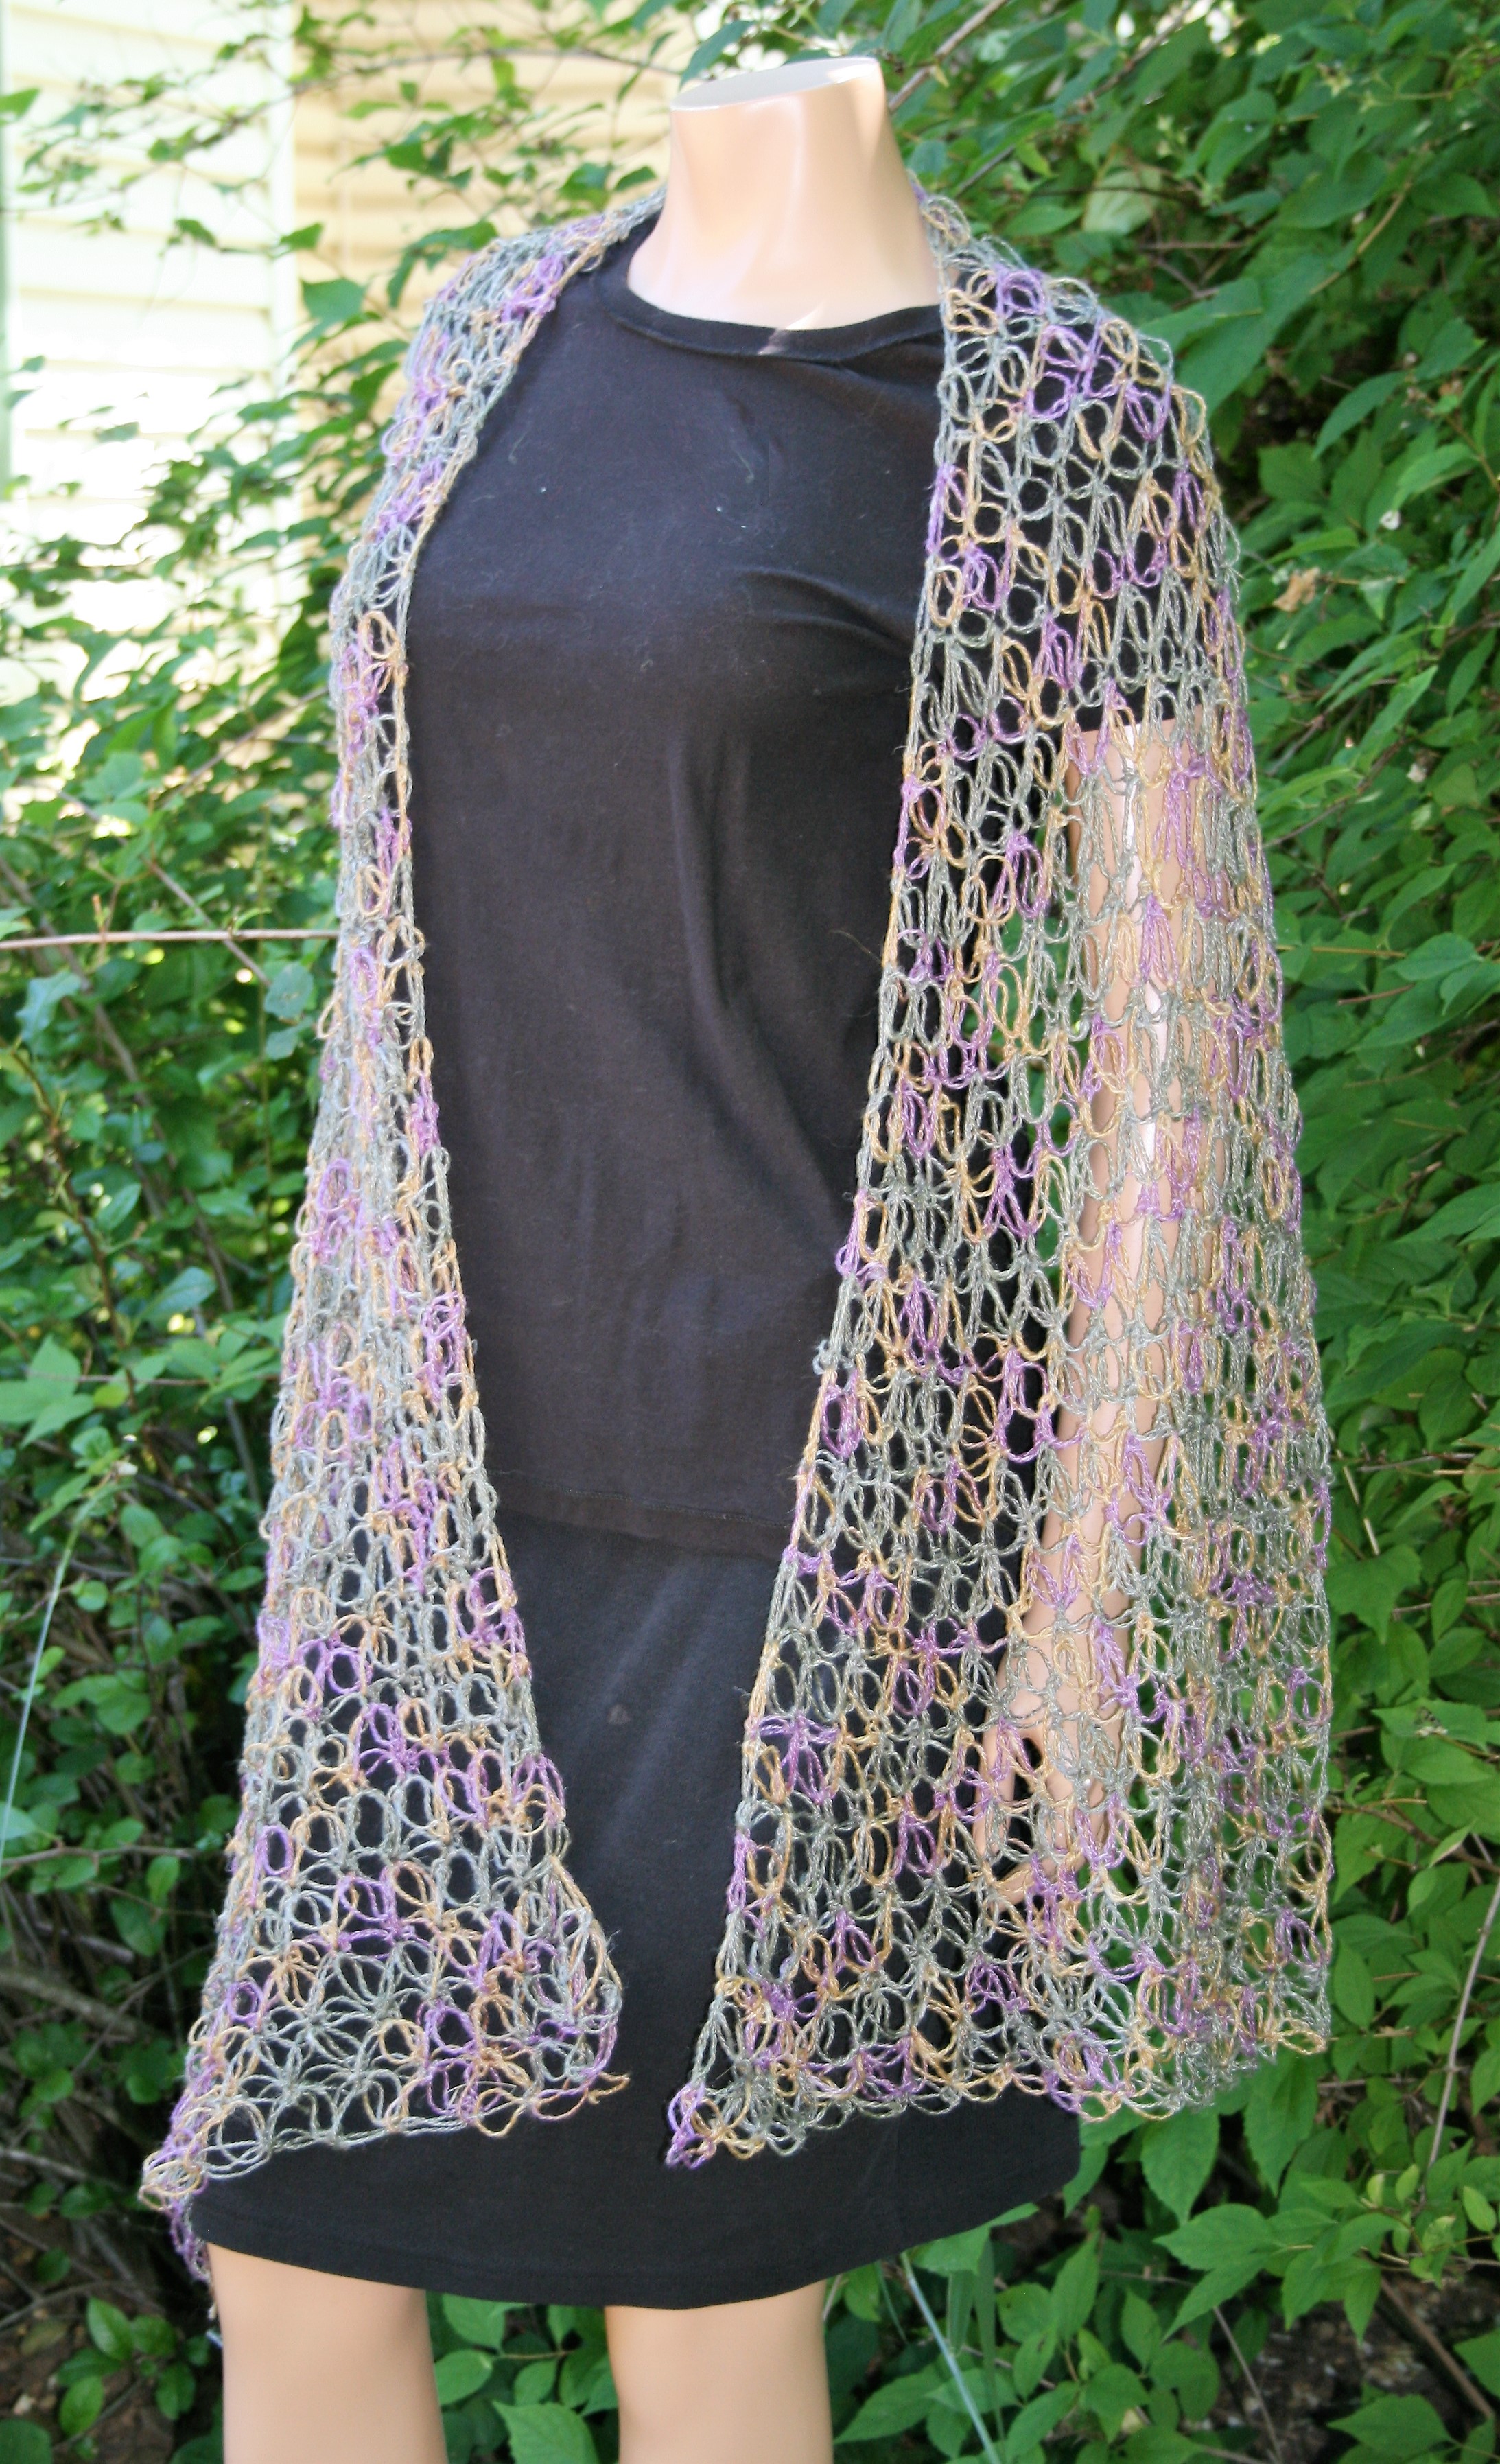
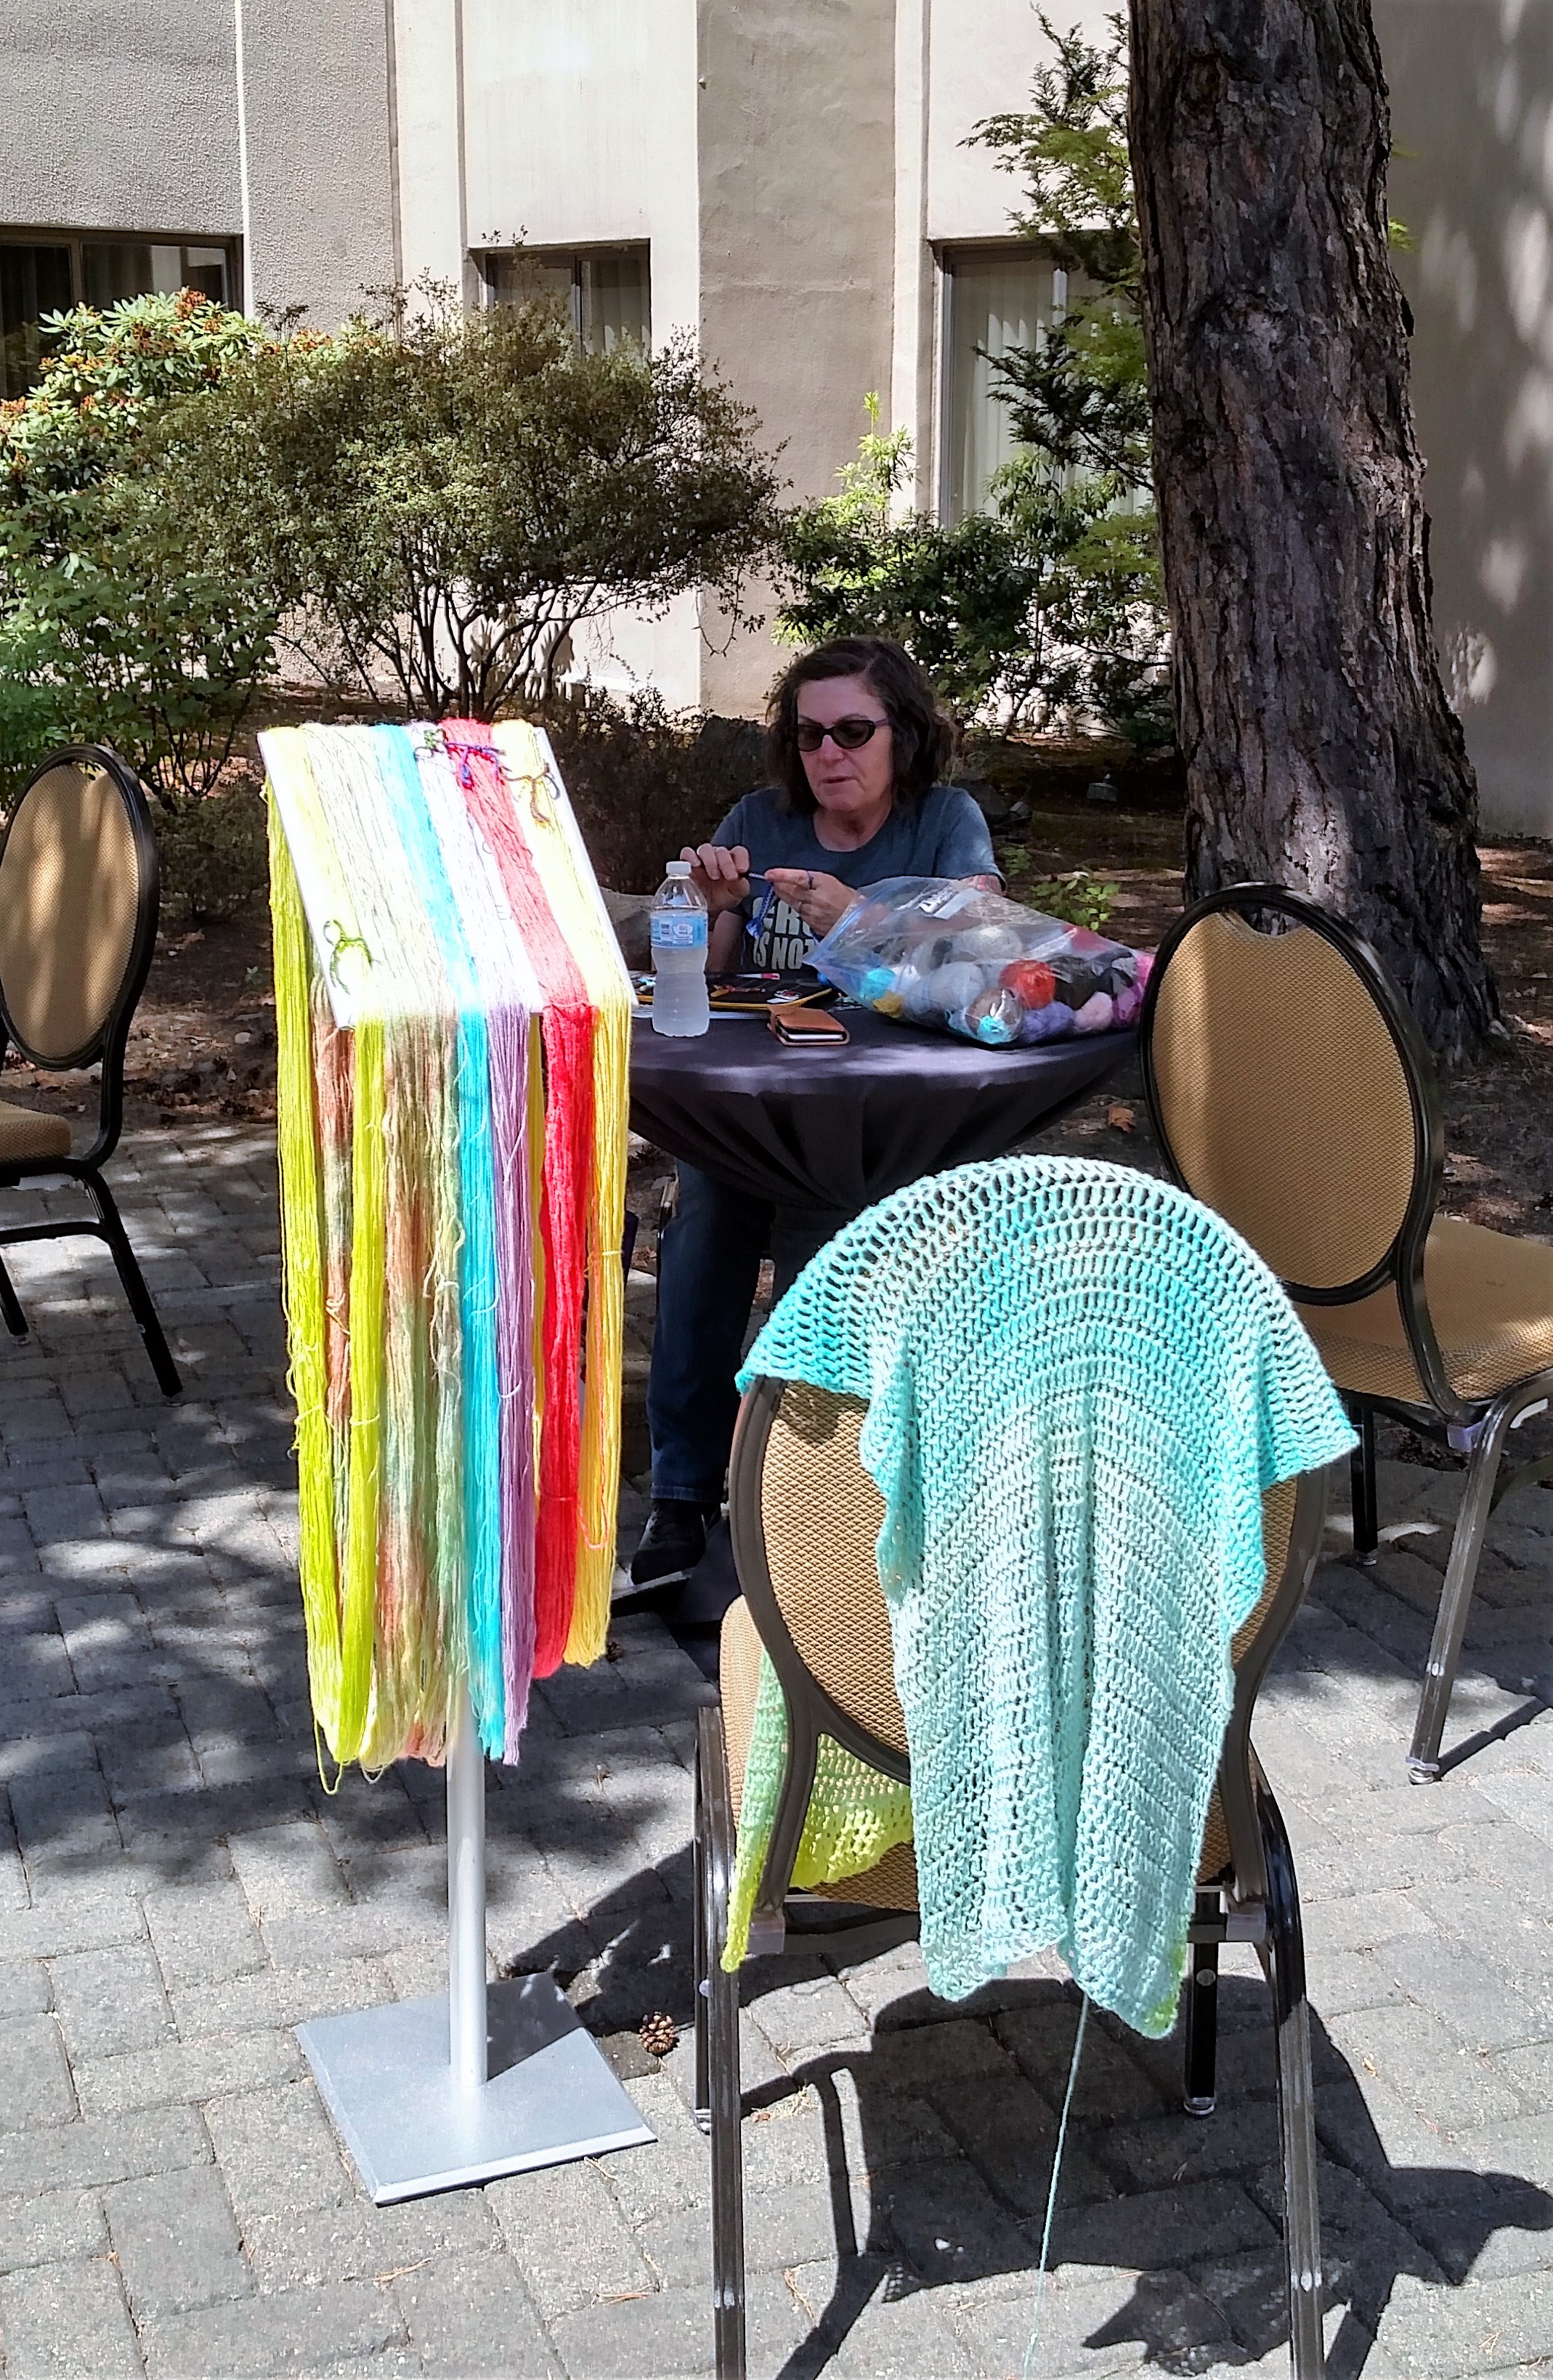
The next morning was the class that caused me to drive 12 hours to Portland…Home Dyeing…how to safely dye your own yarn. I am pretty sure everyone had fun in this class. I had to drive to ensure that all  the equipment needed was there for me, so it allowed us to set up dyeing stations and play with all kinds of fiber (from Lisa Souza Dyeworks), with a variety of dyes and techniques. The artistic expression of the students really came out when we just jumped right into all the colors and combinations. There may have been some trash talk, completely in jest, with the class next door as they were learning how to color pool yarn. I had to put forth a challenge that were we dyeing yarn that they could not pool, my fellow instructor and friend, Vashti Braha was up for the challenge. She and I really had brainstormed ways we could work our classes together, but that didn’t come together so this little challenge was a nice addition.

Then I blinked and just like that all my classes were taught. Granted there were plenty of other events that helped cause my days to fly by, there was the member meeting I lead, and the recognition of all the Master Program graduates and Design Competition winners, then the Fastest Fingers Competition where I judged the finals, and you can never forget the CGOA Banquet and Fashion Show. It really is a whirl wind, and I didn’t even join in the actives of the first day.

I have to admit, I have been hooked since I attended my first Chainlink conference in 2011, it just feels like home.


Christmas In July -Slight Trail Men’s Gloves- Free Pattern

As part of the Christmas in July Crochet Along, I am happy to share Slight Trail Men’s Gloves as a free pattern for you!


Check out more Christmas in July patterns as well as giveaways here


Slight Trail Men’s Gloves by: Linda Dean

Fingered gloves are a must during the cold months, and are easier then they look! This simple stitch pattern offers a unique texture that gives the gloves just enough stretch.

Skill Level: Intermediate

Finished Size: men’s size gloves-10” circumference

Materials List:

  • Size I/9/5.5mm hook or hook size needed to obtain gauge
  • 1 skein of Lisa Souza Baby Alpaca Sport, sport weight,  100% Baby Alpaca Yarn (330yds/3.4 oz)  (www.lisaknit.com)
  • Stitch Marker
  • Tapestry needle

Gauge:  8 st /10 rows =2”

Pattern Note/Special Stitches

Glove are worked in a continuous spiral, there is no joining. Use stitch marker to indicate end of round.

Pattern worked in round has single crochet stitches stacked upon single crochet stitches in the back loop, and single crochet in the back loop stitches stacked upon single crochet stitches.

Magic Loop: Create a loop with yarn, inset hook, yarn over and pull through a loop, work indicated stitches in loop, pull the “tail” end of the loop to tighten.

Abbreviations:

ch: chain

rem: remaining

rep: repeat

sc: single crochet

sl st: slip stitch

sk: skip

sp: space

st(s): stitch(es)

Gloves (Make 2)

Cuff

Row 1 : Ch 10, working in back bump only, sc in 2nd ch from hook, sc in each back bump across, ch 1, turn. (9 sc)

Rows 2-39: Sc in each back loop across, ch 1, turn.

Hand

Rnd 1: Turn cuff so that ends of fabric (Rows 1 and 39) are touching forming a tube, crocheting in the ends of the rows, sc in the end of each round. 39 sc

Rnd 2: *Sc in next 3 sts, sc in back loop of next 3 sts; rep from * 6 times, sc in next 3 sts.

Rnd 3: *Sc in back loop of next 3 sts, sc in next 3 sts; rep from * 6 times, sc in back loop of next 3 sts.

Rnds 4-16: Rep Rnds 2 & 3, ending with a repeat of Rnd 2.

Rnd 17: Ch 9, sk next 6 sts, *sc in back loop of next 3 sts, sc in next 3 sts; rep from * around. 33 sc and 1 ch-9 sp

Rnd 18: 9 sc in ch-10 sp, *sc in next 3 sts, sc in back loop of next 3 sts; rep from * around. 42 sc

Rnd 19: *Sc in back loop of next 3 sts, sc in next 3 sts; rep from * around.

Rnd 20: *Sc in next 3 sts, sc in back loop of next 3 sts; rep from * around.

Rnds 21-28: Rep Rnds 19 & 20

Index Finger

Rnd 1: Sc in back loop of next 6 sts, turn glove over, working in 7th stitch from end, sc in back loop, sc in back loop of next 6 sts. 13 sc

Rnd 2: Sc in back loop of each st around.

Rnd 3-16: Rep Rnd 2. Finish off, using yarn needle weave end through each stitch in last round and pull tight, sewing end closed.  

The rest of the fingers, with the exception of the thumb, start by working into Rnd 28 of the hand. Start with the glove positioned so that the index finger is to the right. (For left handed crocheters the index finger should be to the left).

Middle Finger

Rnd 1: Join yarn with sc in same st as last st for index finger on same side, sc in back loop of next 7 sts, sk next 19 sts, sc in back loop of next 5 sts, sc in next st (that was used in previous finger).  13 sc

Rnd 2: Sc in back loop of each st around.

Rnd 3-18: Rep Rnd 2. Finish off, using yarn needle weave end through each stitch in last round and pull tight, sewing end closed.  

Ring Finger

Rnd 1: Join yarn with sc in same st as last st for middle finger on same side, sc in back loop of next 7 sts, sk next 8 sts, sc in next st, sc in back loop of next 4 sts, sc in next st (that was used in previous finger).  13 sc

Rnd 2: Sc in back loop of each st around.

Rnd 3-16: Rep Rnd 2. Finish off, using yarn needle weave end through each stitch in last round and pull tight, sewing end closed.  

Pinkie Finger

Rnd 1: Join yarn with sc in same st as last st for middle finger on same side, (sc in back loop of next 7 sts, sc in next st (that was used in previous finger).  10 sc

Rnd 2: Sc in back loop of each st around.

Rnd 3-12: Rep Rnd 2. Finish off, using yarn needle weave end through each stitch in last round and pull tight, sewing end closed.  

Thumb:

Rnd 1: Working in sk sts of Rnd 17 of Hand, sc in back loop of each st, evenly work 9 sc in bottom side of ch-9. (15 sts)

Rnd 2: *Sc in back loop of each st around.

Rnd 3-14: Rep Rond 2. Finish off, using yarn needle weave end through each stitch in last round and pull tight, sewing end closed.  (note optional for texting thumbs, simply weave in end, not closing top of thumb)

Tissue Paper Yarn Dyeing

Dyeing yarn with tissue paper? Yeah, it sounds a bit unusual, however I have been busy playing with all kinds of dyeing approaches this last week as I get ready for a class I am teaching in two weeks at the Crochet Guild of America’s Chainlink Conference.

I have been working with food coloring and Easter egg dyes, while dabbling with Kool Aid. I have been playing with multiple protein based fibers (yarns that are made from animal fibers, like wool, alpaca, silk, mohair, etc.), but it was trying to find something in my closet that sparked me in a little different direction.

I tend to be a person that doesn’t really throw much out, if I can find another purpose for it I will hold on to it to use it in the future, so tissue paper from gifts gets saved. When digging through the closet I found a stack of this saved tissue paper and I began to wonder….Can I dye with this?

The answer…YES!

I began by soaking the yarn in a bath of water and citric acid (1 teaspoon citric acid to 4 cups of water), you can use white vinegar instead of citric acid if you like (1/4 cup white vinegar to 4 cups of water), then I wrapped various pieces of colored tissue around the yarn. After covering the yarn with paper I placed it in a microwavable bowl and added some of the water/acid solution. I placed it in the microwave for 2 minutes, took it out and waited.

I have to wait after removing it from the microwave, frankly because I do not like to burn myself. After it cooled down a bit I removed the tissue paper and rinsed out the yarn. I was impressed. Some colors bonded to the yarn better than others, but that could be because I had some different quality papers. There was some white space, and different colors in different patches. Offering a bit of a kaleidoscope of possibilities.

I am continuing to play with this technique, and currently find a vast amount of ideas just bubbling to the surface. I am sure that by the time my workshop comes around in a few weeks I will have a very contagious attitude to share with my students!

Excursion Wrap! This Is A Show Stopper!

I love when a design comes out like I was hoping! Excursion Wrap came out just as I envisioned, okay, better than I could have hoped. I saw this design in my mind as soon as I laid hands on the yarn, it just came to me and I had to find a way to get it worked up in the stitches.

Excursion Wrap

That is not to say that it came out perfectly in just one try, I ripped things back several times. I played with some different combinations of stitches and color sequins before finally landing on the perfection, and the difficulty of using multiple color rows and designing like this is when ripping back I end up with many more ends to weave in….some right in the middle of rows, as I ensure the use of all the yarn.

The wrap is worked in 2 contrasting colors, which offer a bold definition of the design. The yarn is Silk Baby Camel by Lisa Souza Dyeworks, and is lusciously yummy! It is soft, but with nice structure, making it a dream to work with. Being that the pattern only takes 2 skeins, it is manageable in both crocheting and in cost.

The lacy ripple pattern is worked as a 3 row repeat, so it is simple to memorize yet keeps the pattern engaging. So you can work the stitch pattern successfully without getting bored with it.

The color sequencing is what really brings this design to life, it demands the eye to transverse the entire piece and then to look again. The altering of the stitch pattern and the colors offers a cascading effect of interest that will definitely have you garnering praise.

This wrap is a show stopper, one that makes people stop and admire your handiwork. I already have plans to work up this design a couple of more times….once is just not enough!

Get your pattern here!


Gotta Love that Shawl- Free Pattern

Since I have been playing around with some stitches, and attempting to finish some yarn in my stash, I have a free pattern to share. Gotta Love that Wrap is worked entirely of Love Knots! If you are not familiar with the stitch I have a tutorial here.

I love how you can use this pattern really with any yarn, although I prefer it with lighter weight yarns. The Wrap in phots here was actually worked up in Plymouth Yarns Linaza, which is 50% alpaca, 25% linen and 25% Tencel, so it really hold the shape of the knot.

The benefit of this yarn is that it really allows the yarn to go along way, the yarn I used was 100g/440yards, and as you can see it made for a wide and long wrap. So feel free to pull something out of your stash and give it a try, or purchase that one skein in a color you love.

This design is actually only a 2 row repeat, so it is pretty simple and relaxing to work. I would recommend that you place a stitch marker somewhere along row 1, to note it as the bottom edge. As the fabric is worked along and becomes squarer, it can be difficult to discern which way the rows are being worked.

The pattern is essentially creating the points of triangles in each even row, the closing it off to a straight edge every odd row, and when the pattern states to slip stitch in the knot, the knot is recognized as the most closed point of the stitch (where is was finished).

Gotta Love that Shawl

Materials:

  • One skein of any yarn, light weight preferred. The longer the yardage the longer the wrap
  • Hook size compatible for yarn weight

Gauge: Gauge is not critical for this project.

Special Stitches

Love Knot: See here

Abbreviations:

Rep=repeat

Sl st= slip stitch

Row 1: 18 Love knots, turn.

Row 2: Skip first knot, sl st in 2nd knot, [2 love knots, sl st in next knot] rep 15 times, turn.

Row 3: 2 love knots, sl st in next knot, [1 love knot, sl st in next knot] rep 15 times, turn.

Row 4: 2 love knots, sl st in next knot, [2 love knots, sl st in next knot} rep 15 times, turn.

Rep Rows 3 & 4 until desired length.

Last Row: Rep Row 3, fasten off. Weave in ends, block as desired.