Staggered Shells-Crochet for a Difference

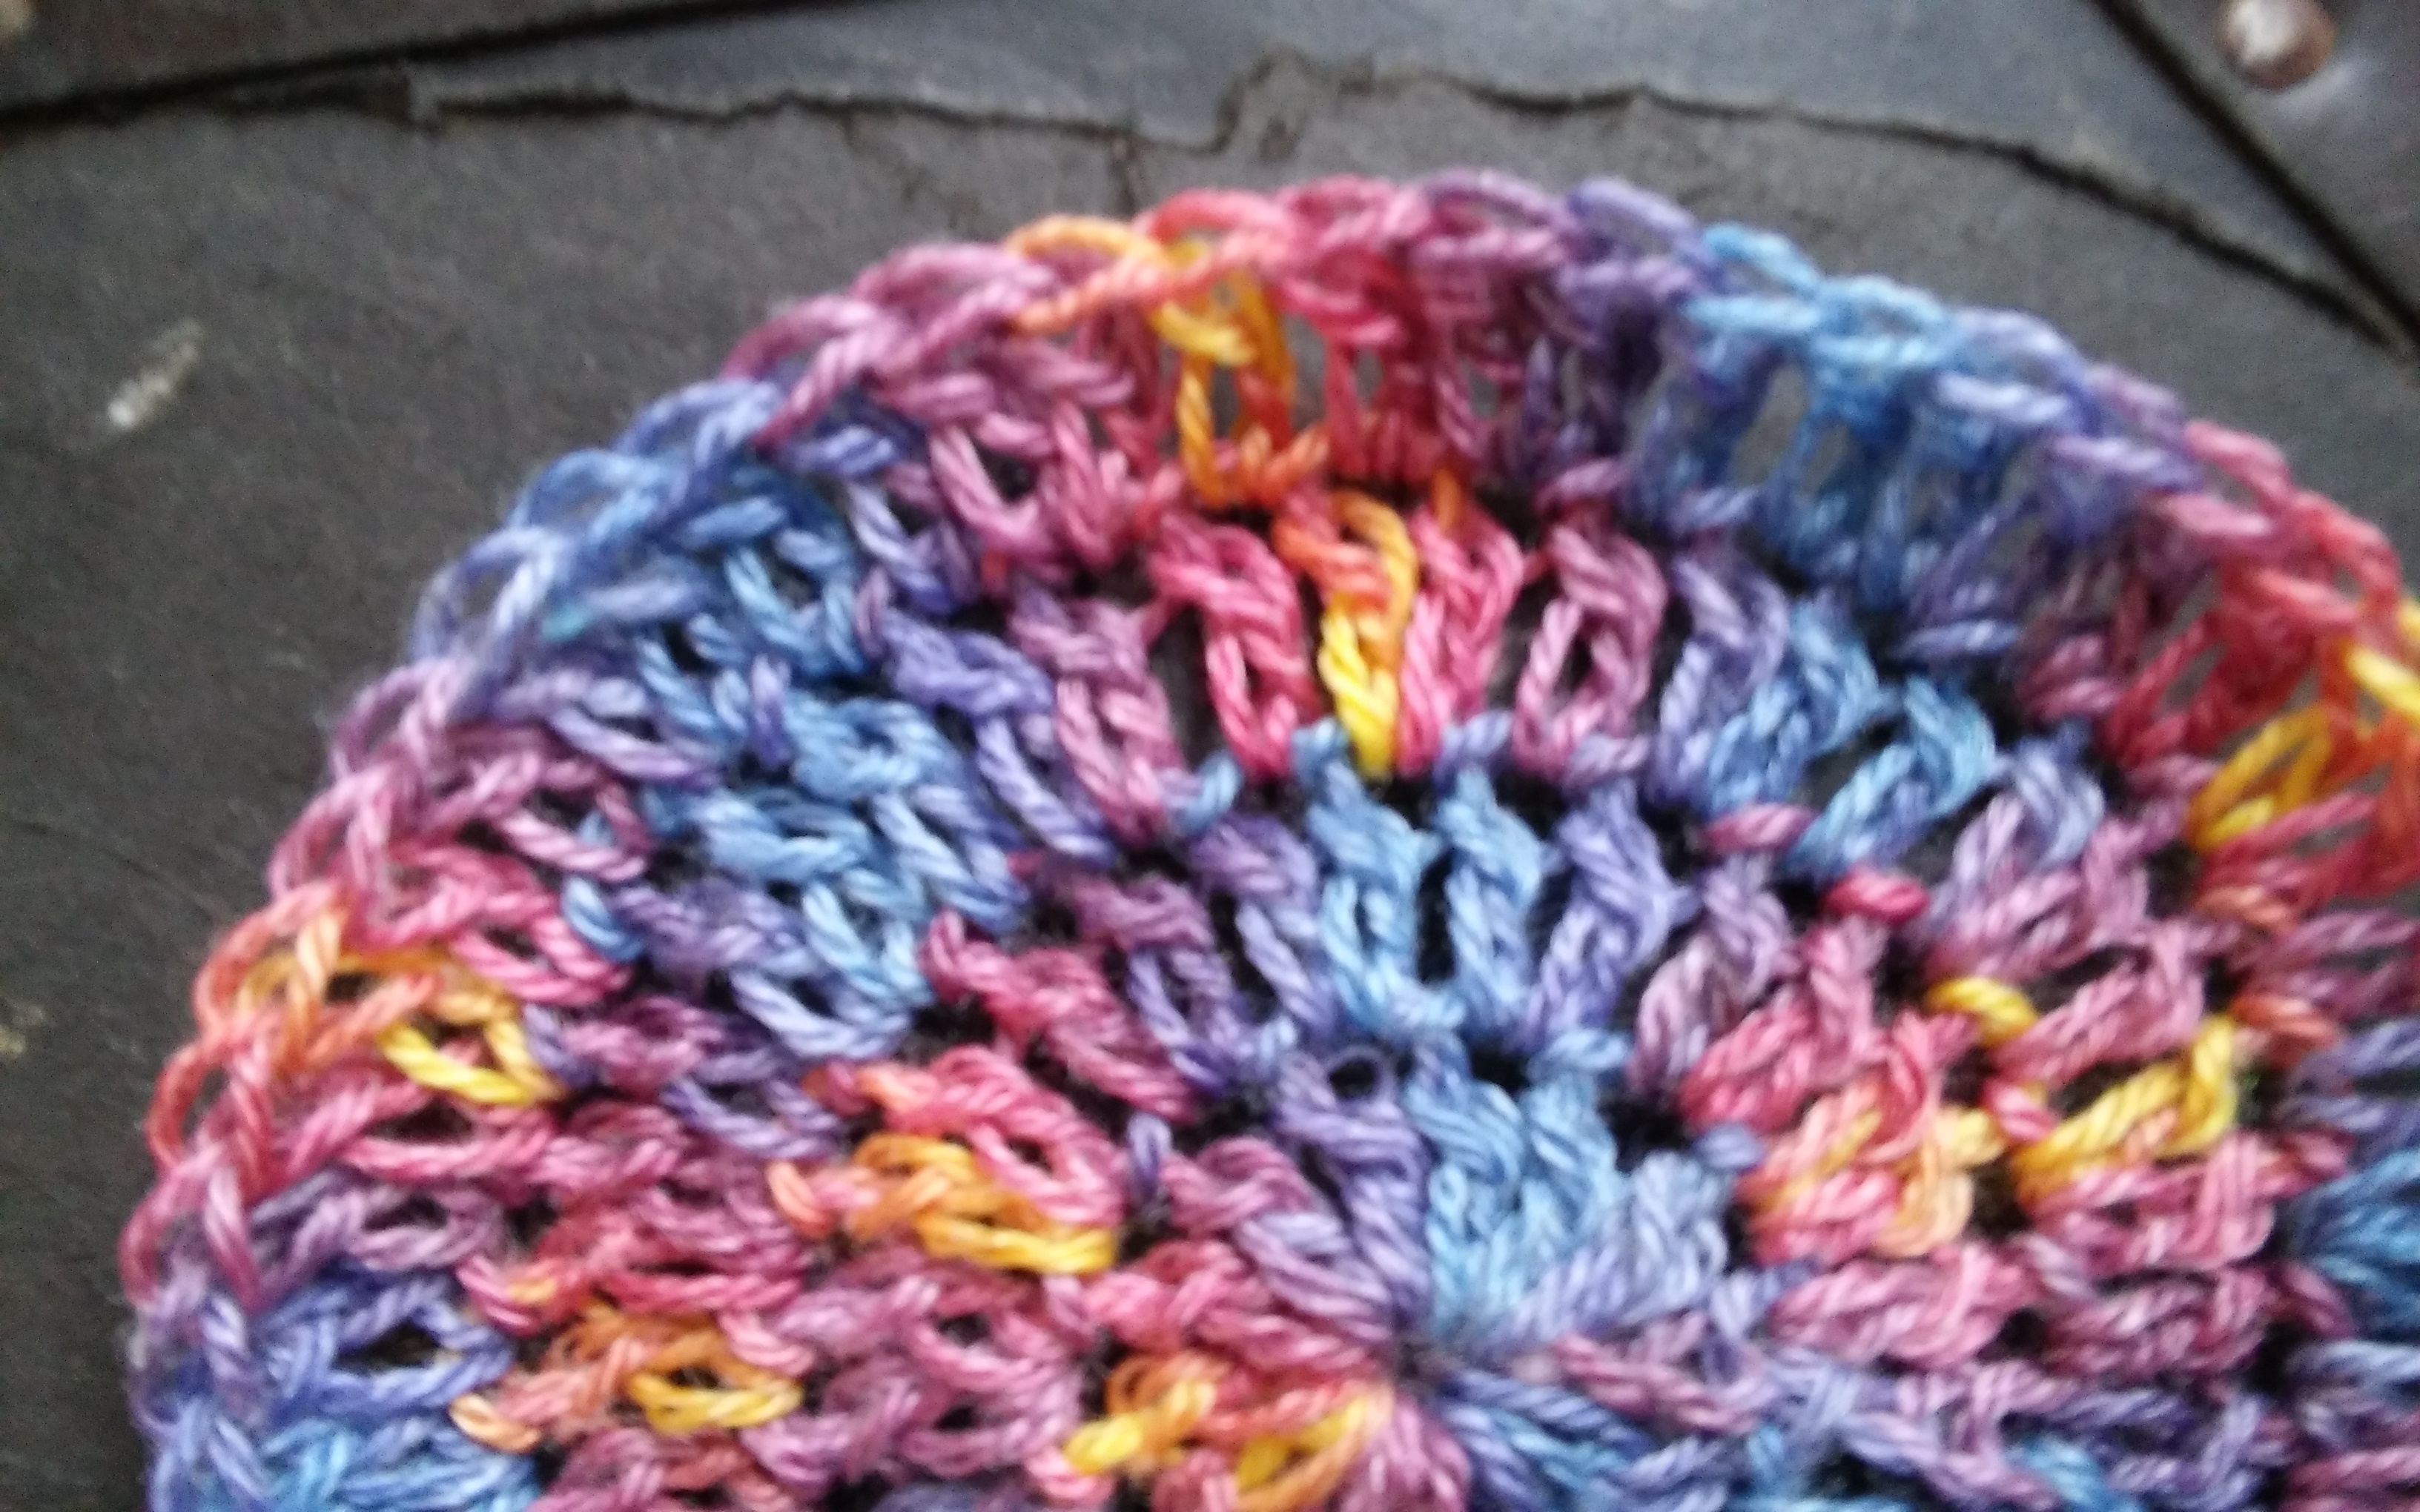
Some crochet stitches appear more difficult then they may actually be, Staggered Shells I believe is one of these. This stitch is essentially comprised of single crochets worked between shells that are made up of five double crochets.

New crocheters sometimes do not realize that what creates a different look may simply be where you place a stitch, and that you can work more than one stitch in a location. However like all crochet stitches the name “shell” doesn’t tell you the entire story. “Shell” essentially means that there are a number of stitches worked in the same location, without looking at the Special Stitches section of a pattern there is no way to fully understand how this stitch is worked, what number of stitches, or which stitch for that matter is worked. For this shell pattern I have used five double crochets worked in the same stitch.

Staggered Shells www.lindadeancrochet.com

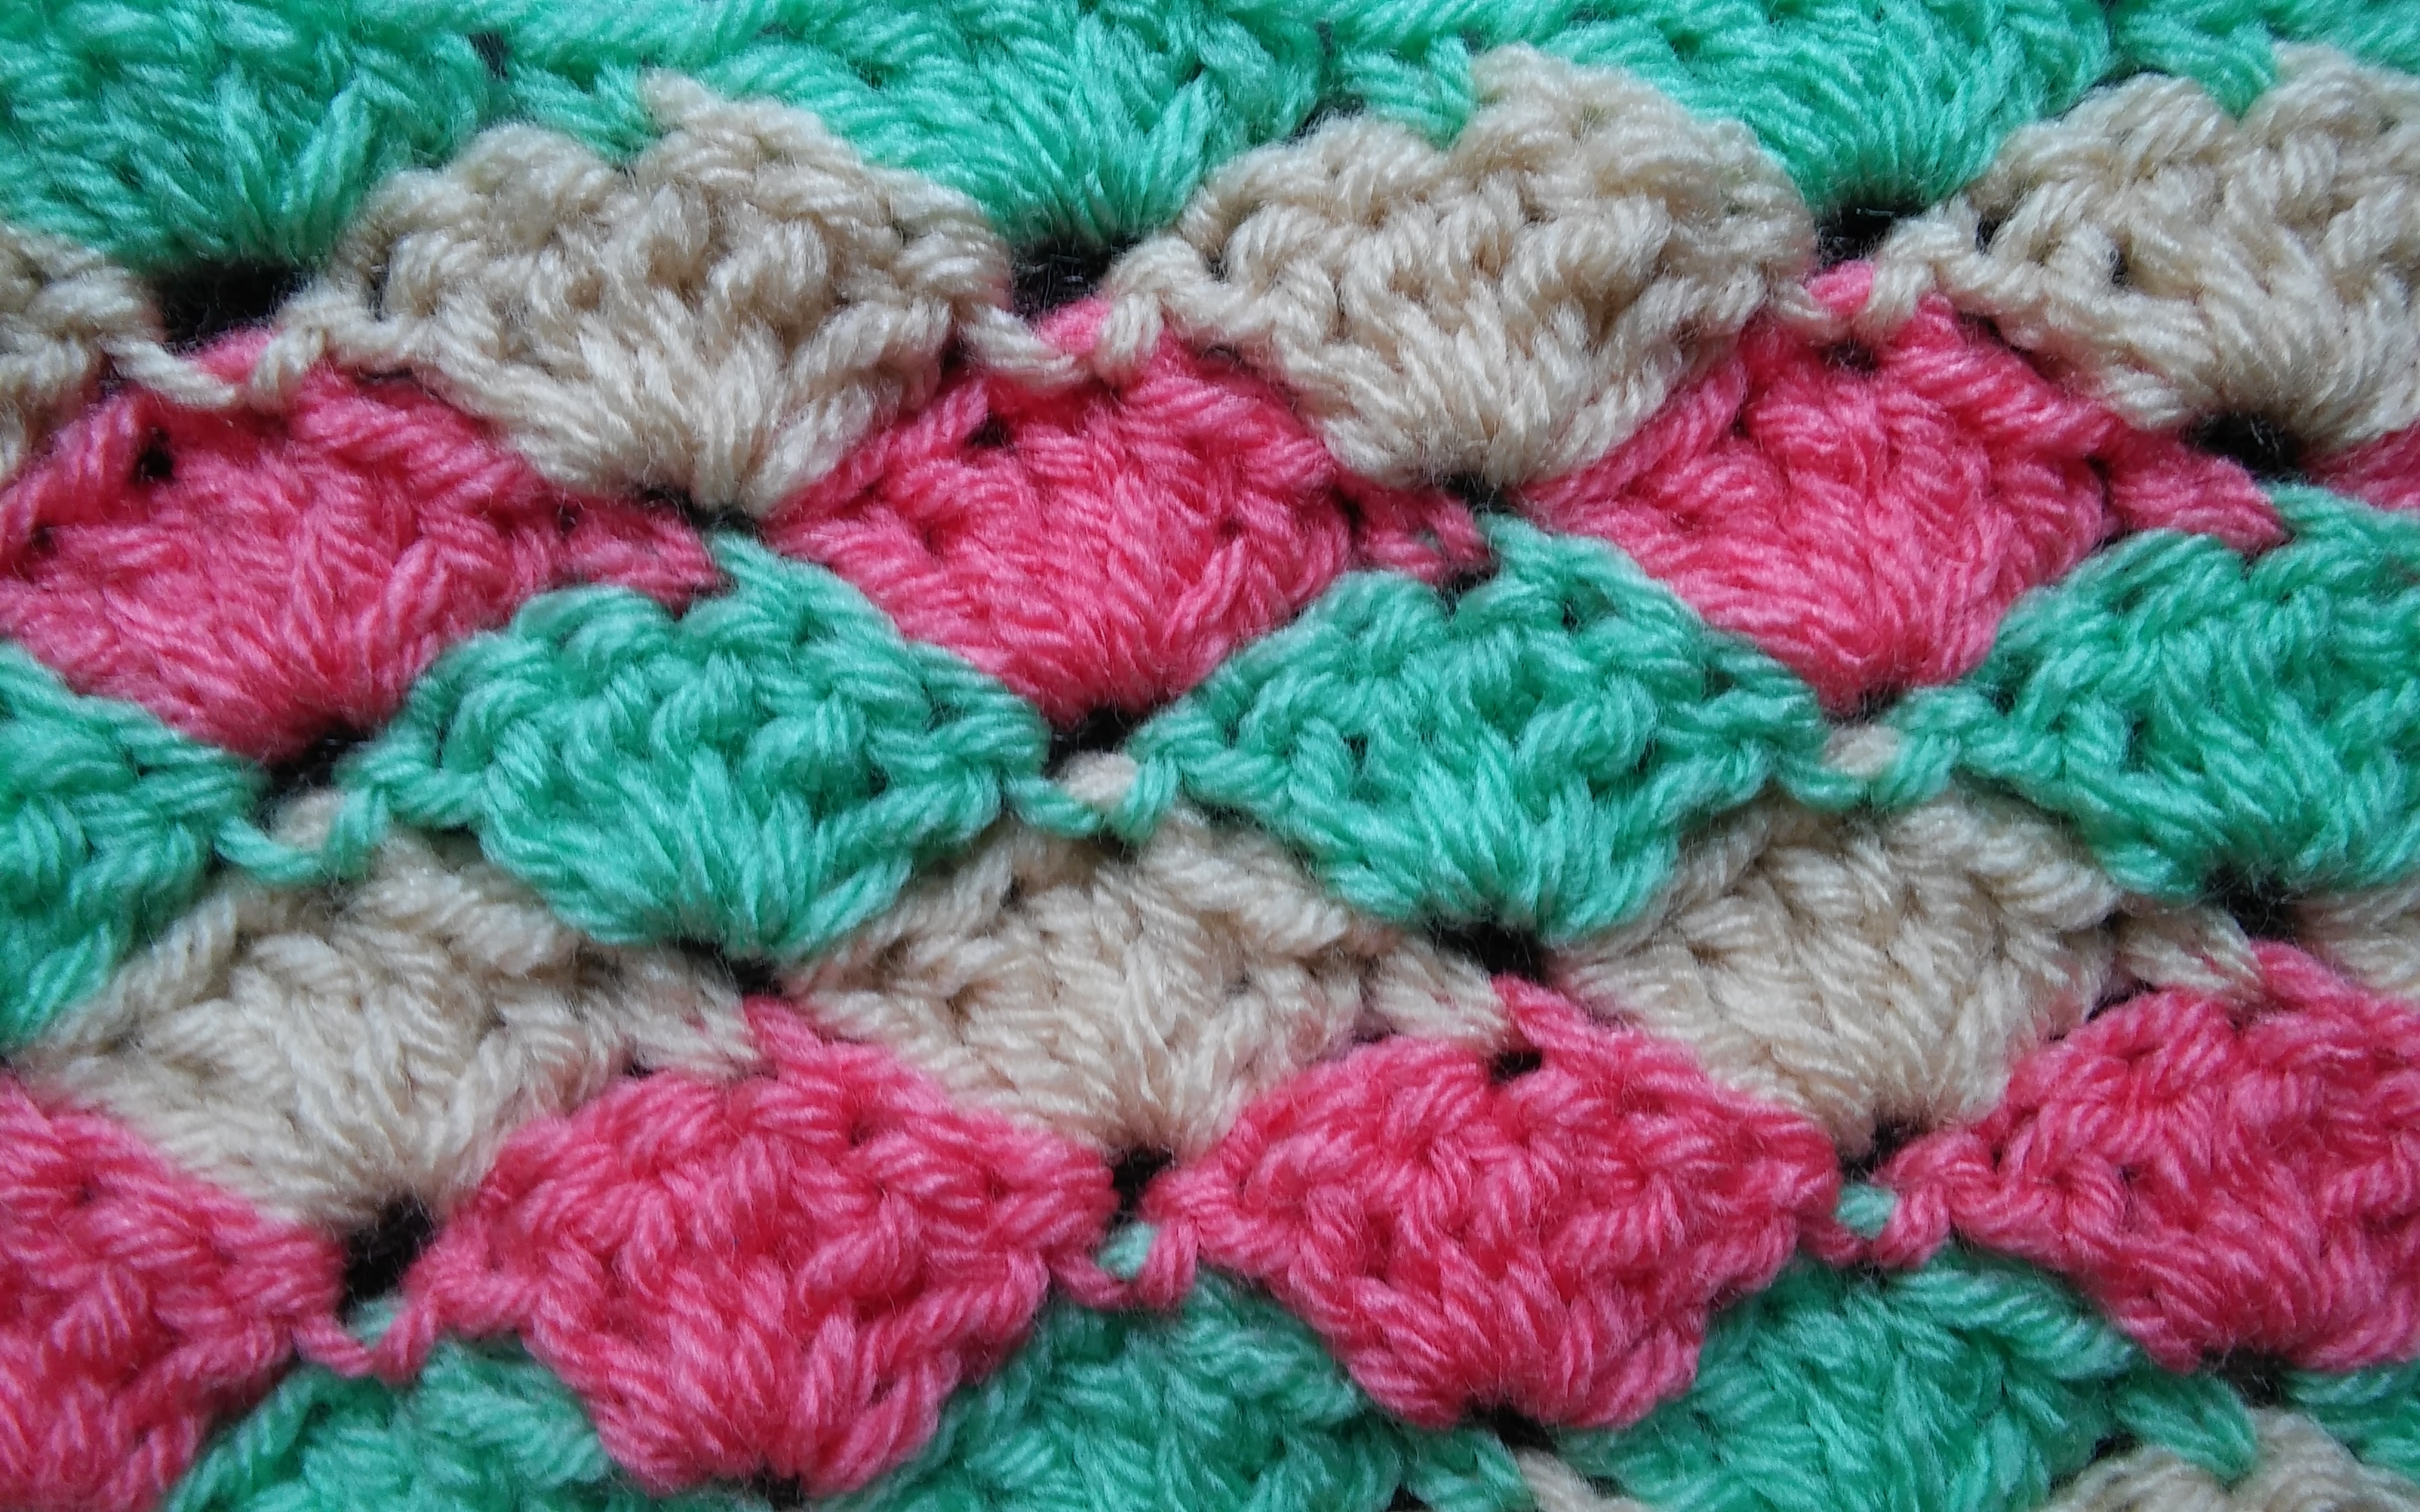
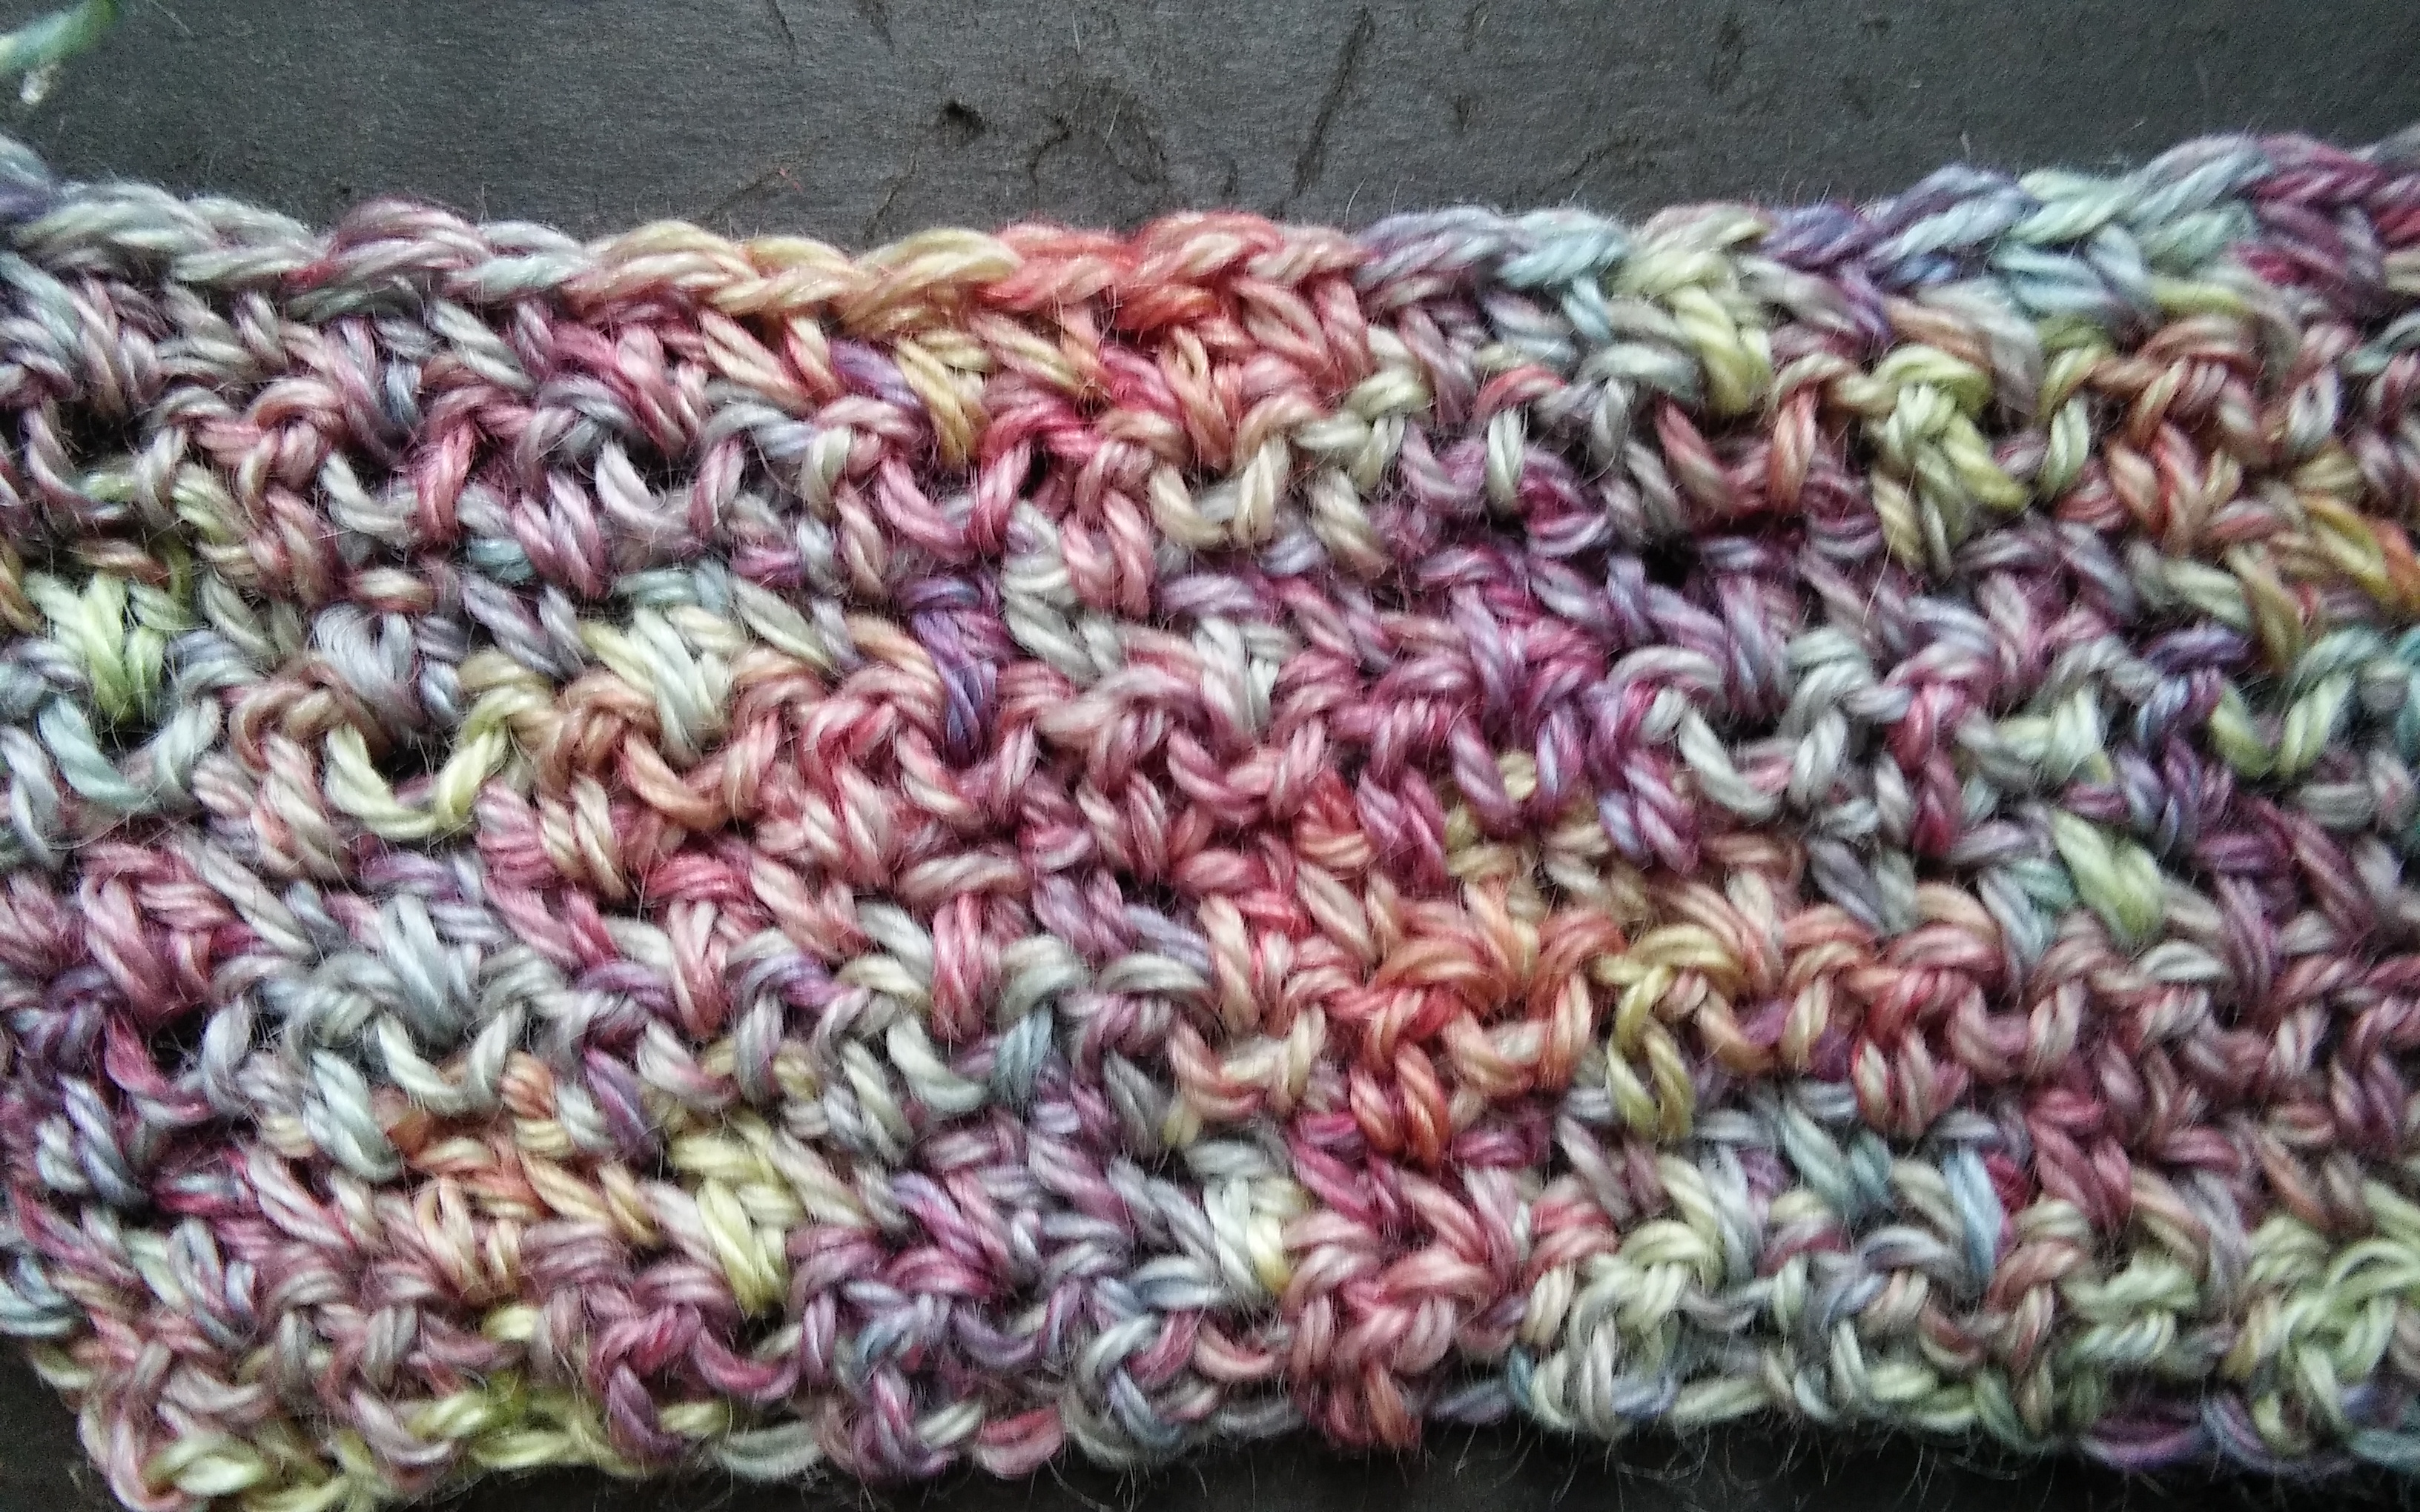
Staggered Shells, changing color every row.

I have written this stitch pattern out in an untraditional method to attempt to help in understand how to better read your stitches. In my teaching I have found that crochet can be very forgiving if you have learned how to read your work and not worry so much about counts. Seeing the pattern can free up your work (at the end of this post the stitch pattern is written in a traditional format).

Row 1: To begin you create a chain that is a multiple of 5, then add 2 more chains. Single crochet in the second chain from the hook, [skip the next 2 chains, work a shell (5 double crochets) in the next chain, skip the next 2 chains, single crochet in the next chain] repeating everything in the [ ] across, turn.

Row 2: Chain 3, 2 double crochet in the same stitch as the beginning chain, this creates a half shell at the edge of the fabric, work a single crochet in the center double crochet of the next shell, [then work a shell in the next single crochet (between shells), work a single crochet in the center double crochet of next shell] repeat everything in the [ ] until you reach the top of the last shell, after working the single crochet in the top of the last shell, work 3 double crochets in the last single crochet stitch (this is another half shell at the other edge of the work, turn.

Row 3: Chain 1, single crochet in the same stitch, [shell in the next single crochet, single crochet in the center double crochet of the next shell] repeat in the [ ] across, turn.

Repeat Rows 2 & 3 until it is the desired length.

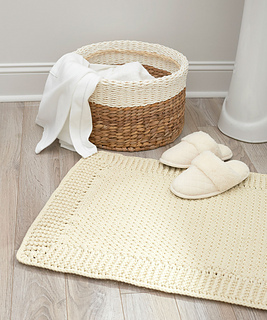
I always like to practice new stitches and feel like I am accomplishing something at the same time, so I find places that may be interested in receiving a handmade blanket donation, you may want to consider reaching out to your local fire station and see if they maybe interested in receiving small afgahns that they can give to children or others that may be in the need of some extra comfort during a time of trauma. Not all trauma is physical and sometimes wrapping yourself in a blanket, or even having one draped over your shoulders can add comfort during difficult times.

The traditional pattern:

Shell: 5 dc in same st

Ch a multilple of 5 +2

Row 1: sc in 2nd ch from hook, [sk 2 chs, shell, sk 2 chs, sc] repeat across, turn.

Row 2: Ch 3, 2 dc in same st, sk 2 dc, sc in next dc, [shell in next sc, sk 2 dc, sc in next dc] repeat across, 3 dc in last sc, turn.

Row 3: Ch 1, sc in same st, [shell in next sc, sk 2 dc, sc in next dc] repeat across, turn.

Repeat Row 2 & 3 until desired length.

Timaru- Yarn Fun with Bamboo

In the world of yarn there can be many really exotic fibers, but at the end of the day we all usually fall back to the most affordable and common. That is why it is a treat to come across a yarn that offers so much to a design, and can take the basic to extraordinary.

One of these extraordinary yarns is Timaru from Lisa Souza Dyeworks. It is a fingering weight yarn that is comprised of 65% Superwash Merino and 35% Rayon of Bamboo. It has a very generous 500 yards per 100 gram hanks, so it goes a long way.

Timaru....www.lindadeancrochet.com

Timaru by Lisa Souza Dyeworks Merino with Bamboo yarn

The Superwash Merino ensures that this yarn is going to be soft, and can have some warmth, as well as being treated so that it does not felt or shrink. Merino is a great wool, but it is not what makes this yarn so special, in this case it is the Bamboo.

The bamboo in this yarn indicates that it is a Rayon, this means that the bamboo is made into a pulp, using the leaves, and some stem. It is ground down and added to a chemical bath to create “goo”. If you ever made homemade paper, it is a little similar. This pulp is then extruded through small holes to create a long filament. Another name you can find for bamboo processed this way is Viscose.

The way it comes together in Timaru with the Superwash Merino lends itself to a yarn with a great drape. Bamboo gives a cool touch to this yarn, so it makes it very warm weather friendly. It also does not take the dye the same as the wool (a protein fiber, whereas the bamboo is a cellulous fiber), this causes a really beautiful lustrous sheen.

I can easily see this yarn worked up as a shawl, a wrap, a tank top…I even know people that love it as a sock yarn. It has a great amount of versatility without sacrificing its integrity in any project. It might actually be difficult to find a project that this yarn will not shine in.

Waffle Stitch- Crochet For a Difference

I started sharing Crochet For a Difference to help myself stay in touch with how my craft can benefit my community. For several years of my life I worked public service, I knew every day that I made a difference in someone’s life. Some days it may have been a small difference, other days I knew it was a life changing experience, however when I began my new adventure in crochet designing this is one of the things that has been missing, knowing I made a difference.

Today I share a go-to stitch that I use. Often I use it for garment construction, as it is a nice solid fabric, which does not offer defined straight visual lines or many holes. I have heard it referred to as a Waffle Stitch, so that is how I will refer to it here.

It is a 2 stitch repeat that alternates a between a single crochet and double crochet stitches, with subsequent rows working single crochet stitches in the double crochet stitches, and double crochet stitches working into single crochet stitches. This may sound a little daunting, but it really becomes a simple rhythm.

Waffle Stitch....www.lindadeancrochet.com

Waffle Stitch

Begin by chaining an even number of stitches, then single crochet in the 4th chain from the hook (the chain 3 counts as a double crochet), double crochet in the next stitch, and single crochet in the following stitch; repeat this stitch pattern across. Turn your work and chain 3, working a single crochet in the next stitch (which will be a double crochet), double crochet in the next stitch (which will be a single crochet); repeat the same stitch pattern across.

Essentially in a pattern it would look like this:

Row 1: chain an even number of stitches, sc in 4th ch from hook, [dc in next st, sc in next st] across, turn.

Row 2: Ch 3, sc in next st, [dc in next st, sc in next st] across, turn.

Repeat Row 2 until desired length.

I think this is a great stitch pattern for a donation to your local animal shelter, (find yours here). They often accept donations for small blankets for dogs and cats to use as bedding. This is a great way to practice a new stitch, that the recipients are not going to be overly judgmental about.

Yes, I did get Something Done!

It is a little crazy how time goes by, and you never really take stock of it. There are many days when I feel that I have not accomplished much, if anything at all. Then there are days when I do a little reflecting and stumble upon, or at least look at the documents I use every day, that provide a listing of the works I have completed.
These listings might be staring me in the face, and I am not really looking at them. I keep a spread sheet of all the contracts I am working on and completed. I began this spread sheet when I sold my first design at the end of 2011, and I have currently filled 129 lines. I then have a listing of my self-published designs (that are not included on my contracted list) that I began in mid-2013, and find I have 29 completed with another 6 in progress.
When I actually think about the fact that I really have been on this adventure as a designer for less than 5 years, and I have completed 158 designs, I will be honest…in my mind it doesn’t sound like enough. For some reason I think that I have to have completed so much more. I still average 2.6 designs a month or .6 designs a week, but my mind wants me to finish more. (If you would like to see a majority of these, check out my Ravelry.com designer page….the number of designs listed is lower, but that gives you an idea of how things are constantly in the process).


Clean my desk...www.lindadeancrochet.com

I should give myself credit when I clean my desk. It catches all my ideas in various stages.

The only way I get my mind to find a little balance is to also place in this weekly schedule that I teach 2 days a week, nearly 20 students every week. That takes prep time, which takes knowledge of my skill, which takes time.
I then have to remember that I am mom to two very active kids. Active enough that one has me volunteered to lead a 4H sewing project every week. Both have me playing chauffer in running to various sports and activities (fortunately my husband does more than his fair share of this running around as well). So, I really only get work done when they are in school.
Then I usually overlook the many hours a week I donate to various organizations, mostly supporting crochet. These hours add up faster then I may think in the beginning of saying “yes” when asked to help.
Only when I finally spell it all out, do I feel like I have accomplished something. It may not be as readily tangible as would work for my mind, but this focus helps “rebalance” me in a sense, so thank you for following along my self-talk of taking stock.
Hopefully this taking “taking stock” will inspire the newest rounds of designs…hopefully it will keep me from beating myself up for a bit…I really do get more done then I think.

Love This Spa Mat!

I love it when beauty, practicality, and comfort all come together in a design. The Home Spa Bath Mat definitely fits this build.

It is created with Red Heart Strata Yarn, which is a pretty interesting yarn in itself…I talk more about it here. However what surprised me the most was how such a simple stitch pattern can create a fabric with such dimension. Not only is it visually appealing, the stitch pattern added a bounciness to the mat, which I love to have under my feet. This combination of the yarn and the stitch makes it a sturdy yet soft mat.

Home Spa Bath Mat Photo courtesy Coats & Clark

This design is easy to make a customize size to fit any room in your home, by simply ensuring that the rows and stitches remain in even or odd stitch counts, if it currently ends odd, then add or subtract to an odd number, and the same is true for even numbers. That is one of the great things about two stitch repeats, they are easily adaptable.

Personally I think that wide banded boarder really sets this design off. This is another simple two stitch repeat that adds a nice contrast to the main fabric while still complimenting it.

It might sound a little funny but this design inspired me. Working it up brought me to a little simpler, and more in depth knowledge of my craft, kind of like an awe ha moment. It may have just been timing or the Zen like nature of the stitches, but this design and yarn, are imprinted in my mind and have created a list of other items I hope to create with this same technique, stitch pattern, and yarn. If only there was enough time in the day to get to everything I want to do. I think that this is a design that you can feel good about too. It really will make a lovely addition to any room in your home.