Brittany Hooks-My New Go-To

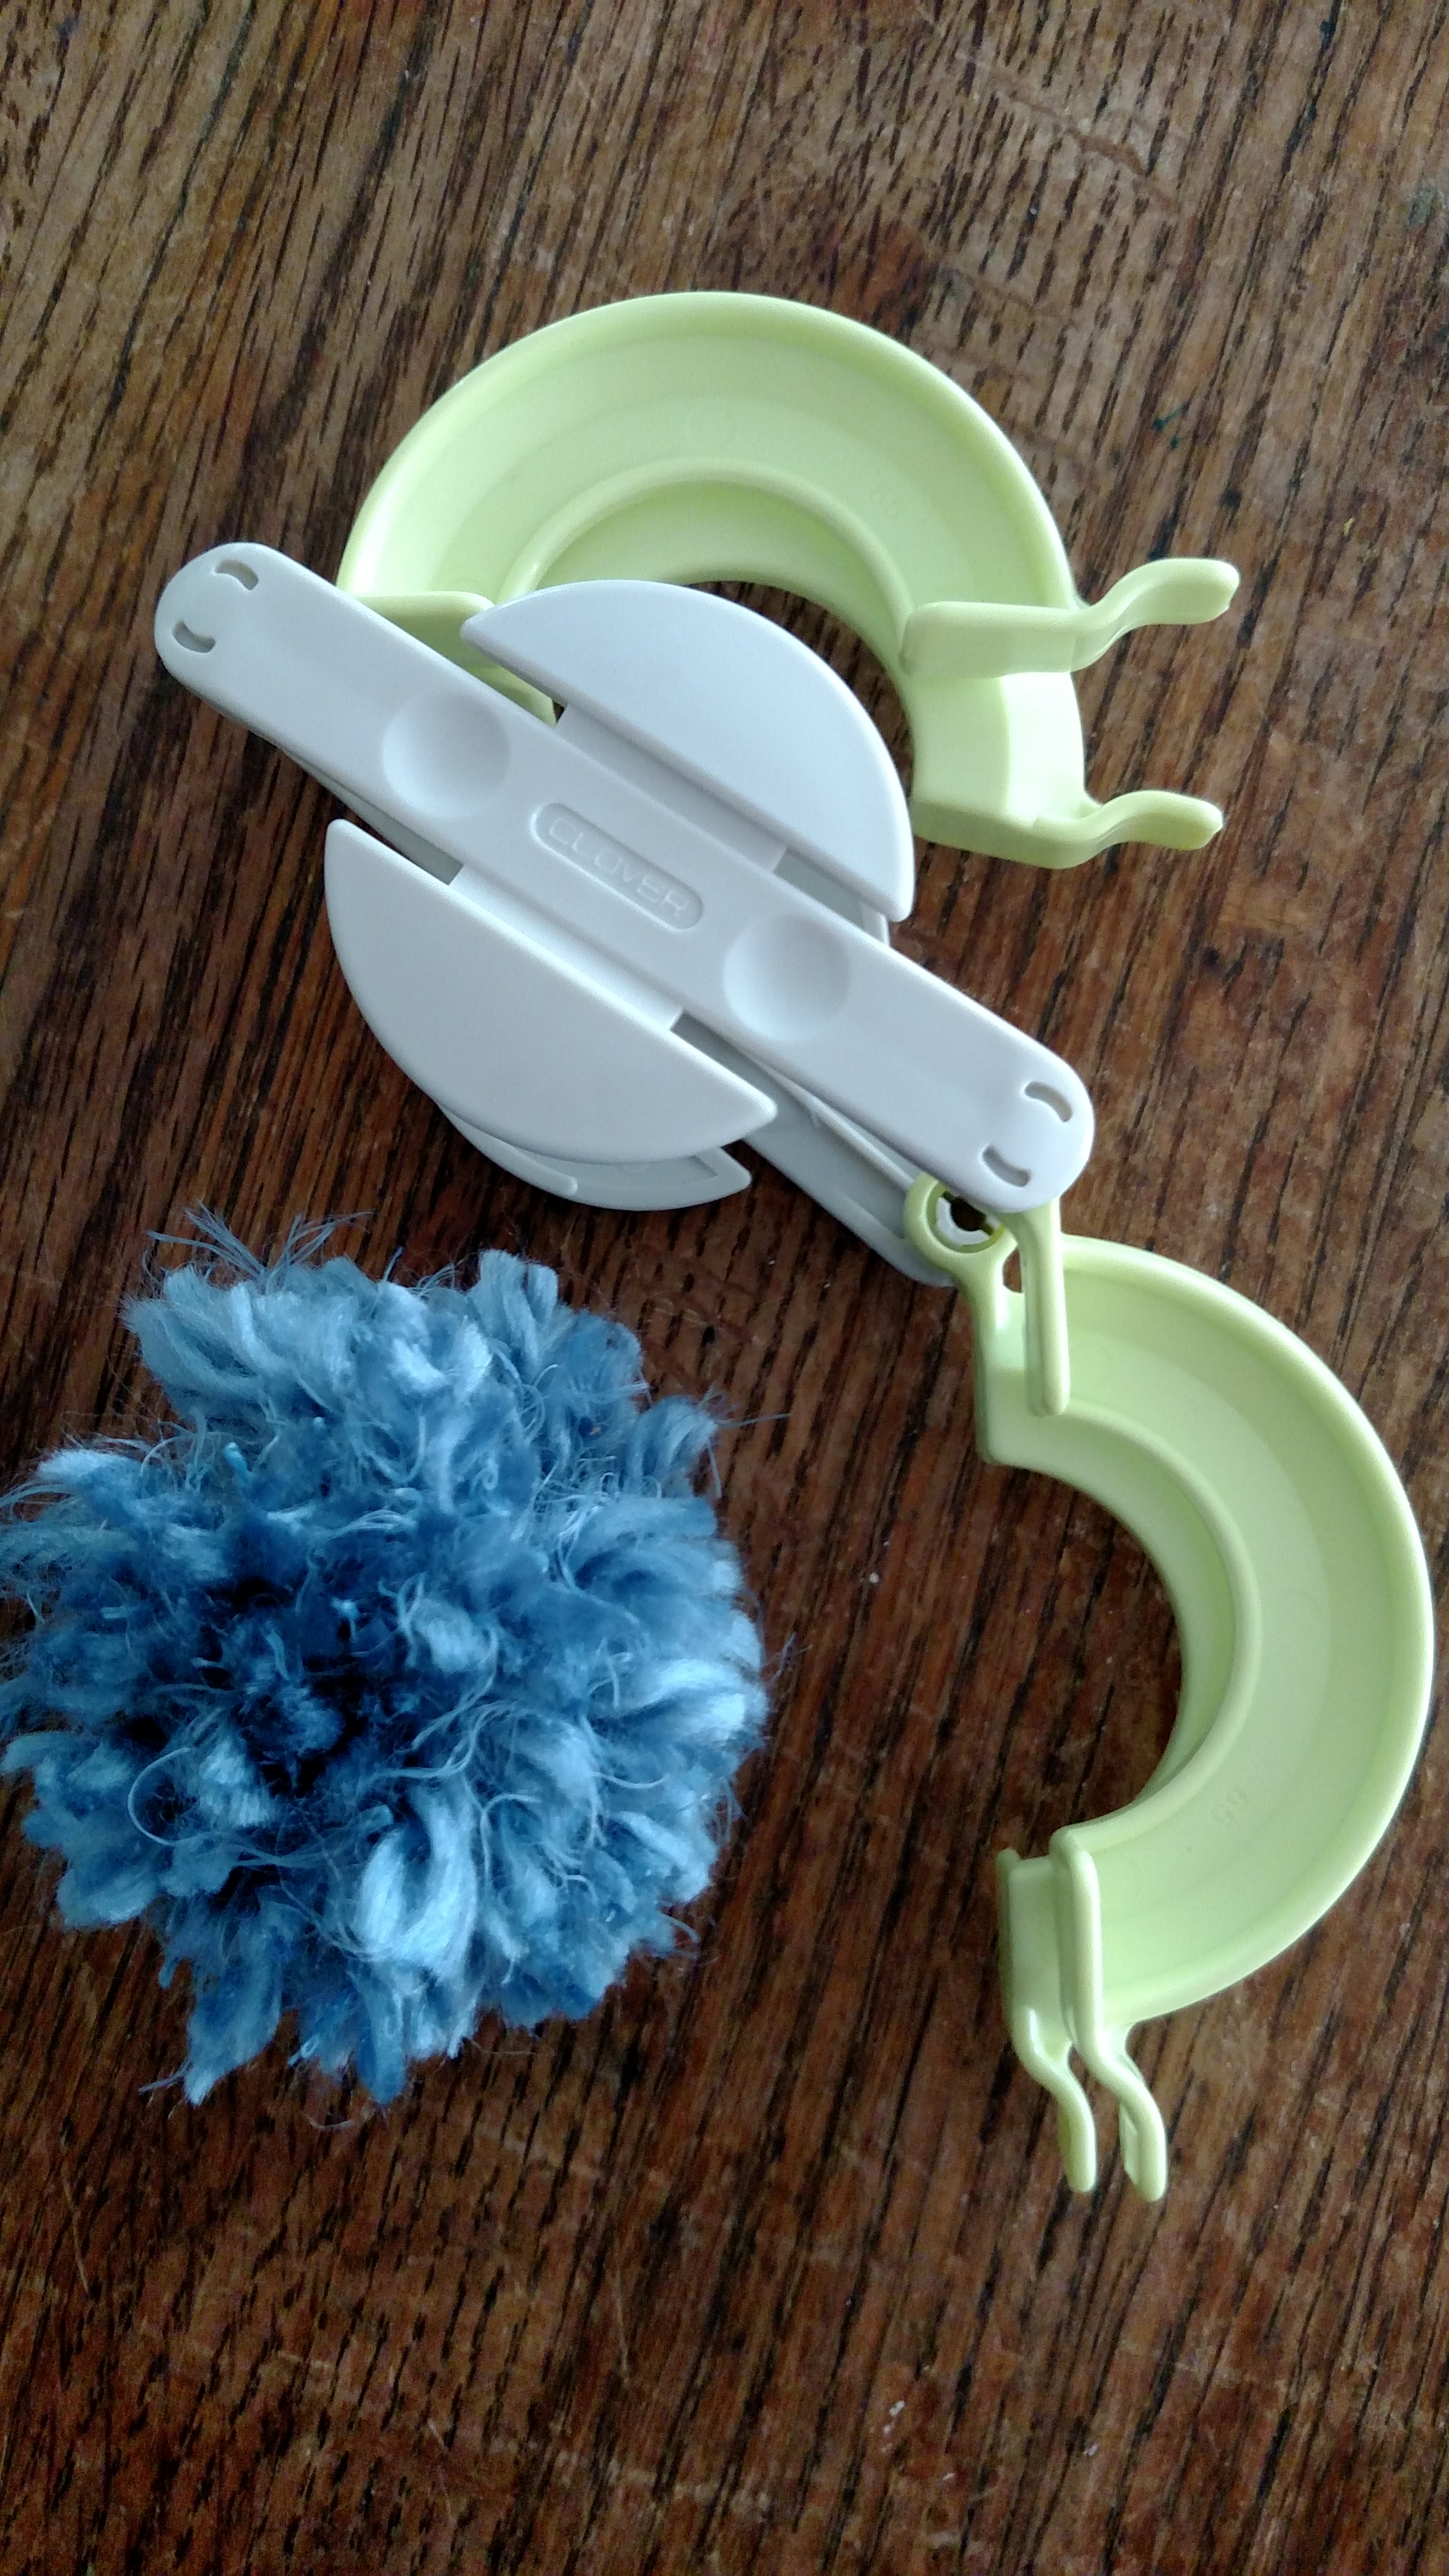
I learned something new and realized I was wrong. Yes, I can admit when I am wrong…even if I have friends and family that may not believe that statement…For years I have believed that for me there has been a difference between in-line and taper hooks. Some people refer to this as the debate between Susan Bates and Boye hooks, as they are the most popular brands.

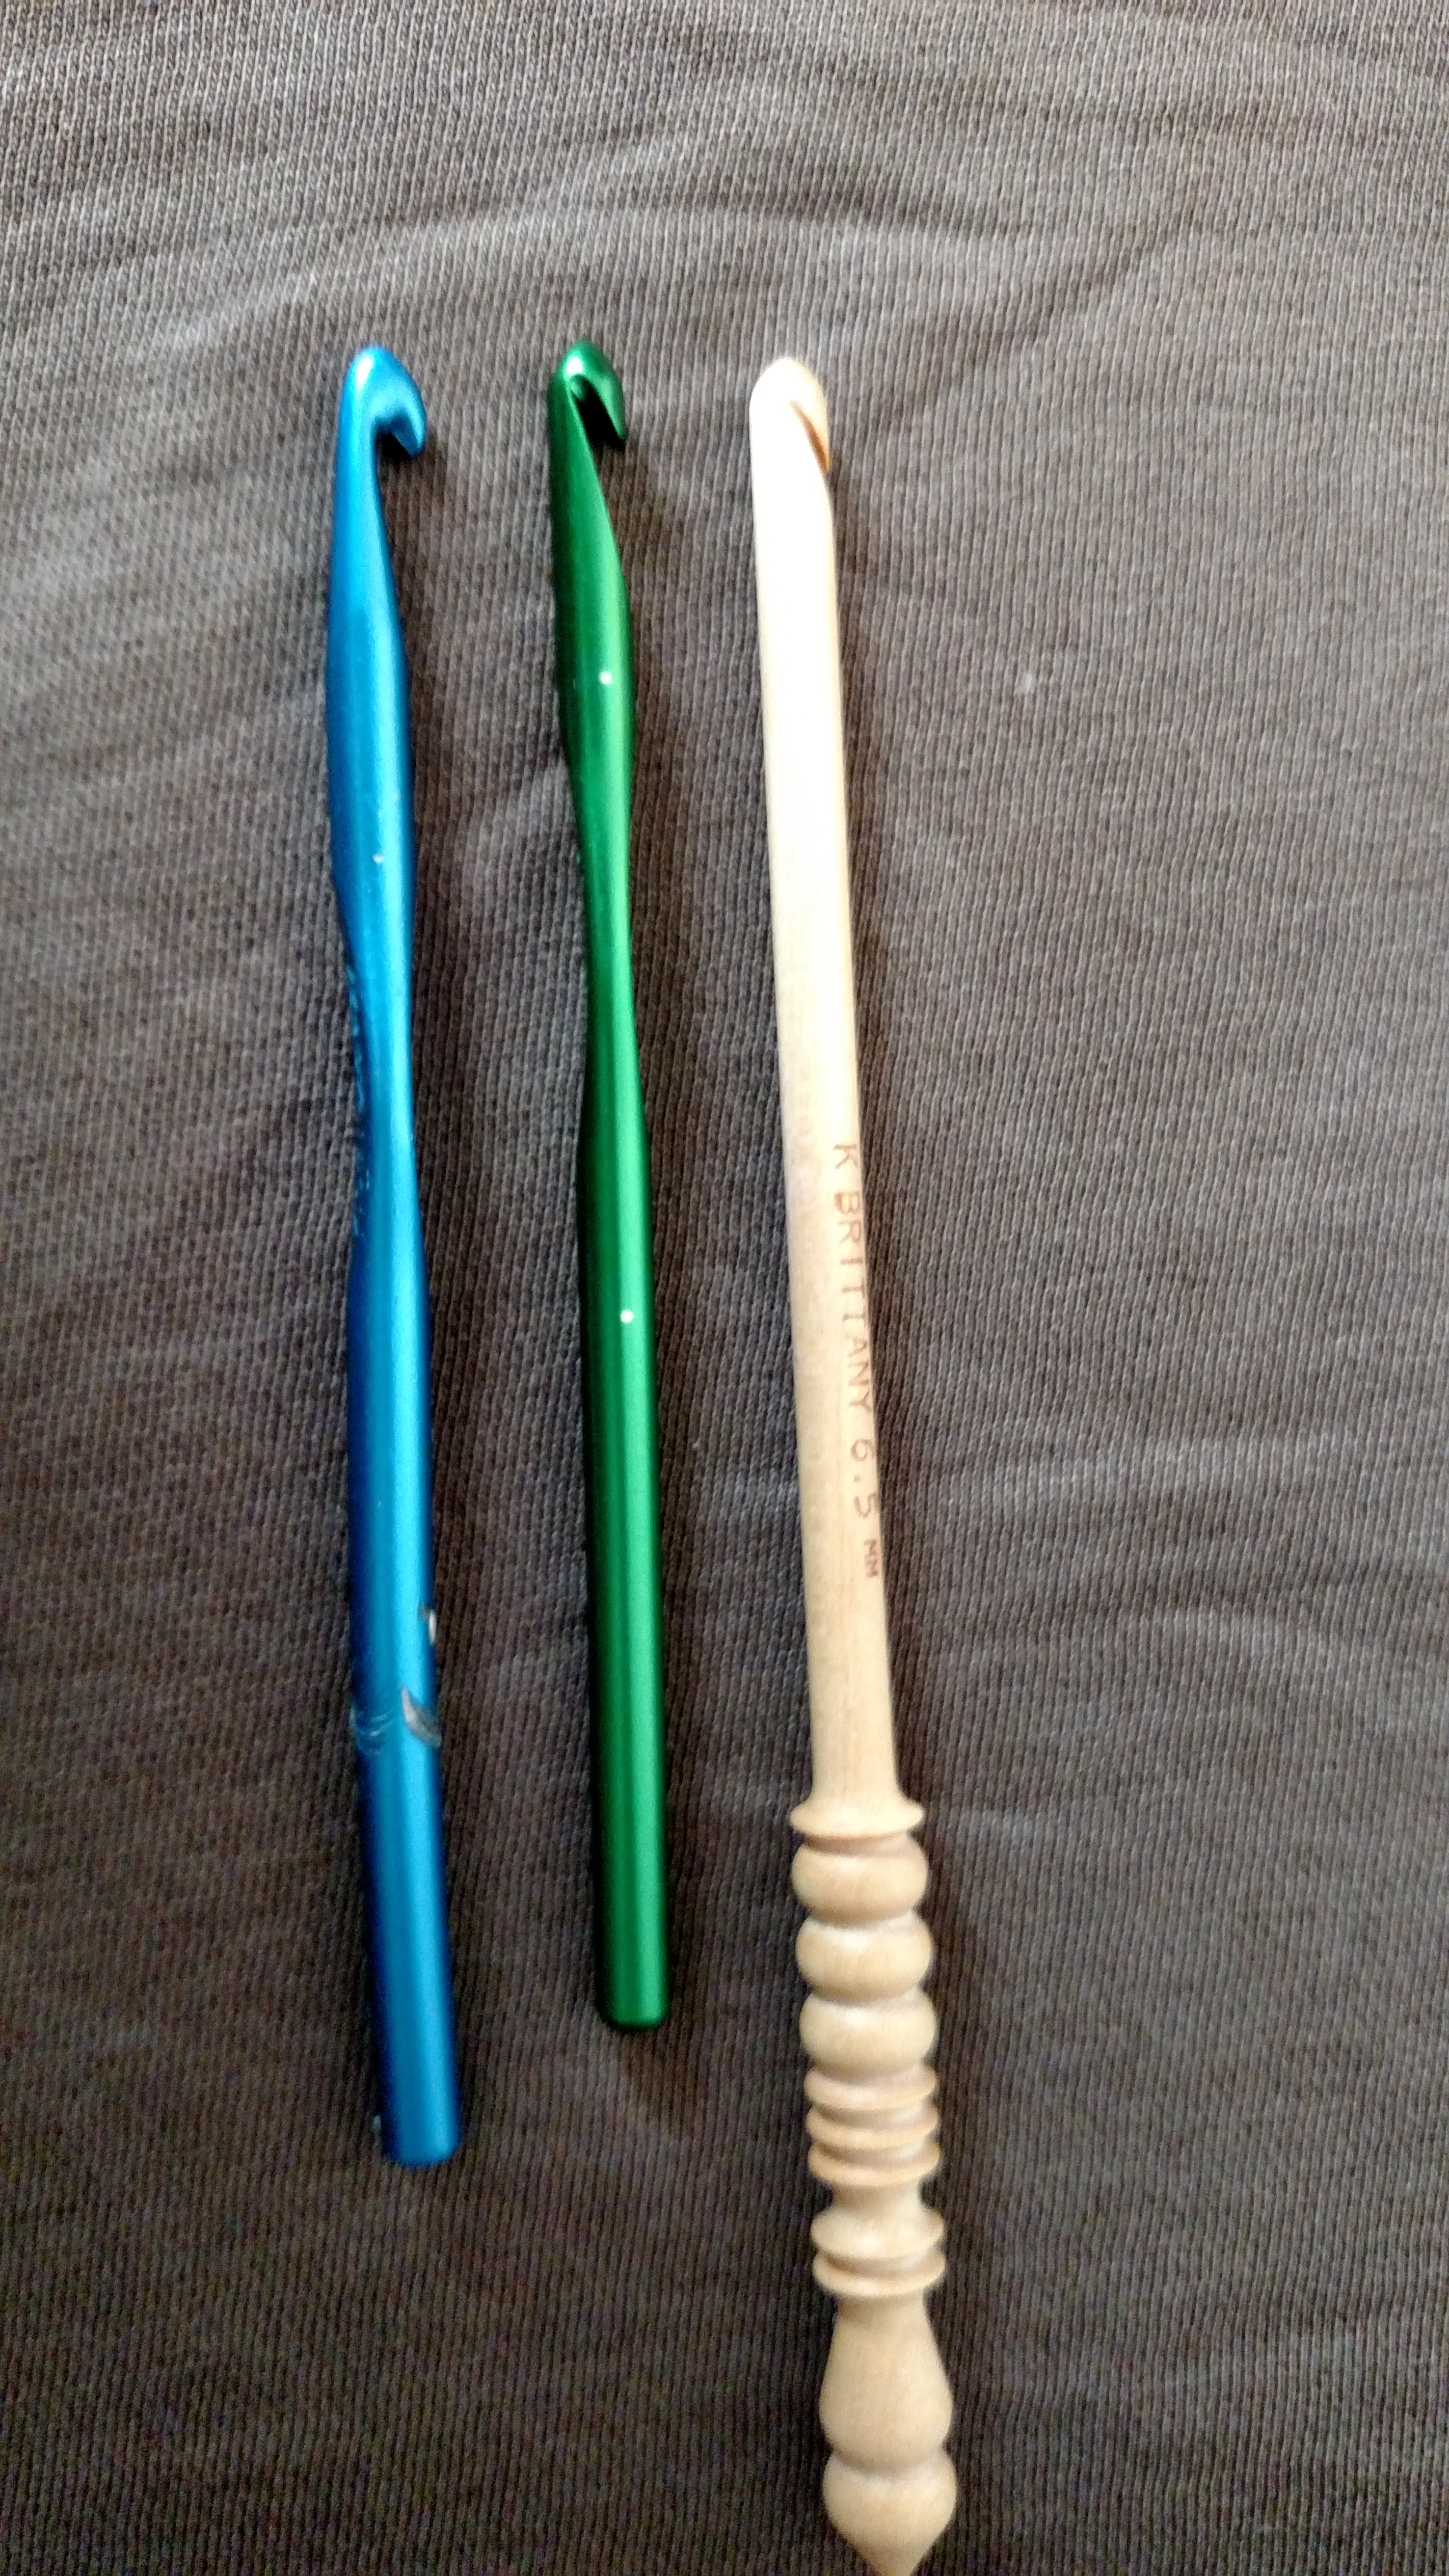
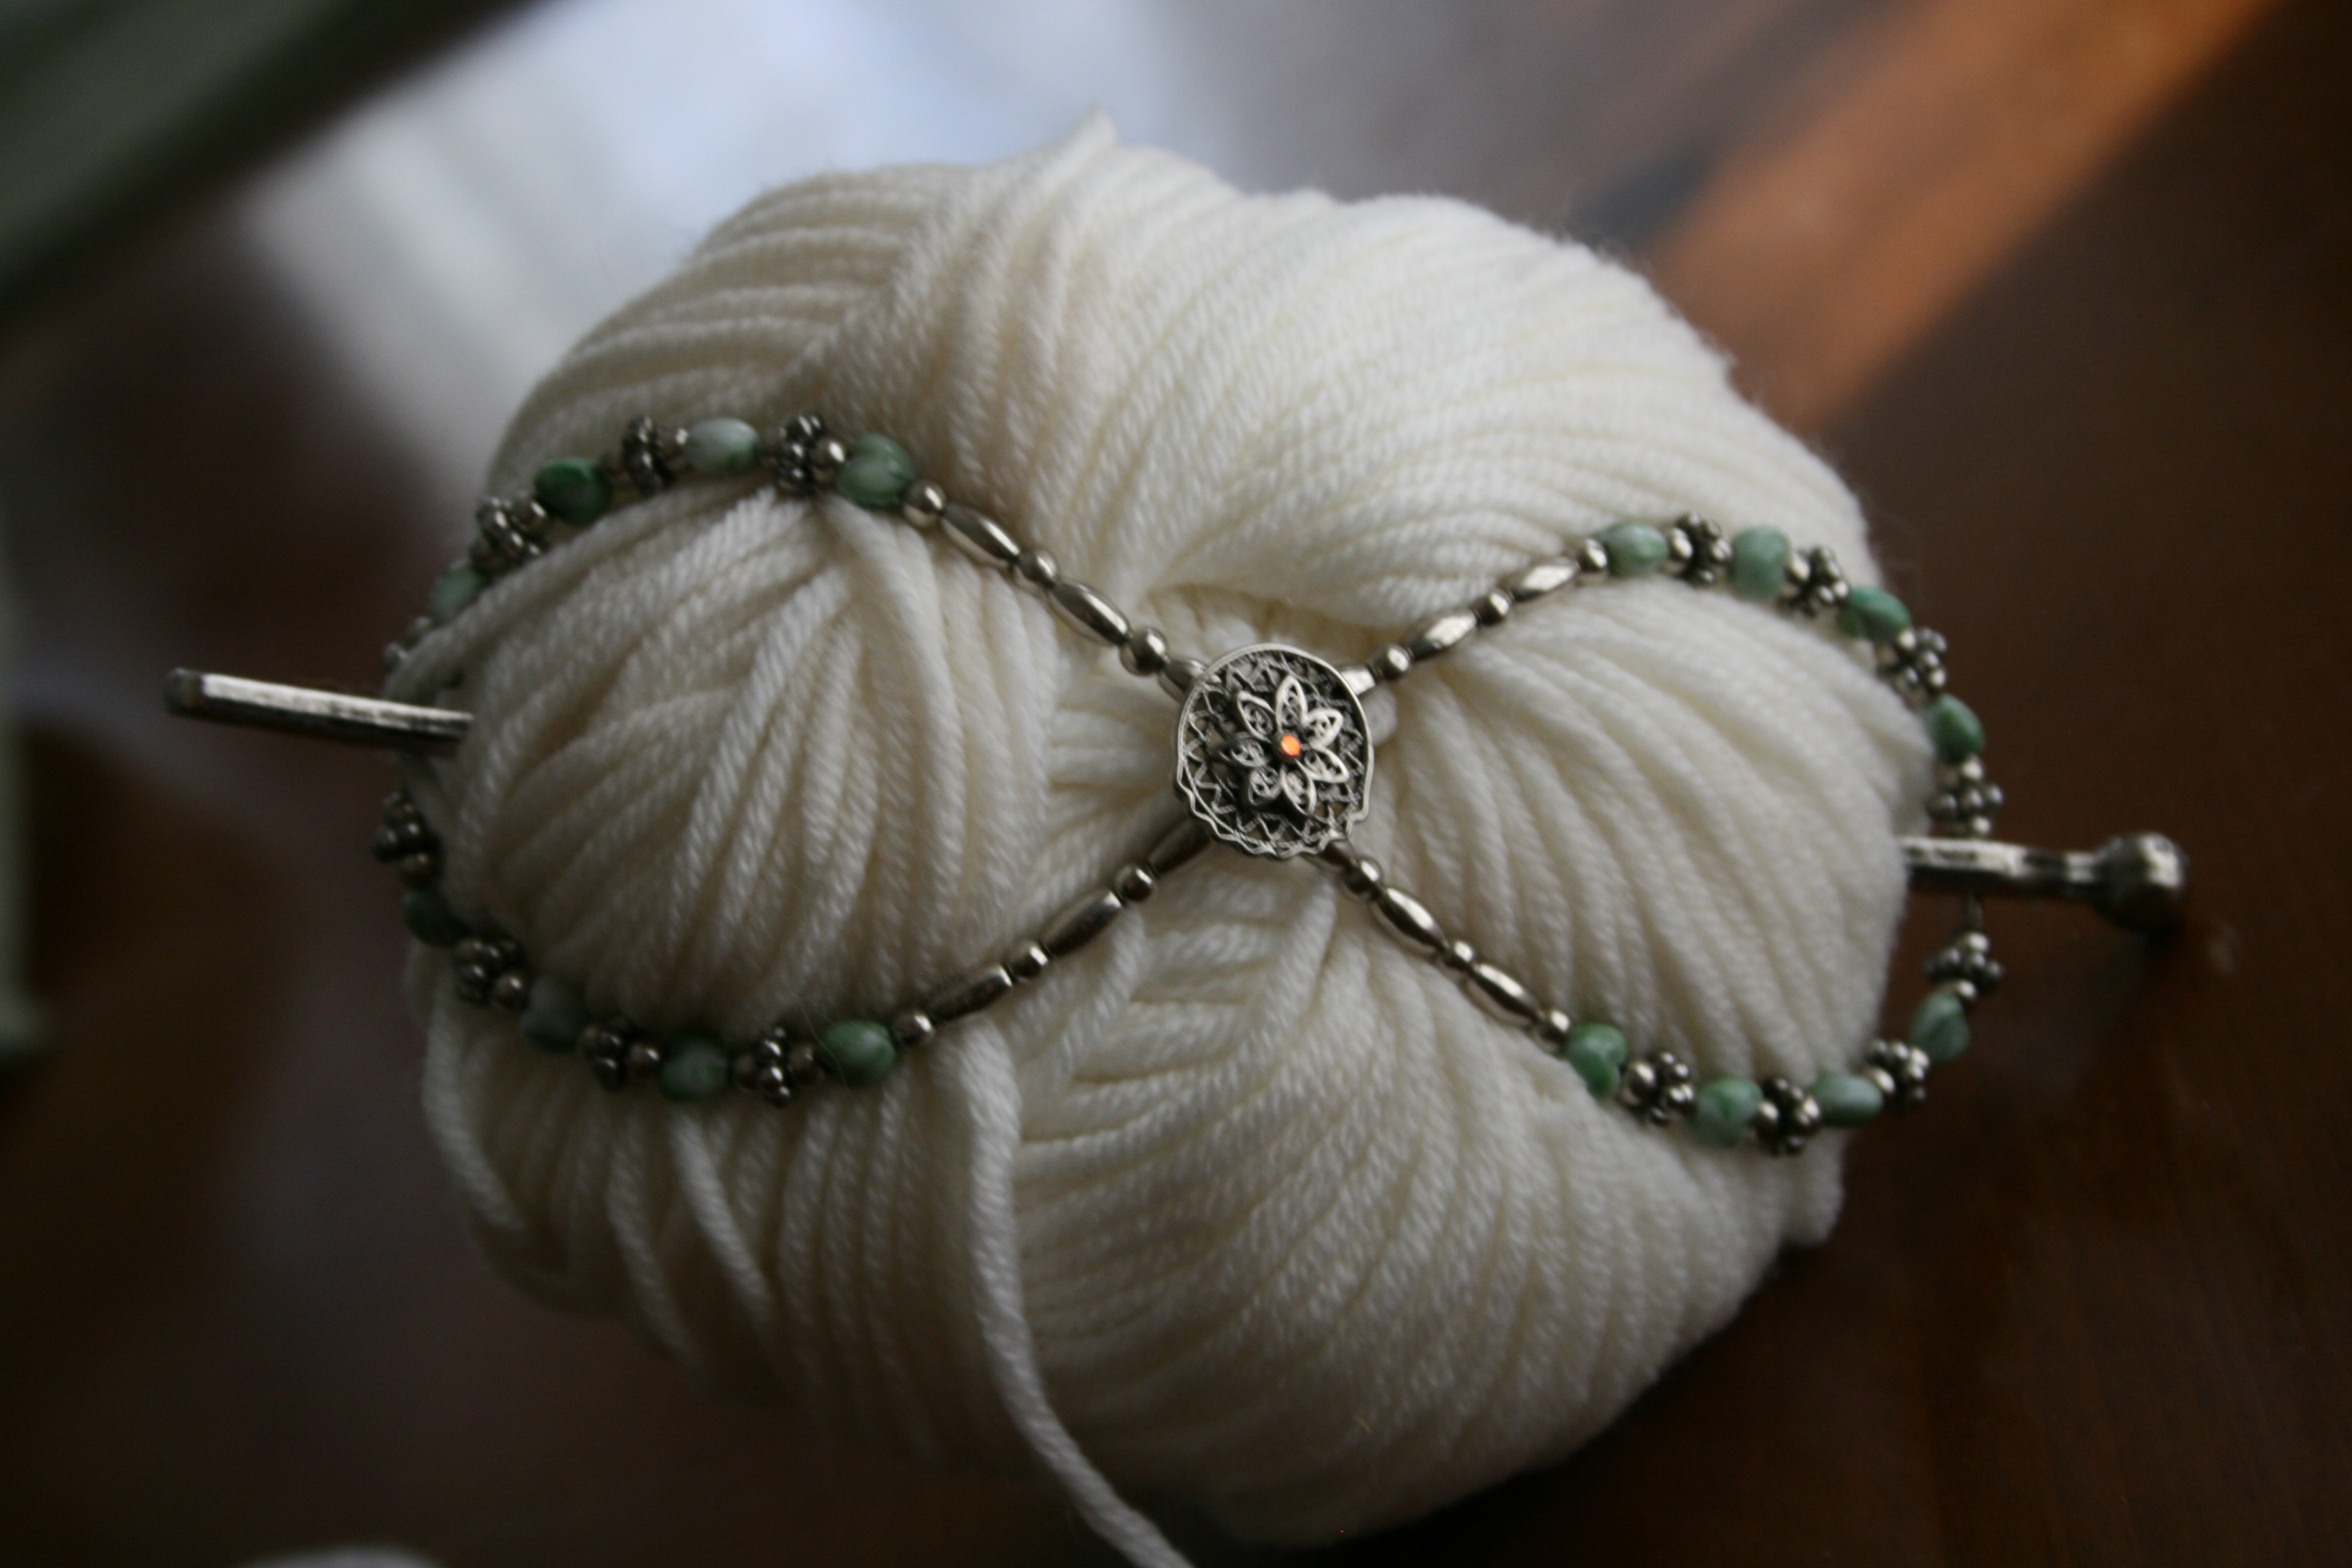
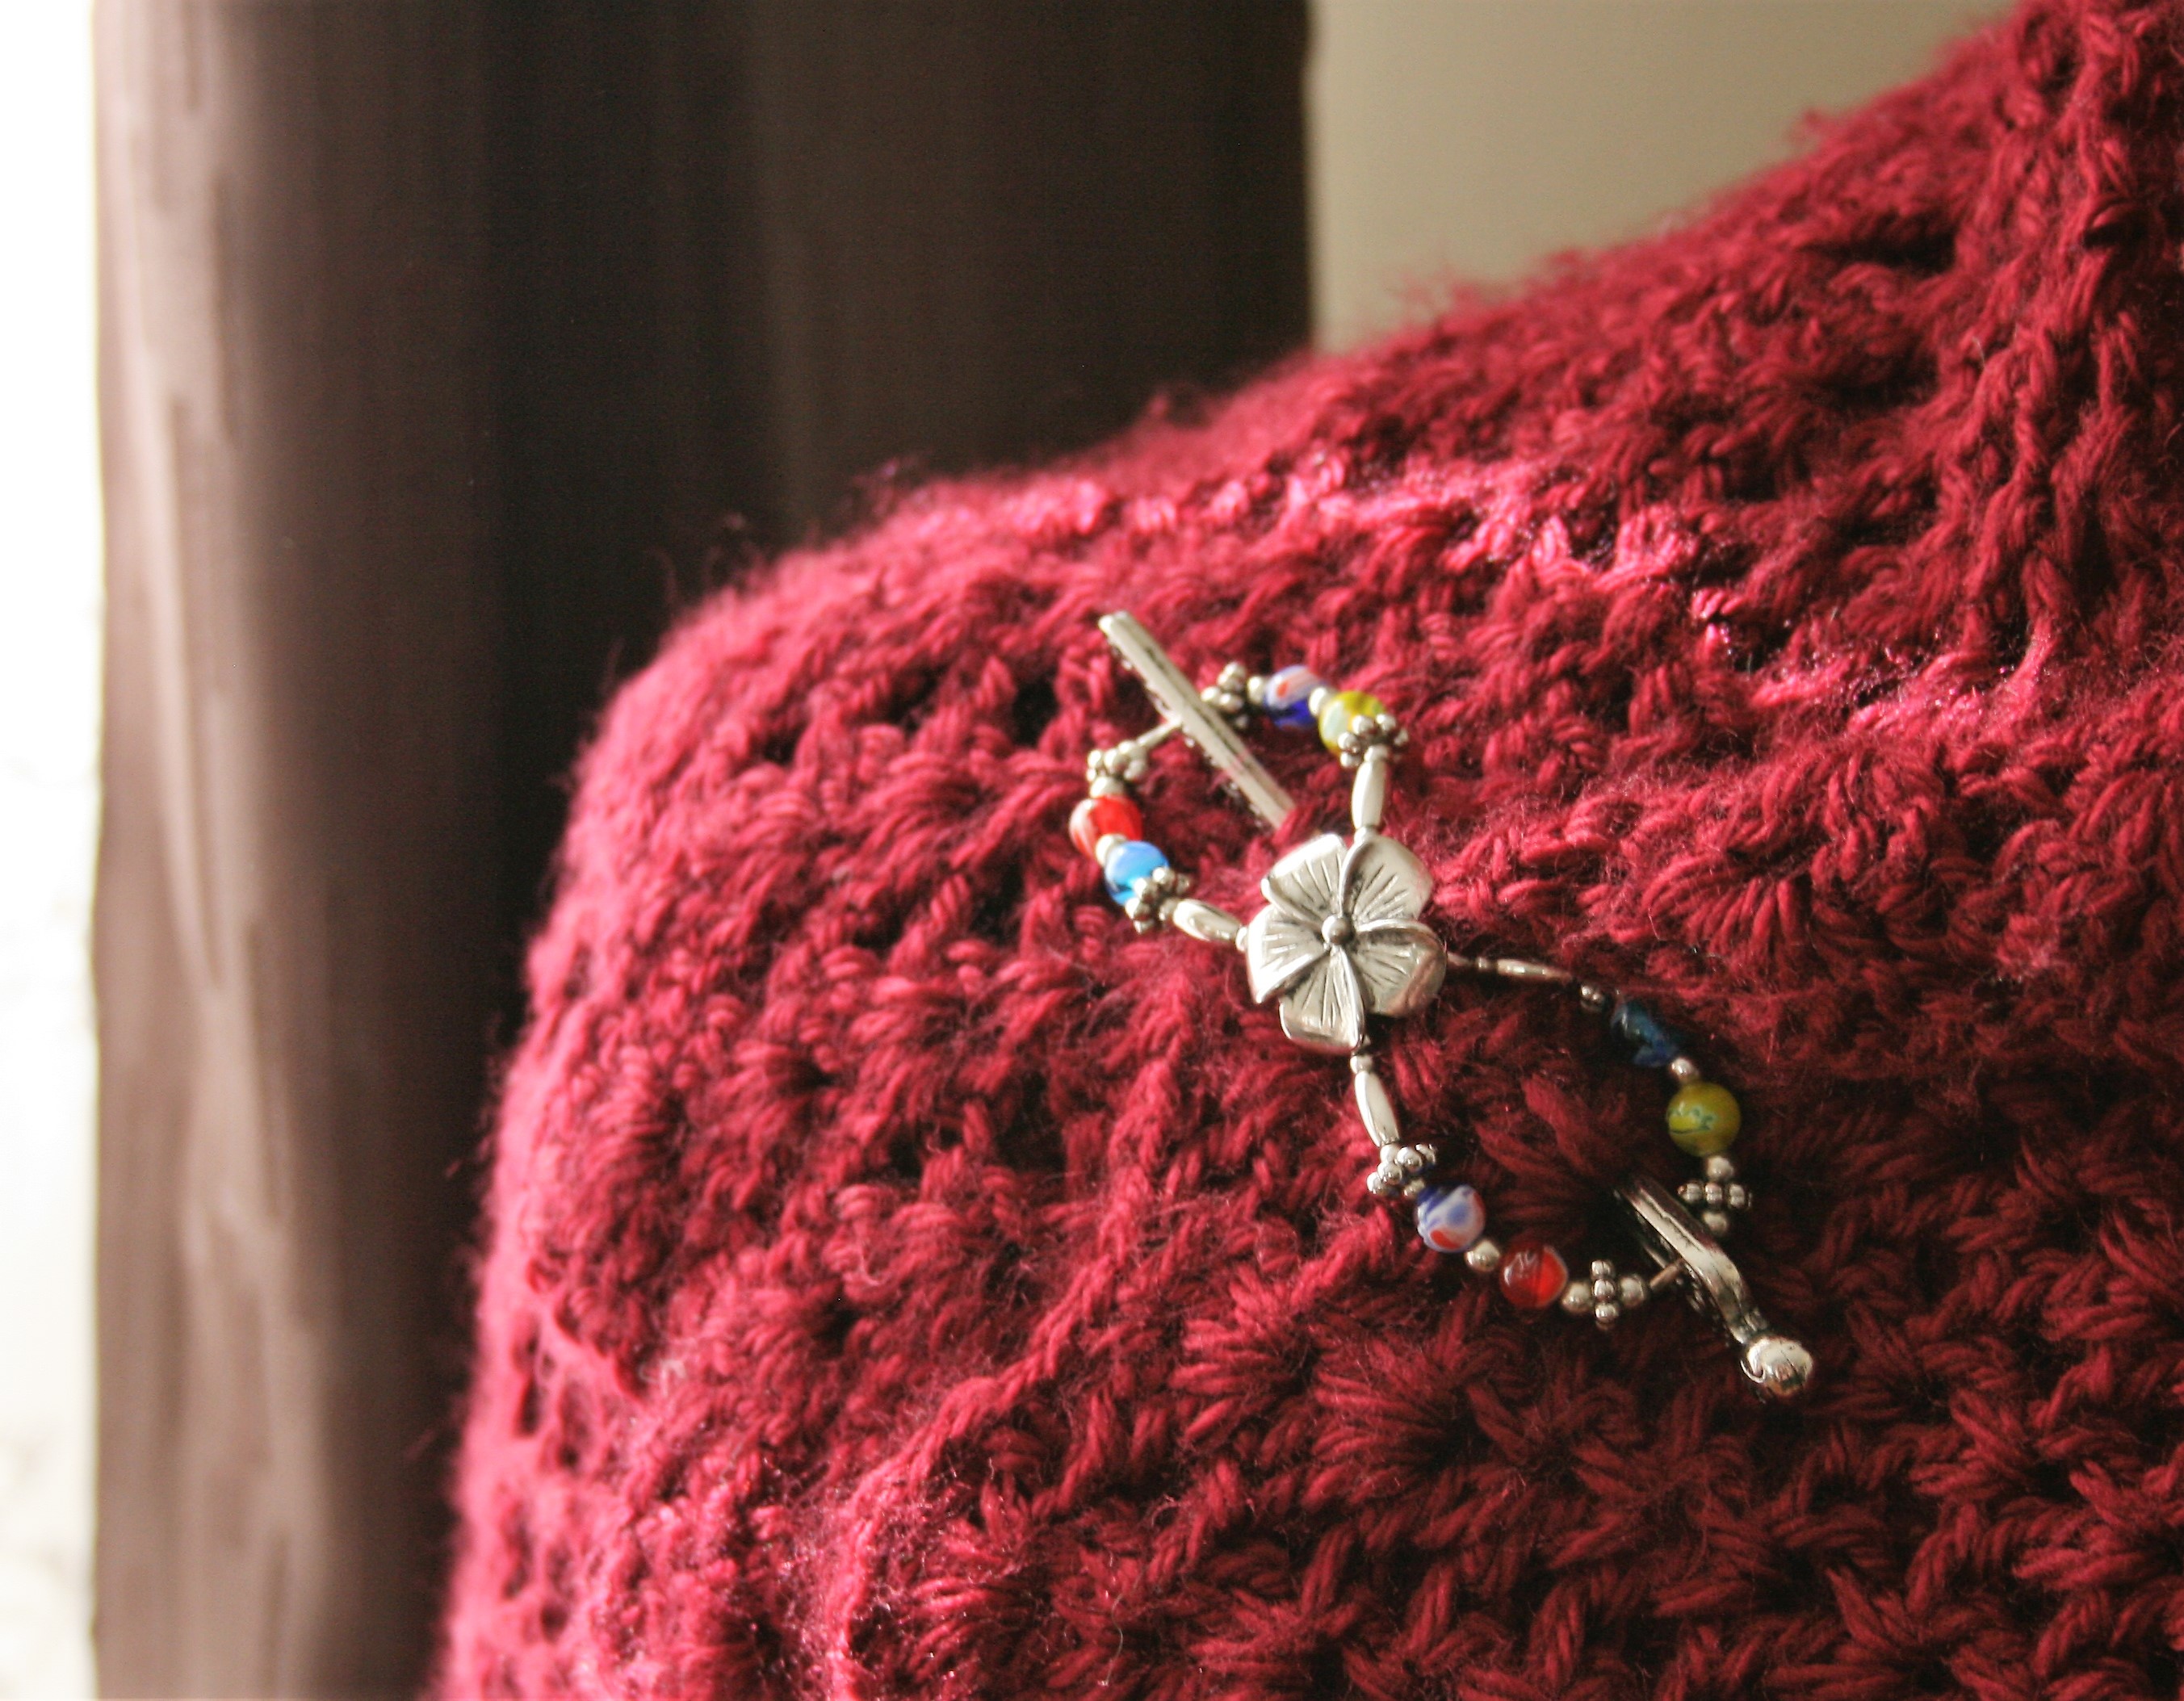
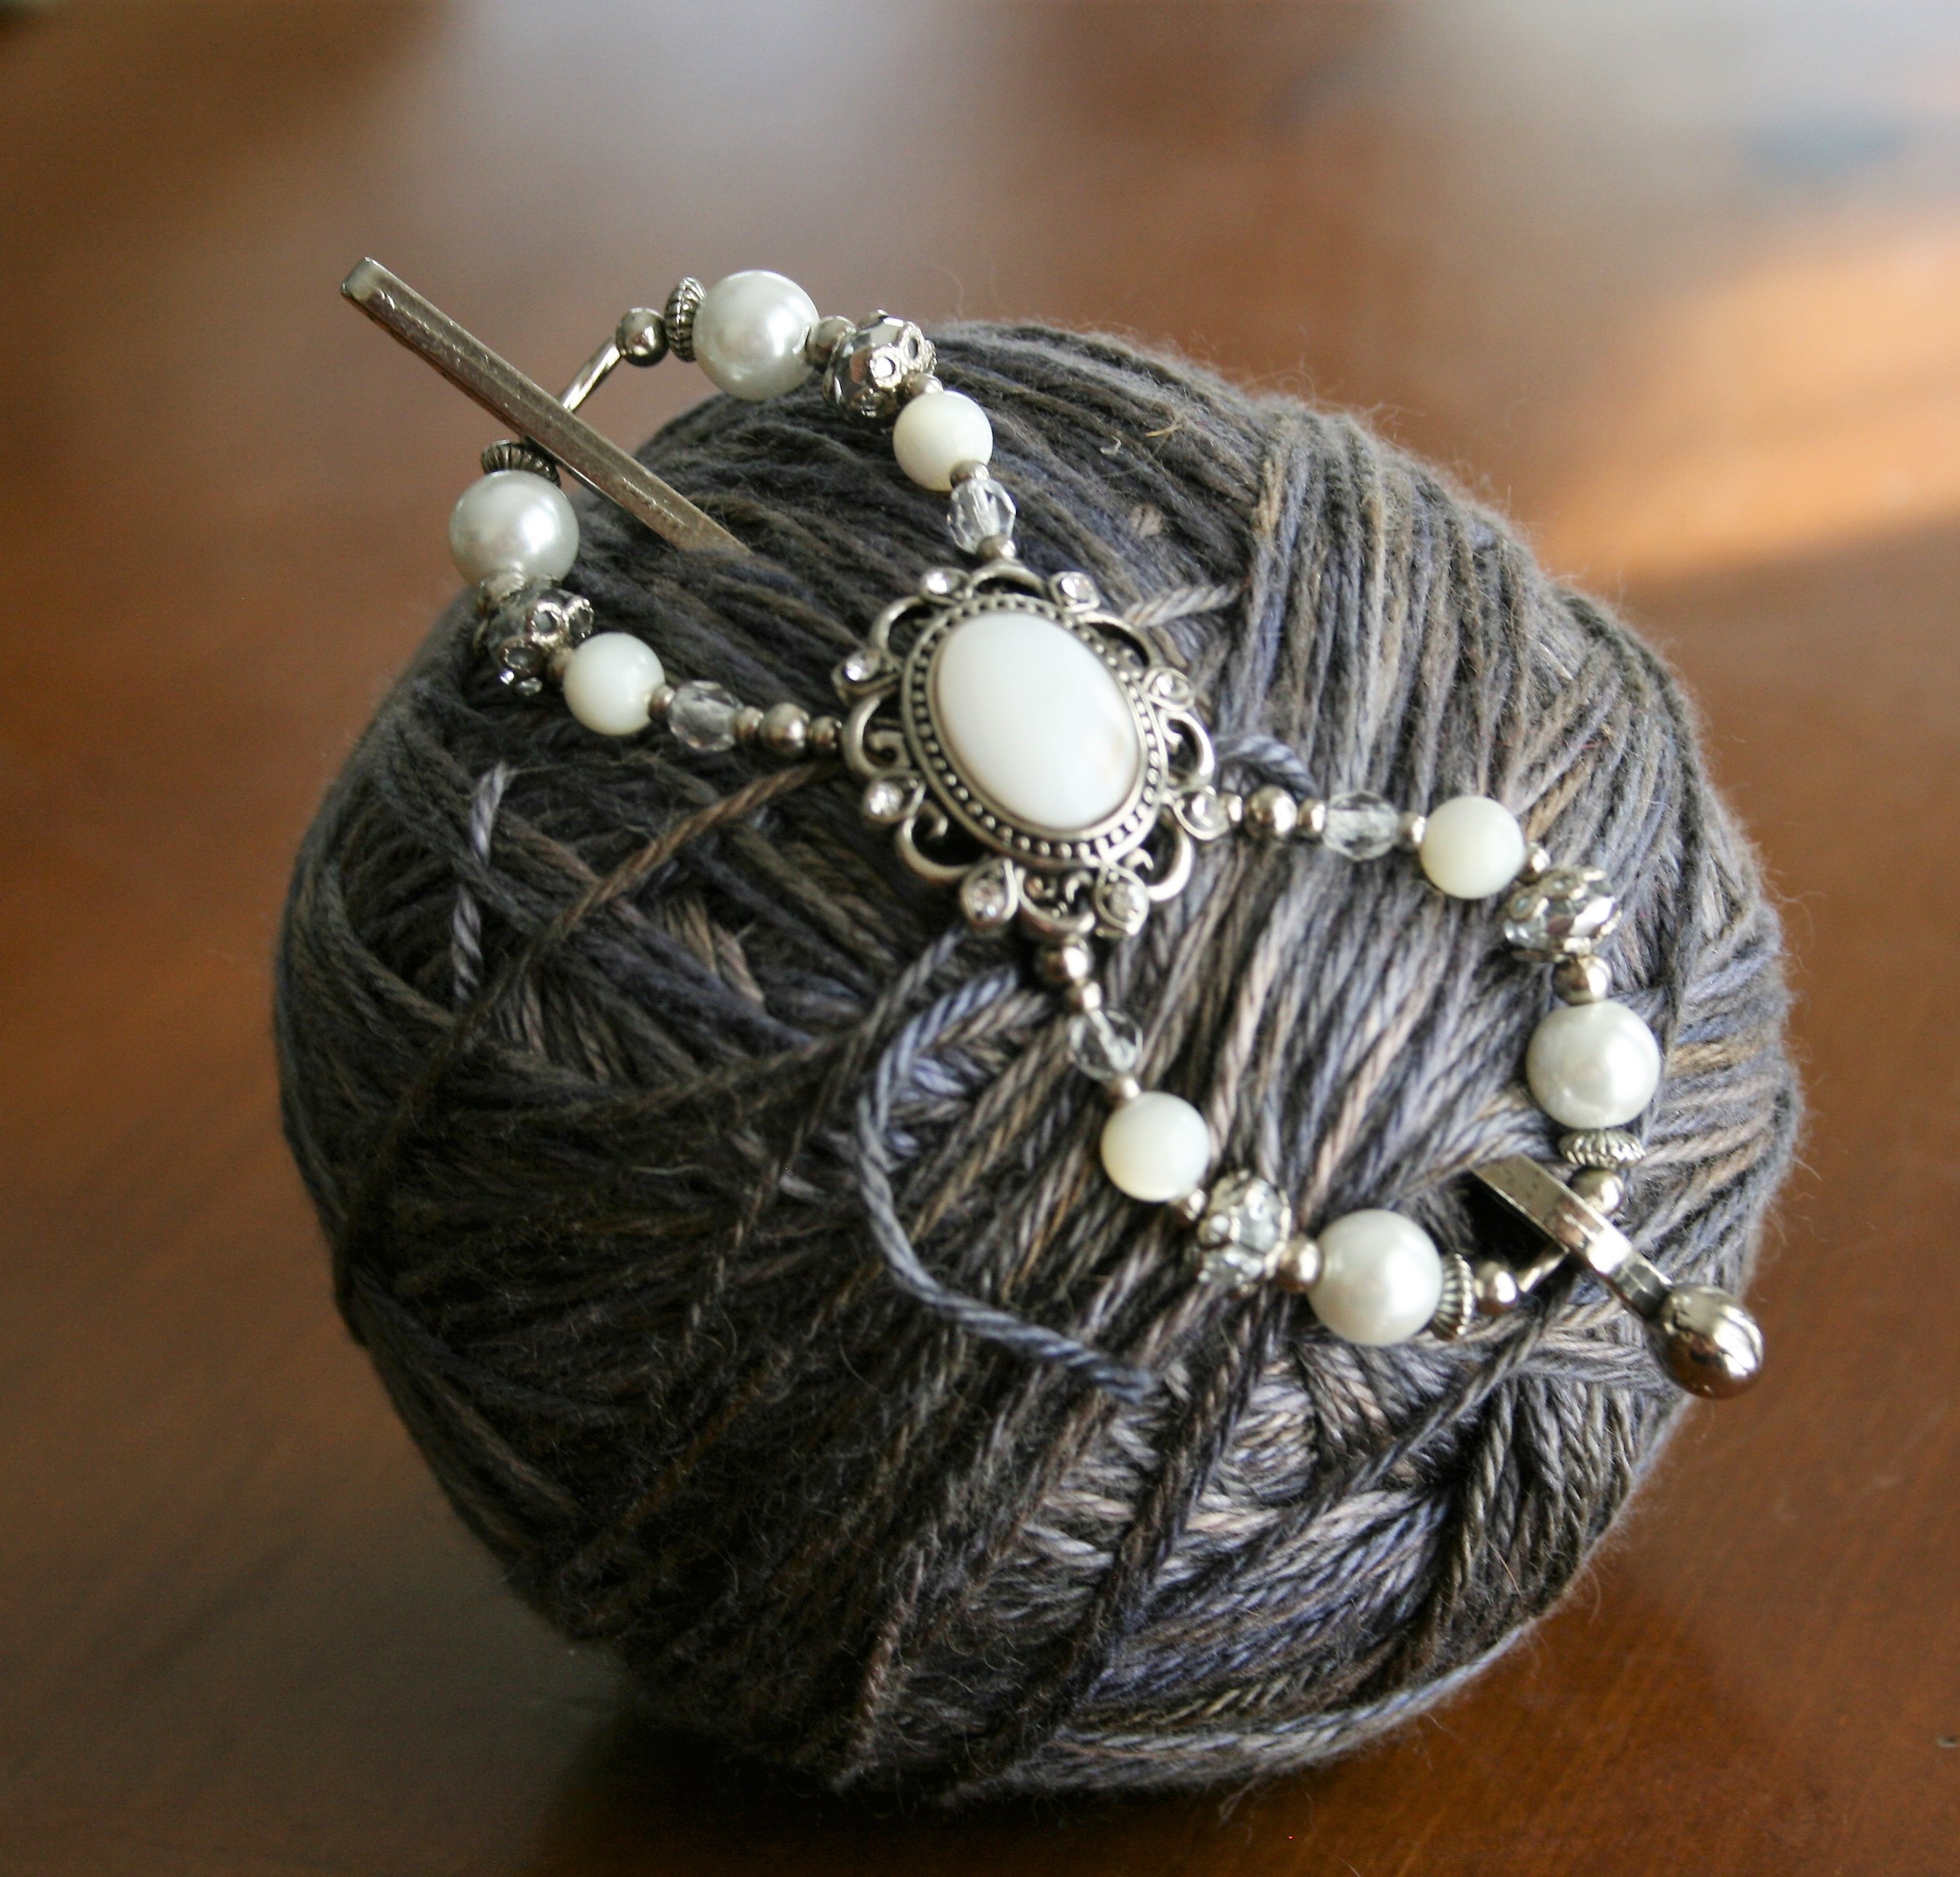
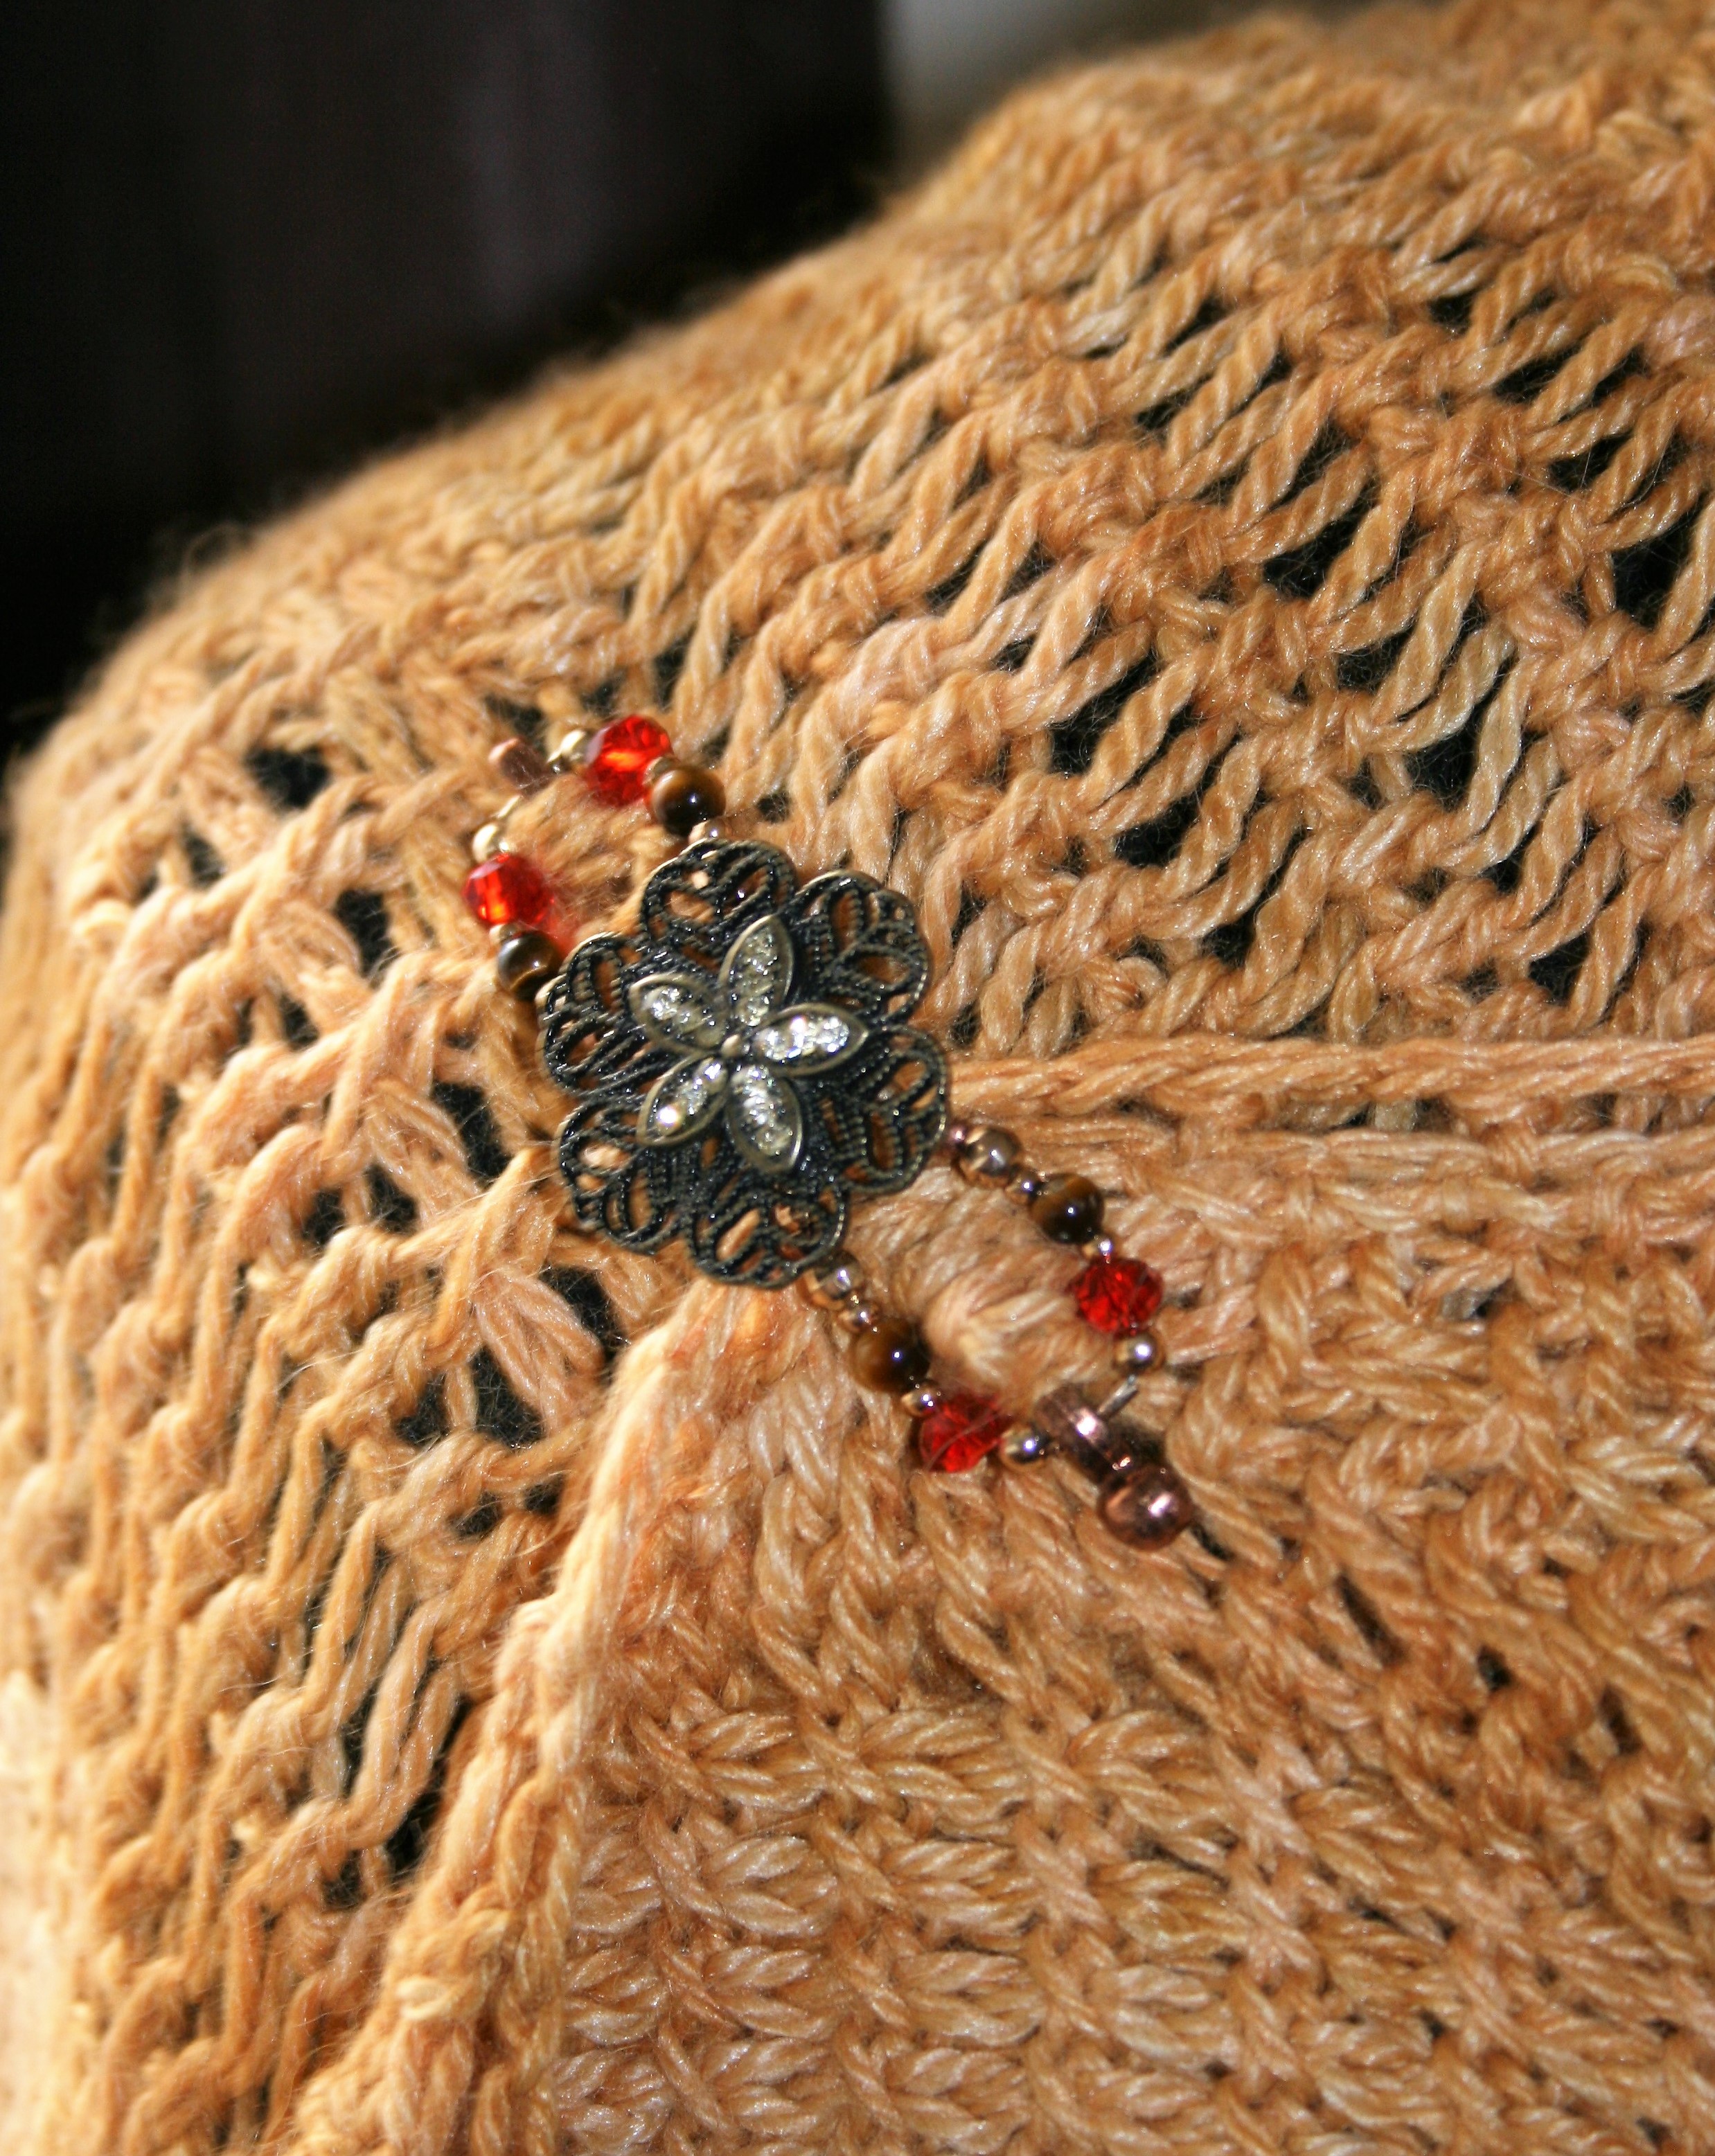
left to right: Boye, Susan Bates, Brittany; all size K, 10 1/2, 6.5mm

To simplify the arguments, the inline hooks are like simple tubes with slits at the throat of the hook, while tapers taper down at the throat and enlarge at the head. I thought that it was this that made the difference in how I crocheted, but testing out some Brittany Crochet hooks, as showed me I have been wrong all these years.

Brittany hooks are inline hooks, and I offered to test them out primarily because I realized that the world is small. In small I mean, that I met the owner of Brittany hooks at a trade show in the Midwest, only to realize in our discussions that we actually went to high school together, a couple of years apart, in my home town in Northern California; that he actually hung out with my cousin throughout school and that we had many mutual friends.

I offered to test out the hooks, as a feeling of this small world companionship, I didn’t realize that I would learn something new and find a great hook in the process. Brittany was happy to have my feedback on my experience with their product, as they want to ensure that they are offering the best hooks on the market.

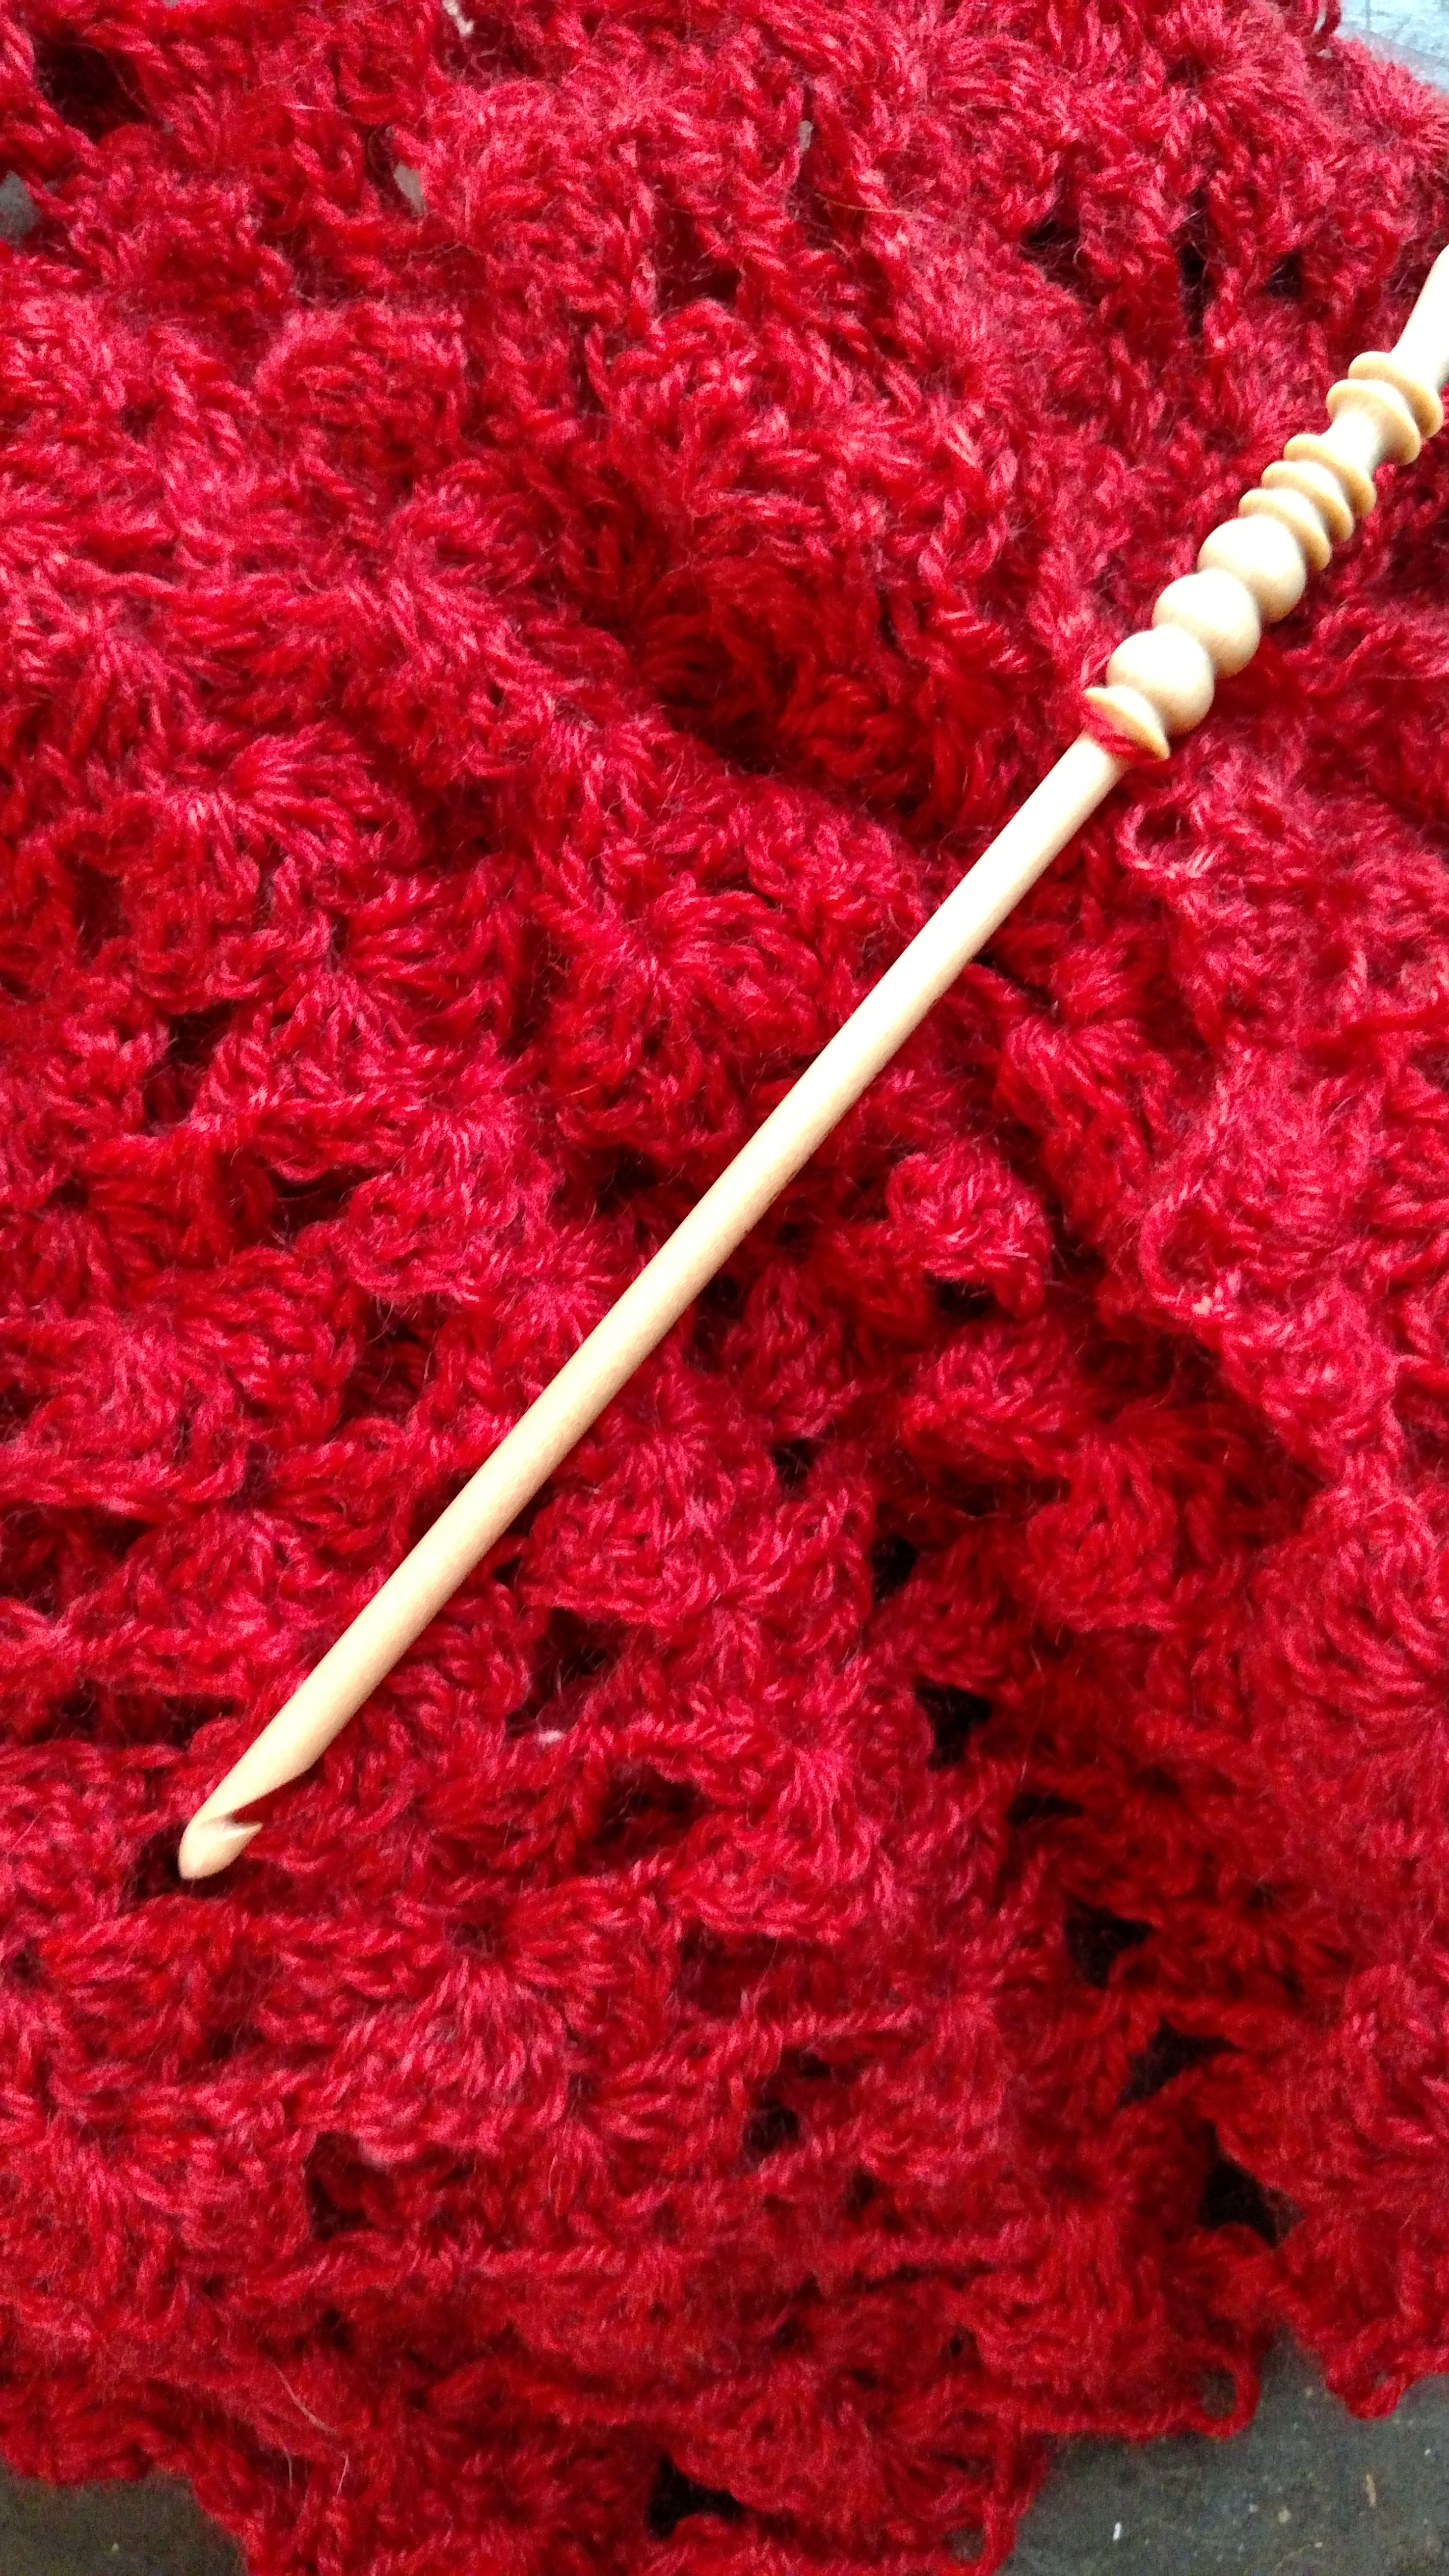
What I learned was that for me it really is not the shaft of the throat that effects my crochet, it is the length of the hook.

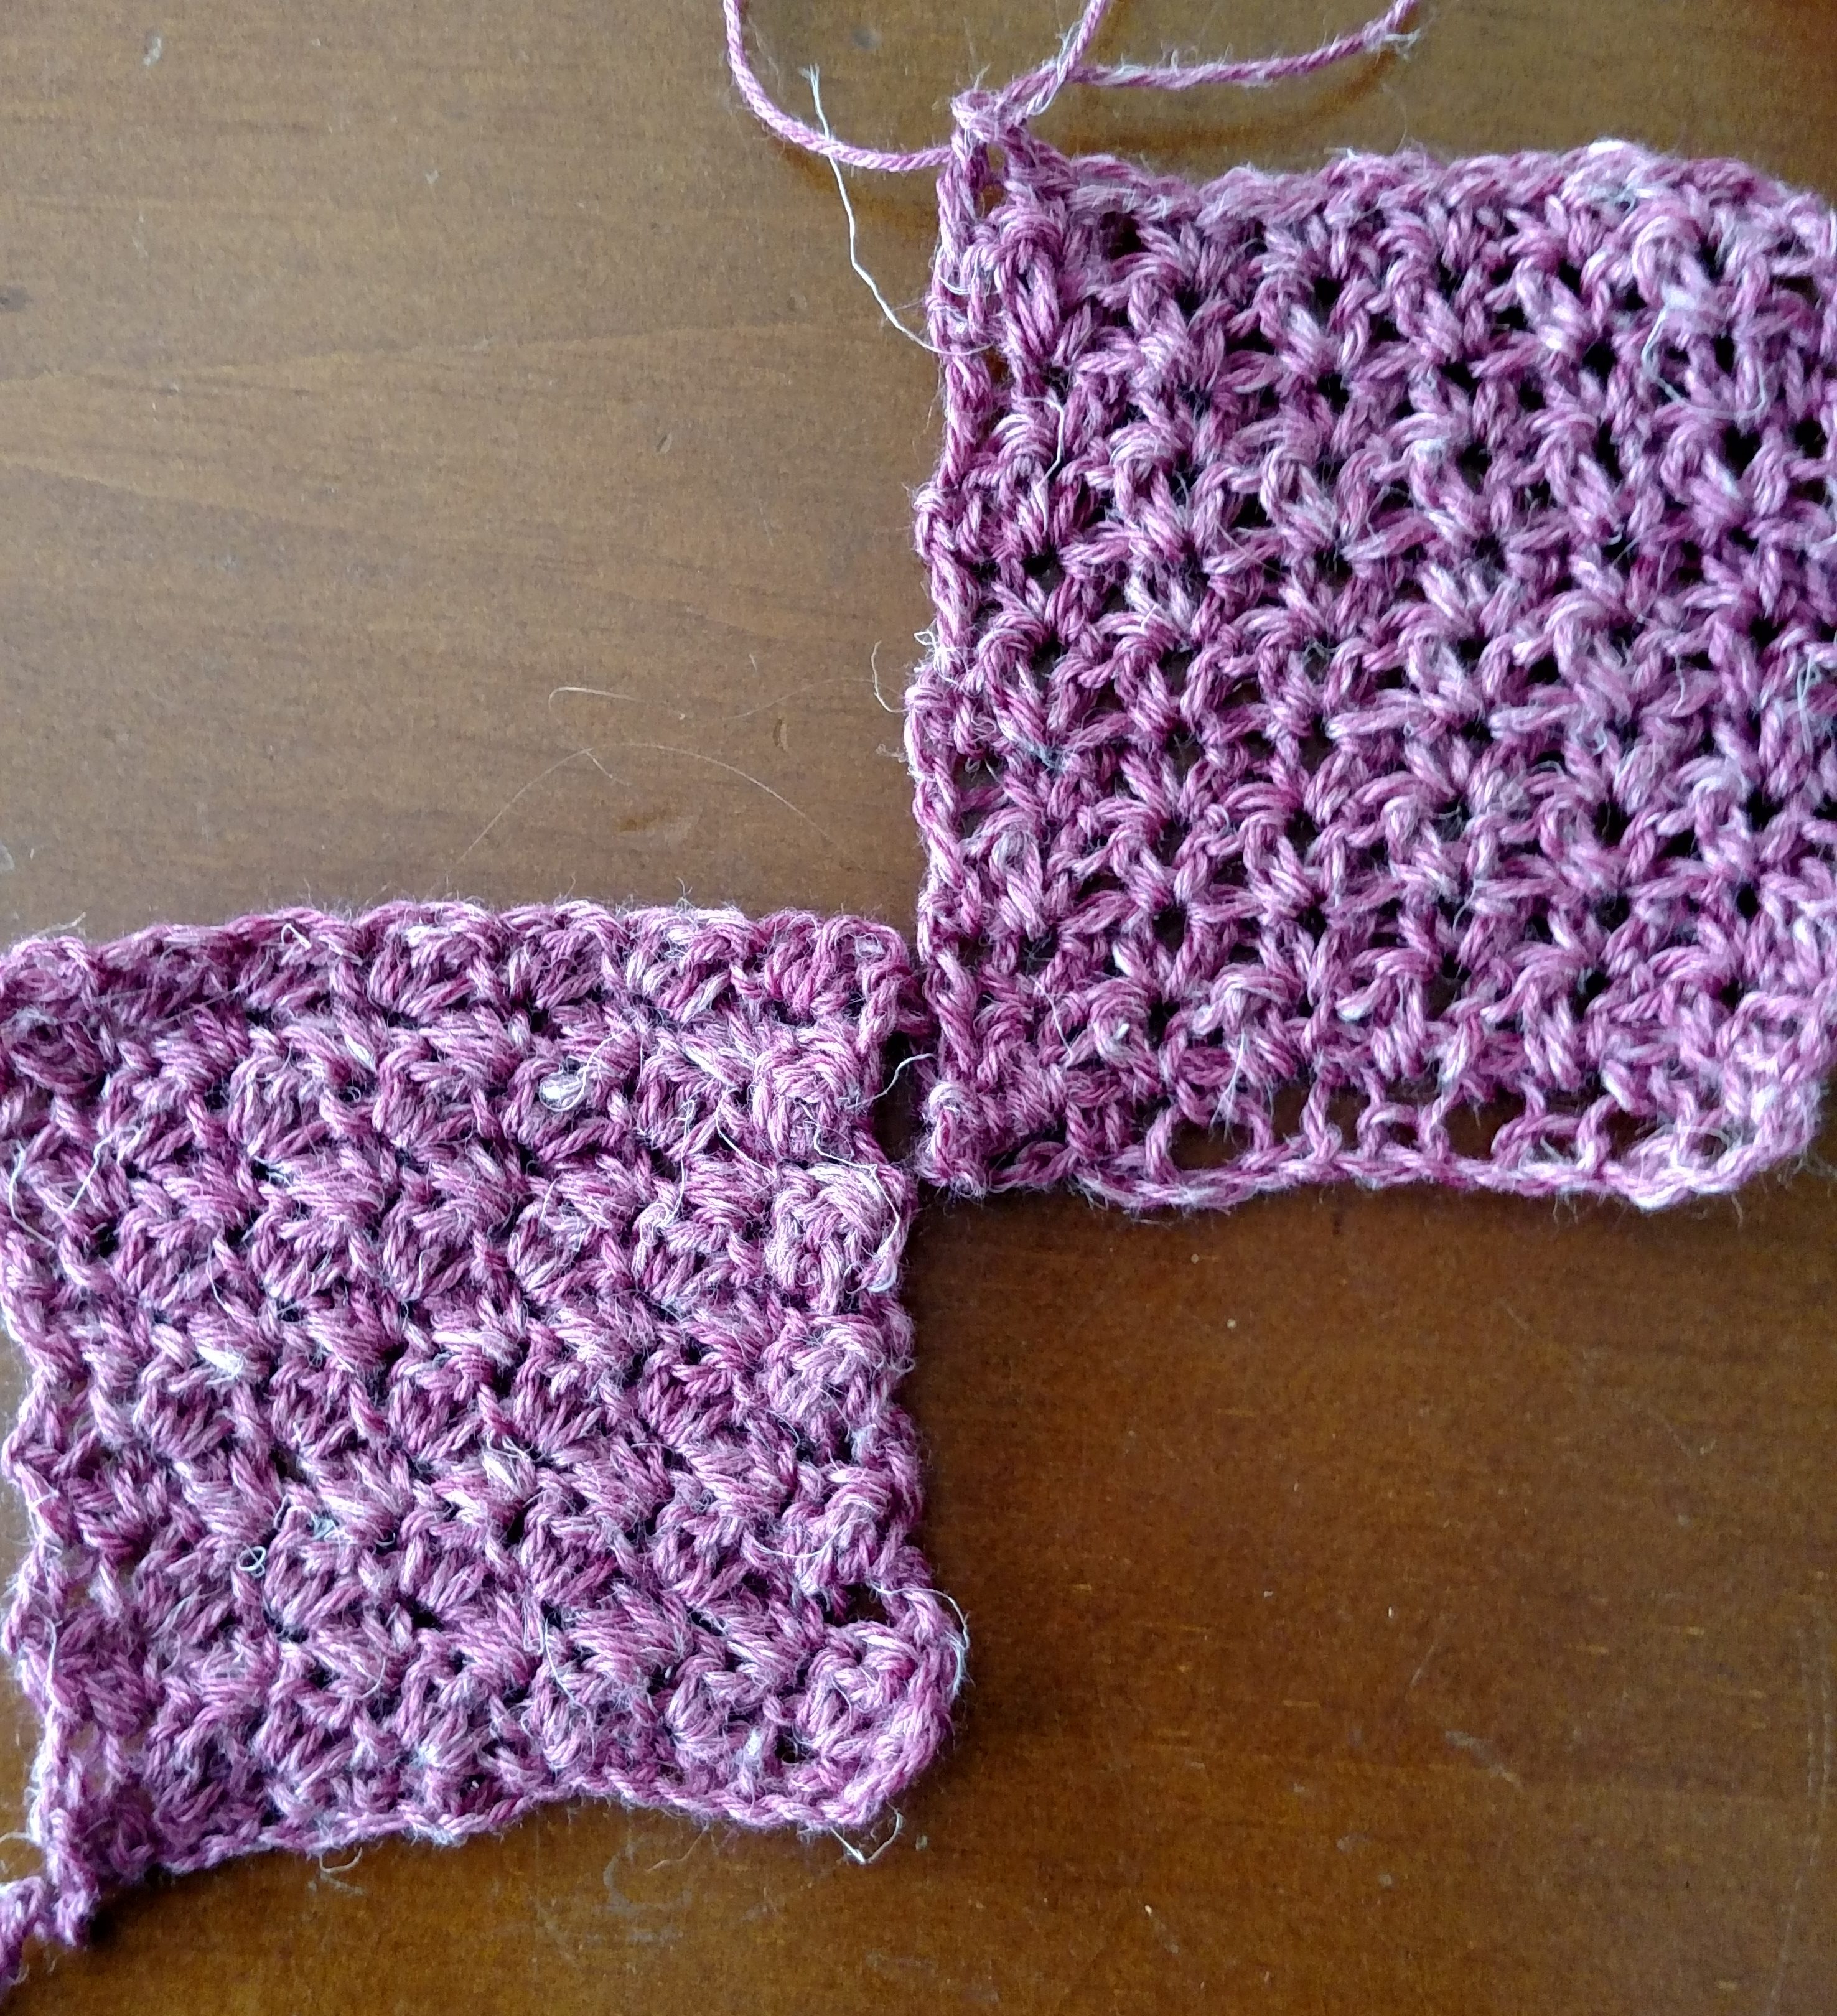
I use a knife hold when holding my hook, meaning that I hold it the same as if I were holding a knife to chop. I hadn’t really realized it before but the Susan Bates hooks are shorter than the Boye hooks as a result they do not extend past my hand, but instead rest just at the edge of my little finger. When using the Brittany, they had more length than a Bates, and that made all the difference. I found no difficulty in creating the stitches, and I have put these hooks through some test, creating a couple of sweaters and shawls.

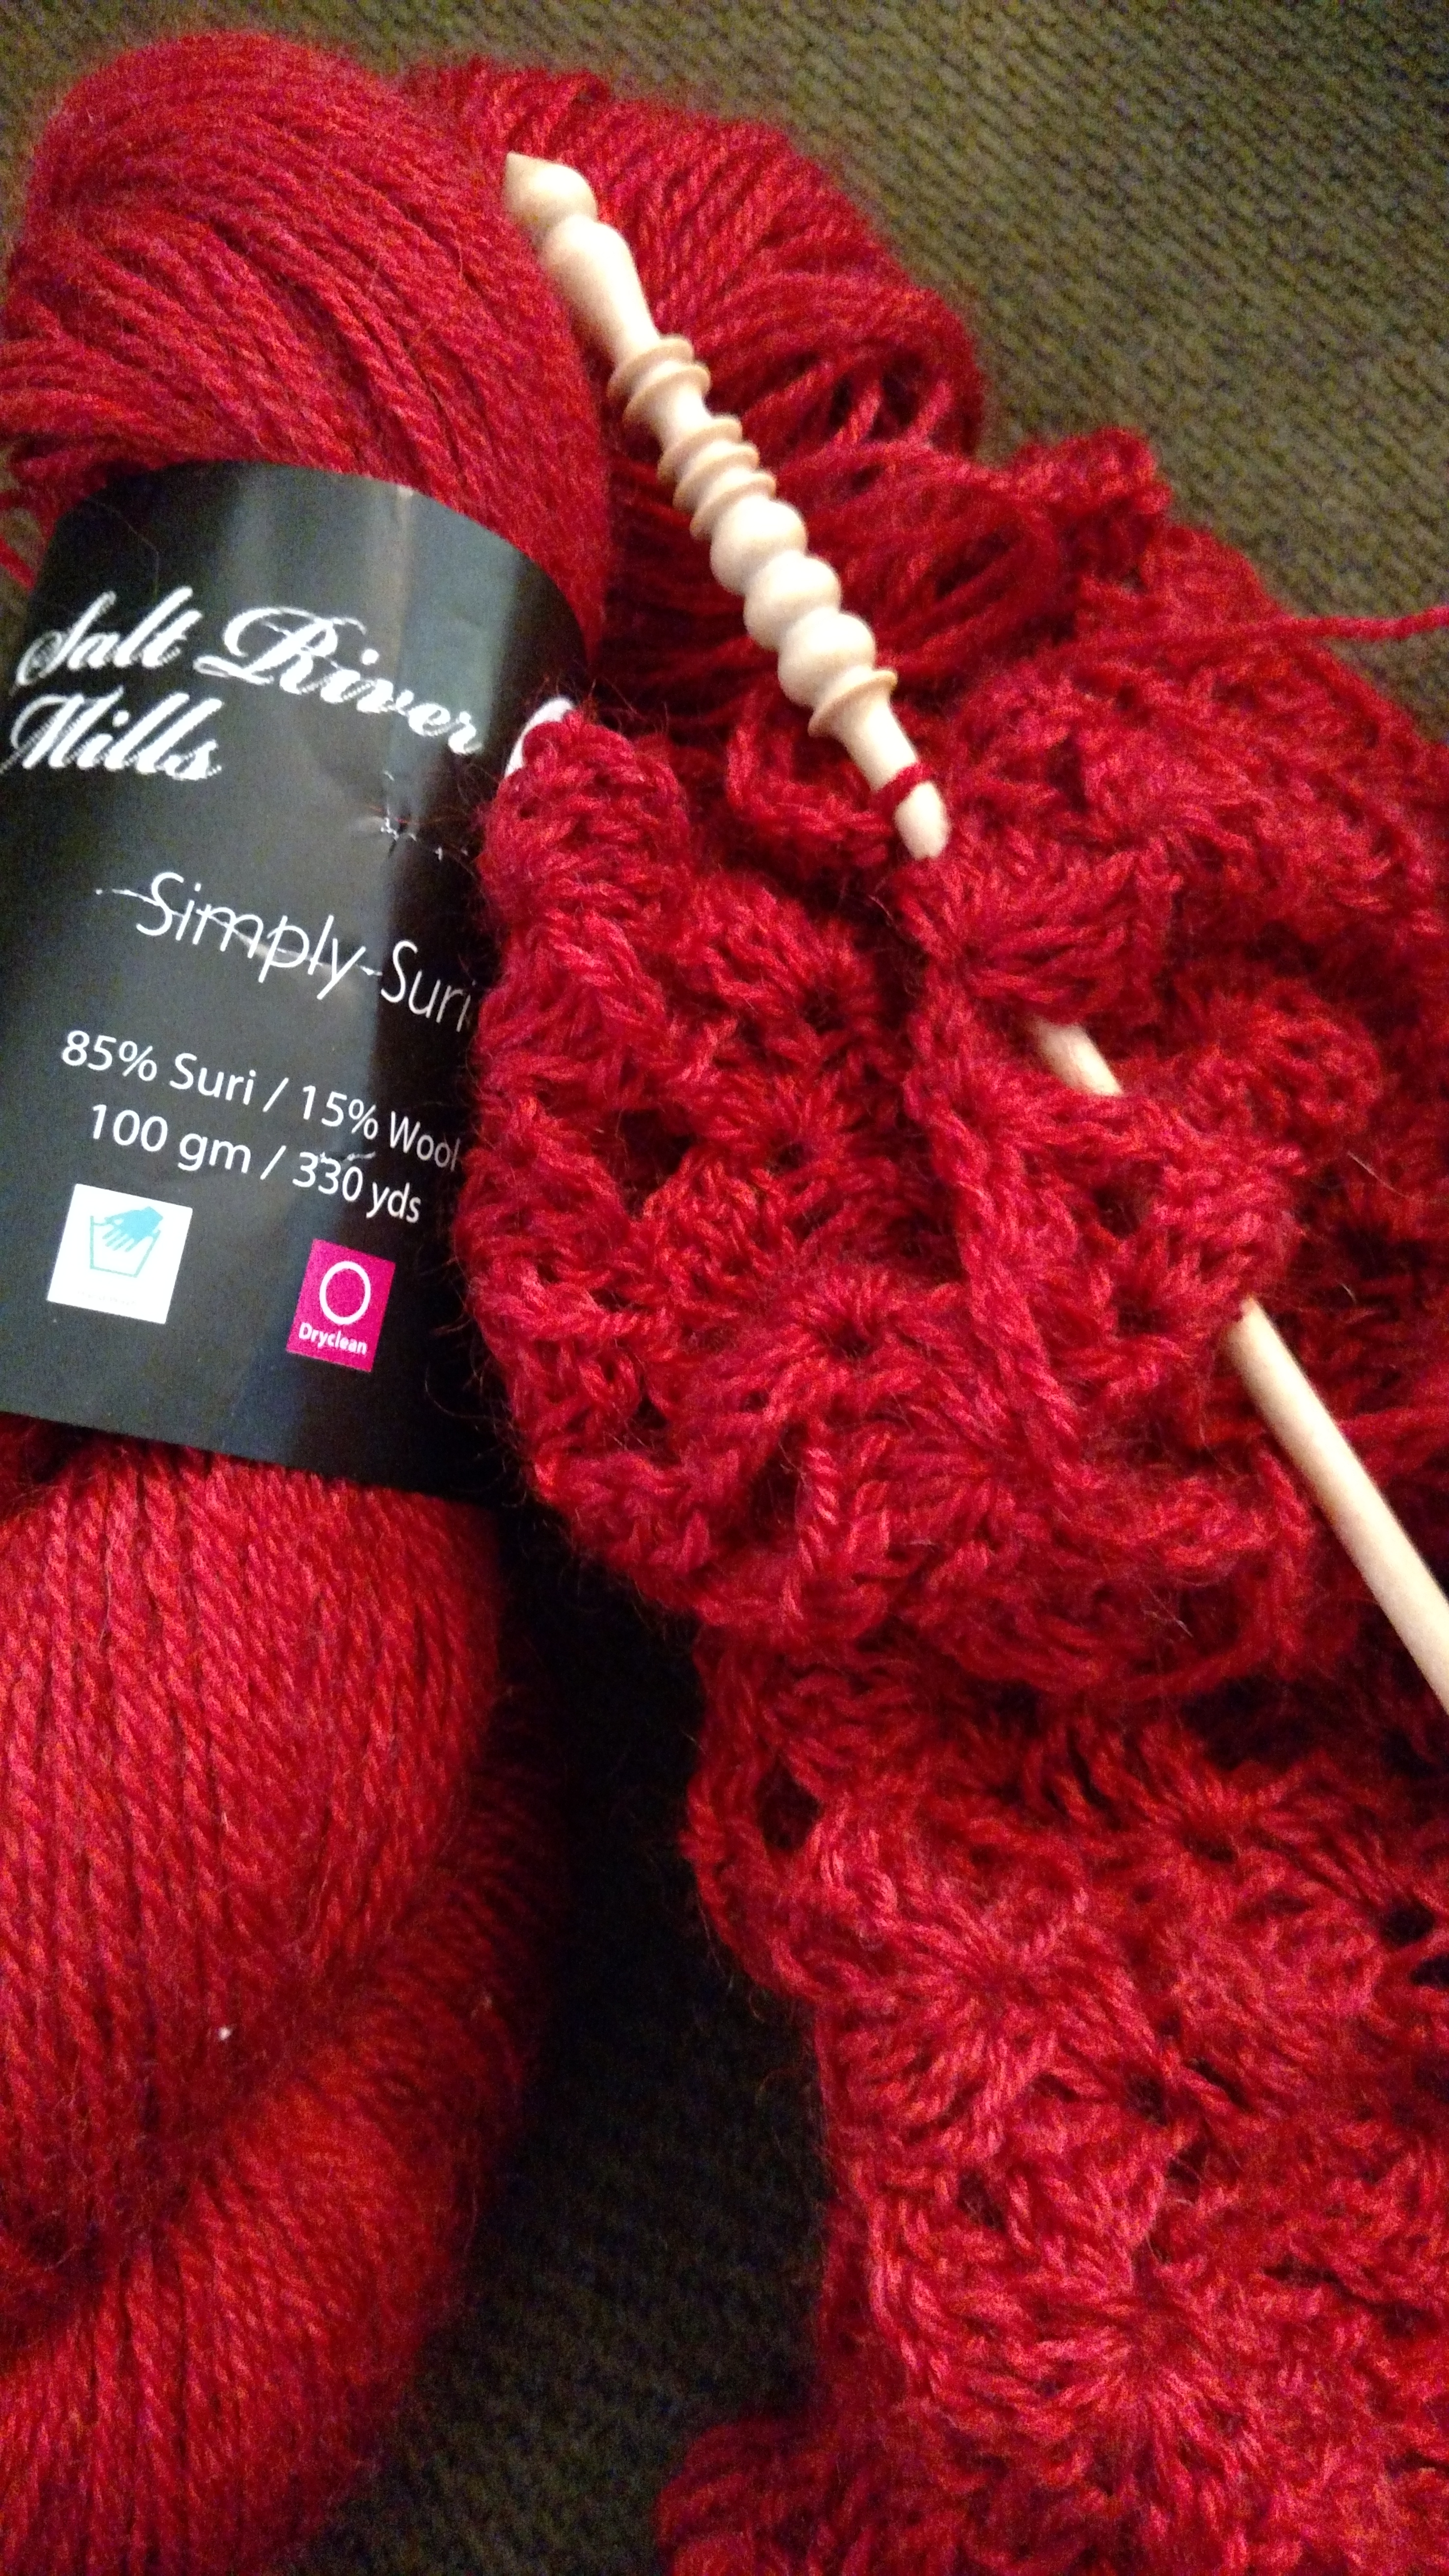
The Brittany hooks were very comfortable to use, not to mention very handsome. They are actually all created by wood sourced in the United States, ensuring that they wood is sustainably harvested. All the hooks are made by a single family, and in a small town along the northern coast of California. My understanding is that this company grew out of a bit of a challenge; that challenge being creating a knitting needle from a single piece of wood.  This should not really seem like a challenge, as we have all seen wooden knitting needles before, however these are typically constructed in two pieces; a turned shaft and a stopper at the top. Brittany is actually all turned as one piece. The turning of the shaft is then adjusted to turn a beautiful ending edge. For the crochet hooks there is one other step, which is cutting in the throat.

While a machine might turn the lathe, the human hand is evident throughout the hook. Each one is lovingly created and hand finished. The family is dedicated to making a quality product while working by their family values of supporting the environment and their community. It began with a father over 40 years ago and is continued with the son working to support his growing family today.

However that thing I find most amazing is how reasonably priced the hooks are. I have found them on-line and in some small local yarn stores for under $10. For a hand worked hook….that is crazy reasonable. Couple with that, that they have an amazing product guarantee…if your hook is damaged in 5 years of purchase, they will replace it, no questions asked. That is beyond reasonable.

This makes it a very practical gift to yourself or someone you care for that stitches. I definitely recommend Brittany hooks, and am glad that I decided to give this hook a chance….I learned something new about my stitching as well as found my new go-to hook.

Art With More Than One Use- That’s Value

I really love when I can see a real value in something. When something can fulfill different needs; when something is a real workhorse; and it if looks great while doing it, that is placing it over the top. When talking to a longtime friend of mine, I realized that her new business venture was of a product that met this description.

Lilla Rose creates hair products, which I admit are a bit different then what I have seen before. On the surface it looks like a typical hair tie, but it is actually flexible. Made from what I understand as piano wire, it is sturdy; so it holds its shape and such, but it is also flexible so that it can catch your hair more like almost a net and then cradle it. This helps it to feel comfortable all day long. 

Another different feature is that the pin that holds it in place, is actually attached to the tie, so that is it never lost, and it is in the correct place every time to keep your hair in place.

So, now what makes this a work horse, well, aside from the many different styles and looks, it also works great as a shawl pin. It adds a perfect locked in approach to keeping my shawl in place without slipping and sliding around. With the pin attached I know that it will not fall through or twist around. I know that when I put it in my shawl, it will stay. 

Then after some playing around I think I found my favorite latest use…holding my yarn balls in place. When I am working with multiple colors in the same fabric, it never fails…I get the yarn completely tangled and if I am using balls they are rolling everywhere. I can use multiple yarn bowls, but sometimes that is not practical as I am traveling with my work. However these hair clips fit perfectly in the yarn, and prevents it from rolling, while securing the end where I want it. 

I know this might seem like a small thing, holding yarn in place, either on the ball or my shawl, but sometimes it is the small things that really make a difference.

I am glad my friend and I had a chat about her products, as I think I have found a new “go-to” for a few different things. You can check out her clips here… http://www.lillarose.biz/proverbs31

Don’t Under Estimate What You Don’t Understand- Pom-Poms

There are many ways to embellish with yarn, such as tassels and fringe, and then there is pom-poms. In my years of crocheting pom-poms have probably been my least liked of the three noted above. This is because I found they were a bit labor intensive and yarn consuming, and I could never replicate one…each looked very individual.

As a kid I understood pom-poms as short strands of yarn that were all tied together in the middle. There are supposed to be enough strands to push outward and create a sphere. I would wrap yarn around a ruler, or small book; much in the same manner I would create fringe only smaller. I attempted to tie these together to create the sphere. I found that that had a lot of trimming to do to make this item look like a ball, and this left yarn scraps everywhere. With my hand trimming no two balls ever looked alike.

I had found some other directions in books, about making cardboard rings, two that matched, and wrapping the yarn around the ring to create a pom-pom. Honestly, I never completely tried it. The cardboard I had access to was pretty light weight, as from a cereal box, and this did not lend itself well to having yarn wrapped around it. Also, I did not fully understand what the directions were asking me to do. I thought that maybe this was just one of those novelty things. As a result, I rarely made or worked with these little balls of fluff.

Recently I had a student that had purchased a pom-pom maker, and was attempting to put it to use. I was skeptical. I thought “another novelty idea”, but then we played with it and all the concepts I didn’t understand before came into clarity. By working over these two pieces of plastic, shaped in a ring like the cardboard directions had suggested, I understood that the two pieces were to help you cut and tie the pom-pom. The reason for the circular shape was that the yarn was evenly placed in the tie, unlike my wrap of a ruler where the yarn was more focused at a point. This rounding at the tie helped form the sphere shape, and also used a lot less yarn! By using a template, use as this tool, it is much easier to make more than one and have them come out the same size.

Having helped my student understand this tool, I gained a filling in my knowledge void, and started to think of ways I could use these balls; maybe some garland, tops of hats, edges of scarves. I must remember, never dismiss anything as a novelty until I actually understand it.

Stitch Order Can Make All the Difference

Simple stitch switches can create a very different appearance. Sometimes these “switches” happen by mistake…I speak from experience, and sometimes they are thoroughly thought out.

Often my students look at me with a bit of “sure, that is true” look whenever I explain that crochet essentially has only 3 stitches, everything else is just variations. They think I am even crazier when I explain, it is all about stitch location that causes all the different looks.

I happened to reinforce this for myself just the other day. I was working up a pattern, and looking at my notes it stated “sc, dc” stitches. Pretty straight forward and I thought I knew what I meant, however when working up my fabric is was not looking like the sample swatch.

I had to go back and study my sample swatch…I was working my stitches in the single crochet on both fabrics so why were they so different in appearance? I finally found my answer….I worked the stitches in the opposite order. I was working a single crochet then a double crochet in the next single crochet stitch in the swatch sample, but in the fabric I was working a double crochet then a single crochet in the next single crochet stitch. Wow, I was surprised by the difference it caused.

One swatch looks like little blocks turned slightly aside, while the other looks a bit lacy, and almost like a stacked “v”. They are both worked with the same hook, the same yarn, the same number of stitches, yet the simple error of working the stitches in the opposite order caused a very different look.

I plan on playing around more with “switching” my stitches, you never know where I new idea can be generated and maybe by intentionally changing the stitch order I might find something truly fabulous…I will have to keep you posted.


More Than One Alpaca- Suri Yarn

Several years ago I learned to spin yarn, indirectly this lead to my now working in crochet. However I digress, during my time spinning I visited a local alpaca farm that sold fibers for spinning. The farm was filled with those cute little teddy bear like animals that I learned were a breed called Huacaya. I only thought that these were the standard alpaca, until the farm owner showed me a fleece of another breed of alpaca, one known as Suri.

The Suri fleece was smooth and silky and in ringlets like a young Shirley Temple. It only resembled the Huacaya in size and shape…the same body but very different fleeces. I was mesmerized by the Suri, probably because it is not commonly found in the United States, and I definitely get drawn to something a bit out of the ordinary.

Researching a bit about these different breeds I learned that almost all alpaca yarns found are created from Huacaya fleece. Huacaya is a much more common breed in the US, and the yarn is warm and soft, really an affordable luxury. The Suri is much less common, and until recently I had not found a commercially available yarn made of this fleece.

At a trade show this summer I found Salt River Mills, Simply Suri yarn. I admit it drew me in. I was fascinated to find a Suri yarn, it is produced by the North American Suri Company that purchases fleeces from breeders across North America and is helping to create a market for this fiber.

I have been playing with a skein lately and have enjoyed how it works up in the hand. I have been using Simply Suri, an 85% Suri, 15% wool yarn. It is very common for all alpaca yarns to have a blend with wool, as wool adds a bit of structural integrity to the yarn that alpaca by itself does not have.

I have found the yarn soft and smooth, with a nice sheen that makes me think of a silk blend. It is light and airy, but it is easy to feel that it is warm as well. It has nice drape and stitch definition. It is a three ply yarn with a soft twist, that lends itself to standard stitches, however I would not personally try to much textual stitches, like cables or popcorns as the yarn does not seem strong enough to give it a bold definition. I am currently envisioning a shawl….I hope to have the pattern available soon….but this yarn will definitely have me playing with it more in the future.