Differing Yarn Weights…what are they really…

ScannedImageI was asked a question the other day, of something I kind of take for granted; yarn weights. You hear a lot about different yarn weights, and as a crocheter I have always had a grasp of the traditional worsted (medium) weight acrylic yarns, but when you hear phrases like “I need to get some DK”, or “ I really enjoy this fingering”, there is a smile and a nod, but not a full appreciation of the statement.

So I will address my perspective of yarn weights (note; this is not about threads, that is a whole different discussion, but the same conclusion applies). The Craft Yarn Council of America has been attempting to help standardize many things in the yarn industry for consumers, including yarn weights. But that doesn’t mean that all worsted weights are created equal.

You have probably noticed numbers listed on the skeins of many commercial yarns, these are on a gradient scale with 0 being thinnest and 6 (or greater) being thickest.

So for the 0, listing this is categorized as Lace weight yarn, but has gone by other names such as Fingering, and 10 count crochet thread. While 1 is categorized as Super Fine, and has gone by the name of Sock, Fingering, and Baby. Not to be confused with 2, known as Fine, also called Sport or Baby. Confused yet? Basically the name terms have a more loose interpretation of what they really are. The number scale is devised of by using yarns with hooks that given an even drape and measuring the number of double crochet stitches over 4 inches (just like a swatch, that we are suppose to do before every project…and sometimes realize later that this is good advise). The greater the number of stitches, the finer the yarn (You can find the complete table and all the hooks used, and stitch range used for each category here).

IMG_5620

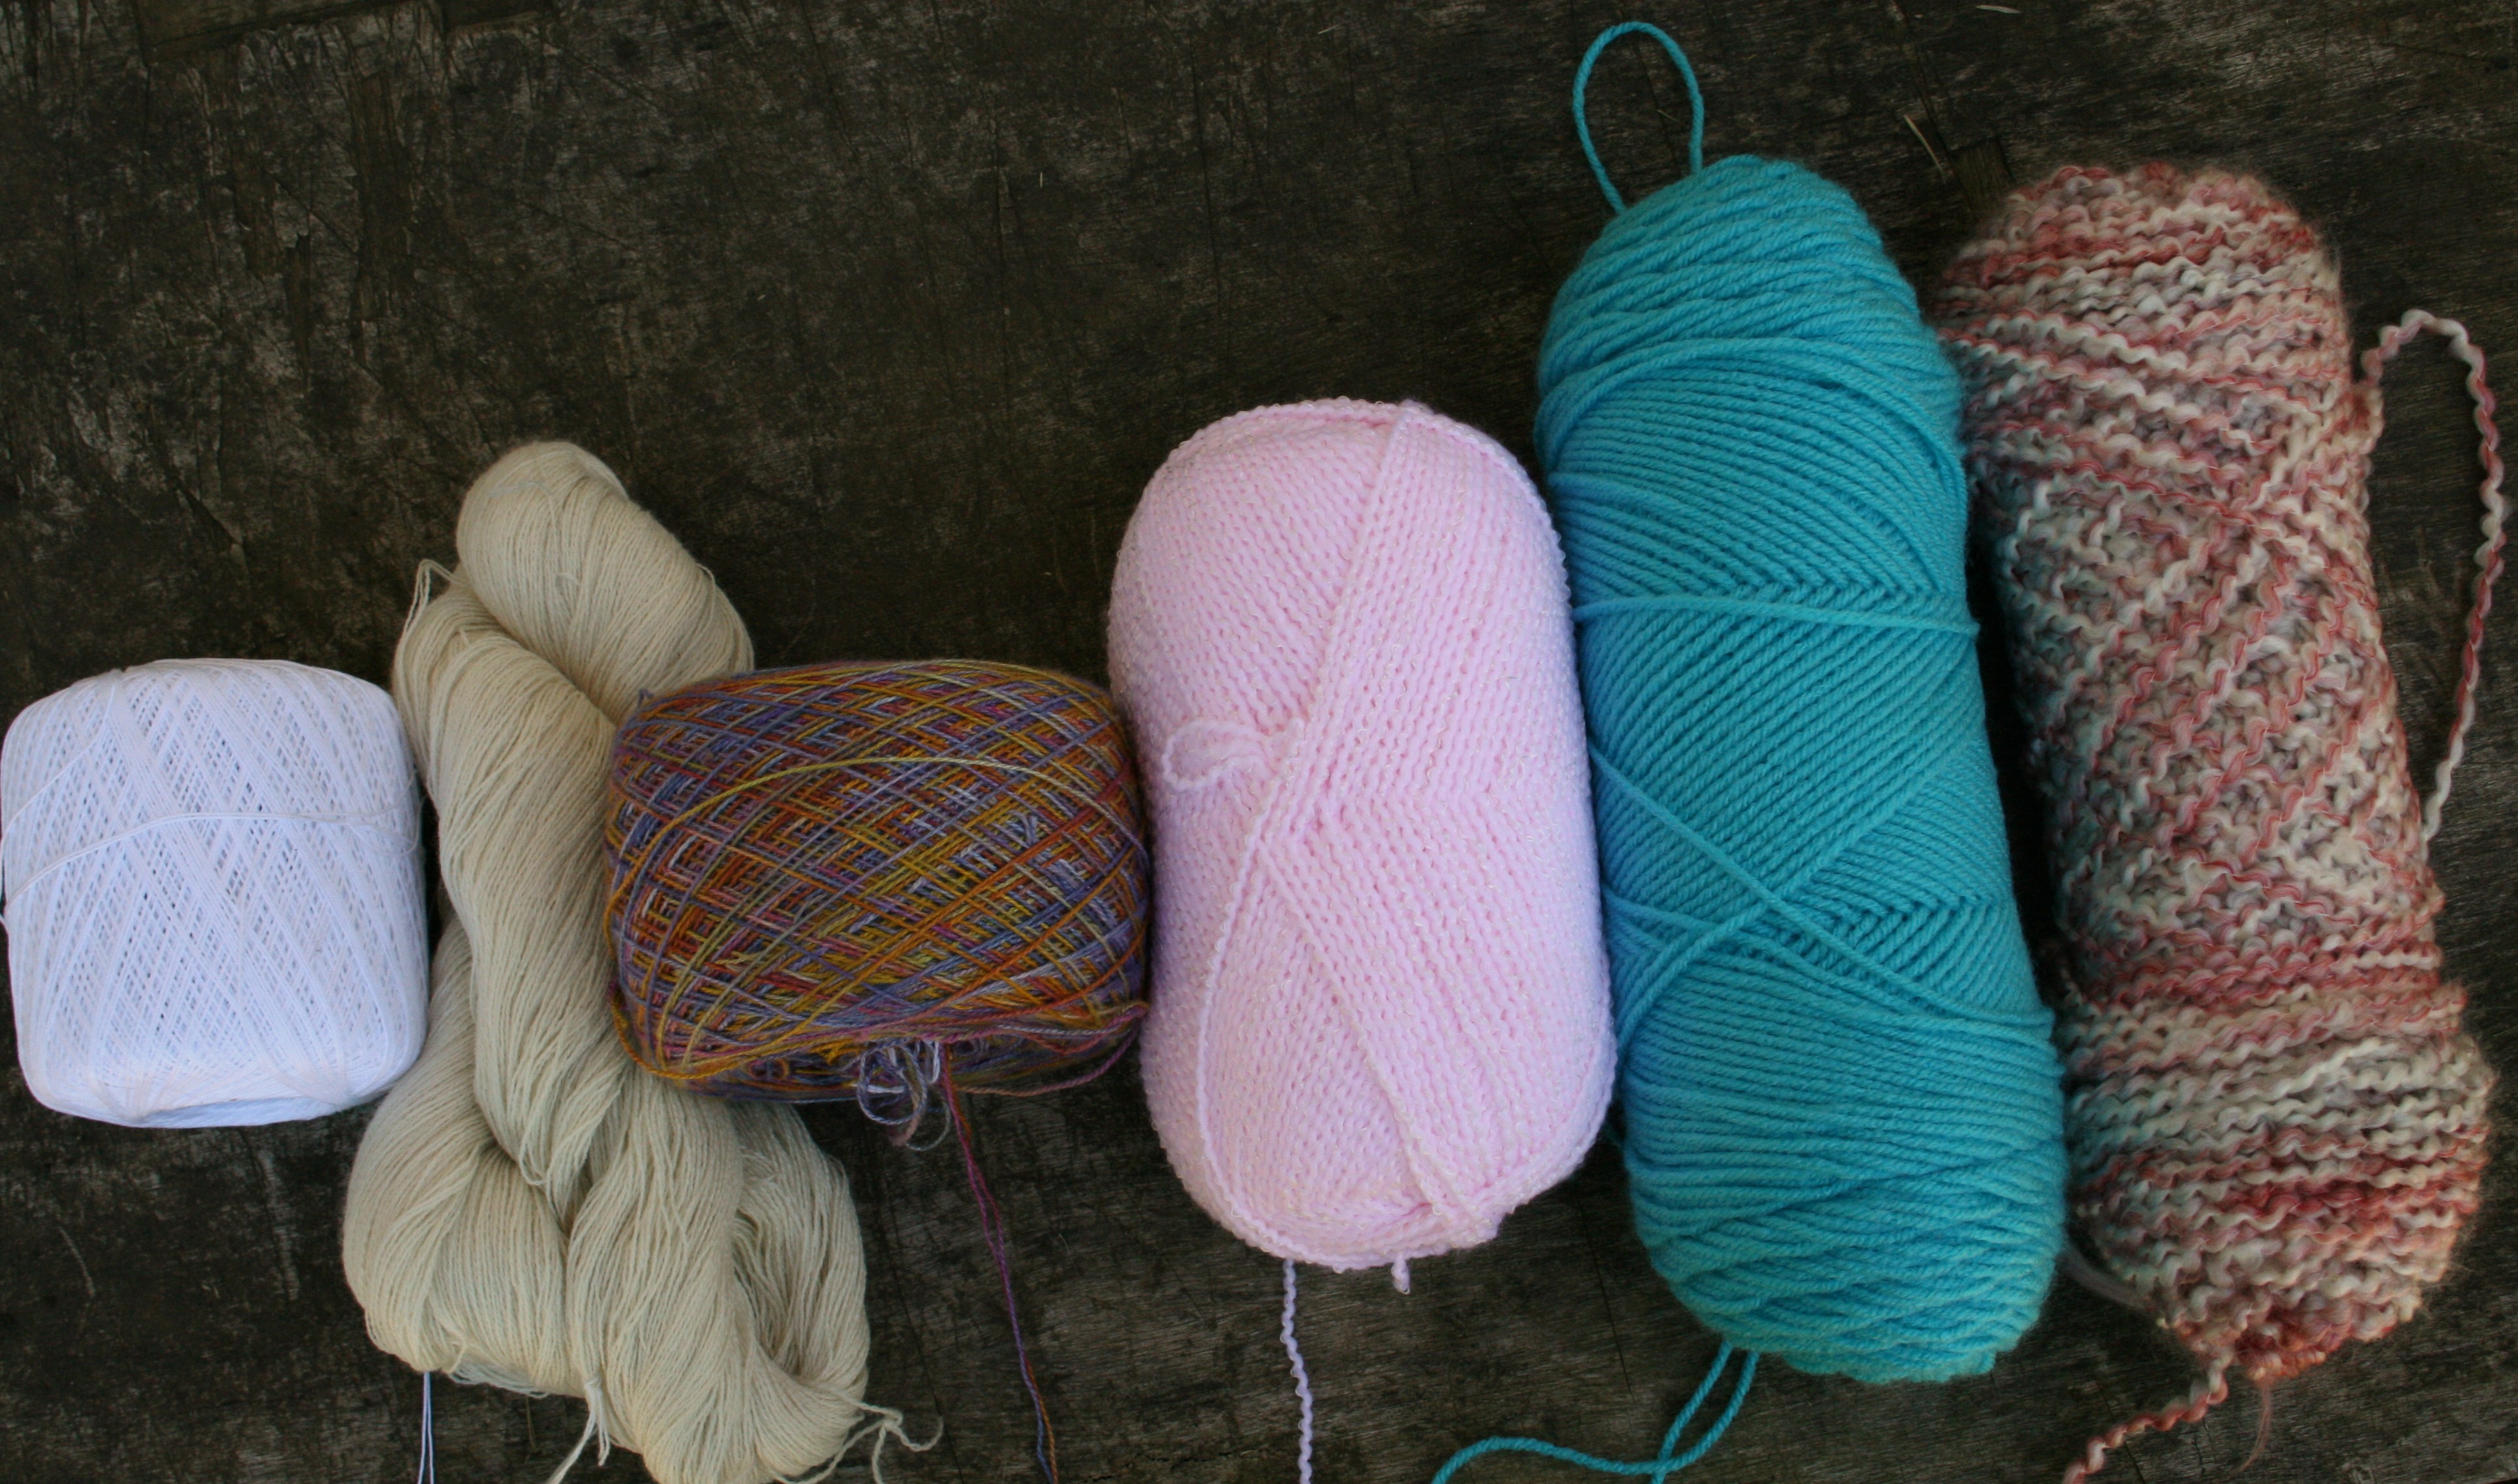
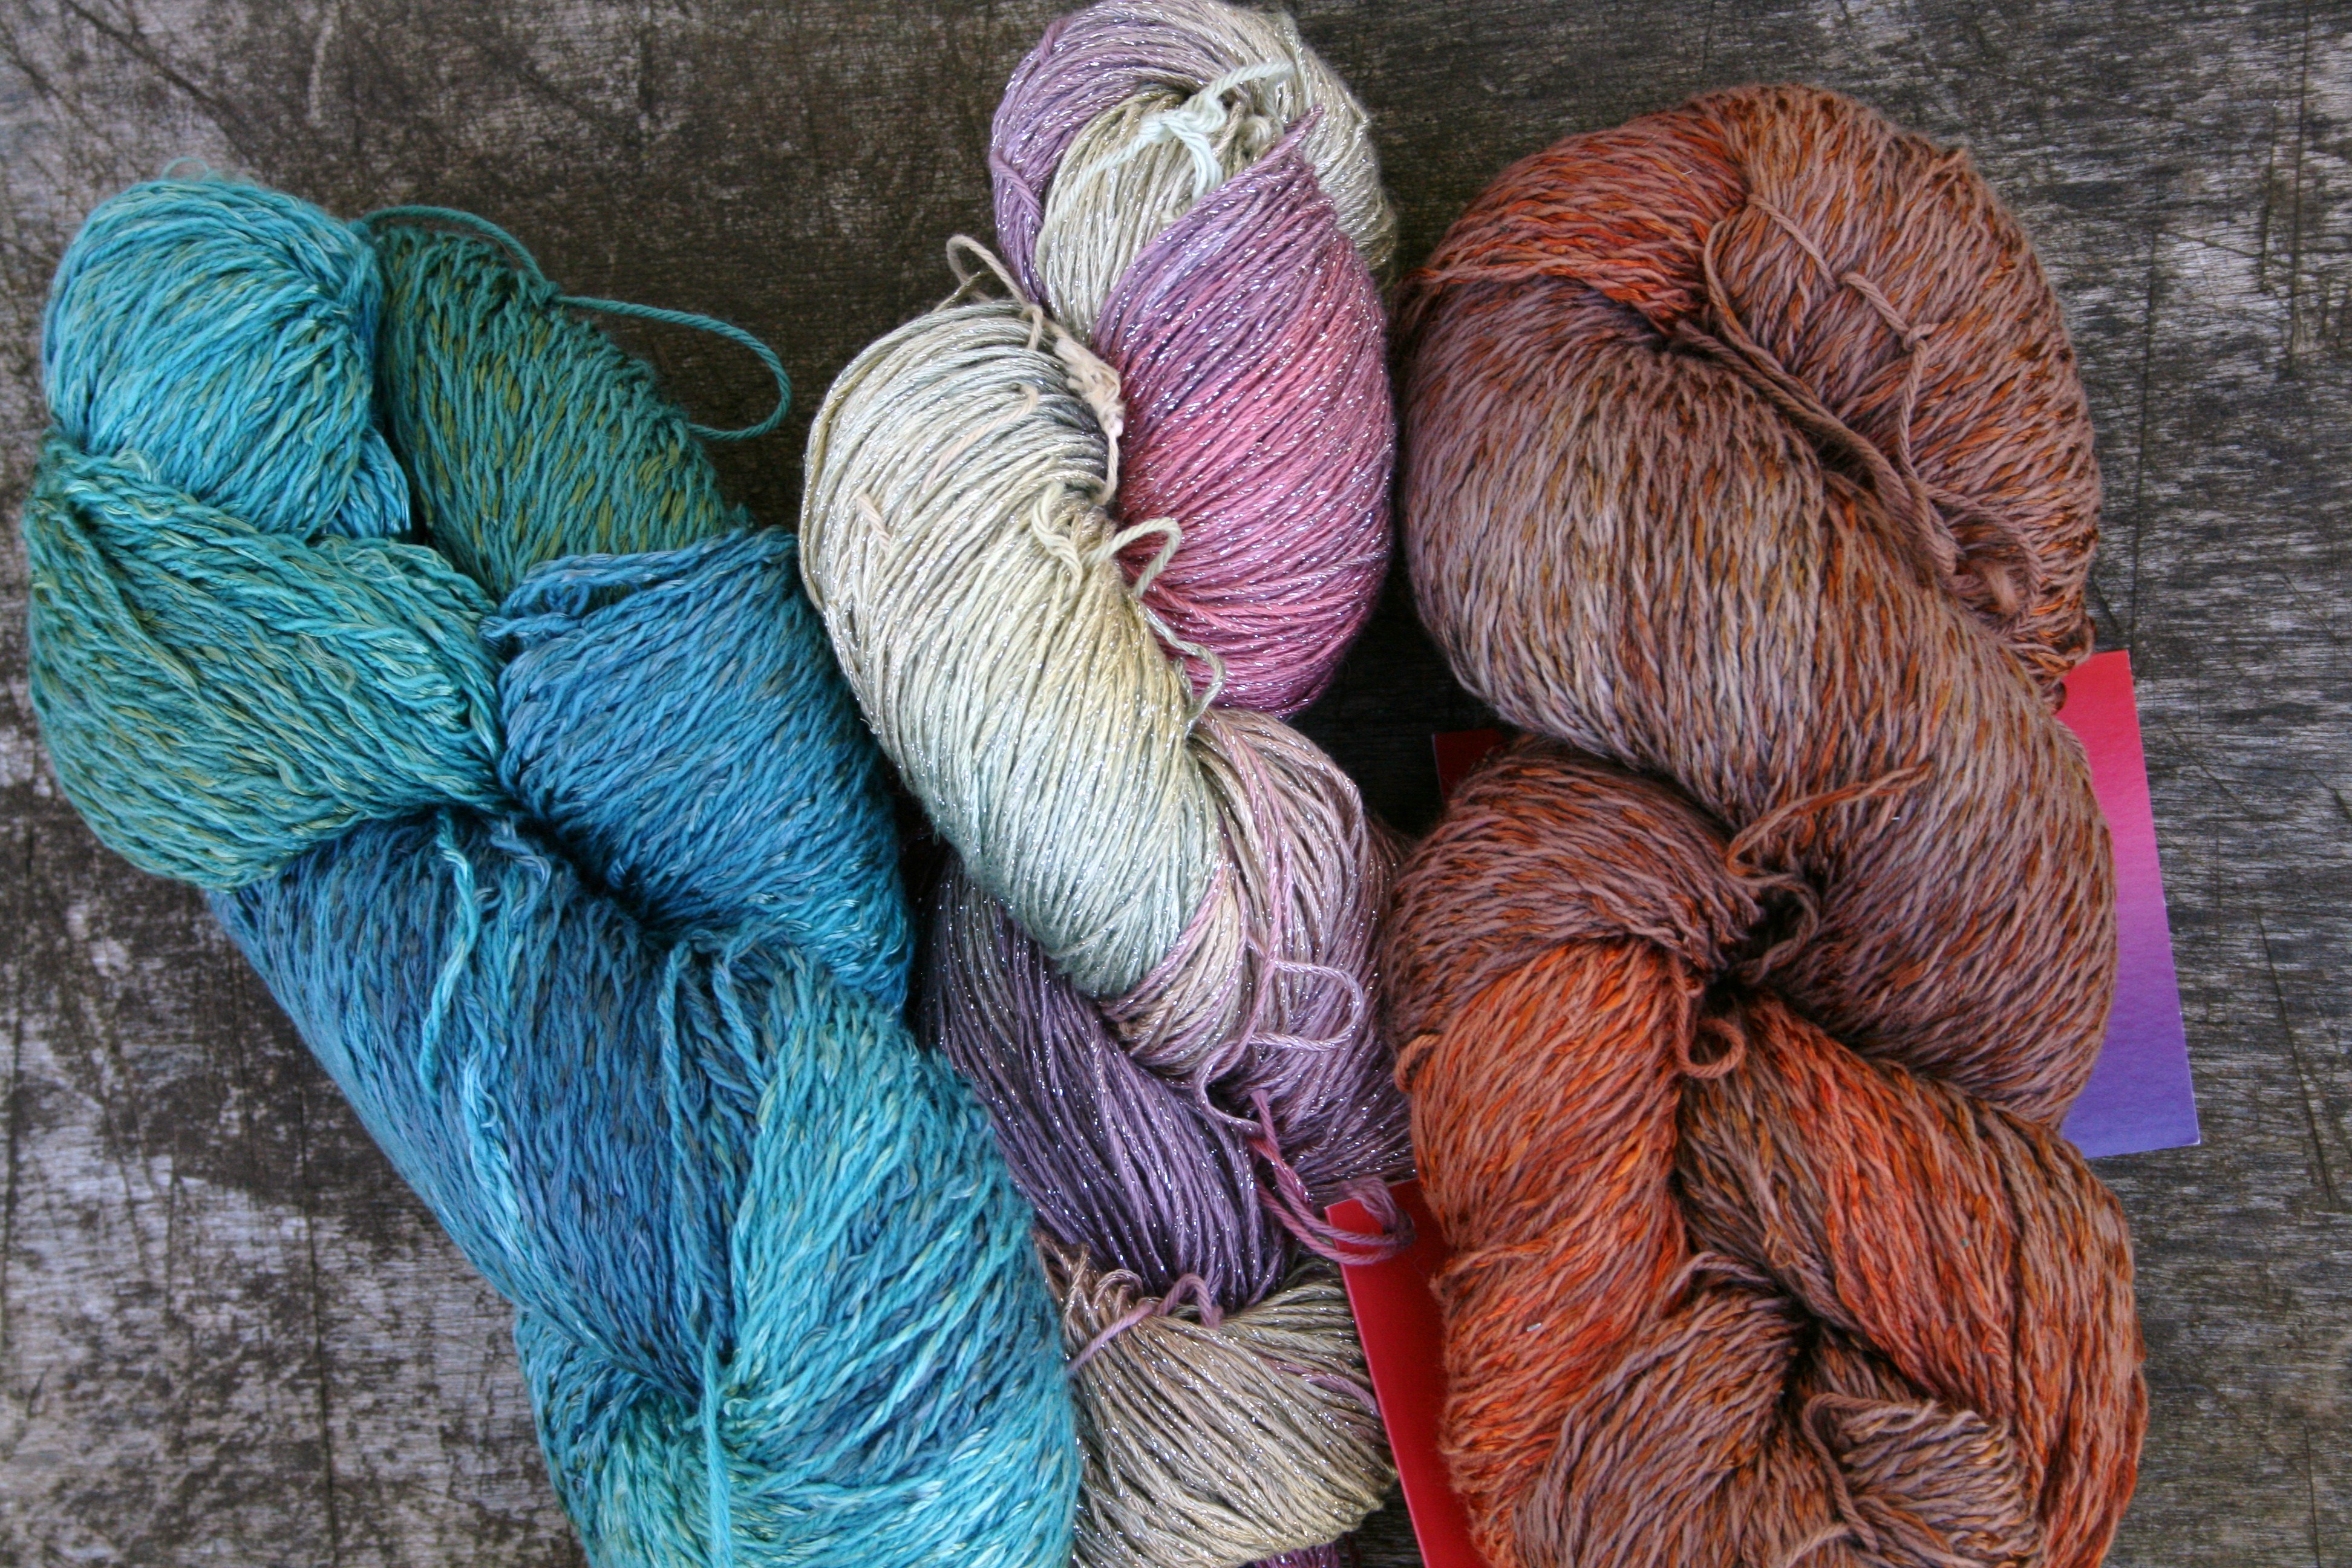
Yarn weights, 0 to 5- lace to chunky

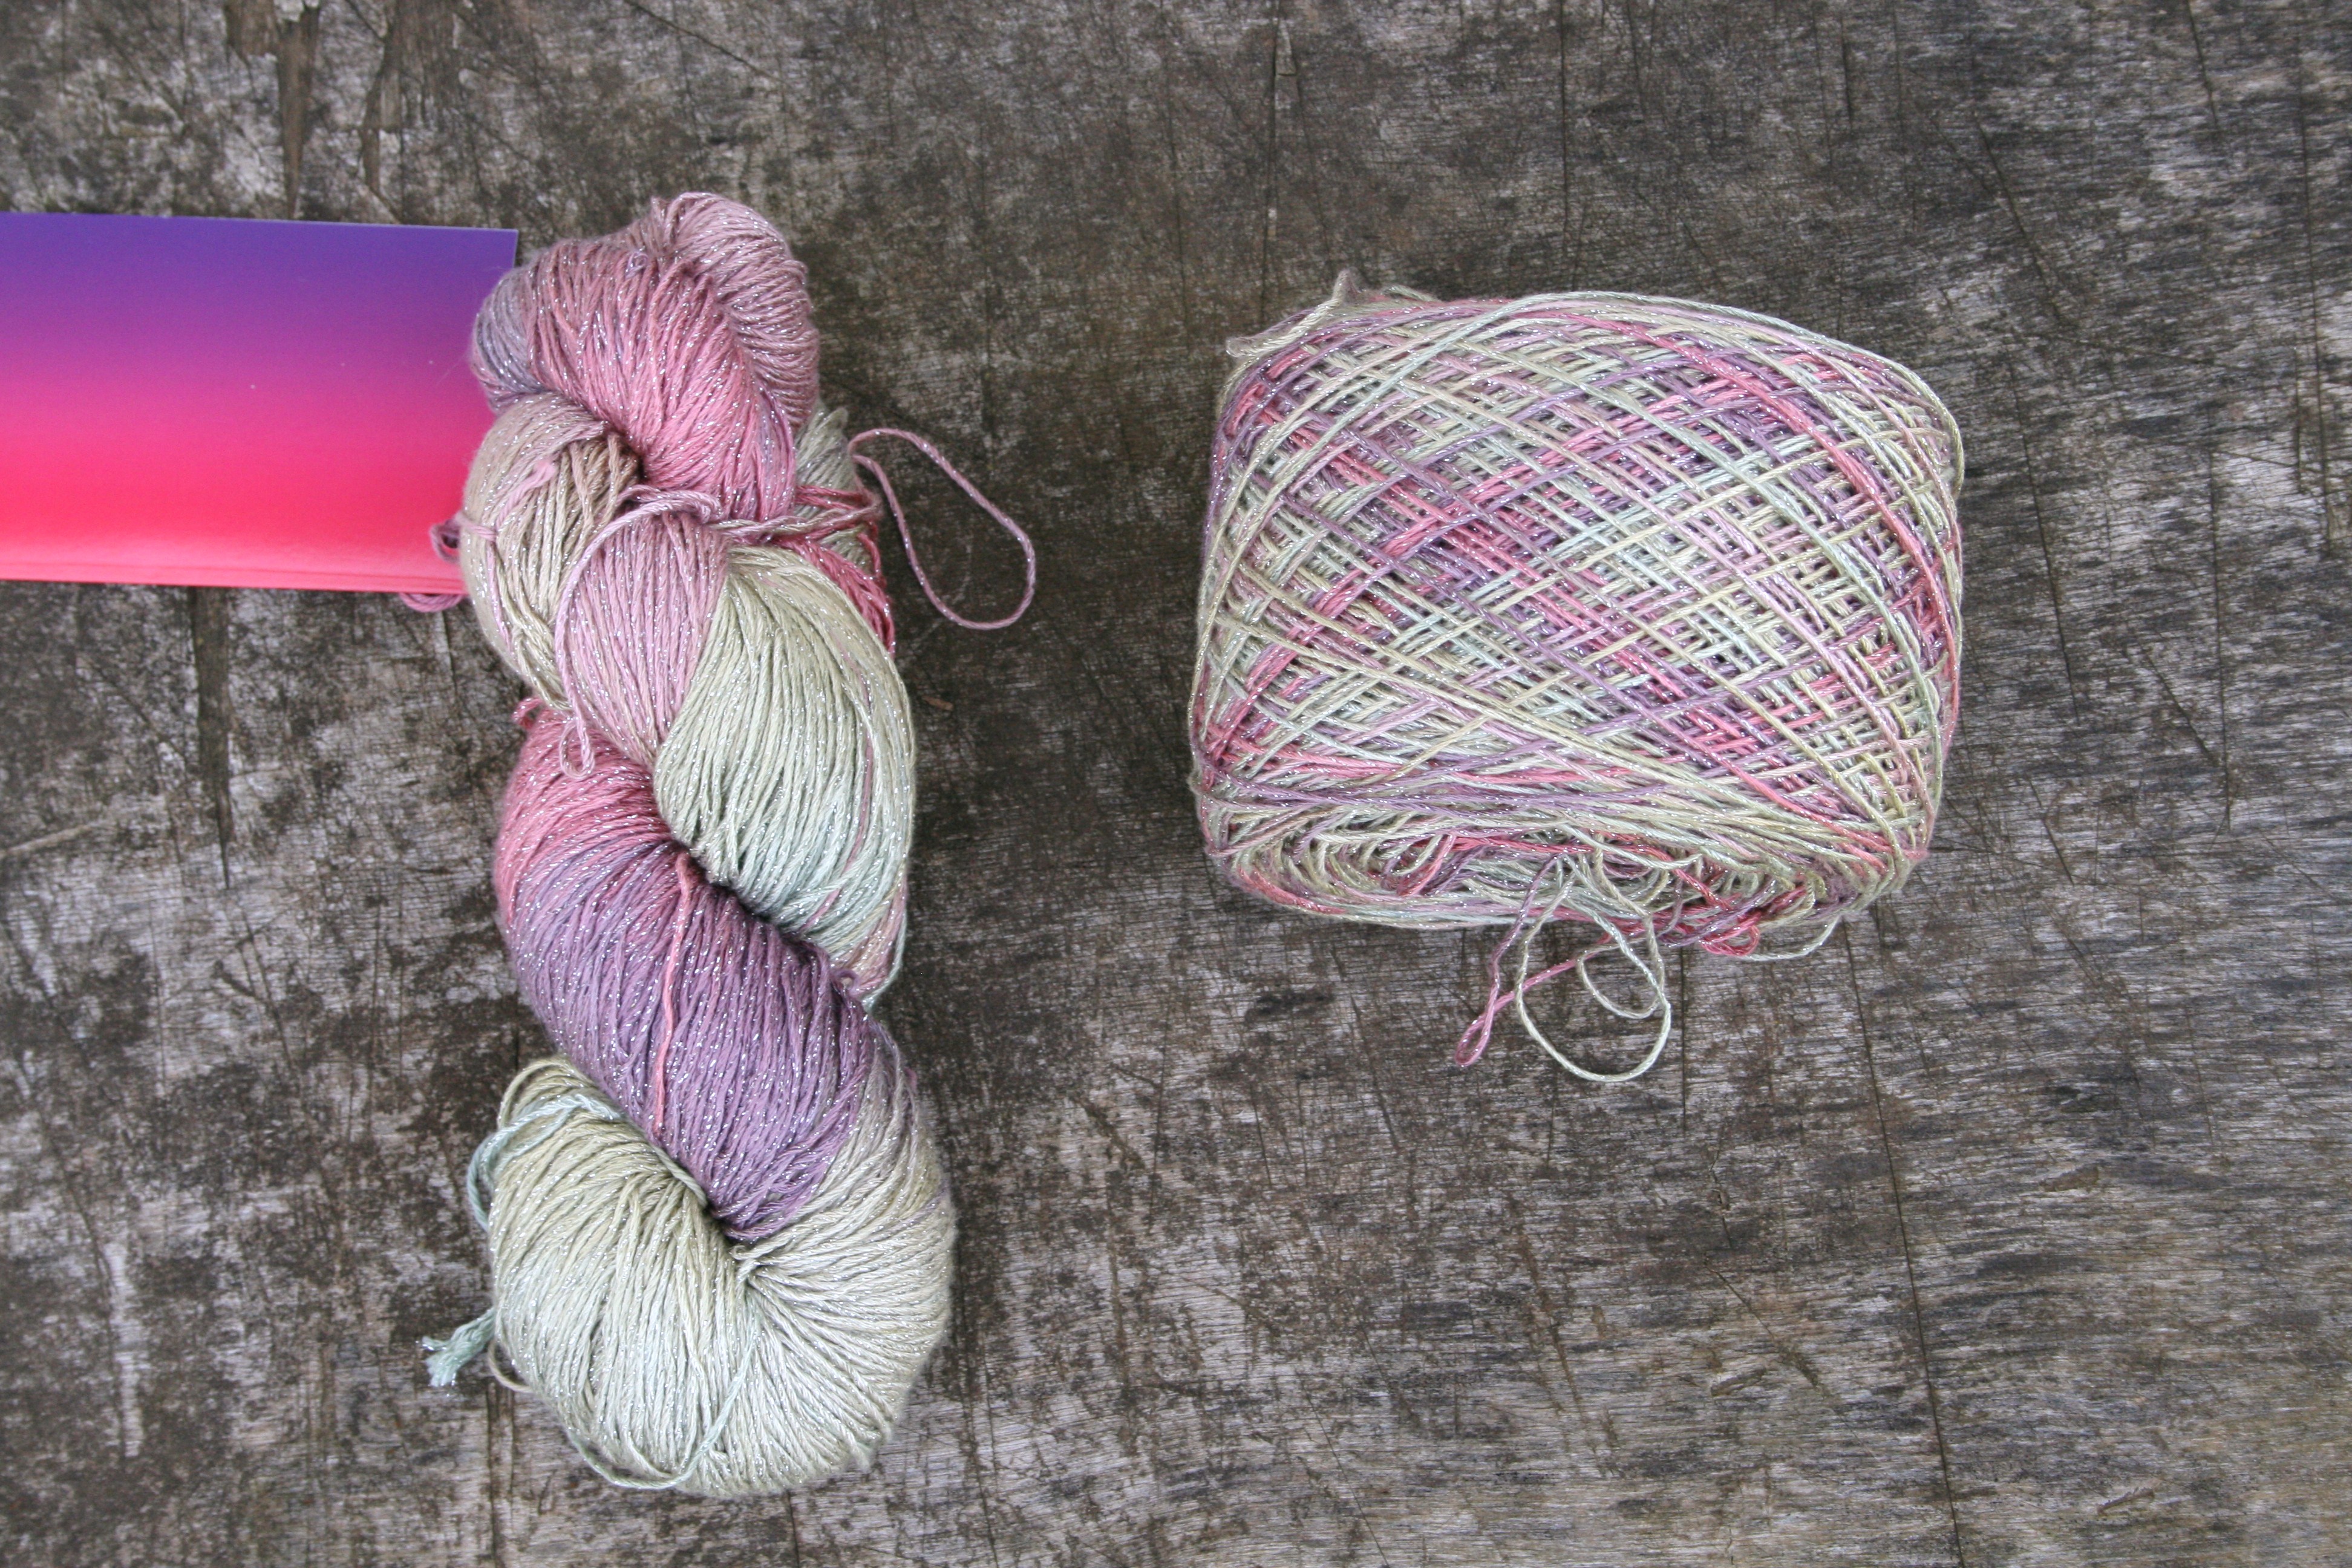
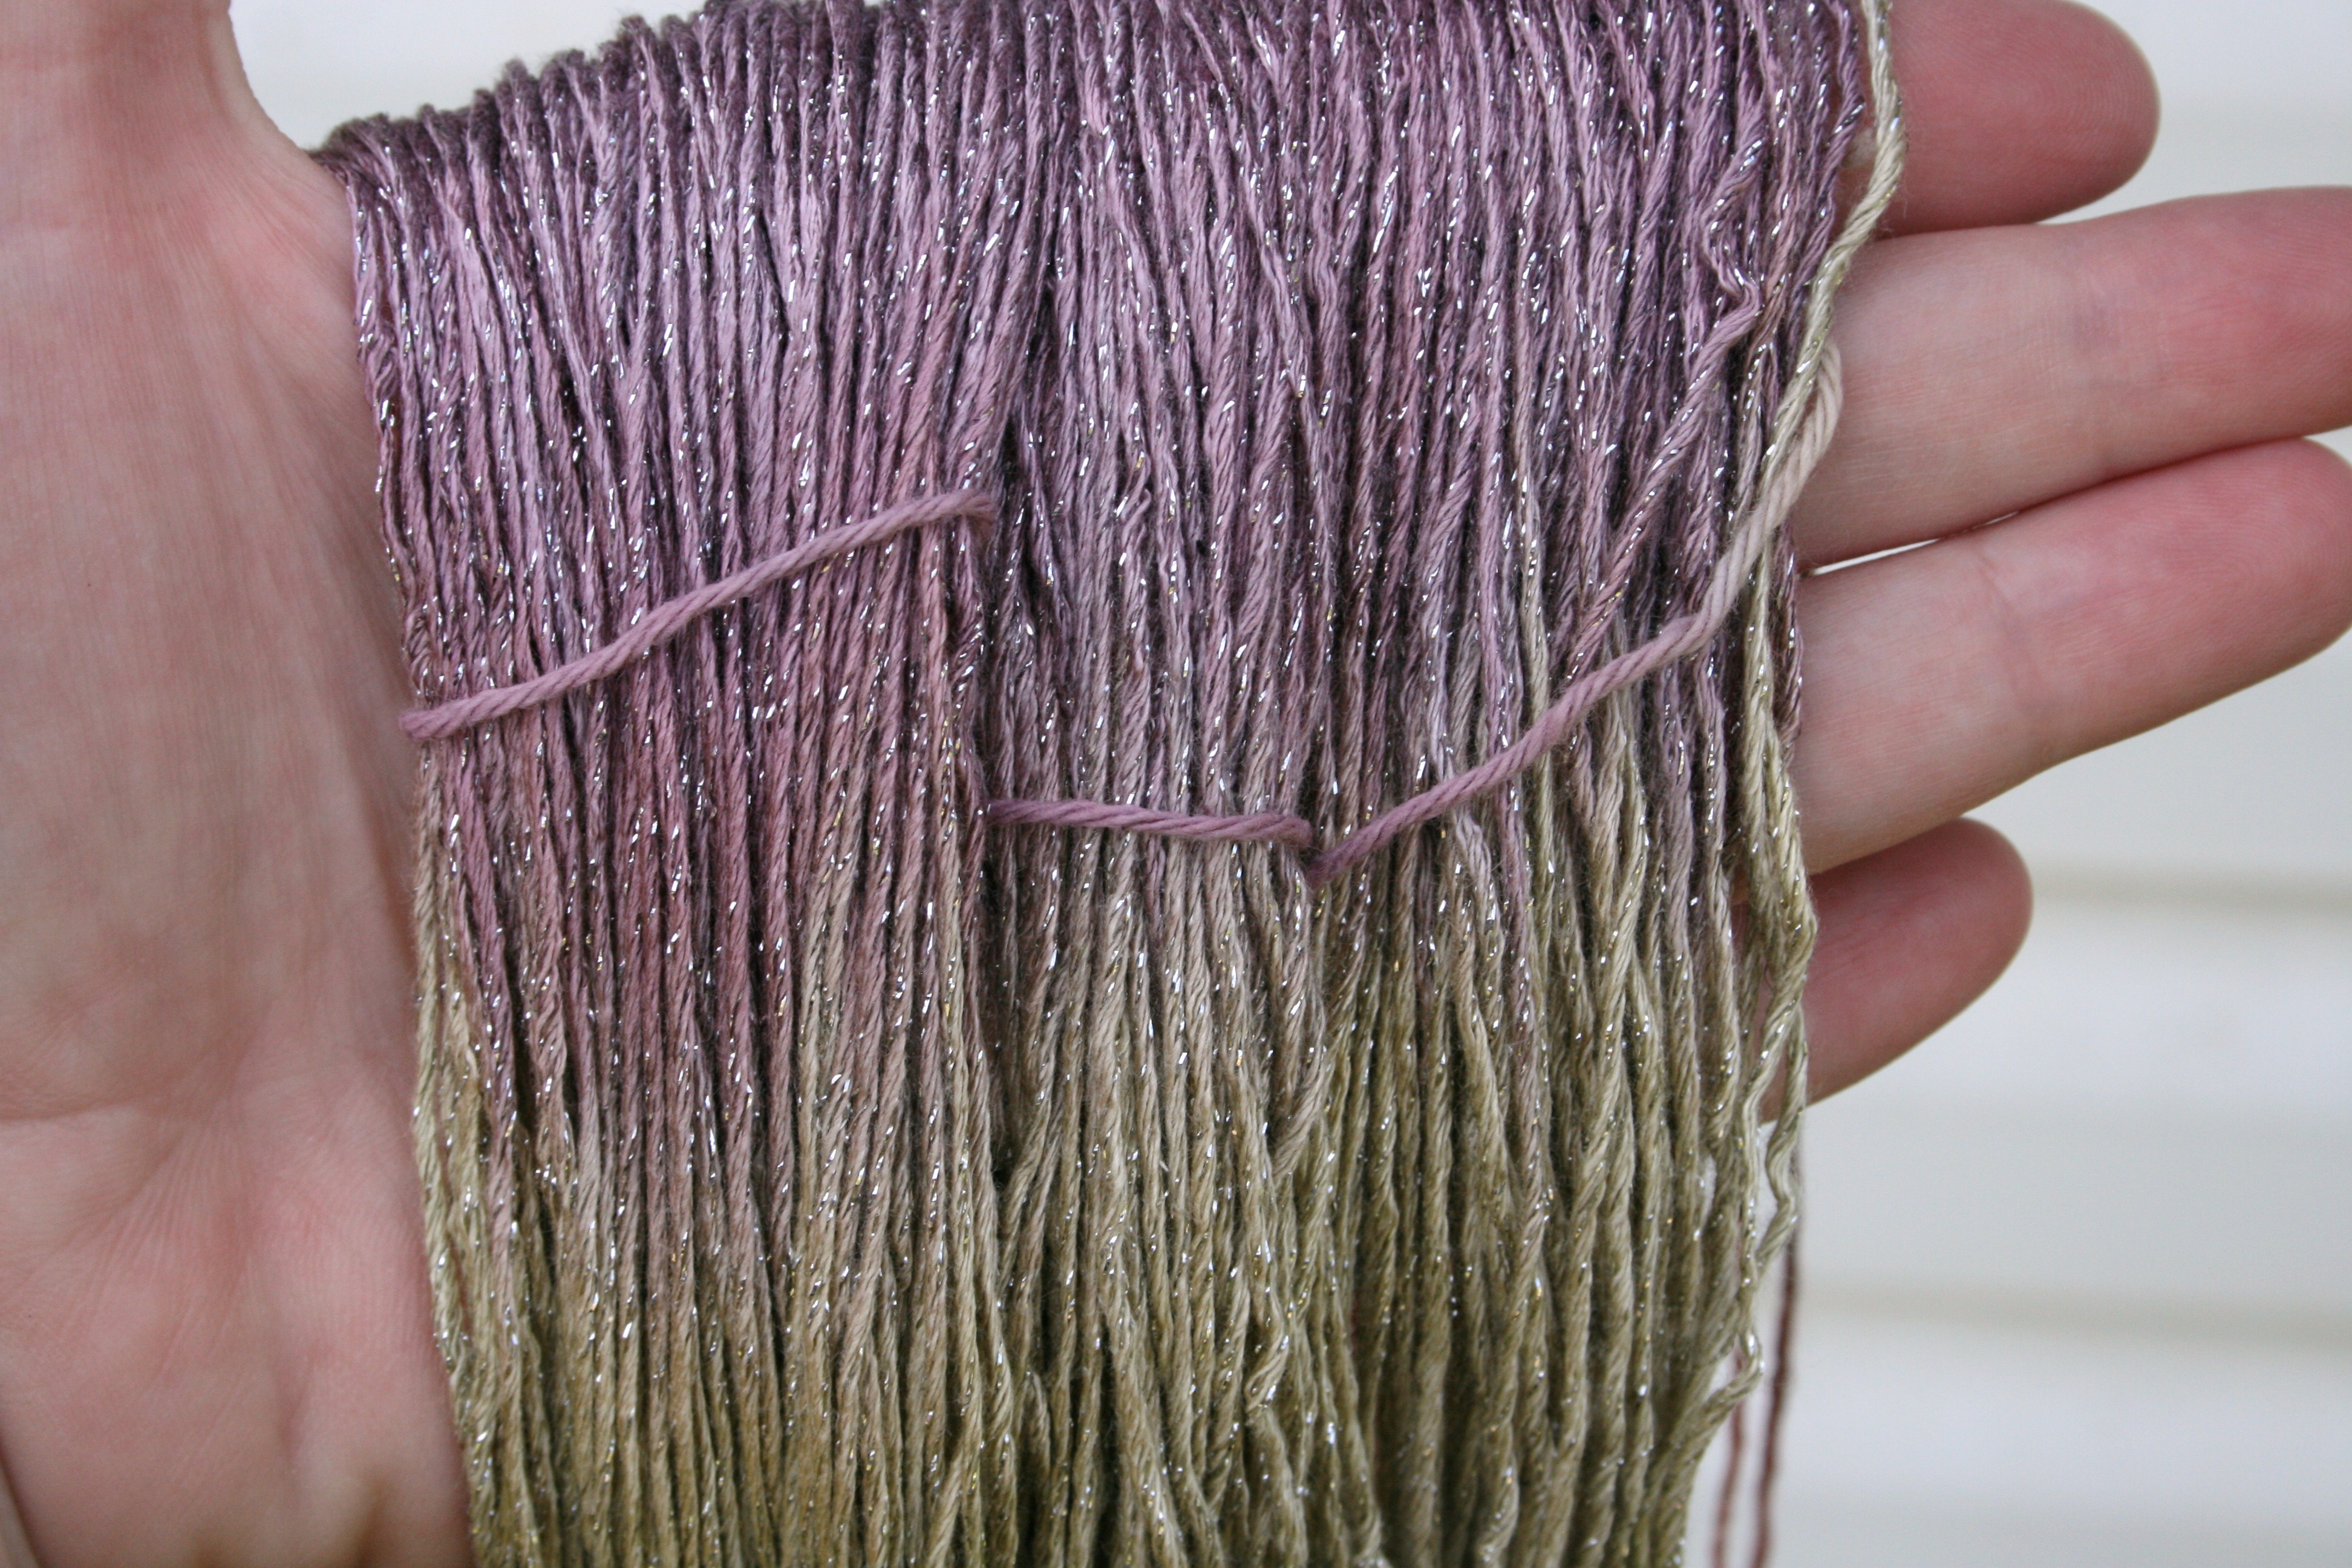
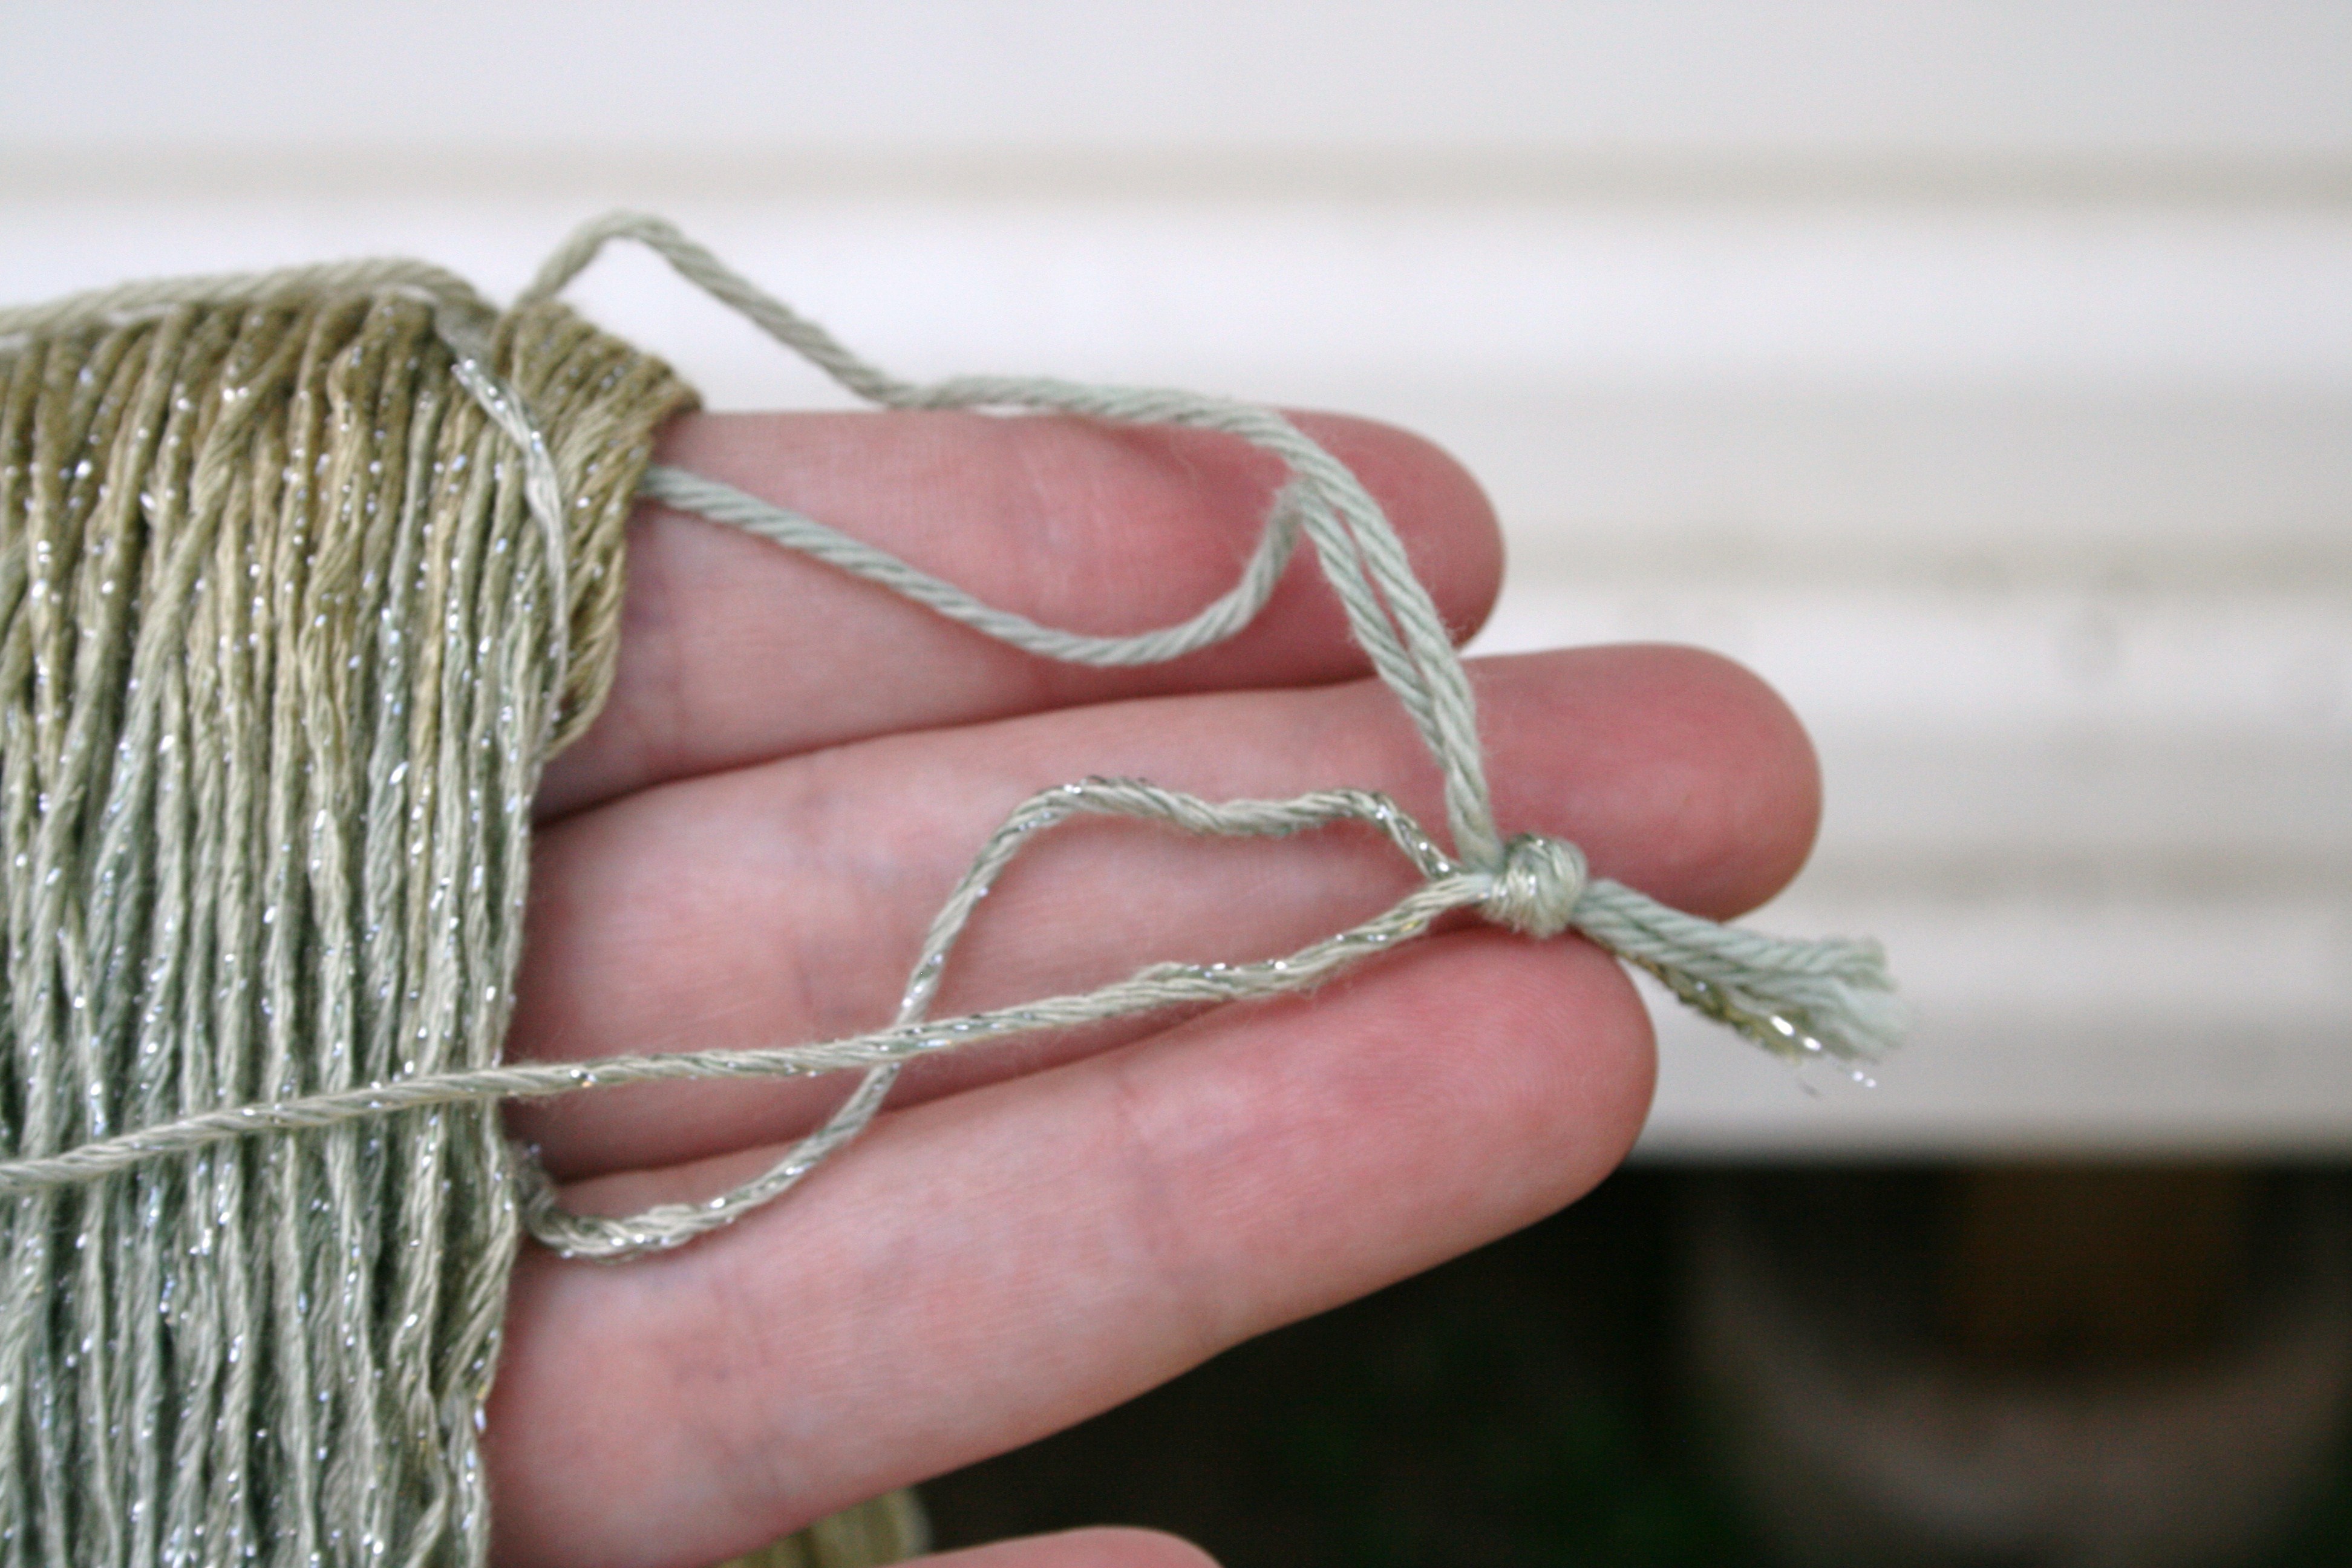
This may work great when shopping at larger box stores, but not always helpful when buying yarn at some smaller local yarn shops or at larger events such as Stitches, or other venues that small distributors, yarn dyers, and personal yarn spinners. As they may not use the numbering standards and instead using the other terms; Fingering, Sock, Baby, Sport, DK, Light Worsted, Worsted, Afghan, Chunky, Craft, and Bulky (At these large events I don’t usually see a lot of the heavier weights, often it is hard to find what I would consider a worsted weight yarn), or simply give you a number of stitches per inch on certain size knitting needles (not really helpful to someone that doesn’t knit). Often they are using another unit of measure to determine the classification they are using such as the number of twists per inch in a length of yarn (the higher the number of twists the finer the yarn), or the numbers of yards in a pound (meter in a gram) (the more yards per pound the finer the yarn), so don’t feel intimidated to ask. I know you may feel like you will get slighted as a crocheter by knitters for asking, but if the booth wants to really sell yarn they will treat you like the valued customer you are.

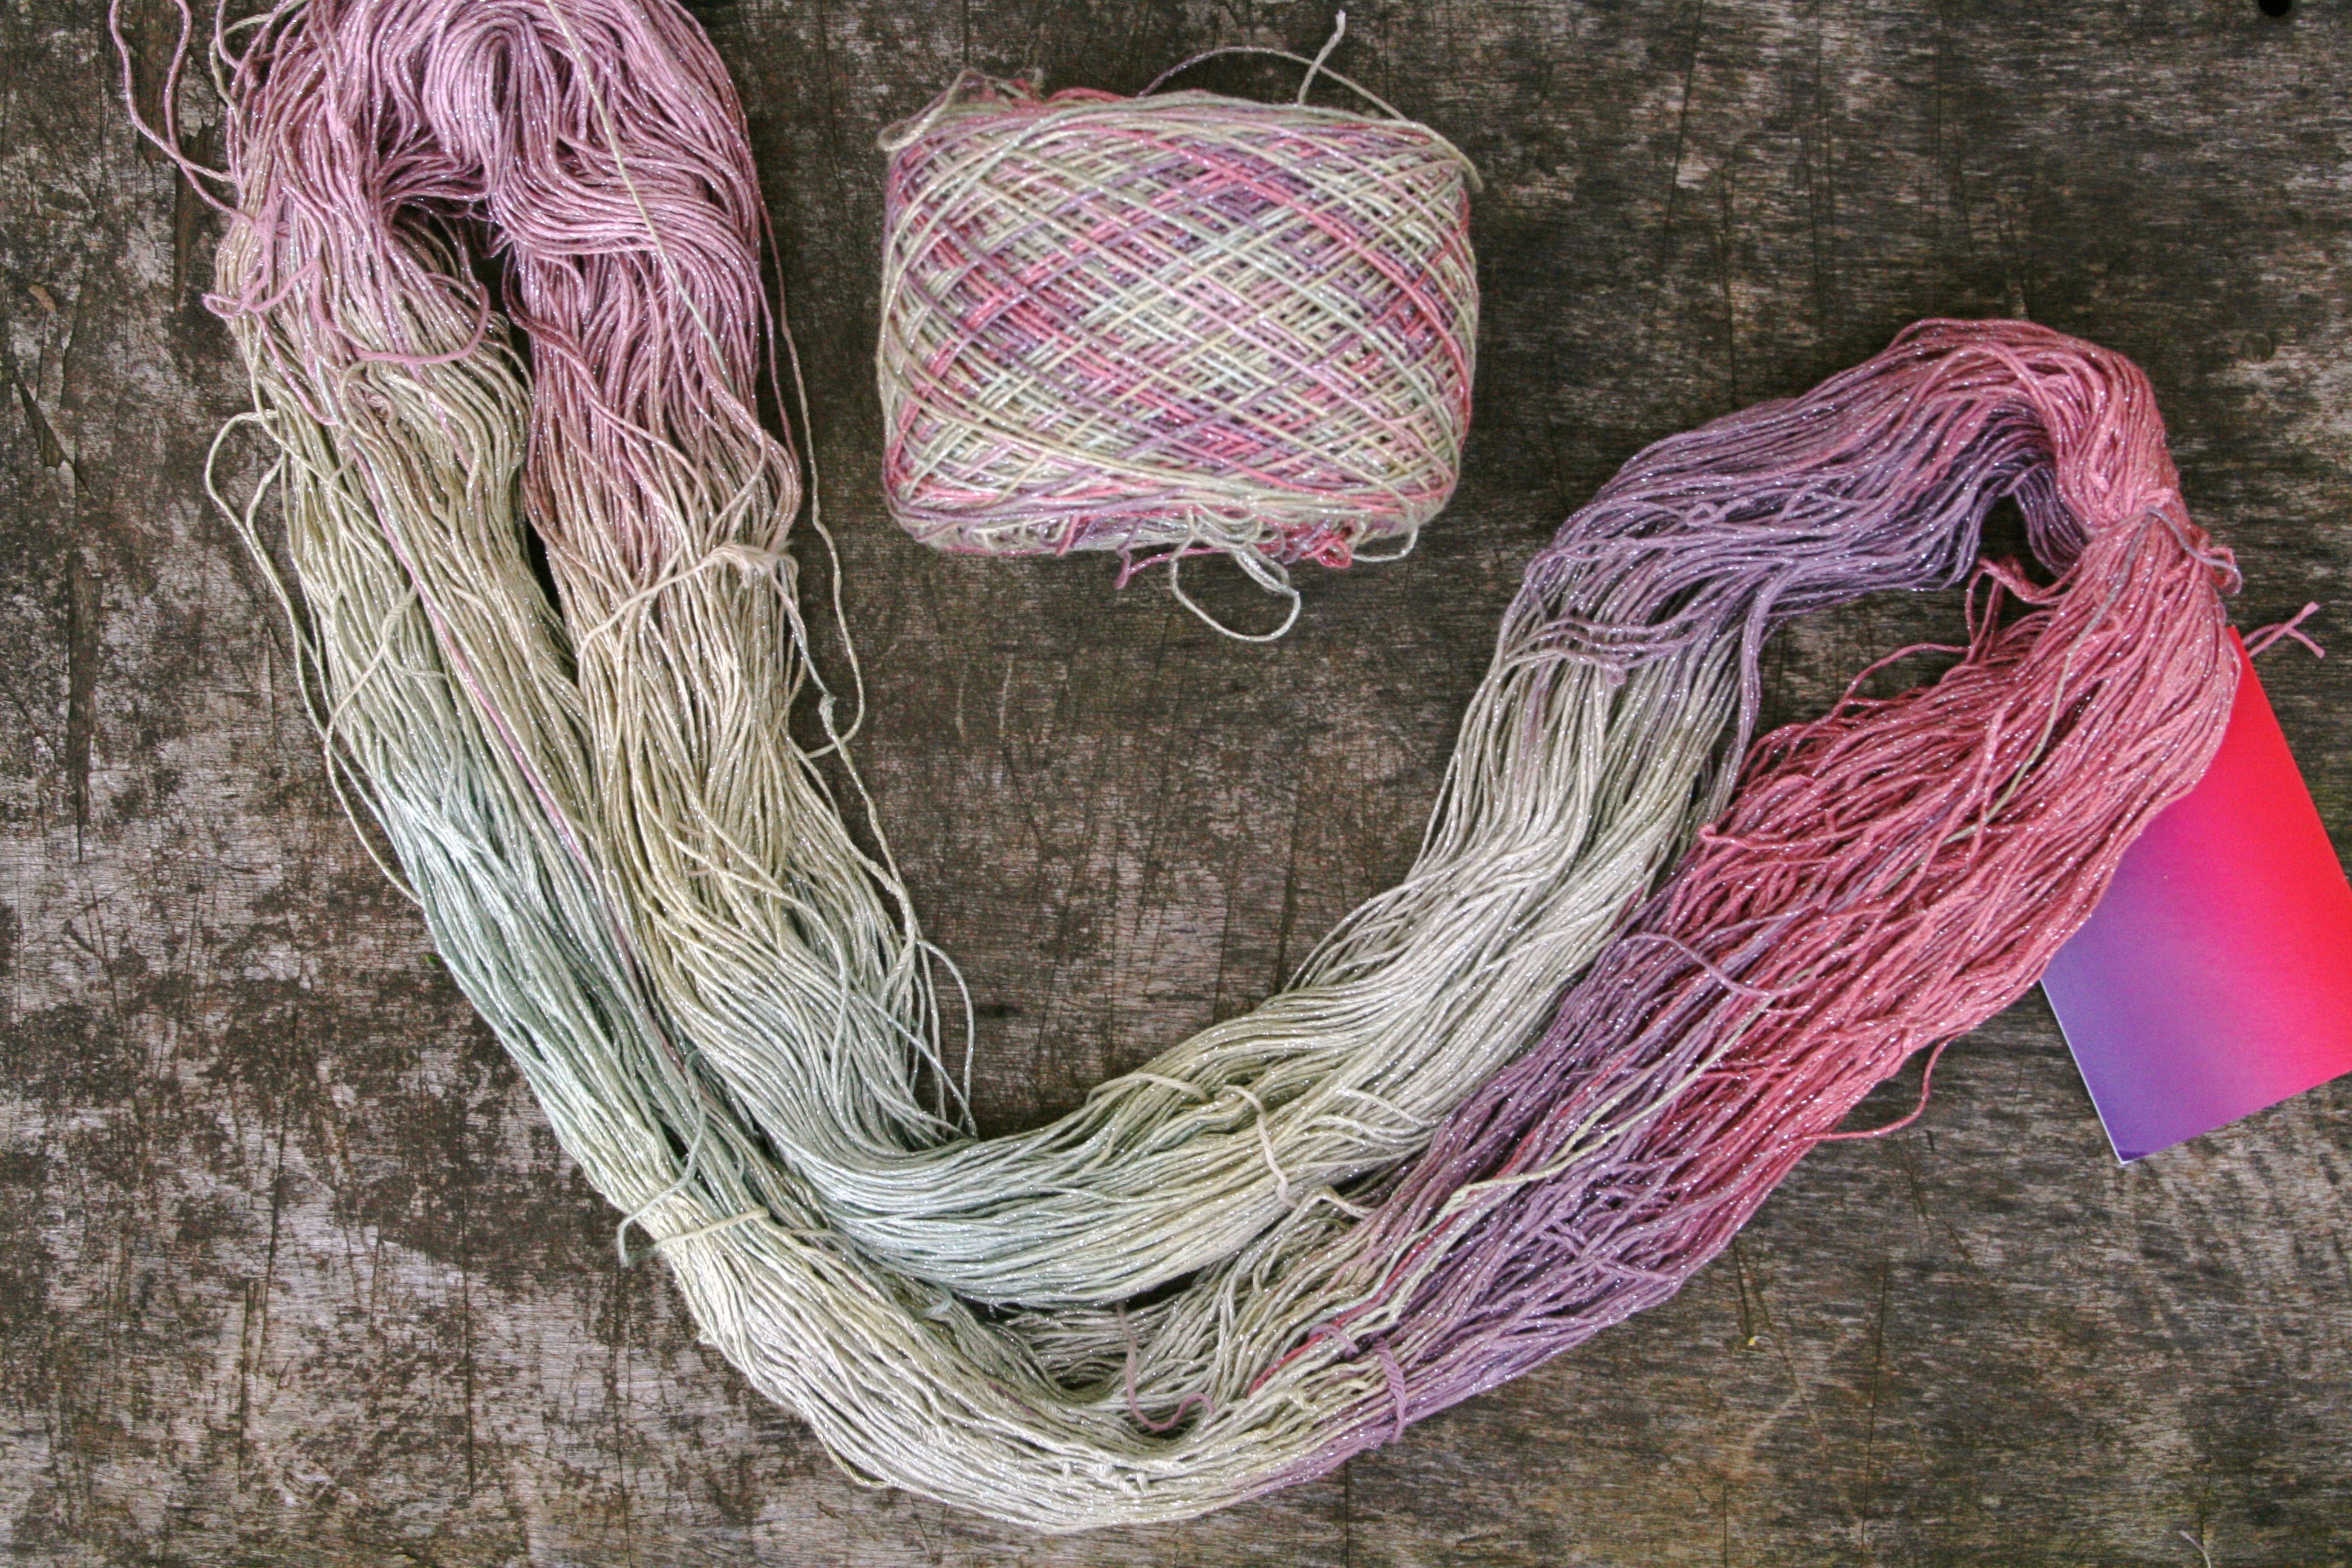
A good mental note to use is to close your eyes and gently rub the strand between your fingers, let your instincts guide you. If you were to pick up a hook just now and crochet what hook would you pick up? The other thing to remember, if you like it, you’ll find a way to make it work. The classification only really matters if you want to substitute exactly, but let’s be honest, how often do we follow the patterns to a tee? (Okay I am not suggesting that you can substitute a lace weight yarn for a chunky and not have some difficulties, but reasonably close and you can make it work). We know how to make it our own, even if we don’t feel confident in explaining this. Everyone crochets differently, no two are the same, and we always make adjustments for this, yarn weight is no different.

If you have not left your comfort zone and have not attempted some finer weight yarns, what are you waiting for? There are many beautiful yarns that are finer weight that you can have fun with, remember ultimately you set the rules.

Learning the Hank (part 2)

IMG_5567

From Hank to Skein with Blue Heron Yarn

ScannedImage(Continued from April 19, 2013 post)…. So I finally understood the concept of a “hank” of yarn, it was intimidating me anymore, so I would simply open it up and roll it into a ball. Needless to say I had nothing but a tangled mess. After freeing the large loop of yarn so that I could unravel it from its loop, I learned that it might want to hold on to its neighboring thread and pull it ever so slightly with it, moving the neighboring thread from where it sat and growing into a mess. It took me hours, and even then I needed to cut places and work out knots that I had made, it was a head ache.  But this time I was not discouraged. I would find a process.

IMG_5571

Let the loops hang smooth, note the yarn that ties to loop together, keeping the yarn in place

IMG_5572

Usually you can fond the end of the yarn tied to a securing yarn, that holds the loops in place

After playing with some hanks I learned that before I even attempt “freeing” the yarn from its loop, I need to make sure the loop in smooth, not twisted, that it hangs nicely, this will definitely help. Then I need to place it somewhere that will keep it taunt, maybe over the back of a dining room chair, but I found that I use my knees (not very lady like but effective for me), I have learned that some people use a swift…it reminds my somewhat of an umbrella, but without the fabric. This expands to the size of the loop and will spin as you pull the yarn). Then I can make it into a ball, if I want to pull it from the center I can wrap the yarn around an empty toilet paper tube (open finishing wrapping it up, I can pull out the tube and use the middle yarn, as pulling from  the center means that the yarn will not be rolling around that floor as I use), or there is a little tool called a ball winder that you place your yarn end in and crank its little handle and it spins it onto a tube, to make a pull from the center skein.

So why is yarn placed in hanks? Is it just to give you a little more of a work out, or to look fancy? Actually it does have a reason; it places less stress on the yarn. By being in that “loop” it helps the yarn to relax, where putting it into a skein or ball, the yarn in the center is under more pressure than the yarn on the outer edges. This may be a subtle thing, but it can make a difference in some processes and designs, especially if the fiber has been sitting in this more pressured state of a long while. If you think about it you have seen this with a basic skein of yarn, when you pull out the beginning end, it is often bent of twisted, where by the end of the skein it is smooth. So if you want to use a hank of yarn, only wind it into a ball when you feel you are ready to use it. It will help the yarn stay consistent.

IMG_5569

Notice the hank lets you view the length of the color change, whereas the skein it is less obvious

One of the benefits I have found with a hank, it a purely visible one, I can open a hank to a loop, and see how long the color changes are for a variegated yarn. This is something that I have difficulty seeing in a skein.

I have found that I am not alone in my understanding of this “yarn hank”, so I hope my experience will help you take the step to attempt a yarn you may not have used because of the way it is presented. (And I have since learned, that most of these Local Yarn Stores, will in fact wind the hank into a skein for you at purchase, you just have to ask). Take the plunge and explore the world of fiber!

Learning the Hank (part 1)

IMG_5574

Hanks of Blue Heron Yarn

ScannedImageOne of the more challenging aspects of my personality is not really wanting to admit that I don’t know something, especially when everyone around me thinks it is common knowledge…This probably caused me not to grow in my crochet abilities as early as I could have, but everything happens in their own time for a reason. So what is this that held me back? Understanding a hank of yarn.

I grew up with all of the big name yarns, I can probably identify most blind folded, and just by feel. These are the yarns that are most readily available for me to buy in larger stores, with a nice skein that has a “pull the yarn from the center” string. They are easy to use, come in a wide arrange of colors, and there are many projects to tackle with them.

IMG_5577

Hanks of Lisa Souza Knitwear and Dyeworks Yarn

I had received a gift certificate to a Local Yarn Store (a.k.a. LYS), and went to check it out. There were rows and shelves of yarn, but none of it looked familiar. There were no pretty little ends to pull from a center, most of these were twisted up and I couldn’t even see an end. People in the store were talking about how nice is or that fiber was, and I began to feel a little uncomfortable. People were purchasing these little twisted “hanks” and were talking about the projects they had in mind for them. I did not have the inclination to ask “how do you use that”, since I didn’t want to appear ignorant. So I found a little ball that looked somewhat familiar, though smaller then I was use to , but it appeared to have a pull from the center once I got the band off it (since the band was run through the center and kind of attached like a hand cuff to the round). I purchased my little ball feeling like a complete novice. I thought about those hanks when I got home, but for the life of me could not figure out how they were to be used.

The little ball I got was nice, and introduced me to new fiber types, but it wasn’t until I took my first spinning lesson that I got a firm understanding of the hank, and the light bulb when off in my head. Basically the hank is a twisted loop if yarn, like I saw in old movies where little Jimmy was having a circle of yarn held between his arms as grandma as knitting. These hanks just have to be opened up, find and end and roll into a ball! Then I could use it fine. Damn my pride for standing in the way for so long… or was it that easy….(to be continued…..the saga continues on the next post)

Easter Egg Dyes Yarns

ScannedImageEaster is right around the corner, and one of the things I look forward to is the egg dye. No, not necessarily dying eggs, but the dye for the eggs. I have enjoyed using this in the past to dye fibers. I thought I’d give you my process so you could attempt it for yourself, and if you have already colored eggs in your home, not to worry, Monday you’ll find coloring kits discounted at stores.

IMG_5553

Skeins before and after dying

I prep an area just I am planning a bunch of kindergarteners to be dying eggs, I usually work outside, It is fun to do some dying but I don’t really care for stains all over the house.

First you have to have an item to dye. This could be yarn, and finished crocheted/knitted item, or un-spun wool, the only catch; it has to be a protein based fiber/material. Basically yarns are made out of 3 main fibers: protein, cellulose, and mineral….animal, plant, and other (think acrylic). This process only works for fibers that are from animals, such as wool, silk, alpaca, etc. You need to get this fiber wet, and soak it in a mixture of 1 Tablespoon 56% citric acid crystals and 1 quart warm water. (56% citric acid crystals sounds more impressive then it is, this is an edible ingredient that with help the dyes adhere to the fiber and be permanent, it can be found on-line at places like www.nuts.com, (or just search for citric acid crystals) or at compounding pharmacies, in a pinch you can even use Kool-Aid powder, just remember Kool-Aid has a dye already in it, and this will set to the fiber as well). The fiber will float on top of the water; you can gently coax it down and give it a squeeze to work our air bubbles.

Next, you make up the dye as directed on the package (color eggs if you want; there is still plenty of dye left over). Dip your item into the dyes, or use a brush and paint the dyes onto your item (I’ve even had fun attempting tie dye). Consider “over dying” by placing a dyed spot in another dye, or using a fiber that isn’t white…browns and grays can dye up in really pretty ways. Once you have the color where you want it, let it sit for a minute or two (this gives you time to clean up some of the mess), then go ahead and rinse out the item until the water runs clear. Let it dry and enjoy. I have found this a personal way to play with color, allowing myself to have the ultimate control over my creation in a way that has no surprises except for what my imagination can create.

IMG_5544

Dipping treated silk skein in Easter egg dye

IMG_5551

Skein waiting for a rinse after being dipped into dyes

Gauge…sometimes referred to as a four letter word. But can open your world.

There is a dirty little secret that I believe more people practice then care to admit…that we don’t make a gauge swatch. I’ll be honest, I didn’t make any gauge swatches for years, I always skipped that part of the pattern, treating it as a page break at best. Yarn is precious, why would I waste any on a little scrap that has no purpose but measuring? Okay so there is my confession, but I’m sure I’m not alone. However none of us bring it up in public, because you do get the looks like “you’re crazy” (usually from knitters that have realized the importance years earlier).

So really what is gauge? Well the simple definition is that it is the number of stitches by number of rows to fit a desired measurement (like, 16 dc /6 rows=4”). Sounds simple, so why avoid it?…crochet is my relaxation, gauge sounds like work. In some respects it is, but in reality, I don’t think gauge is really important in a lot of crochet projects. Granted checking gauge on a couple of afghans in the past might have meant that I wouldn’t have over/under purchased enough yarn, but overall it has been pretty negligible.

I can see where in some fitted garments that it can make a difference, being an inch or so too big or too small in the bust could make or break a sweater. This becomes especially true when substituting a different yarn then the one the pattern was written for. Worsted weight is not the same in every yarn, granted they maybe ball park, but not exact (same is true for all the over weights as well) and the makeup of the yarn makes a difference. An acrylic yarn and a wool yarn of the same weight can behave differently in their appearance and effect the gauge as well. Not to mention everyone has a different hand in crocheting and no one does it the same as you.

Own your gauge, by understanding how it relates to you pattern you can determine if you really want to worry about it, if my scarf is a little wider then indented it isn’t going to be the end of the world, but I would want to know if that coat that I’m making for my 6 year old would come out fitting my 9 year old instead.

If you don’t want to do a gauge swatch, but want to make that sweater, start with a sleeve and when you get a little ways into it, stop and measure (Note: for a more true measurement don’t measure from edge to edge, but from a stitch to a stitch, or row to a row, in a larger worked piece, the turns of the edges can distort the measurement).

Measure in the body of the work and in the middle of the tape measure for more accuracy

Measure in the body of the work and in the middle of the tape measure for more accuracy


Since I am bearing my sole in this confession of a dirty little secret, I should admit, I will check gauge as I am working along on a garment to make sure it will fit in the end. So I don’t make with gauge swatch, but I check in my work before I finish (I’d rather rip out 2 days worth of work then make and measure a gauge swatch over  20 minutes…it is a pride thing), at least I know what I should do. Don’t let it intimidate you, it is a challenge that you can overcome and master. It is amazing how once we attempt and feel comfortable with a new skill/trait/challenge that the world opens up a little, and more things are possible.

If you want to understand more of the math behind the gauge, check out my tutorial, under the tab above.