Thoughts on the Thermal Stitch…

ScannedImage
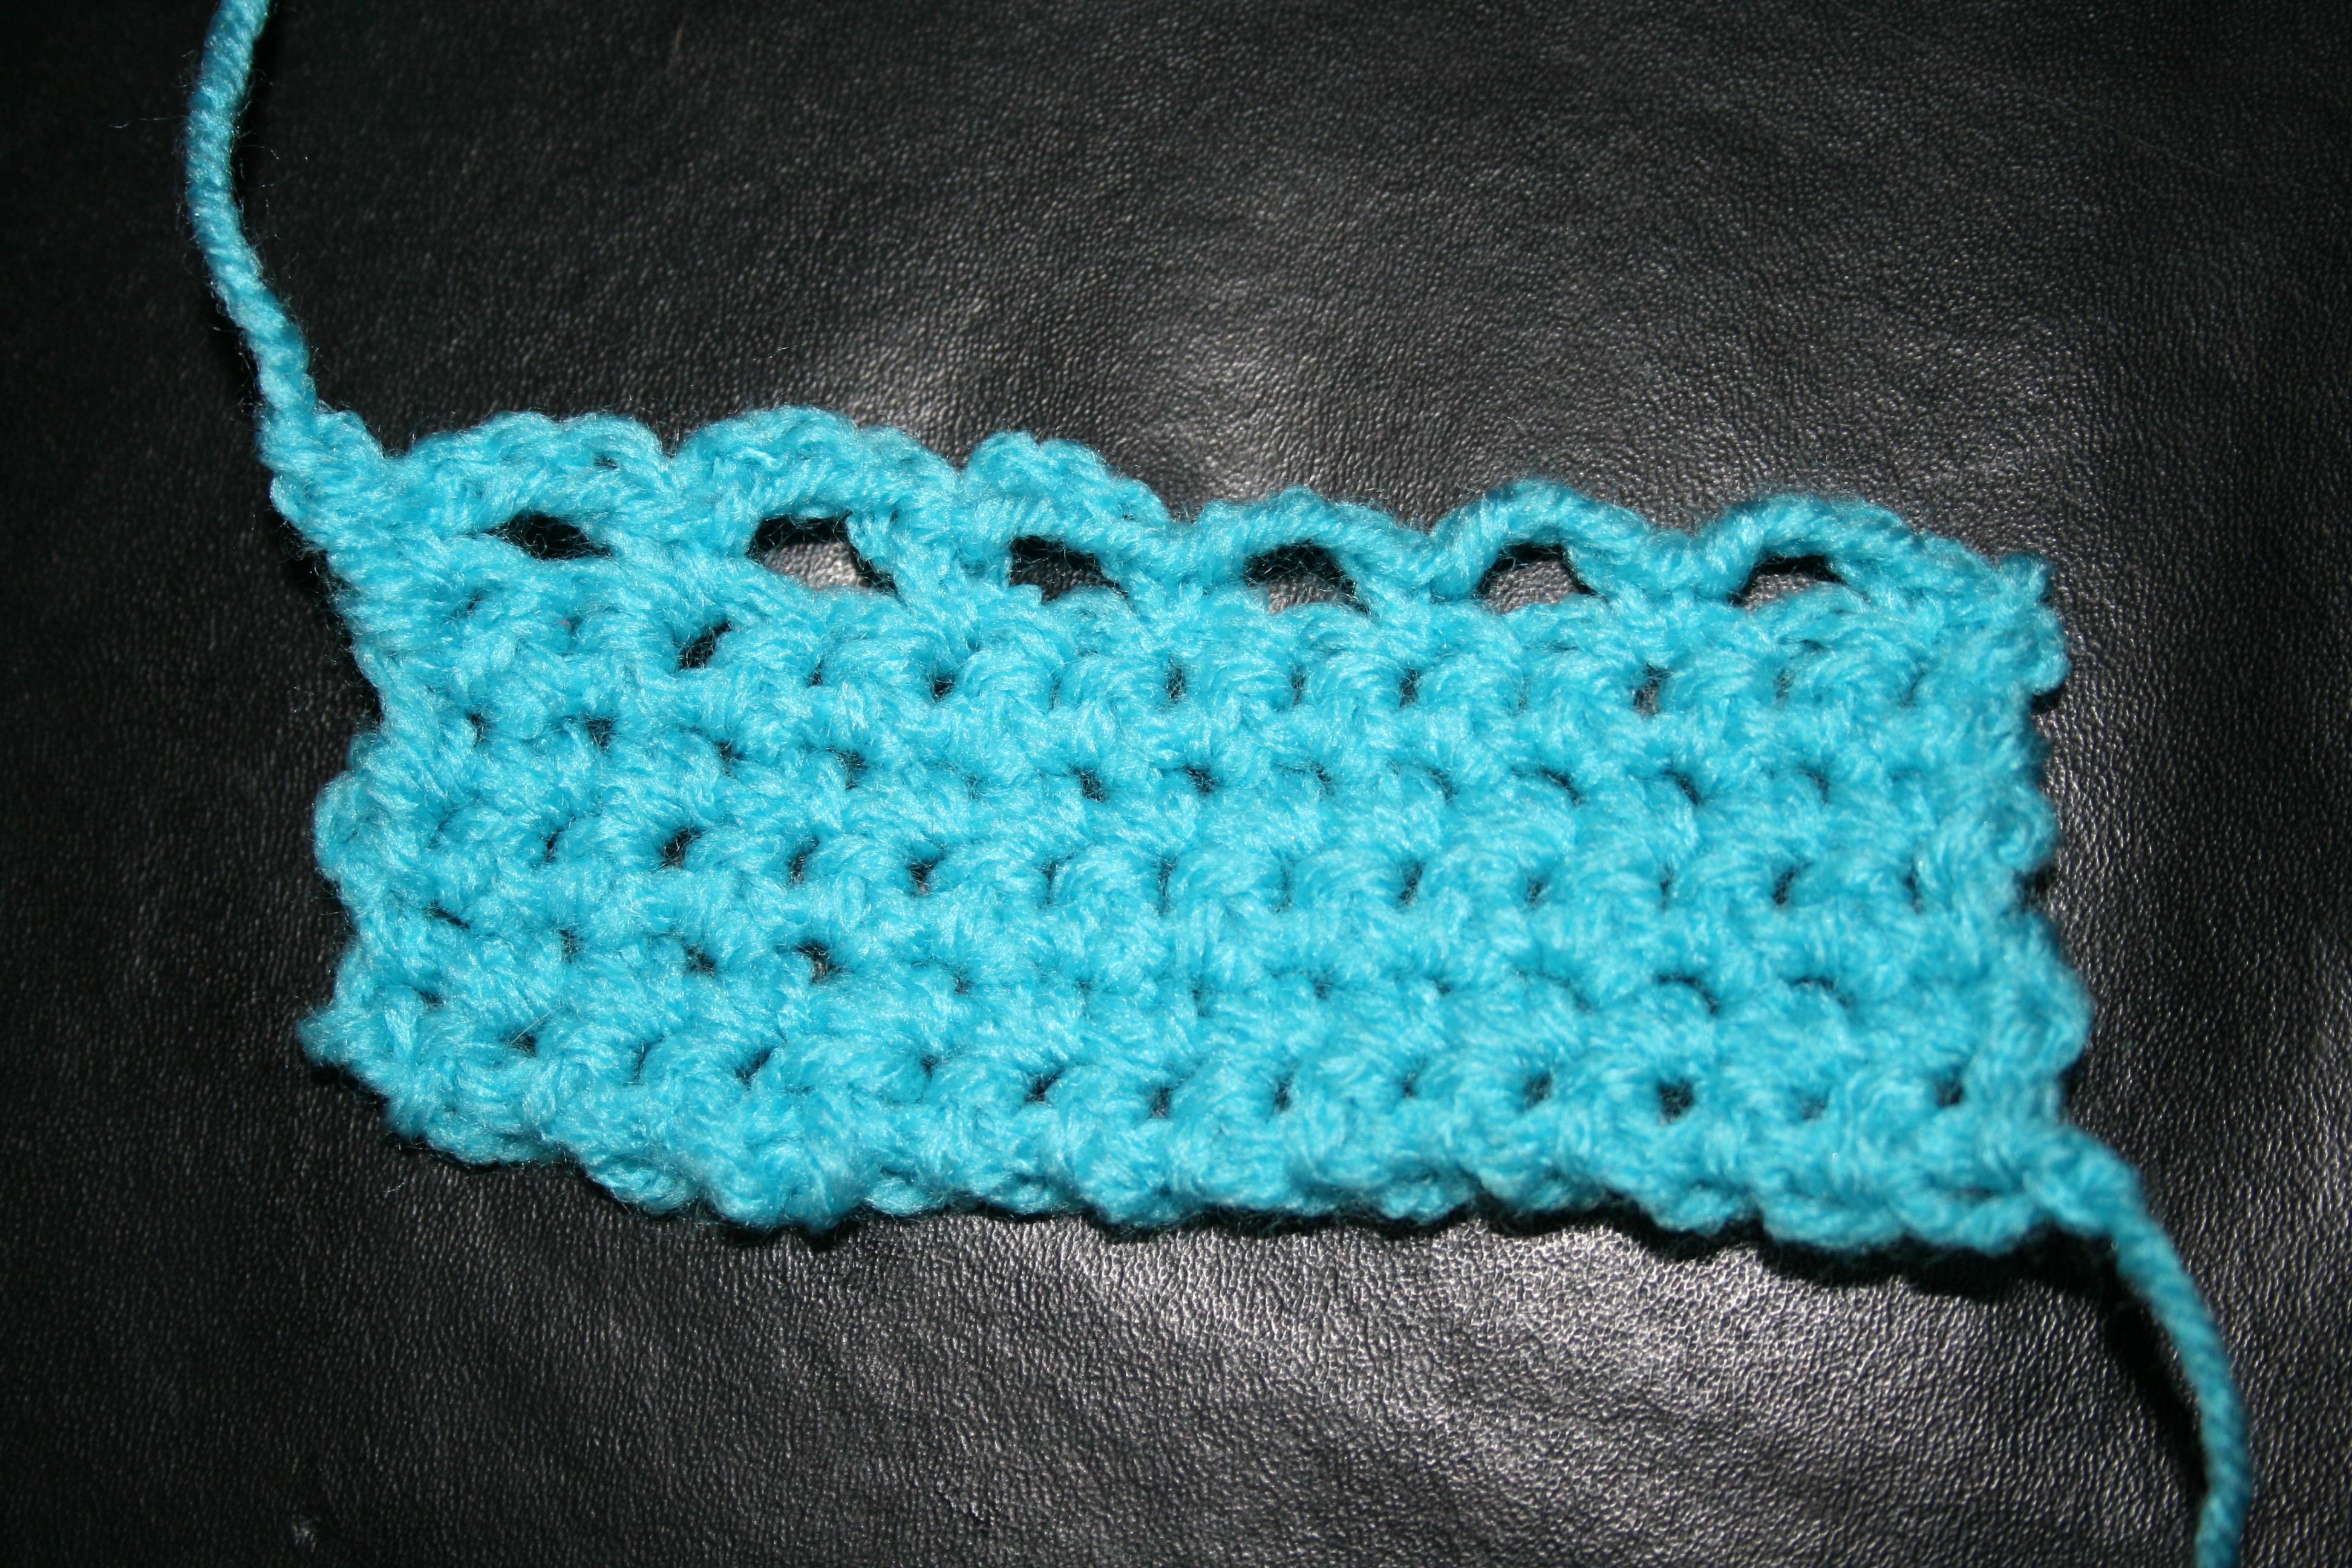
When I started out to write this post, I was thinking of the cold weather I was seeing on the news, and it made me think of the thermal stitch. I have always been a little intrigued with this stitch; it makes a double layer fabric and has the resemblance to long johns, with the little indented squares. But as I started writing, I realized that there were questions about the properties of this technique that I couldn’t quite answer. So that is how I will preface this post, that it is a little beginning exploration for me with this technique.

DSCF0574

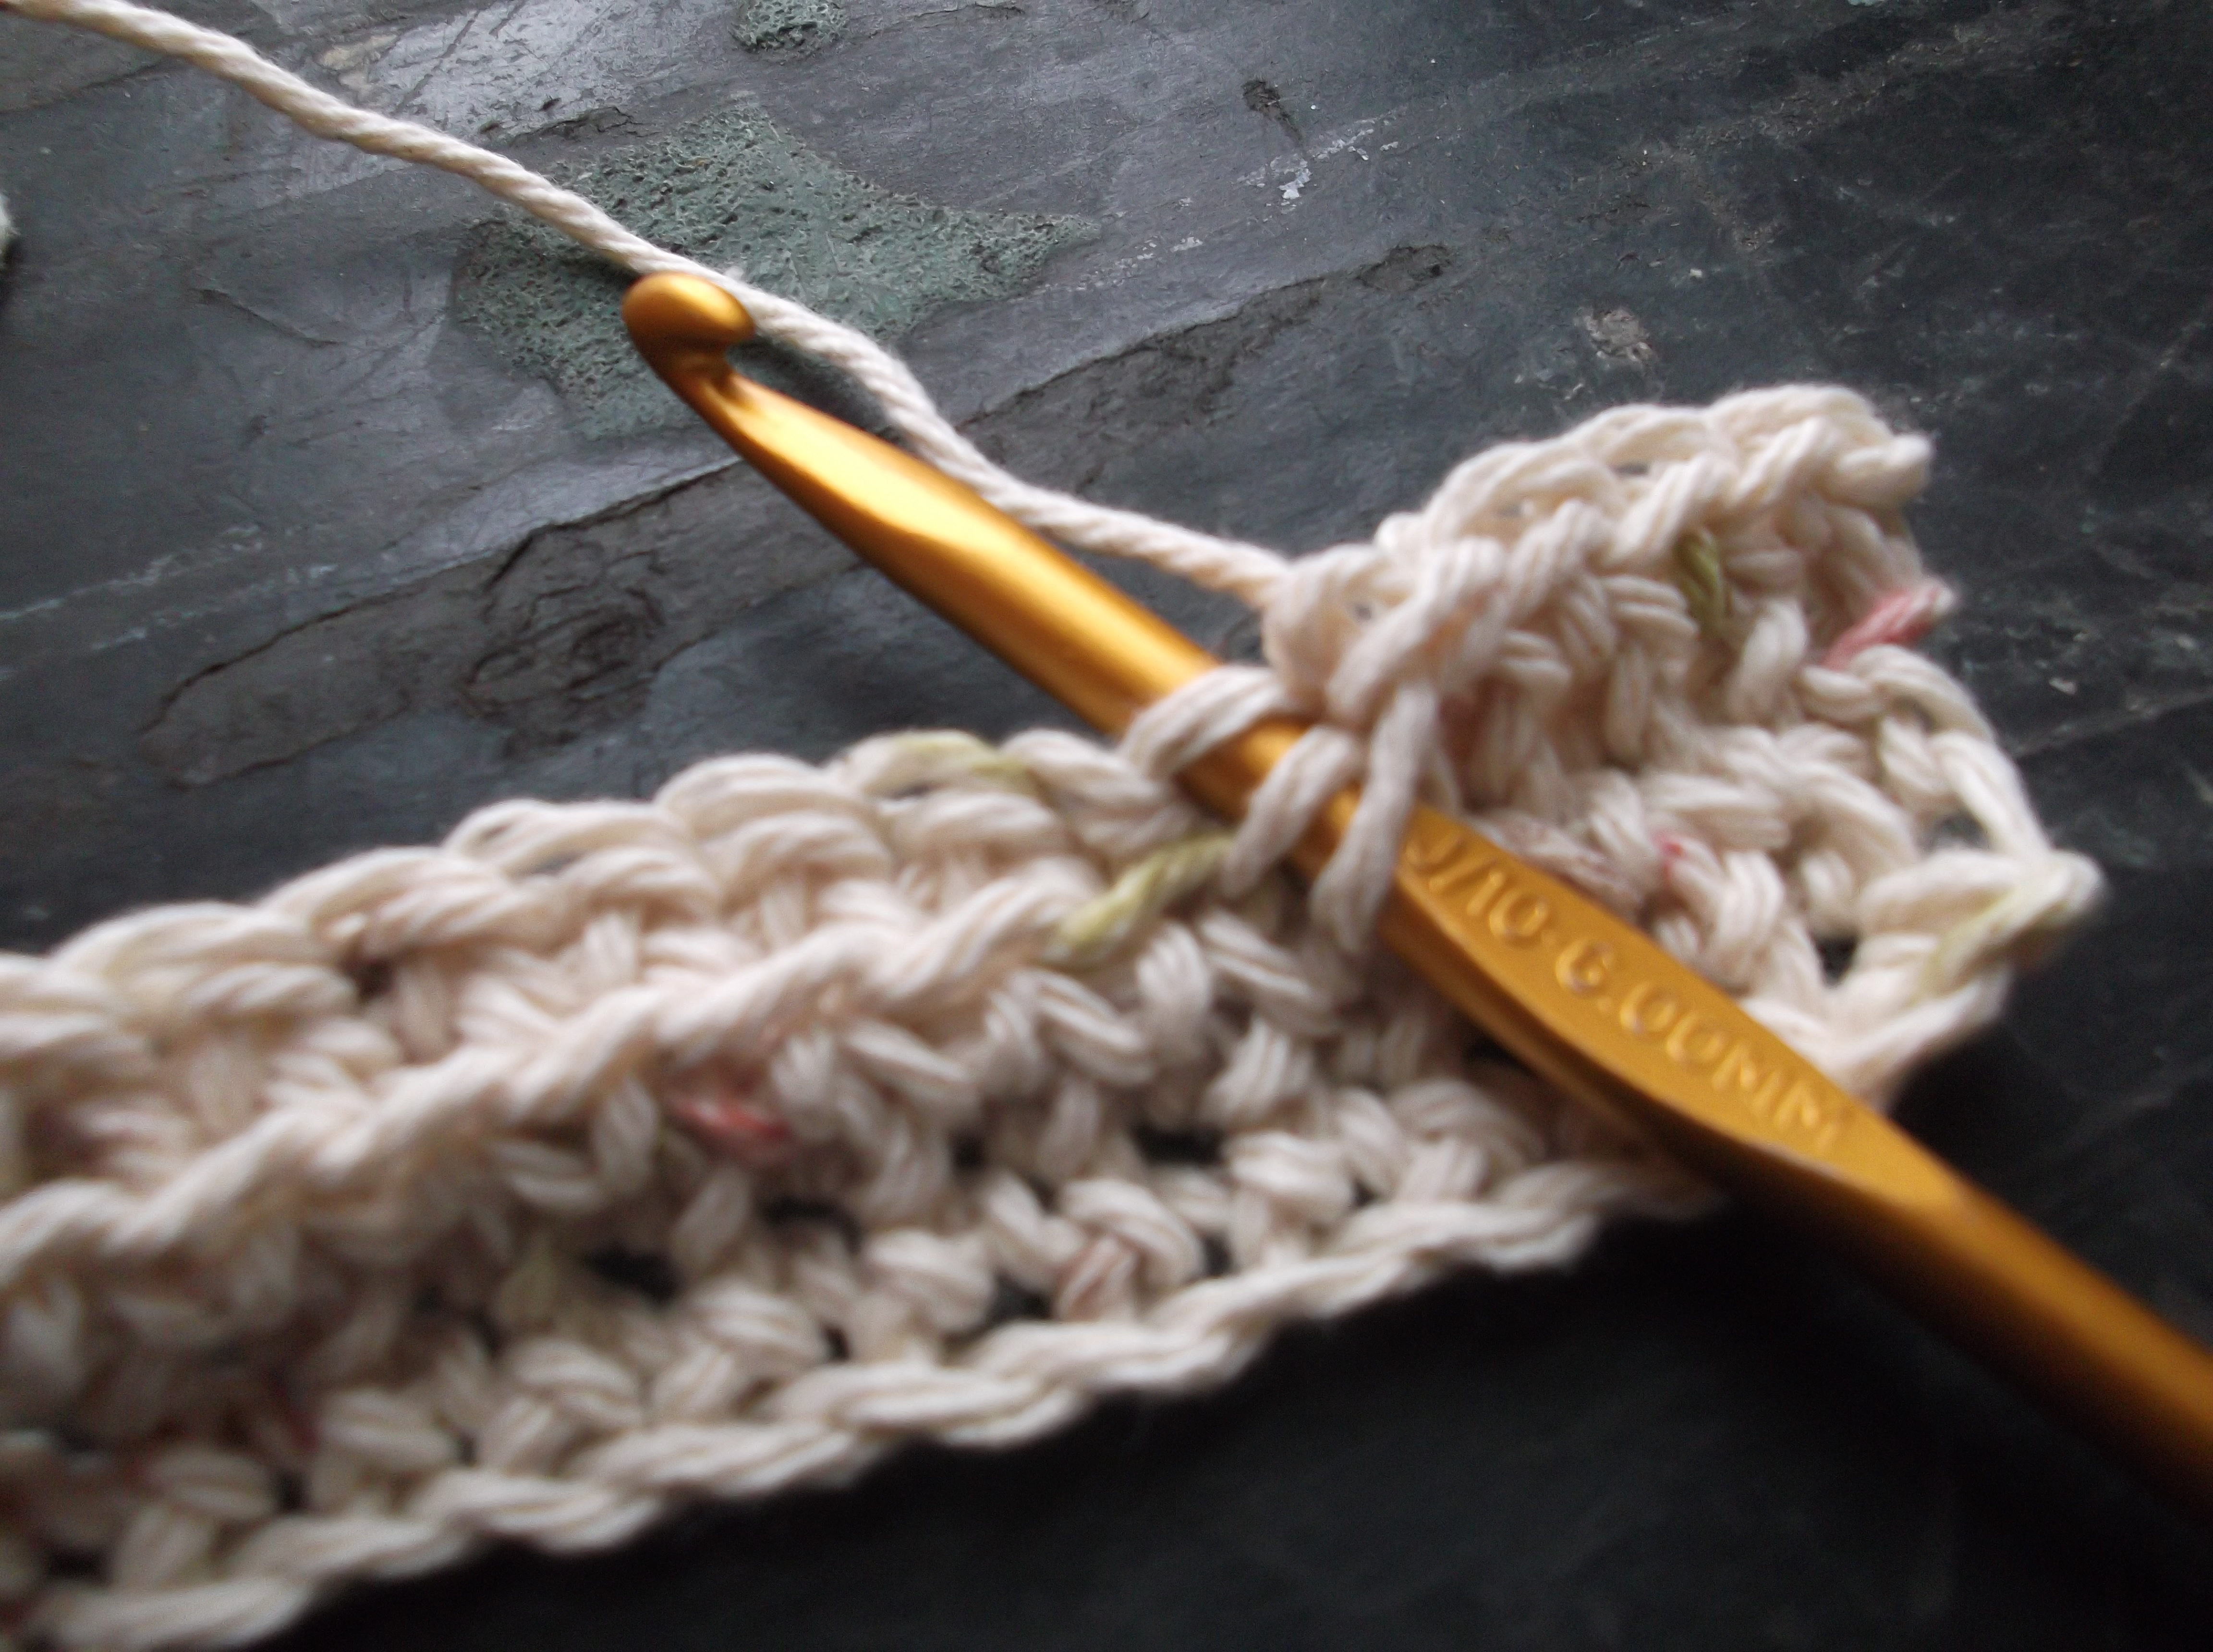
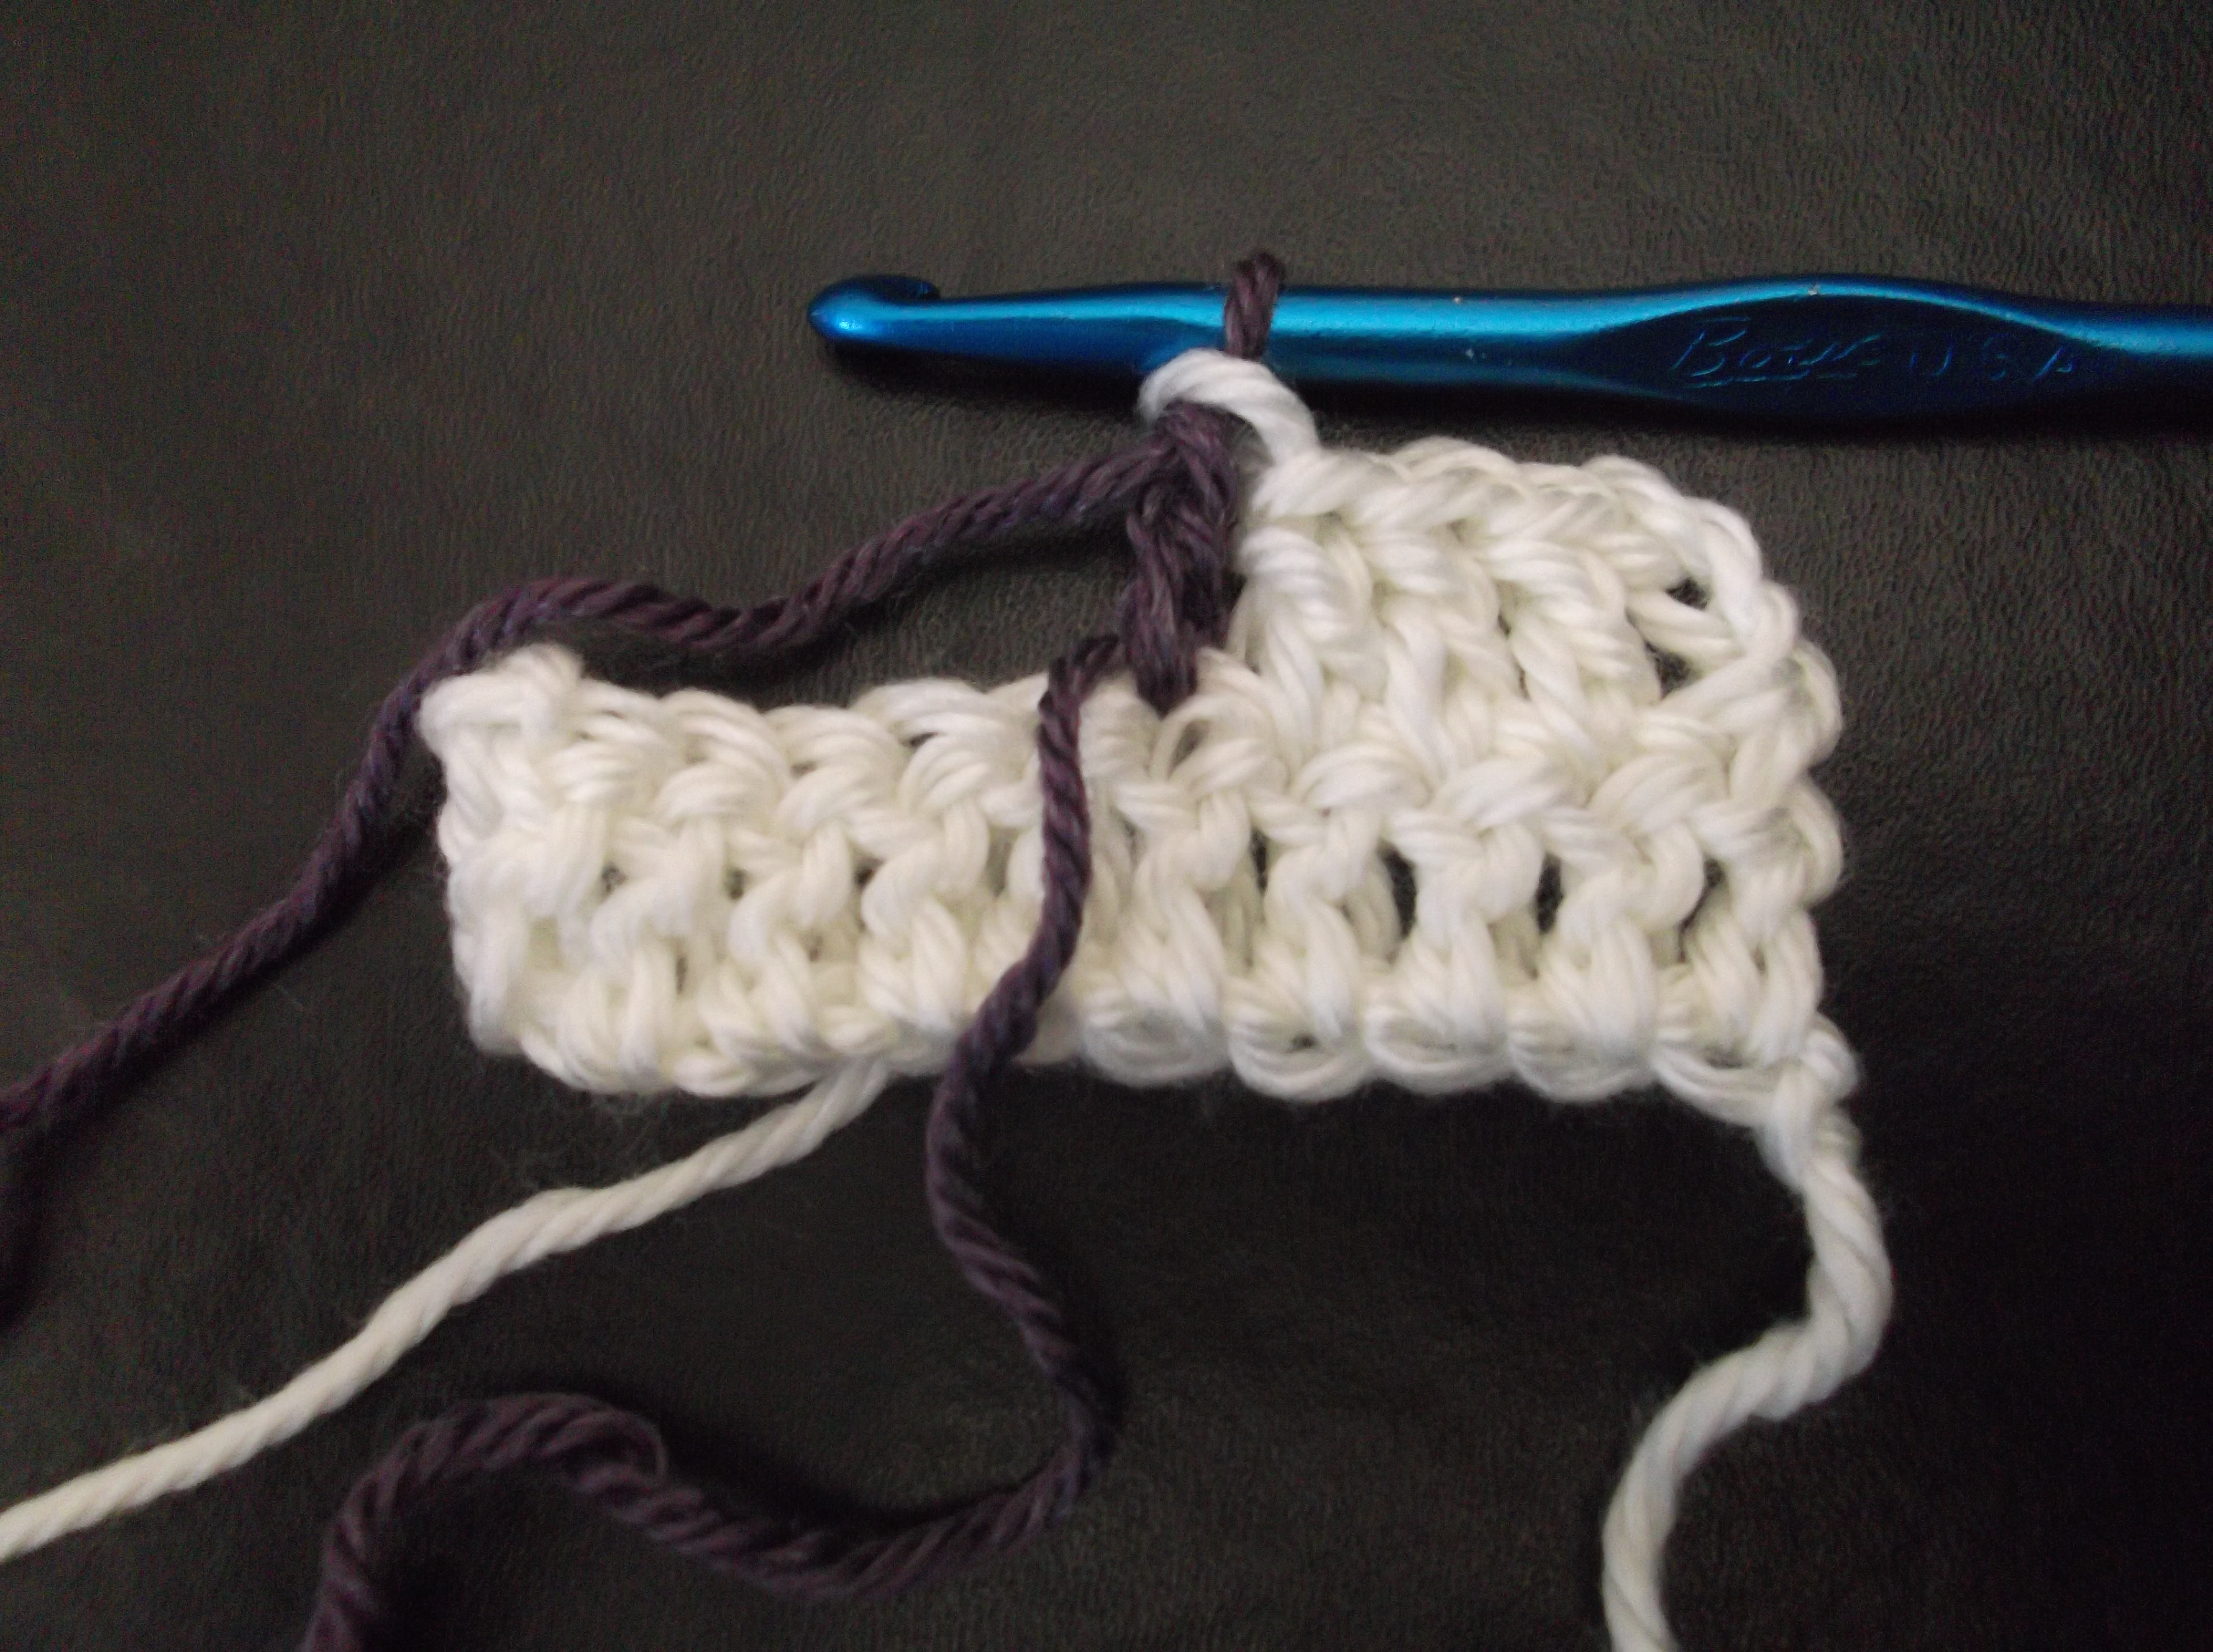
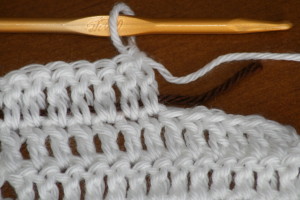
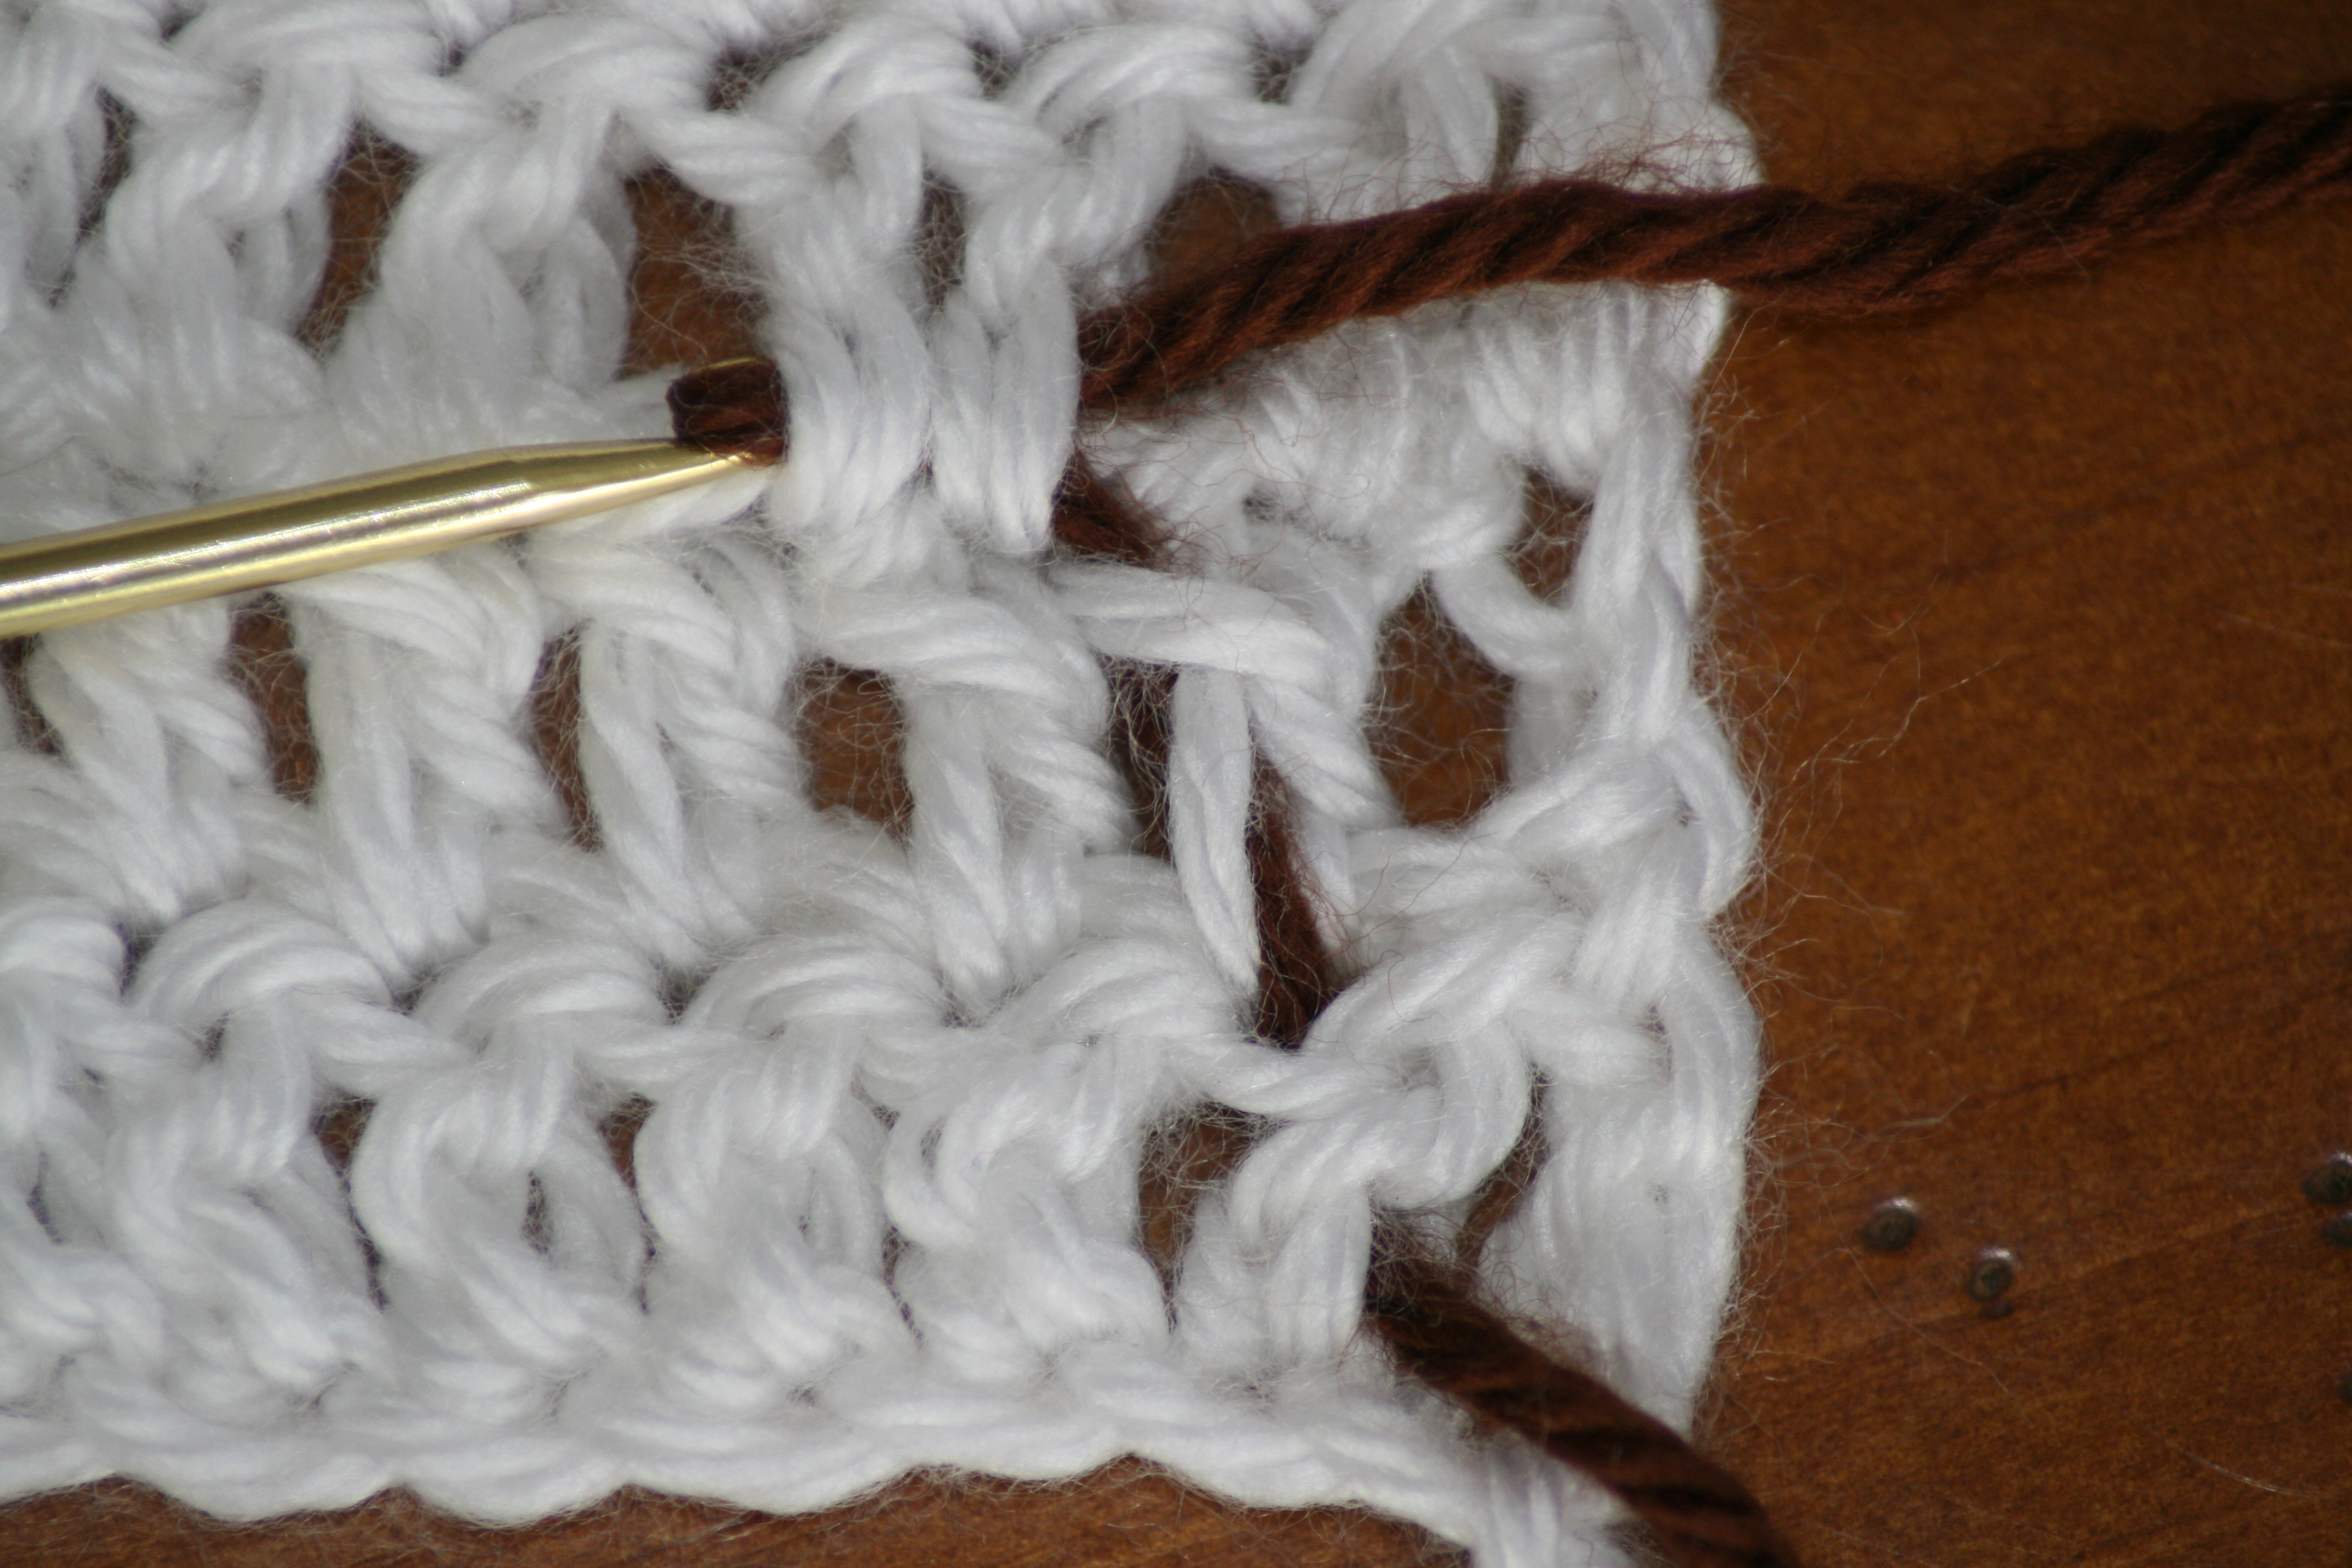
Insert hook from the bottom of the loop, beginning with the back loop from the row below (now facing) and the front loop of the stitch of the current row

DSCF0575

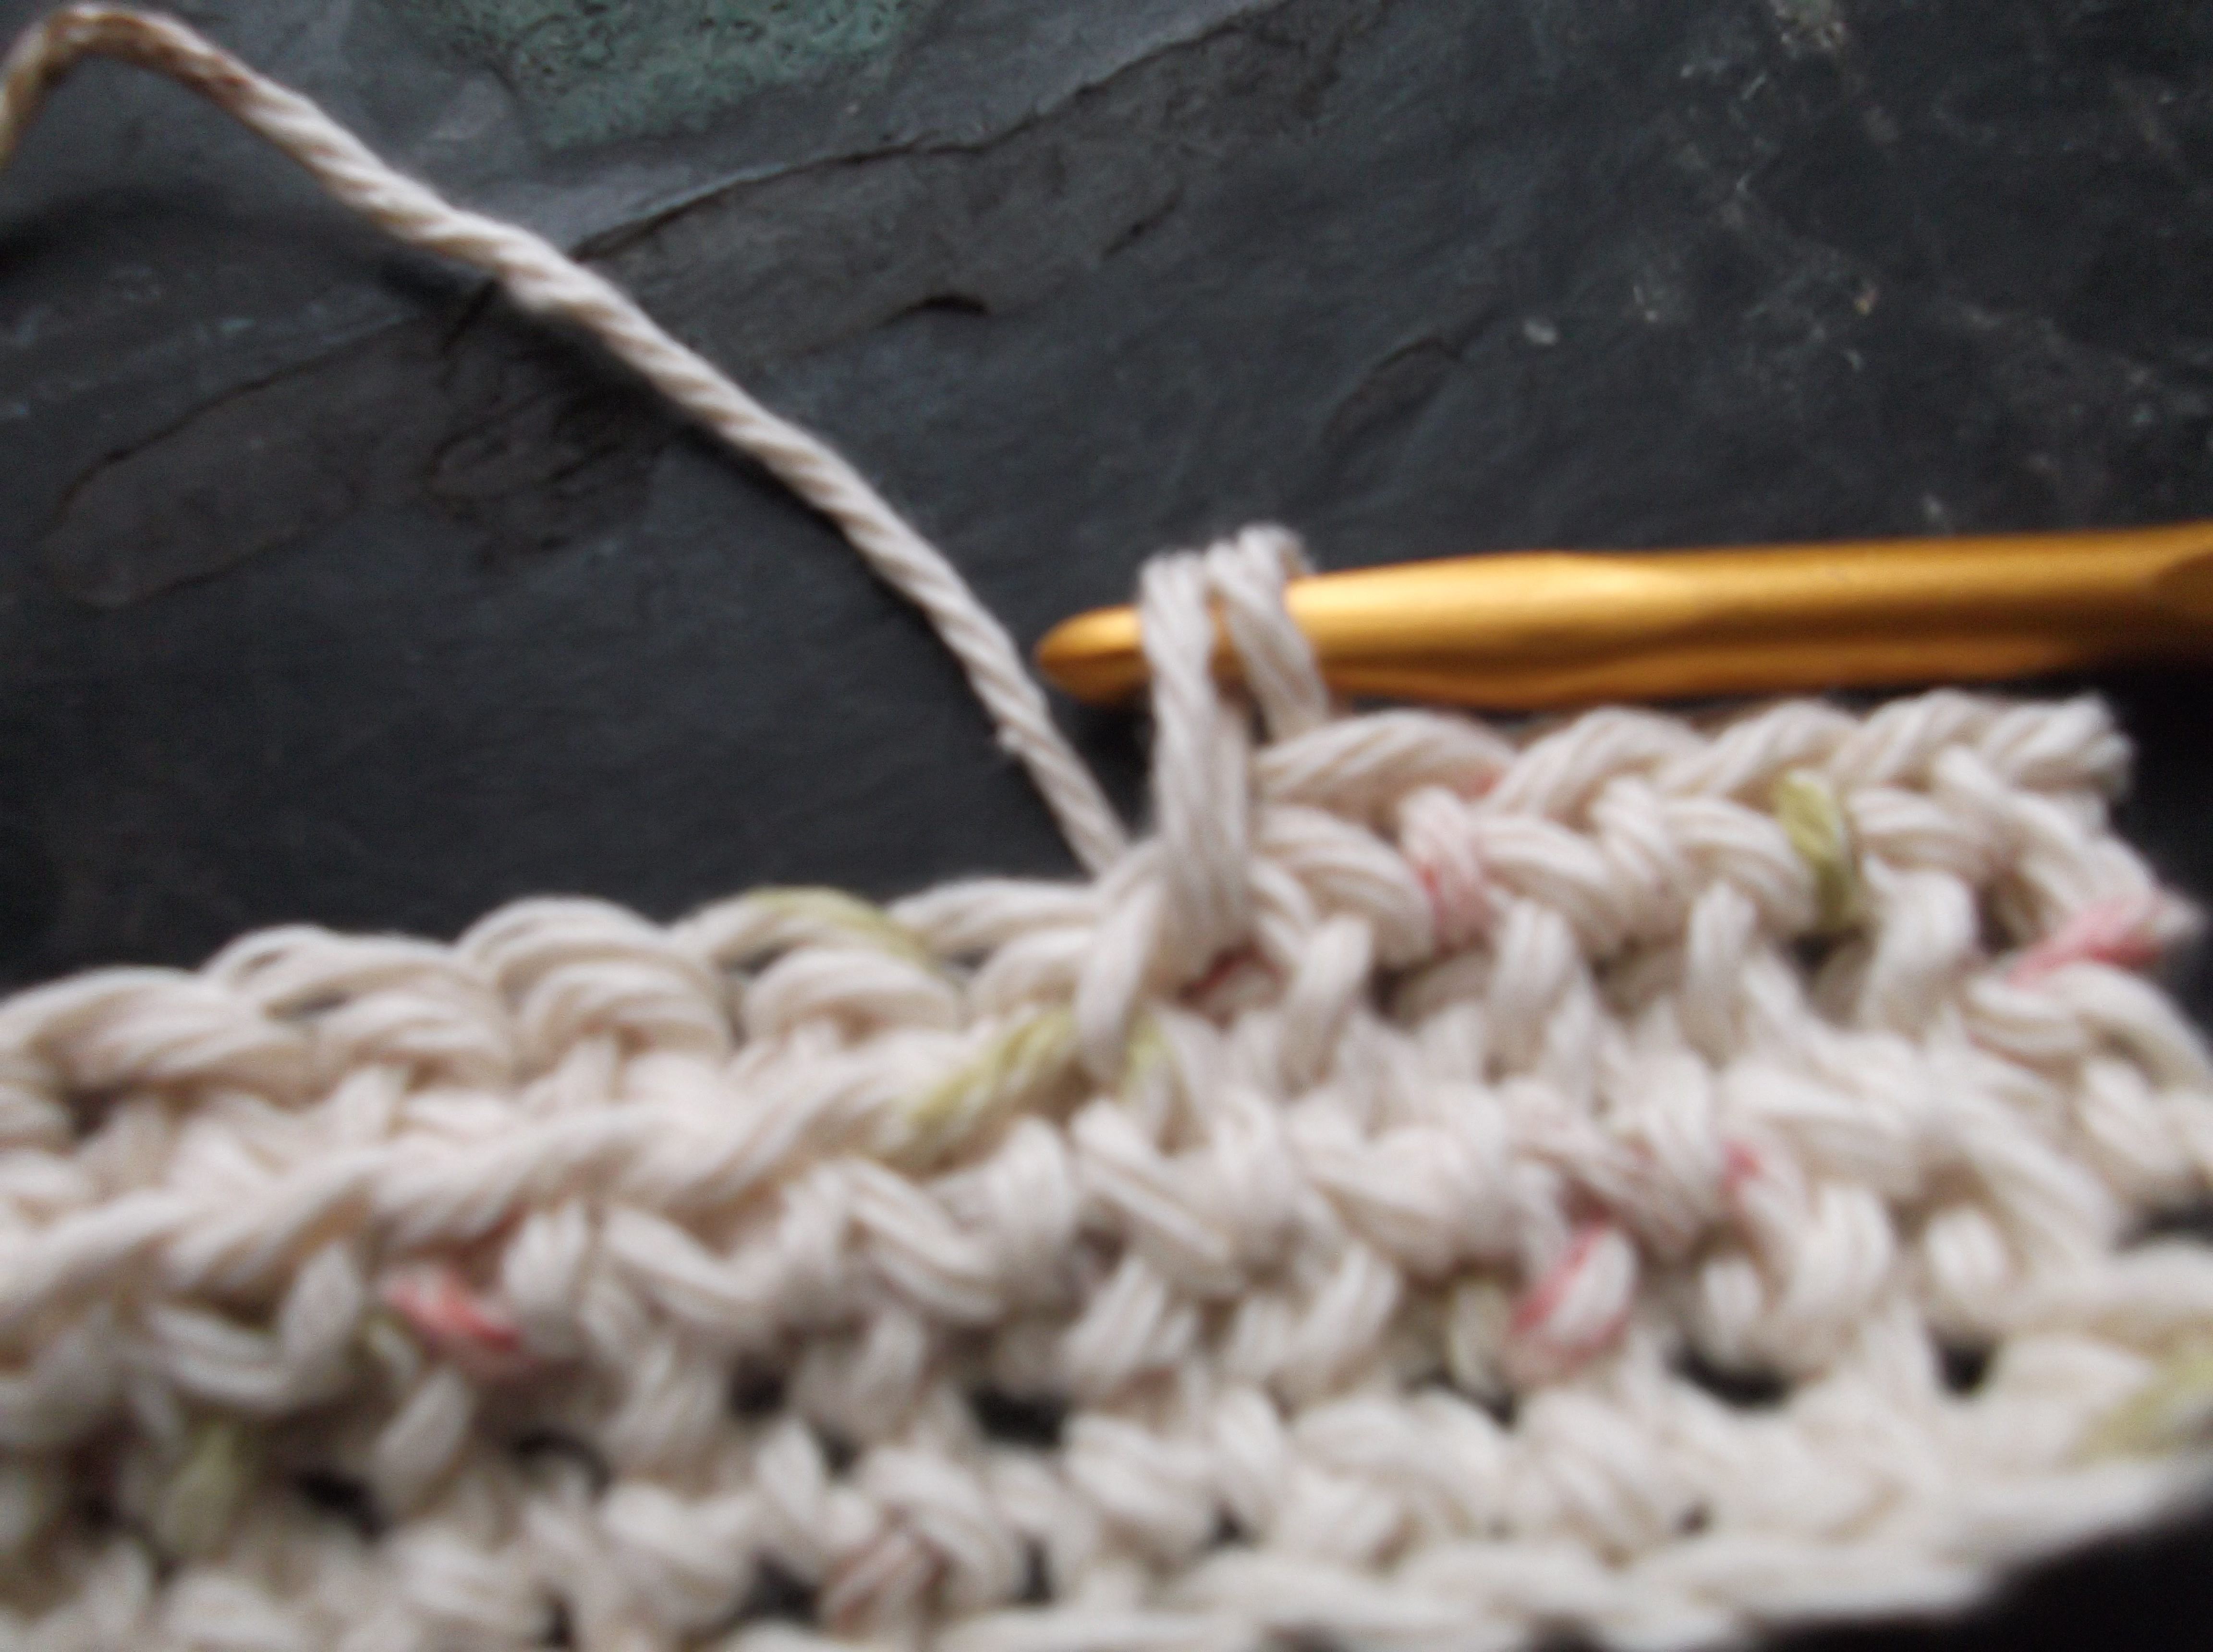
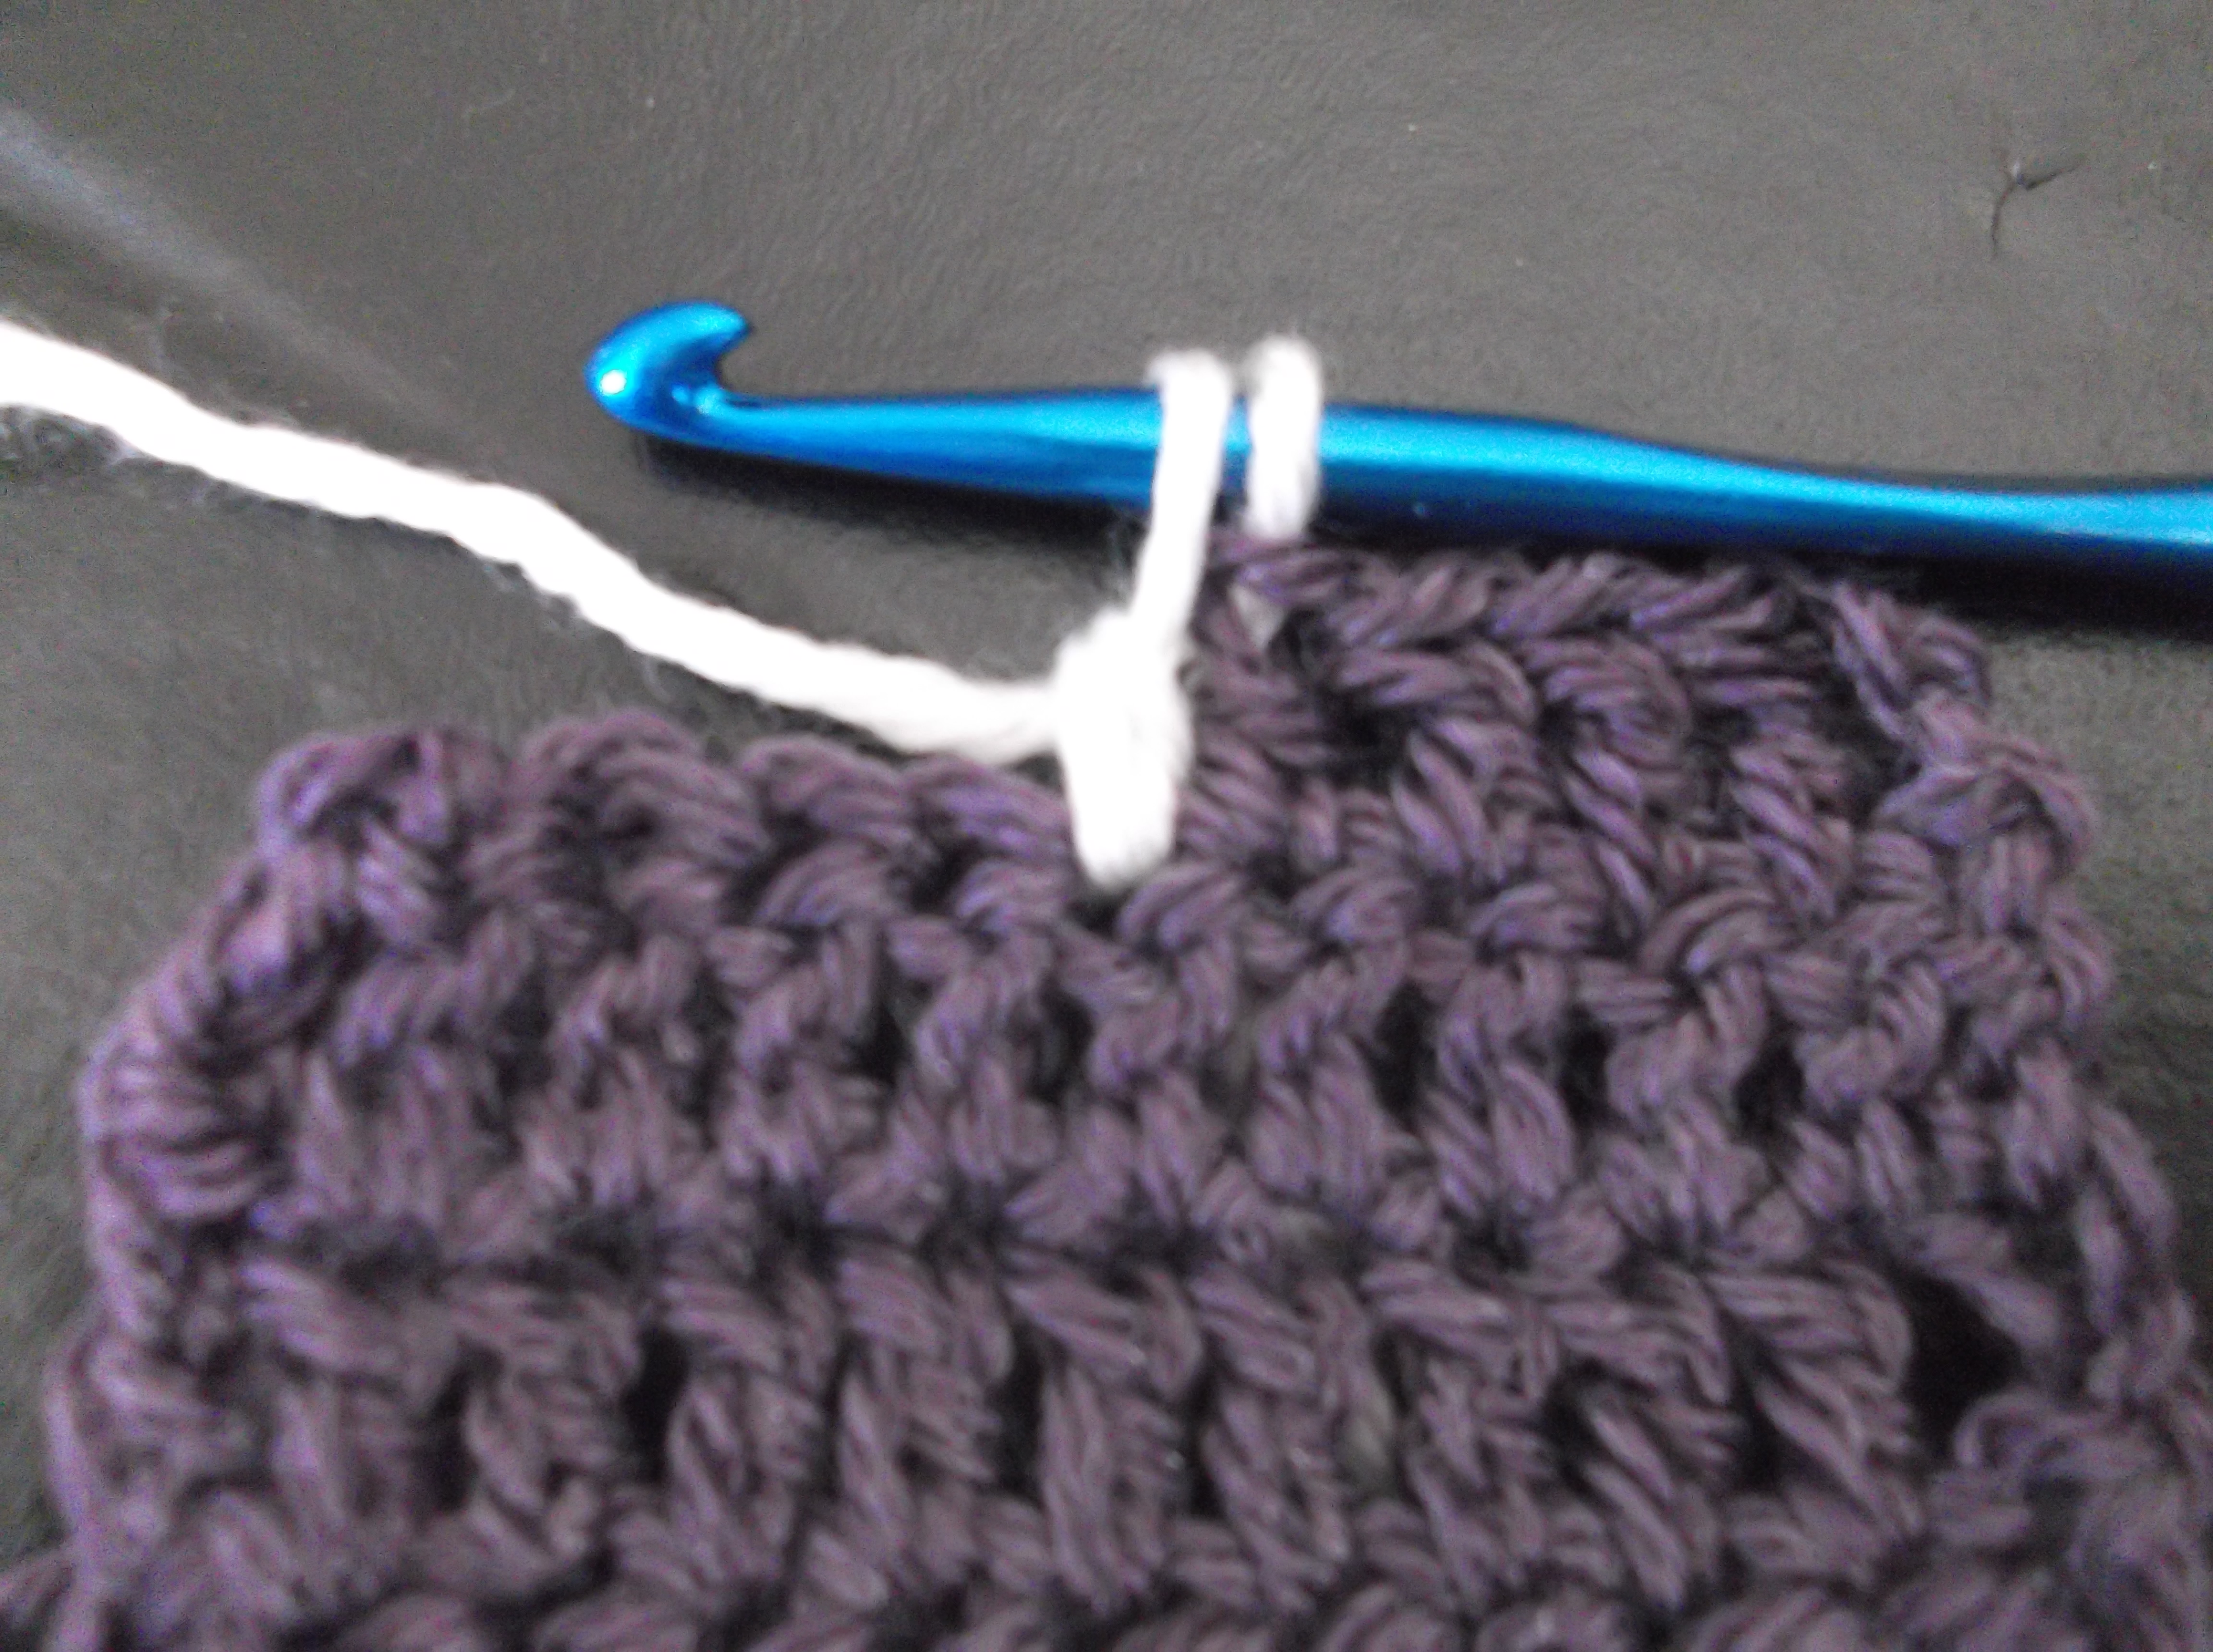
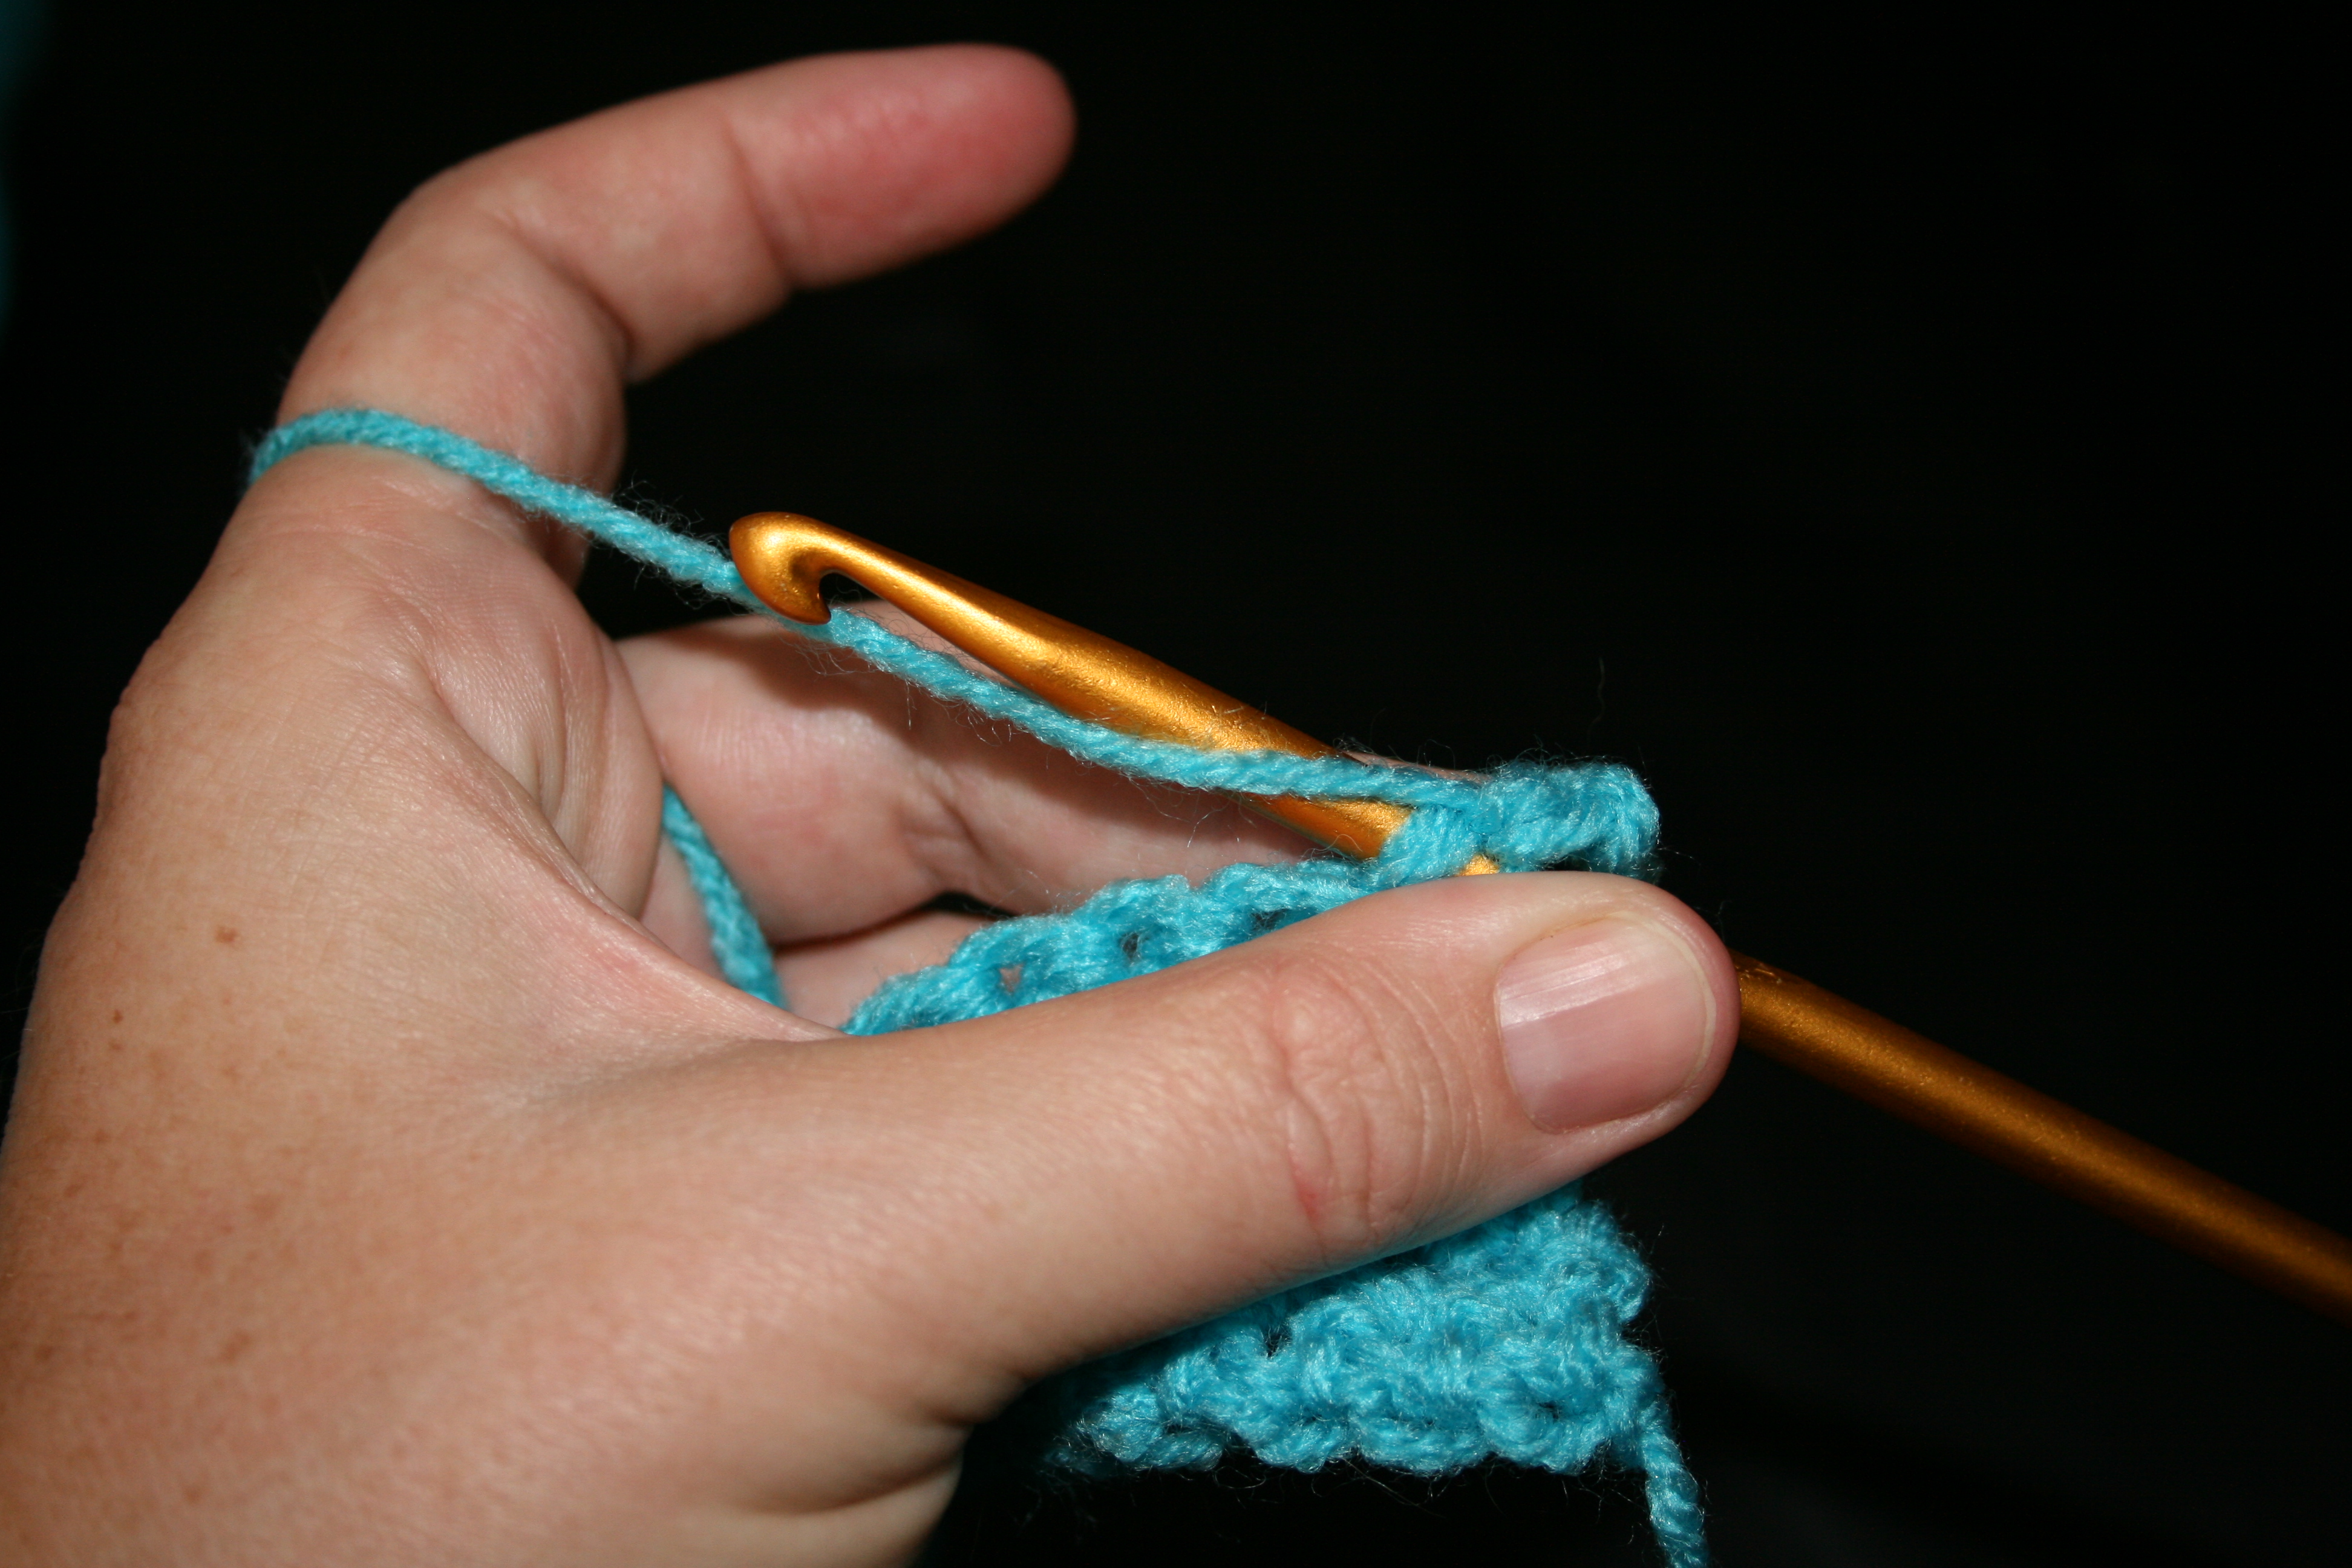
Yarn over and pull through 2 loops

The basic premise of this stitch is that you work single crochet stitches in the front loops of the row as well as the back loops of the row below. Working the stitch into the foundation chain can be a little daunting, so to give you an understanding of the stitch I will begin on the second row of a piece of single crochet. The rows of single crochet will be offset from one another, this creates the setback, while pulling up the lo op from a row below creates the edges to the “indented little square”.

DSCF0576

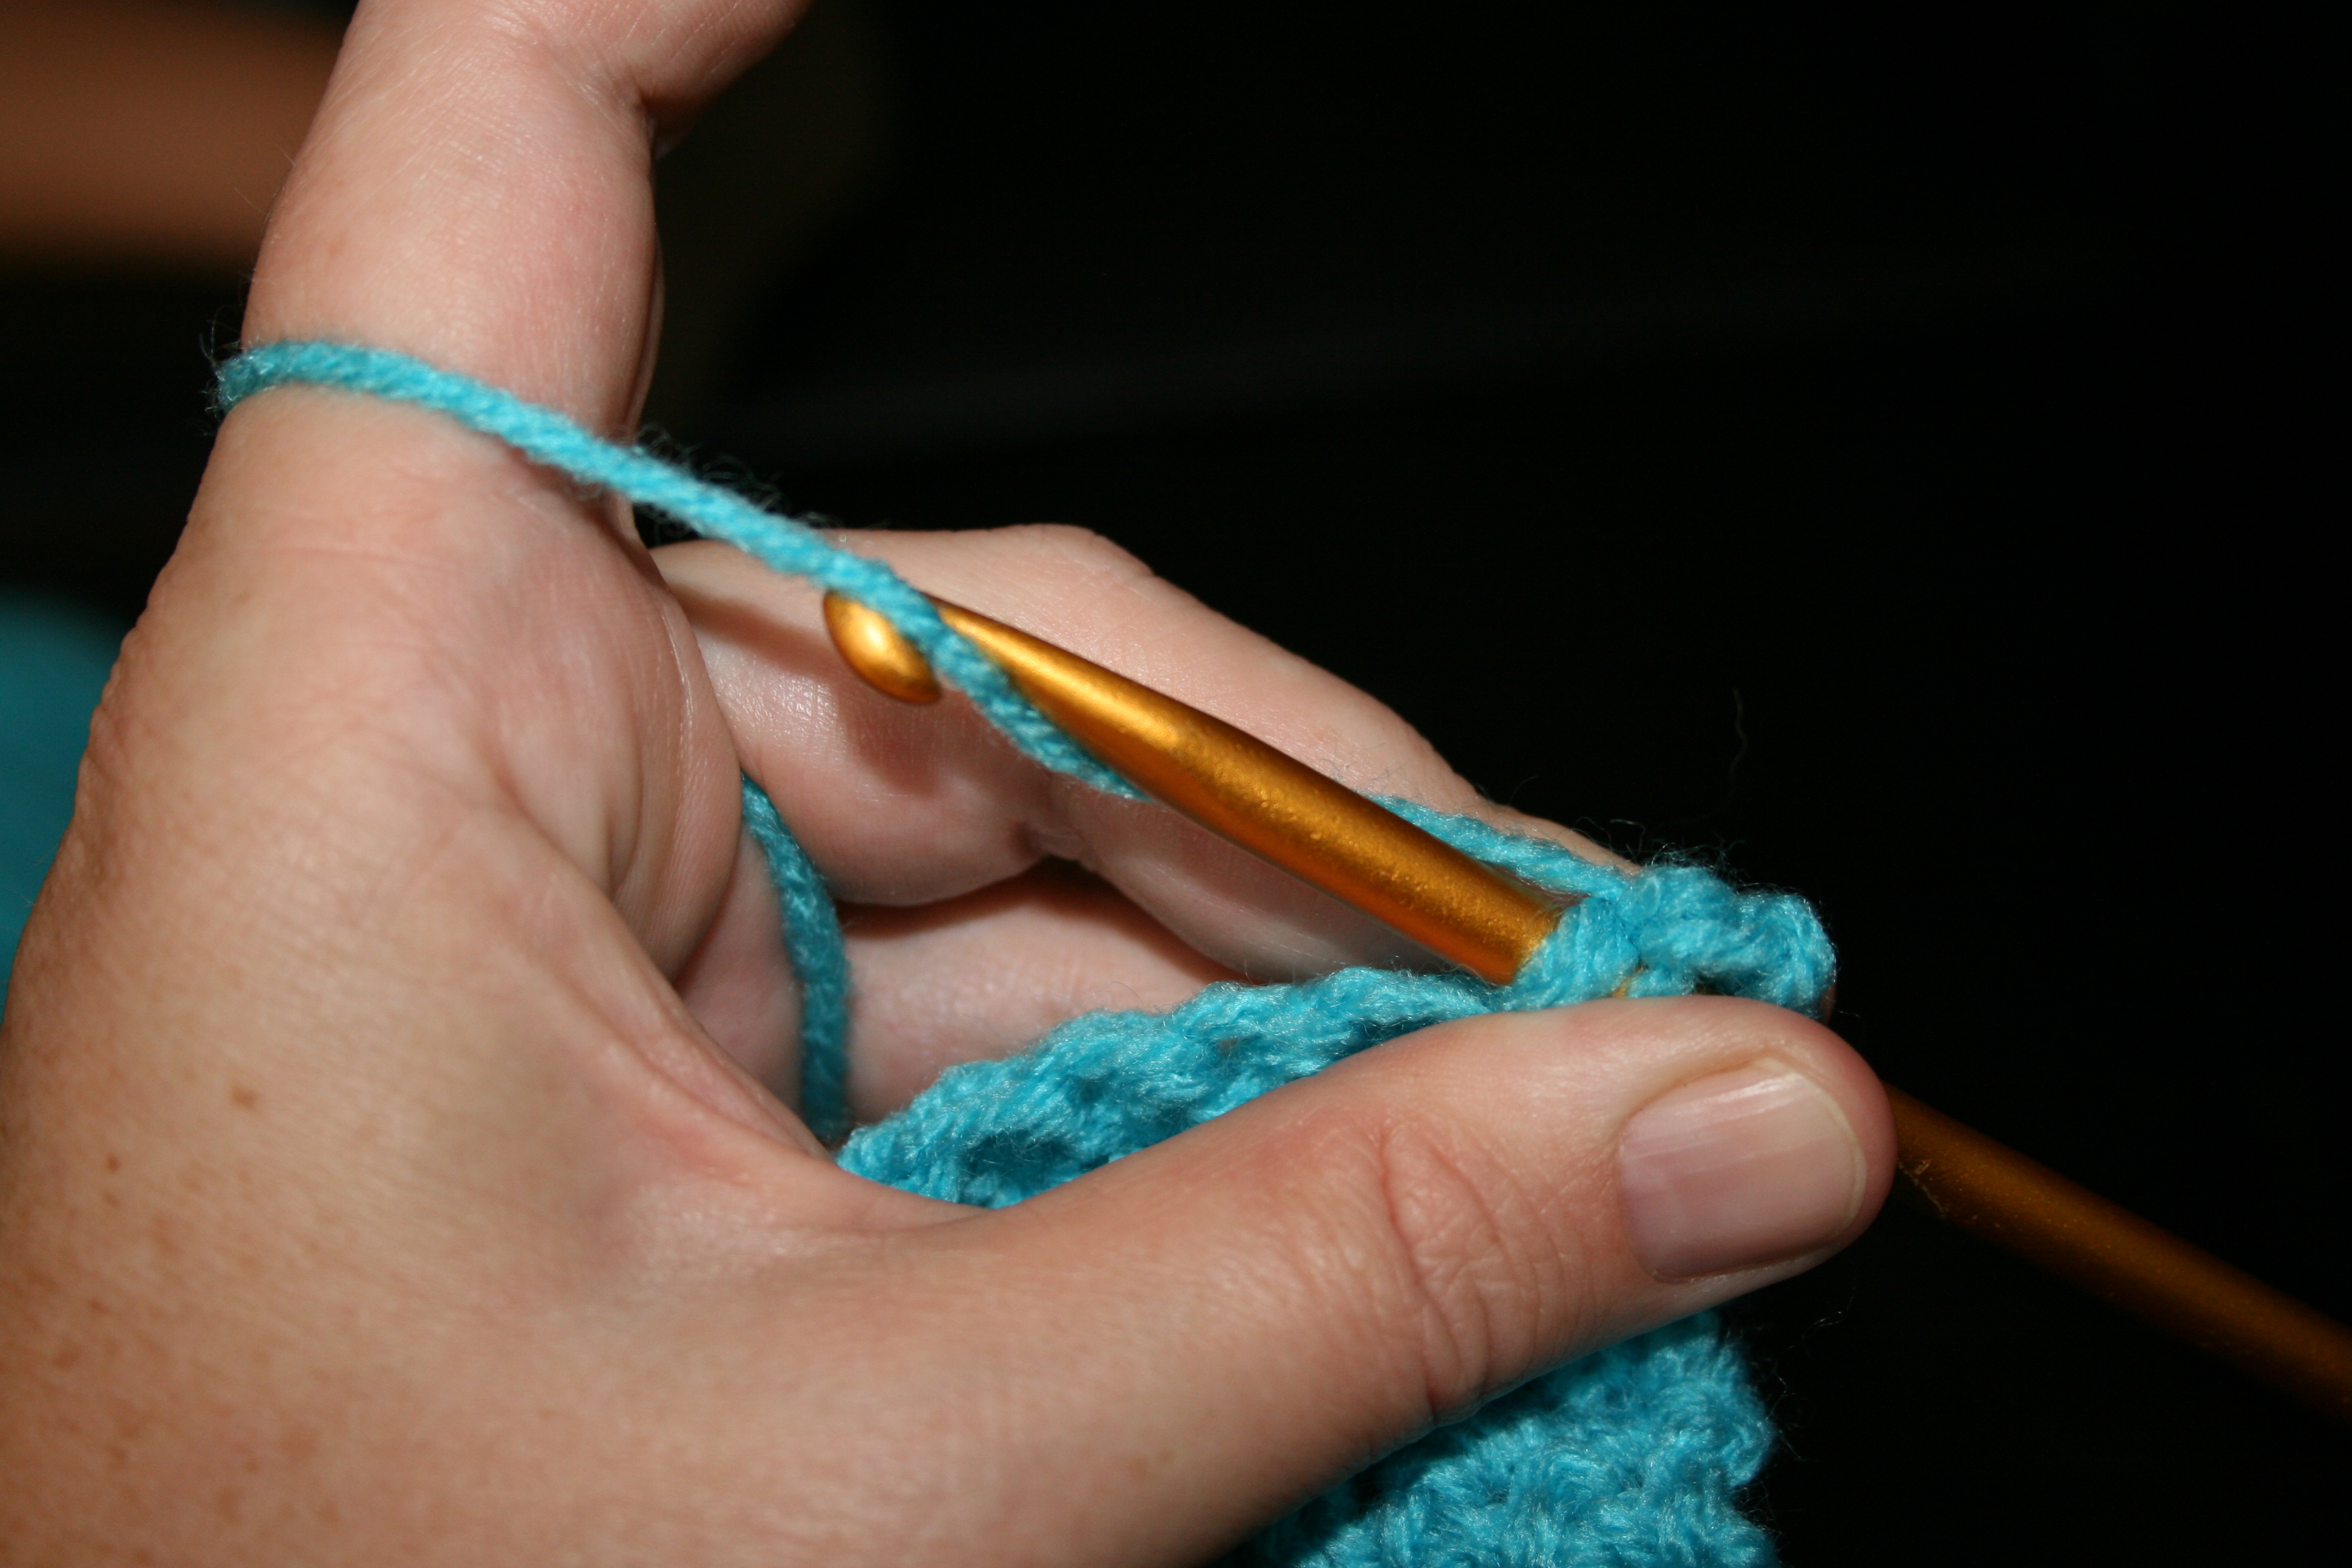
Yarn over and pull through remaining 2 loops to finish stitch

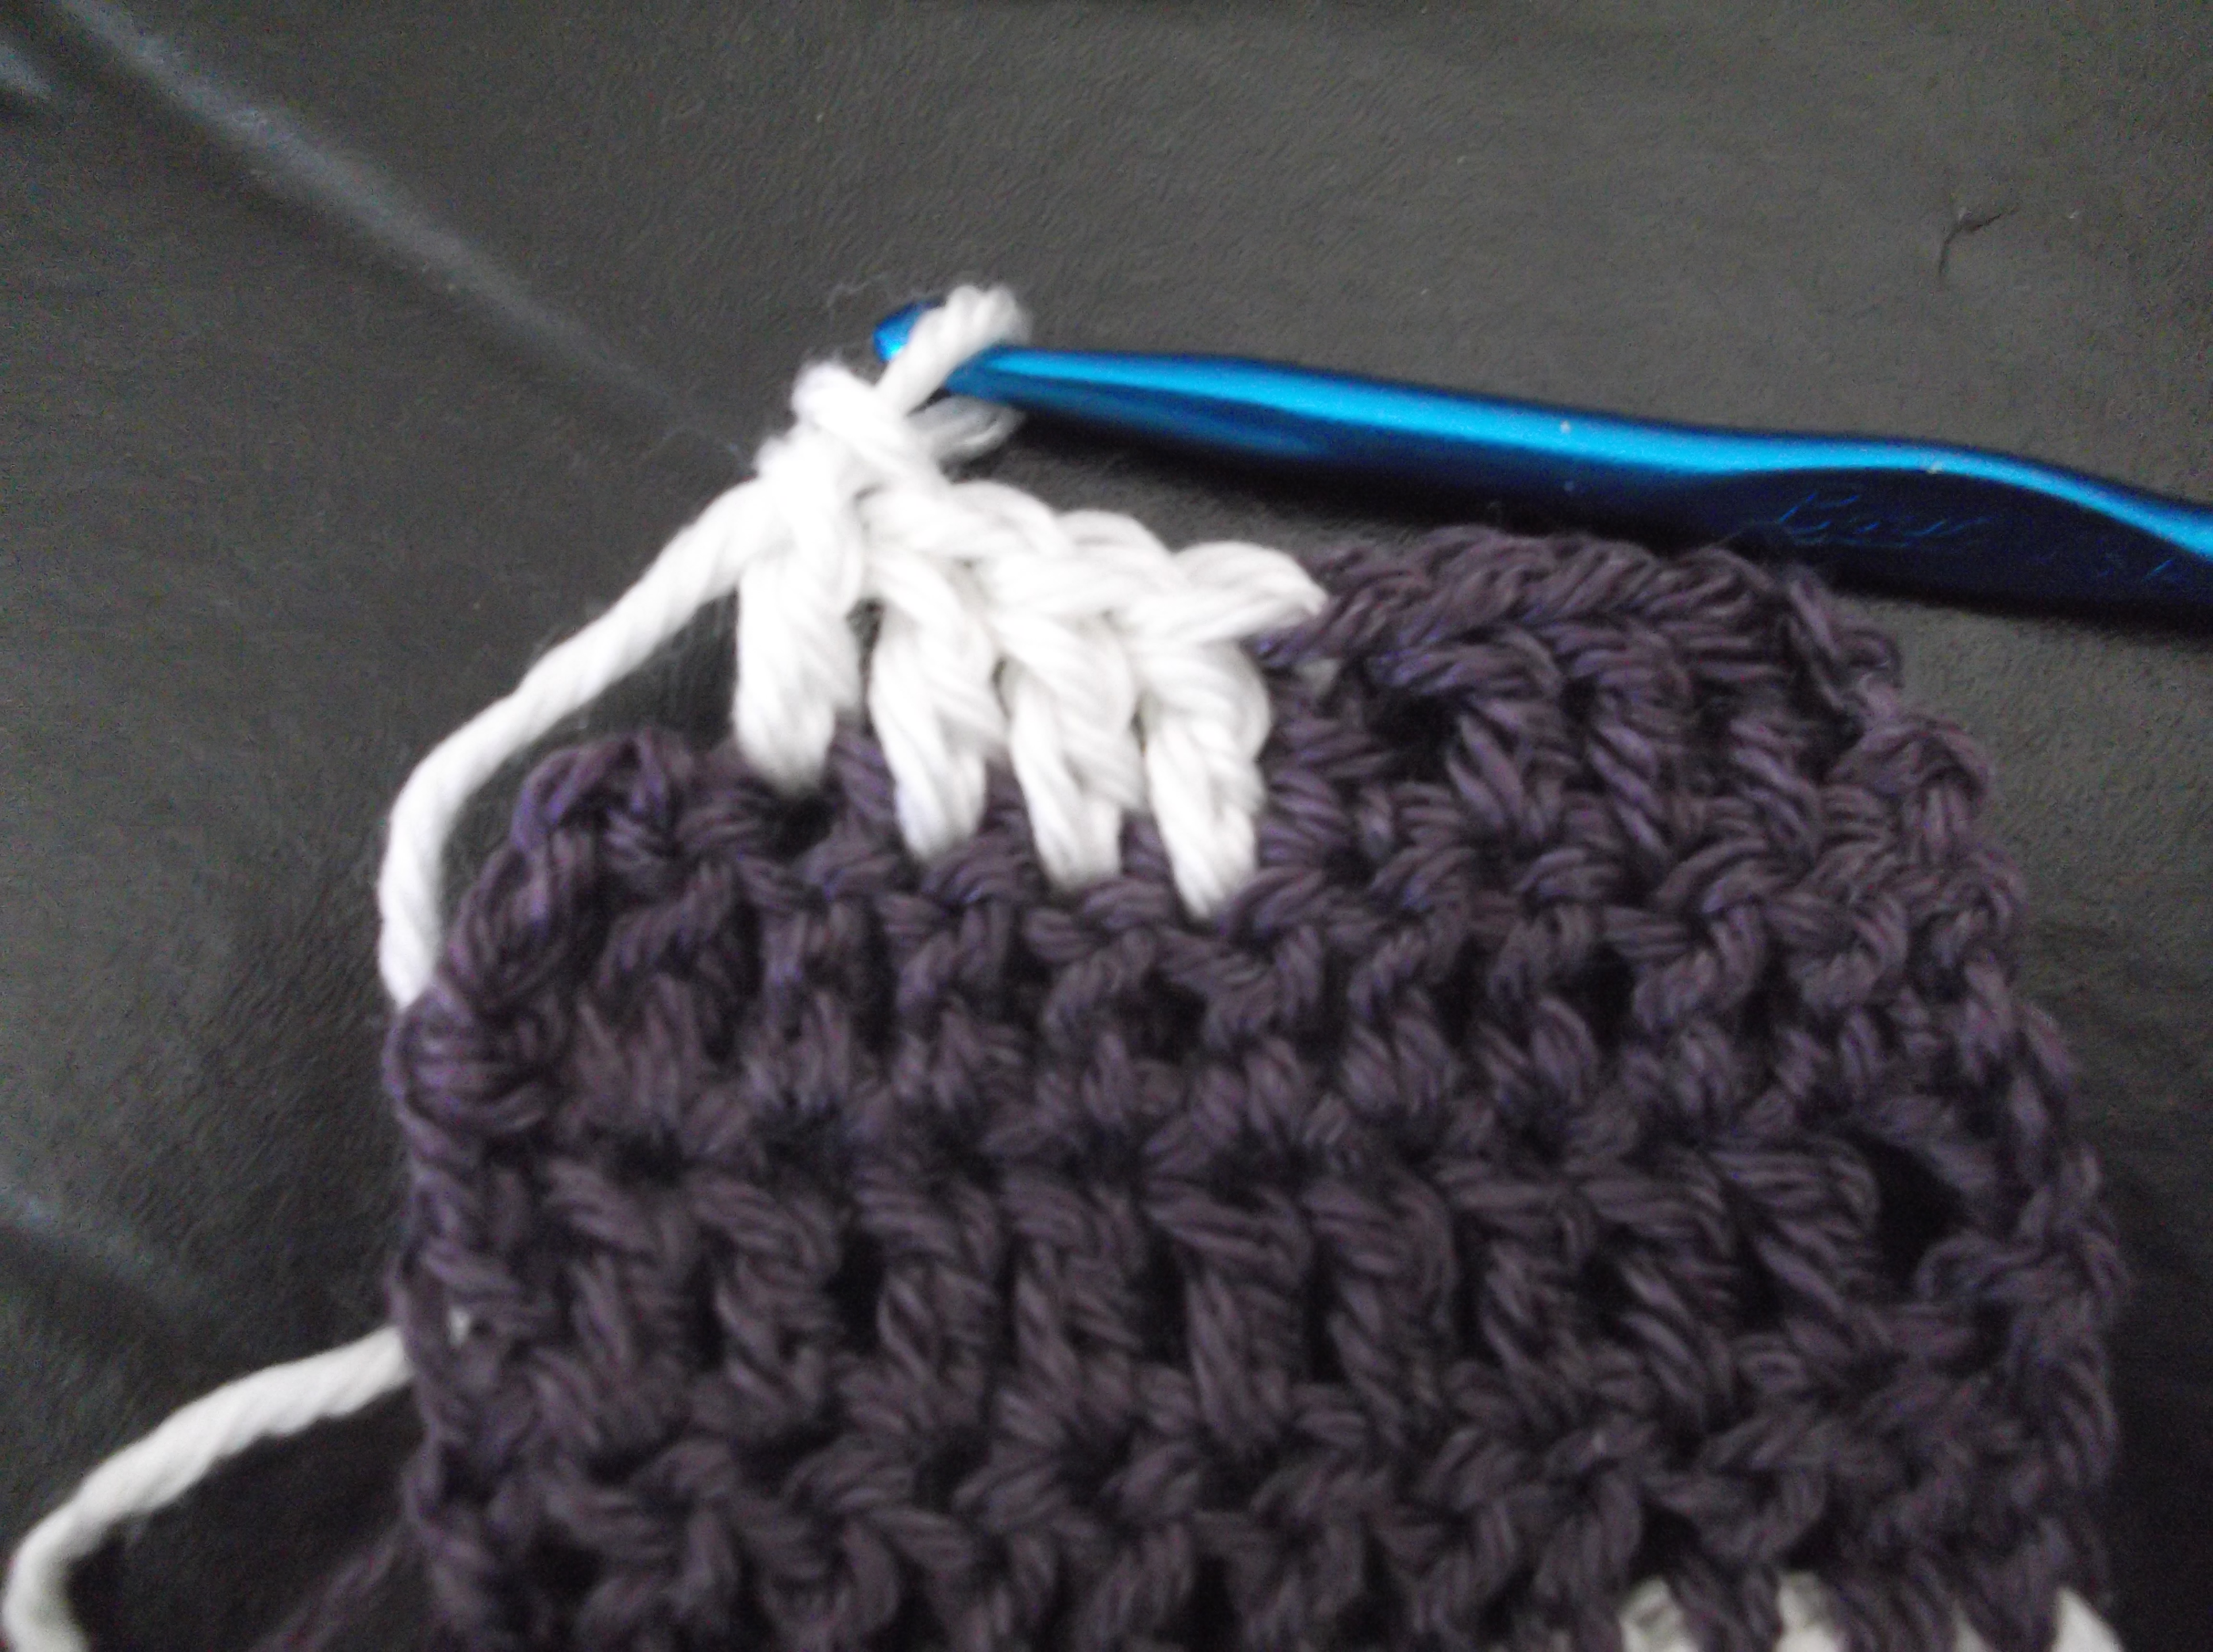
One of the main things to remember with this stitch is to insert the hook in the loop of the row below from the bottom, then insert it into the front loop of the next working row from the bottom.  You then yarn over and pull through both loops (you might want to pull up a longer than usual loop), yarn over again and pull through the two loops remaining on the hook to finish the stitch.  This will create a dense fabric, and if you want to have a little fun, you can alternate colors every row and get a double sided fabric (although there would be many ends to weave of leave it fringed).

DSCF0572

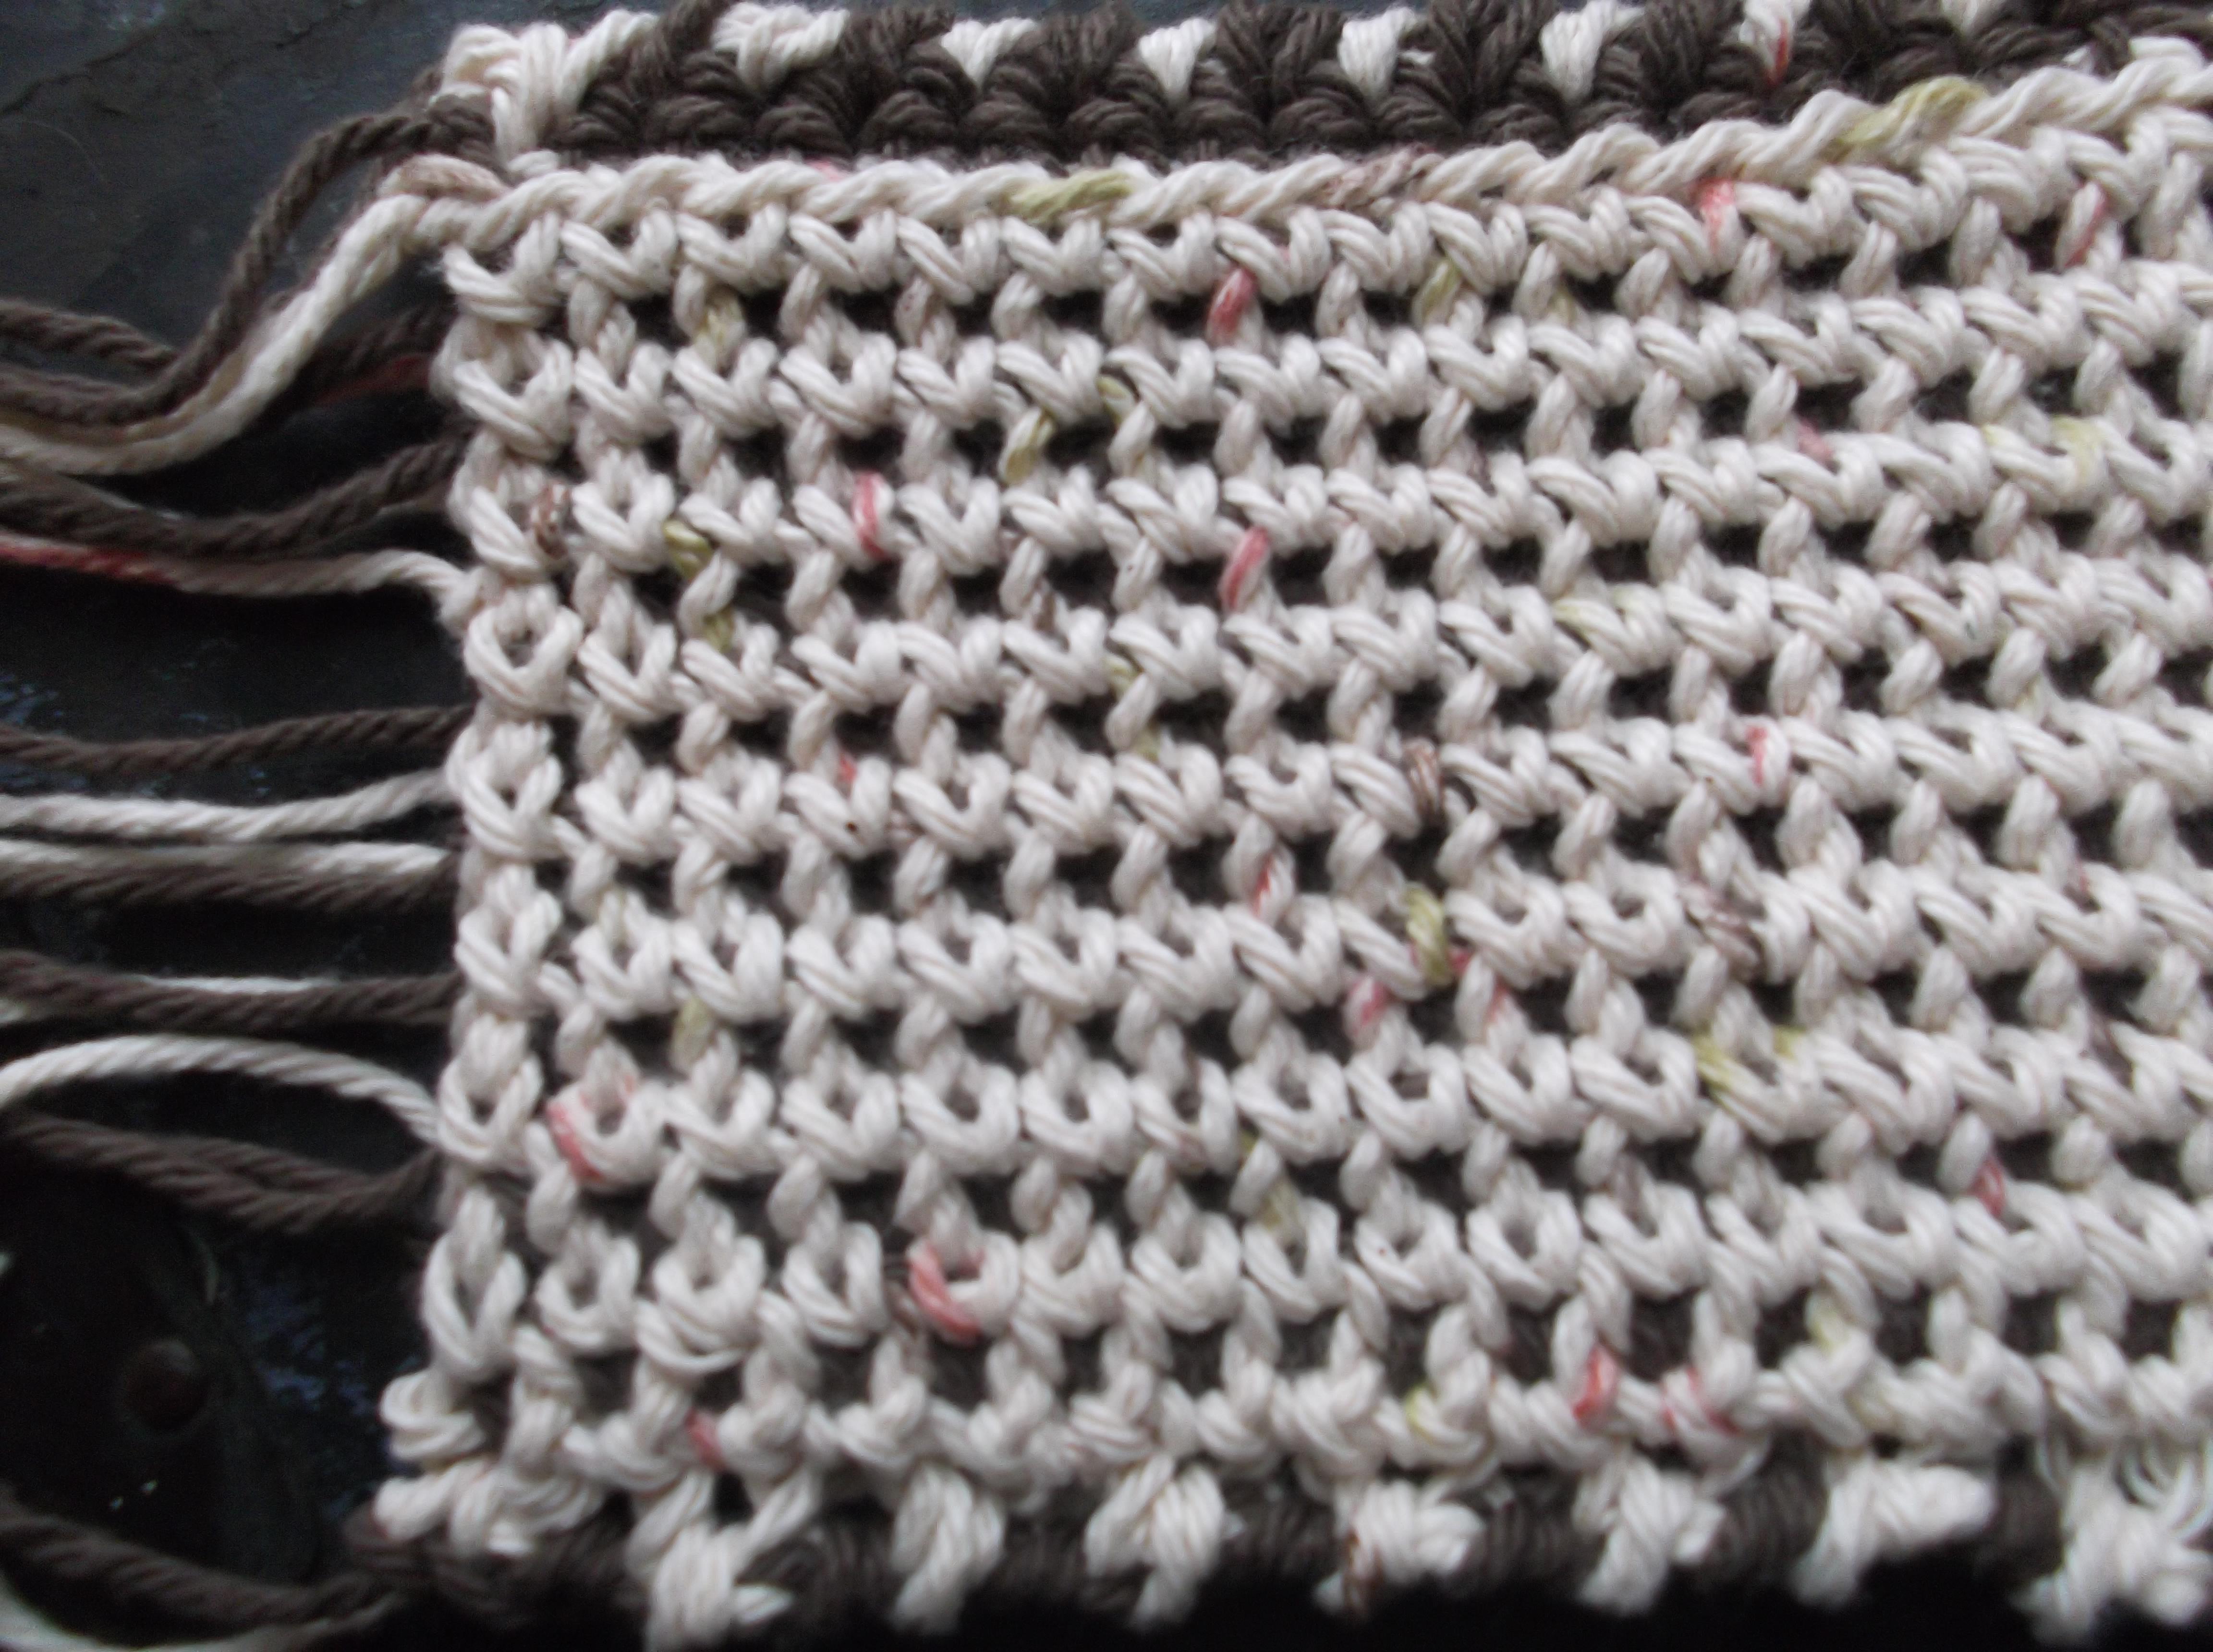
Using two colors, here is one side….
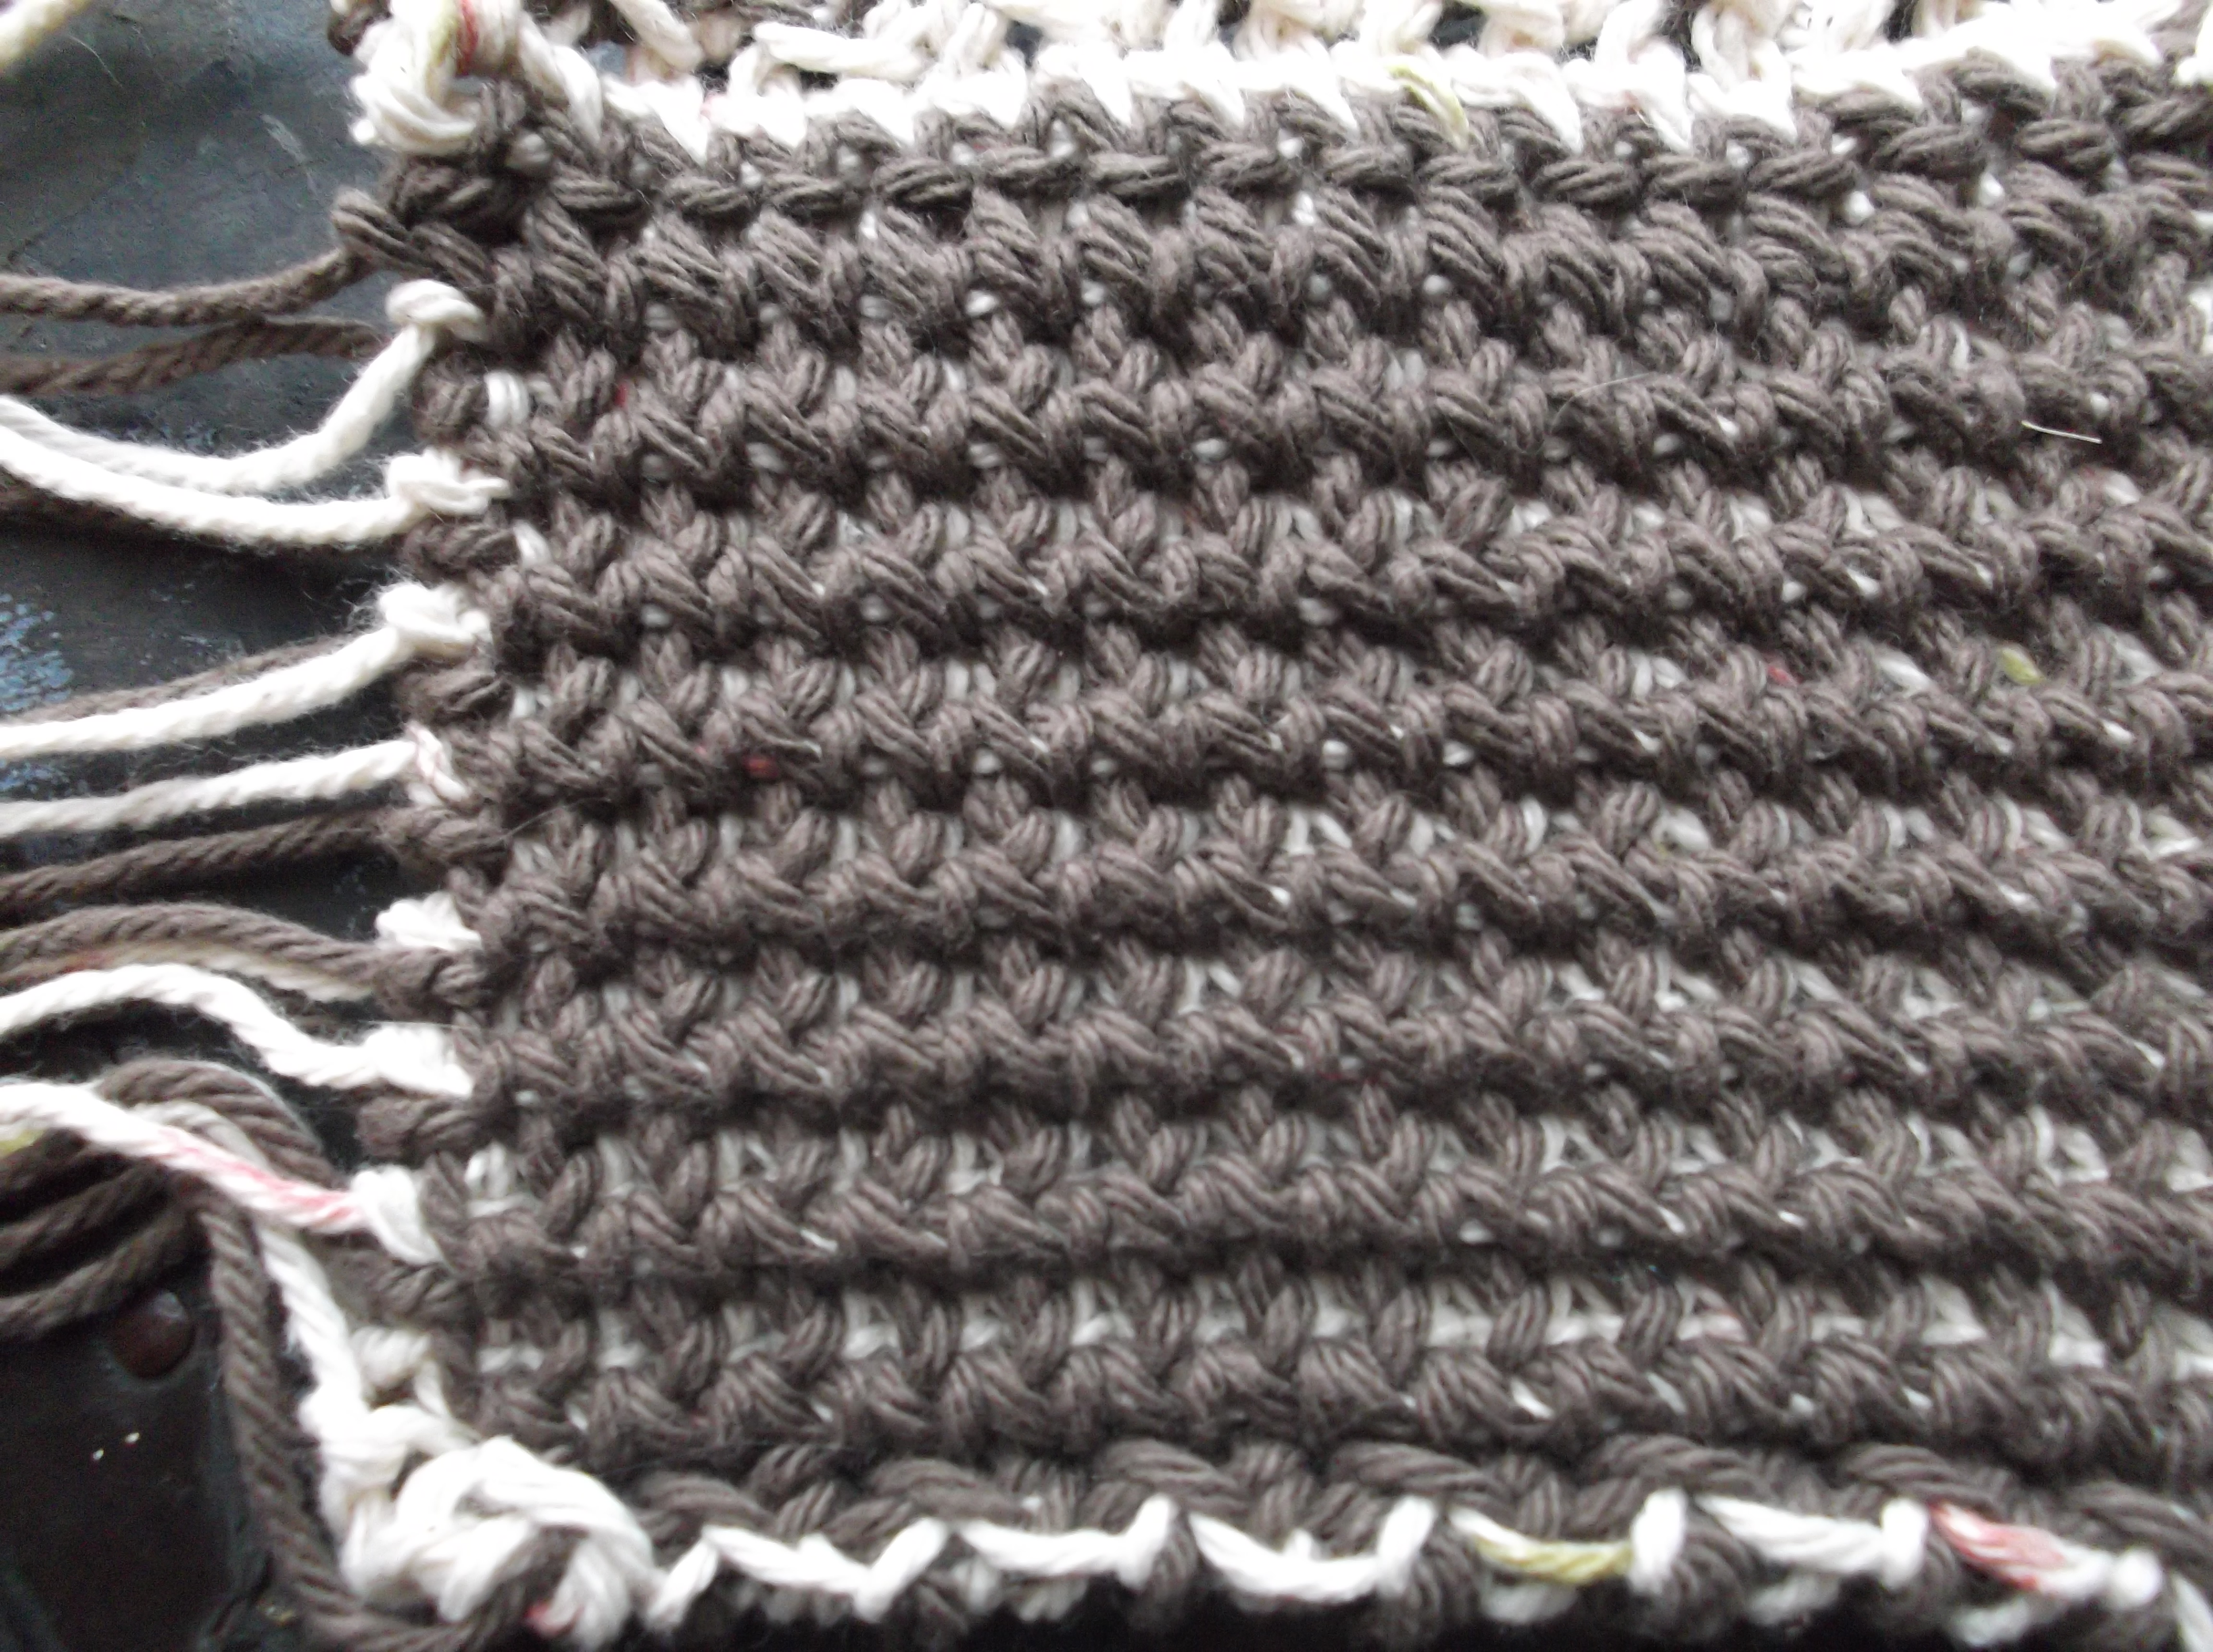
DSCF0573

…here is the other.

DSCF0571

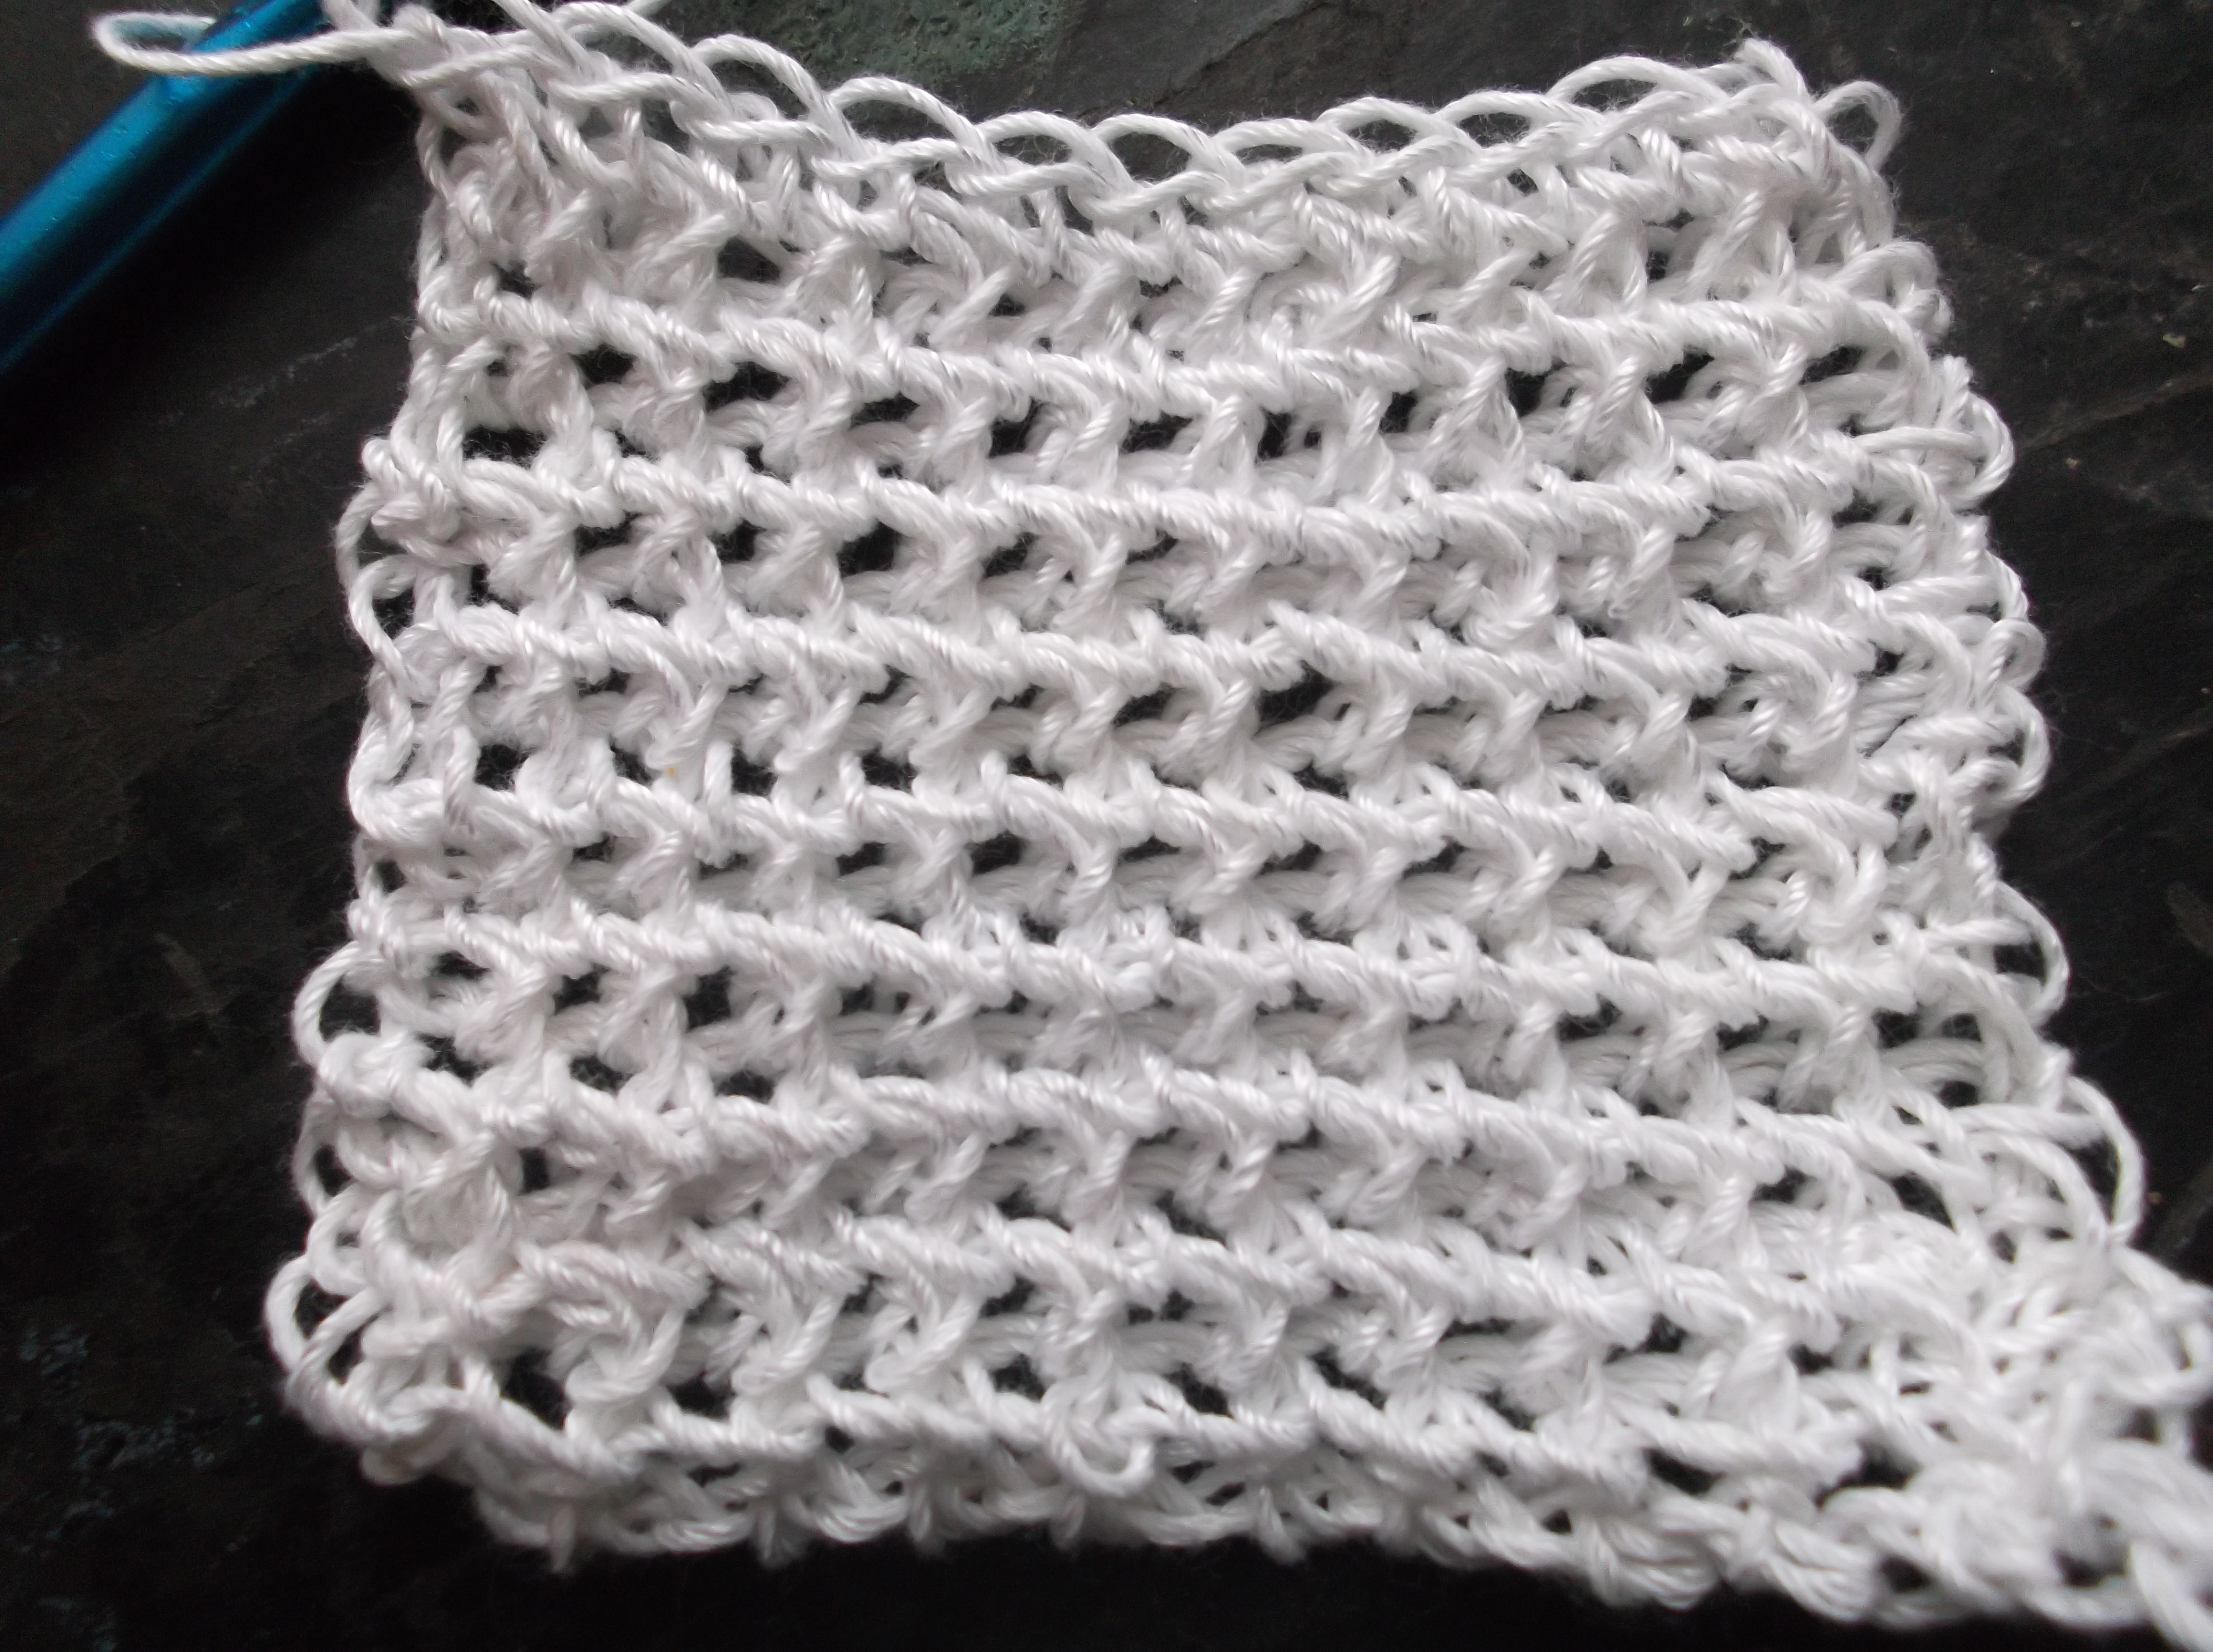
Play swatch, showing same technique using sport weight yarn and an N size hook (in one color), look at the open effect…has some possibilities….

One of the areas I plan on playing with is large hooks with finer yarns. In the small sample I started working with I was impressed with the draping I received as well as the slight openness of the fabric (made me think of springtime). Amazing how attempting to explain a simple concept can yet lead to more questions, and hopefully better understanding…I will keep you posted.

Uncovering the Wool from Over My Eyes

ScannedImageI will admit, as a long time crocheter, I used acrylic yarns almost exclusively for years. I do not say this as a negative thing, acrylic yarns have many practical purposes and companies are creating new textures of yarn with them daily, but there are other practical mediums out there that deserve attention too. However there were several reasons for my long term use of acrylic.

First, availability. In years past I could actually pick up Super Saver in the grocery store while my mom got milk and eggs. Since it was already at hand it was easier to use more regularly. However times have changed, even finding the box stores with Super Saver are getting harder to locate (or involve quite a drive to get to). However box store yarns have become more diversified and I can find fibers that would have been seen only in small local yarn stores in the past.

Secondly, I knew how to use it. A pull skein is a simple concept that involves no extra work on my part. I could pick up a skein and a hook and go right to work, with a hank I was at a loss. I did not want to look like I was confused or unskilled, so I never really picked them up. I guess I figured that if the yarn could confuse me as to how to actually start using it, things would not go well. But after meeting some local spinners and learning how yarn is created at a wheel, I learned how to handle a hank (Here is a past post that shares the explanation).

Vineyard at Dawn Shawl (back), Crochet! Magazine Spring 2013 Photo courtesy of Annie's

Vineyard at Dawn Shawl (back), Crochet! Magazine Spring 2013
Photo courtesy of Annie’s

Finally, thirdly, cost. I like to think of myself as spend conscience. I always looked at the cost per yard to find my best value (I admit I still am very aware of this even today). However, over the years I have come to realize that quality can make a really difference in my end product. Often the yarn can make or break a design. I use my Vineyard at Dawn Shawl (pattern in Spring 2013 Crochet! Magazine) as an example (created with a Blue Heron Rayon/Metallic), it has great drape, and is just striking, but if it were worked up in a chunky yarn it would have a very different effect, imagine it in soft, fuzzy mohair, which would be a different effect as well.

So, while these three obstacle where in place, I never tried luxury yarns or even wools for that matter until the last decade or so. When I first attempted wools, using my value shopping method, I found fibers that were not the most ideal. It worked up like I expected wool to, scratchy, itchy, and somewhat stiff. It played into all my negative preconceptions, but the more I learn out fiber the more I realized that not all wool is created equal.

Basically saying “wool”, is like saying bouquet, while terms like Merino, Shetland, and Romney are names of the flowers. These “flowers” have different properties that offer a different quality to the yarn. They have different degrees of softness, of loftiness, of felting ability, of amount of twist in the end yarn, and of durability. I won’t pretend to be an expert in know all the differing qualities of wool breeds, but I do know that the differences are there and can really make a difference in the end quality of my work.  

New Born LambOne of the first grading areas is the diameter of the individual fiber. The smaller the measurement in microns the finer the yarn, for example Superfine Merino might have a range of 15.6-18.5 microns, while carpet wool can have a measurement of 35-45 microns. This is before they are spun into yarns, so basically the larger the individual fiber the courser it will be. This alone can create many differing yarns out of wool, but then there are other properties such as crimp and staple length that play into a yarns texture. So you cannot take the term “wool” on face value, different wool breeds react differently (even to felting, some felt very little and others felt just by looking at a washing machine). I guess like most of us, there is more than meets the eye.

My Color Change

ScannedImageSometimes what makes the biggest difference with the appearance of your work, are the things that it is assumed you know. For crochet this means those little things in a pattern that state; “weave in ends”, “change color”, “finish off”, “yarn over”, and the unwritten beginning slip knot.

These are areas that I have taken a little time and explored, to see what feels most comfortable to me. I have some past posts talking about weaving in ends and yarning over, so today I thought I would take a look at color changing.

DSCF0554

Completing a stitch and working the next stitch in a new color

I have played with a couple different approaches to changing color since I started crocheting oh, so many years ago. I think in the beginning I just tied the colors together, sometimes at the end of my last stitch and started the next stitch with the new color, having a little knot at the top of the stitch. I mean I would cut the working yarn and tie the new color to it, and just keep crocheting away, so it was just one long piece of yarn in my experience. It is not exactly perfect, always a little unsure of exactly where the color will change at, and then there is the little knot, so it adds a slightly different texture.

DSCF0556

Changing color at the last yarn over of the adjacent stitch

DSCF0555

Smooth transition of color, see how the last loop of the purple stitch actually rests on top of the next stitch shown in the previous photo, creating a straight white line

Then I graduated to the point of changing the color after completing a stitch, and begin the new color with the next stitch. It was similar to the cut and tie method I did in the beginning, but I did not necessarily create a knot. I would cross the yarns over each other so that the last loop of the first color would get to loose. But if you look at this approach, it does not leave a smooth “straight” line of the color change, there is a little color overlap in the newly created stitch. The reason for this is due to the stitch construction for crochet stitches. The last yarn over and pull through of a stitch, actually creates the top of the next stitch adjacent.

So then I realized that I needed to change color at the last yarn over and pull through of the point of the color change. This gives me a cleaner color change, and a secure transition of yarns. It allows my work to have an appearance that looks a little more skilled. Granted I have ends to weave in, but this simple technique has taken my work to new level.

A Tail of Ends

ScannedImageWeave in all ends. Simple statement written at the end of almost every pattern, yet if you get a group of crocheters together you often find many different answers to how this is done. I have been on a personal mission to see if there is any consensus on this topic, and on my journey have found many opinions, thoughts and rationale for various approaches. Here are a few with their pros and cons, so that you can undertake a personal reflection and see what works best for your style of crochet.

First I need to have a long enough end. I admit yarn is precious so I don’t want to waste too much that I will just be weaving in, or cutting to throw away.  So yes, I have had short ends in some of my earlier work. I look at those pieces now and shake my head; the ends never stay hidden, regardless of which technique I try, the only thing that I can do to fix them is to pull out a needle and sewing thread and attempt to sew them down. I’m not a seamstress, sewing is not the reason I crochet, so I have learned my lesson, I leave an end of at least six inches in length, anything less is just asking for trouble.

IMG_5523.1

Crocheting over the ends

Personally I have hated weaving in ends, so I have crocheted over ends whenever possible, this is quick and easy, but not exactly un-obvious. It does create a small ridge in the stitches that are crocheting over the end, and it is not very secure. If you give the fabric a good tug the end slides, and sometimes works itself out. Not to mention that the end is noticeable on the wrong side of the row, especially if it is a color change. Okay, so maybe this is not the best approach.

So maybe I should attempt weaving in, but I don’t want to get a tapestry needle. I take my hook and insert it through some stitches and pull the tail through. I don’t have to get up and find my needles and I am weaving in the ends not crocheting over them, but this is a little time consuming and the end looks obvious in some places as it sometimes is on the surface of the fabric entering into the side of a stitch. So unless I’m in a pinch on a personal item (that I don’t care about its appearance) I should probably stay away from this approach as well.

IMG_5526.1

Weaving in ends over and through stitches

I guess I have to get the tapestry needle, now what. I can go straight across the rows, through the stitches but this gets me similar results to crocheting over them, if I give the fabric a tug it pulls out. So I ask around. I find people (even knitters) that have used some approach similar to those that I have attempted above, but then I find out some interesting tricks…work the weaving vertically through the stitches instead of horizontally, they are hidden better. But you can’t just stop there, you work the end in one direction for half the length on the end and then turn around and go back the other way, this will stop it from sliding out when the fabric is tugged. Genius! Why have I not found this before? Probably because crochet is as diverse as the people who love to do it. There is more than one right answer, so you have to find what works for you. I am sure that I have not found out all the tricks, more will be discovered, but at least for now I can hide an end and not have it slip out, since any good finishing should not be noticeable and should stay where it is put.

(To see a more in depth article, it is available in the CGOA Autumn newsletter)

How Do You YO? (Yarn Over)

ScannedImageIt is funny sometimes how you don’t really think about the little things. I was assisting with a crochet workshop this past week end, in which people were learning crochet stitches by placing an edging around a handkerchief, when the question came up about “yarn overs”.

IMG_5704

Yarn over by coming under the yarn and rotating counter clockwise

IMG_5705

Yarn over by coming over yarn and rotating clockwise

Now talking about something as simple and fundamental to crochet as the ability to put yarn over a hook should be pretty straight forward, but in reality it is not. There are primarily two different ways that this is done, the most common is to place the hook under the yarn and twist counter clock wise, and the other is to placer the hook over the yarn and twist clockwise. I always find it difficult to process the description mentally so I have included photos to help visually.

The effects from this differing yarn over techniques are subtle, but there is a difference, the latter method (coming over the top) adds more twist, and thus twist energy then the former (coming under the bottom). This twist energy is most evident in basic stitch of the chain, it is caused to twist.  Thus more complex stitches, such as picots, do not lay flat and require additional blocking to have a finished look. (Although it was pointed out to me, that if you wanted a really ruffled edge that this yarn over could be a benefit).

samples of yarn over chain stitches, those are the left are from under, and the right are worked with yarn over from the top

Another effect of this method is that the stitches can appear more compact, and tighter, even with the airiest of yarns. The extra twist compacts the yarn slightly and thus creates a stitch that may not be as full as that created by yarning over from the bottom.

If you find that your crochet fabric has a mind of its own at times, you may want to look at the simple steps you use to execute them and see if a small change could make a big difference. I always find it amazing that it really is the little things that can make all the difference.