Life’s Journey- A Crochet Job

As I attend several graduations I ponder my days of completing high school and where I thought my life would go, and if someone told me that I would be designing and teaching crochet I seriously would have laughed at them. I even remember telling a friend my senior year of high school, after he was in awe of an afghan I had created that I should make and sell them for a living, that there was no money in such an endeavor.

Granted all these years later, I will not say that the money in crochet is great, but it is now my profession, even if it took an odd journey to get there.

Like most students graduating high school, or even college, I was never able to answer the question “where do you see yourself in five years?”. A great question, but one that always felt like I could not adequately answer.

I worked the food industry, I worked retail, I worked for startup companies and local government before finding myself currently in crochet. In reality I would probably still be working local government if there was not a change in the direction of the management that no longer wanted to employ part time workers. I had been working part time for a few years juggling the typical family demands of running a household and raising kids, and the costs that I would incur in the additional child care did not justify working full time.

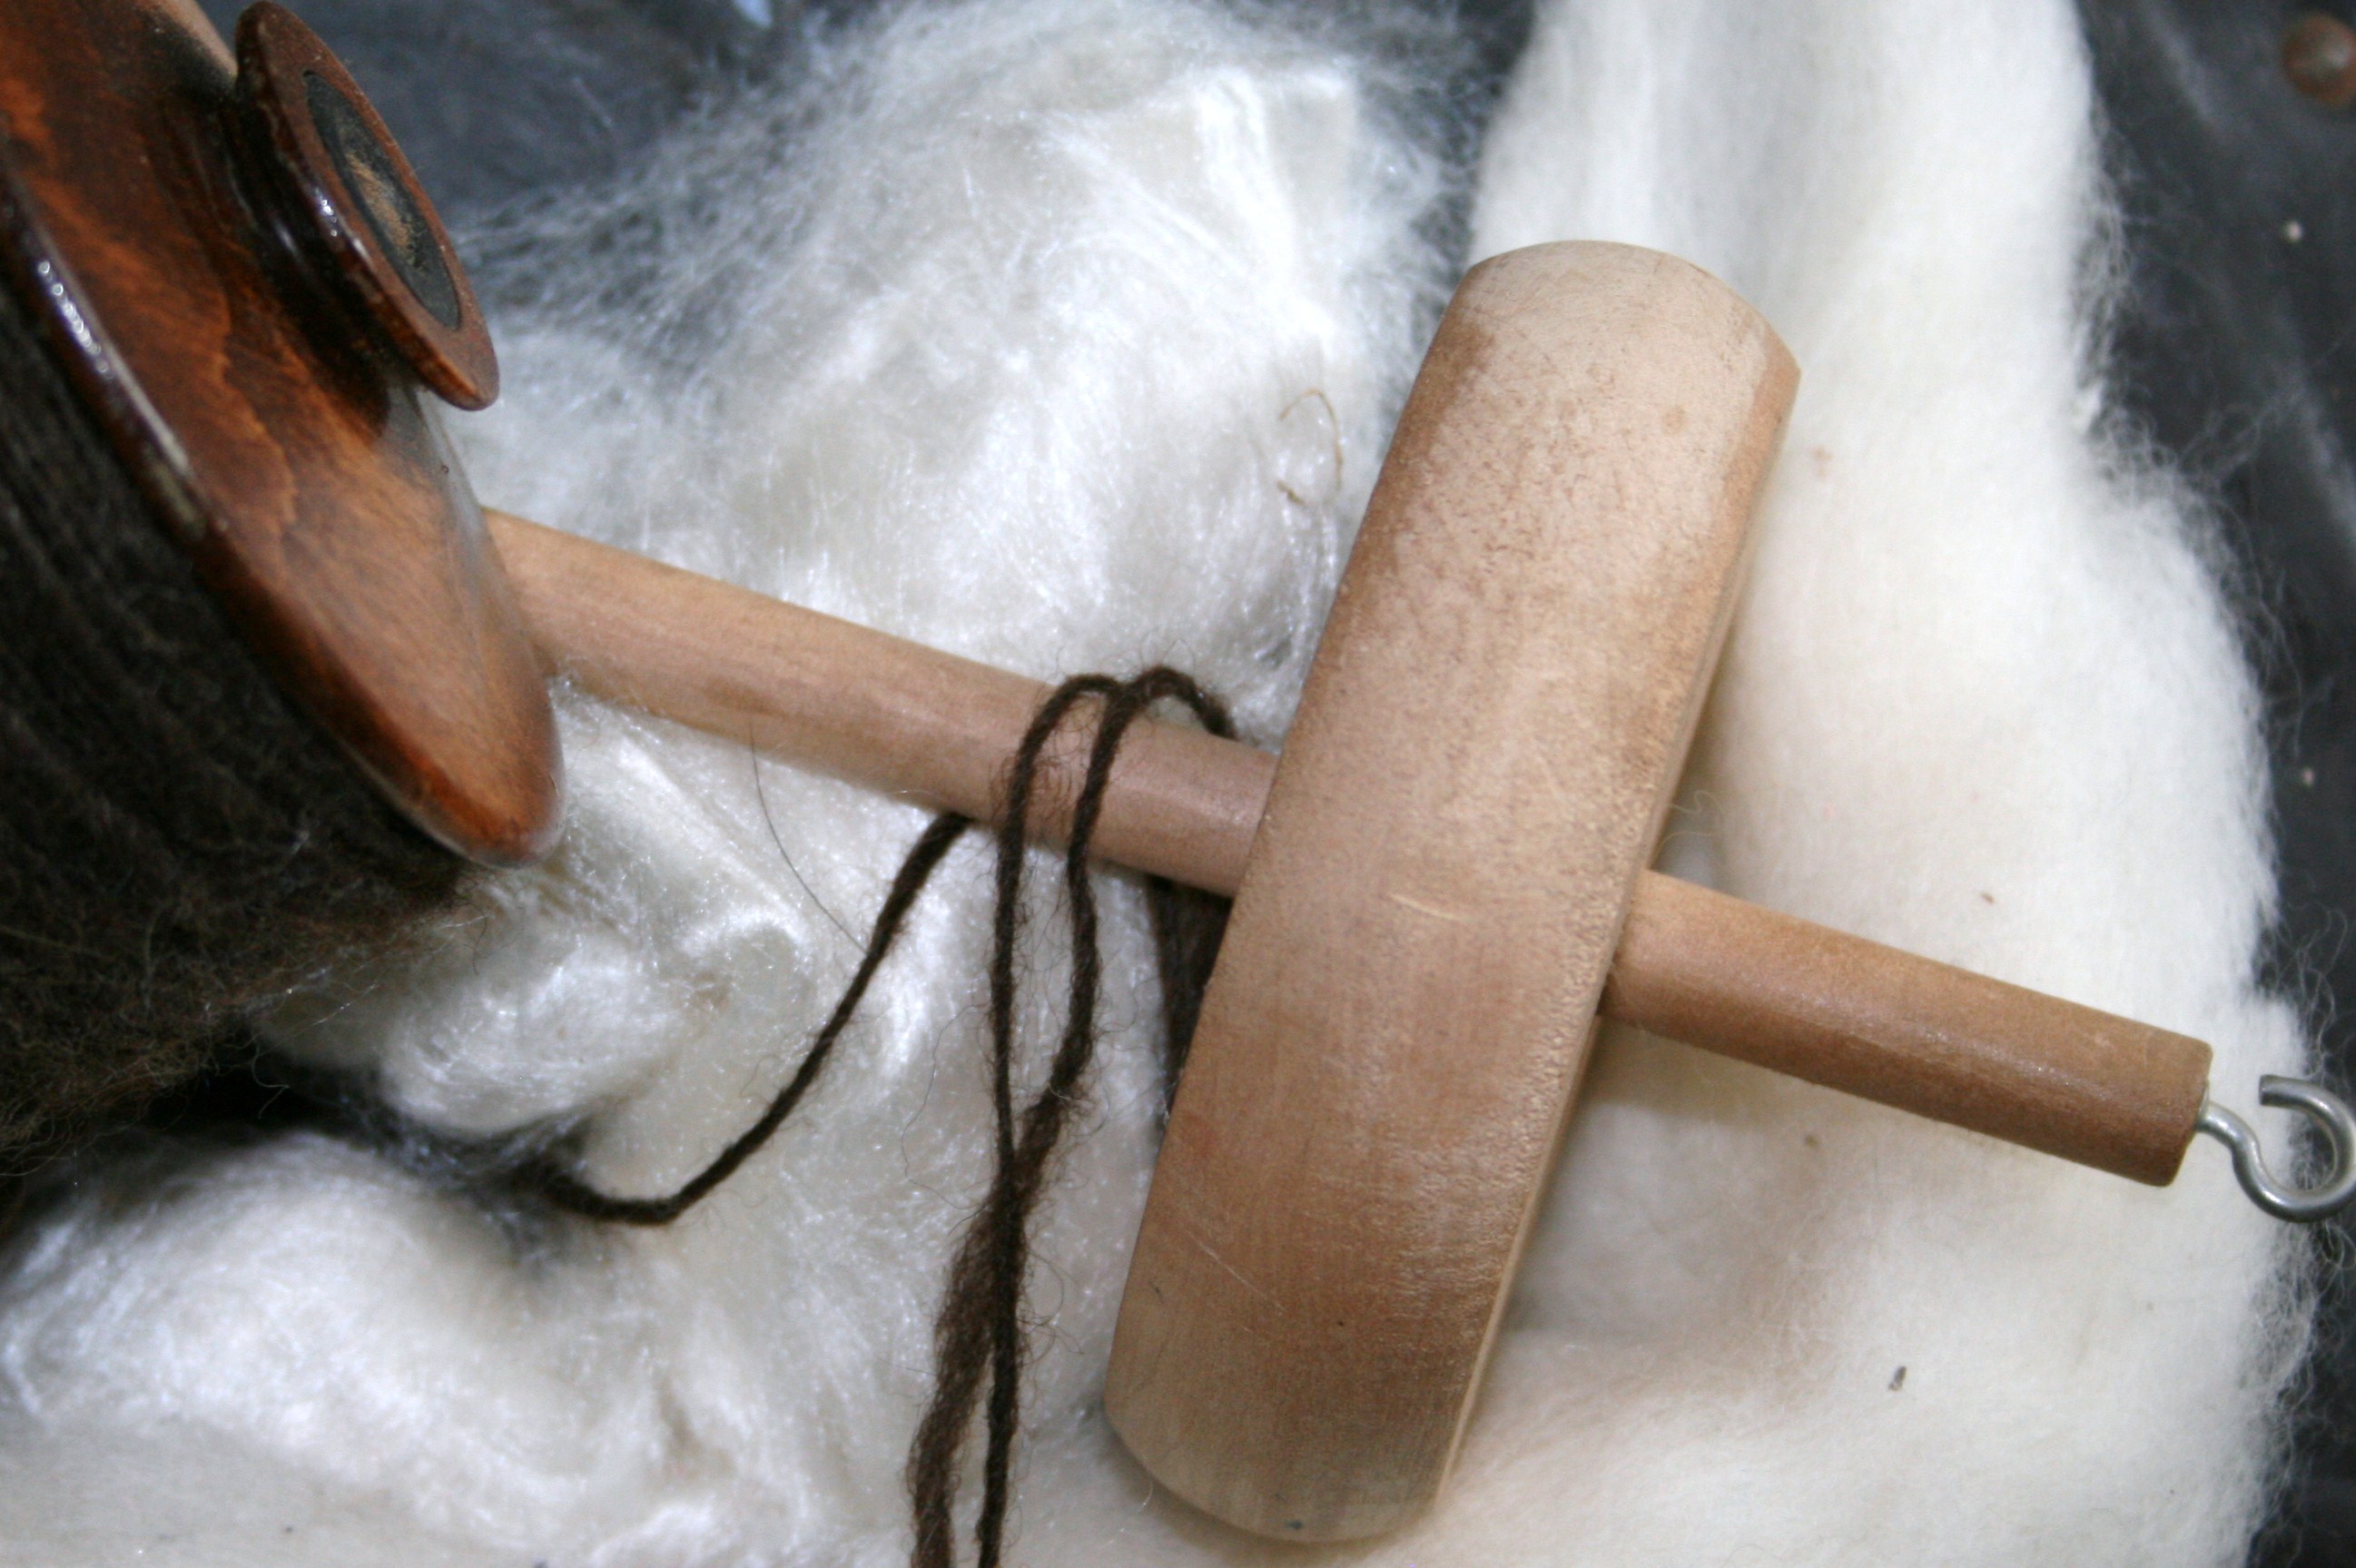
When these management decision were made, I was fortunate to have already had an opportunity to sell my first crochet design. It began just a couple of years earlier, when I was attending an event with a silent auction and I won lessons on using a drop spindle.

I had already been crocheting for decades, but due to the speed of completing my projects I was wanting to find a way to enjoy the process longer, so learning how to make yarn on a drop spindle was an exciting adventure. During the lessons my instructor was telling me all about her local guild, and invited me to attend a meeting.

I admit I was a bit apprehensive, but after finally taking her up on her invitation, I met so many interesting people that fostered a new desire to learn and grow in all crafts related to fiber.

I then learned of the Crochet Guild of America, and that it had a Masters program. I decided to test my skills in this program, of which I graduated. I was then invited to attend the annual conference of this organization, with the encouragement of my family I attended. I met so many people and gained so much insight. With a determined new friend’s guidance I sold my first design, it was published the same week I left my job in government.

You never really know when life can completely change, you never know when a skill you used as a child will now become your income source. I do not know “where I will be in five years”, but I will continue to support the twists on turns of life’s journey.

Crochet Disintegration- Knowing the Points

In all my crochet repairs I have learned some simple truths…there are points of crochet stitches that are more likely to break, disintegrate, or fail. Granted this is only understanding a “natural” break after wear or use, not the type of repairs that occur after the puppy finds a new toy in grandma’s afghan. Understanding where these points of natural breaks occur are really help in making repairs, and it also helps me understand how my stitches work together in the final fabric.

Fixing Disintegrating crochet stitchesIf you think of your crochet fabric as the construction of a building it is much easy to see that there are some points that are “load bearing” and where future repairs might need to happen. These “load bearing” points usually happen in a place that stitches are worked into. For example, the center of a motif is a classic area for a structural fail. Working multiple stitches in this one point puts a strain on the yarn, especially when the stitches are worked only over 1 strand of yarn.

Working in one loop, either front or back loops, of a stitch also is a point of stress on the yarn. This one strand of yarn is bearing all the stress of any tugs or pulls, and depending upon the composition of the yarn, or the twist of the ply on the yarn, some fibers do not handle this stress as well as others.

If you encounter these points of stress beginning to fail in your fabric, there are some simple ways to make the repair.

The first step if to thread a yarn needle and catch all the loose loops from the base of the stitches that affected.

After securing these loops, the next task depends upon the stitch that has failed. If it is a center of a motif, one can usually thread yarn around the join or center of the motif, working under all the stitches in the center and essentially creating a new center loop, and secure this new loop.

If it is the top of another stitch that has failed, well this become a bit more of an operation. Dependent upon how damaged the stitch is, you may need to remove the stitch and re-stitch it, or simply catch its loose loops and using a threaded yarn needle “sew” in the manner of which the yarn would be pulled through if being stitched. This process takes a bit more confidence, and maybe some practice, but you can save history with a bit of patience.

The best tip I can share for fixing the disintegration points, is not to attempt to work everything in one sitting. I find that I can only work for about 15 minutes at a time, as it is such focused work. Do not feel that it is a quick undertaking. Be patient, and it will come.


Testing Myself- Teaching Crochet

I am getting ready for my latest test…oh, I mean teaching opportunity! I am teaching this July in Portland, Oregon, at the Crochet Guild of America’s annual crochet conference (also known as Chainlink).

I say I am getting ready for my latest test, because ready that is how I feel, and the way I treat it. I put a lot of work in behind the scenes for my classes, to ensure that I cover the topic in the most approachable way, and then have a couple of back up approaches in case the explanation doesn’t resonate with the audience.

So, I am brushing up on a couple of different topics for Portland, like Drop Spindle. I will be teaching a 6 hour class on creating your own yarn using a drop spindle. I am doing extra research on various drop spindles, various fibers, the history, and different approaches to spinning, to make sure I am not missing any information.

I am acquiring all of the materials a student needs to learn with and then some. I have a material fee for the class, because I want to make sure that my students get the best materials to learn with. I personally hate taking a course and attempt to get the items needed, get to the class and find that I found products that were not necessarily best for understanding the concept. Fortunately, when I procure materials for my class I can often get a discount for bulk purchase and pass that saving on to my students.

I am also testing and investigate more ways to dye yarn for my course Home Dyeing –Safe & Simple. There are always so many ideas that come when diving down a rabbit hole of content, and this class offers that as well. I find myself adding more approaches and techniques every time I teach this course, as so many new ideas have been generated and various artists are cultivating new techniques. Often times questions that student generate in class can add to the material of future classes, giving me new areas to research.

Beads are another skill that can be ever evolving, my course Beading Three Ways, really should be renamed at this point, as I have added a few other ways over the years. From student questions, to new books on the market, to revisiting older techniques, this class probably covers at least 5 ways to work with beads now.

Probably my historically best attended class is What the Pattern Does Not Say. This class also is constantly revisited by me to add more content and update the terms. I find that the most daunting things for crocheters in understanding patterns, and I offer a fresh approach to understanding how to read a pattern, while pointing out tips and tricks that maybe causing you to fail, even before you start.

So even though this is only 4 classes, I will spend countless hours, days and weeks preparing.  Then during the event of teaching the real test begins, ensuring that my students feel comfortable, that they feel inspired, and that they feel accomplished when they walk out of the door. Then it starts all over for my next teaching engagement.

Consider joining me, you can find the class listings at crochet.org.


Crochet is Everywhere

I have been traveling quite a bit as of late, and have had the welcoming surprise of seeing crochet so well accepted.

The first weekend in April I was invited to offer instruction for the Crochet Guild of America at the DFW Fiber Fest, and teach the CGOA Master’s Day course. DFW Fiber Fest is in its 13th year, and includes all fiber skills; knitting, crochet, weaving, spinning, etc. It feels very much like a family, and there is so much diversity of skills and craft that it really engages the imaginations.

After teaching my course I had a table in the vendor hall to inform people of the opportunities of CGOA, and found my table inundated with people so astonished to find an organization solely focused on crochet, and loved the fact that crochet was at this show.

There were crochet samples in the vendor booths, and the lobby of the convention center was even yarn bombed with crochet. It is always nice to see.

The following week I was in attendance at a blogging conference, SNAP, in Salt Lake City. A crochet class was even offered here, teaching bloggers and crafters the basics to amigurumi (crochet toys). Of the 350 in attendance, 13 specifically focused their writing on crochet. This is among food bloggers, craft bloggers, family bloggers, travel bloggers, makeup bloggers, and such, and there were 13 bloggers that loved crochet. I must admit that I was even surprised by the substantial number of crocheters represented.

During these travel events, I was reminded what an ice breaker crochet is. On my flights I met other crocheters, everyone was happy to talk about their latest projects and the direction this craft was taking them on; making gifts for loved ones, charity projects, projects for sale, the first time attempts, the multiple successes. Crochet brings out the stories that we can all relate to.

I often find that crocheters feel alone in their craft, they might believe that they love a small craft hobby, but the numbers don’t support that. We may crochet alone, but there are many of us, and more places are recognizing this and inviting crochet. Check out your nearest fiber related event, if they are not specifically highlighting crochet, attend anyway and bring your hook, you might be surprised to find how many people open up and relate their crochet stories just by your asking.


Jogged Edges- Just Finish the Job

I have mentioned in the past that I had been crocheting for quite a few years before I ever attempted to a sweater. I actually remember the exact “awe ha” moment that spurred me to consider it, I was feeling under the weather, and was grabbing a quick bit at a deli before my work shift began at the local drugstore. A conversation with the sandwich artist behind the counter somehow came around to crochet. He had asked about how to make a sweater, if it was all on piece of pieces put together. My mind automatically shifted to sewing patterns from my days in my 4H sewing project, and it then hit me…I had been crocheting fabric all along. I only needed to crochet the fabric to the shape of the pattern and put it together.

I mention this as I have received some questions lately about the shaping of pieces to create a sweater, and that I often design them with jogged edges. The art of crochet, I have found, is a bit more forgiving than sewing with fabric (granted, I can sew, but it has never been my favorite past time). I have found that crocheting the most basic of shape of the fabric, without worrying about matching the lines exactly, but getting the basic shape, is all that is really necessary to be successful.

My jogging edges are most frequently found in neckline shaping, and the “bell” shaping at the top of set in sleeves. Yet, in the finished garment these jogs are not noticeable, simply because of seaming and edging. Edgings smooth over these jogs, creating a nice completed finish, while seaming pieces together the jogs can actually allow for a bit more stretch. In the seaming I am usually whip stitching (the act of inserting the needle from only 1 side of the fabric and pushing through to the opposite side, bringing the needle and thread over the seam and reinserting the needle from the same side).

The edges do not match up perfectly on the sleeve seaming, however, you are not usually seaming the top of a stitch to a matching top of stitch. In this process you are often seaming tops of stitches to the sides if rows, and the jogs help you better fit this together.

Basically, don’t worry about over thinking your crochet, minor tweaks and simple tricks can smooth it out and get the result you are hoping for.