Crochet Bag Handles- The Best 3

I need crochet bag handles. Crochet bags have one hurdle for me, finishing them with handles. There are many great handles out there, I could easily purchase leather strapping or wooden rings or traditional purse straps. I could even head to the thrift store and find a cheap handbag that I love the handles on, and cut them off for my bag…but there is a common theme in these approaches; I have to go and get something.

This “final step” is my constant hang up. It is bad enough that I have to weave in the ends; just this step can leave an item sitting in a pile for a while. So, finding a handles solution that does not become a “final stage” has been paramount to my actually completing these projects.

I have come up with 3 crochet bag handles that fit my needs very well. Ones I could actually make and attach are the requirements. Added to these requirements are the need that they not be flimsy and don’t stretch too much.

The first is make it a Tunisian crochet bag handle.

Tunisian crochet fabric, under certain conditions curls. I have taken this trait that is often seen as a deterrent and turned it into a benefit. To create this handle, I simply create a chain for the desired length of the handle using a Tunisian hook size that is a bit smaller then I would normally use (this ensures that the fabric curls). Then I work 3-5 rows of Tunisian Simple Stitch. The fabric should be curling up on itself. I then decide to seam the strip together of not. I might even insert a bit of clothes line and let the fabric wrap around it. Attach it to the bag.

The curling of Tunisian fabric to create a handle

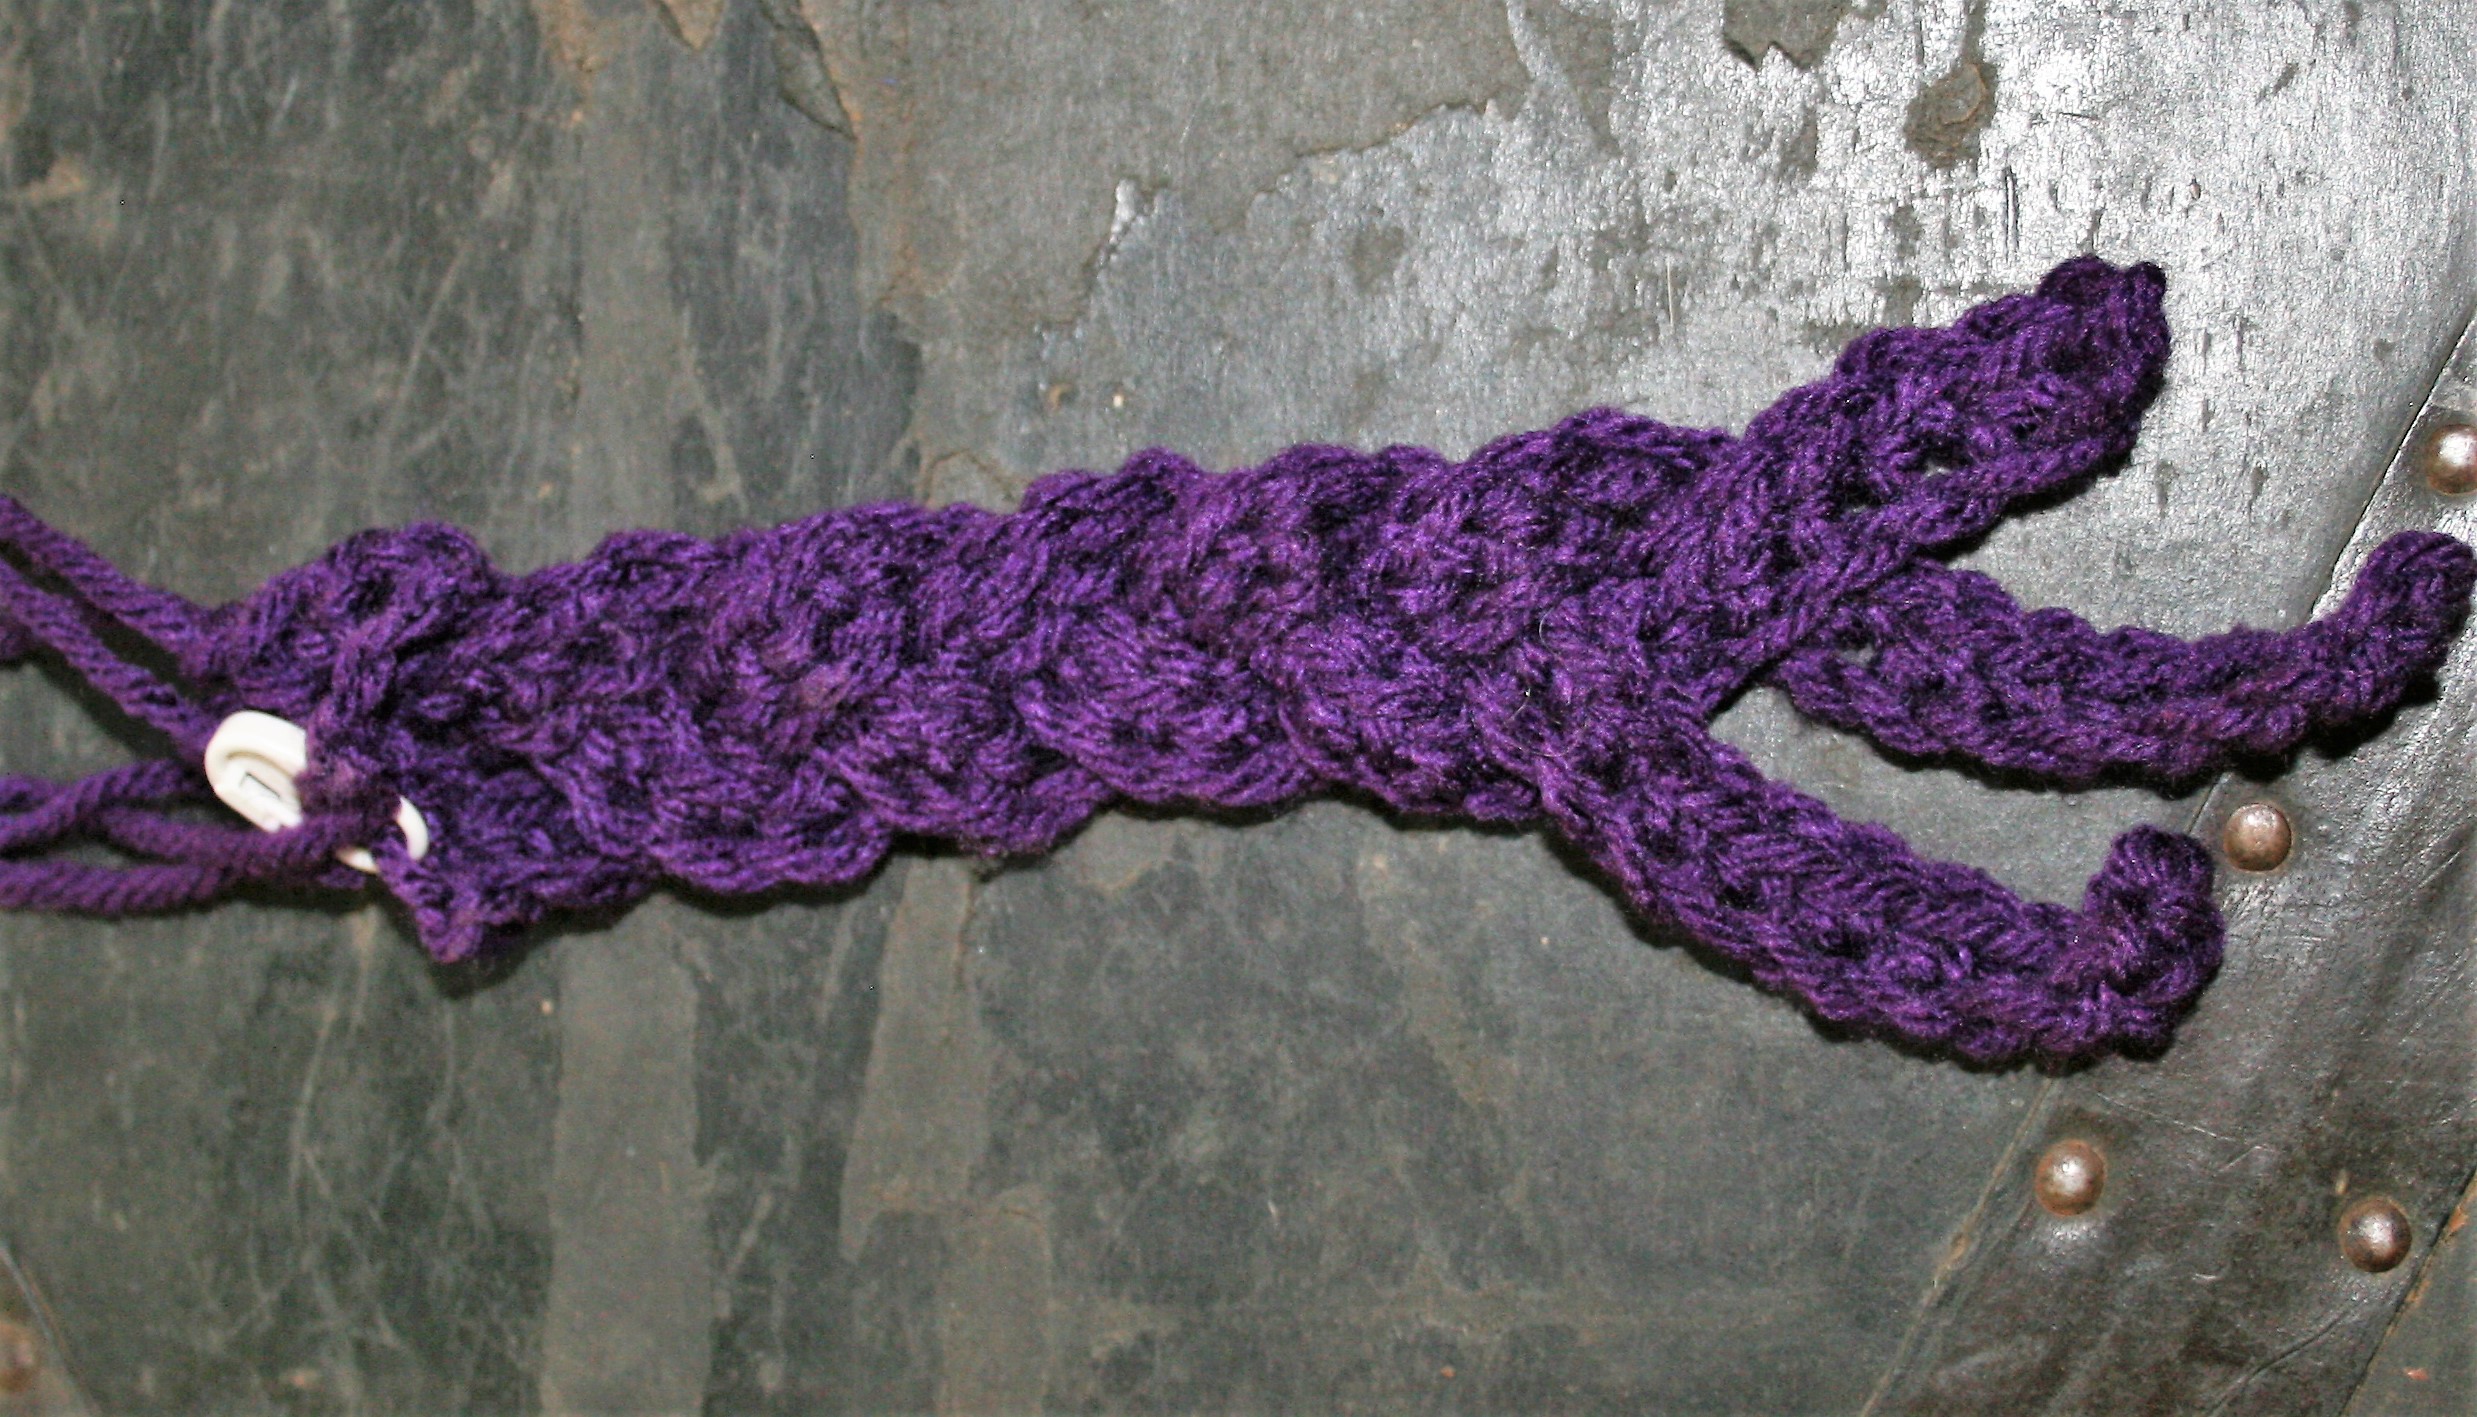
The second is make it a braid crochet bag handle.

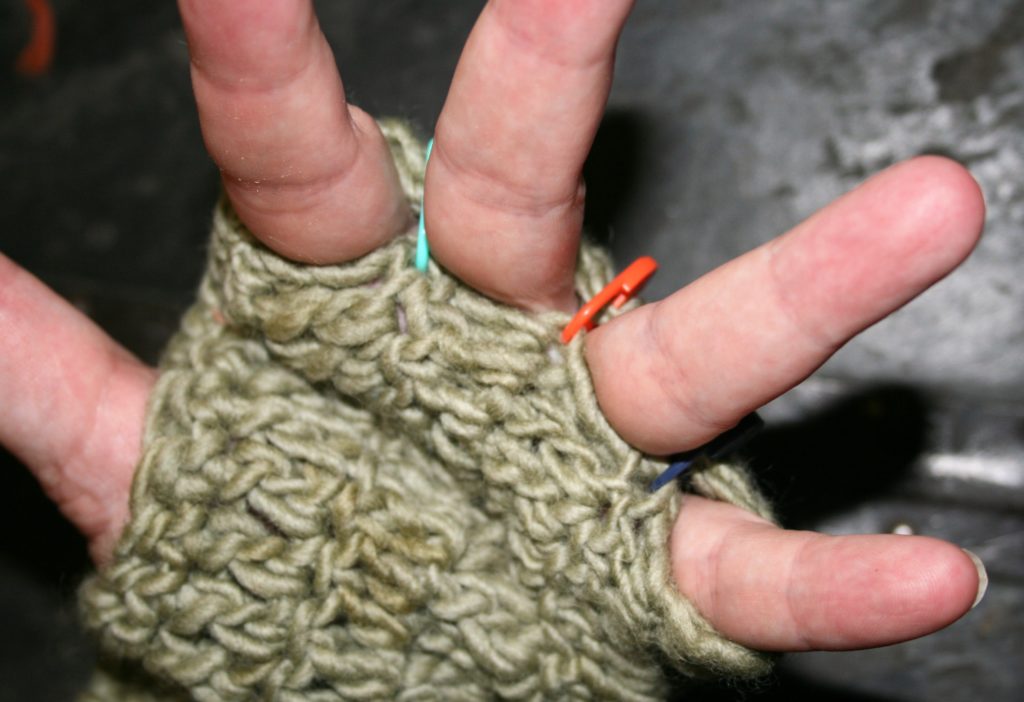
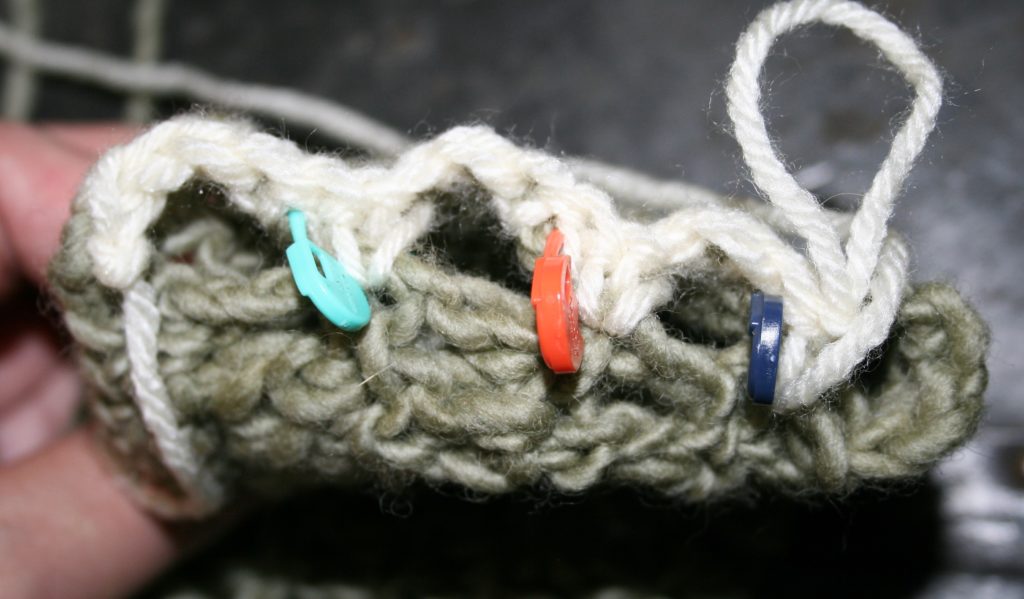
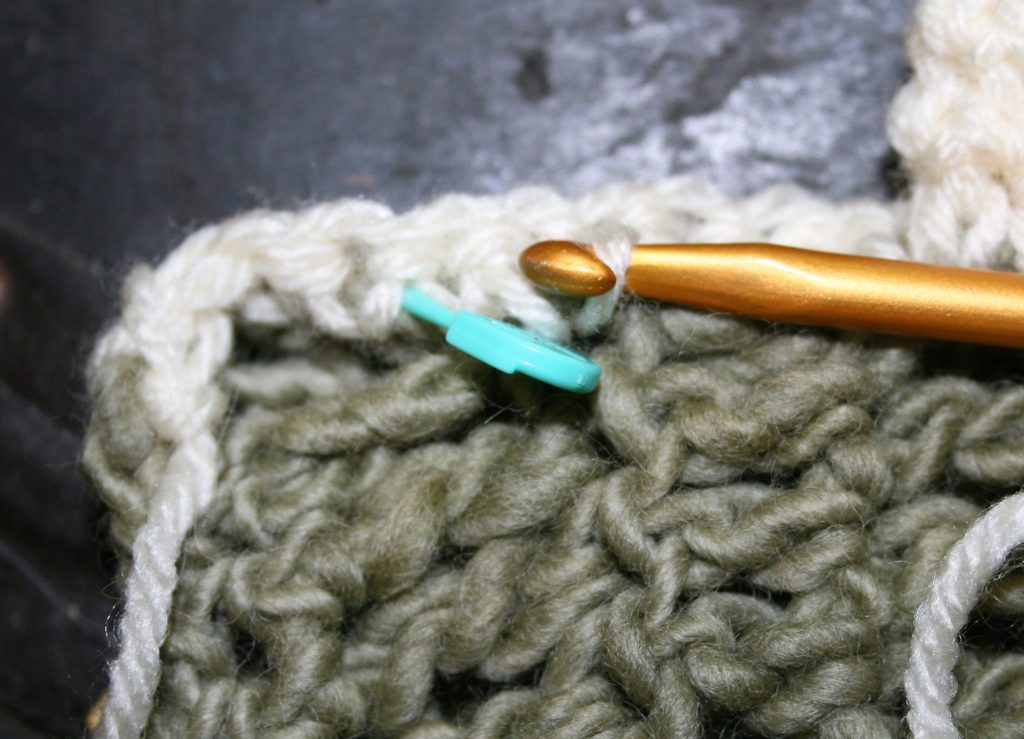
For this approach I create a chain that are about 3 inches longer then I would like the handle and work a single crochet in each chain. Make 3 of these single crochet strips. Pin the 3 strips together and braid them together, placing a pin at the finished end. Then attached this handle to the bag.

Braiding 3 single crochet strands together to create a handle

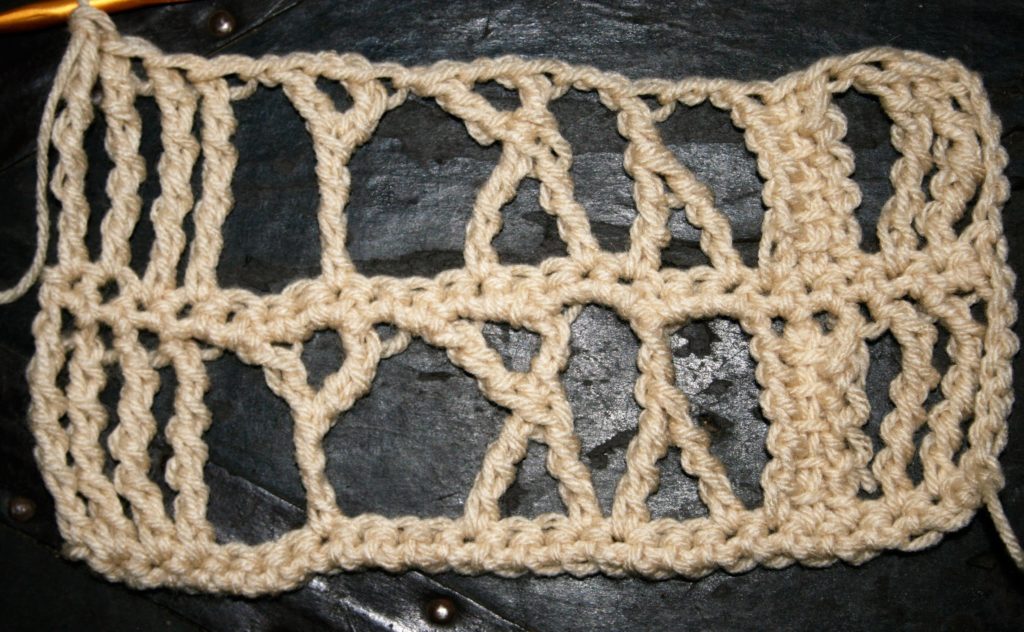
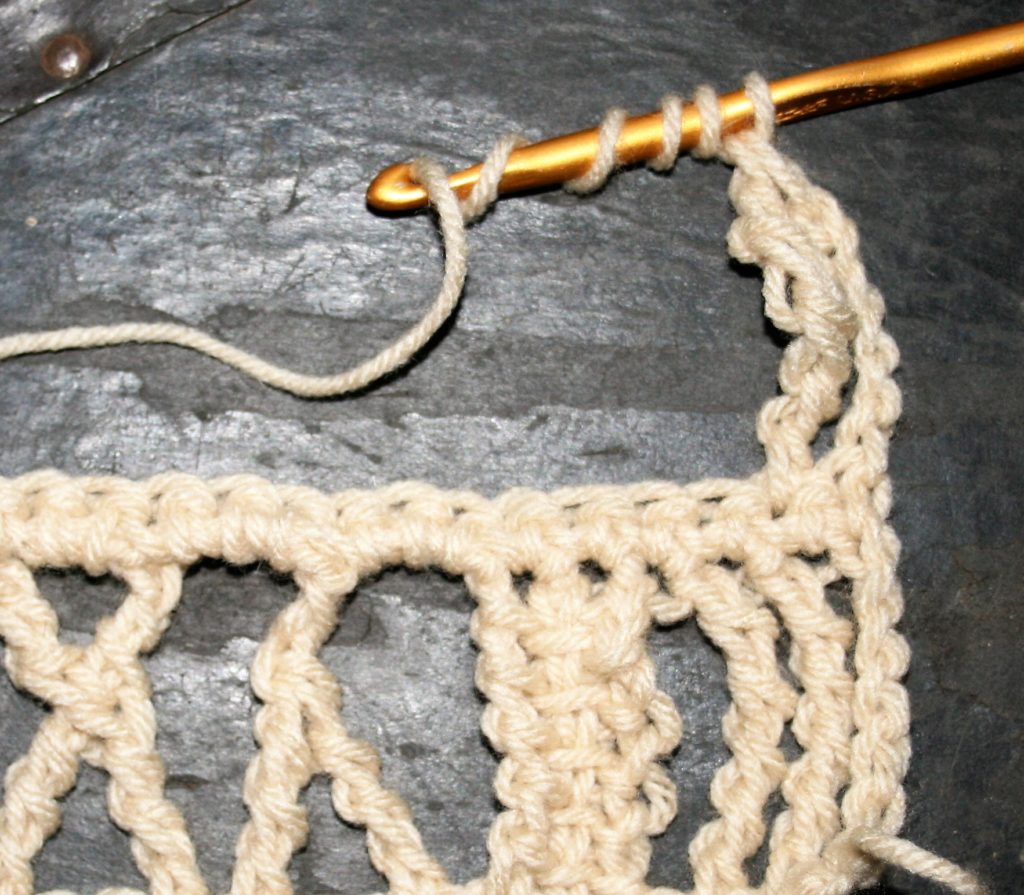
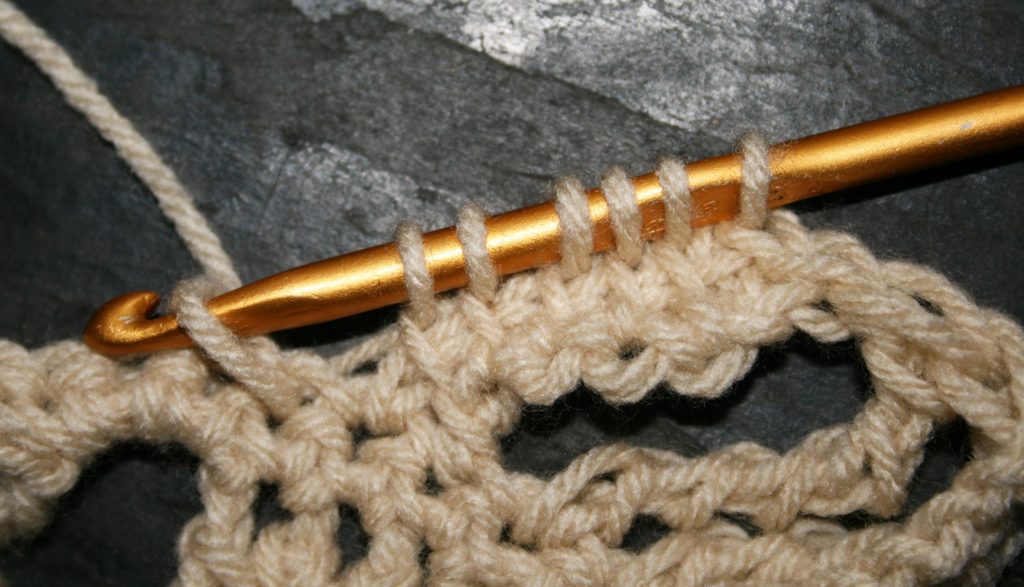
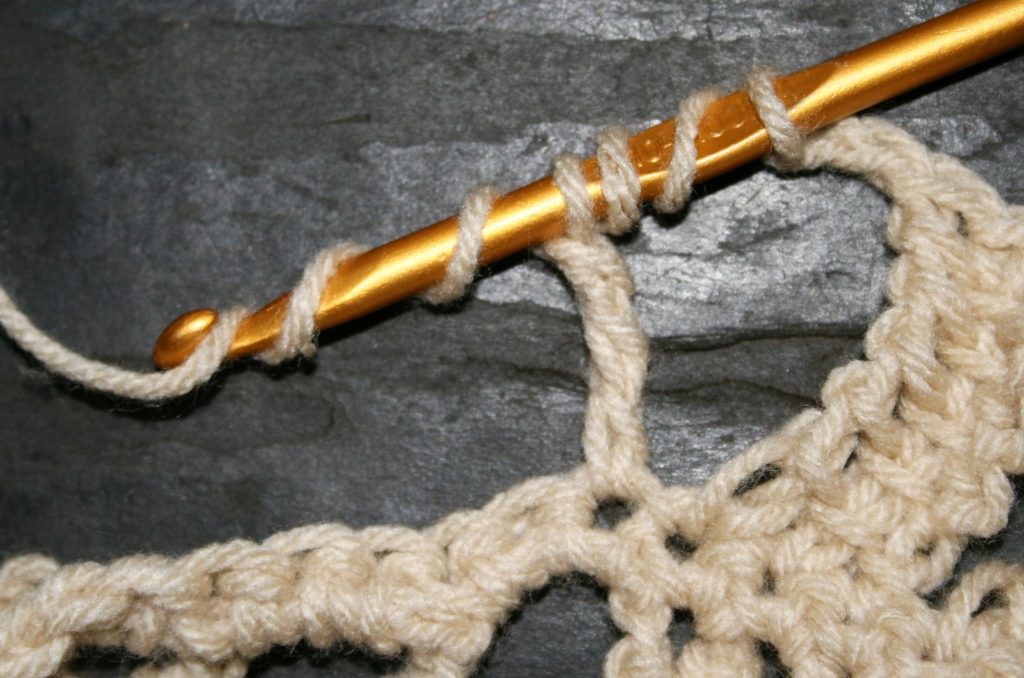
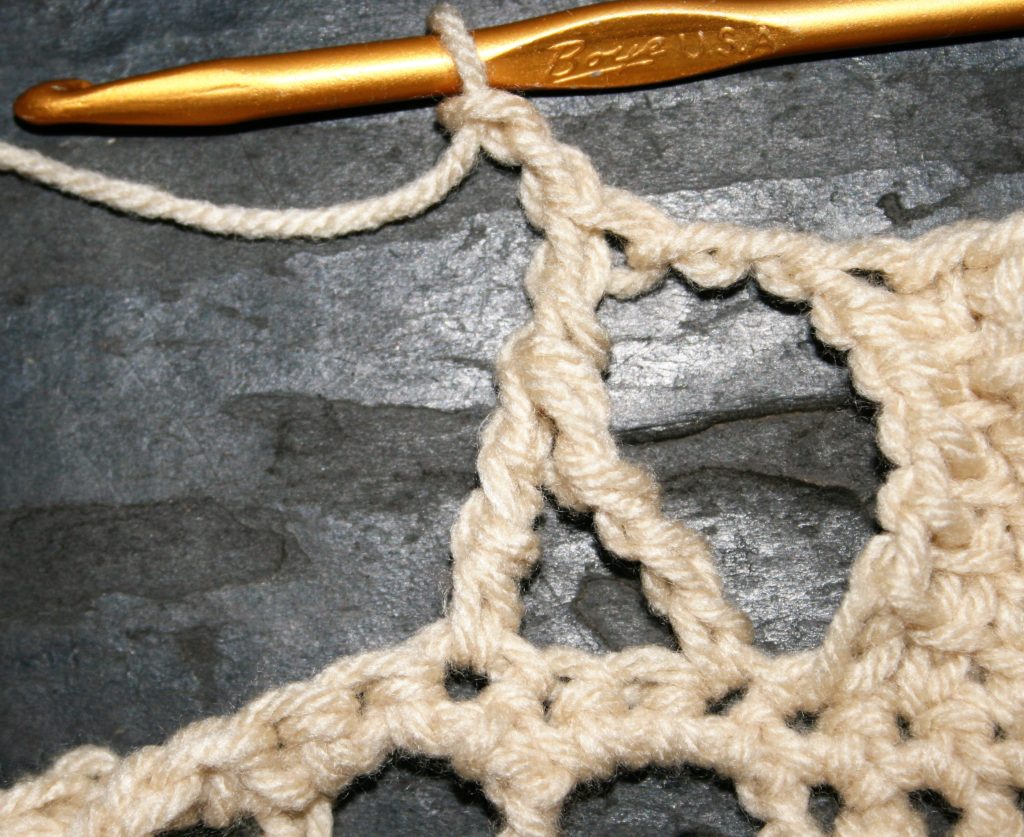
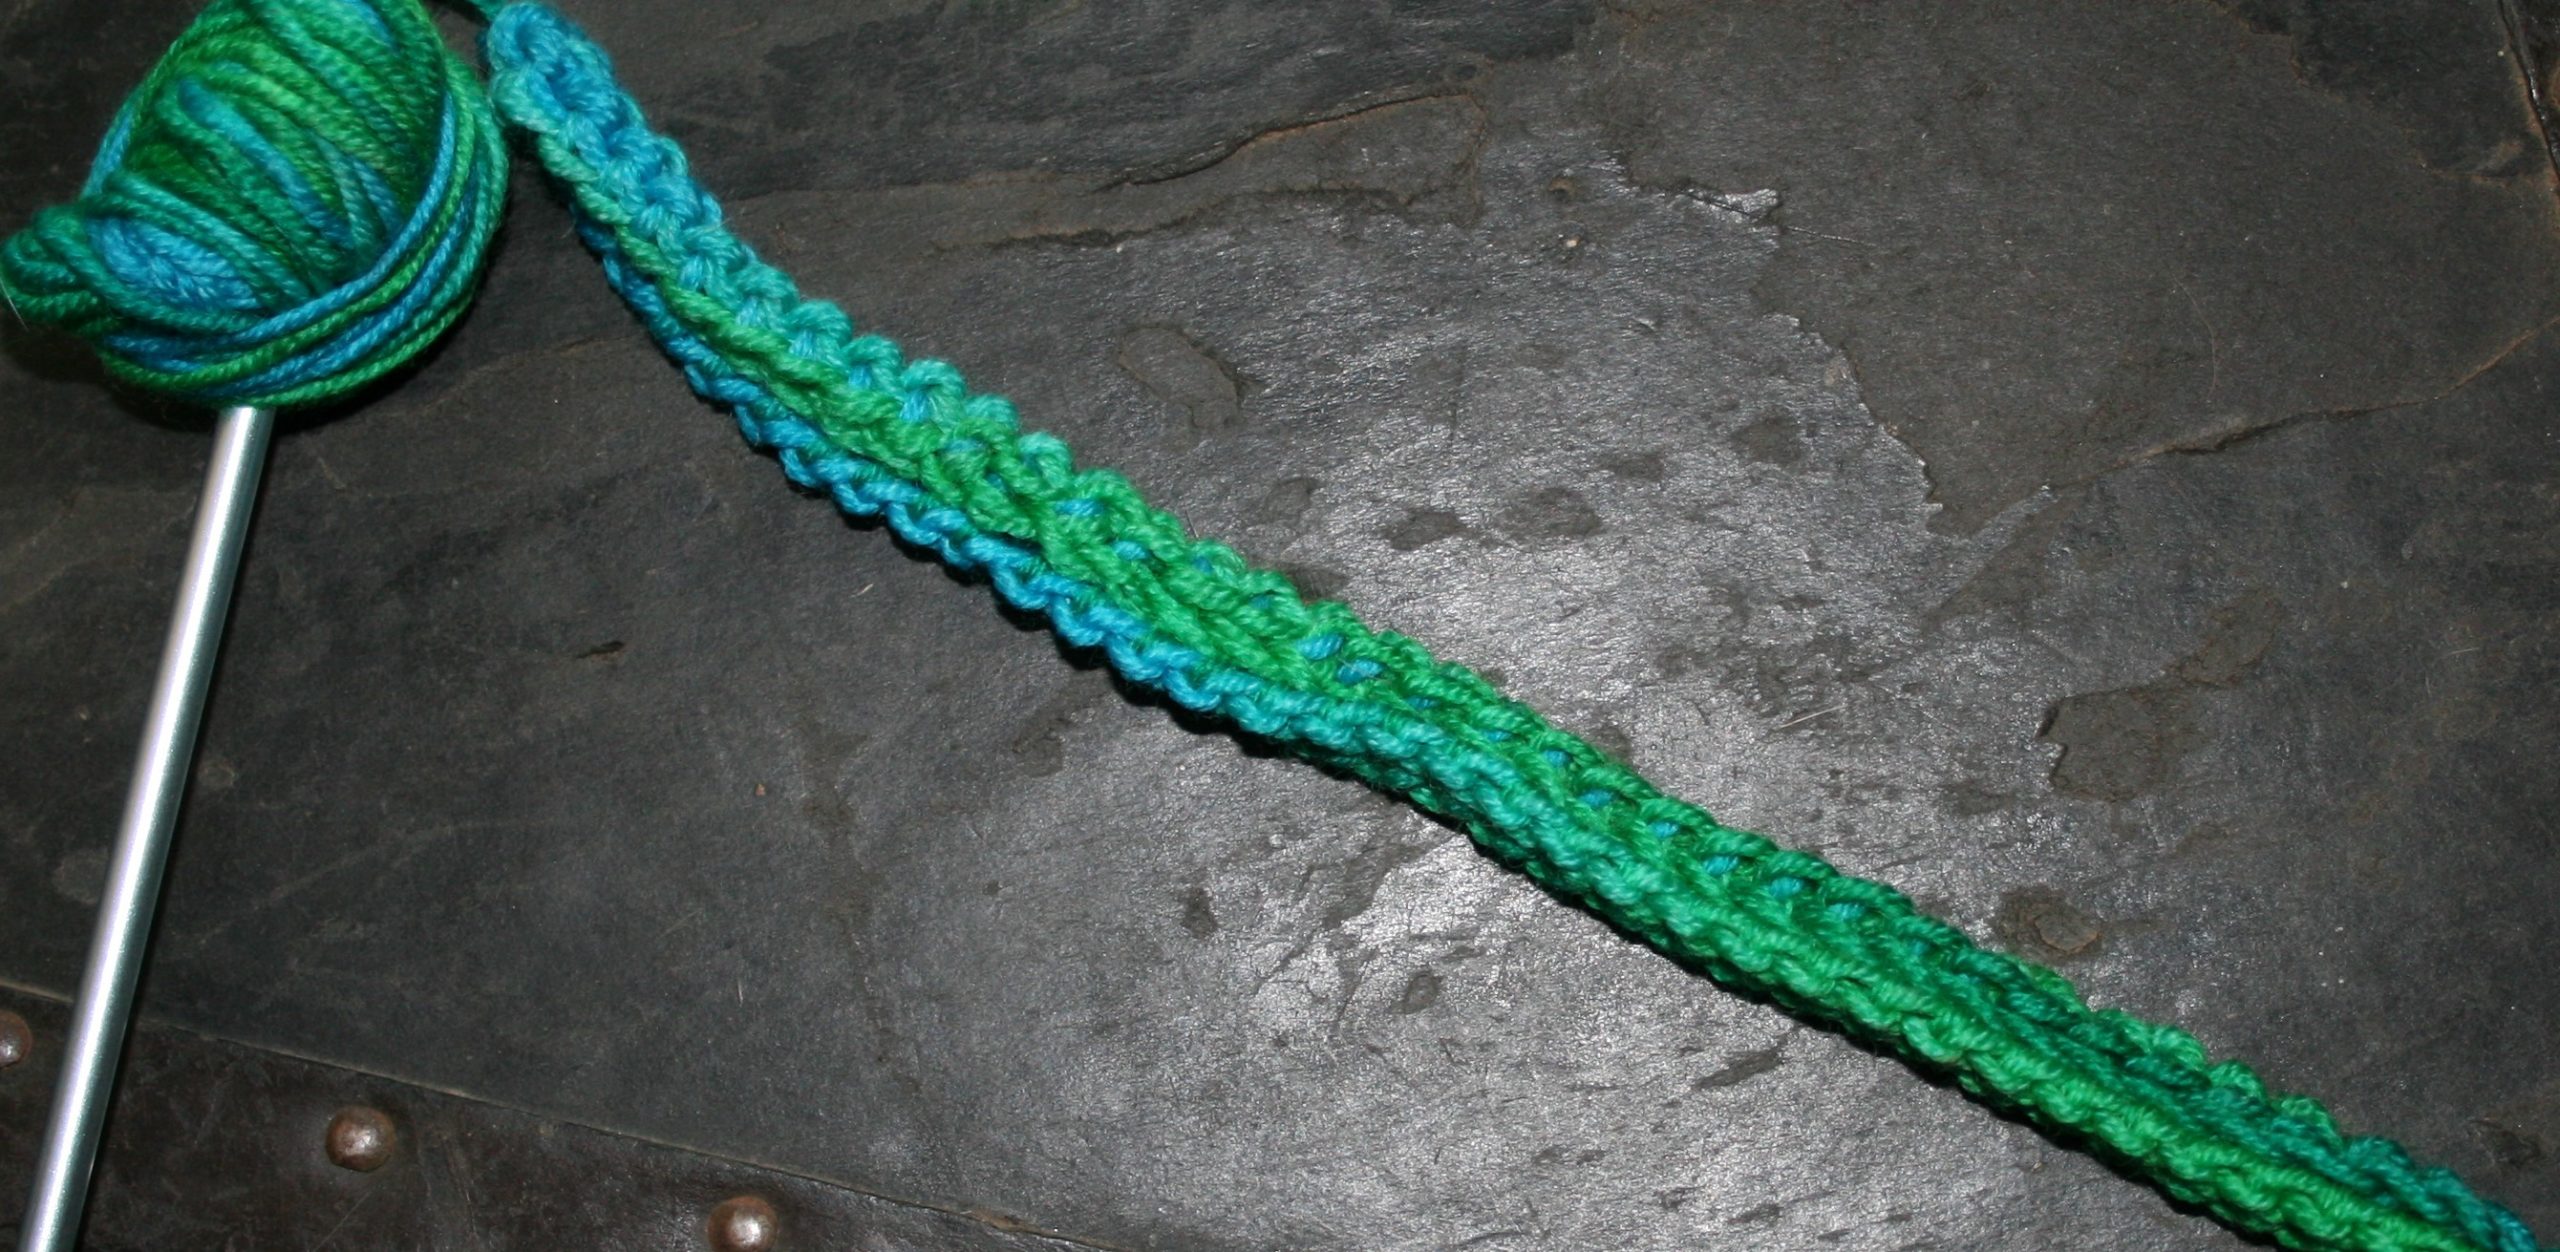
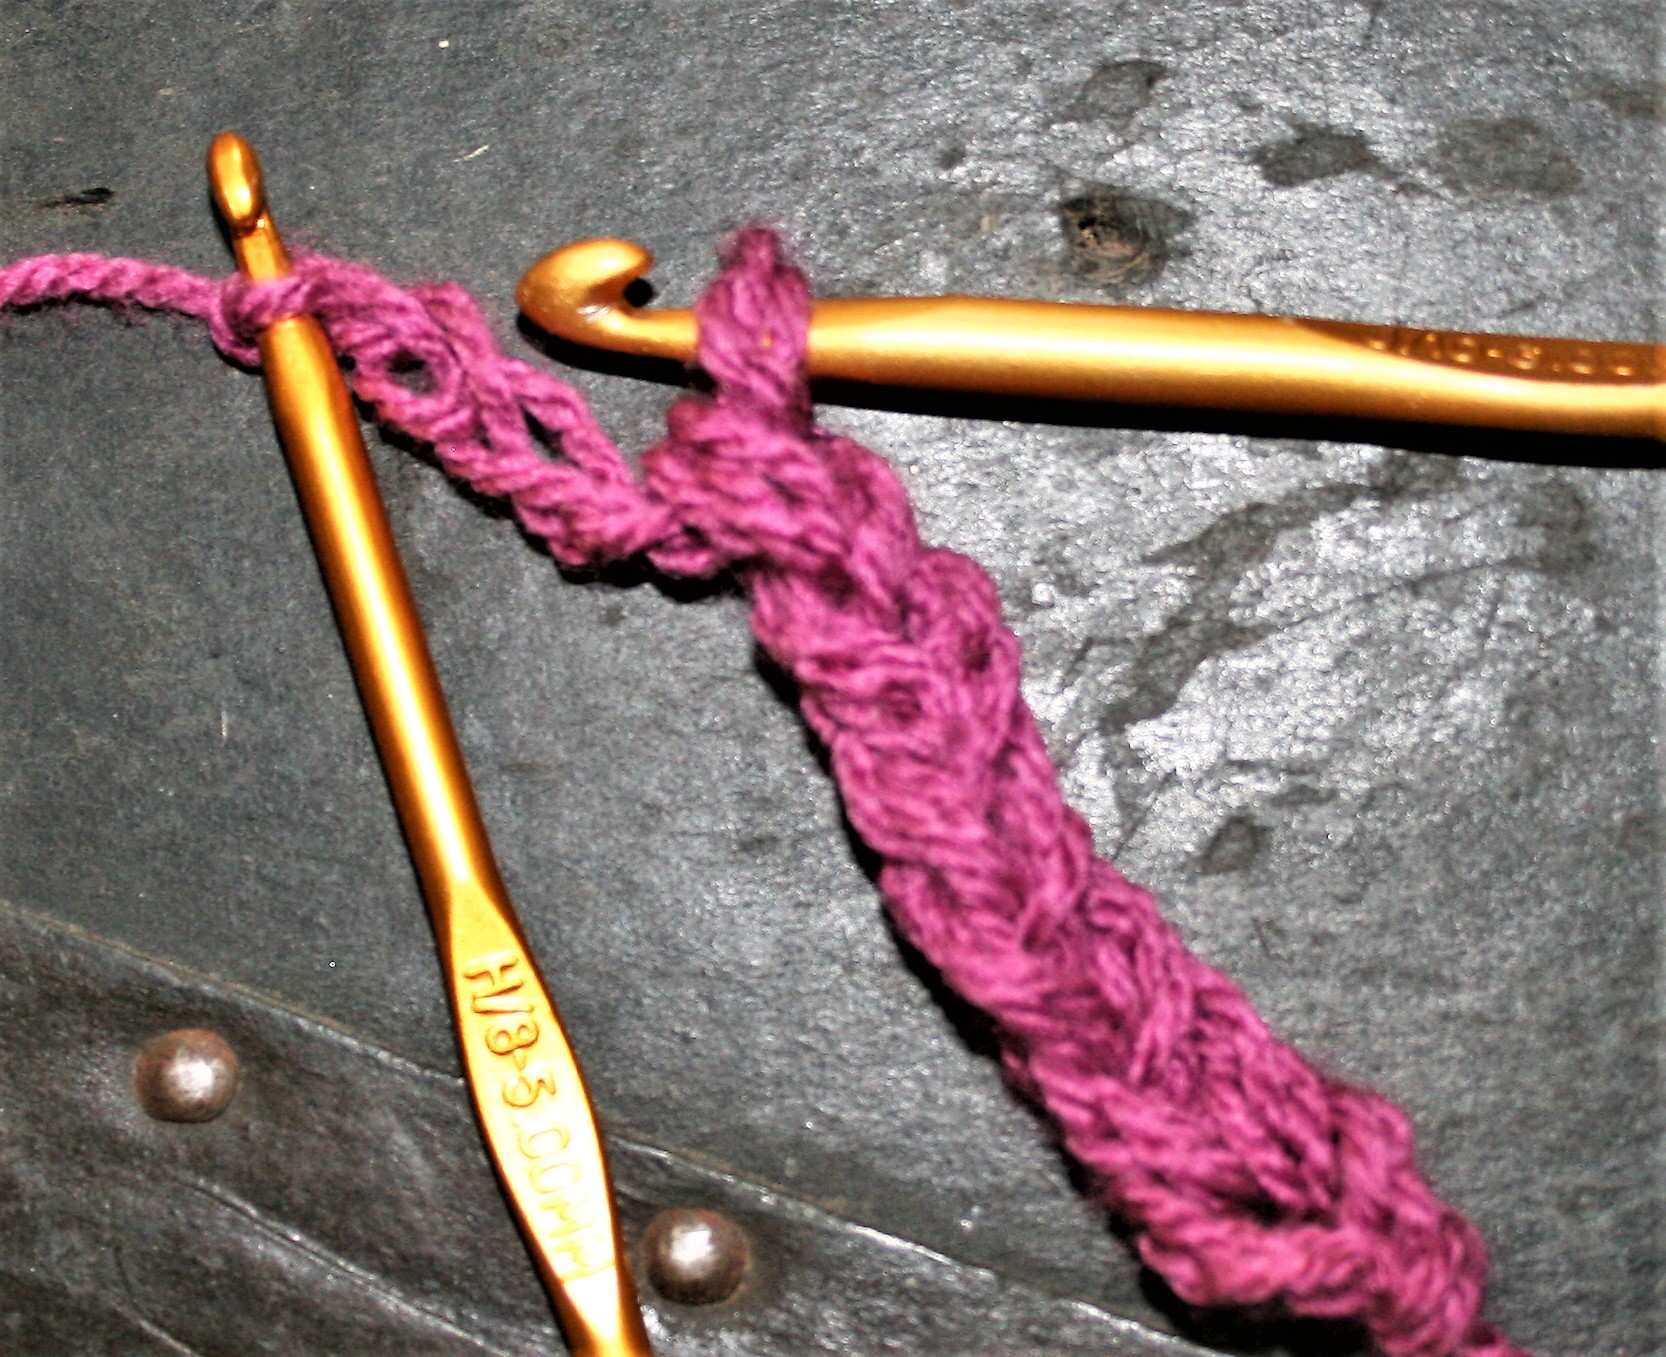
The third is make a chained chain crochet bag handle.

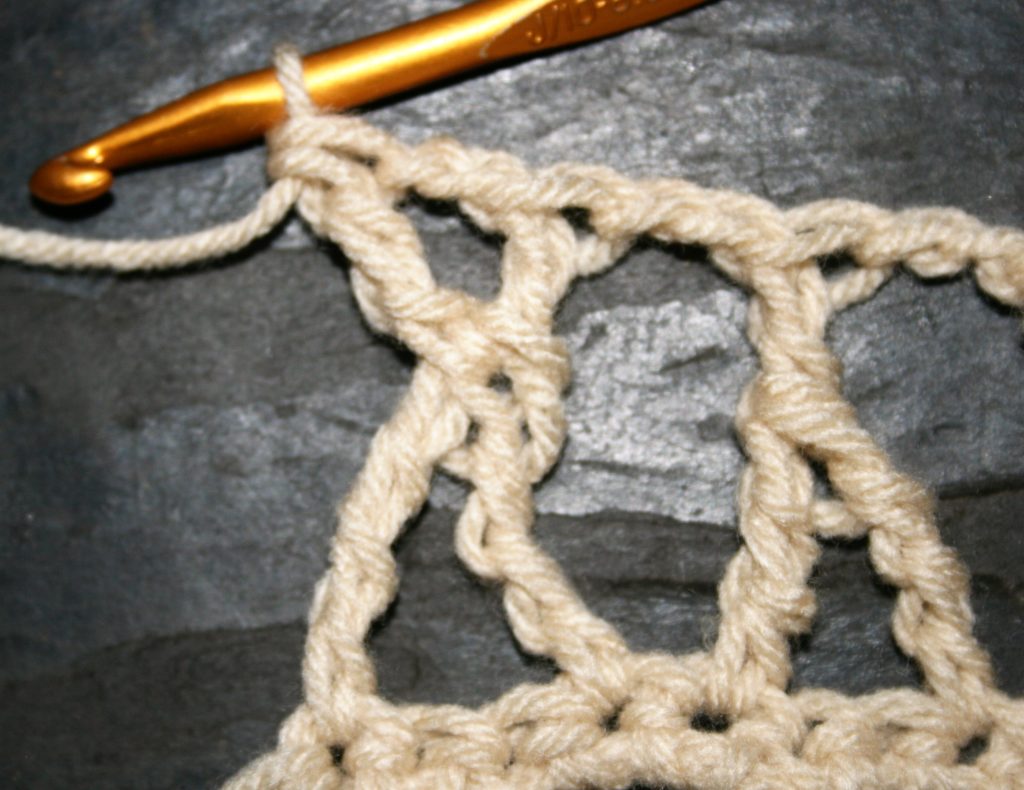
In this process you create a chain three times longer than you would like the handle. I don’t fasten off this chain as I may want to add to it to lengthen the handle as I work. Take a larger hook and then use the newly created chain as a “yarn” and create a chain with it. This creates a heavier rope appearance handle. Attach it to the bag.

Chain a Chain, or Double Chain to create a handle

These three types of handles have helped me finish up projects, then I only have to weave in the ends.

A Continuous Granny Square

There are days I need to get into a rhythm with my crochet and the continuous granny square helps me do that.

It does not require counting. It does not require joining, it just keeps going in a spiral. This is prefect for creating scrap squares, of entire scrap blankets.

What I like most is that I do not have to think about the motion of my hands. Anytime I reach a corner, I put in a corner, any time I find a side, I work a side. It really is that simple.

Where I found this technique

I learned about this square judging a “Fastest Hook” competition at a CGOA conference. The continuous granny square was worked by all participants, as it really does lend itself to speed.

A Continuous Granny Square

To make it all you have to do is start the beginning of a circle just like you always would. The first round of a granny squares as 4 sides made up of 3dc each, and 4 corners. The last corner is worked differently creating the spiral.

Lets get started

Round 1: Ch 4, 2 dc in 4th ch from hook, [ch 3, 3 dc in same ch] 3 times, ch 6. DO NOT JOIN ROUND

The four side of Round 1
Chain 6 and skip the join, work into the next corner

Round 2: Skip over the next 3 dc, and [(3dc, ch 3, 3dc) in next ch-3 sp (corner made), ch 3] rep 3 times, (3dc, ch 3, 3dc) in ch-6 sp, ch 3. DO NOT JOIN ROUND

Worked with scrap yarn…worked a corner into the ch-6 sp, to finish Round 2.

To work all subsequent rounds, work a corner (3dc, ch 3, 3dc) in a corner, work 3 dc a side in ch-3 sp, and make sure that you ch 3 between all blocks. It is that easy.

For a visual chart reference….

To help ensure that you end with an actual square, I mark the ch-6 sp, as this is the same corner of the square that I would end at to have even sides.

At finishing, I will work the beginning tail up the side of a dc at the ch-6 sp and make a connection between the 2 un-joined sides in Round 1. This ties it all together and makes it look like traditional granny squares.

Reversible Shells- A unique fabric

Creating unique reversible crochet fabric is a really fun thing to do. The Reversible Shell stitch is a great technique that can create a memorable blanket, scarf, hat, or really just about anything.

It looks more intimidating than it really is. This technique is worked as a 4 row repeat, working 2 rows in each color.

One of the things that can be a bit trying about this stitch is that after working 2 rows of one color, you remove the hook from the working loop and pick up the loop of the other color and work 2 more rows.

Lets Get Started

Start with a beginning chain of a multiple of 4. The first row has a little different stitch pattern in order to keep the project looking symmetrical.

To work the first row, put a stitch marker in the 4th chain from the hook (this is to help find the location to join the second color), dc in 5th ch from hook, 3 dc in next ch, dc in next ch, [ch 1, sk 1, dc in next ch, 3 dc in next ch, dc in next ch] repeat across, leave last ch unworked. Do not turn.

The beginning foundation of Reversible Shells in crochet
Reversible Shells, Row 1

A Little Unnerving Way to Start A New Row

Now for the unnerving part, pull your working loop up kind of long and remove your hook. With the second color join with a sc in the marked chain (to work a standing sc, check it out here), now ch 6, sc in the skipped chain of the beginning, (ch 6, sc in next ch) across, working last sc in the unworked last chain. Chain 1, and slip stitch to the last stitch worked in the other color making sure to keep the long loop and the working yarn of the other skein out of the way. Now you turn the fabric.

Using a standing single crochet to join for Reversible Shells
Reversible Shells- drop the working loop and join the new color with a standing single crochet
Adding the first row of a new color in Reversible Shell crochet stitch is a chain loop
Reversible Shells- Work chain 6 and single crochet across, working a single crochet in the unused beginning chain.
Slip Stitch to attach this unique reversible fabric
Reversible Shell- Slip Stitch in last stitch of the other color, make sure to keep the long loop and working yarn out of the way.

Join the Fabrics

This row essentially joins the two colors. When working the shell the hook is inserted through the indicated double crochet and chain 6 loop of the same color that is being worked. Ch2, sk 1 dc, Shell (5 dc in next dc and ch-6 loop), [ch 1, sk 4 dc, Shell in next dc and ch-6 loop (this is the center dc and the chain loop)] repeat across, sc in turning chain. Pull up the working loop to a long loop and remove hook. Do not turn.

Work through the two rows in Reversible Shell crochet stitch
Reversible Shell- Insert hook through both the indicated stitch and the chain 6 loop that is the same color as the working yarn.
Single crochet in last stitch or turning chain.
Reversible Shell- Single crochet in the last stitch or turning chain

Back to Working Only the Same Color

This row works through the same color. Start by inserting the hook in the other color loop, and resize the loop to fit the hook. [Ch 6 and sc in the ch-1 sp (between the 5 dc stitches)] repeat across. Turn and work the Row of joining the two colors.

Single crochet in the chain 1 space between the double crochets of the same color
Reversible Shells- Chain 6, single crochet in the chain 1 space between double crochets of the same color

And Repeat

Repeat the stitch pattern rows or working ch-6 loops, turning and working a joining shell. Then you drop the working yarn, pick up the other color and work the same stitch repeat.

Reversible Shells crochet
Reversible Shells- Work the pattern until the desired length.

Work this until you have the desired length.

I like to finish my work so that it has a little visual balance, so I work a row of the ch-6 loops, and fasten off that color. I then turn and pick up the other color loop. Chain 4 and [sc in the same location I would work a shell, picking up the ch-6 loop, ch 3] repeat across, sc in 2nd ch of ch-6 loop. Then fasten off.

I have found that it works nicely with a wide range of colors and yarn types. Lending itself to endless possibilities.

Tall Stitches, More Loops, More Possibilities

Crochet is all about the loops and how you work them, and working tall stitches can create lace . This lends itself to infinite possibilities.

One way to explore crochet is through tall stitches. Tall stitches utilize the same concept as the standard double crochet. Yarn over your hook, insert it into a location, yarn over and pull up a loop, then yarn over and pull through two loops until you only have one loop on your hook.

The more times you yarn over before inserting the hook into a location the taller the stitch will be using the above method. There are names for each stitch depending on how many times you yarn over, but honestly I have to look them up every time I write them in a pattern, and in this description I want to share the concept and how to play with them.

Playing with multiple yarn overs can, and pull throughs at varying points can create many different affects.

This might seem like you can create inches of fabric faster and really whip through your projects, but these stitches have some slight disadvantages. The taller the stitch the holey the fabric. This is because the stitches are only connected at the top and bottom. Allowing movement and space between them.

More yarn overs before starting the stitch makes for tall airy stitches.

You can link the yarn overs, as is demonstrated in Linked Stitches (here). Essentially you are inserting the hook into each yarn over of the adjacent stitch and pulling a loop through it. This closes the gap between stitches and creates a denser fabric. However in reality you are really working Tunisian crochet in the opposite direction as is standard. It is a nice process and some might say trick, but it may not be the look you are going for.

Linking the yarn overs of the adjacent stitches closes the gaps and creates vertically worked Tunisian crochet stitches

The other thing you can do with tall stitches is create some interesting lace stitches, some that resemble letters or rune marking. These can be created in various ways. Here is a demonstration of just one possibility.

You begin the stitch as normal, in this case I have yarned over 5 times. Inserted the hook, yarn over and pull through 1, and then worked 3 of the yarn overs off my hook. I then yarned over an additional 3 times, skipped a couple of stitches and reinserted my hook. Yarn over pull up a loop and worked off the 3 added loops. Now I completed the remaining of the loops to finish the stitch.

After yarning over 5 times and beginning the tall stitch, I stooped after working 3 of the 5 yarn overs. I added 3 more yarn over to my hook.
I then inserted the hook in a new location and worked all the loops off the until only 1 loop remained.

If I wanted to make this effect more symmetrical, I chained the number of stitches I skipped and worked a double crochet at the “join point” of the stitch. This gave me an “X” effect. (Learn more about tall stitches here)

By adding some chains and then adding a double crochet where the “join” is, I created a more symmetrical shape.

These are really airy stitches, but make quick lace. Give these tall stitches a try for yourself, and play a bit. I find that it is the best way to gain real insight into my craft.

Add Fingers to Fingerless Gloves

I see a lot of fingerless glove patterns, however not a lot of actual gloves. I have had some people tell me that they think that gloves are just too hard, well to this I disagree.

Making a Fingerless Glove

Turning any fingerless glove into an actual full fledged glove, is actually not that difficult. Begin with the basic fingerless glove, and if you want to create your own custom fit, check out more information here.

Mark your fingers

Once you have your fingerless glove made, the next set is to put it one. Take 3 removable stitch markers (or safety pins), insert them between your fingers through both the front and back of the glove fabric.

Insert stitch markers of safety pins between the fingers.

Join yarn anywhere along the finger edge of the fabric. If you were working a pattern that was stitched wrist to fingers, you can simply keep working the yarn from the last round without finishing off.

Start crocheting the “separations”

Work stitches, I recommend single crochet, evenly along edge. Work a slip stitch to the adjacent stitch (the one on the fabric on the other side of the hand) whenever you come to a stitch marker. This will create the “separation” between the fingers. I even just work this technique when I am still just creating fingerless gloves. I feel like it helps them stay in place and not twist around my hand.

When working the single crochets, slip stitch across the fabric on the opposite side of the glove to create the finger “separations”.

Spiral your fingers

When you begin to work on the opposite side of the hand, and come to a slip stitch, work a single crochet in the one leg of the slip stitch that is closest to the last single crochet worked. Single crochet in a spiral by working on the fabric side previously worked, and work a tube the length of your finger.

Finish off your yarn, and join to fabric right next to the finger just made. Make the next finger working a stitch in the “one leg” of the slip stitch, of each side of the finger, and continue with the spiral method until the length meets your need. Repeat this of the remaining two fingers.

Work a single crochet in “one leg” of the slip stitch.

Make a thumb

Work the thumb in the same manner, joining to the edge of the thumbing opening and crocheting around it. However this opening may be much larger than the end of your thumb. Work two single crochet together (sc2tog) once in the first and second round. Then continue until the desired length is reached.

Work the spirals until each finger is the desired length.

Cinch them closed

Prepare to weave in the ends. Thread the tails at the ends of the fingers through the stitches in the last round of each finger and pull tight to cinch closed.

Glove

I do recommend that working fingers, it is best to use thinner weight yarn, nothing above a sport weigh (number 3). I usually work most of my gloves, and even fingerless gloves out of wool blended yarns that are either a fine or medium weigh (number 2 or 3). This is because anything heavier just becomes too bulky and feel clumsy on my hands. The nice thing about gloves is that you can complete a pair with only one hank of yarn, and feel really accomplished in your skills.