Ideas for the Crocheter on your Gift Giving List

ScannedImageSo this is the time of giving. I often feel a little overwhelmed with feeling obligated to purchase gifts. Often the people in my life really do not need anything, and choosing a “special”, “you probably wouldn’t buy it for yourself, but you will love it gifts” are feel daunting to find. So I thought I would offer a little help in purchasing for that favorite crocheter.

I know the people in my life feel that they cannot purchase anything for my craft as they don’t know as much about as I do, and they think I probably already have everything I want or need, but I have been surprised over the last year from friends that have given me crochet gifts that I find really impressive. So here is what as impressed me, and hopefully will help you shop for that favorite crocheter, even if that is yourself.

1216151250

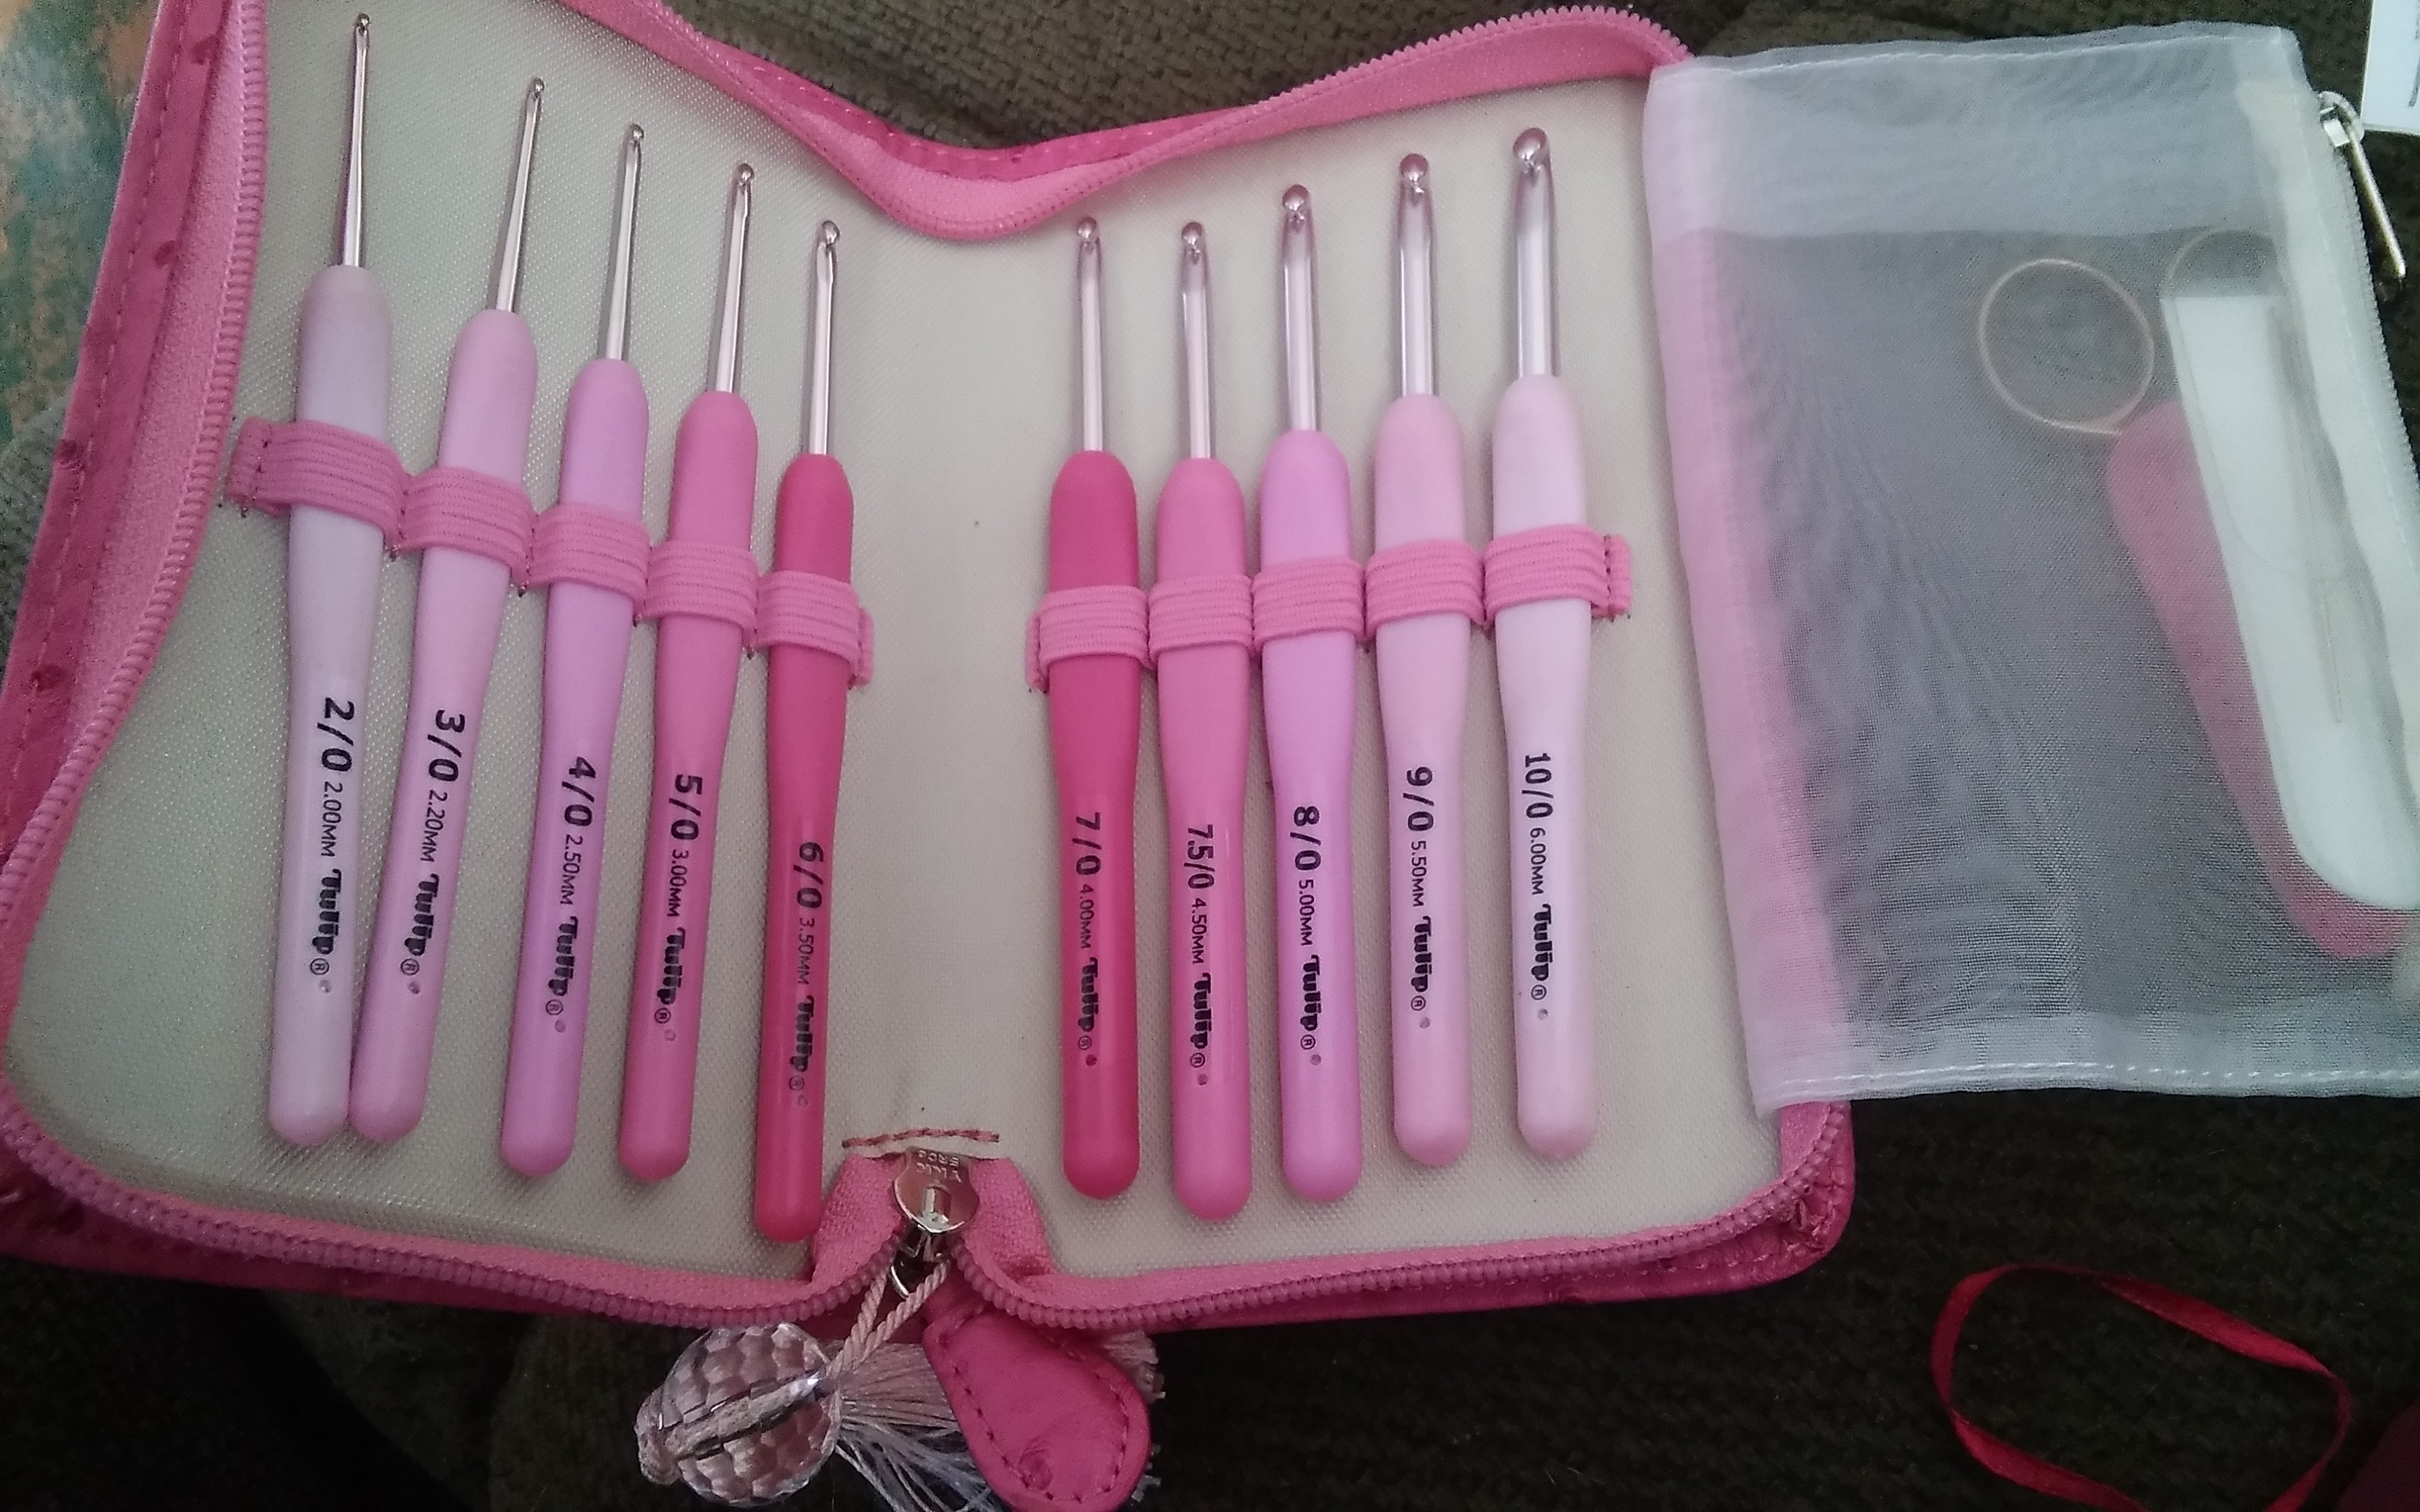
My beautiful set of Tulip hooks. Everything I need all in one place .

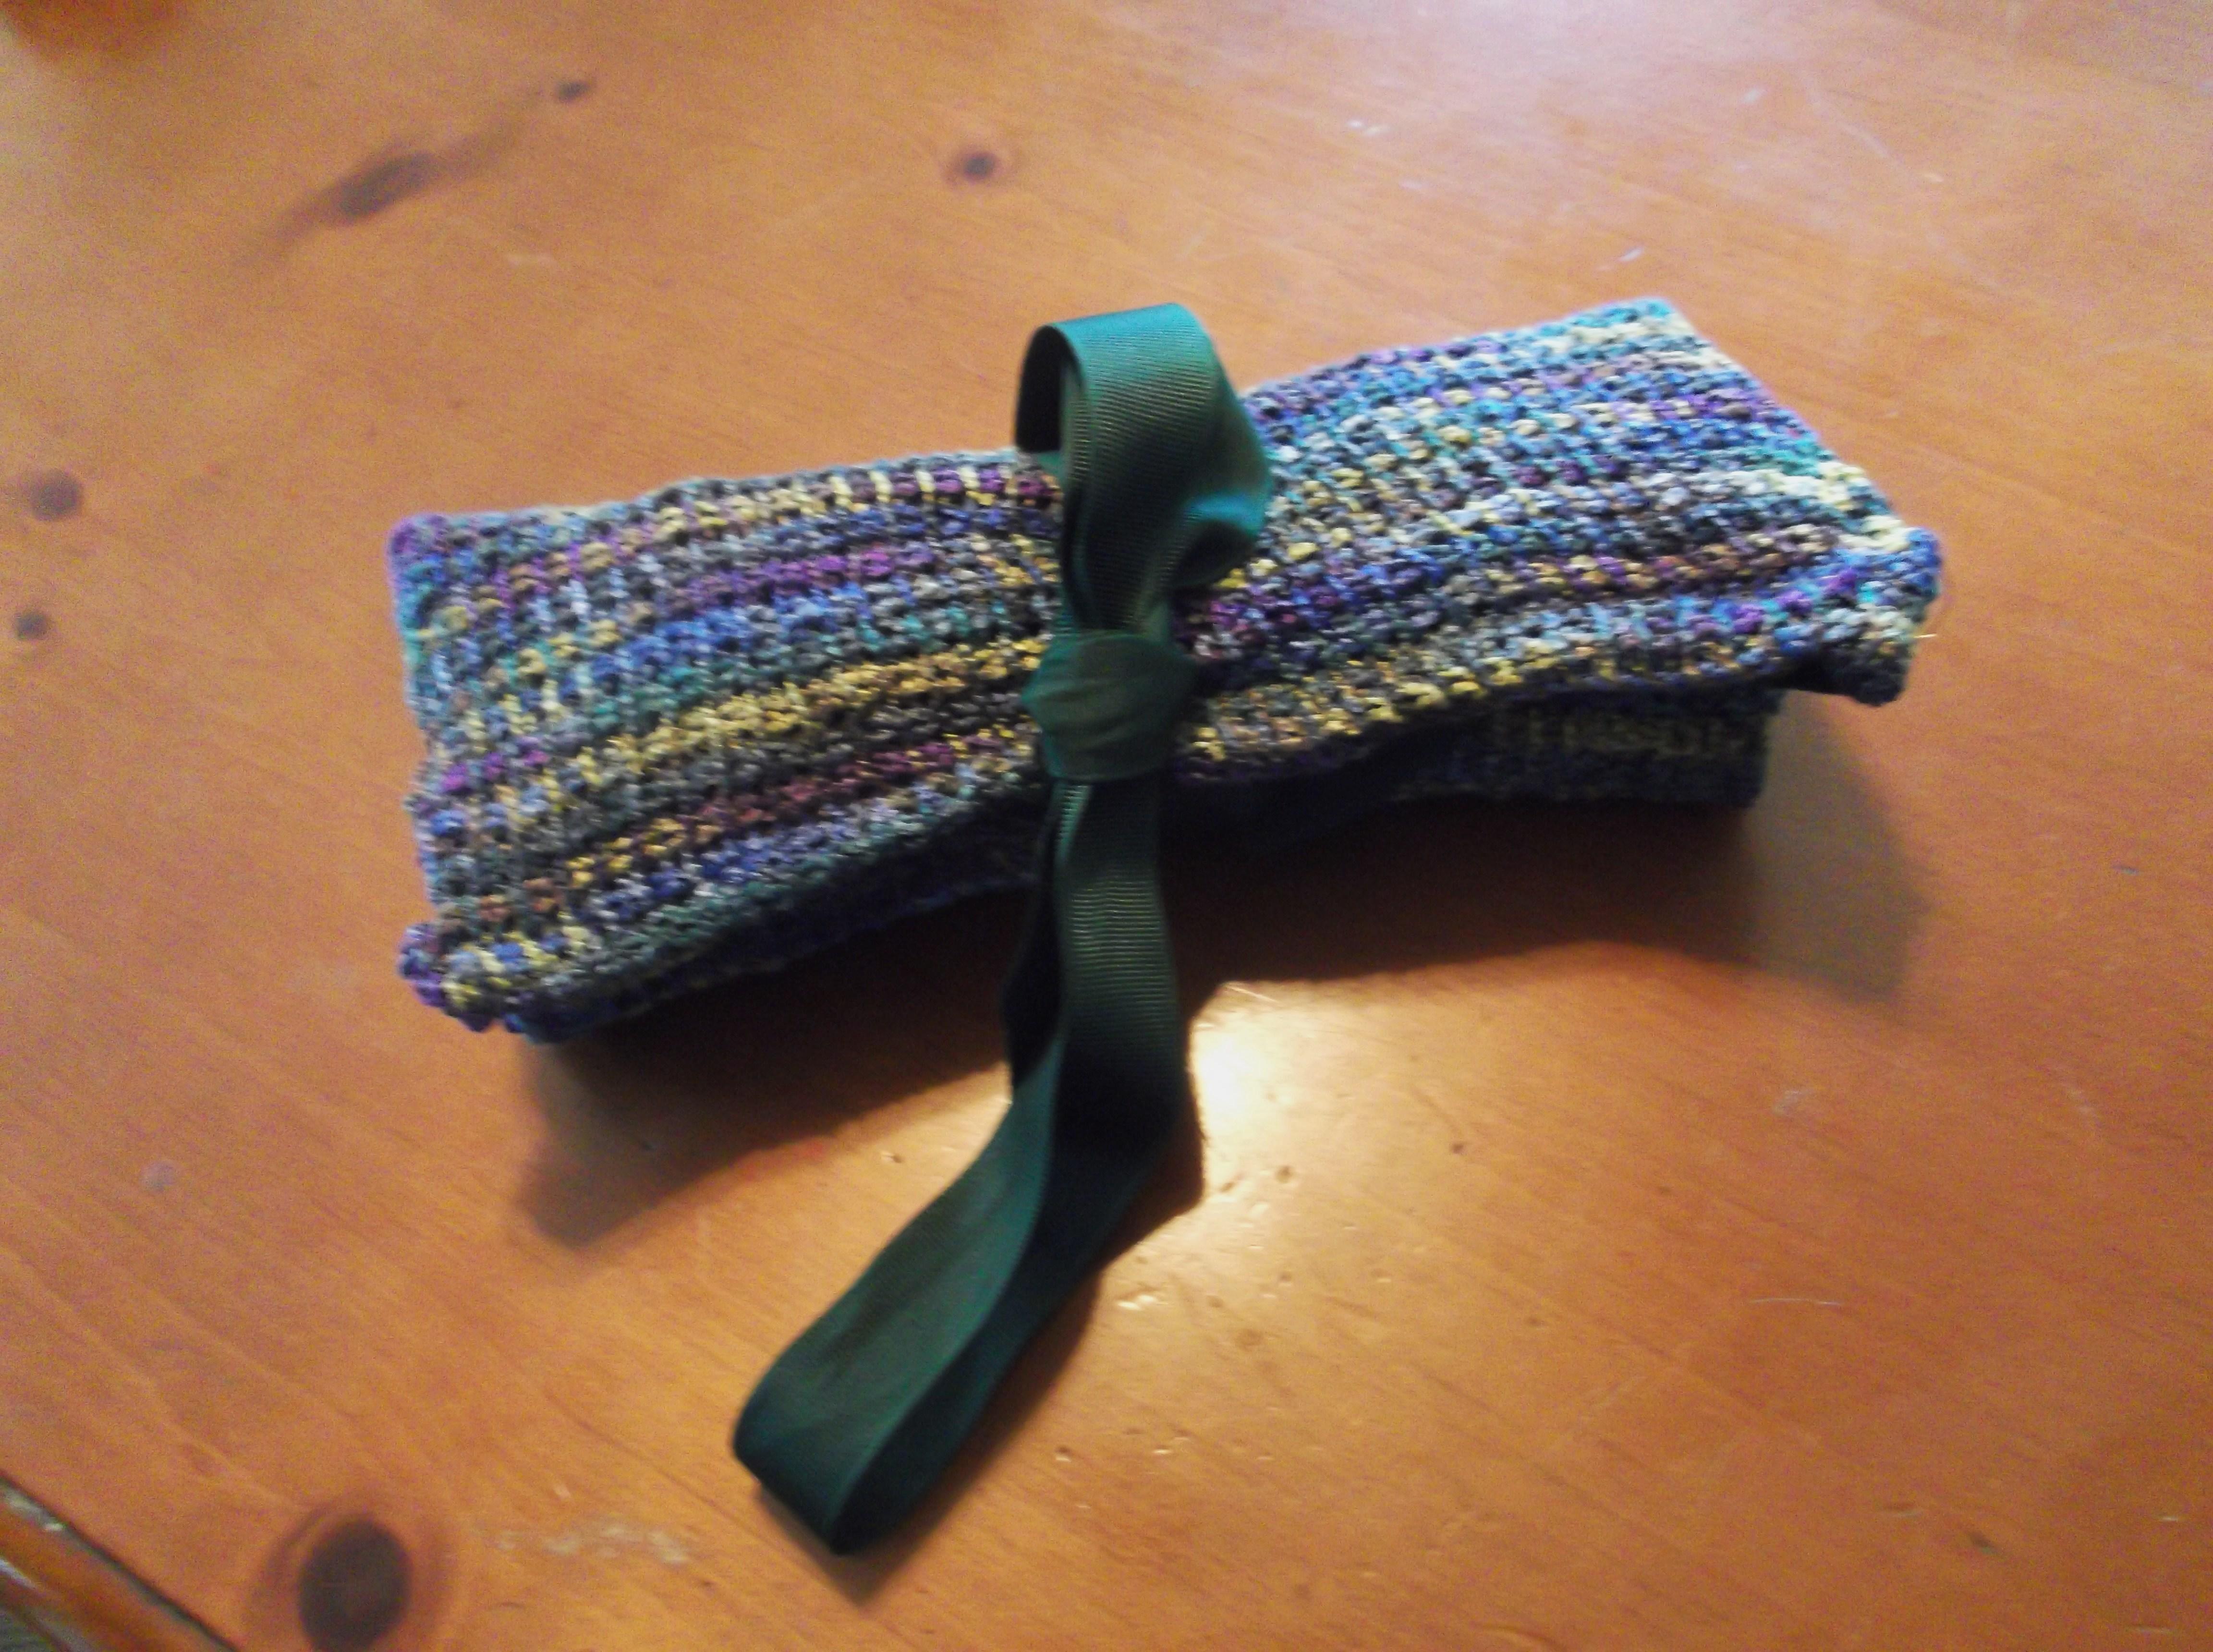
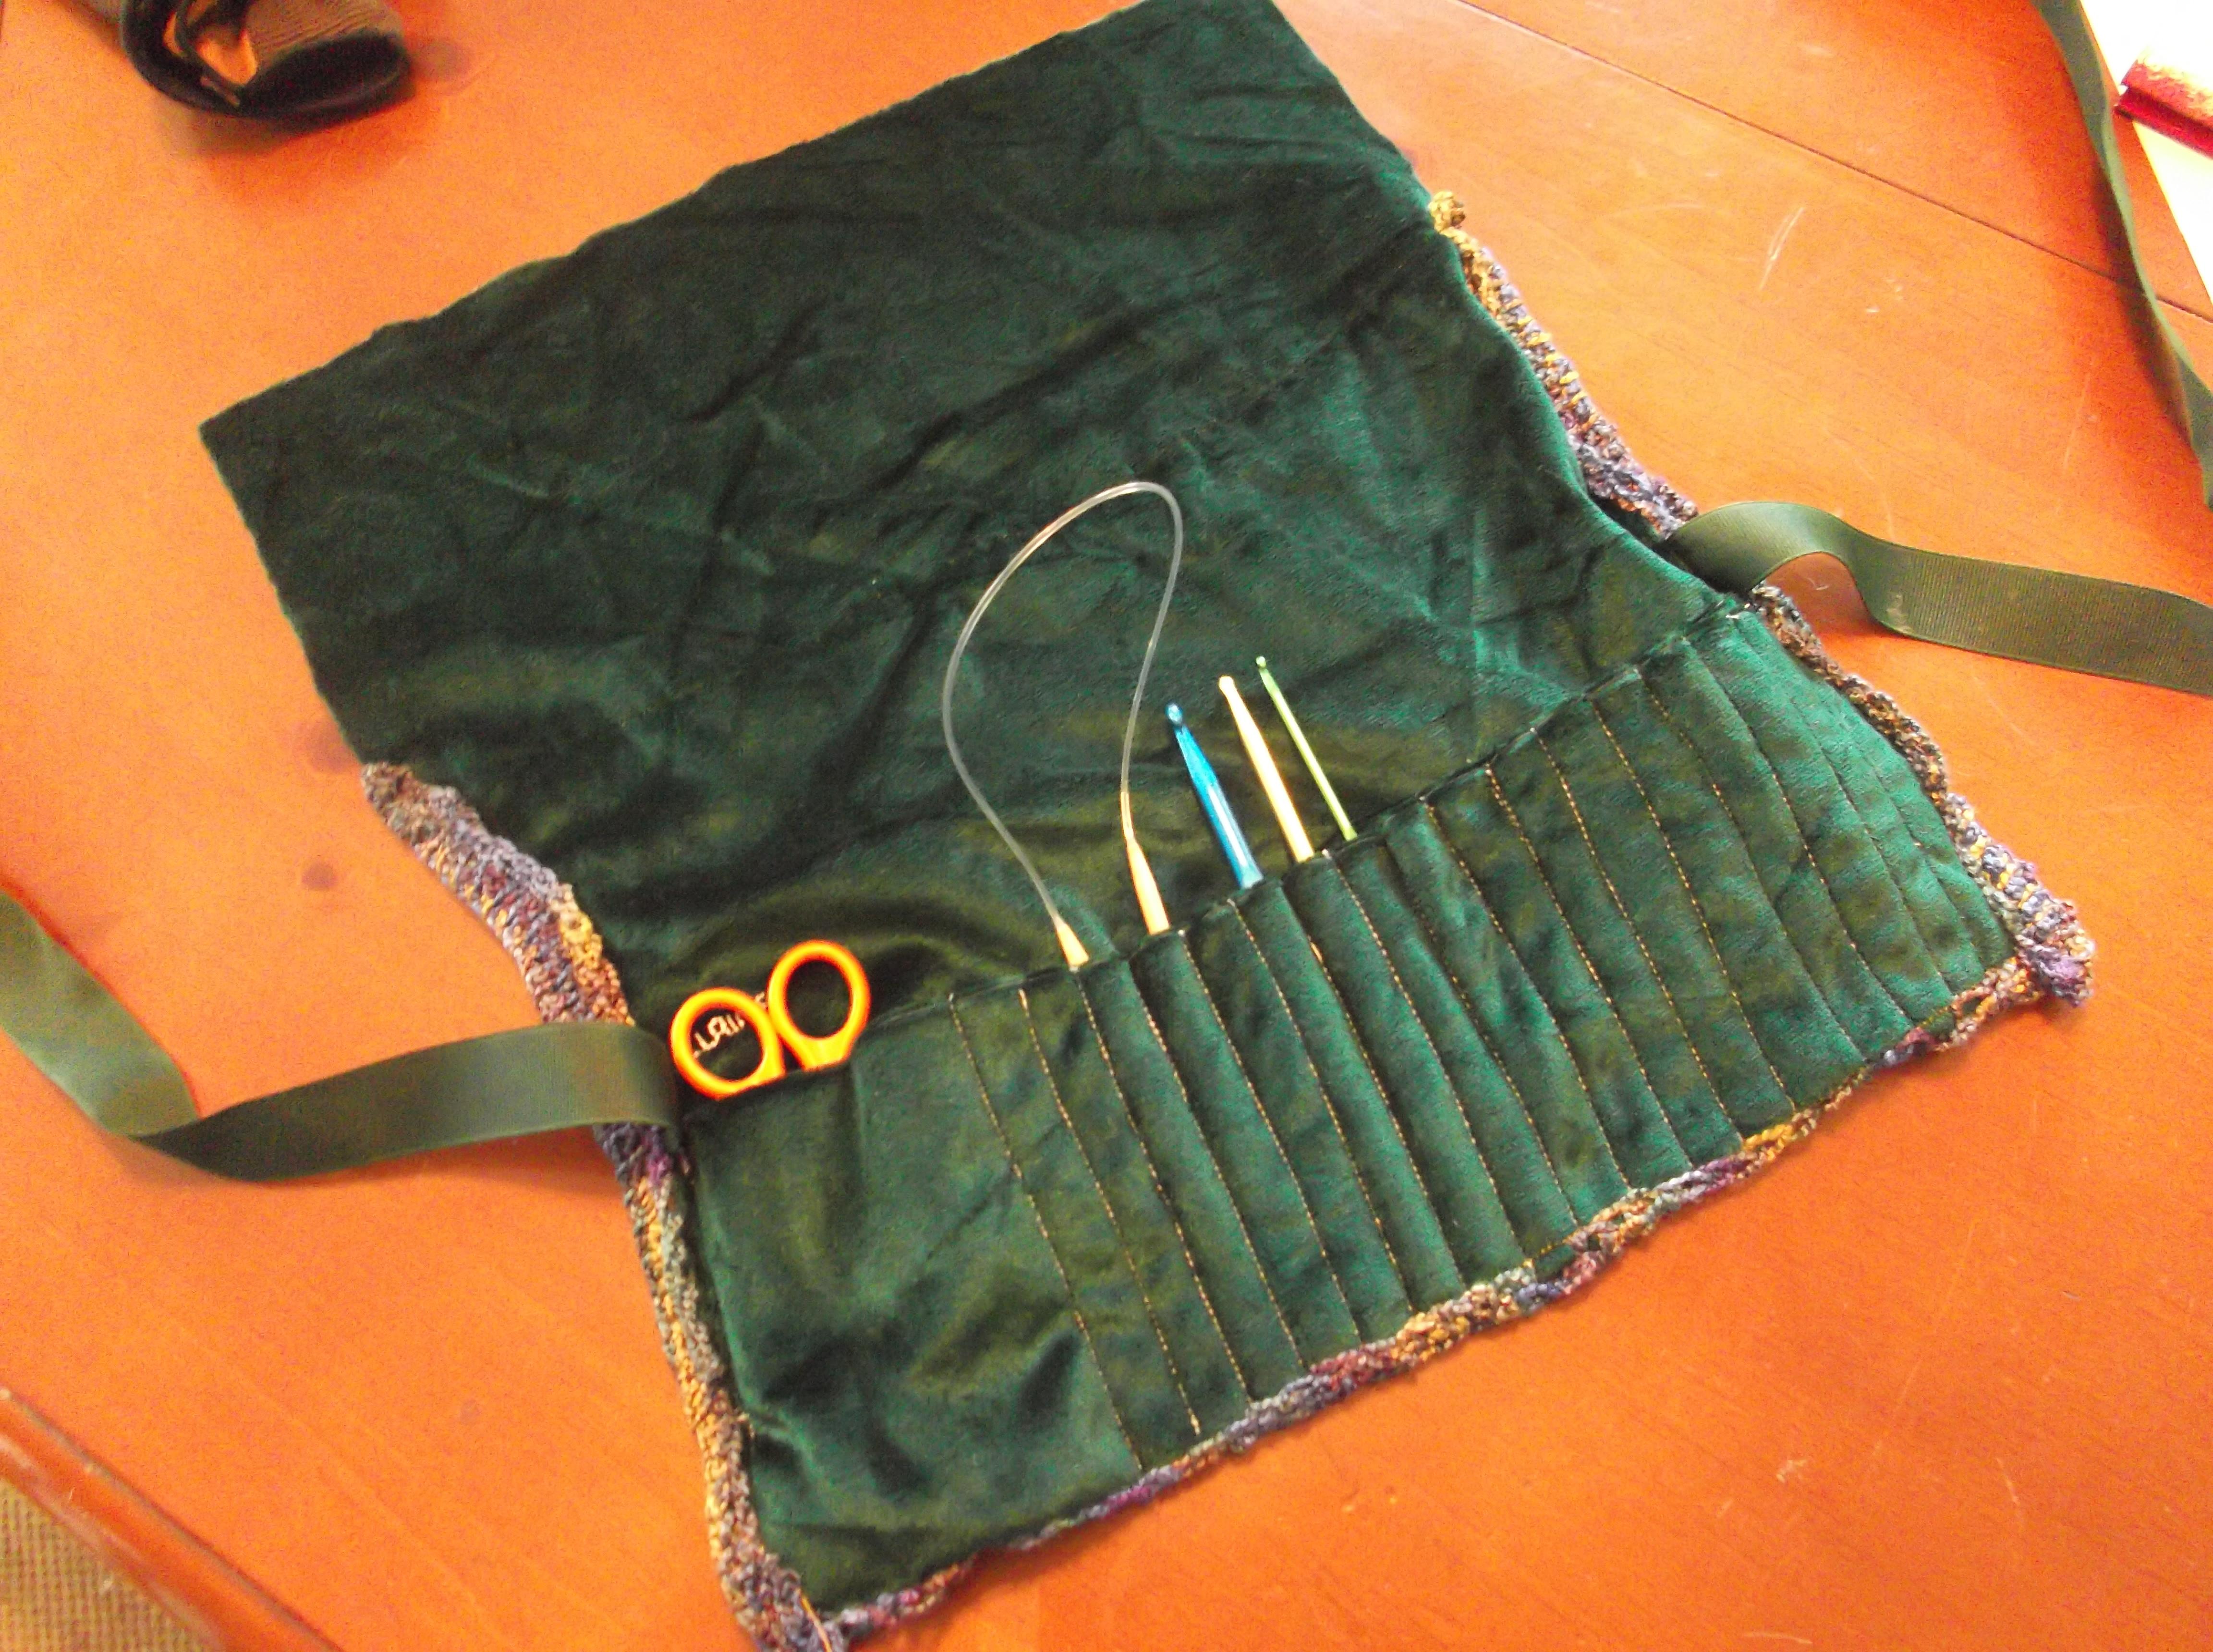
An actual set of hooks. This sounds a little odd, since I have been crocheting for over years, I should have hooks…and I do, but receiving them in a case where they all match and are coordinated, that is something special. I received a set of Tulip hooks, I had never really used Tulip hooks before, but I will admit I was pleasantly surprised. The set included 10 hooks ranging from 2mm- 6mm (they did not have the standard US letters, but as most every pattern now lists that millimeters of the hook within the pattern, it does not really affect the usage). The handles on each were ergonomically correct with cushioned handles, which are pleasant, and there is absolutely no weird plastic smell that I have noticed with some other plastic handles (there is nothing worse than having your hands smell odd after you have been crocheting). The set also came in a nice case, which also had yarn needles and small scissors, so it included everything I need to take a project on the go. The hooks are not going anywhere and it looks a lot better than the zip lock bag I use to carry things in. The price can look a little overwhelming at a first glance, but there are other size kits and sets, so prices can vary, but when you figure that a good -crochet hook alone can cost between $7-12 US dollars, purchasing a full set can give a price break on the overall cost of the hooks, and then give some added bonuses. (You can check out some Tulip sets, including the one I have here)

DSCF0937

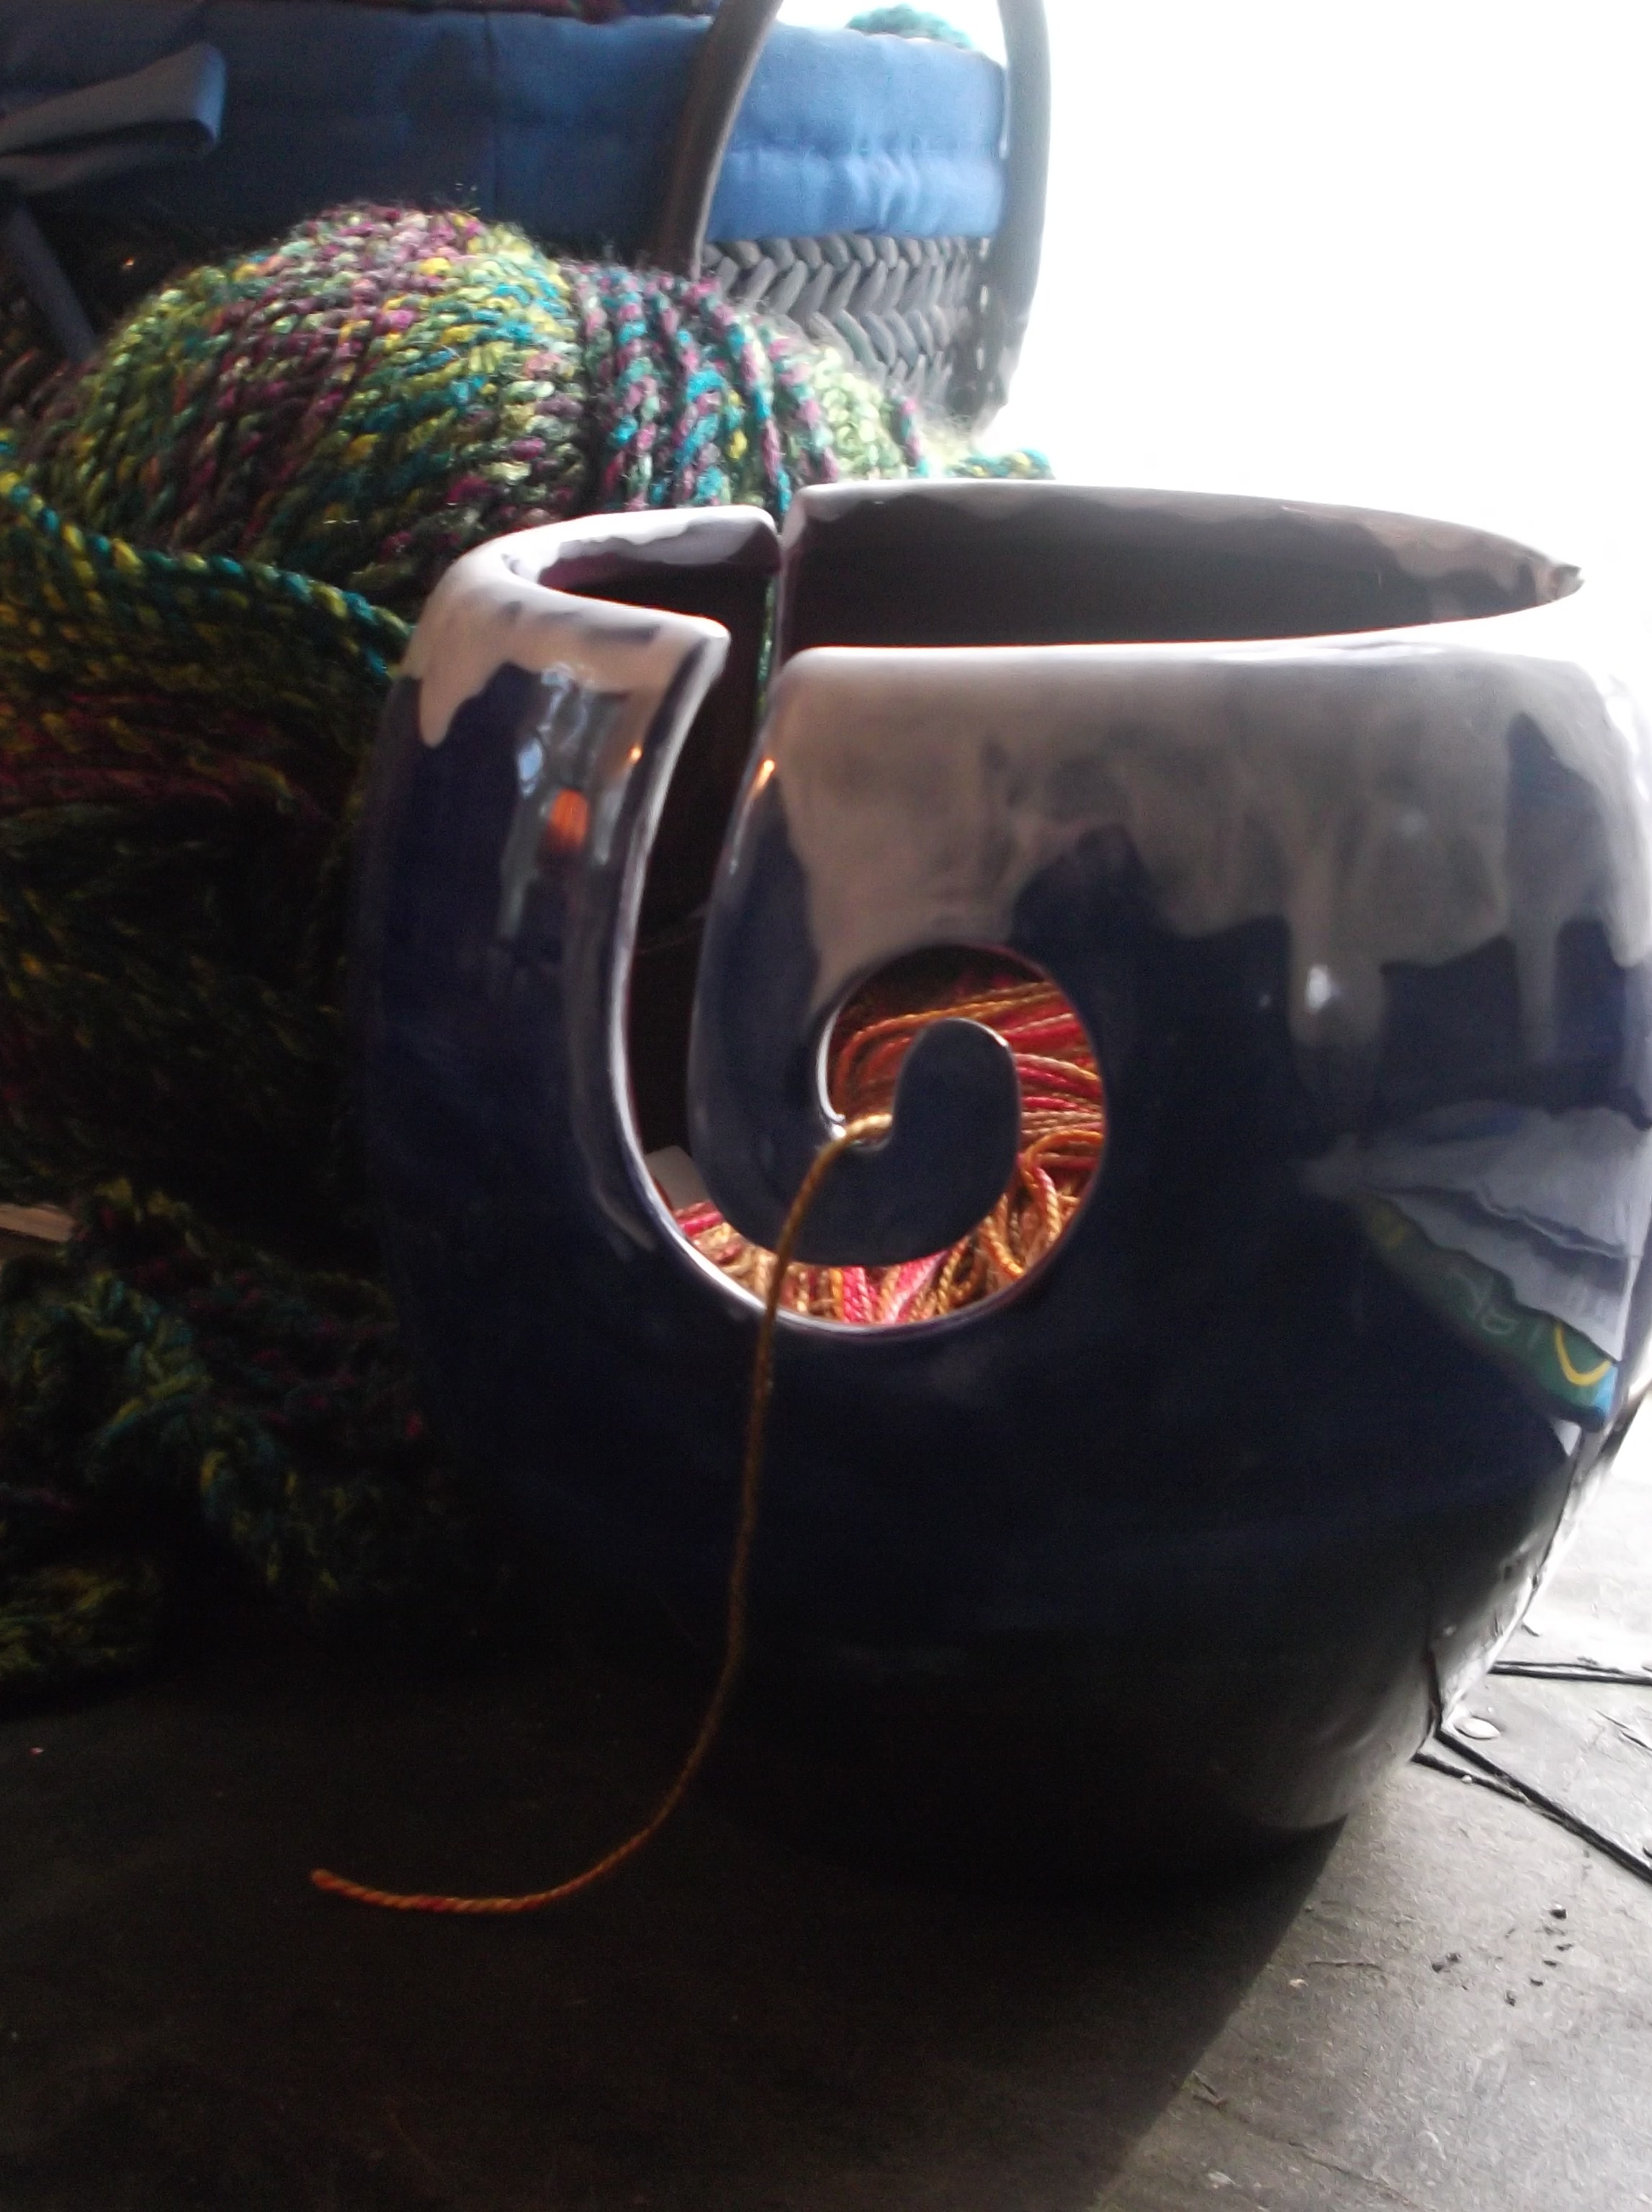
My “paint it yourself” Yarn Bowl gift. Fun, practical, and keeps memories alive.

Another gift I received this year was a yarn bowl. I had never had one before, and then I received two as gifts this year. I find that I use them all the time now. One was actually part of an additional gift from a “paint it yourself” Ceramic store, where the gift included me getting the opportunity to paint it and have it fired. This was a fun gift that brings extra memories to heart when I use it. The second is a ceramic bowl that is handmade and fired with a beautiful lustered sheen. Now, I know that it might sound odd that I use two yarn bowls now, but it is an easy way to keep multiple projected contained and organized, and looks beautiful. (Find your own handmade and fired yarn bowl here) 

IMG_5577

Yarn is always a great gift for crochet lovers, especially if it is something that they do not usually purchase for themselves.

Other lovely gifts can easily include good yarn. I know that it can seem difficult to purchase yarn, especially if you do not usually use it yourself, but if you visit a local yarn store the staff can usually address any questions you have and steer you to something in your price range and give you an idea about quantities needed. You should not really worry about how much yarn you purchase for a gift, as there are websites that can easily assist the recipient to patterns and ideas for the yarn. One such website is Ravelry.com. The recipient can simply do a search for patterns using the yarn and the quantity, so any yarn, in any amount is a great thing! (You can not find either of these in your local yarn store, but find some beautiful natural fiber, hand dyed yarn with Lisa Souza here, or if you like some beautiful cottons or Jelly Yarn check out Designing Vashti here)

Speaking of Ravelry, you can actually purchase patterns as a gift and have them downloaded to the receipts account or email. Selecting a pattern for someone can also seem like a challenge, but if you have seen that things that they currently create, be it afghans, hats, scarves, toys, garments, etc. you have a point to start from. You can search patterns and books similar to what they currently work and choose things that you feel fits their style. I guarantee that none of these go to waste. Even if the recipient never actually works that pattern you gave them, it does give them a new level of inspiration, a new idea, which you have shared with them. (Check out my pattern store on Ravelry here)

DSCF0790

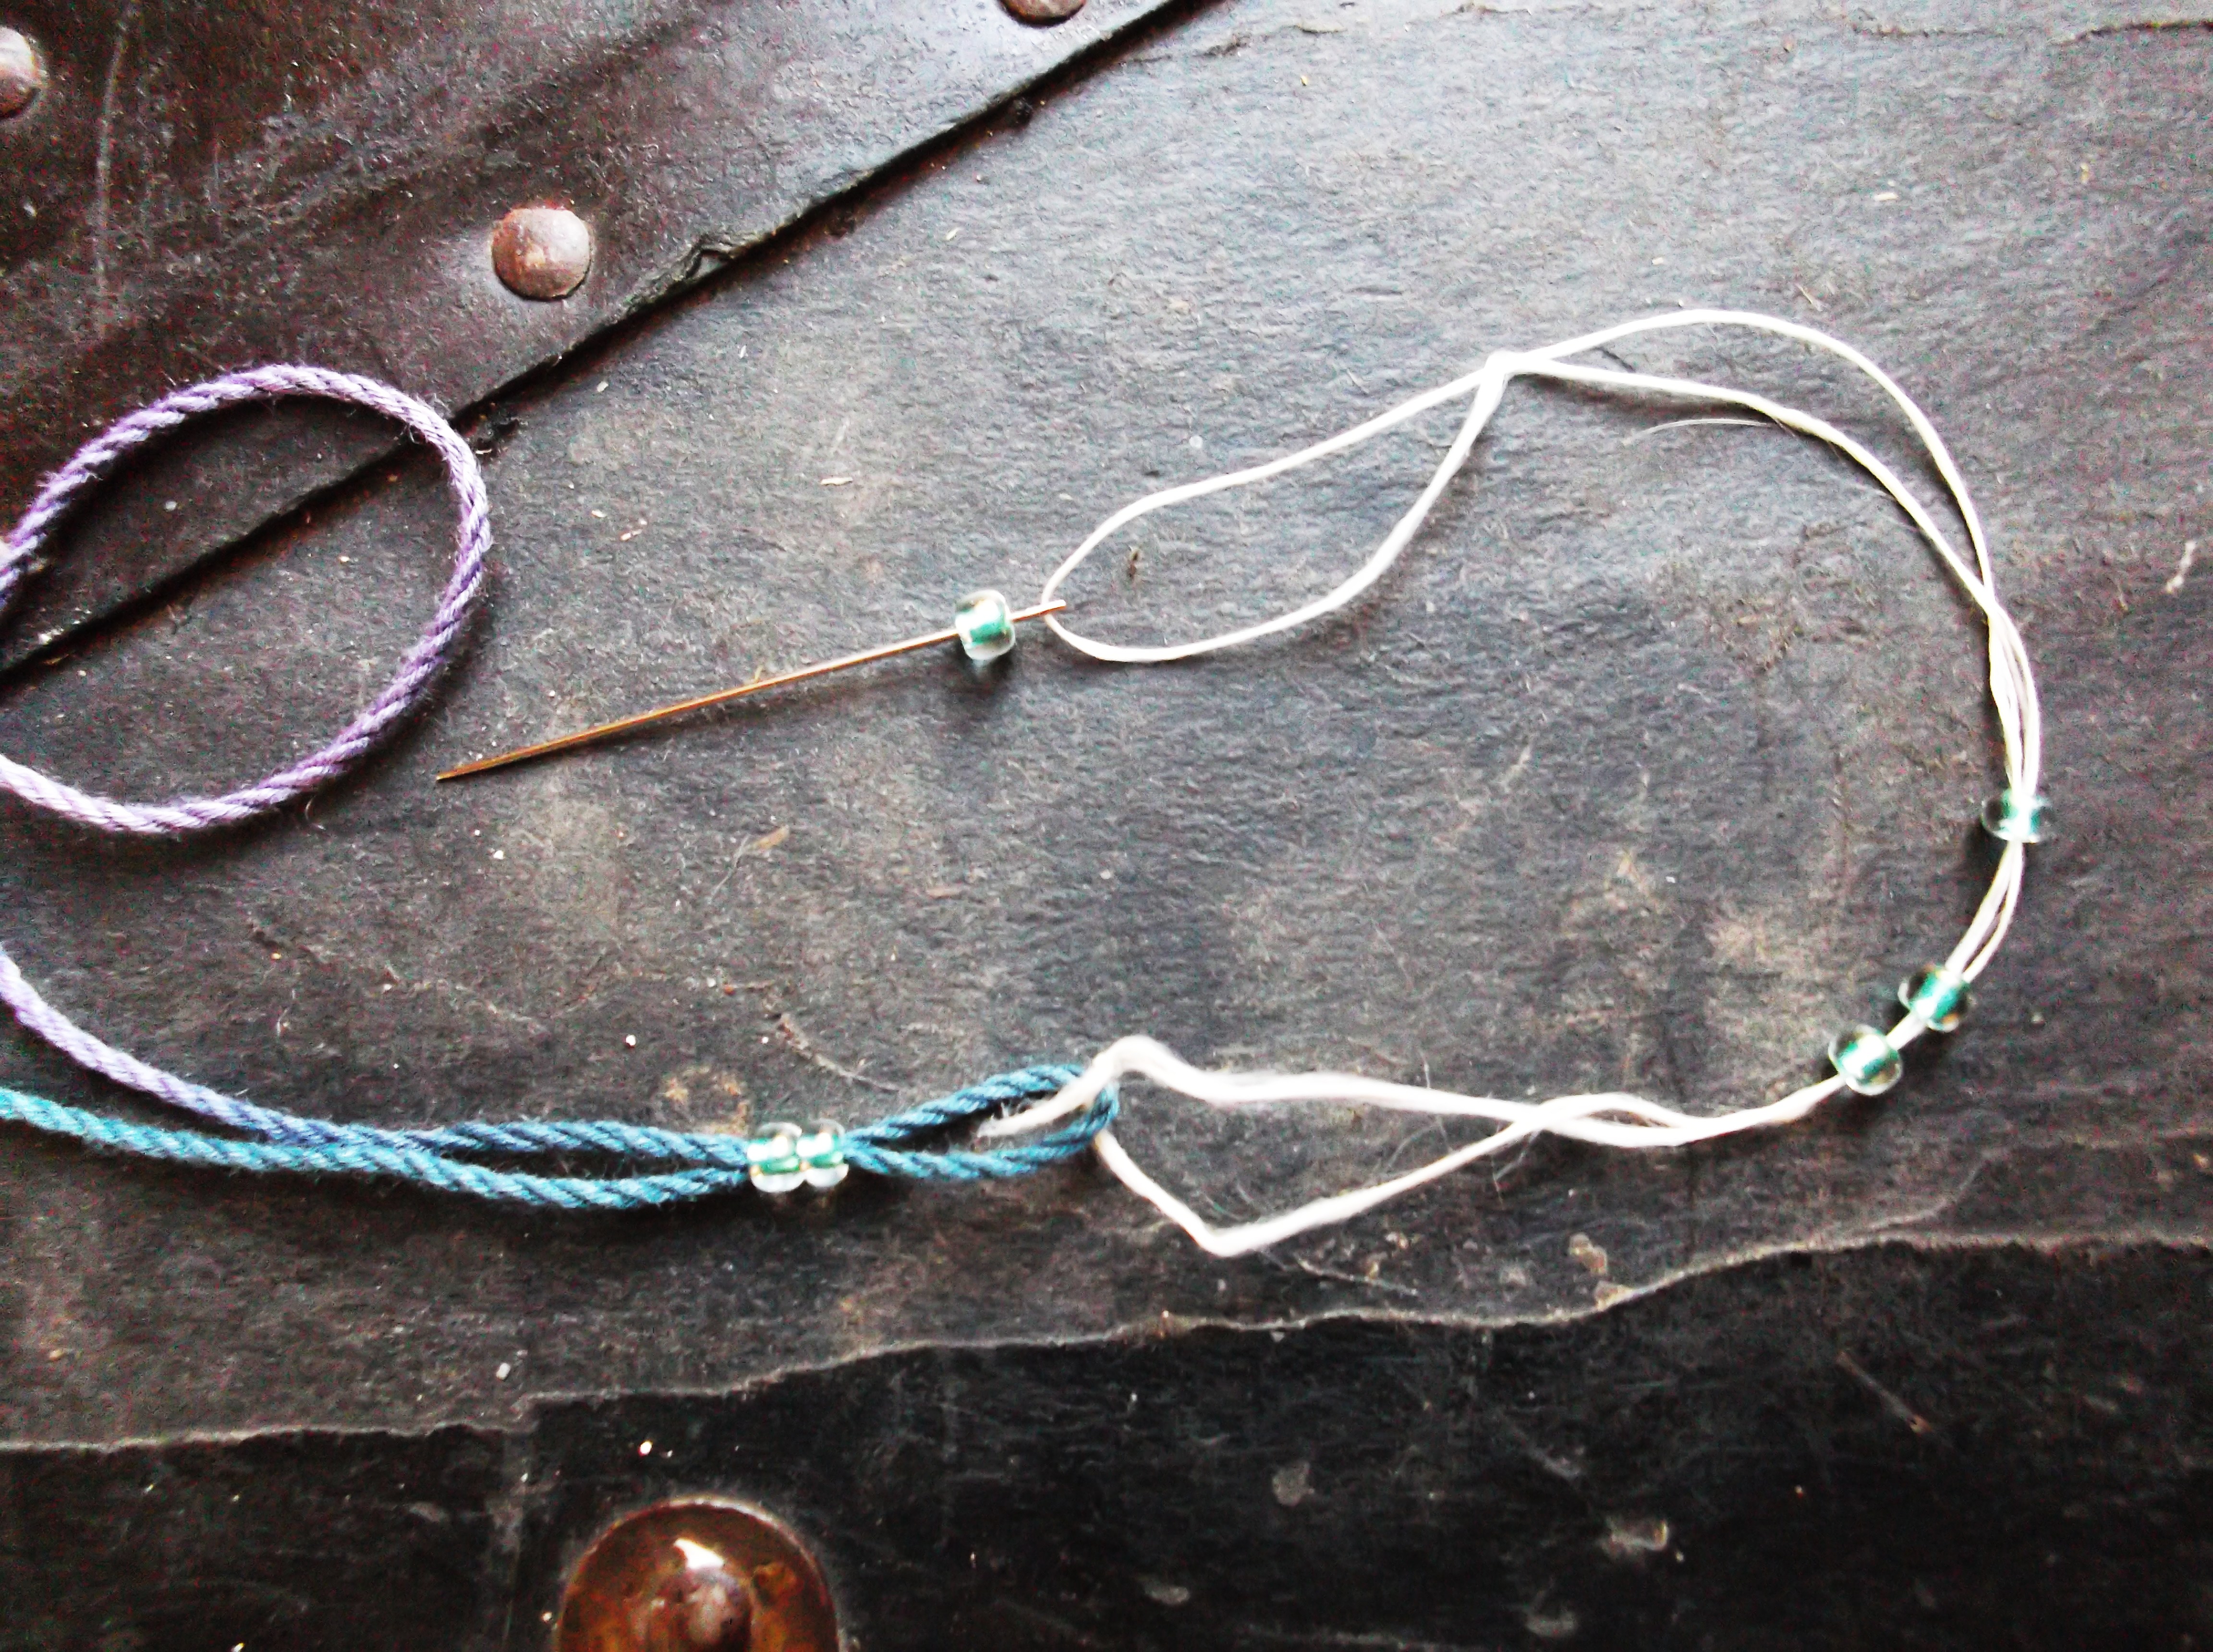
Crocheting with beads is a nice addition to a crochet project that many stitchers do not think about, thus making beads a nice gift.

Some gifts that are completely unexpected are beads. I know this can sound a little off base since I am discussing crochet gifts, but beads can bring a new challenge and help the recipient undertake a new approach to their skill. There are several ways to incorporate beads into crochet projects, and it offers a little something extra, and many crocheters never take the time to go bead hunting for themselves, so it make a great gift. (Here is a link to great online provided)

I would be remised if I did not mention that you could give the gift of membership with the Crochet Guild of America (CGOA). This organization promotes all things crochet and the recipient would receive a subscription to Crochet! Magazine with the membership, as well as discounts to conferences, opportunities educational programs such as the Master’s Program, as well as explore the various ways that they can utilize crochet as a possible career, it really can be a gift that keeps on giving. (See what CGOA has to offer here)

So, if you have a crocheter in your life (they use one hook with yarn, not two needles, in case you were not sure which craft you were dealing with), I hope this gives you a couple of ideas for things that your crocheter really will use, and enjoy, even if they never realized for themselves.

New Respect for the Makers of Yarn

ScannedImageI have a new found appreciation for the work any small independent yarn company or dyer does. This last weekend I had the opportunity to experience the New York Sheep & Wool Show, at the Duchess County Fairground in Rhinebeck, NY by working in the booth of Lisa Souza Dyeworks.

IMG_20151017_080807603_HDR

Beautiful colors at the NY Sheep & Wool Show at the Duchess County fairground, Rhinebeck, NY

As many can image, these small businesses have yarn specially milled, some do custom dyeing to bring beautiful and unique colors, some work with specialty fibers to bring us unique and soft yarns. We can easily imagine the obvious parts of the business, like putting the color on the yarns, of raising the animals to shear or comb for fibers, but the true essence behind what it takes for them to stay in business is something that we can easily overlook.

I have worked this booth in the past at different venues, but this is the first time I have been there from set-up to take down. Usually I assist people looking for various yarns, I answer questions, and help replace stock, however this time in addition to the meet with the customers, I helped set the product on the walls, getting everything in place for its first customers and then helped put everything into the moving truck the moment the show ends on Sunday.

Now I have heard the stories of the Rhinebeck show. This is its 35 year of operation, and it has quite a reputation. It is a full fiber show that invites the whole family. There are a variety of sheep breeds, as well as shearing demonstrations, spinning competitions, weaving demonstrations, interesting food vendors, many vendors featuring fiber related goods, book signings and all round simple wholesome good times. This show receives a large number of people over just two days, I have heard figures average about 60,000 people over the weekend, I can say it does feel like that many.

FB_IMG_1445483444654

Nancy & Deb have no problem eating lunch at a picnic table in snow flurries. Definitely giving me memories.

After working on the floor over the events two days, I can say I was completely exhausted. I met many people, made some new friends and spent some time with long time ones, (such as Margaret Hubert, Jessie Rayot, Shari White, Nancy Smith, Andrea Giattini, and Deb Seda,  even if a couple of them thought it was warm enough to share lunch on the picnic bench while there were snow flurries, I may not have mentioned that it was cold during the event…temperatures somewhere in the 30’s (F) on Sunday). I even met Katy Clement who had a video of my competition with Lily Chin at the 2014 CGOA Chain Link Conference (Knit & Crochet Show) in Concord, NC (at the Fun Night, I had beat everyone else in the room at speed crocheting, and then got to face off against Lily Chin for the title…yes, I lost, but Lily is really fast). She shared the video with me and I am happy to share it with you here (IMG_3743).

Then after the show closed the real work began, the entire product, all the display needed to come down, be boxed up and placed in the moving truck. So after being on your feet for 10-12 straight hours the last 3 consecutive days, after traveling over 3000 miles, you then need to make a final push and make it all go away. It was physically draining (I am sure I lost some weight), I used muscles that I forgot I had. Then you realize, every show is like this. There is nothing overly special for vendors at this show (except that the amount of people can generate into more sales), but these small independent yarn companies do this multiple time a year, some more than once a month to get their yarn into your hands. I met one vendor that will have done 18 shows this year; I didn’t even ask how many miles they have traveled.

It is not an easy job that they undertake, a job that is a passion about yarn. I appreciate what they go through to keep a viable business, and keep a great product available for me to work with. My hats off to them and all small businesses that go extra miles that most of us just take for granted.

Not All Patterns are Created Equal

ScannedImageI have taken a small journey this week, and I thought I would at least touch base talking about it, I plan on doing more research and writing more in the future….but the evolution of the crochet pattern can be an interesting thing.

This came about when i was talking to another designer, she primarily works with knit designs, but was have questions about a crochet pattern she had written. What she had written was fine, but it was not in the standard formats that you see today, and this got me thinking and looking at older patterns.

The way she had wrote the pattern was similar to ones I had seen growing up, it didn’t give stitch counts at the end of the row, it talks about working “along the working edge”. When today all of this would be much more specific. IMG_5622

I pulled out some older patterns, I mean like things from 1914, and found that they did not even specify a hook size or even the yarn. the pattern was written like you were talking to your friend…like, “just skip the next stitch and work in the next, one the next row work in to the stitches and make boxes”, it does not tell you how big the final item is to be. there was a lot that you had to understand about crochet in order to create a successful product, or at least one that is exactly like the original one created.

Then later patterns began address crochet hook size. I can not take credit for any of this particular research, as I learned it from a conversation with my friend Vashti Braha. She does a lot of research on every topic that she covers in her newsletter (I highly recommend if you are not on the subscription, do it. She gives you so much insight to the structure of crochet that it is inspiring) Vashti explained that patterns began noting hook size about the 1950-60’s, yet only specified “use what yarn feels most comfortable with the hook”. Things became a little more structured during this time, and the terms and description eventually worked up to the pattern the started me on this quest.

DSCF0993However, I think that after the internet patterns have become much more detailed, and much more precise in the descriptions of locations. This is mostly found in professional print publications and magazines, a just downloading a pattern on-line can definitely be a gamble of any of the writing styles found before. Why is this a change after the internet if pattern downloads can be a crap-shoot, because it is easier to reach out and ask questions of the designers, the publishers, and the technical editors. So if it is well written the first time, less questions are there to be answered.

I definitely want to look more into the ever evolving writing of patterns, but it might take some time….so at least now it is some food for fodder….

So the next time you think you might be going crazy, it might just be the pattern, not all patterns are created equal.

There is More then One Way to Join a Motif Together

ScannedImageWhen the average non-crocheter thinks of crochet, often one of the first thoughts is the classic granny square. This motif has become a historic staple, however working any motifs worked in crochet can have a fun, stunning, and classic appeal. The draw back? Stitching them together.

IMG_7319.1

Remove hook from working loop, insert hook into stitch to be joined to and re-insert into working loop.

I have stated it before, but I am a crocheter, not a seamstress. So join-as-you-go has been a savior of sorts for me. It has allowed be to work various motifs without having to stitch them together, but simply work a stitch into the adjoining motif and they are now connected.

IMG_7320.1

Pull working loop through stitch

IMG_7323.1

Complete the stitch, and continue.

There are various applications that can be used in join-as-you-go, but one that I have been enjoying recently, has a finish that looks like I’ve spent time whip stitching the pieces together, without ever picking up a needle and thread (or yarn). To work this Joined Whip Stitch, or Braided Join, is actually pretty easy. When you are ready to join to the adjacent motif you simply remove your hook from your working loop, insert your hook through the stitch you wish to join to, re-insert into the working loop and pull it through the stitch, then begin and complete the stitch you wish on the motif you are working on. Essentially you are bringing the loop through another fabric and then completing your work, there is nothing fancy, nothing difficult, just a simple way to weave the fabrics together.

IMG_7325.1

The finished look of the Joined Whip Stitch or Braided Join

The look that this technique creates has a hand sewn appearance to some, and a braided effect to others. It is a little slow, and only a little, as removing your hook and getting it placed and then reworking the stitch can take a little time, not to mention a little fear of the working loop being pulled out. However the technique is simple and can be worked with any motif pattern without having to change the stitch structure. So give this method a try next time you have a motif to put together, you may find that it makes your project a little more enjoyable, with no needles required.

Taking a Look at the “Extras” that make Crochet

ScannedImageI usually find myself to be a very simple person. I have crocheted for more years then I care to count, and have never thought about much more then my hook and my yarn. However recently I have started to look at “accessories”.

It probably came about from a ceramics class. A group of former students/friends arranged a day out to a local studio called “Color Me Mine”. It is apparently a chain of studios that have ceramic pieces for purchase, that you can then glaze and they will fire in a kiln, resulting in a personalized project that has a professional feel. At our studio day it was arranged for us to create our own yarn bowls.DSCF0937

A yarn bowl is a newer concept to me; it is a bowl that holds yarn but has decorative edge that actually functions in reducing your yarn from tangling. So balls of yarn are contained and do not run wild in the house and the pull of the yarn is from the same place every time. I admit, in the past I managed unruly balls of yarn by placing them in a tennis shoe or hiking boot, but this bowl seems to be much more effective. Of the finished pieces I had the pleasure of seeing, they are all beautiful.

Funny how one open door to a new thought can open the door to many others. As this experience had me looking at travel holders for hooks, bags, hooks in general, even coffee cups. So when I was attempting to find a “thank you” gift for a friend, instead of looking at the usual yarn, I began thinking of other possibilities. One that I have decided to undertake and make myself, a hook/needle travel case.

DSCF0927.1

Small pouches for hooks/needles

DSCF0929.1

Wrong side of sewn fabric, 2 sets of pockets are created with folds. (hook/needle pouches sewn on the main pocket)

It has not been as difficult as I would have first thought. I found a fabric I liked in my stash, a velvet or velour type in a dark green; I cut a rectangle of 13”x 30” (33x76cm), and then began folding. I folded up 8” (20cm) from the short side, and then folded it in half back down (so that the velvet side of the fabric was facing outward, while at the same time lining the pocket). I then began to stitch creating a pocket and then slender pocket of ½” (1cm) width to hold hooks/needles. I then created a second set of pockets behind the hooks, by pulling up the recently sewn pocket about 2 ½” (6cm) and stitching the sides down. I also placed a couple of additional seams over the stitches created in the hooks sleeves to make about 3” (7.5cm) pouches.

DSCF0931.1

The crochet fabric is sewn to the velvet fabric, wrong sides together.

Now that the stitching was done, it was on to the crochet. I made a piece of crochet fabric from some rayon yarn I had, and utilized the Tunisian simple stitch to highlight the subtle color changes, in a size of a 9”x13” (23x33cm)rectangle. Matching the 13” (33cm) sides of the velvet and the crochet, with wrong sides together I stitches the seam, as well as at either end of the of the 9”(23cm) side of the crochet fabric to the velvet piece, and finally stitched the last side of the crochet fabric in place leaving the remaining velvet fabric unstitched (this is used to fold over the hooks/needles). Then sew on some ribbon ties and I think it looks good.

DSCF0936.1

Tied up and ready to go!

DSCF0933.1

Just needs to be filled!

Looking at accessories for the world of fiber, is opening up many new ideas….it seems like a whole new world!