5 Ways to Add Fabric to Crochet

I was asked a couple of week ago to share how to attach fabric to crochet. It was a little bit of perfect timing as I was working up a scrap yarn handbag, and it could really benefit from a lining.

There are actually a few ways to attach fabric to crochet.

Hand Sewing

The first method is tried and true, hand sewing. If I am creating a lining for a bag, I cut my fabric the same size as my project. Then I seem the side (this is definitely true for handbags). Now I am ready to add it to my crochet.

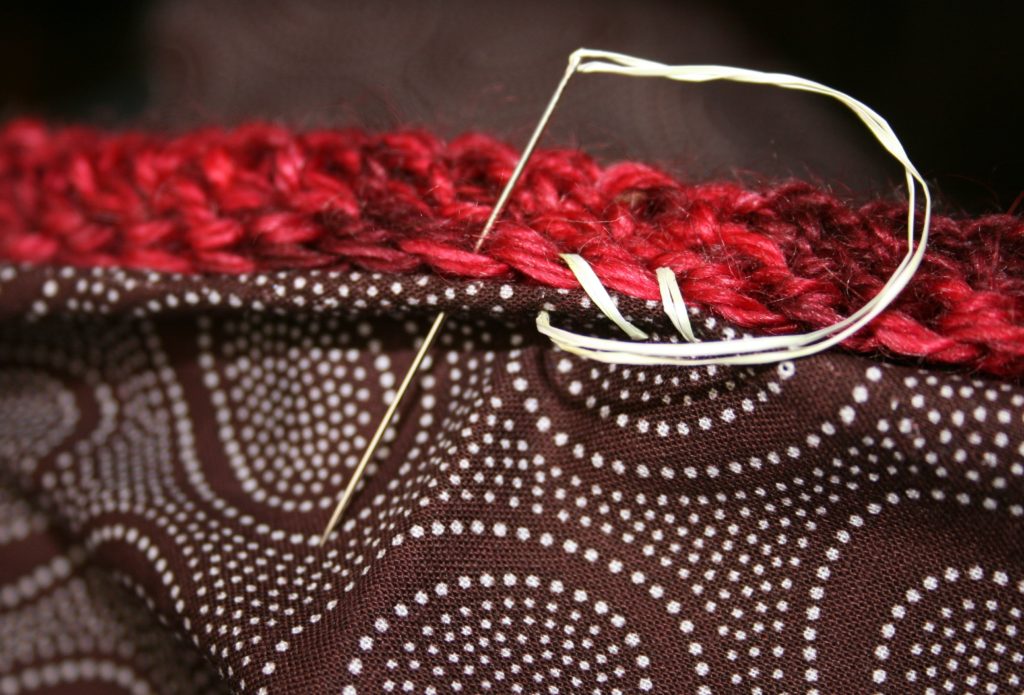
Since I cut the fabric the same size and then seemed it, you will notice that it is now slightly smaller than the project….this is perfect. I insert the lining, and now I fold the raw edge of the top of the fabric over. I pull out the hand sewing needle and whip stitch the top edge of the folded fabric to the crochet.

Whip stitching is simply entering the needle from the same side of the fabric. Essentially it is making a loop of thread through both pieces of fabric.

Whip stitch is worked by inserting the needle in the same place and looping through the fabrics

Machine Sewing

Another way to add fabric to crochet is machine sewing. Honestly I do not pull out my sewing machine for what I would view as a small project, but once I did work a bunch of crochet squares to a bunch of fabric squares to make a blanket, and in this case I definitely pulled out the machine. You do need to use a bit of caution and know the machine you are using, but I basically used the fabric and crochet just as I would other machine sewing projects.

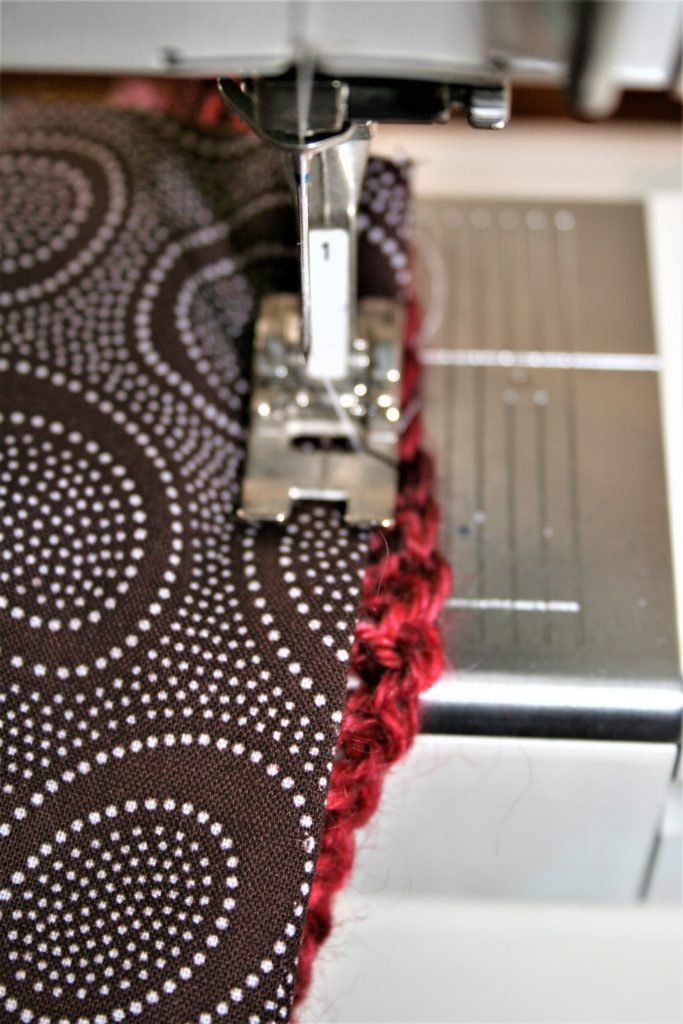
Place the fabric on the crochet, if you are turning under a crochet edge (as in typical machine sewing), then just lay the fabrics together and stitch. If the fabric is more like a lining fold under the raw edge of the fabric and stitch to the crochet.

I have found that I prefer the crochet fabric to be the bottom fabric. I lower the feed dogs (the little textured metal tracks that help pull the fabric through the machine), and thus have to help the fabric through with a little gentle pulling. I prefer this approach to having the crochet on top, as I have found the crochet can get a bit hung up on the presser foot or snag on the needle.

Sew crochet on a machine by lowering the feed dogs, and help gently pull the fabric through the machine

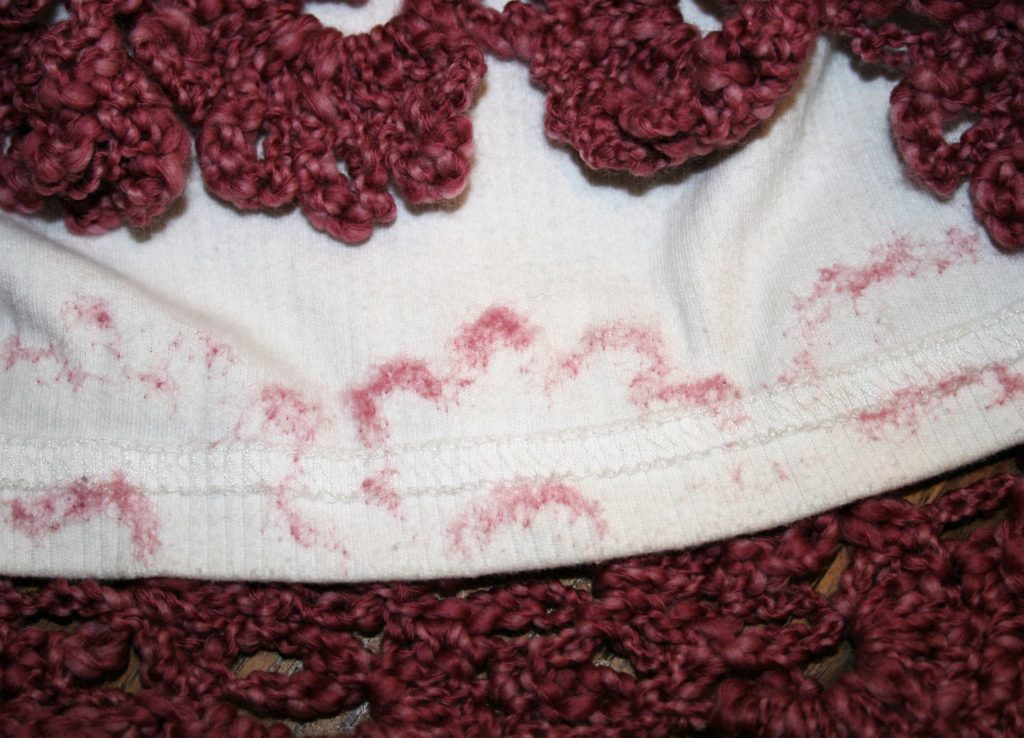
As machine sewing will create a tighter stitch then hand stitching, it can, and most likely will create a line across your crochet. If hand sewing this can be easily avoided as you do not have to sew all the way through the fabric, you can sew through half of a crochet stitch instead.

Fusible Interfacing

Another way to adhere fabric to crochet to using a double sided fusible interface. This is a product that works a bit like magic and can be found most places you find fabric. You follow the package direction, using an iron and basically glue the fabric to the crochet. I really have done very little of this, and even then I only worked it in small areas that I wanted to add crochet to large pieces of fabric. It will stiffen the crochet, and depending on the yarn used, it may not appreciate the iron, so beware. Test your fabric and your yarn before going down this rabbit hole.

Needle Felting

In addition you can add crochet to fabric by needle felting. To needle felt crochet to fabric you need to be mindful of the materials you are using. First your yarn, it tend to work best with wool, preferably not superwash. The fabric should be one that can take a bit of abuse, as it is going to be punched repeatedly with a needle. I prefer working with denim, linen or canvas, but have worked on cottons. You need a needle felting needle (it is a needle that actually has small barbs on it that you can feel running you finger up from the needle from the point), and a piece of foam (a pillow can work too).

You place your crochet where you want it on the fabric. Place the foam behind the fabric, and push the needle through the crochet and fabric, into the foam. You repeat this process until the crochet is adhered. You will notice that on the back of the fabric that yarn is being pushed through. Times will vary greatly, and some fabrics/yarns are not suitable and will not stay in place no matter how long you work it.

Needle felting pushes the yarn through the fabric

Crochet Joins

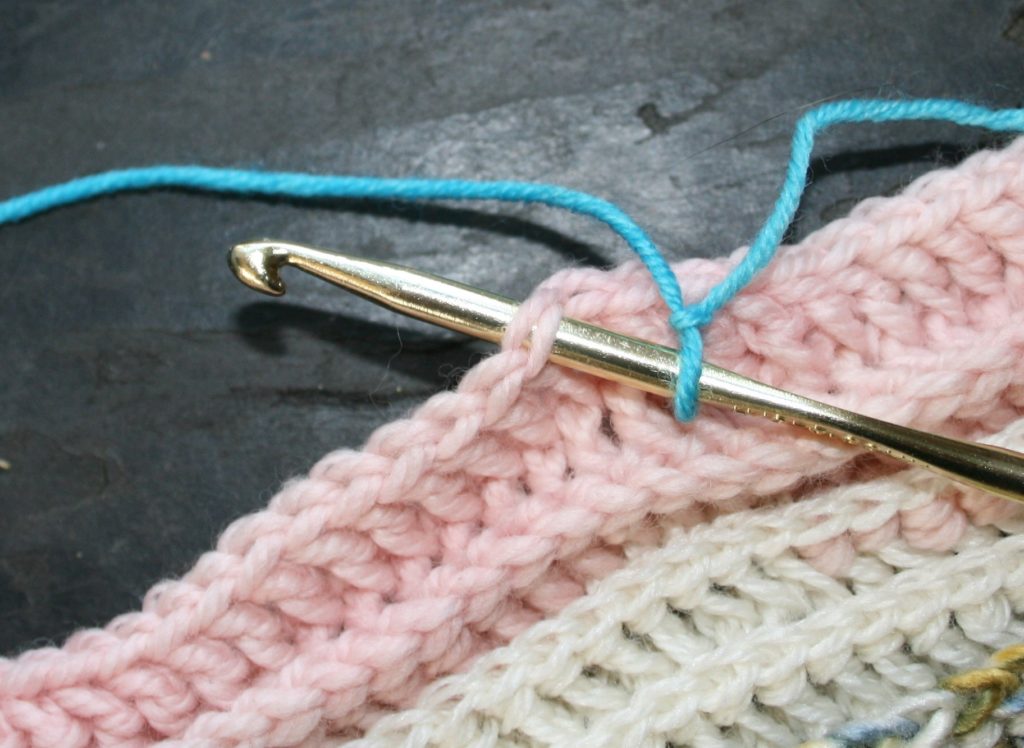
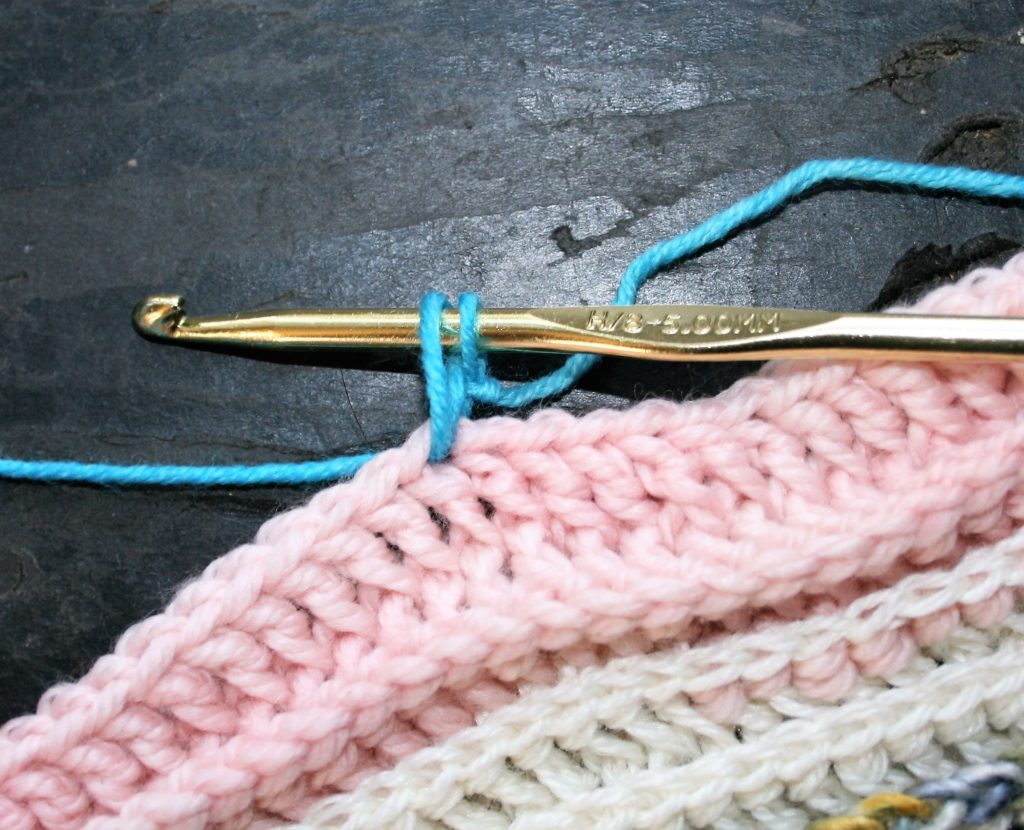
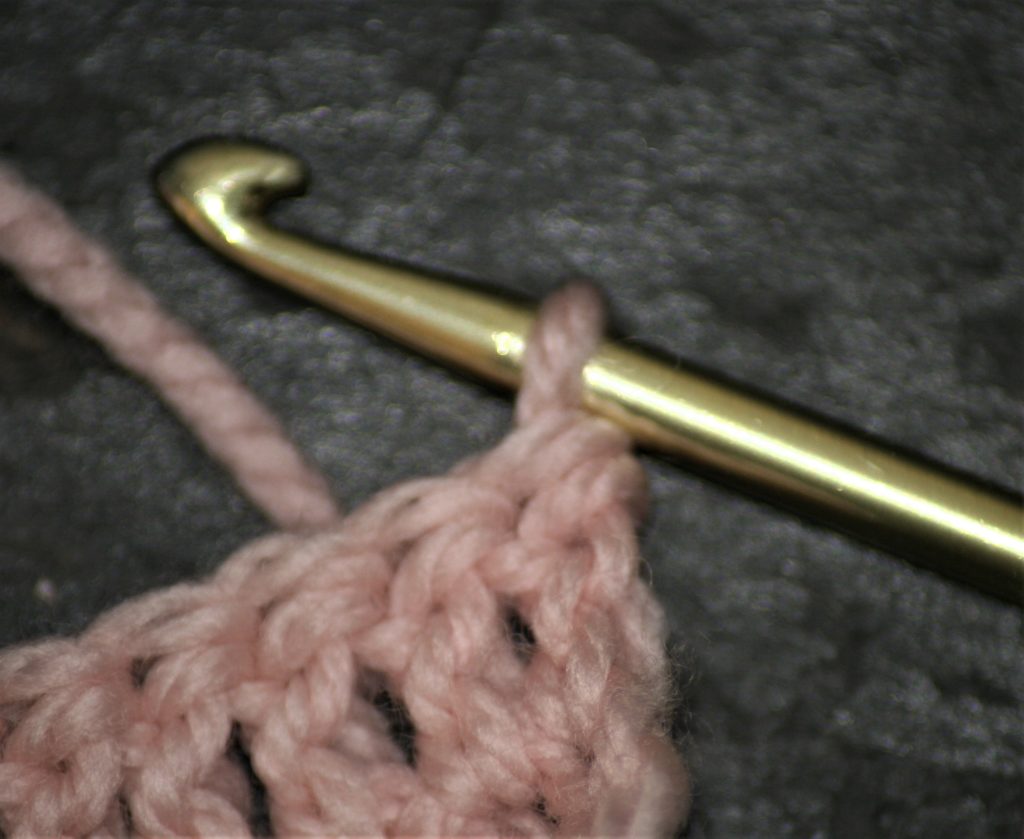
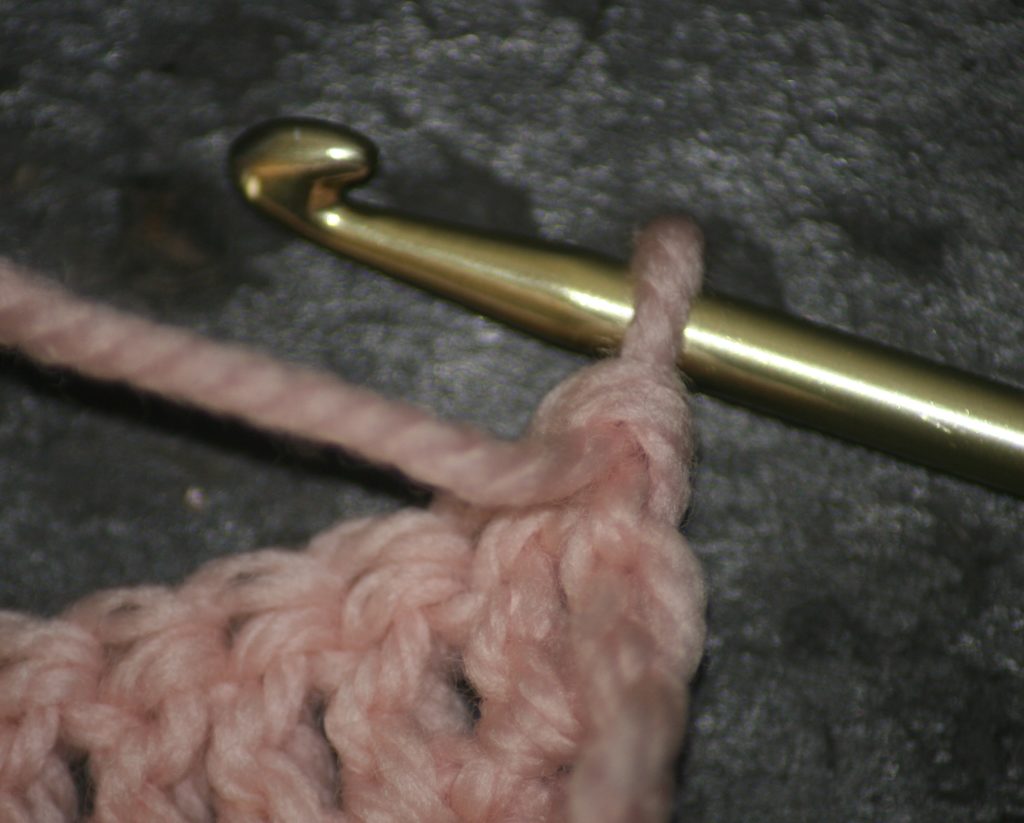
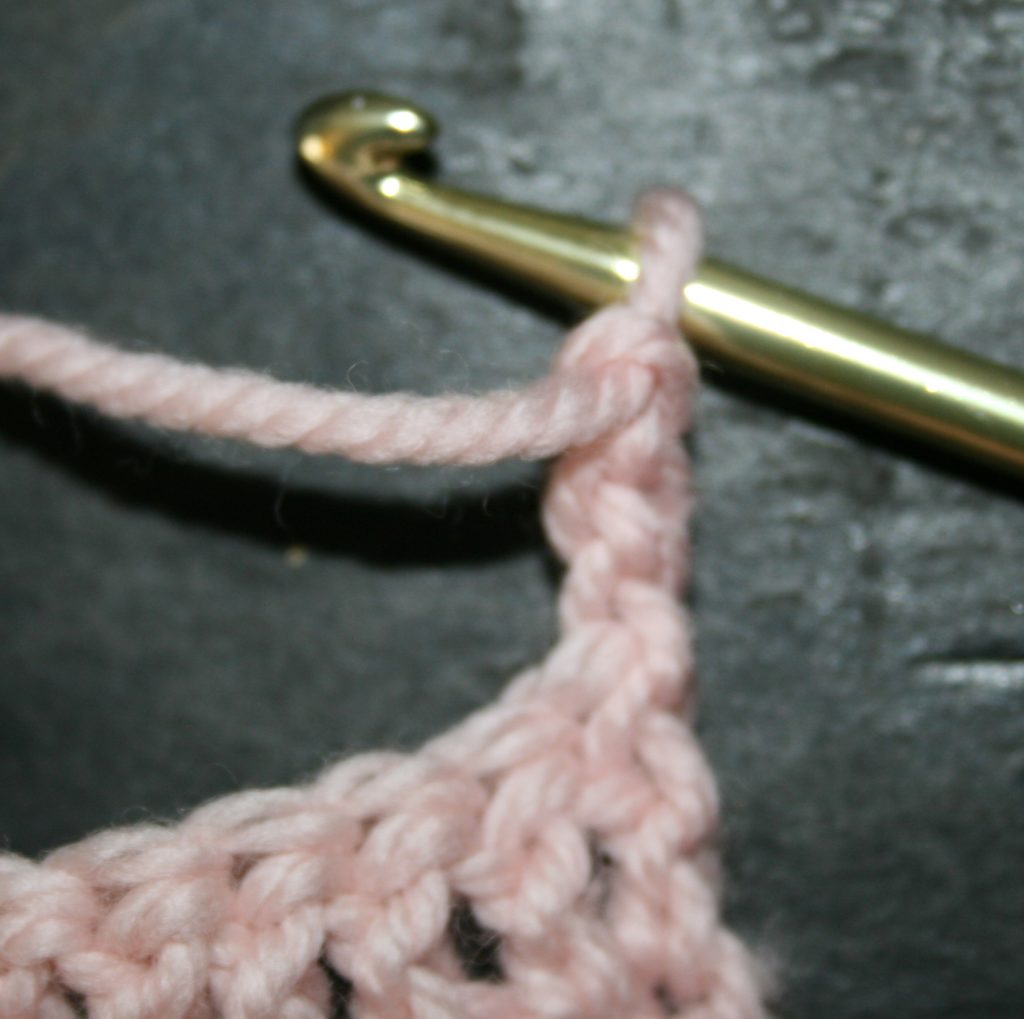
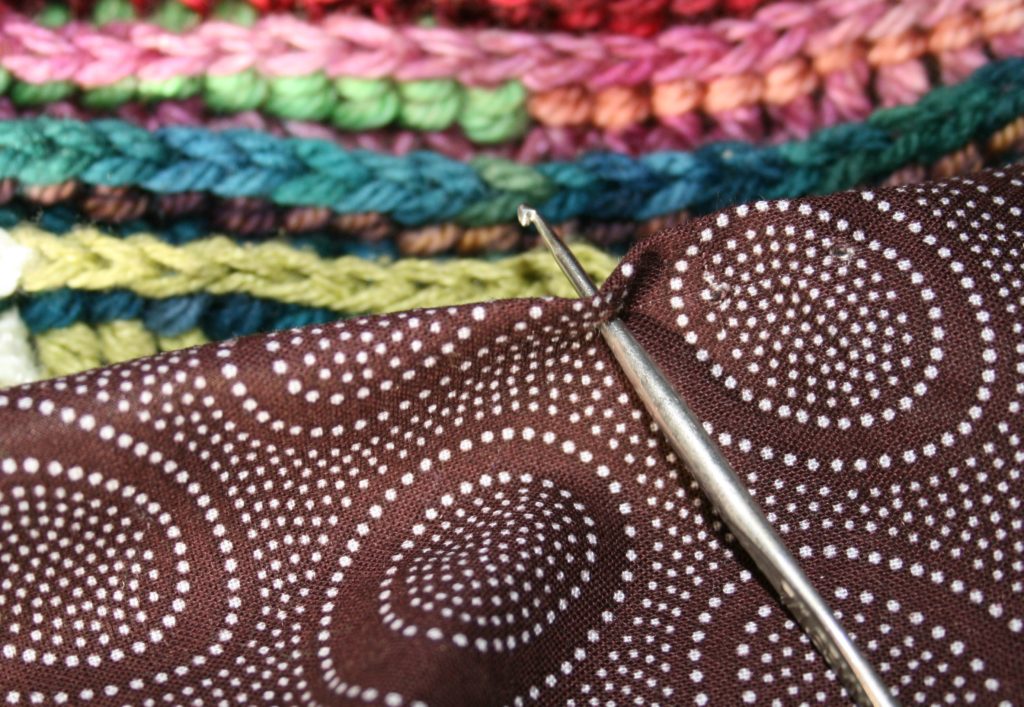
Finally one additional way to add fabric to crochet, simply crocheting it on. There is a little prep work to make you project easier, but it is completely doable. I fold the raw edge of the fabric over, and find a small crochet hook, a steel crochet hook usually works fine, and then I evenly push it through the edge of the folded fabric creating small holes. I then continue working with the small hook and crochet through these holes into the crochet fabric.

Push a small crochet hook through the folded fabric to create holes to help when crocheting the fabrics together.
Working through the holes in the fabric crochet to the crochet. Stitch shown is slip stitch

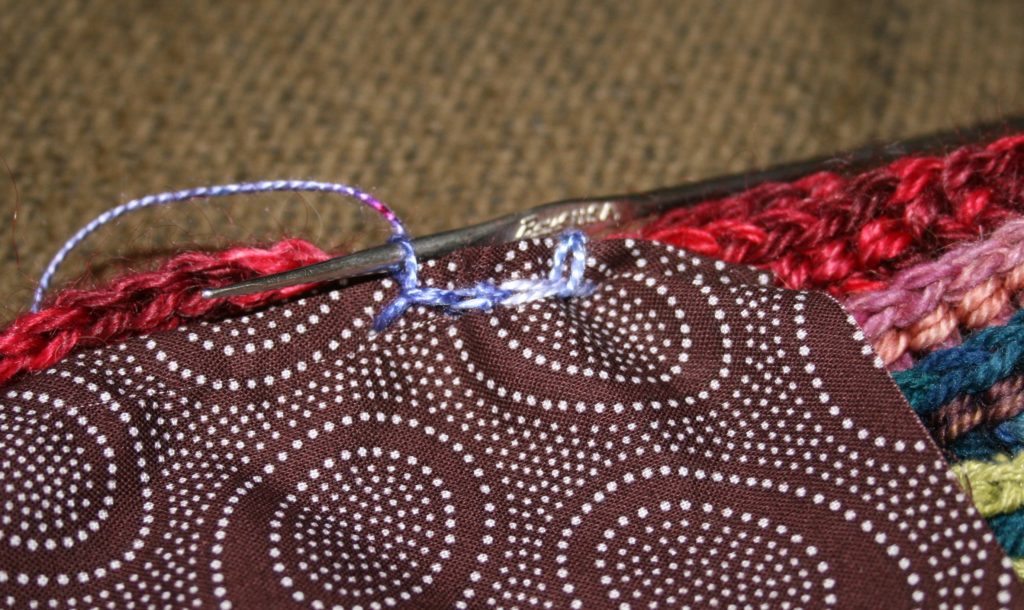
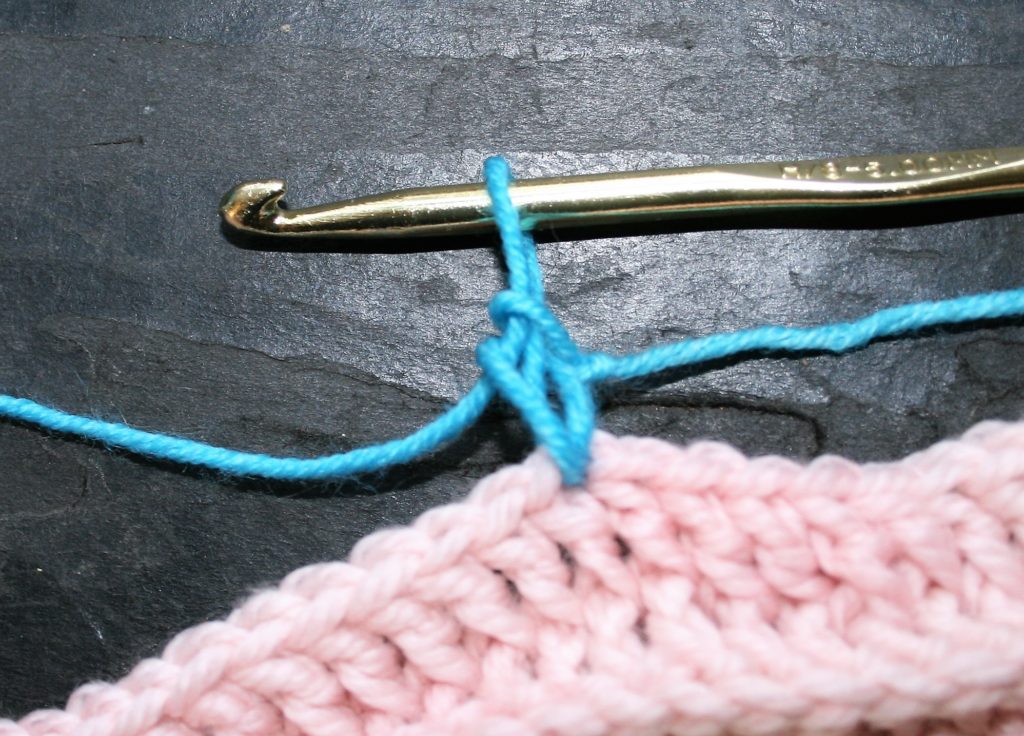
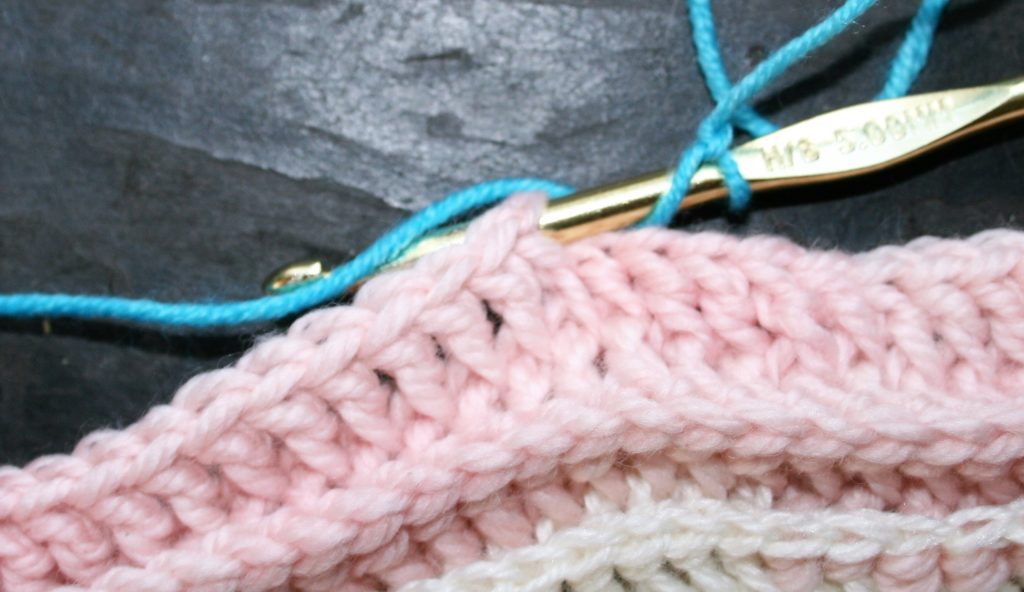
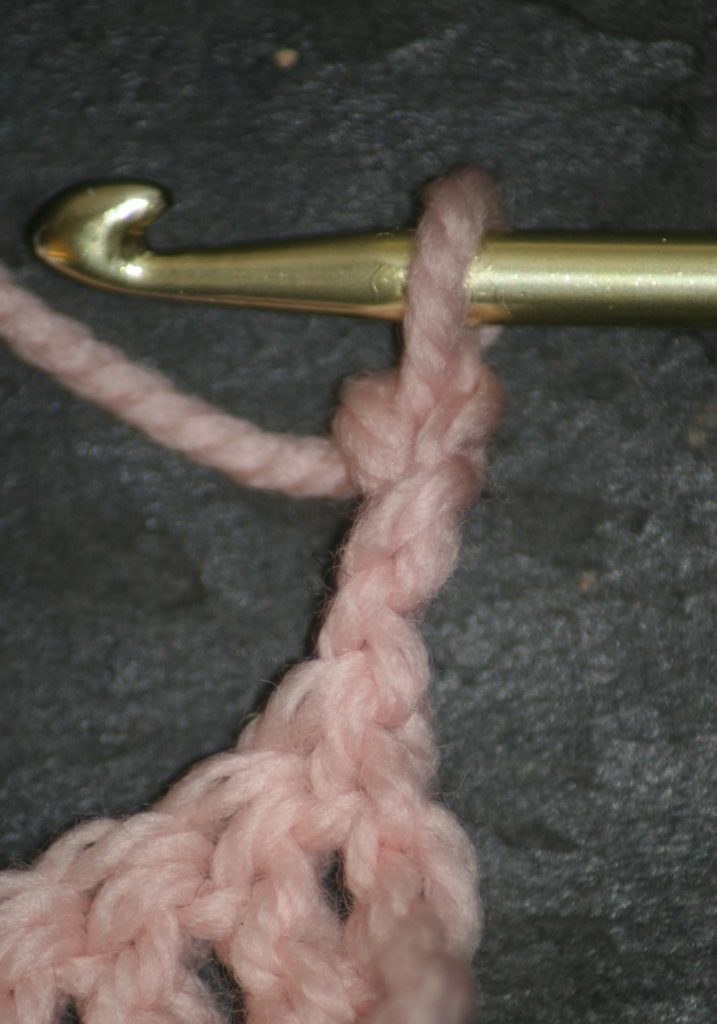
To make crocheting the fabric on a bit easier, you can take a yarn needle and work a blanket stitch (inserting the needle in the same side of the fabric in a similar movement as a whip stitch, but before the loop pulls closed you insert you needle in the loop, this makes an edge of thread/yarn at the top of the fabric) around the fold fabric in a yarn of your choice. You then crochet in the loop created.

Blanket Stitch, insert needle from front to back of fabric, loop over edge to reinsert into fabric while slipping needle through the loop created. This does not allow the stitch to be pulled tight without completely distorting the edge
The top edging of the blanket stitch creates a place to crochet into, and thus you can crochet through these loops onto the crochet fabric to be joined to.

A Little Extra Padding

To add a little bit of stiffness to the project, or a bit of body to it over all, consider adding a bit of quilt batting between the fabric and crochet.

Some of these techniques are more comfortable than others, and much of that can be related to your comfort level with sewing in general. Just remember like crochet, it can be forgiving, so give it a try.

Join with a Standing Crochet Stitch

I have become a fan of using standing stitches when joining a new yarn to an existing row, especially when joining with a single crochet.

This technique removes the slip stitch to join and the chain for stitch height. It just works the stitch.

Working a Standing Single Crochet

So to work a standing single crochet is worked by creating a loop on your hook, just as if you were going to being a project. Insert your hook into the stitch to be joined to, yarn over and pull up a loop.

Working a Standing Single Crochet, with a beginning loop on the hook, insert hook into stitch to join.
Continue to work Standing Single Crochet, by pulling up a loop.

Now yarn over and pull through both the loops on the hook. Basically you just work a single crochet, because there is already a loop on the hook to finish the stitch just as you always have.

Finish a Standing Single Crochet by working a yarn over, and pull through both loops on the hook.

If you want to work this with other stitches that have a yarn over before inserting the hook, it can be a bit trickier, but with a little attention to detail is can be readily done.

Work a Standing Double Crochet

To work a standing double crochet for instance, place a loop on you work just as if you your beginning a crochet project, now yarn over you hook. This will feel very awkward as there is nothing to help keep the yarn over in place, so you may want to slide this up you hook and pinch it with the loop under your fingers while holding the hook.

Beginning a Standing Double Crochet, by yarning over the hook before inserting it into the stitch to join. Be careful to hold the yarn over on your hook as it can easily slip off.

Now insert the hook into the joining location, yarn over and pull up a loop, yarn over and pull through the loop and the yarn over you have been pinching on the hook. Then yarn over and pull through the last two loops.

The next step of the Standing Double Crochet is to pull up a loop, still being careful not to lose that added yarn over, as it is still able to twist itself off the hook.
The third step of a Standing Double Crochet lets you breath a little easier ass you pull through both the loop and the yarn off that has been on the hook.
Finish the Standing Double Crochet by pulling through the last two loops on the hook.

You will notice that with all standing stitches the “tail” of the yarn is at the top of the stitch, not at the bottom as is where it is found in traditional joins.

One nice thing about this type of join is that it looks like all the other stitches, and it saves a bit of yarn.

Making Your Circles Flat

Understanding your crochet can really help you enjoy your craft and make your projects more exciting to work. One area that this is true is creating a flat circle.

A flat circle is the base of top down hats, of baskets, and even handbags. Stitch height can greatly affect how a pattern will work out in these projects, as the height of the stitches make the circle either smaller or bigger. Another factor is the number of stitches per round.

I have discussed the formula for a perfect fitting hat in previous posts (you can find more about them here), but what if your stitch heights create similar problems as too few or too many stitches? That problem of either cupping or rippling of the fabric.

Cupping circle, needs to have more stitches added.

To determine the results of your fabric it cannot be done within one round. It can be determined over a few rounds, so do not get too hung up if the characteristics of cupping or rippling are slight. If it increases in subsequent rounds you then need to address the issue.

It is Cupping

There are simple fixes. If your fabric is cupping, or pulling upward, adding more stitches will encourage the fabric lay more flat. Another option is to reduce your stitch height, if the stitches are long and there are too few stitches the stitches will pull back on themselves.

Rippling circle, needs to remove or adding less stitch increases

It is Wavy

In addition if the fabric is rippling, or wavy, removing stitches or increasing your stitch height, will help create a flat fabric. Short stitches with many grouped together does not create enough space for the fibers of the fabric to have room to rest.

Crochet is a forgiving craft, the exact stitch count may not be vital. It really depends upon the pattern of the stitches created. However if it is a simple one stitch repeat you can usually add or subtract stitches without much concern.  I suggest adding or subtracting stitches to resolve the issue, as it is easier to do.

If you are looking for some projects to practice this on, I have several free patterns listed here.

Which Way Do I Turn?

Does it matter which way I turn? Do I have to chain first? These are two common questions that any crochet instructor is asked when teaching the basics.

My typical answer is, “as long as you are consistent, it does not matter”, but that is not quite true.

The reason I give my answer above, is because I know that the student is taking in a lot of information and do not want to overwhelm them with small details that may discourage, and in the long run it really may not make a difference in your work.

However, there are some subtle difference to the direction you turn your fabric and effects of your fabric. I am primarily writing from the view point of right handed crocheter, but in the parentheses I note the left handed viewpoint).

Turning Your Fabric

The standard way to turn your fabric it to turn it like the page of a book (like you have been reading the last page of the book and need to turn back to the beginning). Turning this direction keeps the working yarn to the back of the fabric, in the same manner of placement as when you complete your crochet stitch.

Turning like a page of the book (right handed)

Turning the fabric in the opposite direction the working yarn is placed in the front of the fabric. While you can still create a stitch creating a yarn over feels a bit different, maybe even awkward. This placement also sets up some challenges depending on what stitch is being worked next.

Turning the page backward (right handed)

I have primarily found this with working a back loop single crochet. By having the working yarn in the front of the work, it can make it difficult to get the hook placement in the first back loop as it is not readily apparent and thus this stitch may be skipped.

To Chain or Turn

So, then to turn and chain, or chain and then turn? As long as you are only turning 180° there is no real apparent difference. In either case, if the chain is created on a fabric that has the yarn to the front of the work, the back side of the chain is facing forward. If the fabric is created with the working yarn to the back the chain will appear to have a slight twist.

The chain created when the fabric is turned like a book (right handed)…notice how the back of the chain (the bumps) are facing the edge and there is a slight twist.
The chain created when the fabric is turned in the opposite direction of a page (right handed)- notice how the back of the chain (the bumps) are facing you

So to summarize, if you find that the first stitch of a row feels a bit different than the other stitches, check the way you are turning and see if it makes a difference, but do not worry about when and how you chain, it works the same either way.

Cotton Yarn is not Created Equally

The weather is changing and I want to crochet with cotton, but not all cotton is created equally.

When going through the craft store aisle of yarn, finding a cotton yarn for you project can be a bit challenging. The mainstream market seems to only have room for cotton crochet thread and a medium weight cotton that is often associated with dish towels. (Need to know more about yarn weight? Here is some info)

As I venture into my small local yarn store I do find a finer weight yarn of cotton, but it states “Mercerized”. It has a nice sheen, but is this what I need for my project?

Knowing a bit about cotton, can really help you to avoid any mistakes with projects in the future.

What is Cotton?

Cotton is a plant based fiber, well it is actually a cellulous based fiber that protects a plants seeds in what is referred to as a boll. The fiber has a short staple, meaning a short length. Due to the short nature of the fiber it is spun together more times than might be necessary for a wool yarn. This is strictly due to its length.

When long fibers are twisted together they have more points of contact when lying next to each other, so just a few twists can hold them together. With cotton being short, however, the fibers do not have as many points of contact, and thus have to be twisted together more times to ensure that they stay twisted together.

It is this high amount of twist that can cause cotton to shrink on its first wash. When water finally makes contact with the spun cotton, the cotton actually relaxes and while it softens up, it also can be less stretched and thus “shrink”. Unlike wool this reaction will only occur once, and for any use forward the cotton will remain completely stable.

What is Mercerized?

Many like to use cotton yarns for dish clothes, however this is where you need to understand the term “mercerized”. Cotton when spun can have a soft, fuzzy, halo around it. You find this in most medium weight cotton yarns available on the market today. The term mercerized is a process in which the cotton yarn is essentially singed and the fuzzy halo is removed, leaving in its place a sleek shiny yarn.

Note the top yarn (pink) has a shine, this yarn is mercerized. The bottom yarn (green) has a softer, slightly fuzzy look, it is not mercerized.

So why is it important to know about mercerized? Well, for started mercerized cotton does not absorb water like un-mercerized yarn. Meaning if you wanted to make a dish towel mercerized cotton will not behave in a manner that you desire. This is a pretty important distinction, and one worth repeating. If you want to make household items that will absorb liquids, do not use mercerized cotton.

Mercerized cotton I find to be lovely in garments and shawls. It has a nice sheen and feels like cotton, but unlike my T-shirt, if you hit me with a water balloon it will not pull dramatically down with the weight as it will not be absorbing the water.

Where Can I Find Cotton Yarn?

You might have to do a bit of looking to find cotton yarns for you project, but it is worth the trouble. Here are a few suggestions: