Yarn Play- Baby Alpaca/ Silk Petite 2

ScannedImageOne of the questions I often get asked is about yarn. There are so many different types a yarn out there that it can be difficult understand what makes each special, how each will behave in a project and why one might work better in different circumstances.

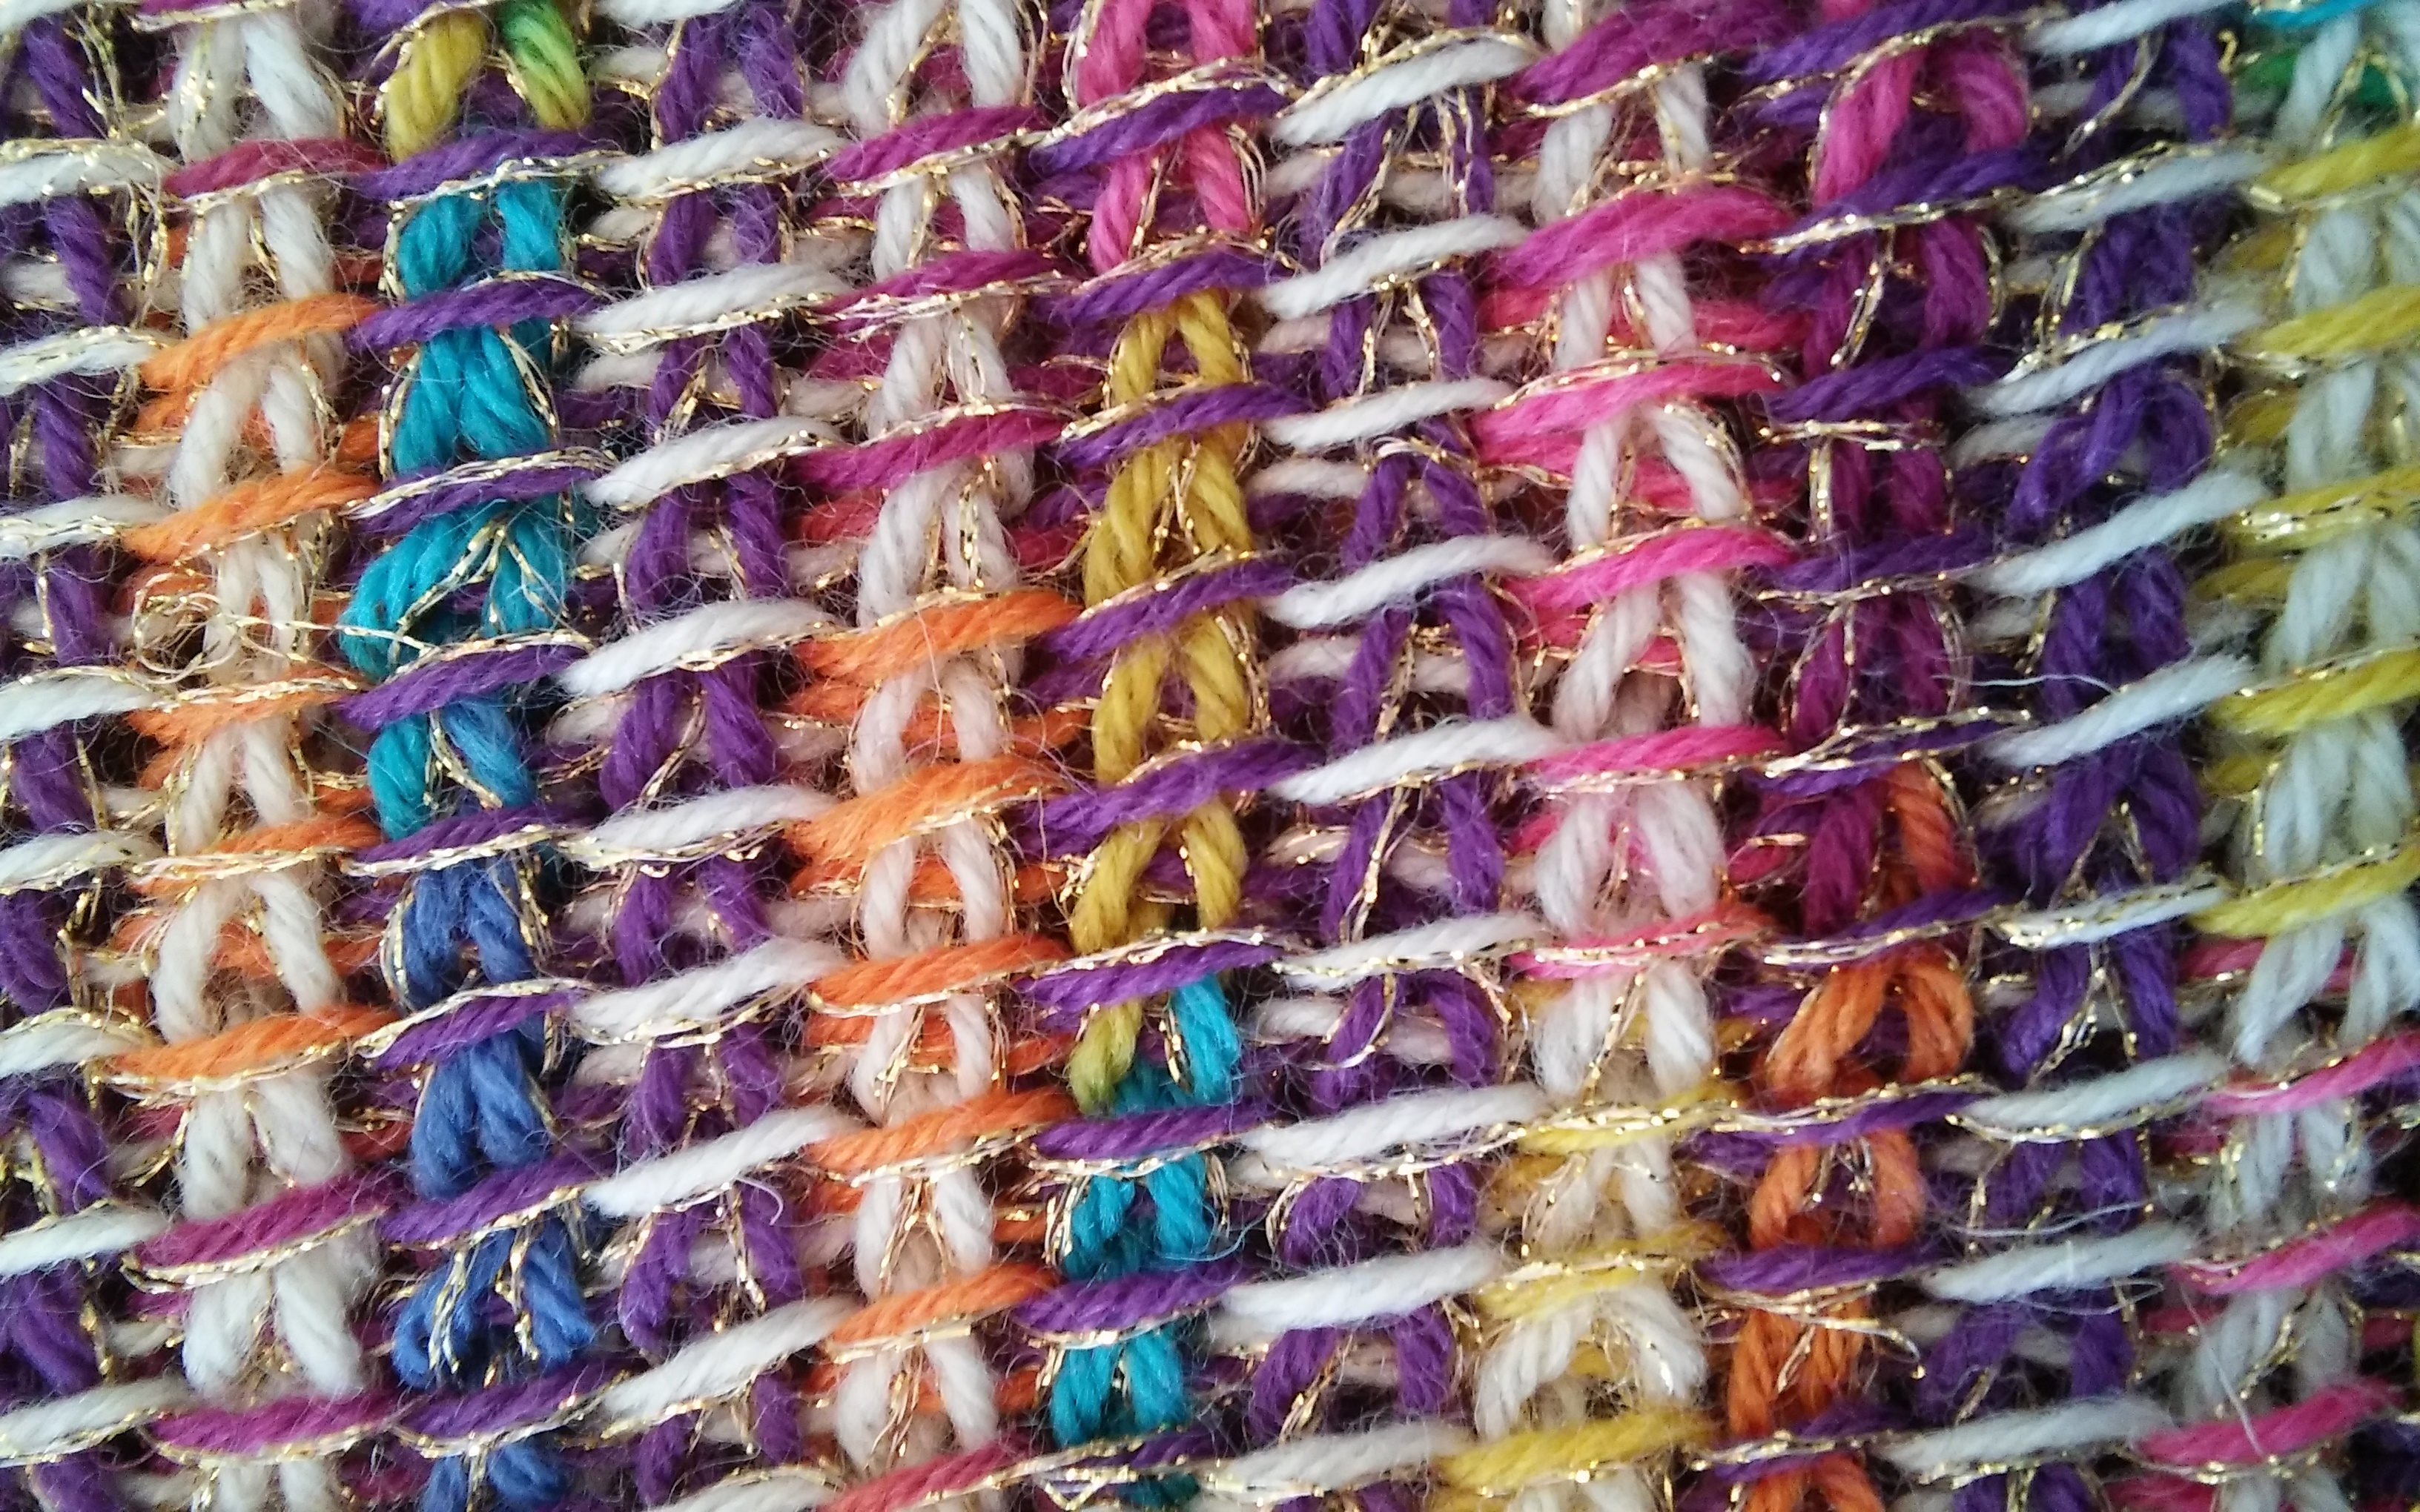
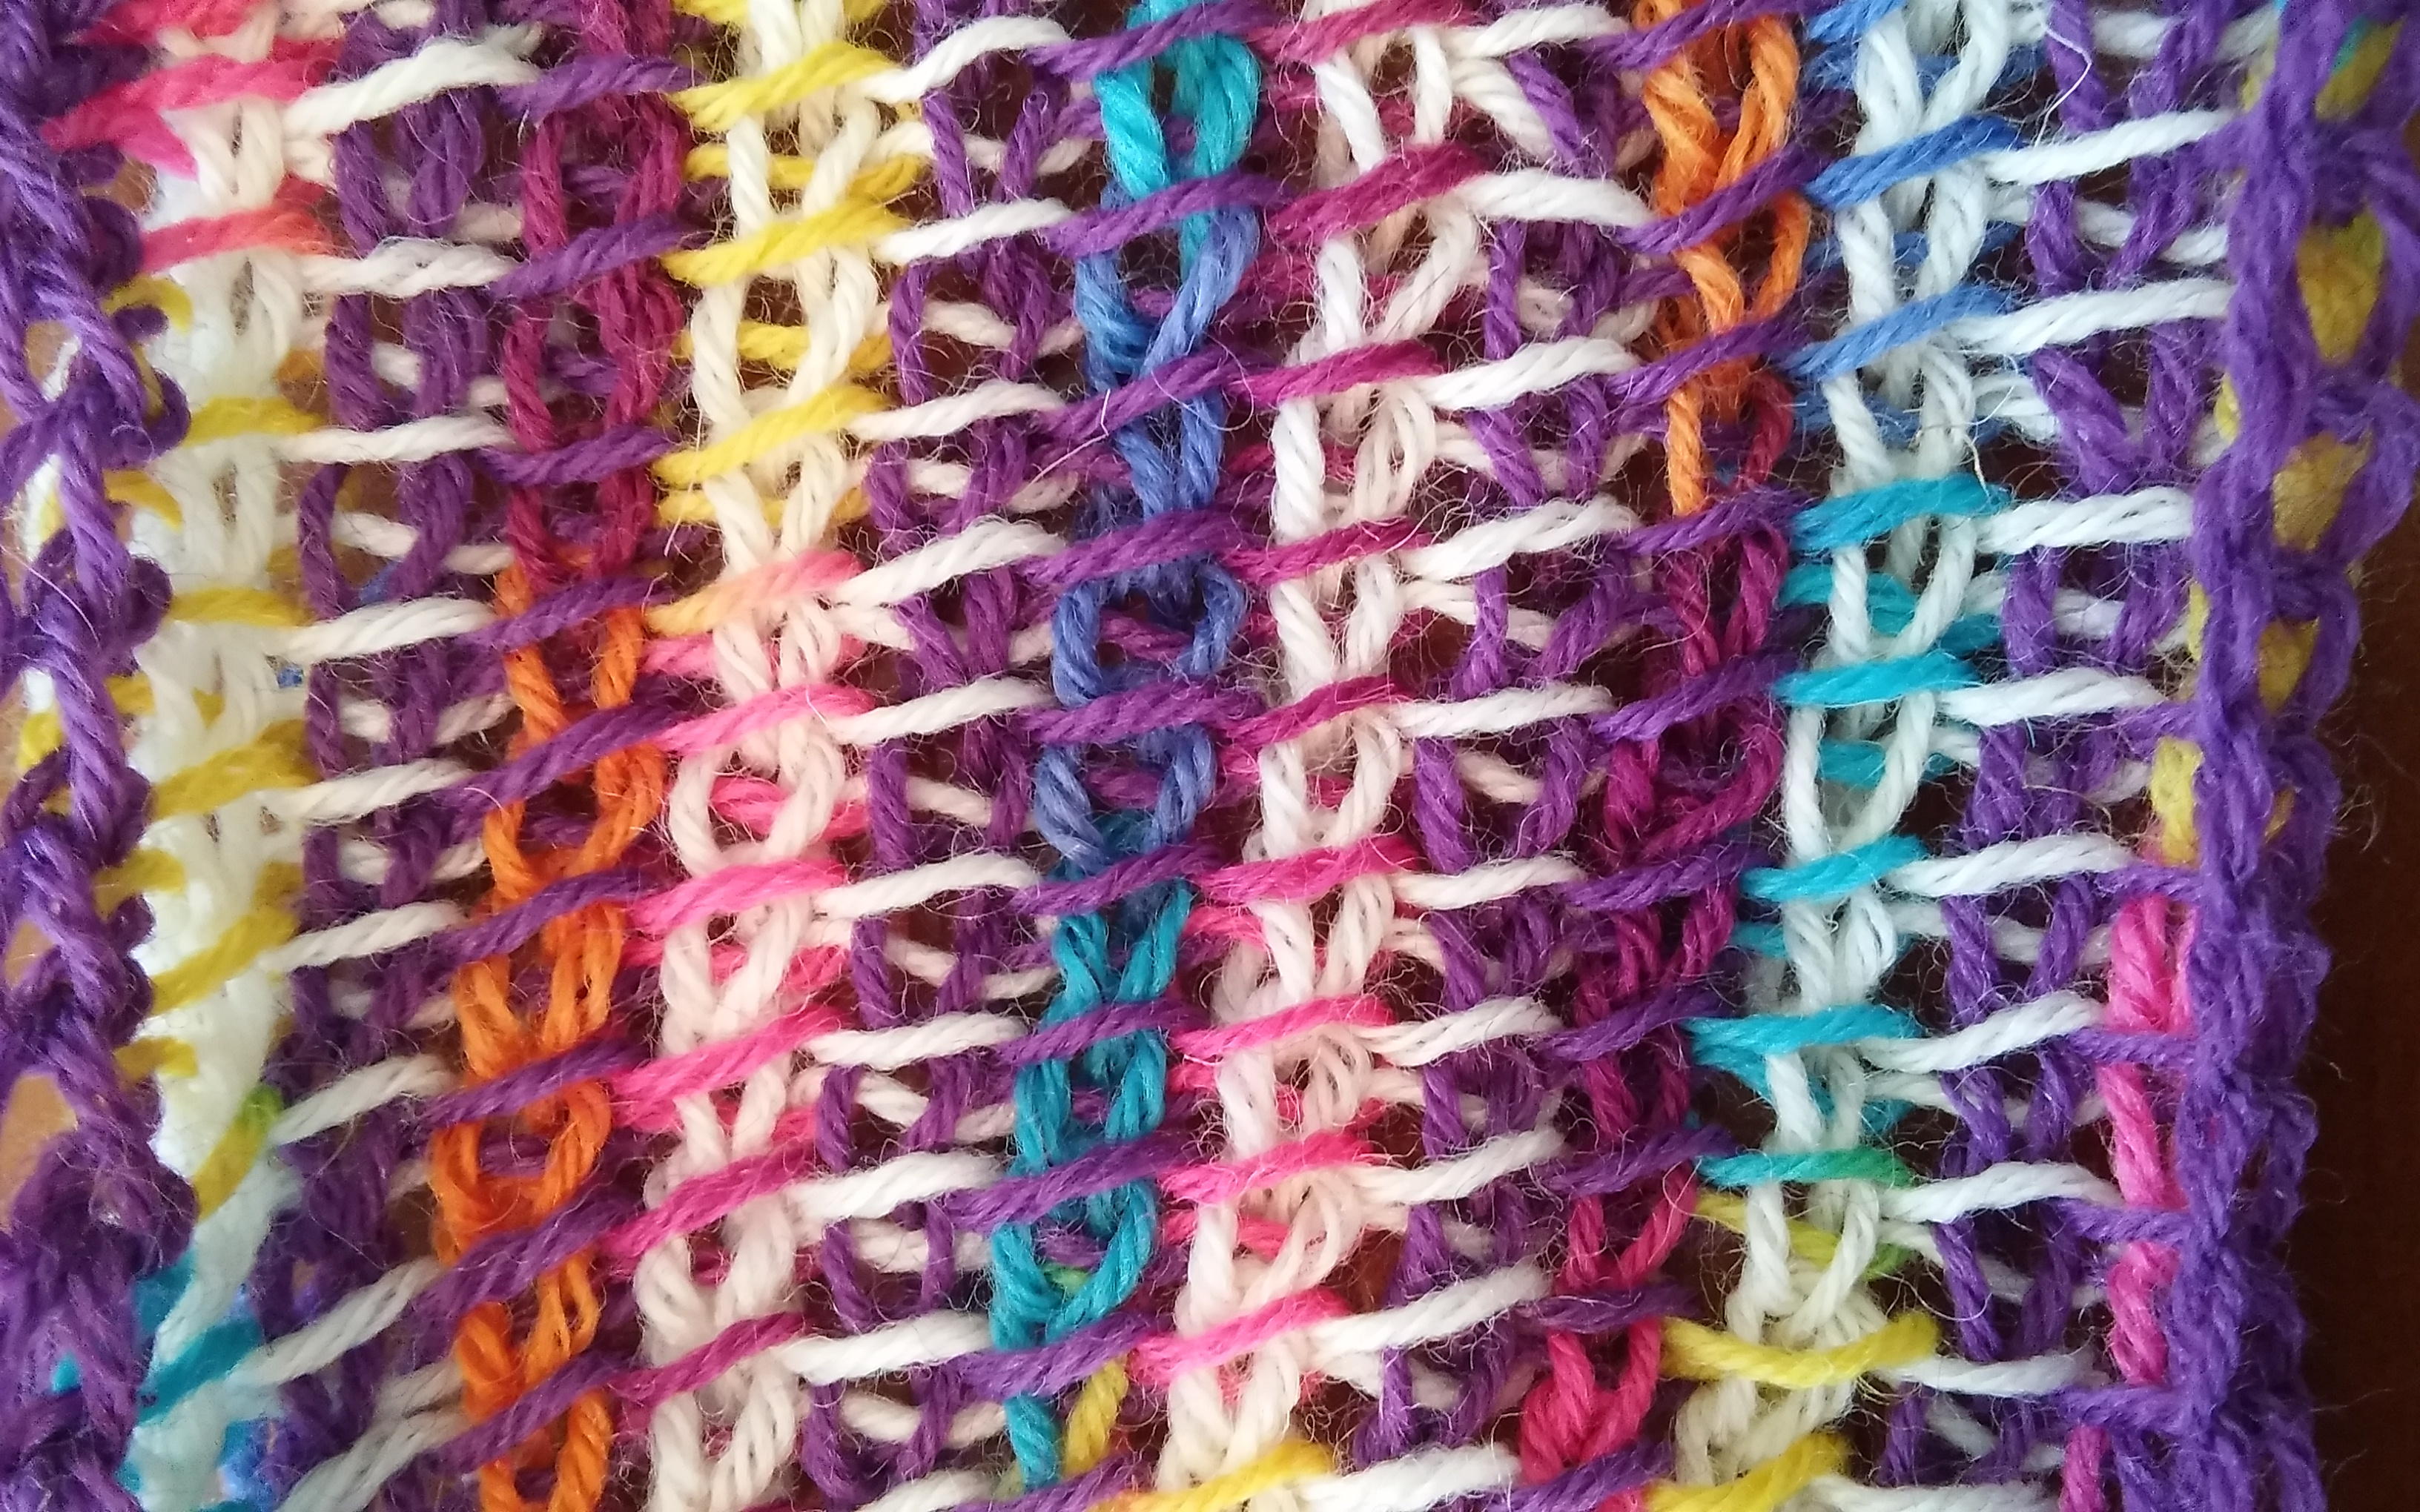
I will admit, my learning has been through some trial and error, but I also have been overwhelmed with the knowledge that I have received from my local fiber guild (Hangtown Fibers Guild). It consists of people from every aspect of the world of yarn, everyone from those that grow the sheep, shear them, card the wool, spin it, weave it, dye it, knit it, crochet it, felt it…everything. It is truly a remarkable group of mostly women that inspire me more often than they realize, and it is from this inspiration that I began looking at yarn and its properties differently.

0506161132

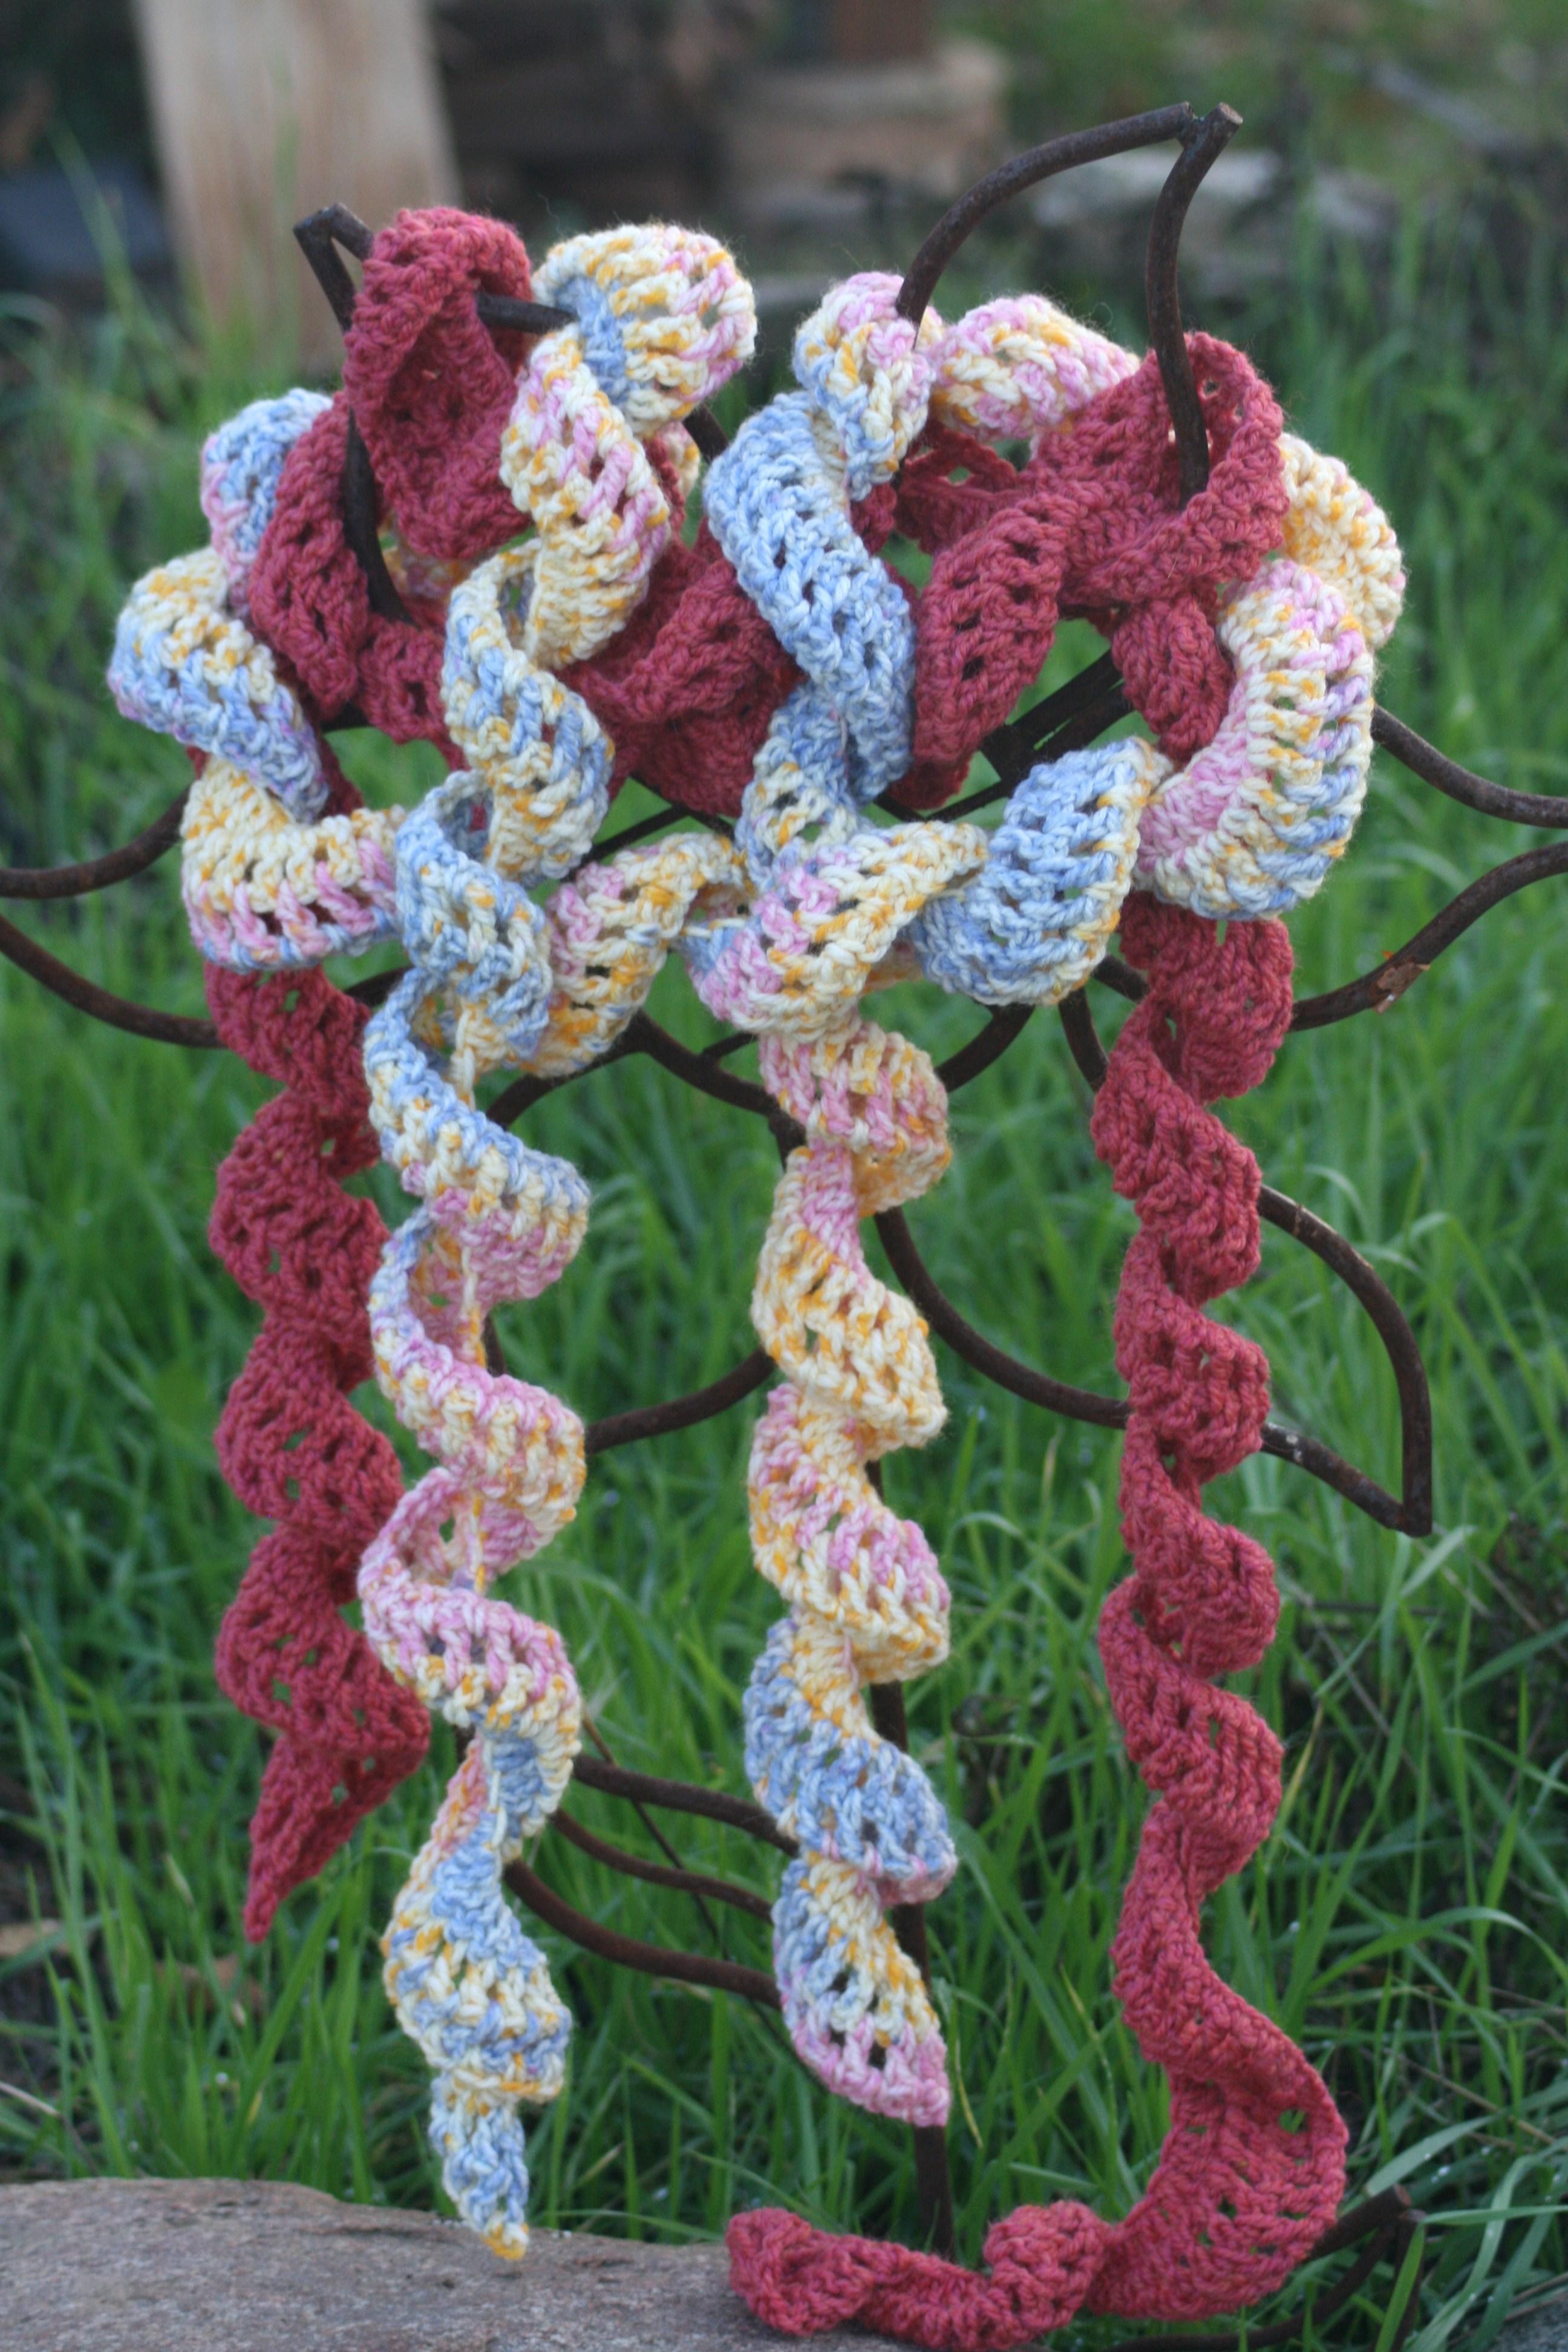
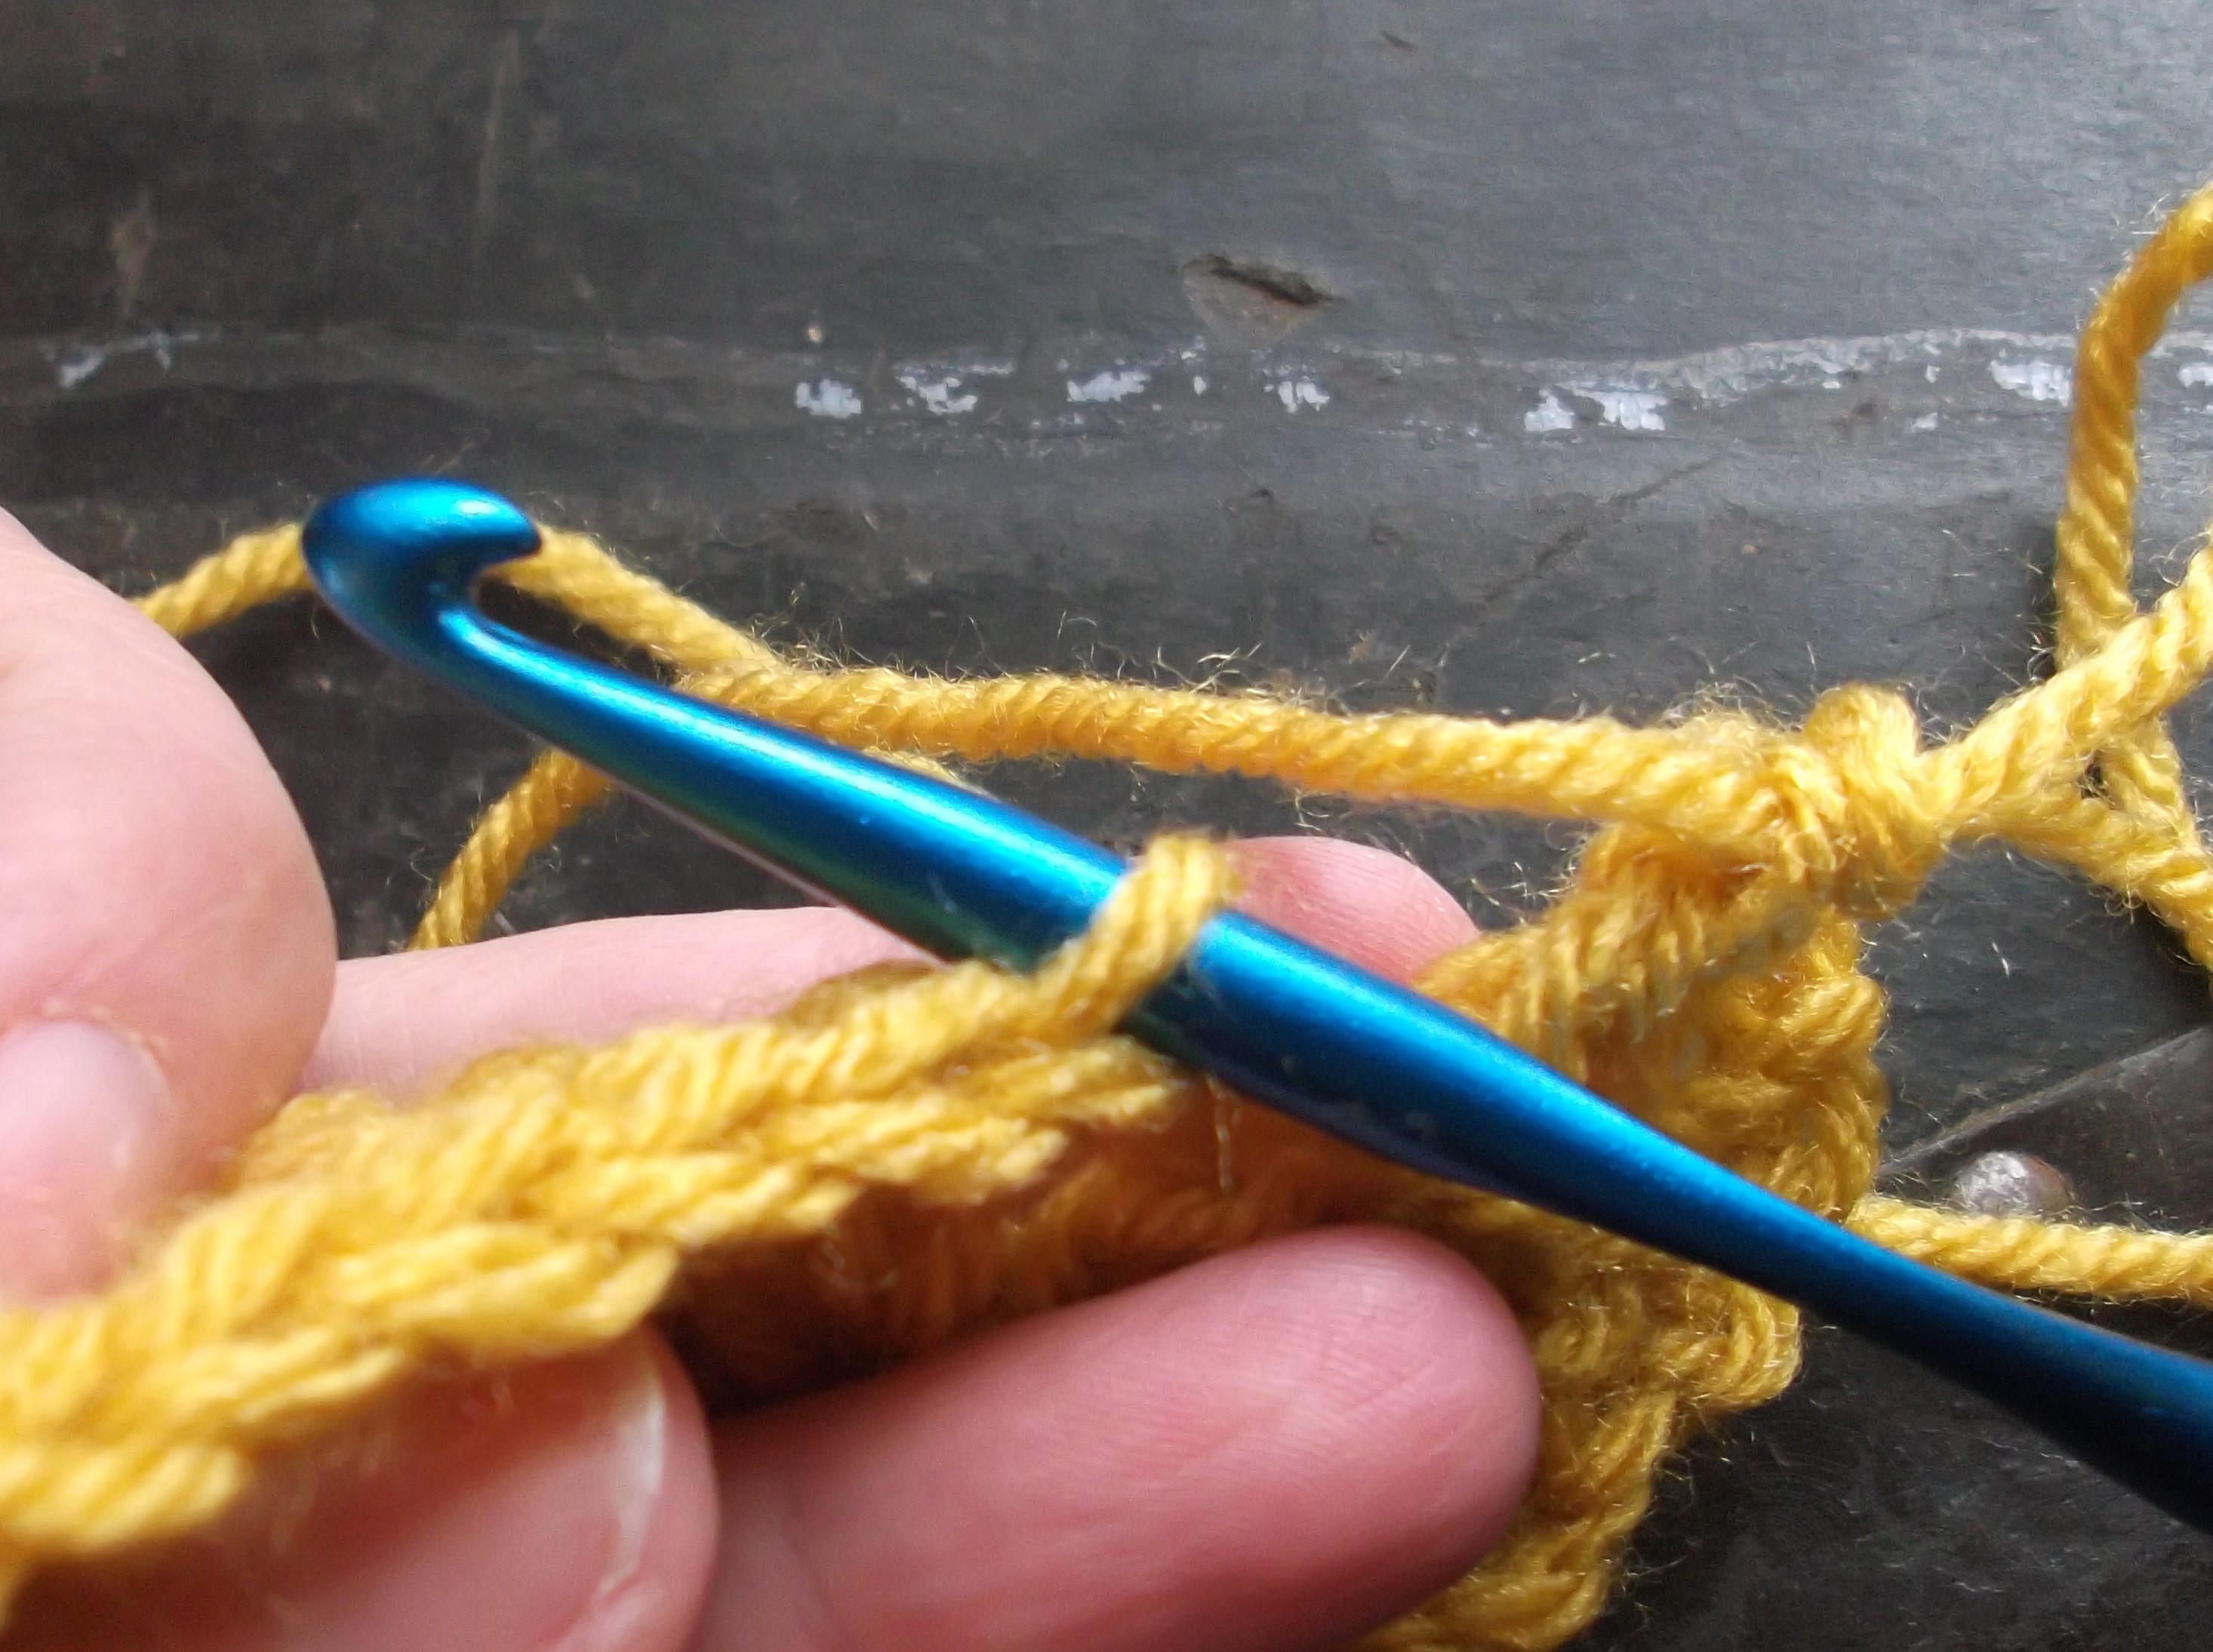
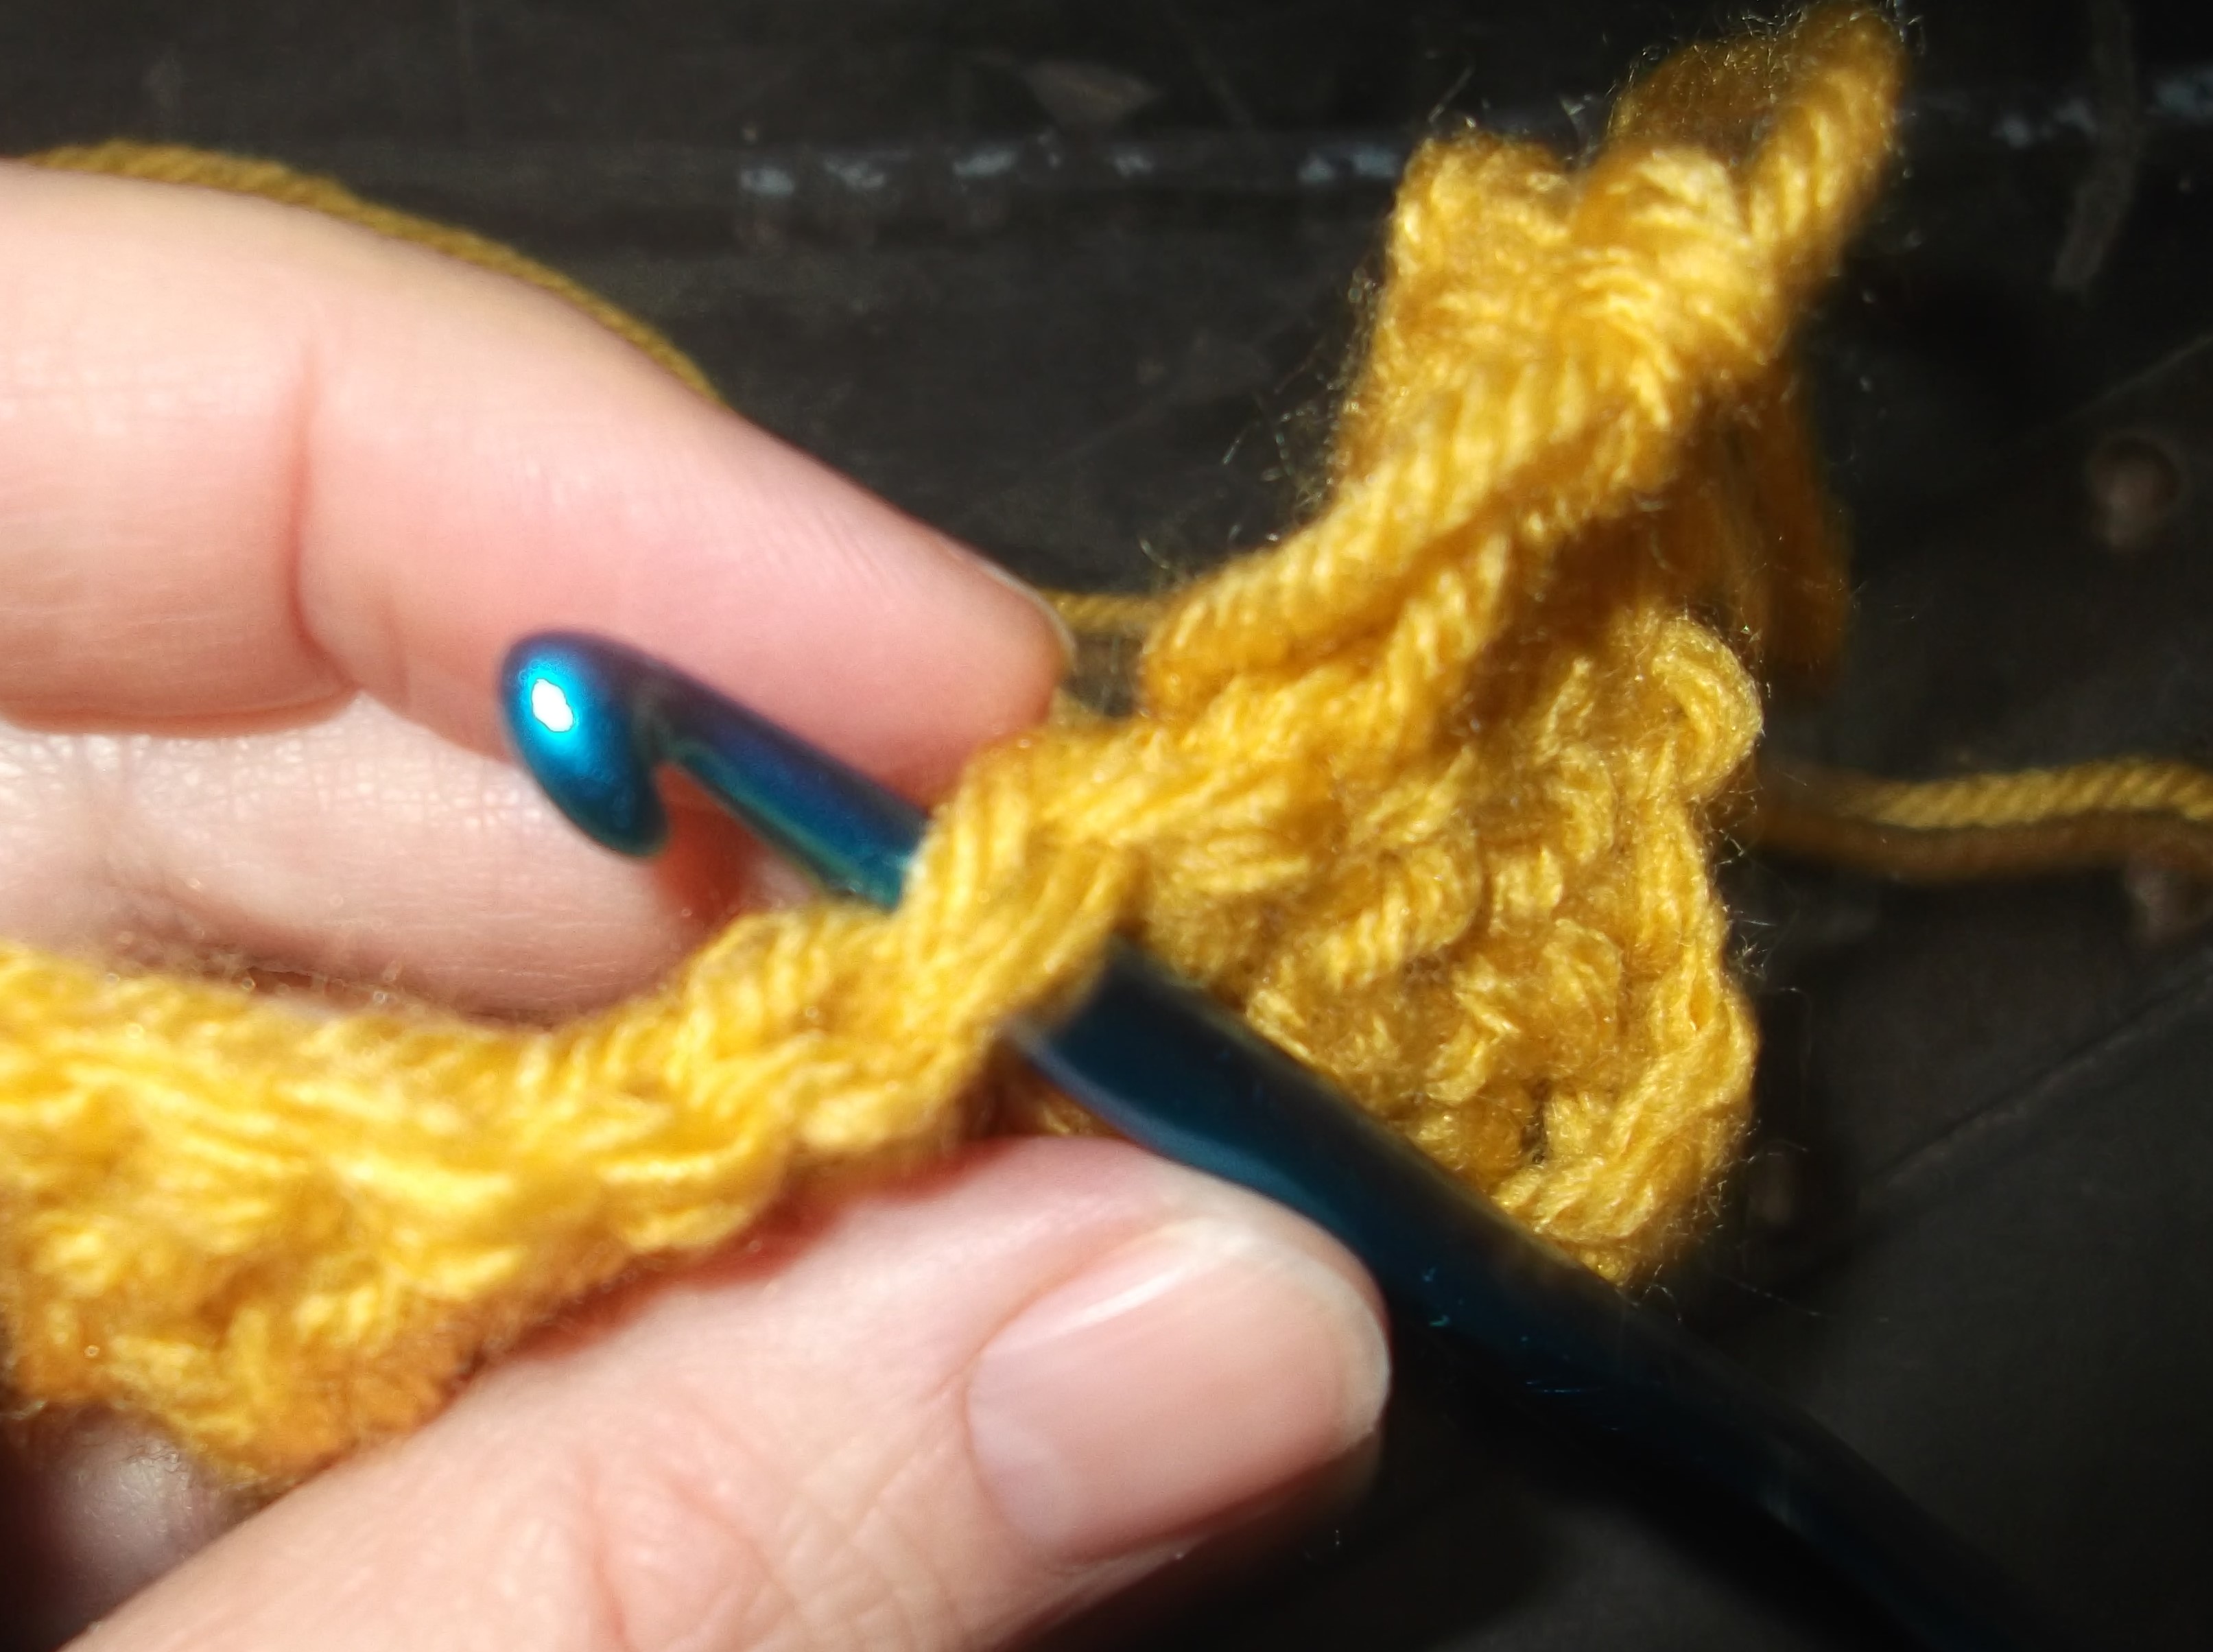
Playing with Drop Stitch and Lisa Souza Dyeworks Baby Alpaca/ Silk Petite 2 (color phaedra)

So today, I have been working with a 2 ply fine weight yarn, by Lisa Souza Dyeworks. This Baby Alpaca/Silk Petite 2 has a nice halo, not to overmuch, but just enough. (The halo is the fibers that tend to almost “hover” around the yarn, it does not seem to be actually in the strand by surrounding it, almost like a slight fuzz).

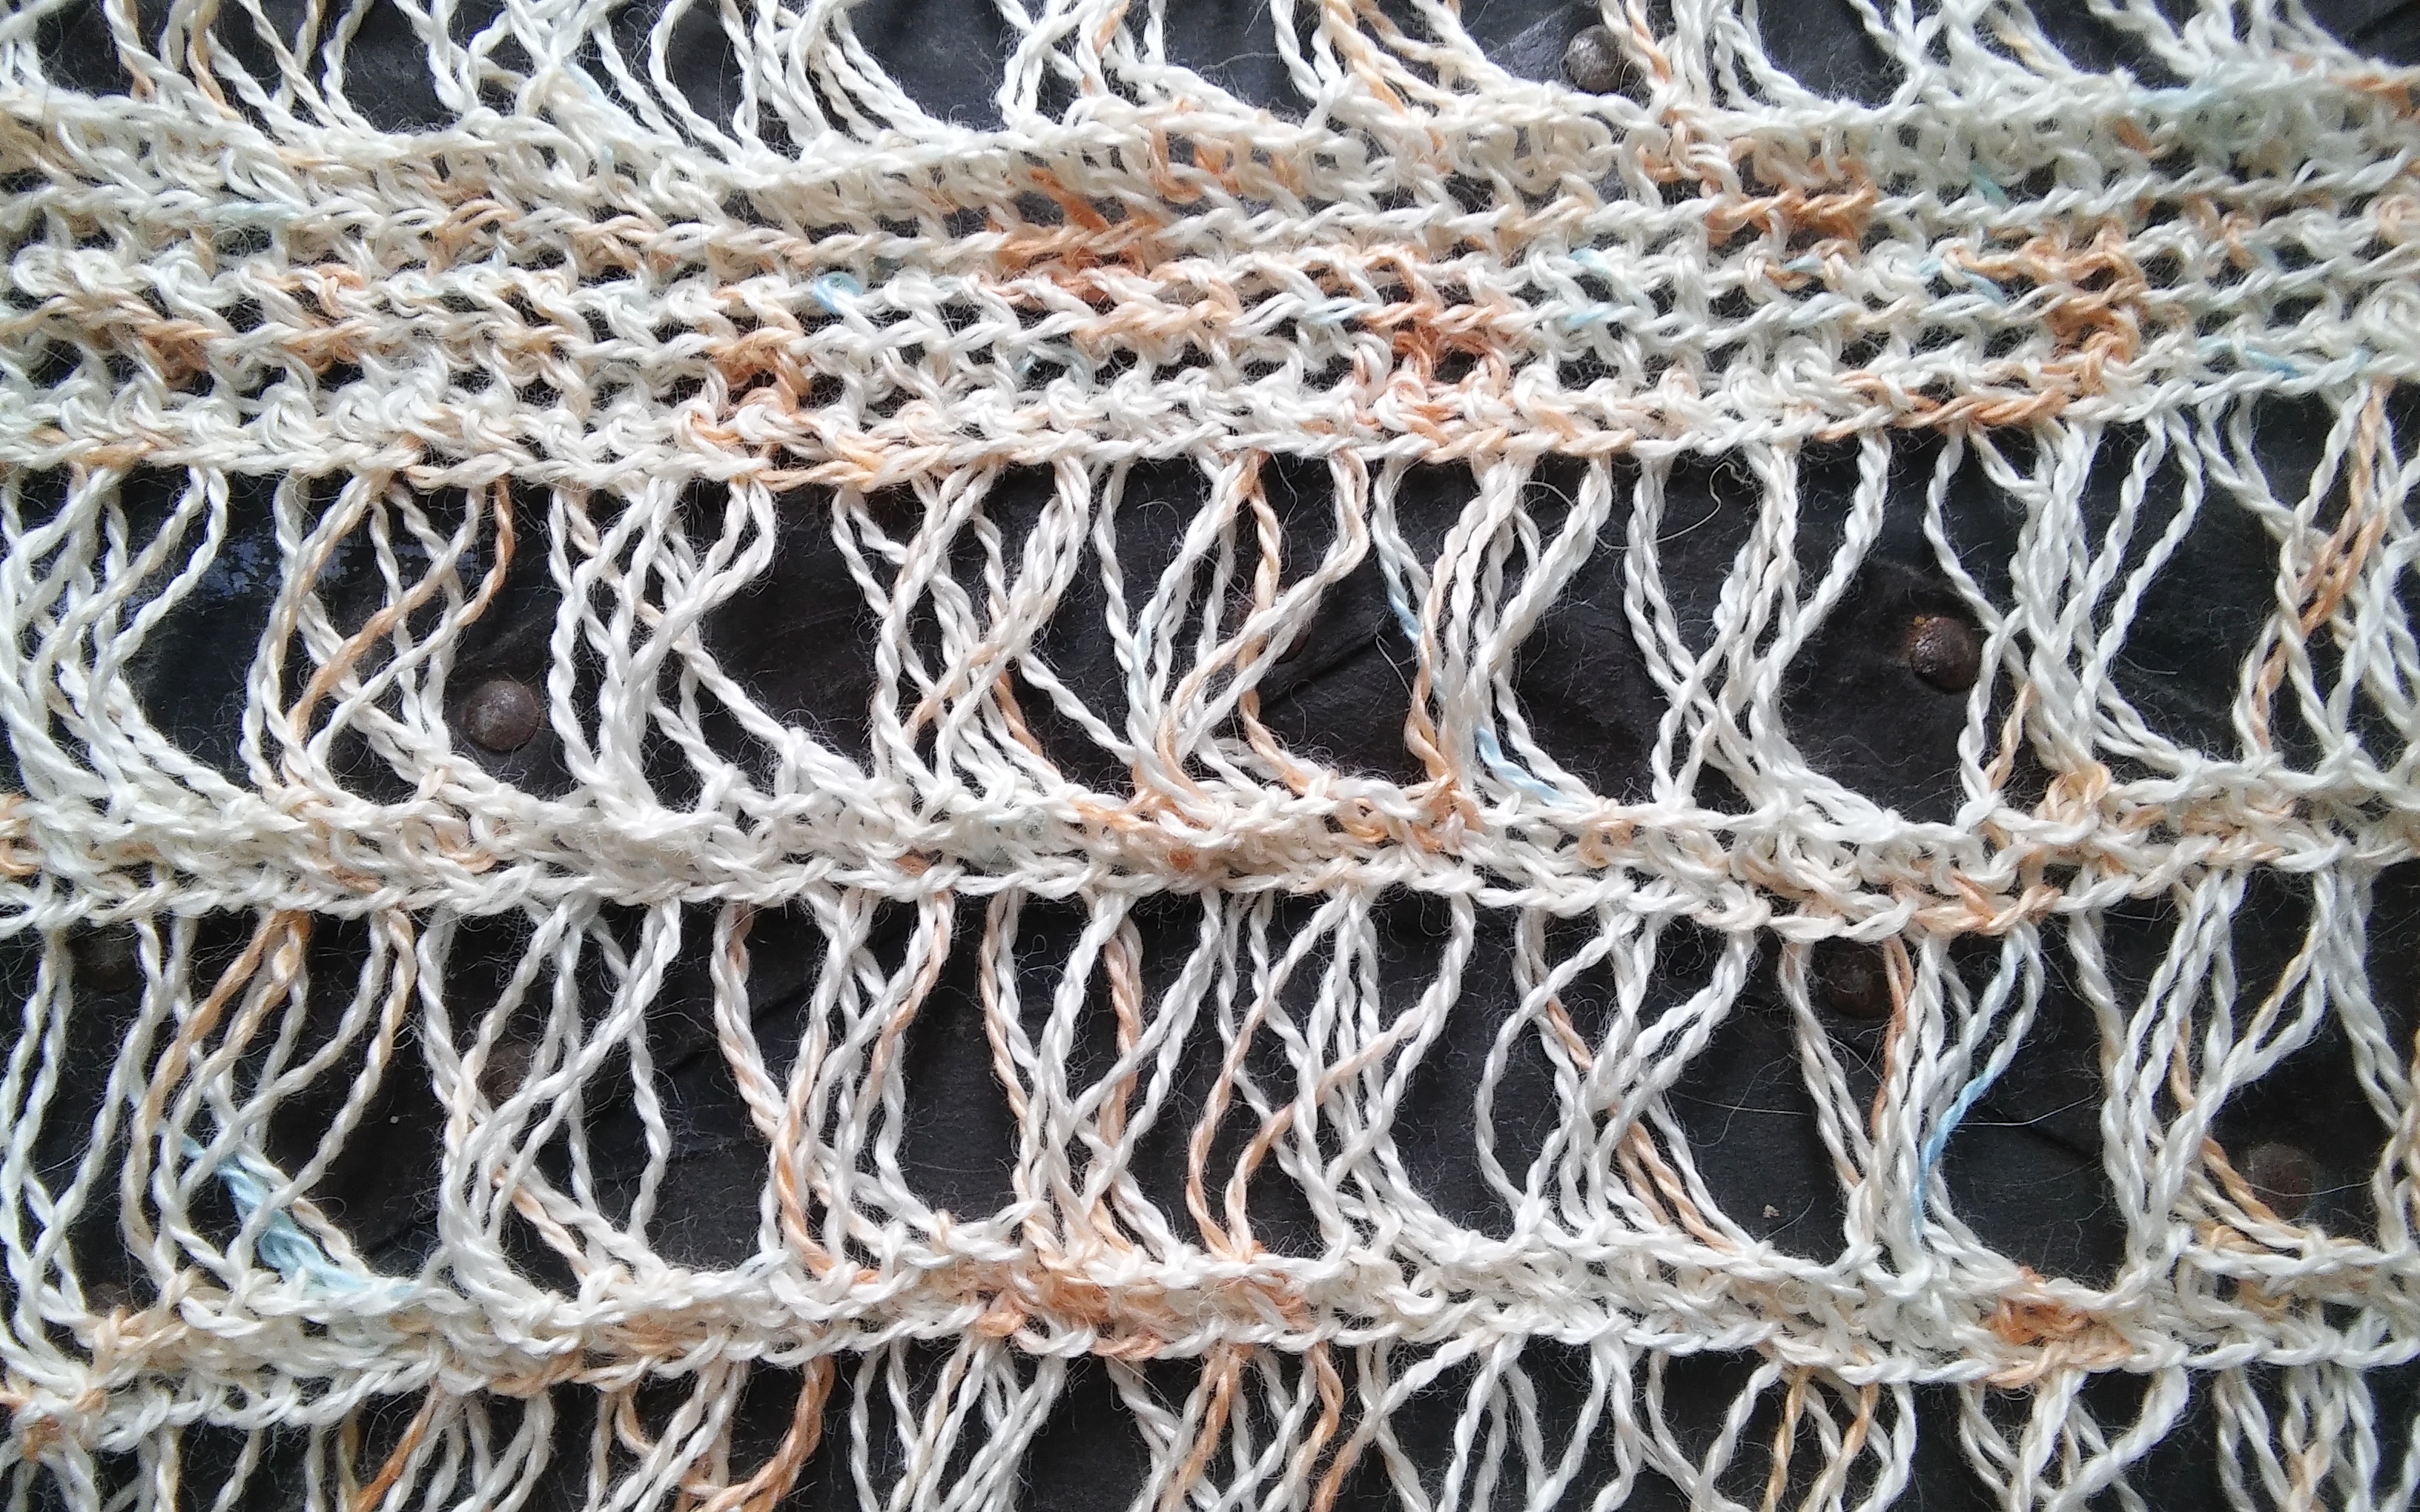
The two ply does not allow for strong stitch definition, so textual stitches like cables, popcorns and puffs make be lost, but the overall fabric is very light. Two ply yarns in general tend to be a little “flat” and it makes sense when you think about what kind of “tube” is formed from the twisting of 2 tubes together. If you look yarn from the cut end, different plies result in different looks, twisting only 2 strands together you can see gaping or open spaces when compared to a perfect circle.

Being created with Alpaca and Silk, the yarn is strong and will hold up to some wear, but does not have a long of spring. Once it is blocked it will respect its new form, while remaining very soft, and having a decent amount of drape. The fiber content also lends itself to being warm, while the soft nature is appealing to wear near or directly on the skin.

There is definitely life in this yarn, but it is a relaxed life. I think it probably works up best in shawls and wraps, and maybe even a cardigan if you would like it to have a little more of a “hanging” appearance. If you wanted to use it in items like gloves, or things that need some stretch, then you may want to consider that the stretch is going to primarily come from the chosen stitches.

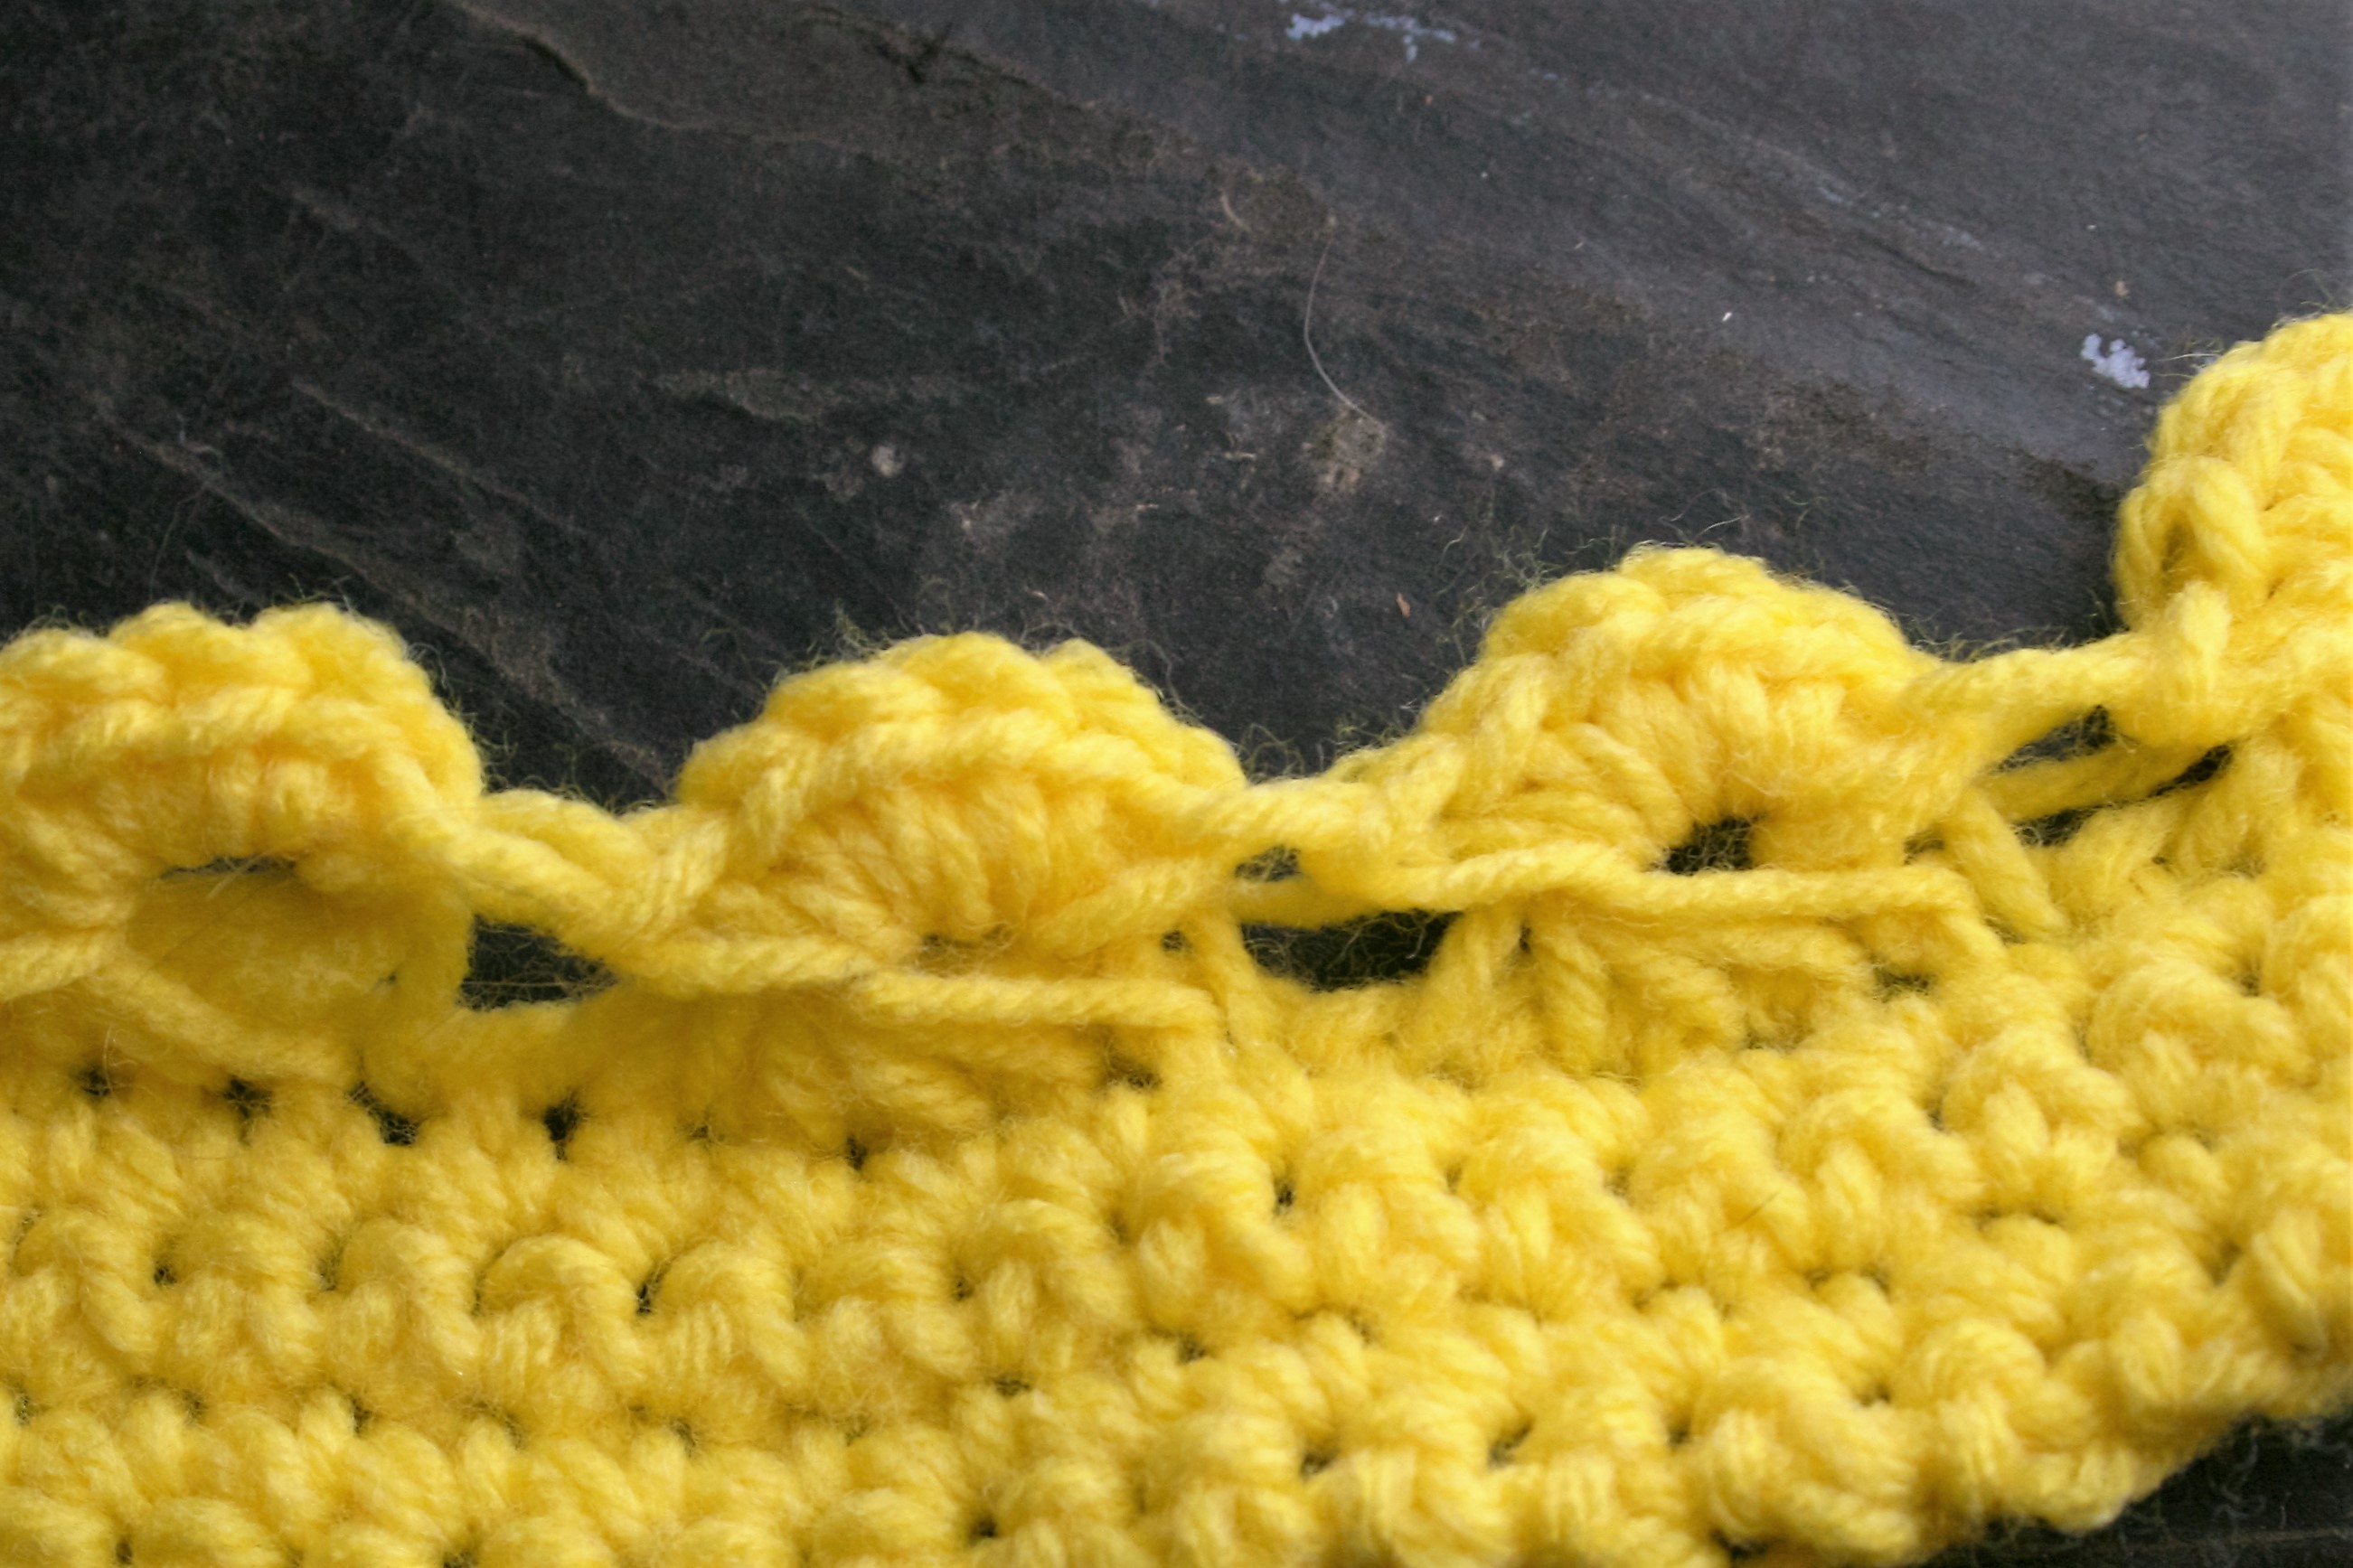
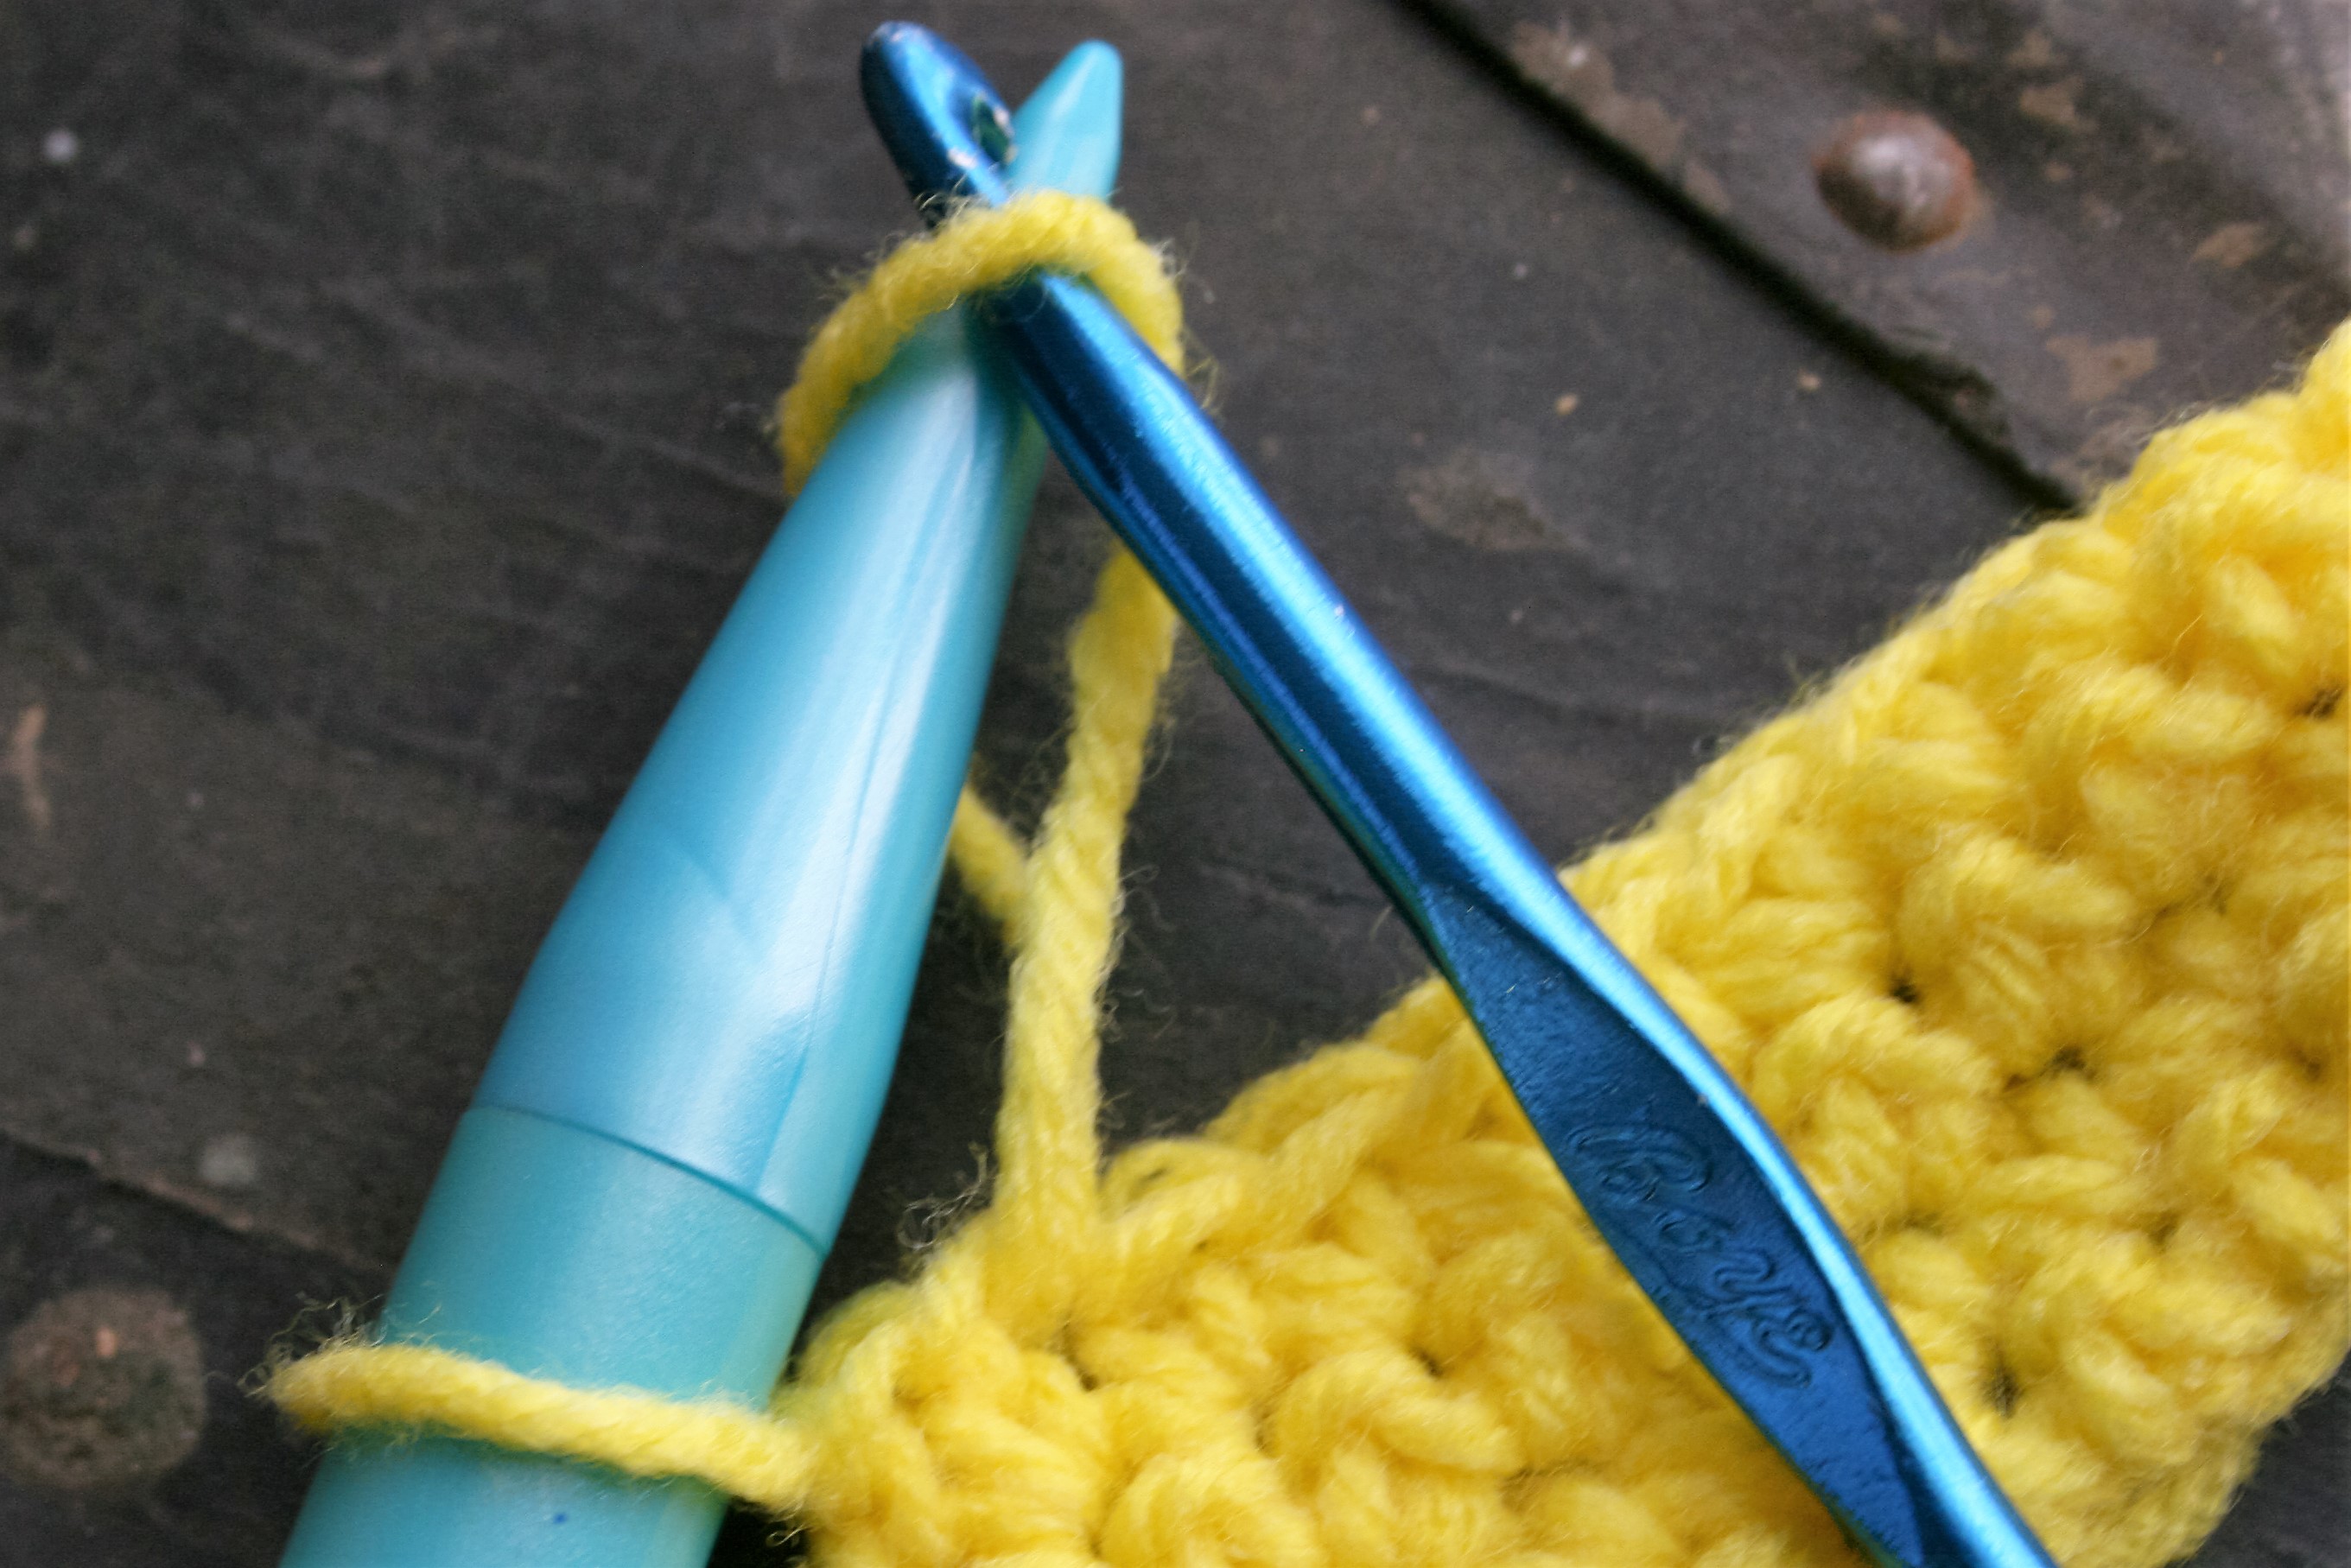
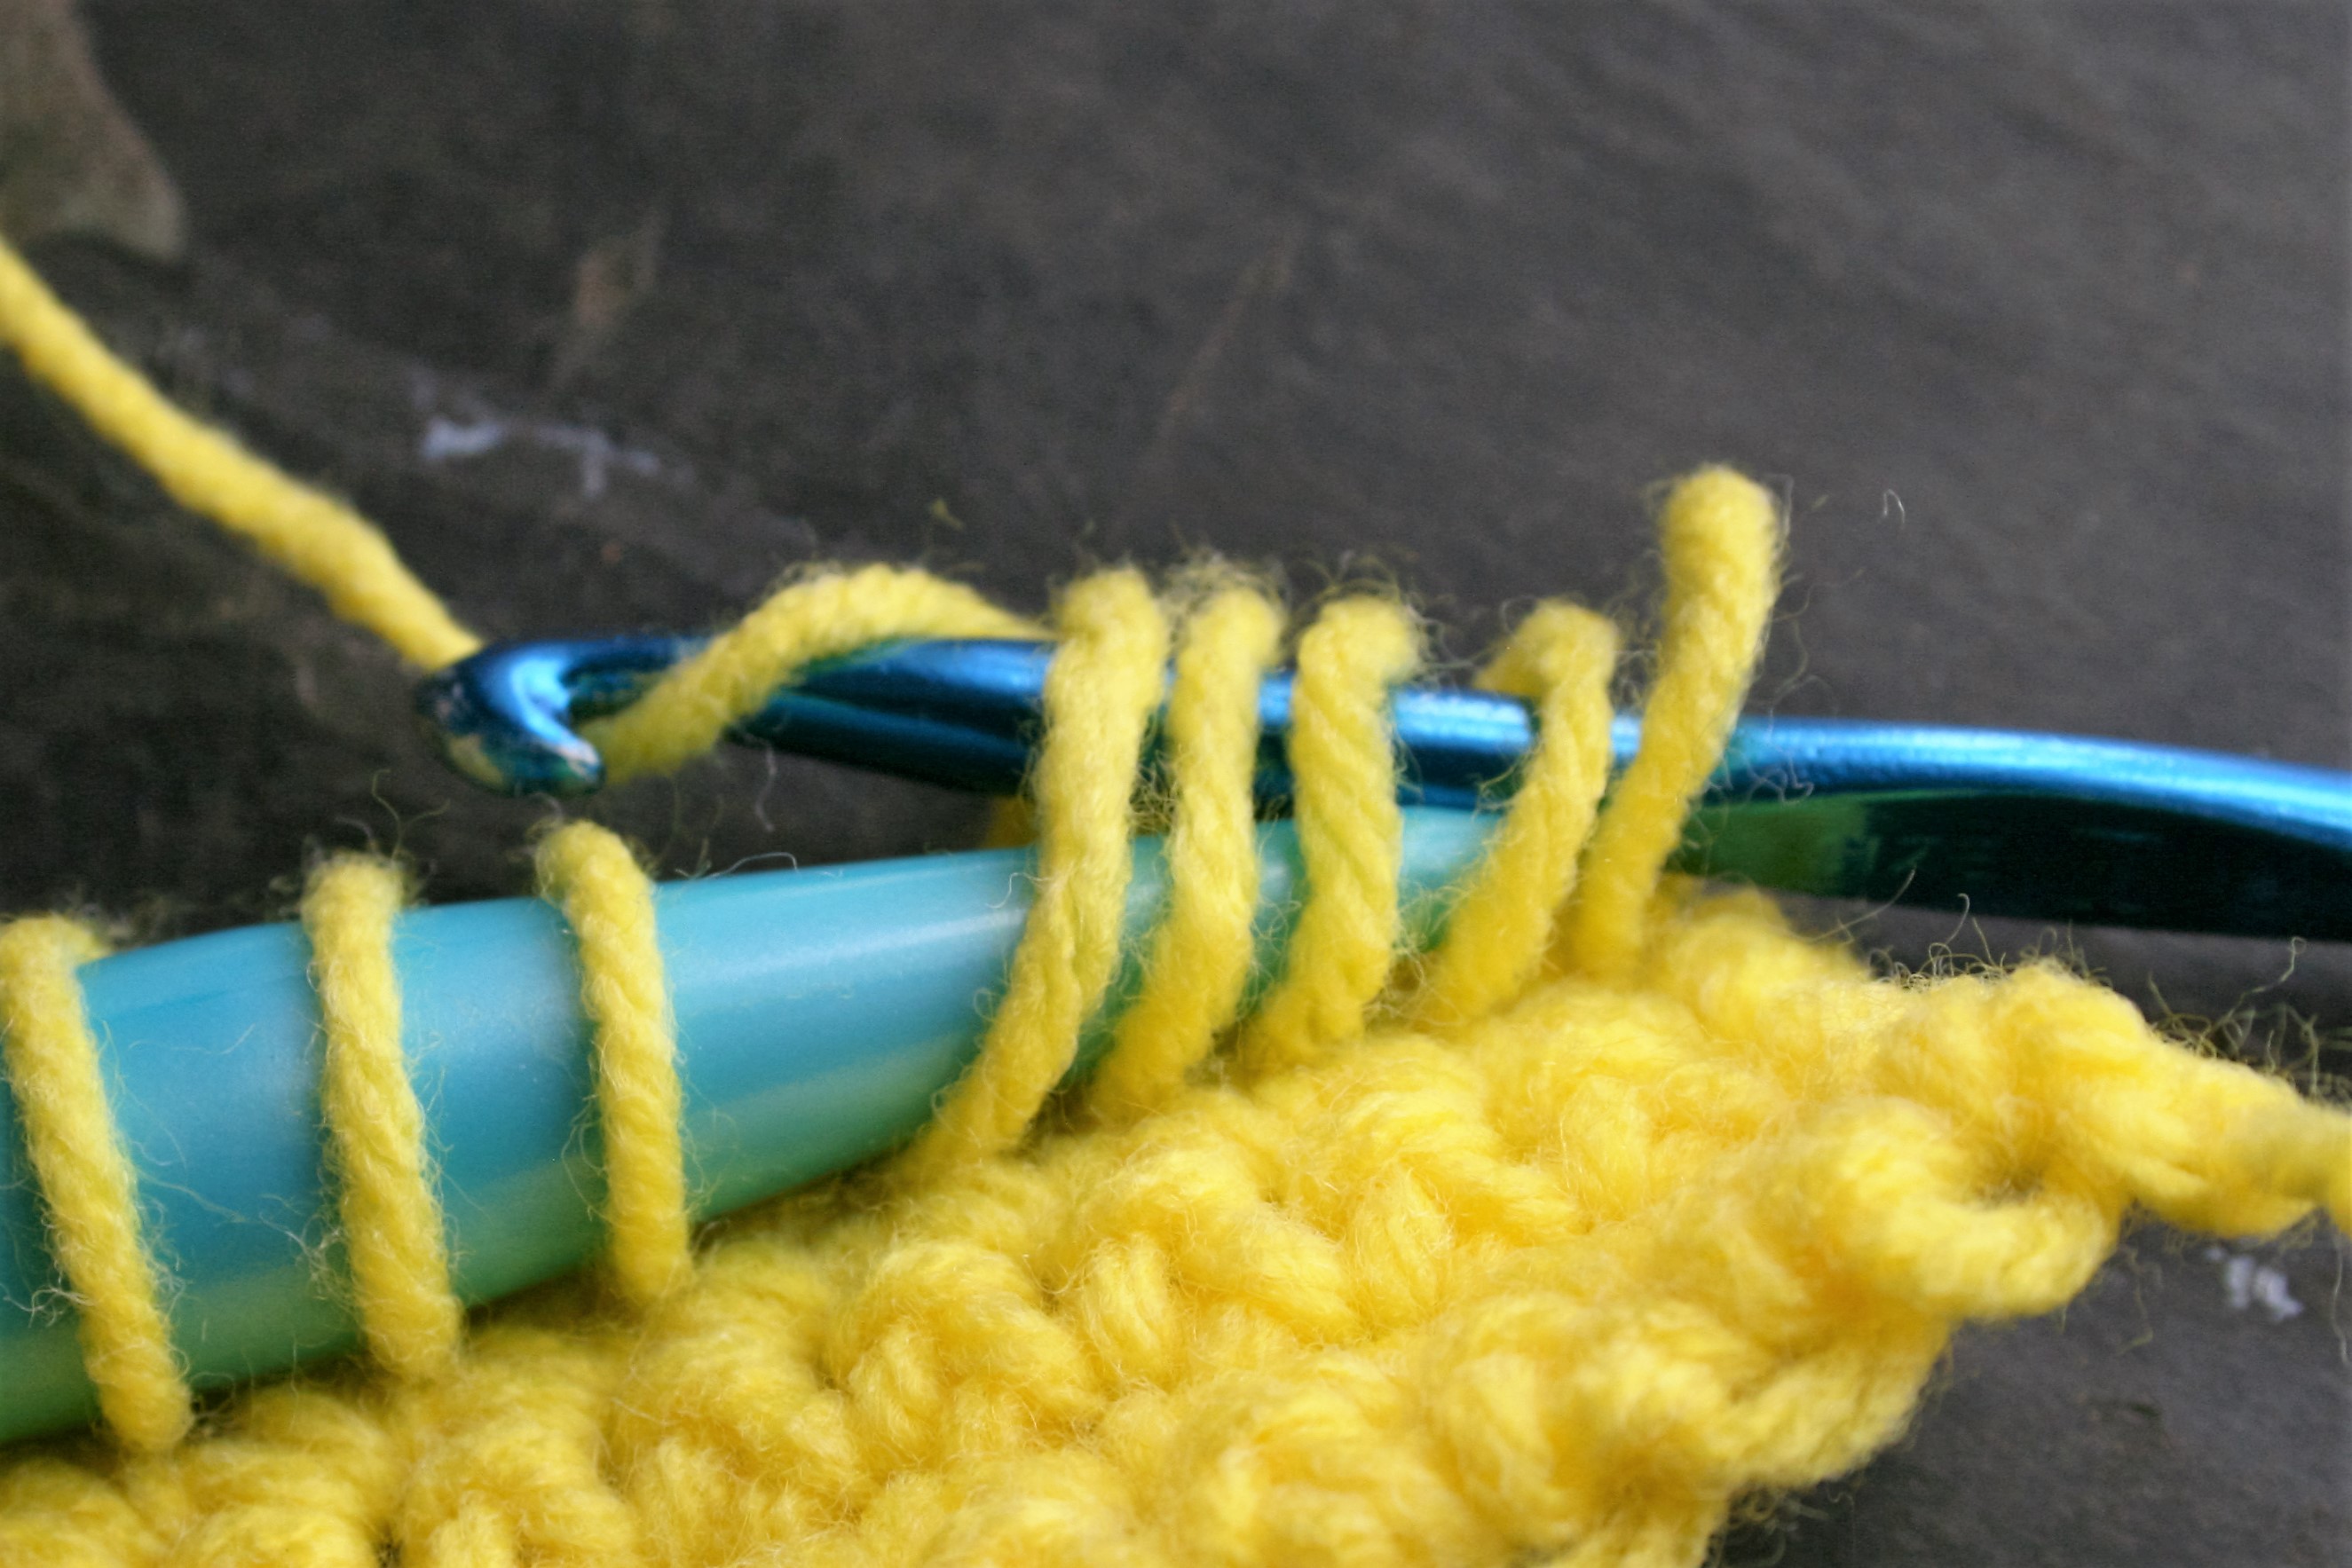
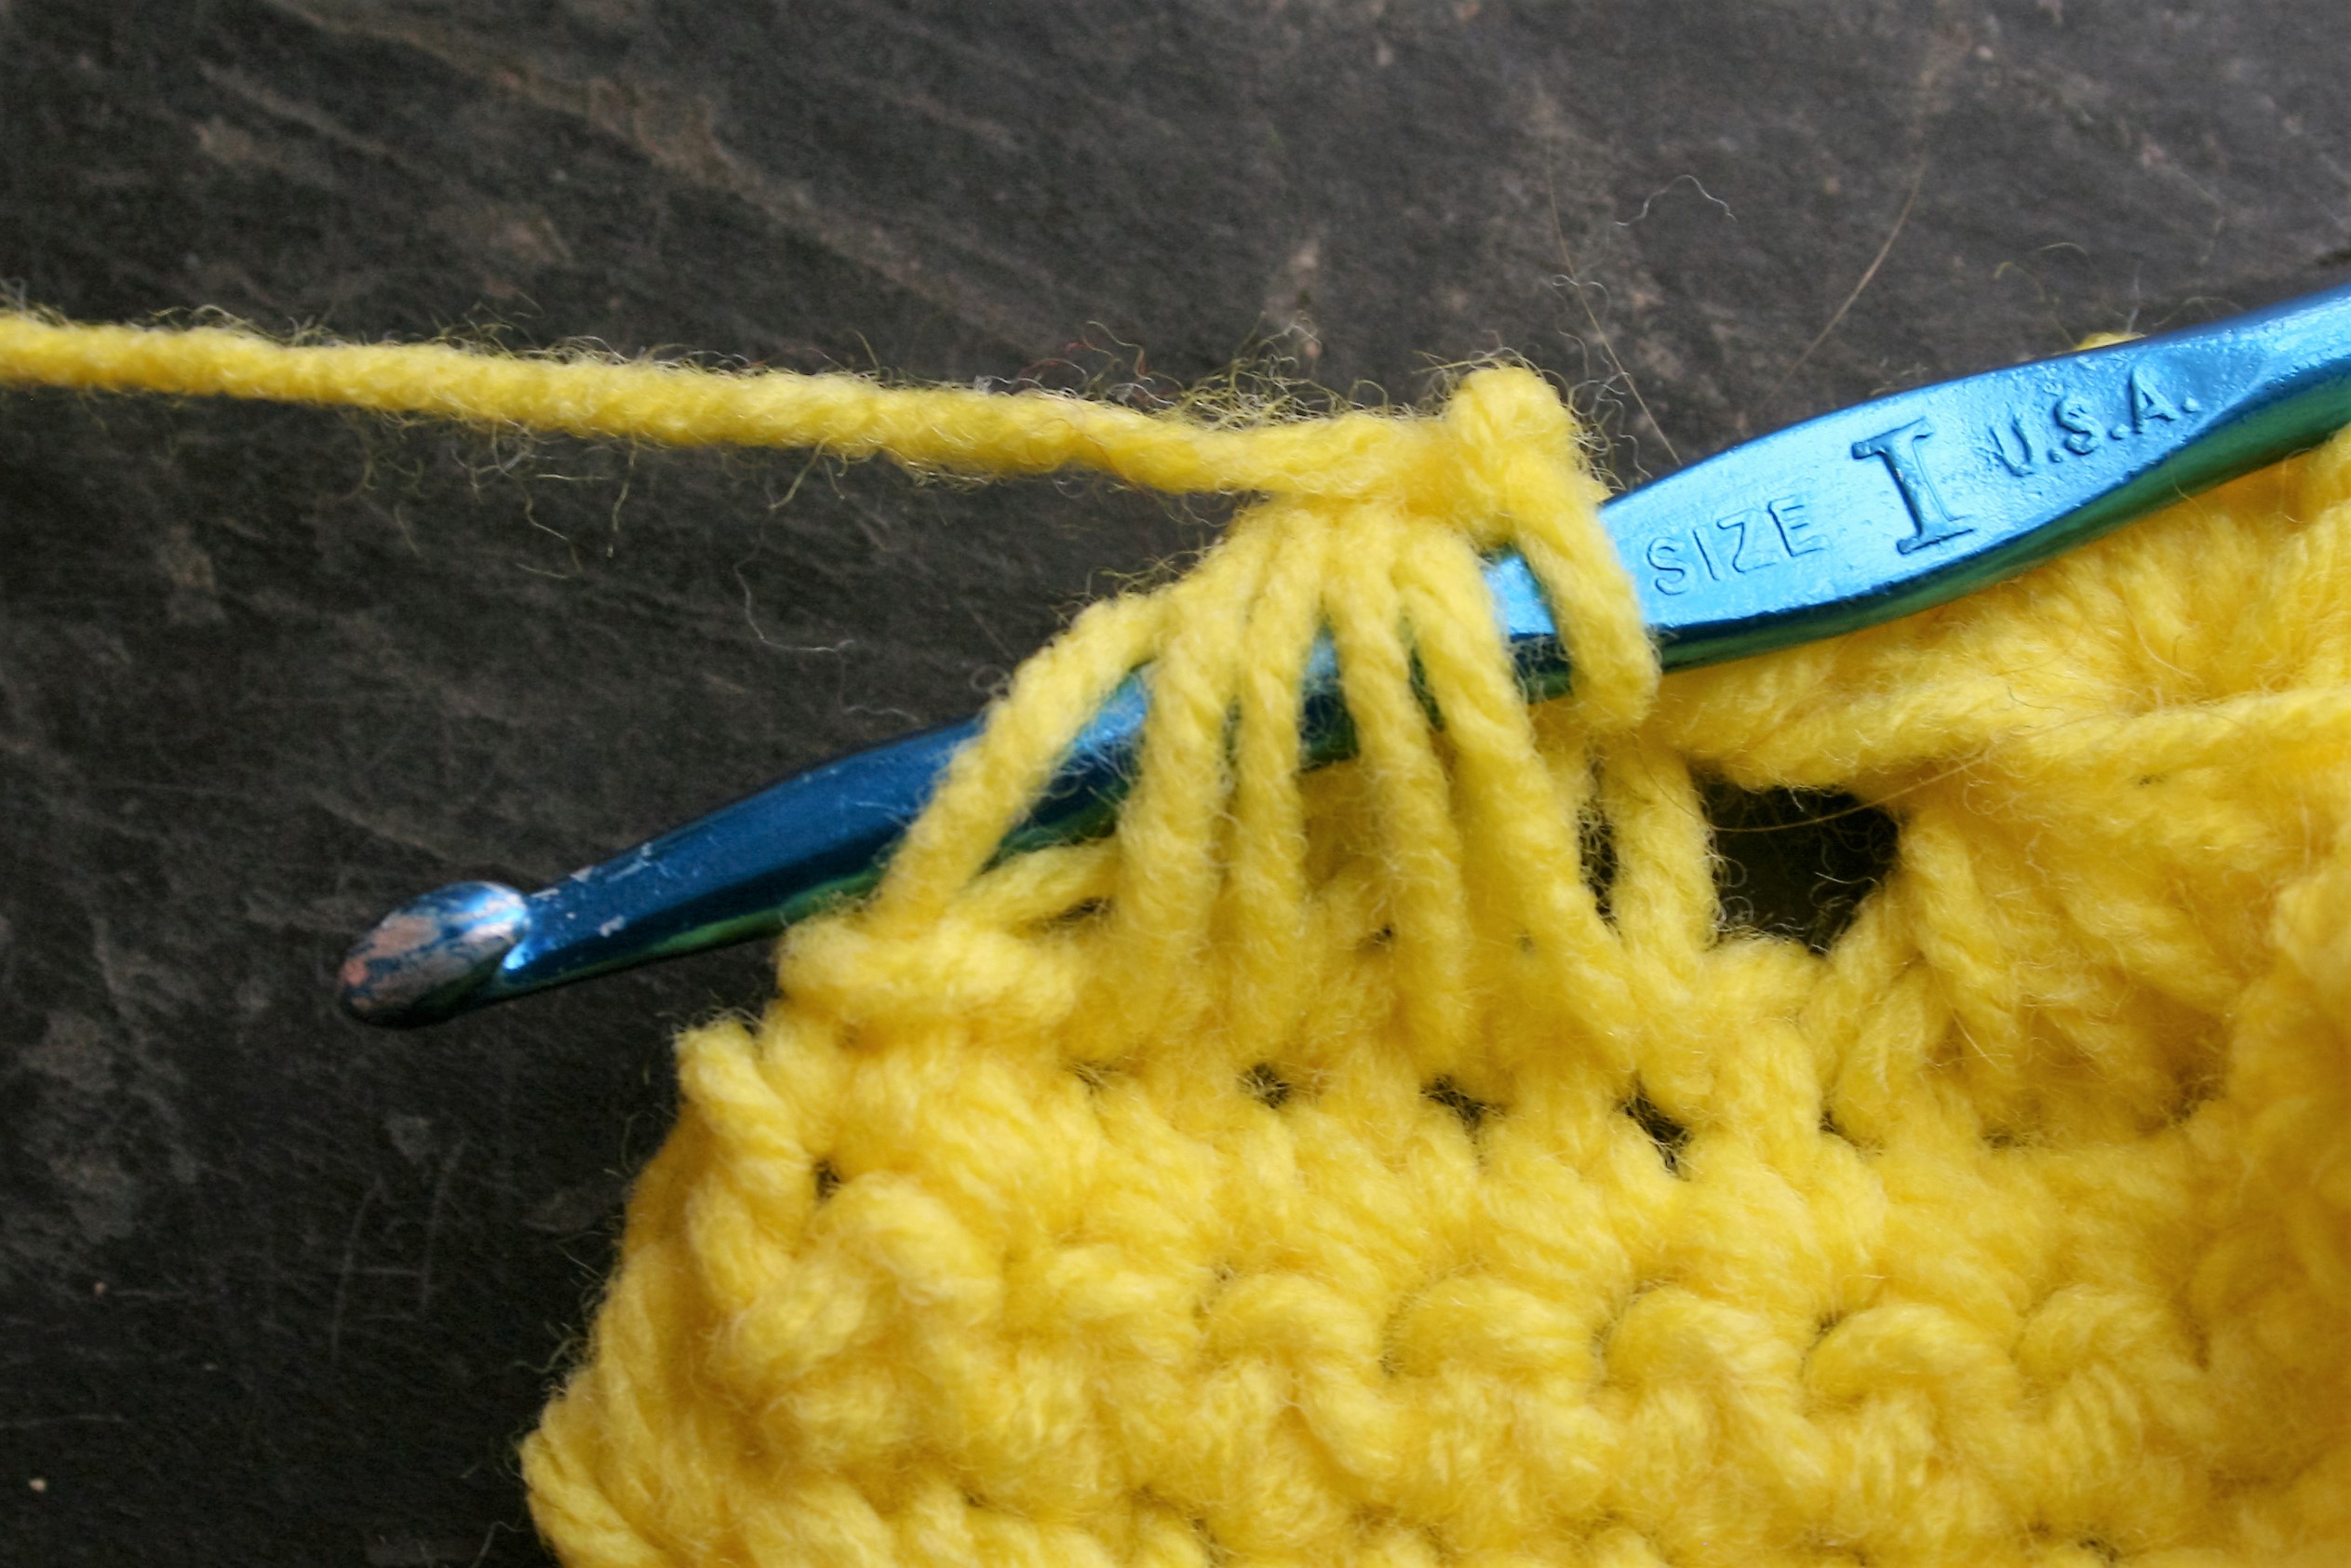
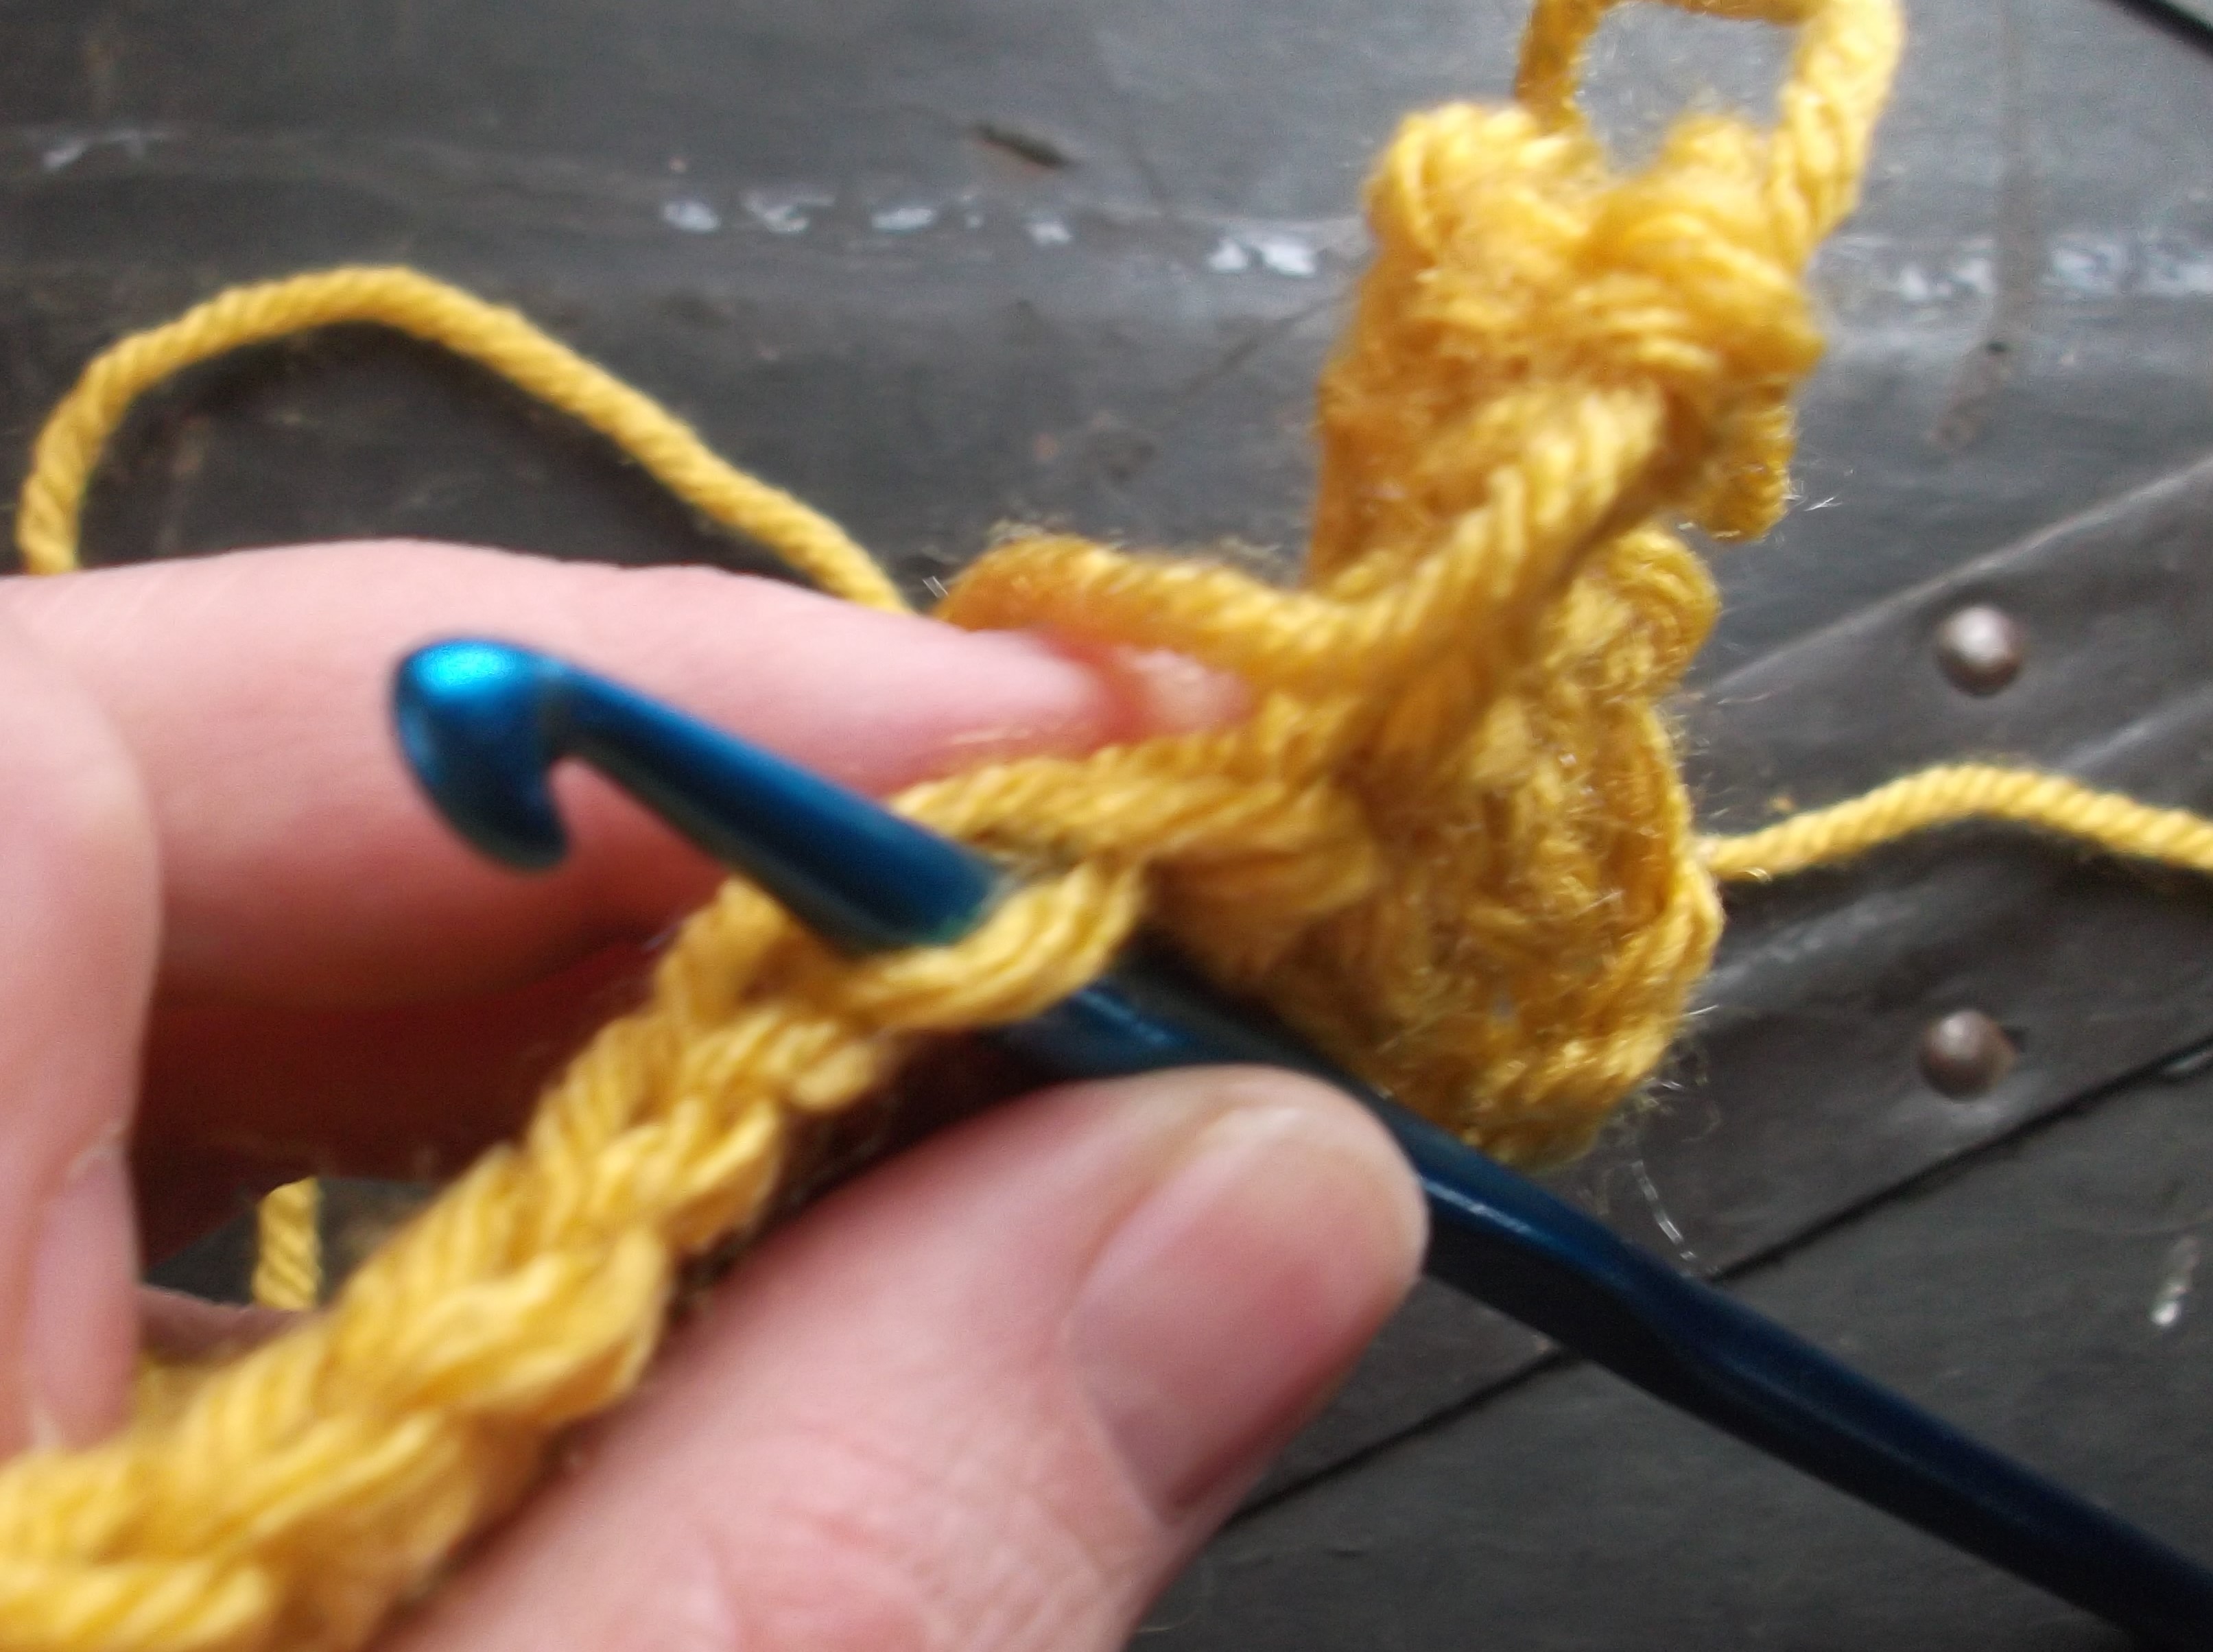
I am currently working it in a drop stitch technique (learn how to drop stitch crochet here) to highlight the yarn in some open work, I will keep you updated on its progress.

Some Subtel or Not So Subtel Changes

ScannedImageOne thing that I enjoy experimenting with is visual effects in crochet. There are many different ways that this can be accomplished, textural stitches, various stitch locations, colors, but this time I was actually working with a carry a long thread.

0408161133a

Swatch using a Carry Along thread

I challenged myself to play with something that is relatively simple yet has interest. So I was working with a Tunisian Simple Stitch, changing color on every forward and return pass. I find that I really enjoy this with 3 colors as each row sets up really nicely for the next, and eventually you do not even have to think about what color you are on the strand you need is already there. (If you would like to give it a try for yourself, I have a free pattern using the stitch technique here.)

I was working with some vibrant colors, and wanted to tone it down a bit and even tie the colors together better, so I picked up some Twist Carry Along Yarn from Kreinik Threads and it did the trick. Many would find a complimentary color and add similar color thread to the work, I instead decided to go big, and I pared a color that would stand out, gold. This allows for the colors to actually find more harmony together. The eye begins to tone down the brightness of the vibrant yarns as they have a constant that is running through all of them. One of the reasons I chose the gold as the carry a long color was that if I am going to put in this extra work, I want it to be seen. I want someone to recognize my effort, if you have a hard time telling that there was something different done then it almost seems like there is no payoff for my extra work. I decided to be bold.

0408161132a

Swatch without a thread

Using a carry a long thread is actually pretty easy, you just work 2 strands together, one being your main yarn and the other being your thread. The only difficulty comes in changing the color of the main yarn, you want to make sure that you do not get everything too tangled, so remember to overlap your yarns in a consistent direction and keep the thread out of the twist.

So if you want to challenge yourself, reach into your stash of yarn and pull out a couple of yarns are random, now use them together, if the colors seem like they won’t work try using a thread, either the same as I tried, or even a metallic sewing thread or a beautiful embroidery type. See how it can change the effect. Play, you might find a pleasant surprise.

Inspiration from Broomstick

ScannedImageIt is so inspiring to share a concept with a student and see the spark in their eyes, and then see them make it their own. This has happened to me recently with an introduction discussion on Broomstick Lace.

I teach an informal crochet class at my local yarn shop, and keep it student driven, meaning that every student works on projects that they want to create and I teach them the parts they need to learn in an individual/group setting. I find that the students really get inspired from one another, and have such varied ideas for project that they want to create, this makes for a class that is different everyday highlights the beauty of how crochet can be some much to so many. The one constant is that I open every class with a new technique or skill.

IMG_7427

one simple row of Broomstick LAce

Last week I shared how to create Broomstick Lace, one student was inspired enough by this concept that she took it home and began working a row of it in her latest baby afghan. I love how she did not feel intimated by it, or feeling that she needed to find a pattern, she jumped right into how she could apply it to her latest project.

With this inspiration fresh in my heart, I wanted to share with you the basics to this traditional technique.

You can begin this stitch on a base of any fabric, you can even start it in a foundation chain, and it is really versatile. You use a large knitting needle, I typical do not use a needle smaller than a US 19 (15 mm) when using a light or medium weight yarn, the thing to keep in mind is that the larger the needle in relationship to the yarn the larger the “eye” of the stitch.

IMG_7419

Pull loops through base stitches and over a large knitting needle

Pull the working yarn over the needle, then insert your hook in the next stitch and pull up a loop, place this loop over the needle until you have pulled a loop through all the stitches in the row. Then you turn the work, and begin working the loops off the needle. This is done by inserting the hook through a number of loops on the needle (this number can vary, it can be as little as one, or as great as you like, often you see somewhere between 3 to 6 loops), yarn over, and pull a loop through these loops on the needle, chain 1, and work the either single or double crochet stitches in the space that the needle once sat, essentially in the loops. To maintain an even stitch count you want to add the same number of stitches as loops in the same stitches, for instance, if you are working in 5 loops, you want to place 5 stitches in the top of the loops. This process is continued across the needle.

IMG_7422

After loading the needle with loops, turn the fabric and work the loops off in groups, insert hook through loops, yarn over and pull through a loop, then chain 1

This is actually a very forgiving stitch, as if you somehow end up with too many or to little loops, you can correct the pattern by adding the number of stitches you should have in the top of the loops, so if you have 4 loops, but should have 5, work 5 stitches in the top of the loops and you have made corrections for the next row, while creating a piece that visually shows not difference.

IMG_7425

Working through the same space that the needle was located, work the same number stitches as there are loops into this space

This stitch may have originally received its name as being worked over a broomstick instead of a knitting needle, but has a reminiscent feel to Tunisian crochet and even Drop stitch crochet. These long loops pulled through stitches may be worked in different ways, but they create something uniquely crochet, and it is heart lifting to see them breathe new life.I can see them as rows of fabric, or used as an edging, they have great possibilities and are finding a new audience.

Make it for Me! Free Pattern

ScannedImageI am so excited that I have been invited to join a vast array of talented designers to participate in the Elk Studios “Make it for Me” event. For the entire month of January, Elk Studios has been featuring a new design, from various designers, to encourage crocheters to make a little something for themselves. The rush of the holiday season creates hooks and yarn flying, but not usually in a project for the stitcher.

Today I am happy to share my Corkscrew Scarf. This is a fun project that can work up quickly in a wide variety of yarns, and is easily adjusted in length or width to make a scarf that fits just the way you want it.

The Corkscrew scarf was originally created as a project that “new to crochet” students could practice some stitches, while learning how to read patterns, in the crochet classes that I teach at my local yarn store, Lofty Lou’s. You can find me there most Tuesday mornings from 10-1:00, so if you happen to find yourself in the California Foothills, east of Sacramento, look us up and stop by.

corkscrew

Corkscrew Scarf by Linda Dean

You will find the pattern below, if you prefer a printable version, you can download it here,  Beginner Project-Corkscrew Scarf. If you enjoy this pattern and want to explore more of my designs, check out more of my free and for sale patterns here. I hope you enjoy the Corkscrew Scarf, and take a little time to enjoy a time of Make it for Me.

Corkscrew Scarf

by: Linda Dean

Twist and Turn! This fun scarf works up quickly and is a whimsical addition to any wardrobe.

Skill level:  Beginner

Finished measurements: 2.5”x 72”

Gauge: is not critical for this project

Material List:

  • Size I/9/5.5mm hook
  • Approximately 200yrd of medium weight yarn, sample used: (multi color)Plymouth Yarn Encore Colorspun medium weight 75% acrylic, 25% wool yarn (3.5oz/100g/200yrd/183m), 1 skein color# 7512 or (solid) Berroco Ultra Alpaca medium weight 50% Super Fine Alpaca, 50% Peruvian Wool yarn (3.5 oz/100g/215yrd/189m) 1 skein color #62178
  • Tapestry Needle


Abbreviations:

ch: chain

dc: double crochet

rep: repeat

sc: single crochet

sk: skip

sl st: slip stitch

st(es): stitches

Row 1: Ch 182, dc in 4th ch from hook, 2dc in each ch across, turn.

Row 2: Ch 4 (counts as dc and ch 1), dc in next s, *ch 1, dc in next st; rep from * across, turn.

Row 3: Ch 3 (counts as dc), dc in same st, *ch 1, dc in ch-1 sp; rep from * across to last st, dc in last st, turn.

Row 4: Ch 1, sc in same st, *ch 1, sc in ch-1 sp; rep from * across to last 2 sts, ch 1, sc in last st, finish off.

Finishing    Weave in ends; twist scarf as desired.

© 2015 Linda Dean Crochet    #2015000T1   lindadeancrochet.com   Copying prohibited, intended for private use only


Fronts & Backs, the Confusion, the Difference

ScannedImageSometimes it can be the simplest things that trip us up; this is even true in crochet. Sometimes, it is just because we are overthinking things. This can be true when utilizing the front and back loops of a stitch. In crochet the standard fall back for all stitches is to work through both loops that are created at the top of a stitch, so if a pattern does not specify anything you are assumed to work through both loops, however there are times you do get a noted distinction….front loops and back loops.

DSCF1093

Working in the front loop, notice how the hook comes from the bottom of the loop upward.

It almost sounds too easy. Working in the front loops across….working in the back loops across….But I will admit, my brain sometimes holds onto the prior position of the loop, instead of where it really is right now. I think we have all had these moments. Our brain is a little groggy, a little overloaded, and a little set in its ways, so it just almost quits processing the information. By this I mean, when you work a stitch, the loop on the top closest to you is the front loop, and the on top furthest away is the back loop; when you turn your work, these same principles still apply, but now the names you just recognized for the loops to row before has switches. 

The position of the loops applies to the row you are currently working into, not the position of the loops on the stitch just being created.

DSCF1095

Working in the back loop, notice how the hook comes down from the top through this loop.

This does become an important distinction, as it gives the fabric a different look and structure. Working in the back loops of a row give a more textured feel to the fabric as well as creating a little more stretch. While working in the front loops adds a simple decorative element and a little extra height to the fabric overall. The reason for these differences is actually the nature of crochet stitches. If you really look at a row of stitches, you will find that they actually are a little tapered, with the right side facing you the back of a stitch will be a little taller than the front. It is this slant that creates the ribbing effects of some stitches, and the decorative effect of others.

DSCF1089

The standard method of beginning a stitch, if not otherwise stated, working under both loops.

Just keep in mind, that we all have those days, so if your fabric doesn’t look how you have expected, revisit if you are placing your stitch in the right location; it can make all the difference.