Crochet For a Difference- Stacked Clusters

Crocheters often have a desire, or a need to help others…at least in my experiences, and there are so many ways to Crochet for a Difference. I have found various local opportunities that can benefit from the handiwork skills of crochet and am sharing some stitch ideas and some organizations for you to make a difference in your local community.

I don’t really buy into the “crochet stitch names” kind of thing, meaning, unlike knitting that has an understanding that “garter stitch” is nothing but knitting every stitch, I don’t feel that there is anything that really fits this in crochet. If I call something a “popcorn”, all I am essentially saying is that it is a group of stitches that are joined at the top and bottom of the stitch…I am not telling you how many, or where the stitch is worked, there are just to many variables to be consistent over all the possibilities. So with that said, I have to have some way to differentiate from the stitches I want to share, thus they will have names, but keep in mind my names may not match what another designer may refer to the set of stitch patterns.

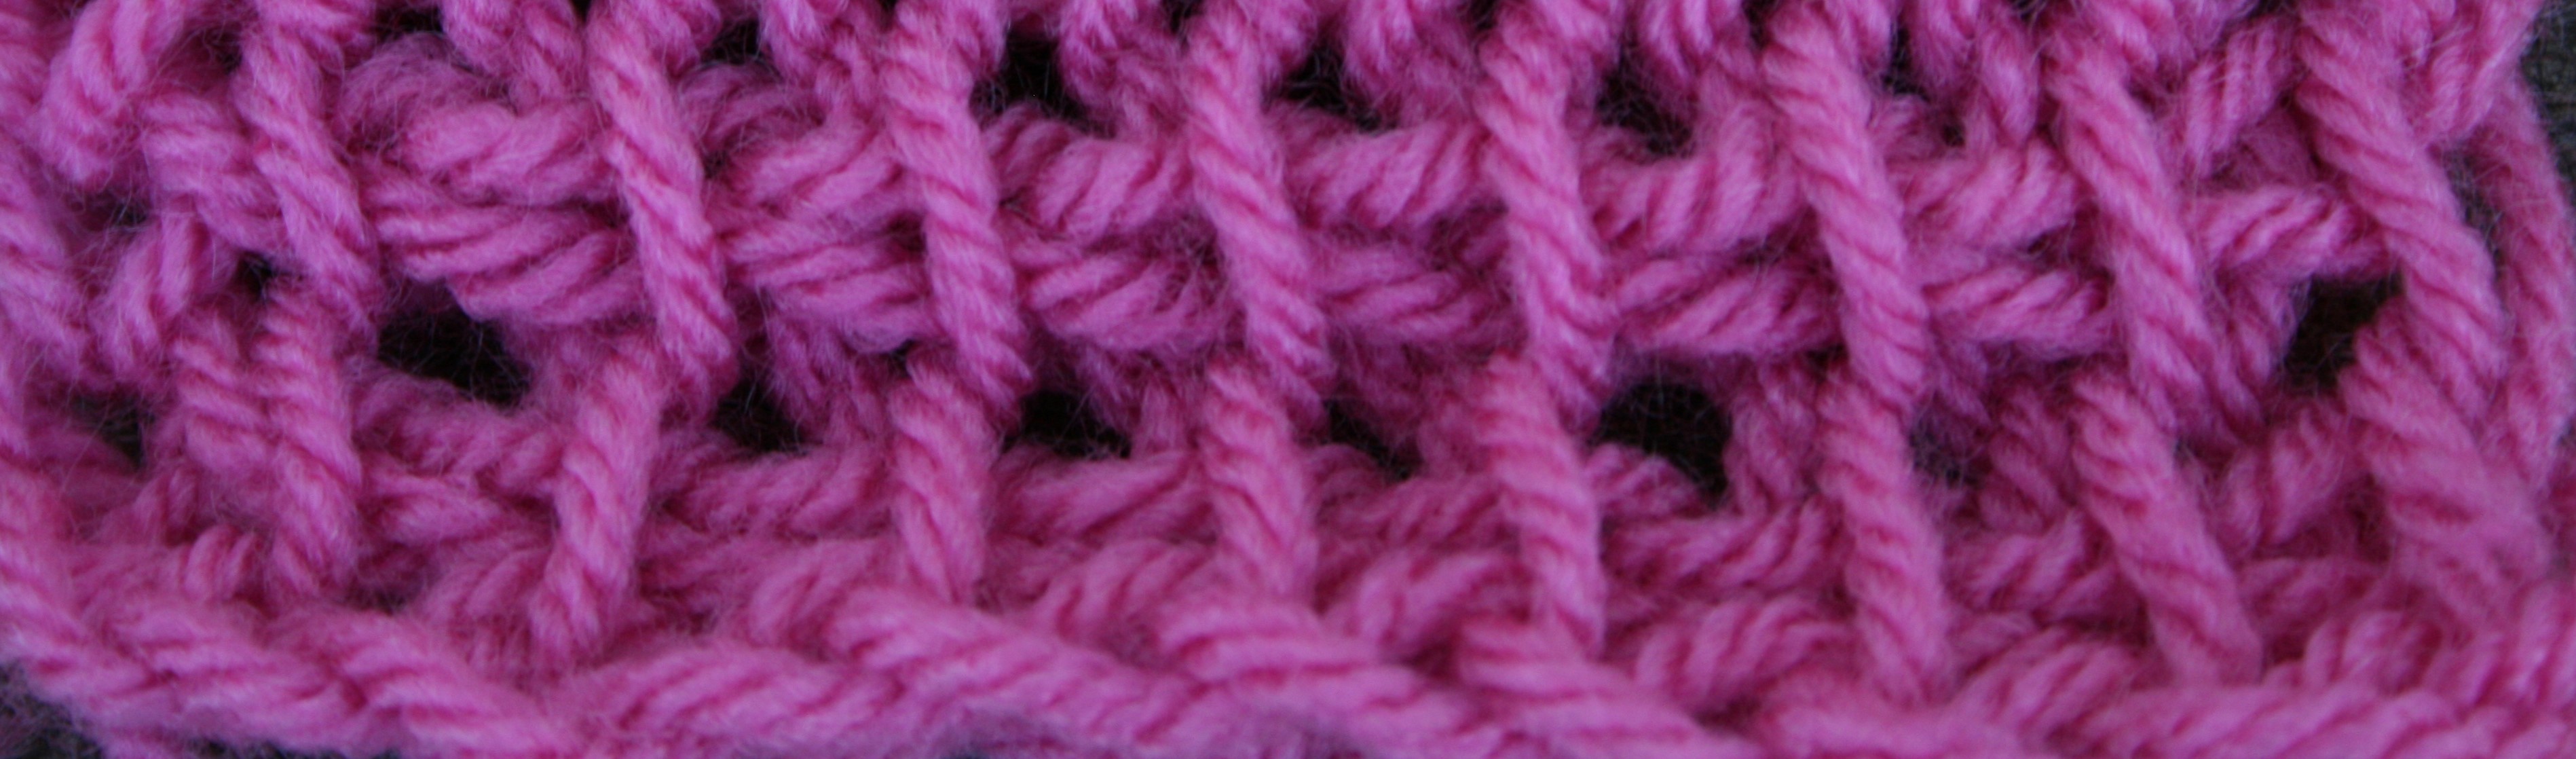
So I will refer to this stitch pattern as the Stacked Clusters.

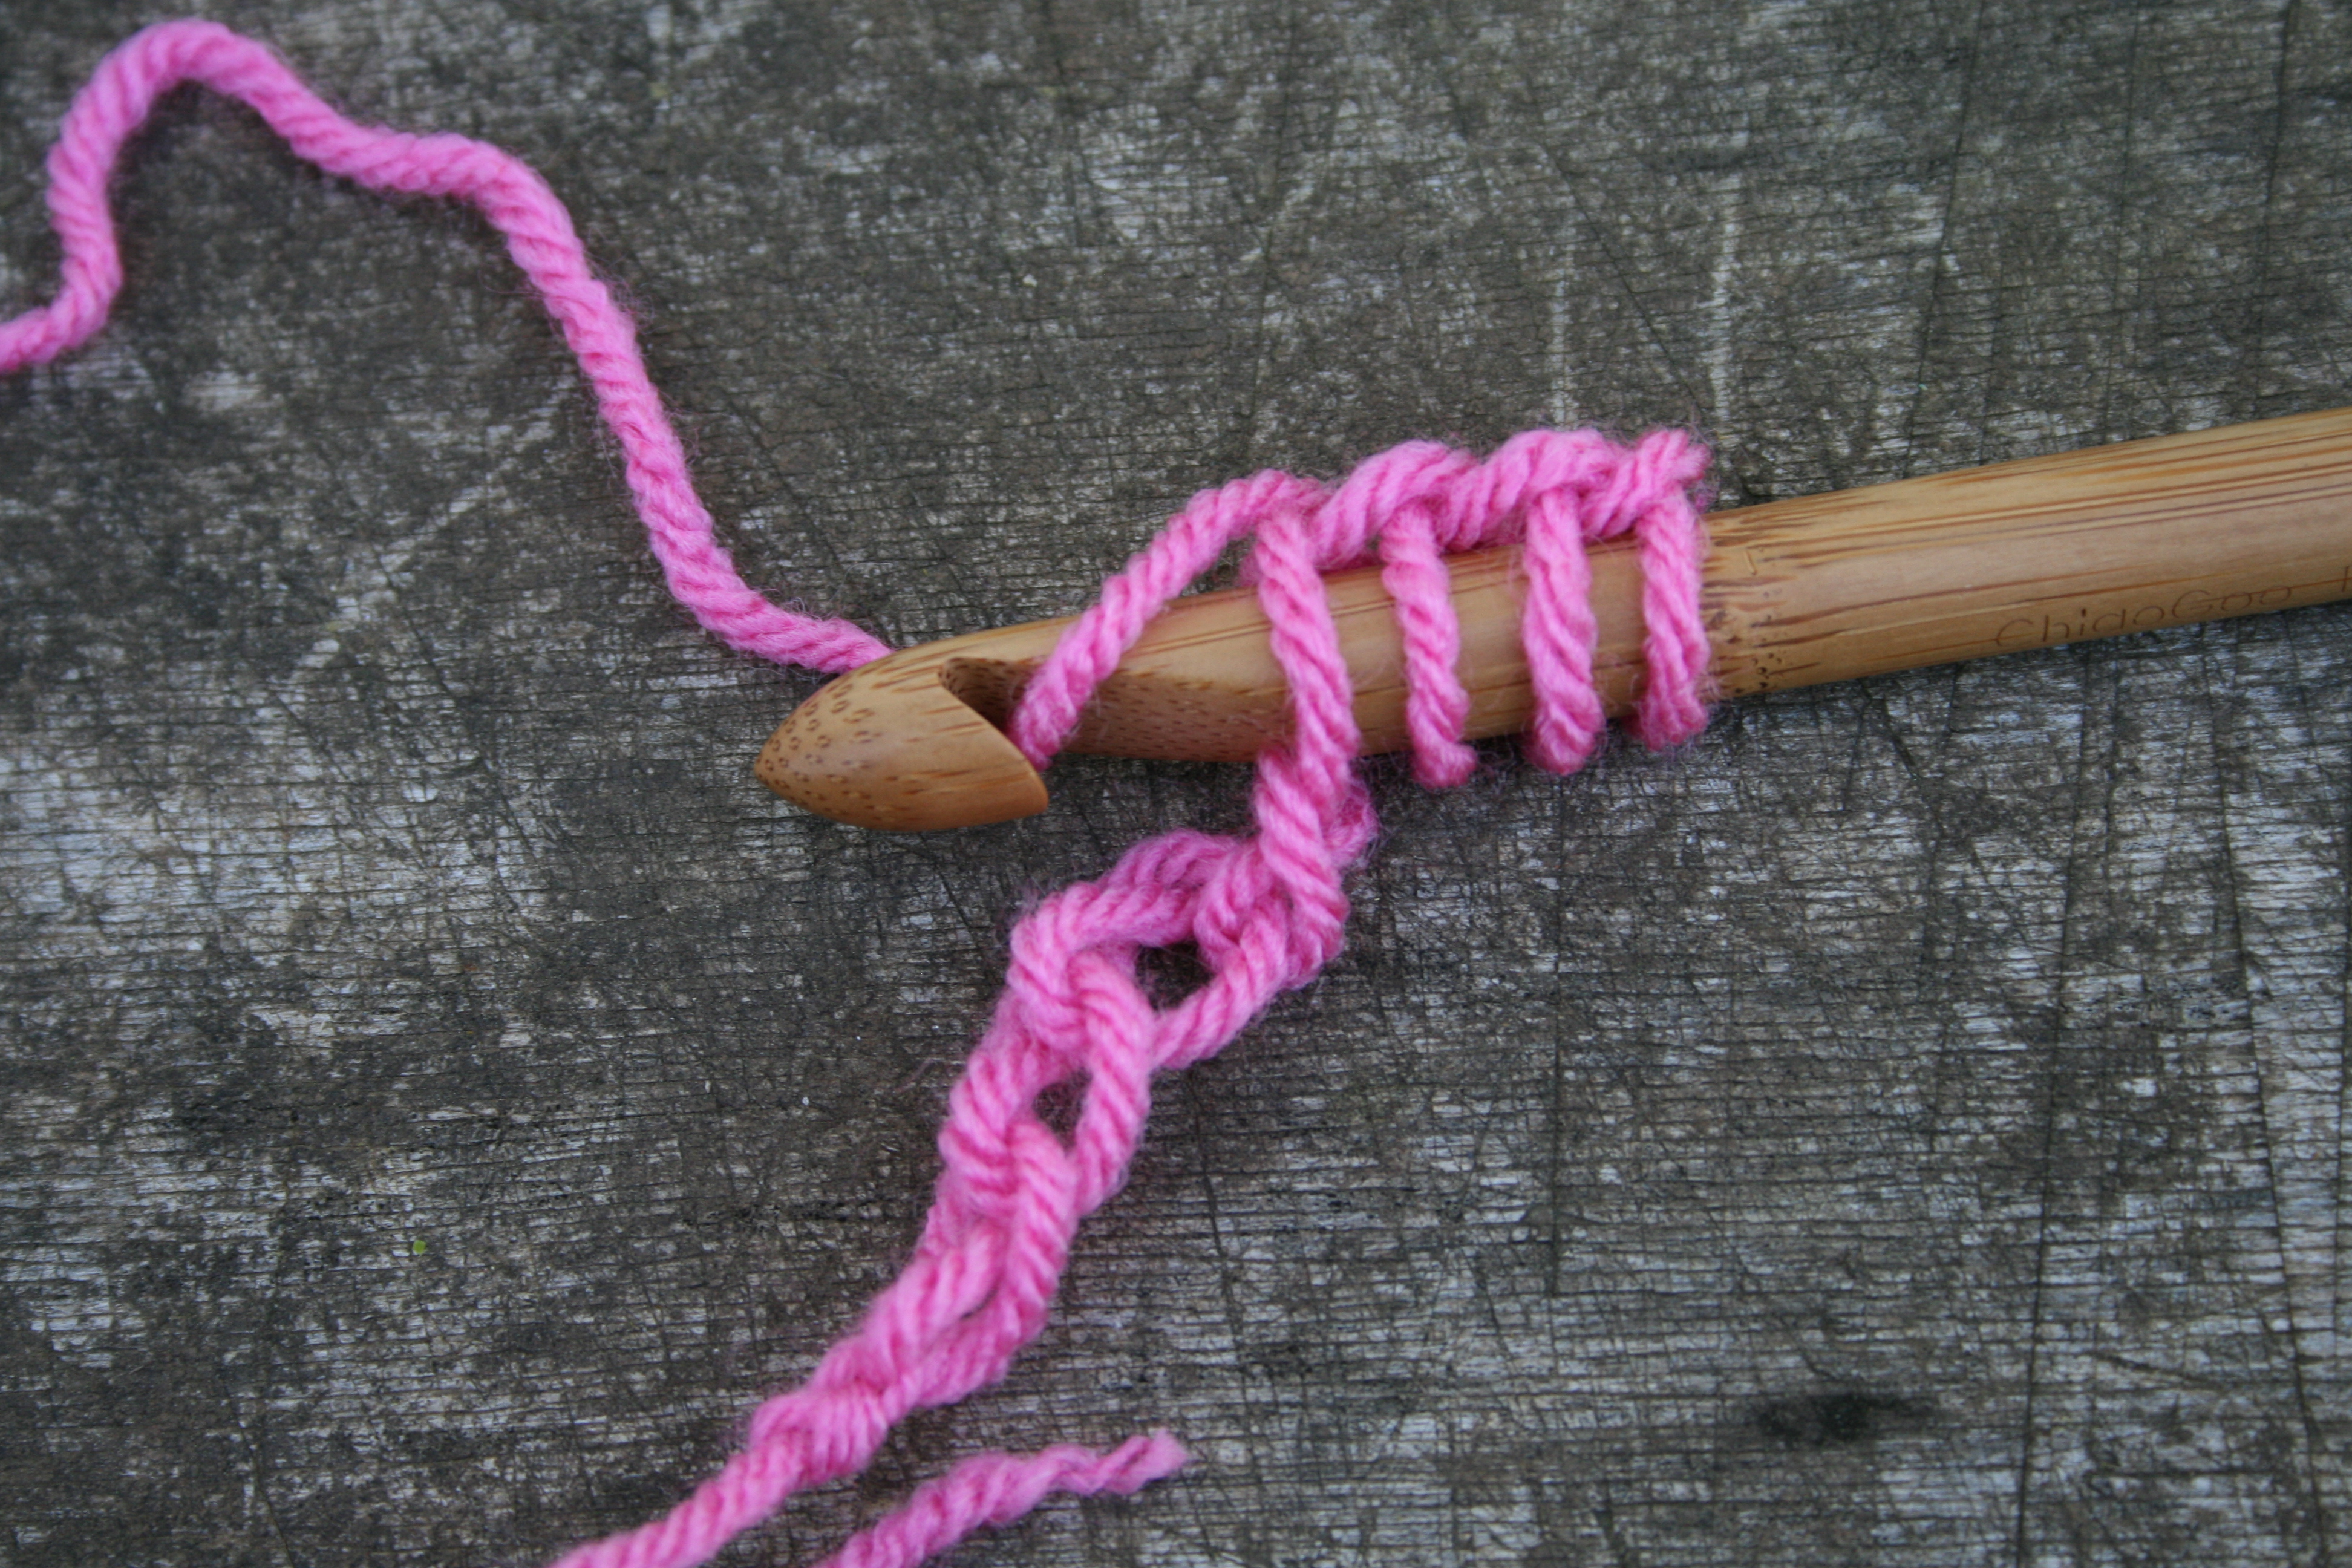
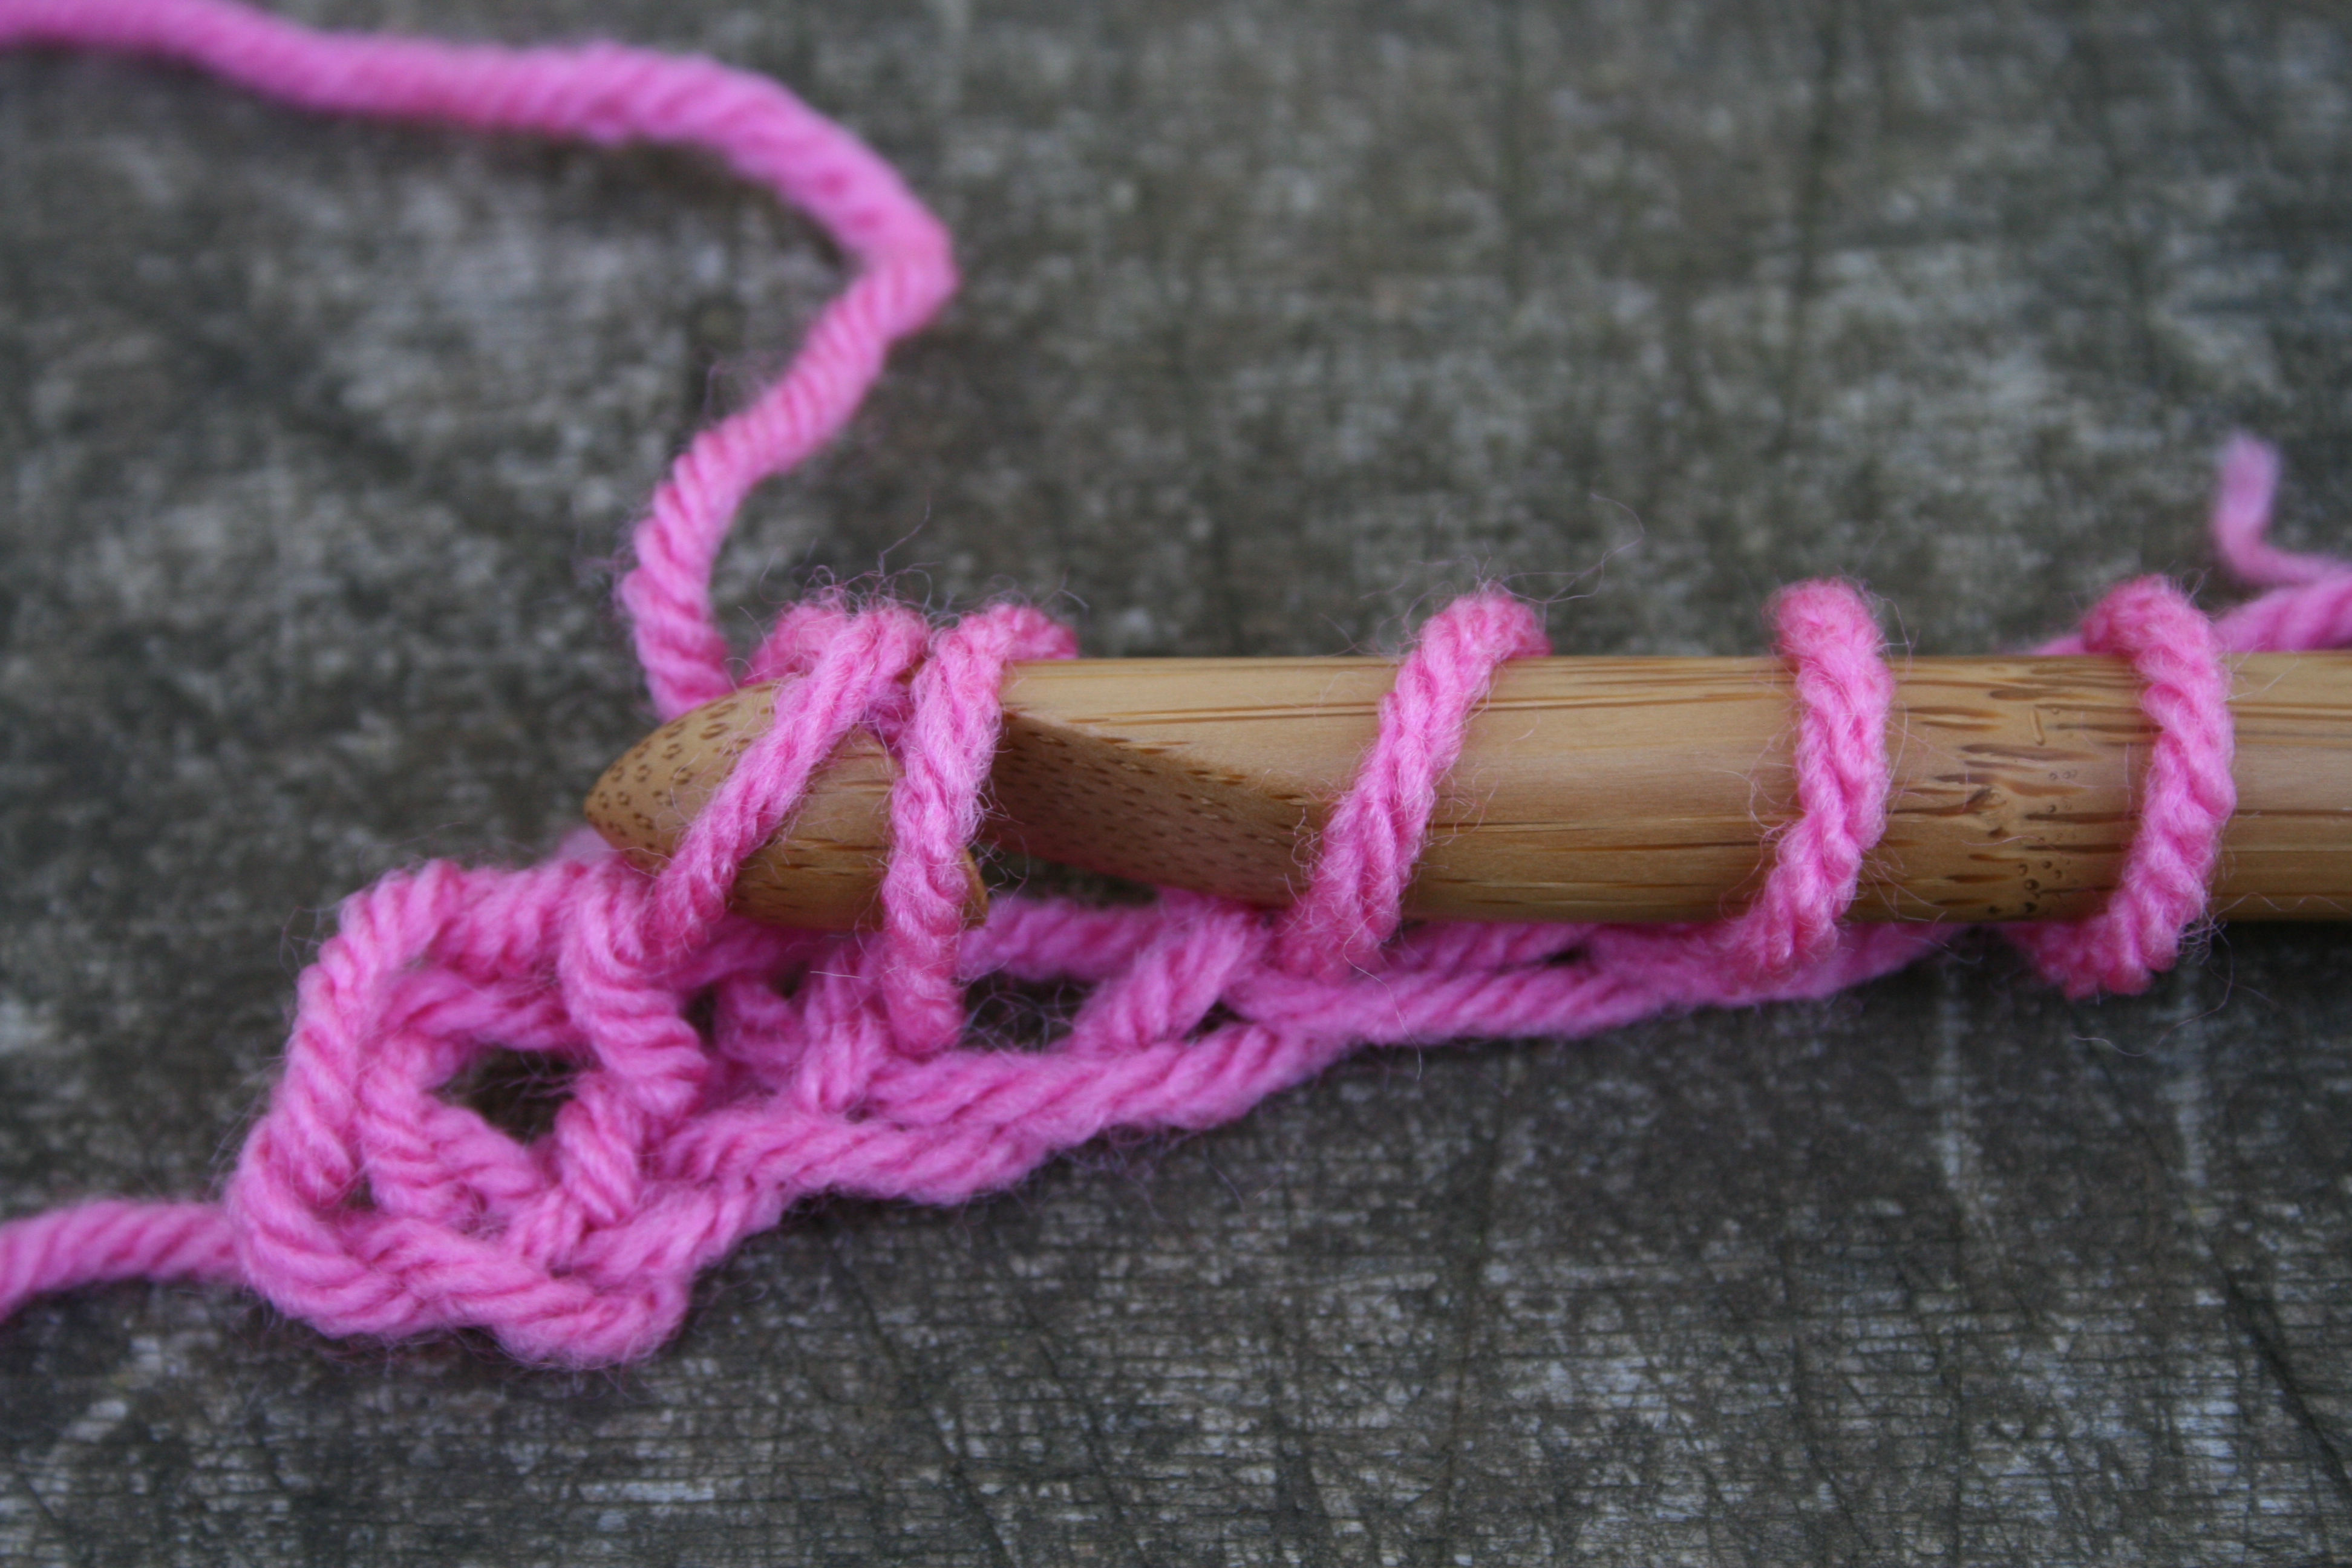
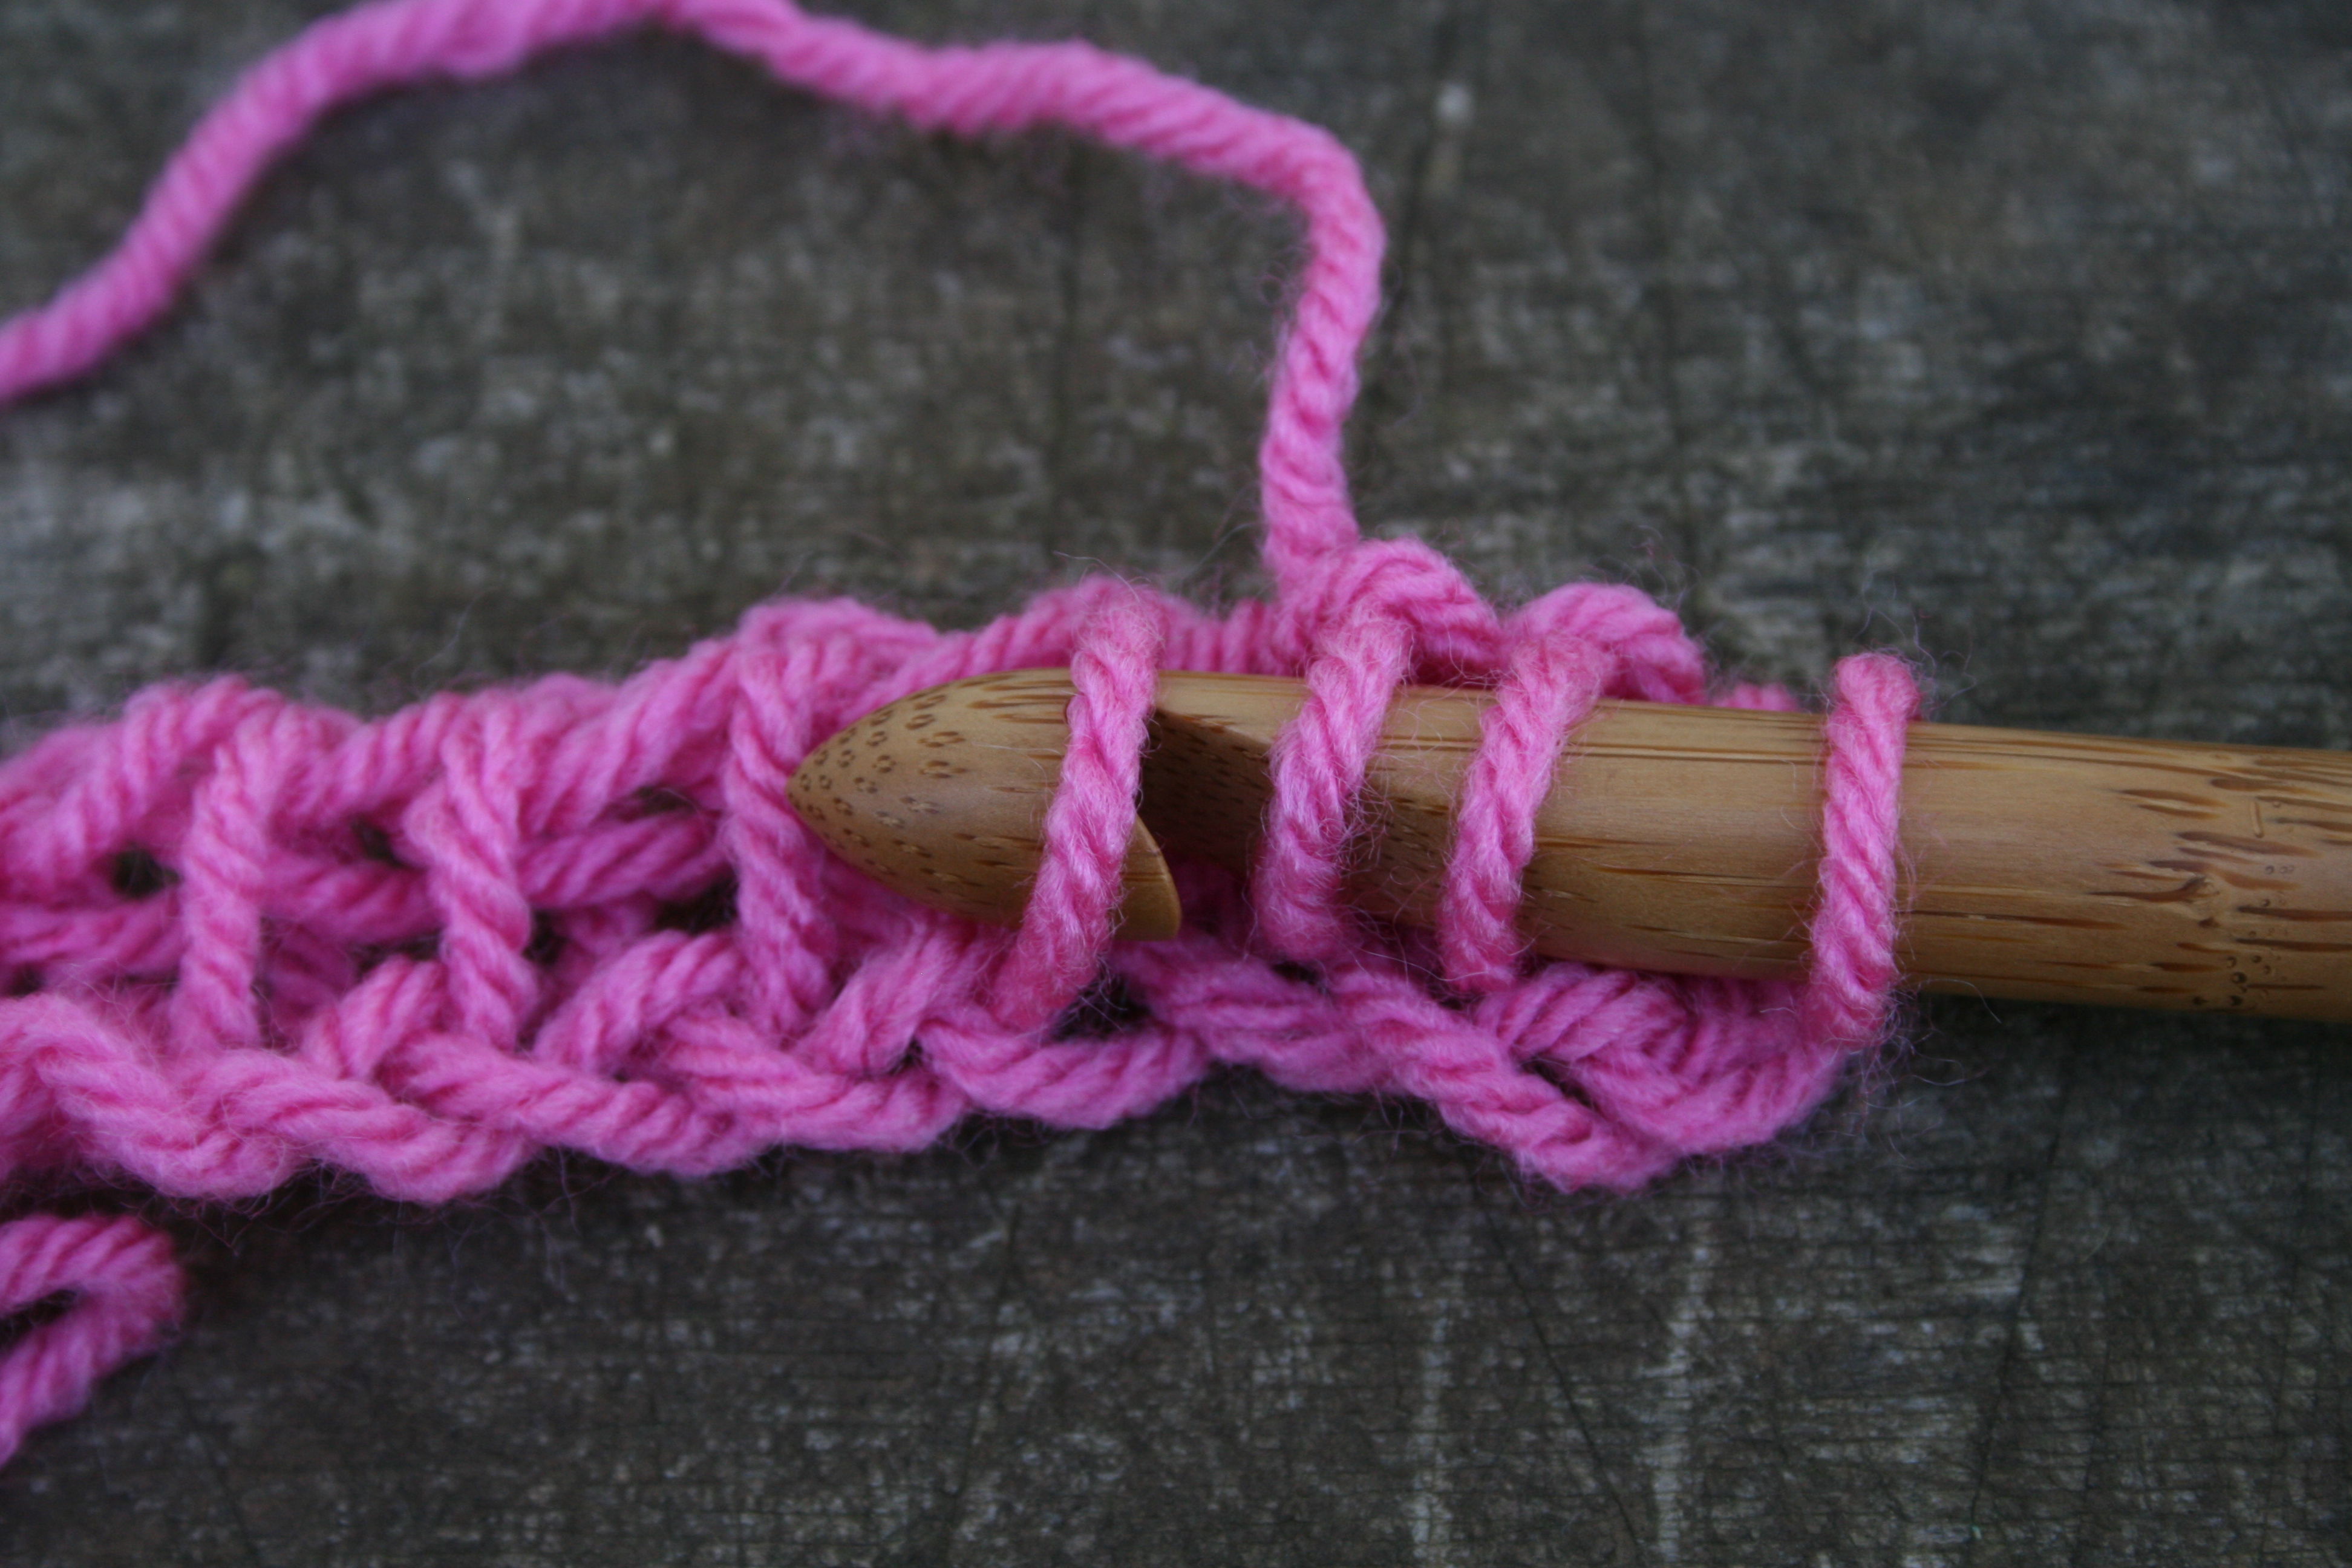
A Cluster stitch is basically where the base of many stitches are worked into the same point, but are finished together as one stitch, in a manner of speaking, like a decrease worked in the same location.

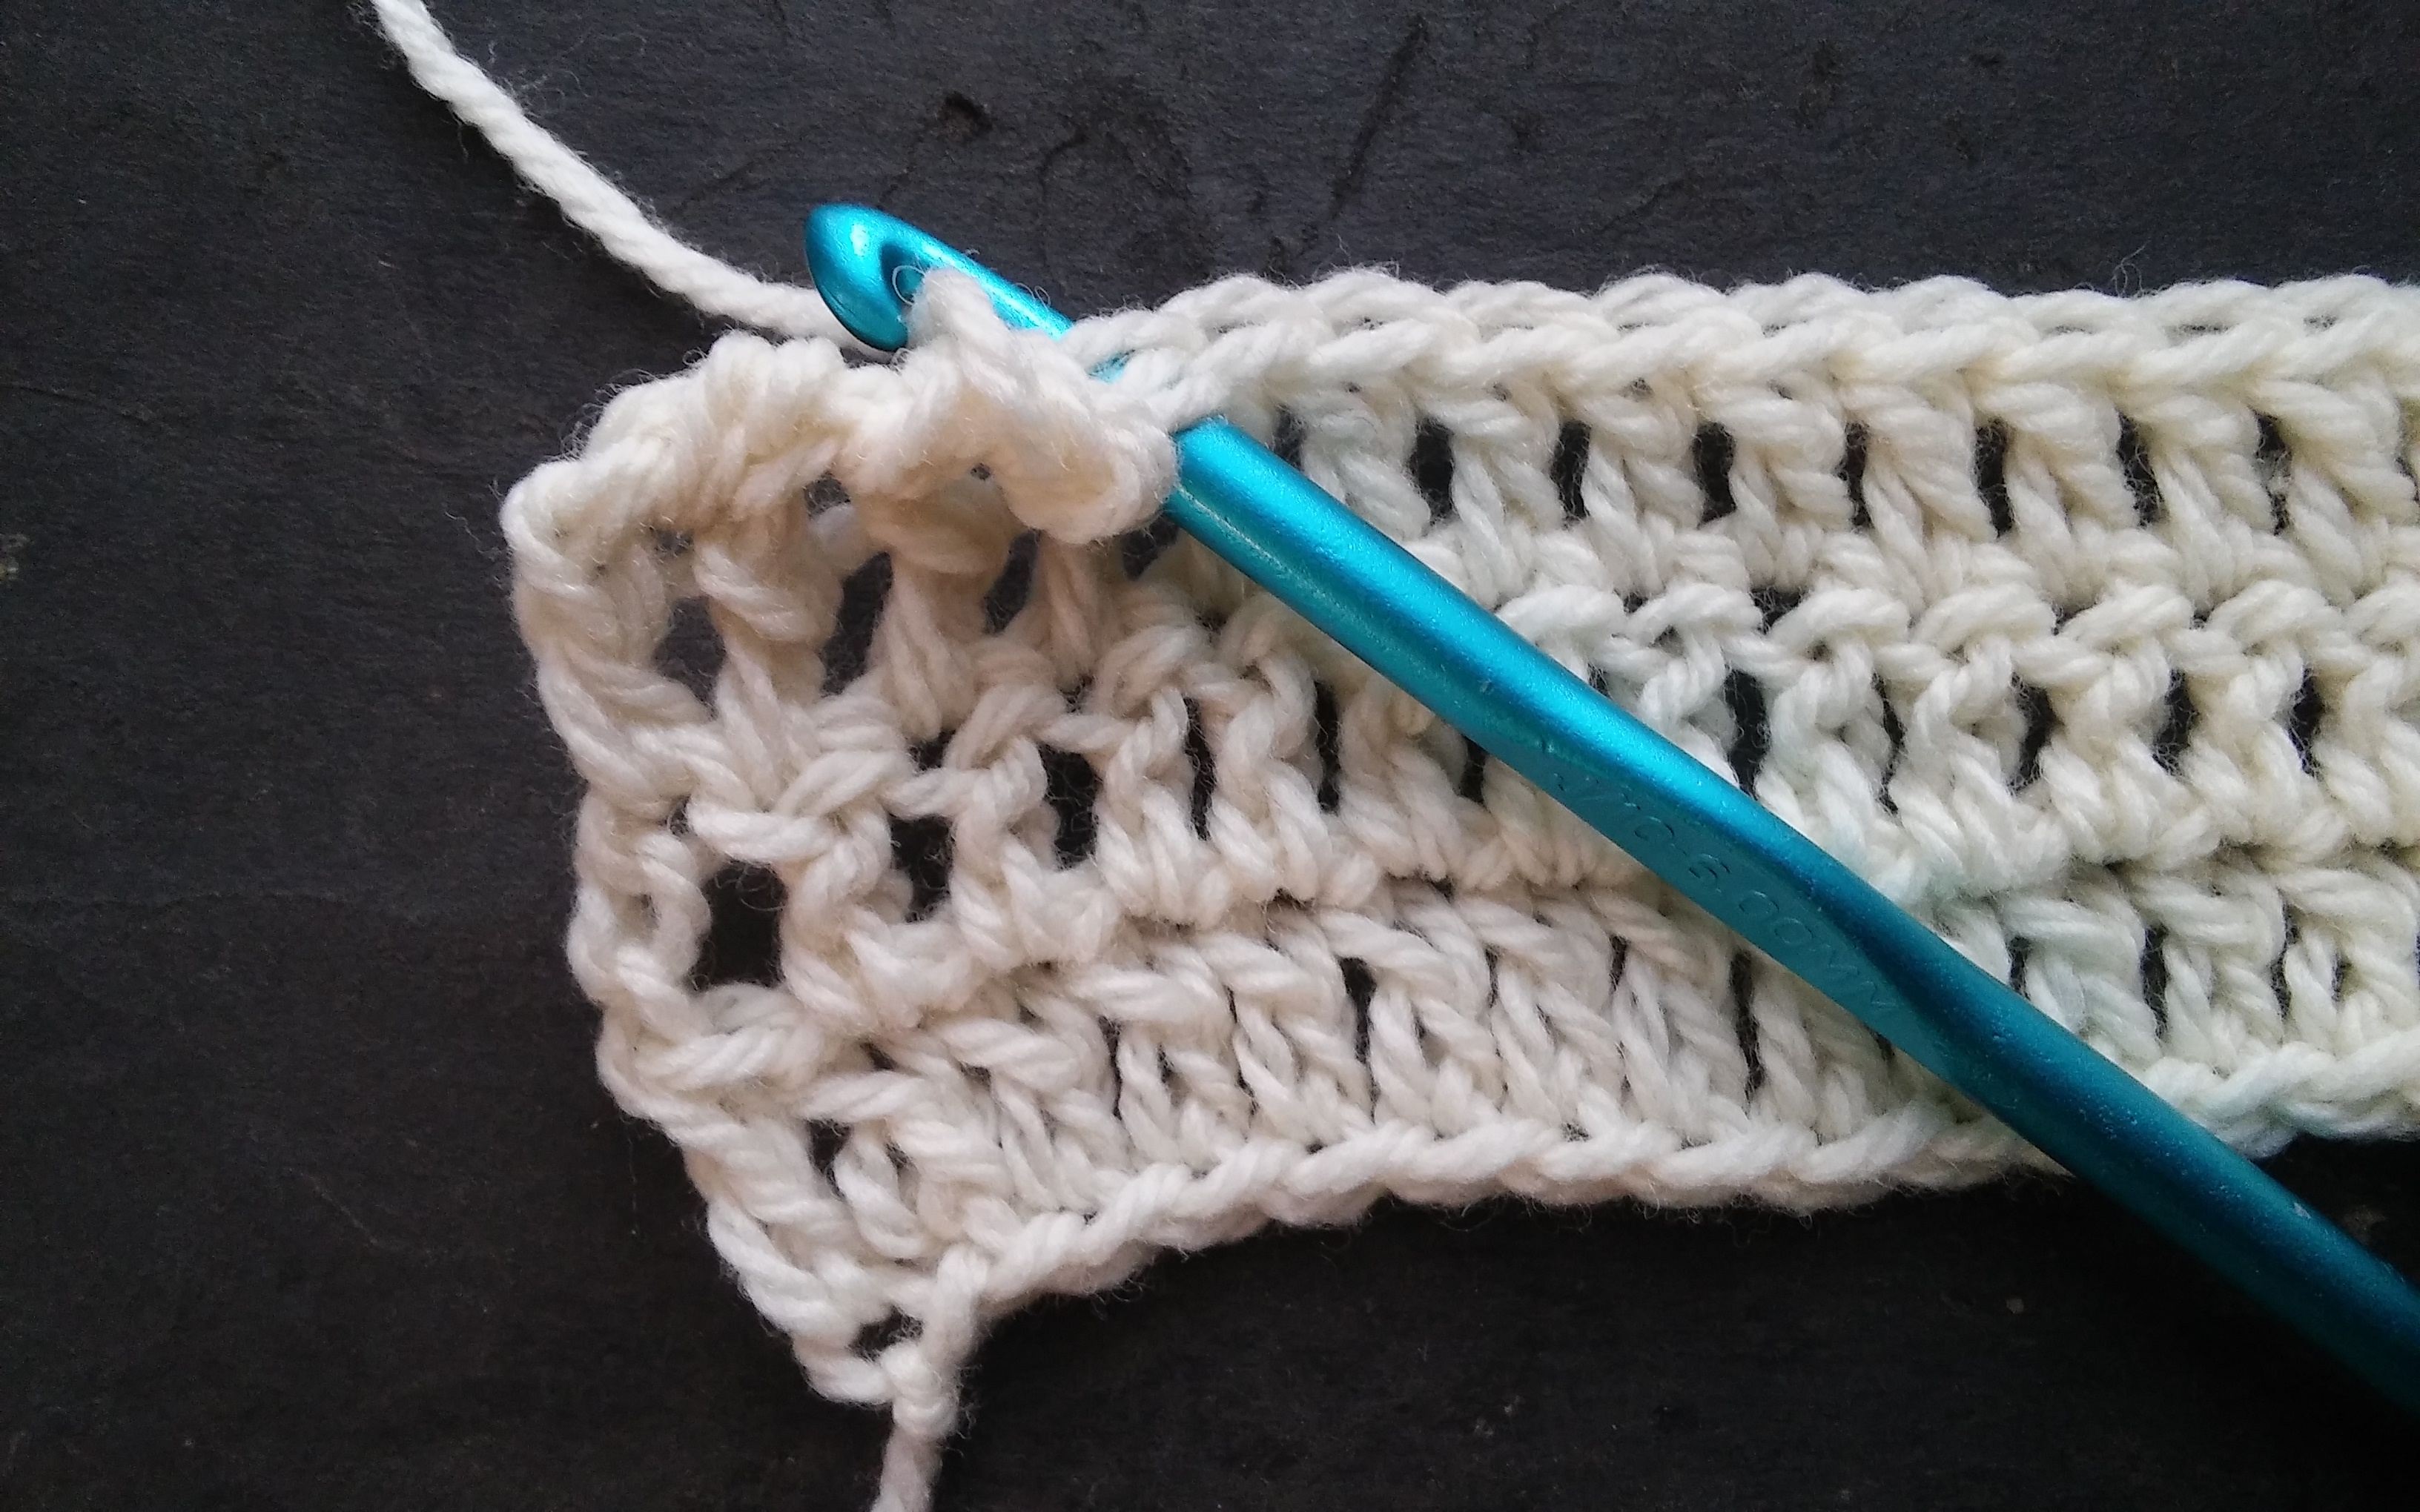
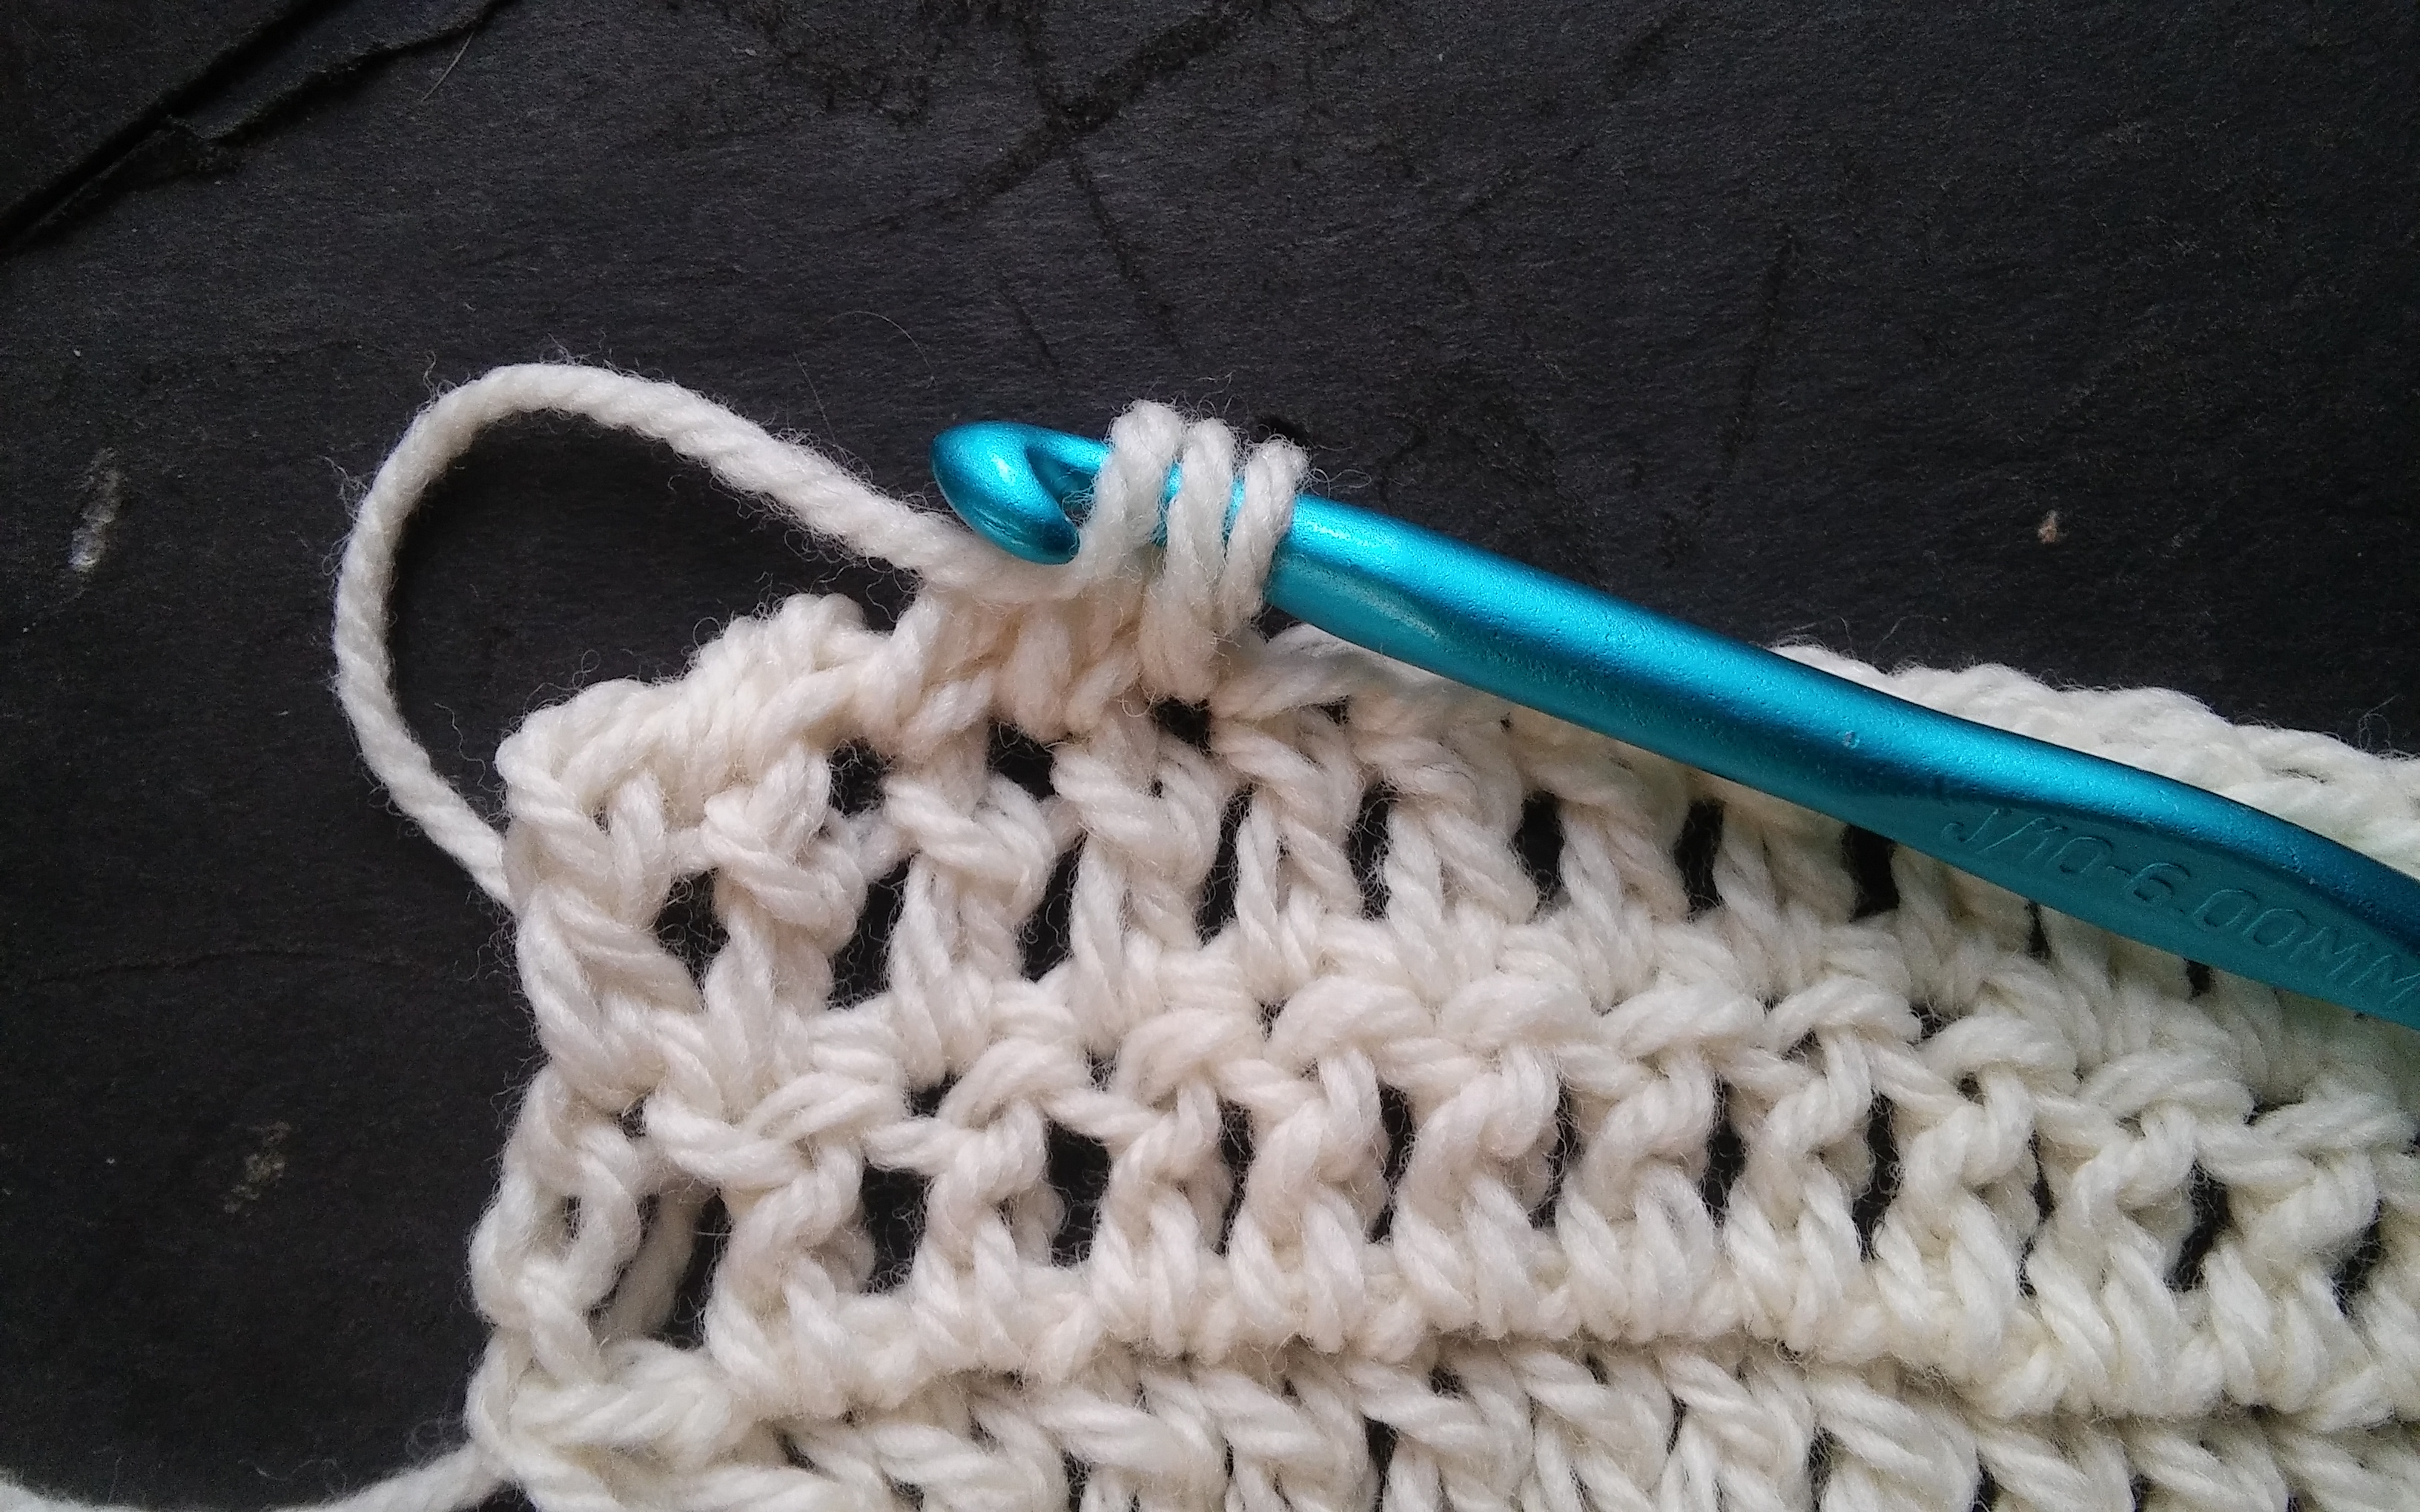
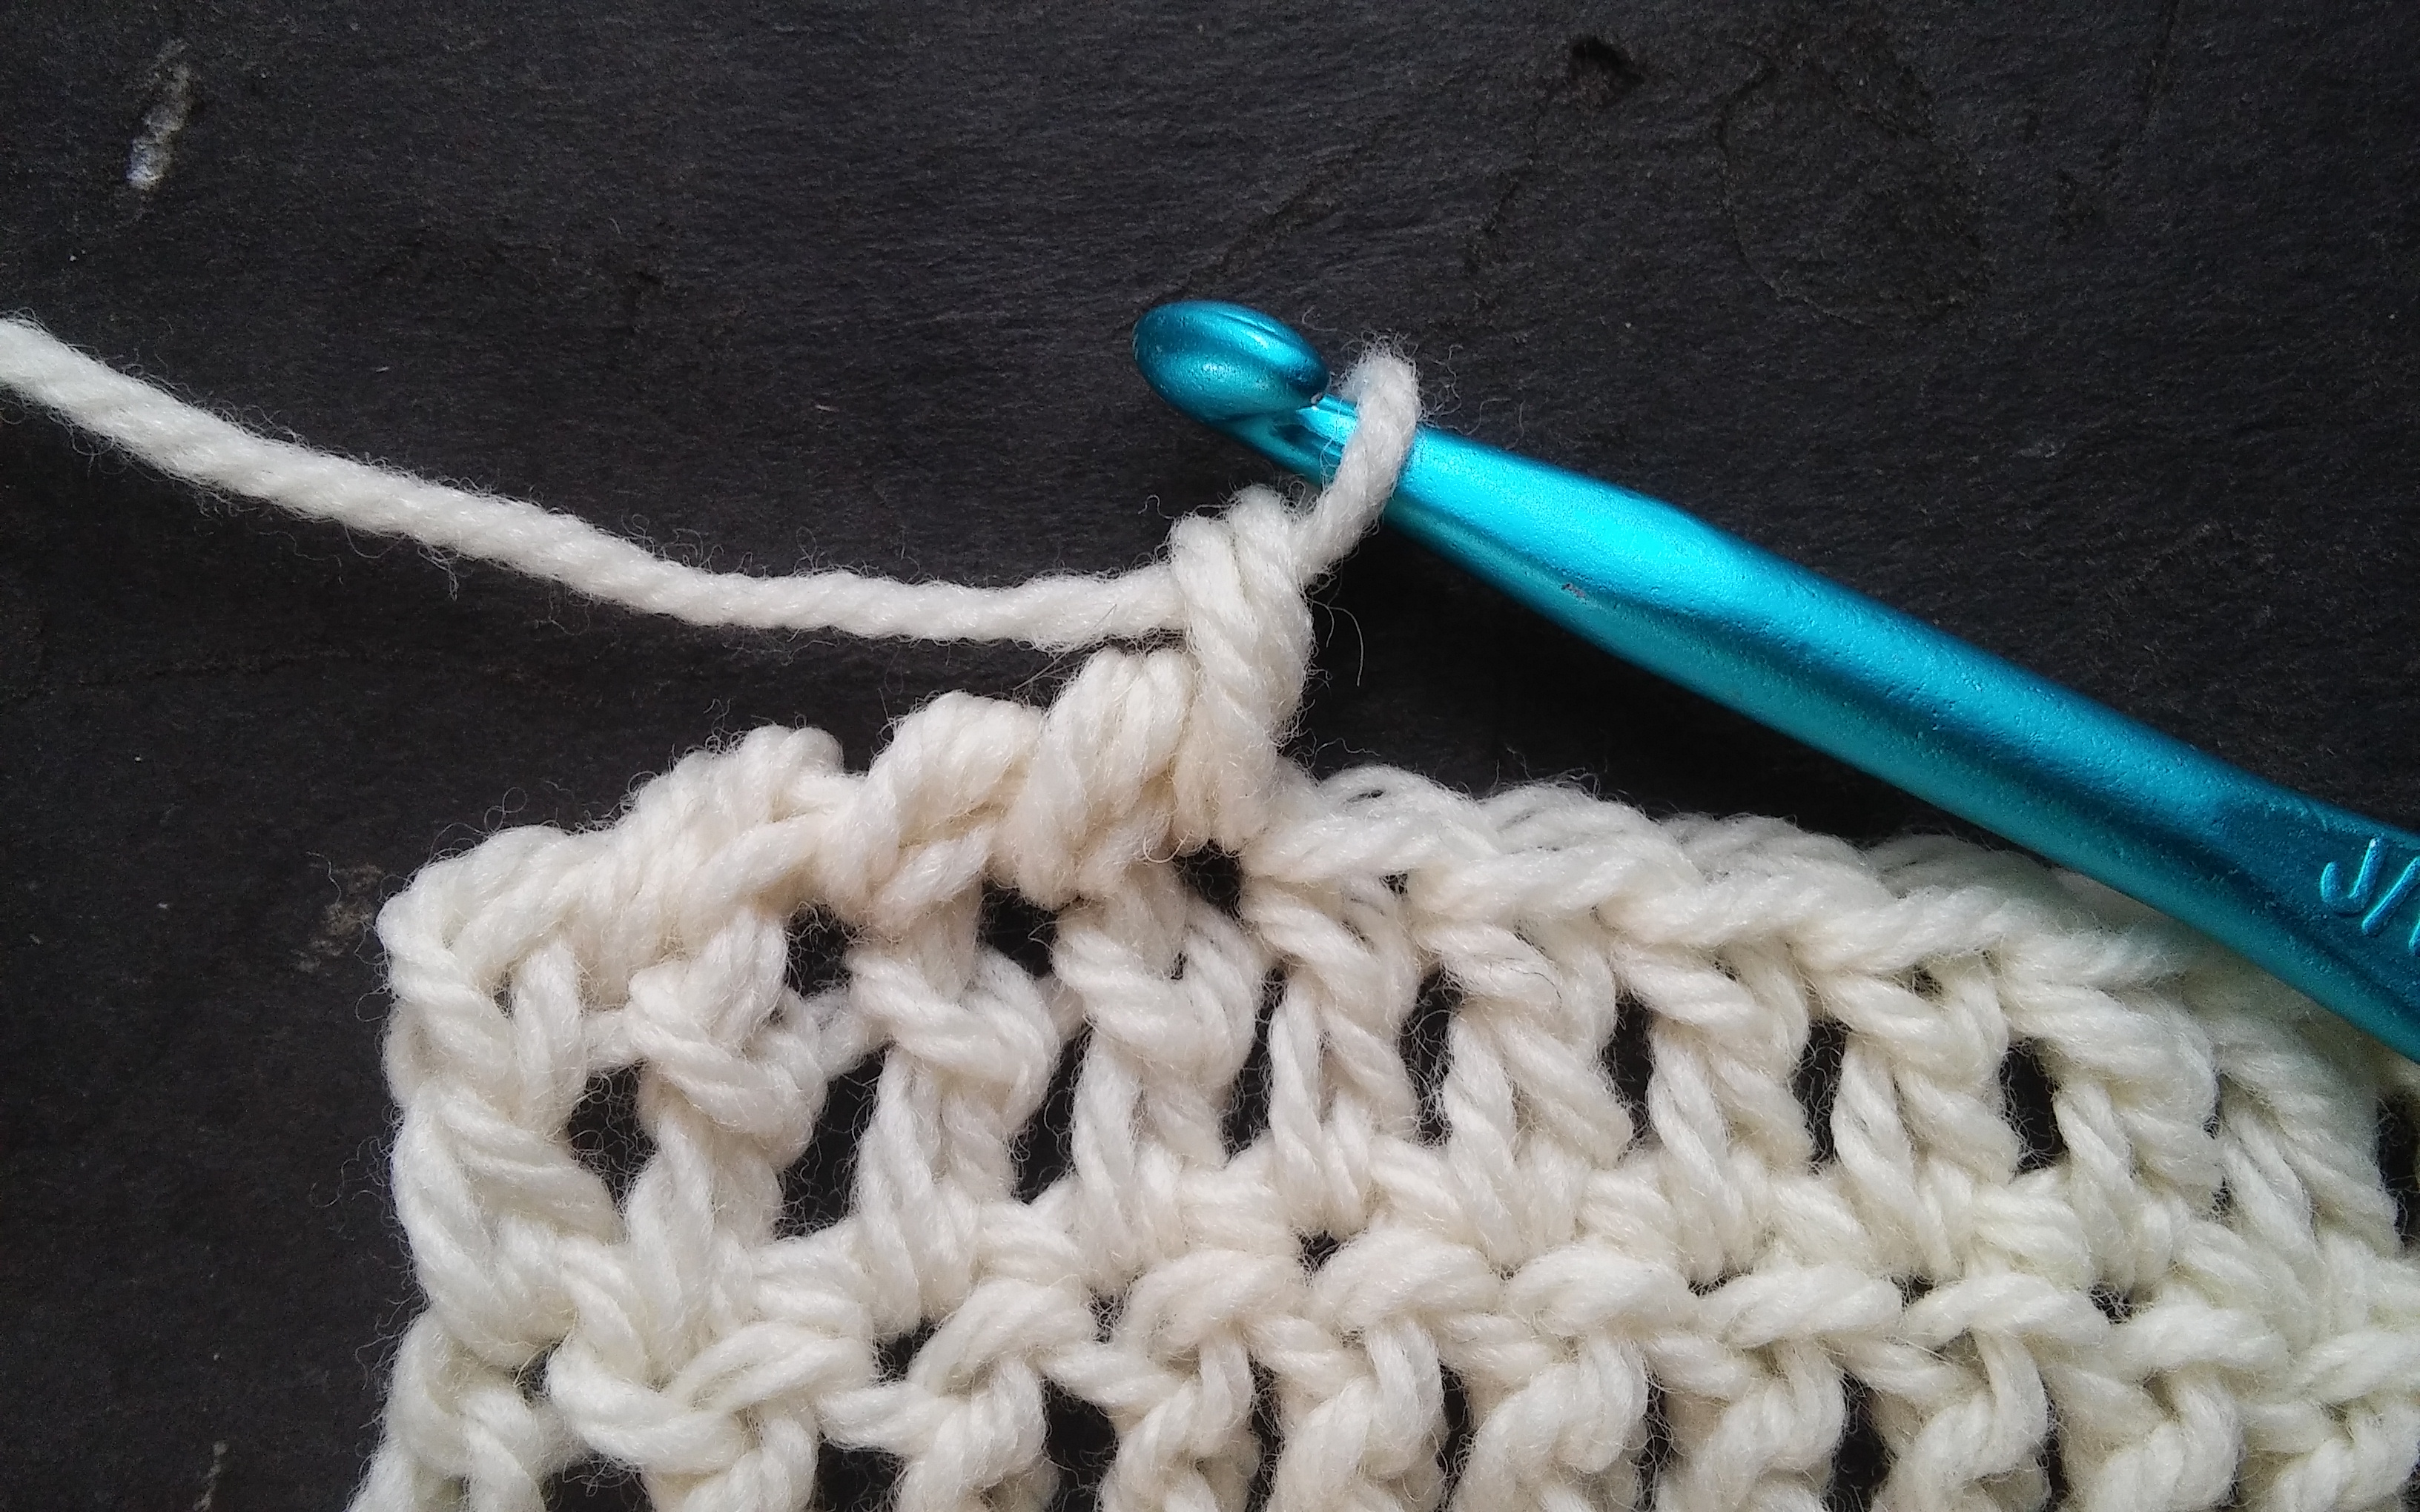
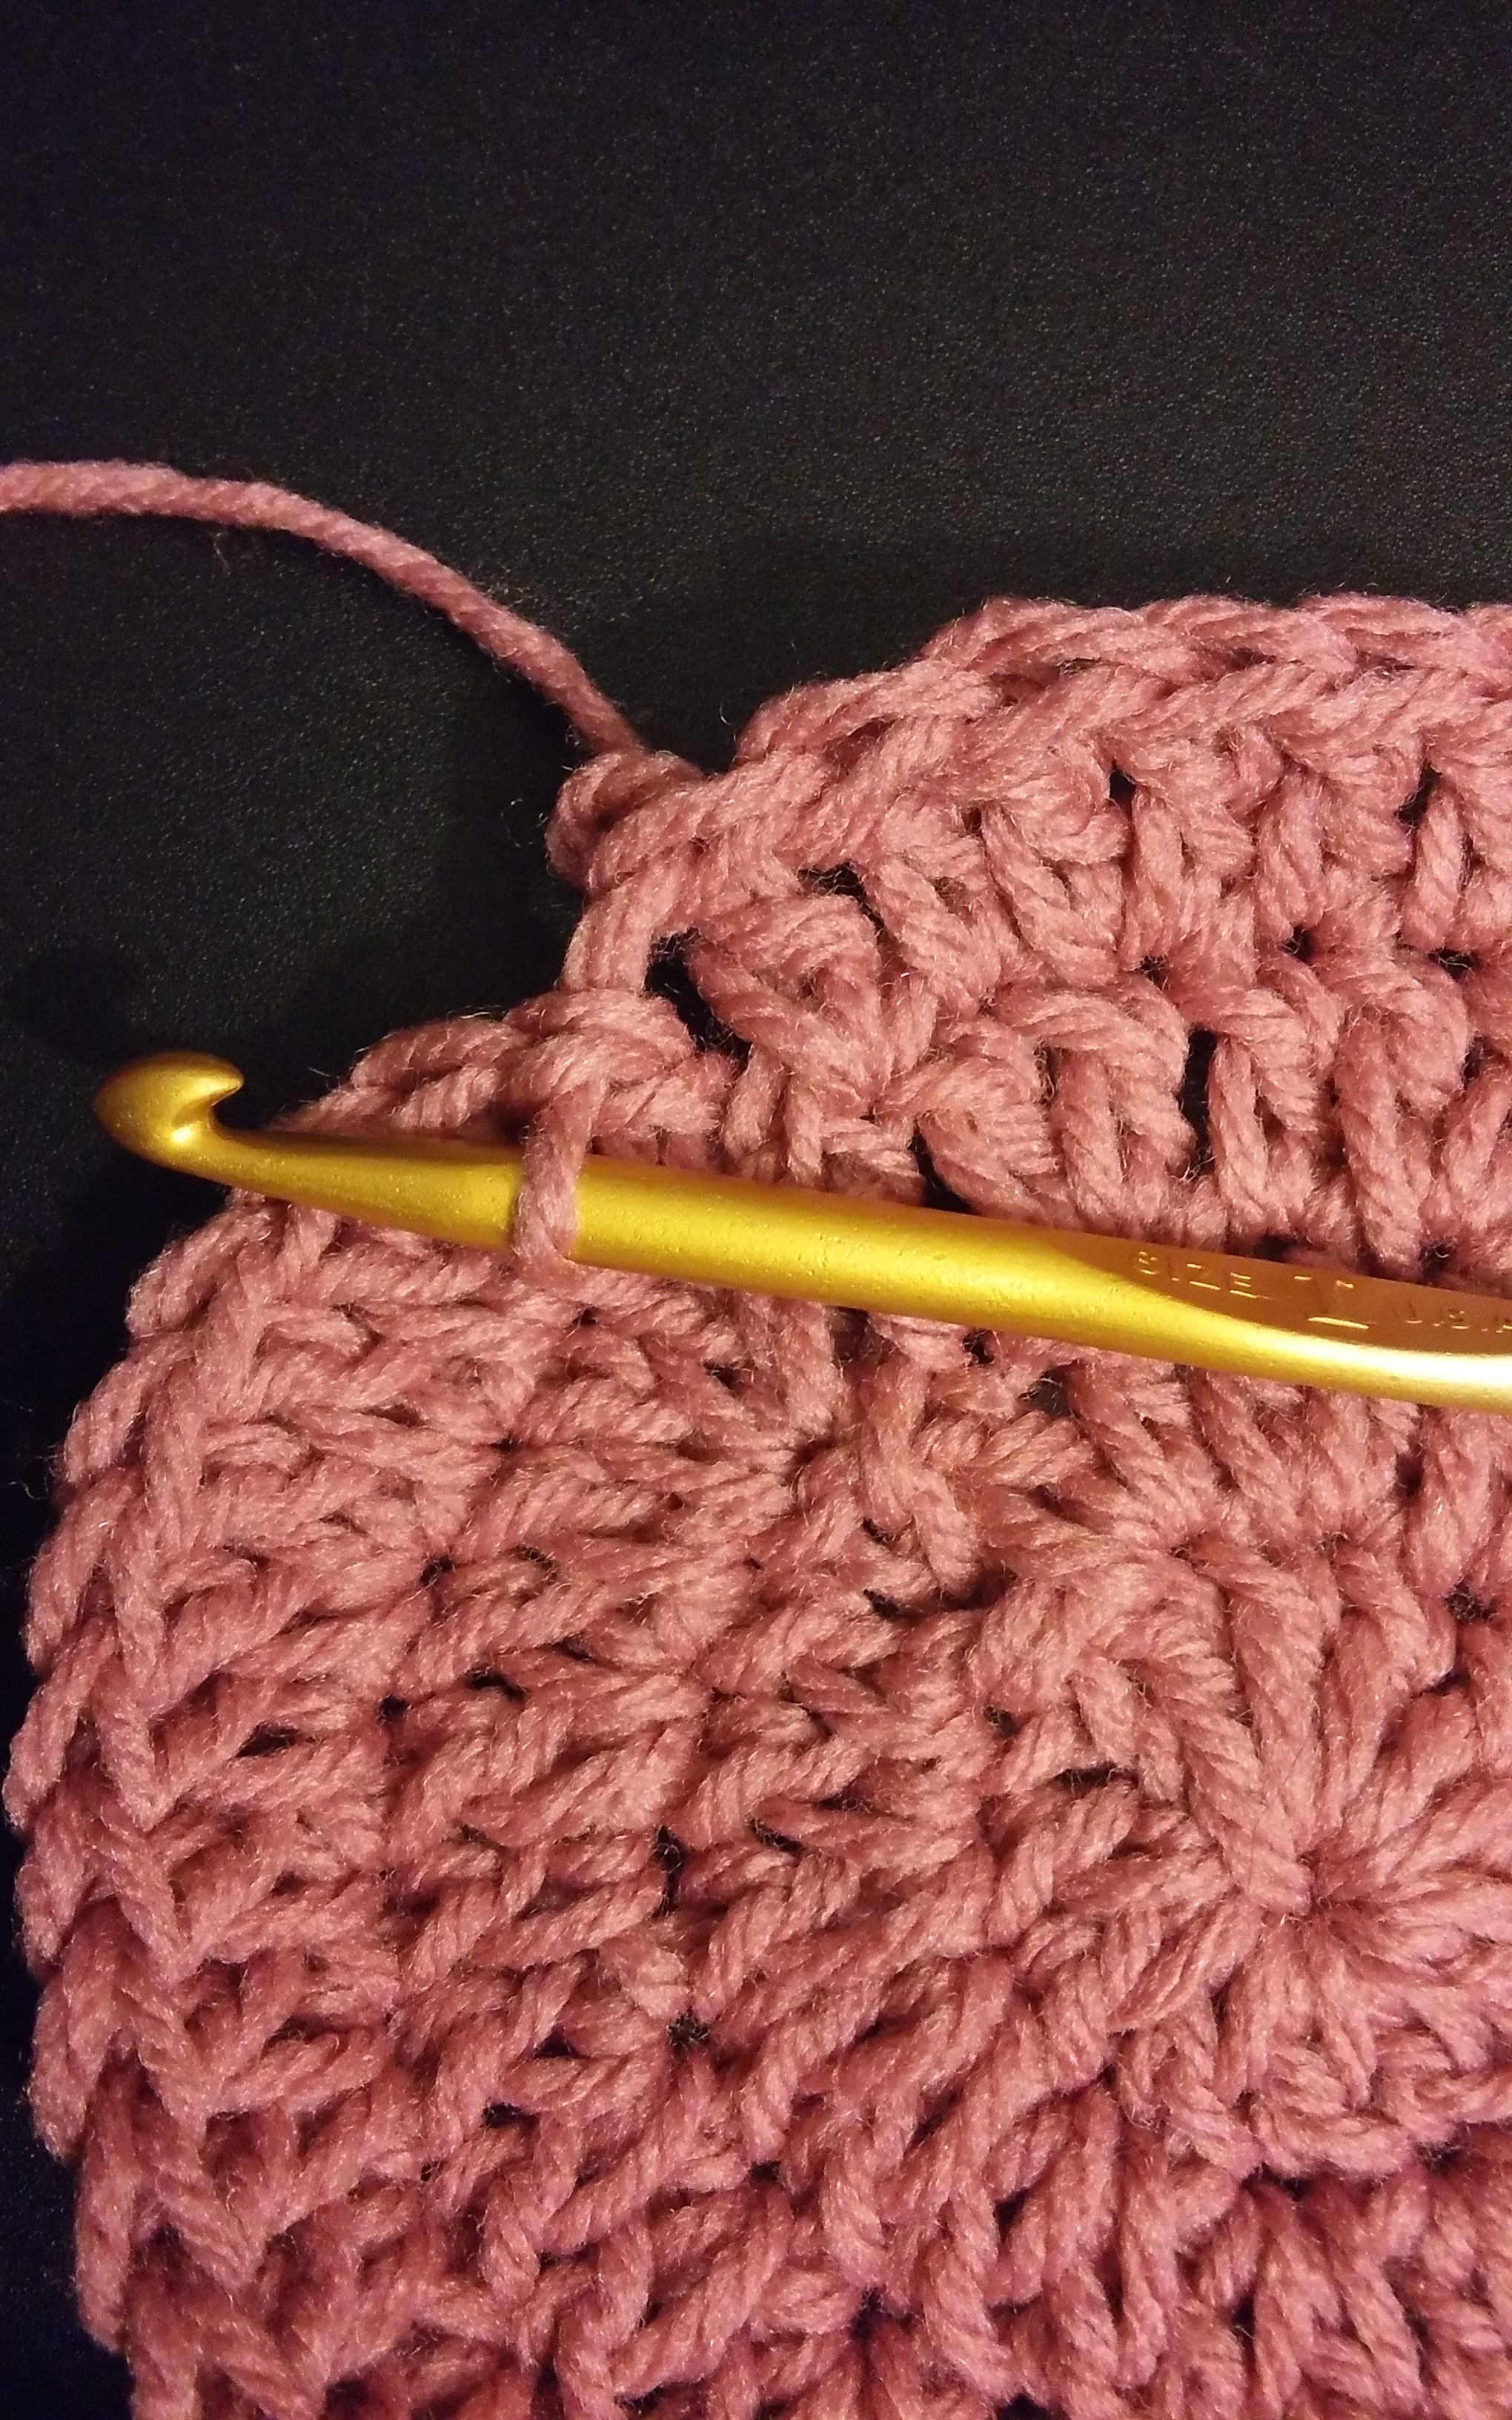
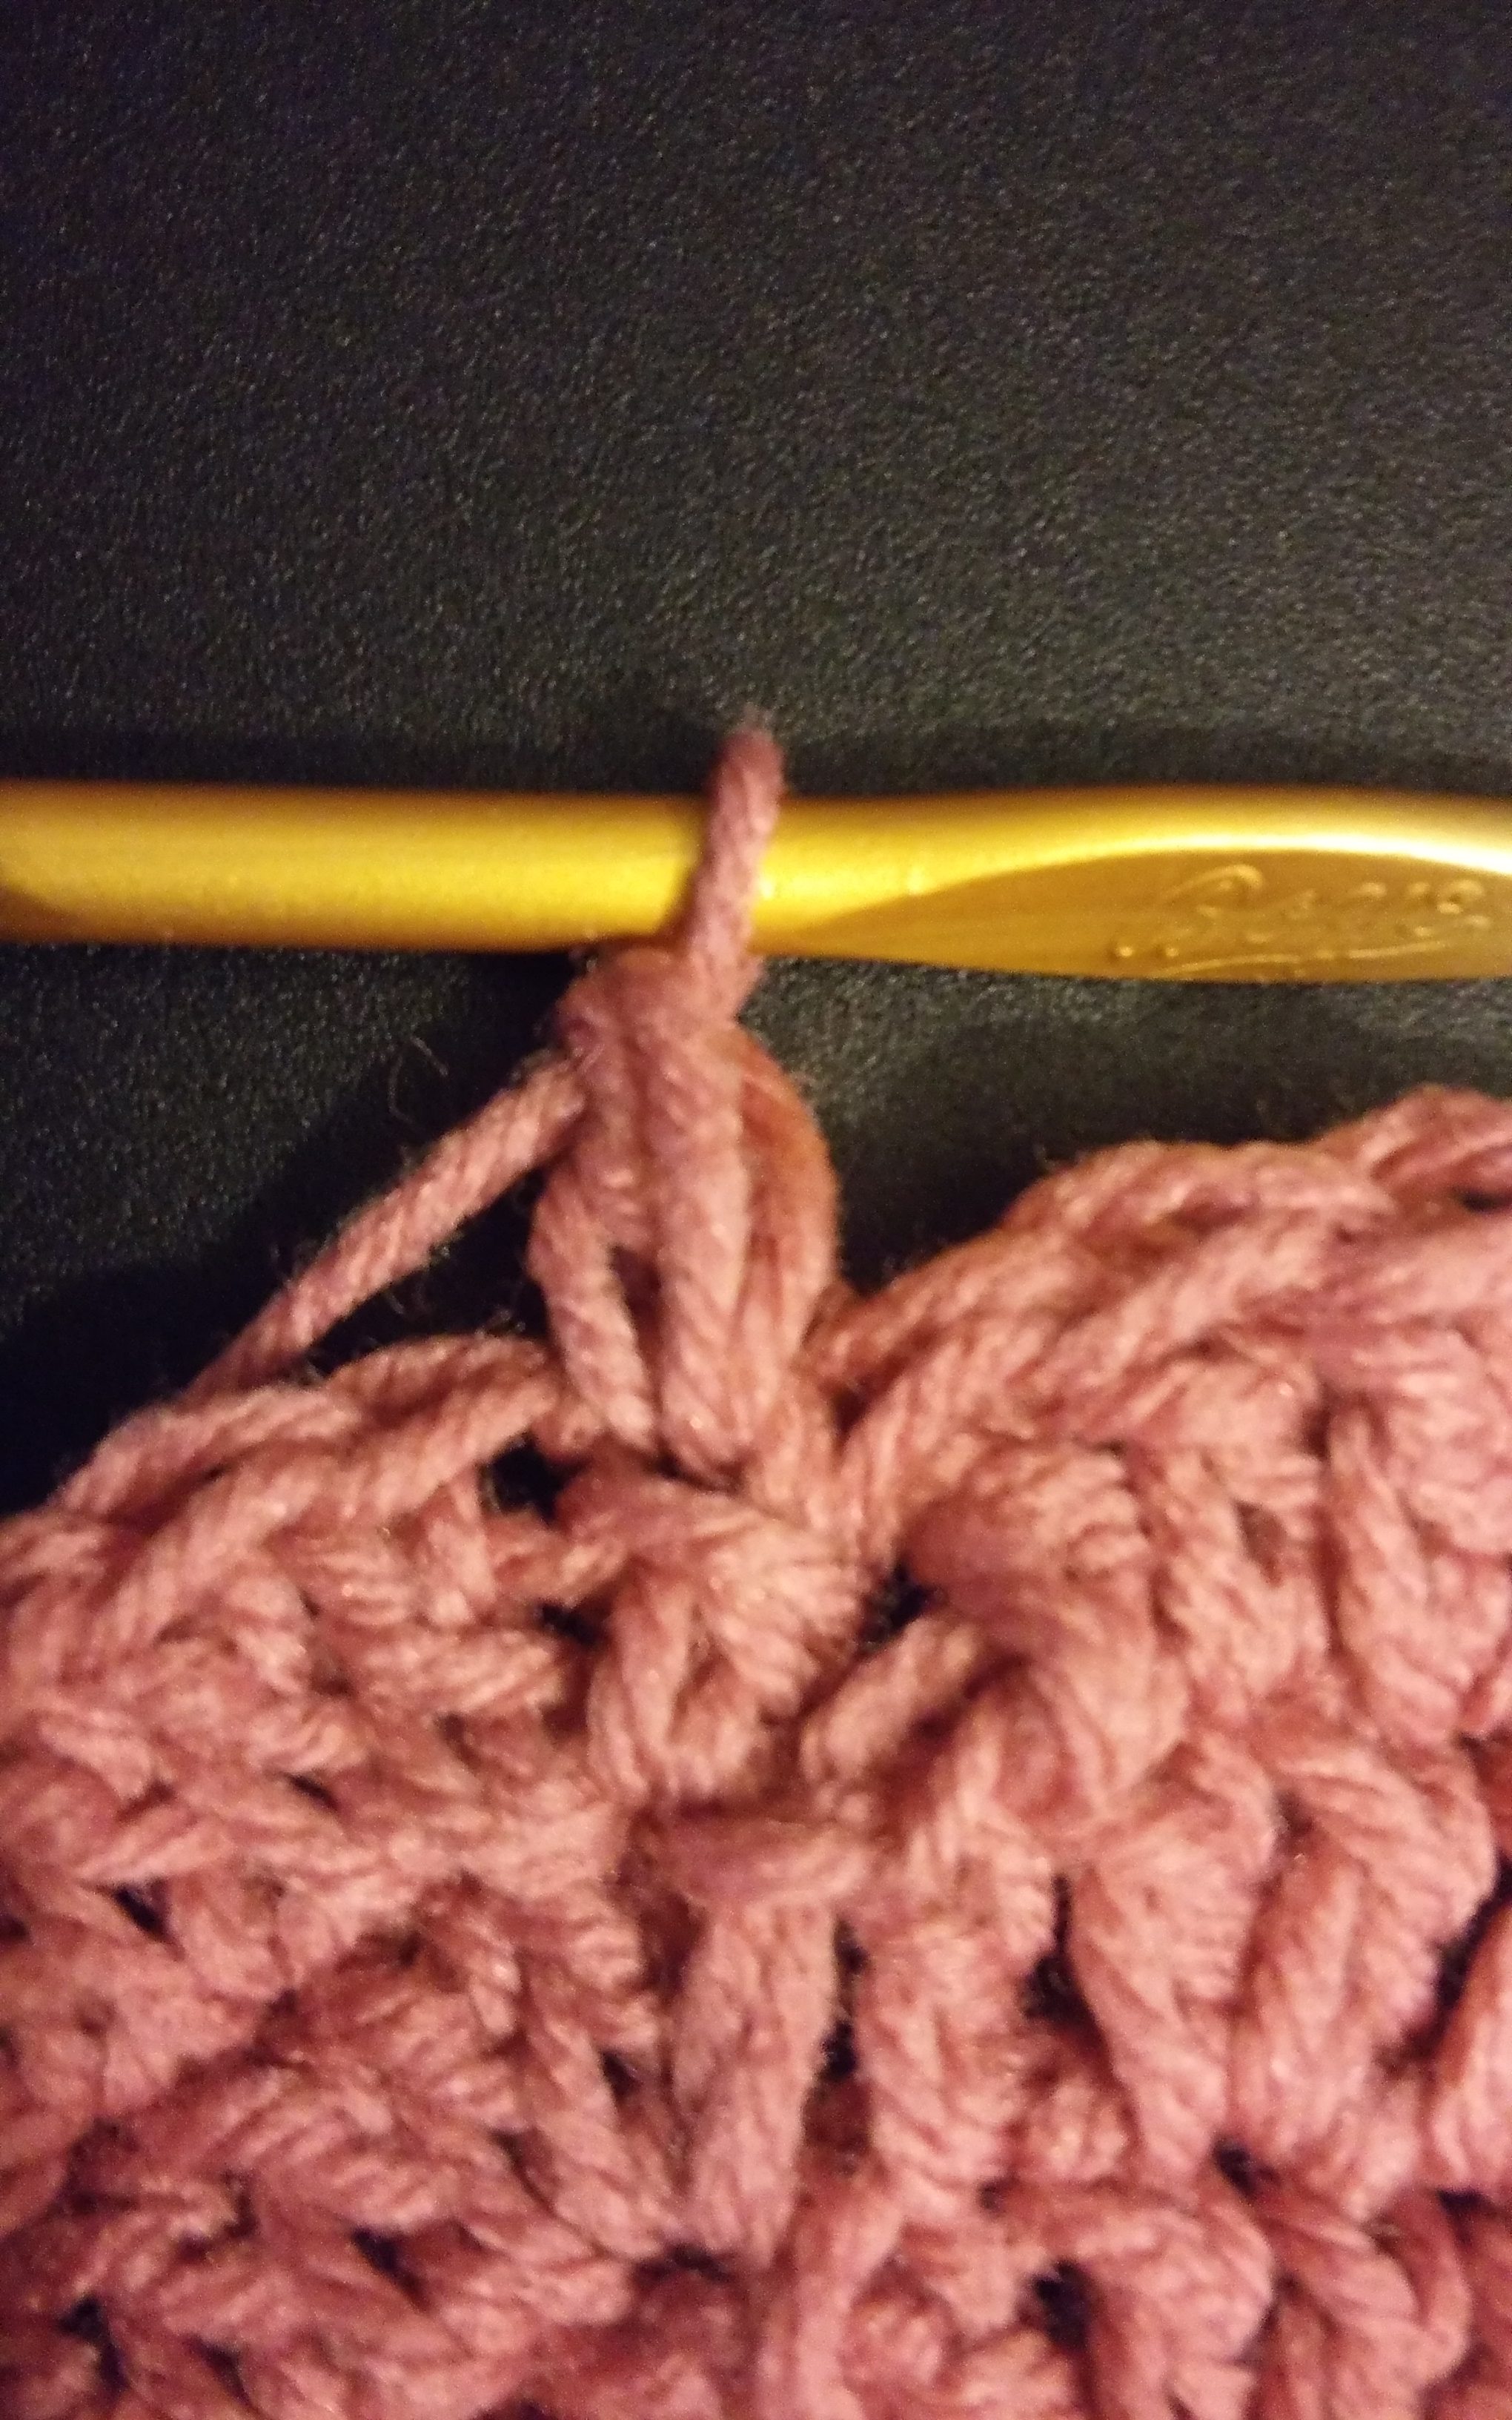
For this stitch pattern the Cluster (Cl) stitch will be worked as follows: [Yarn over, insert hook into indicated stitch, Yarn over, pull through a loop, Yarn over pull through 2 loops] three times, there will be 4 loops on hook, yarn over and pull through all 4 loops.

Stacked Clusters www.lindadeancrochet.com

Stacked Clusters

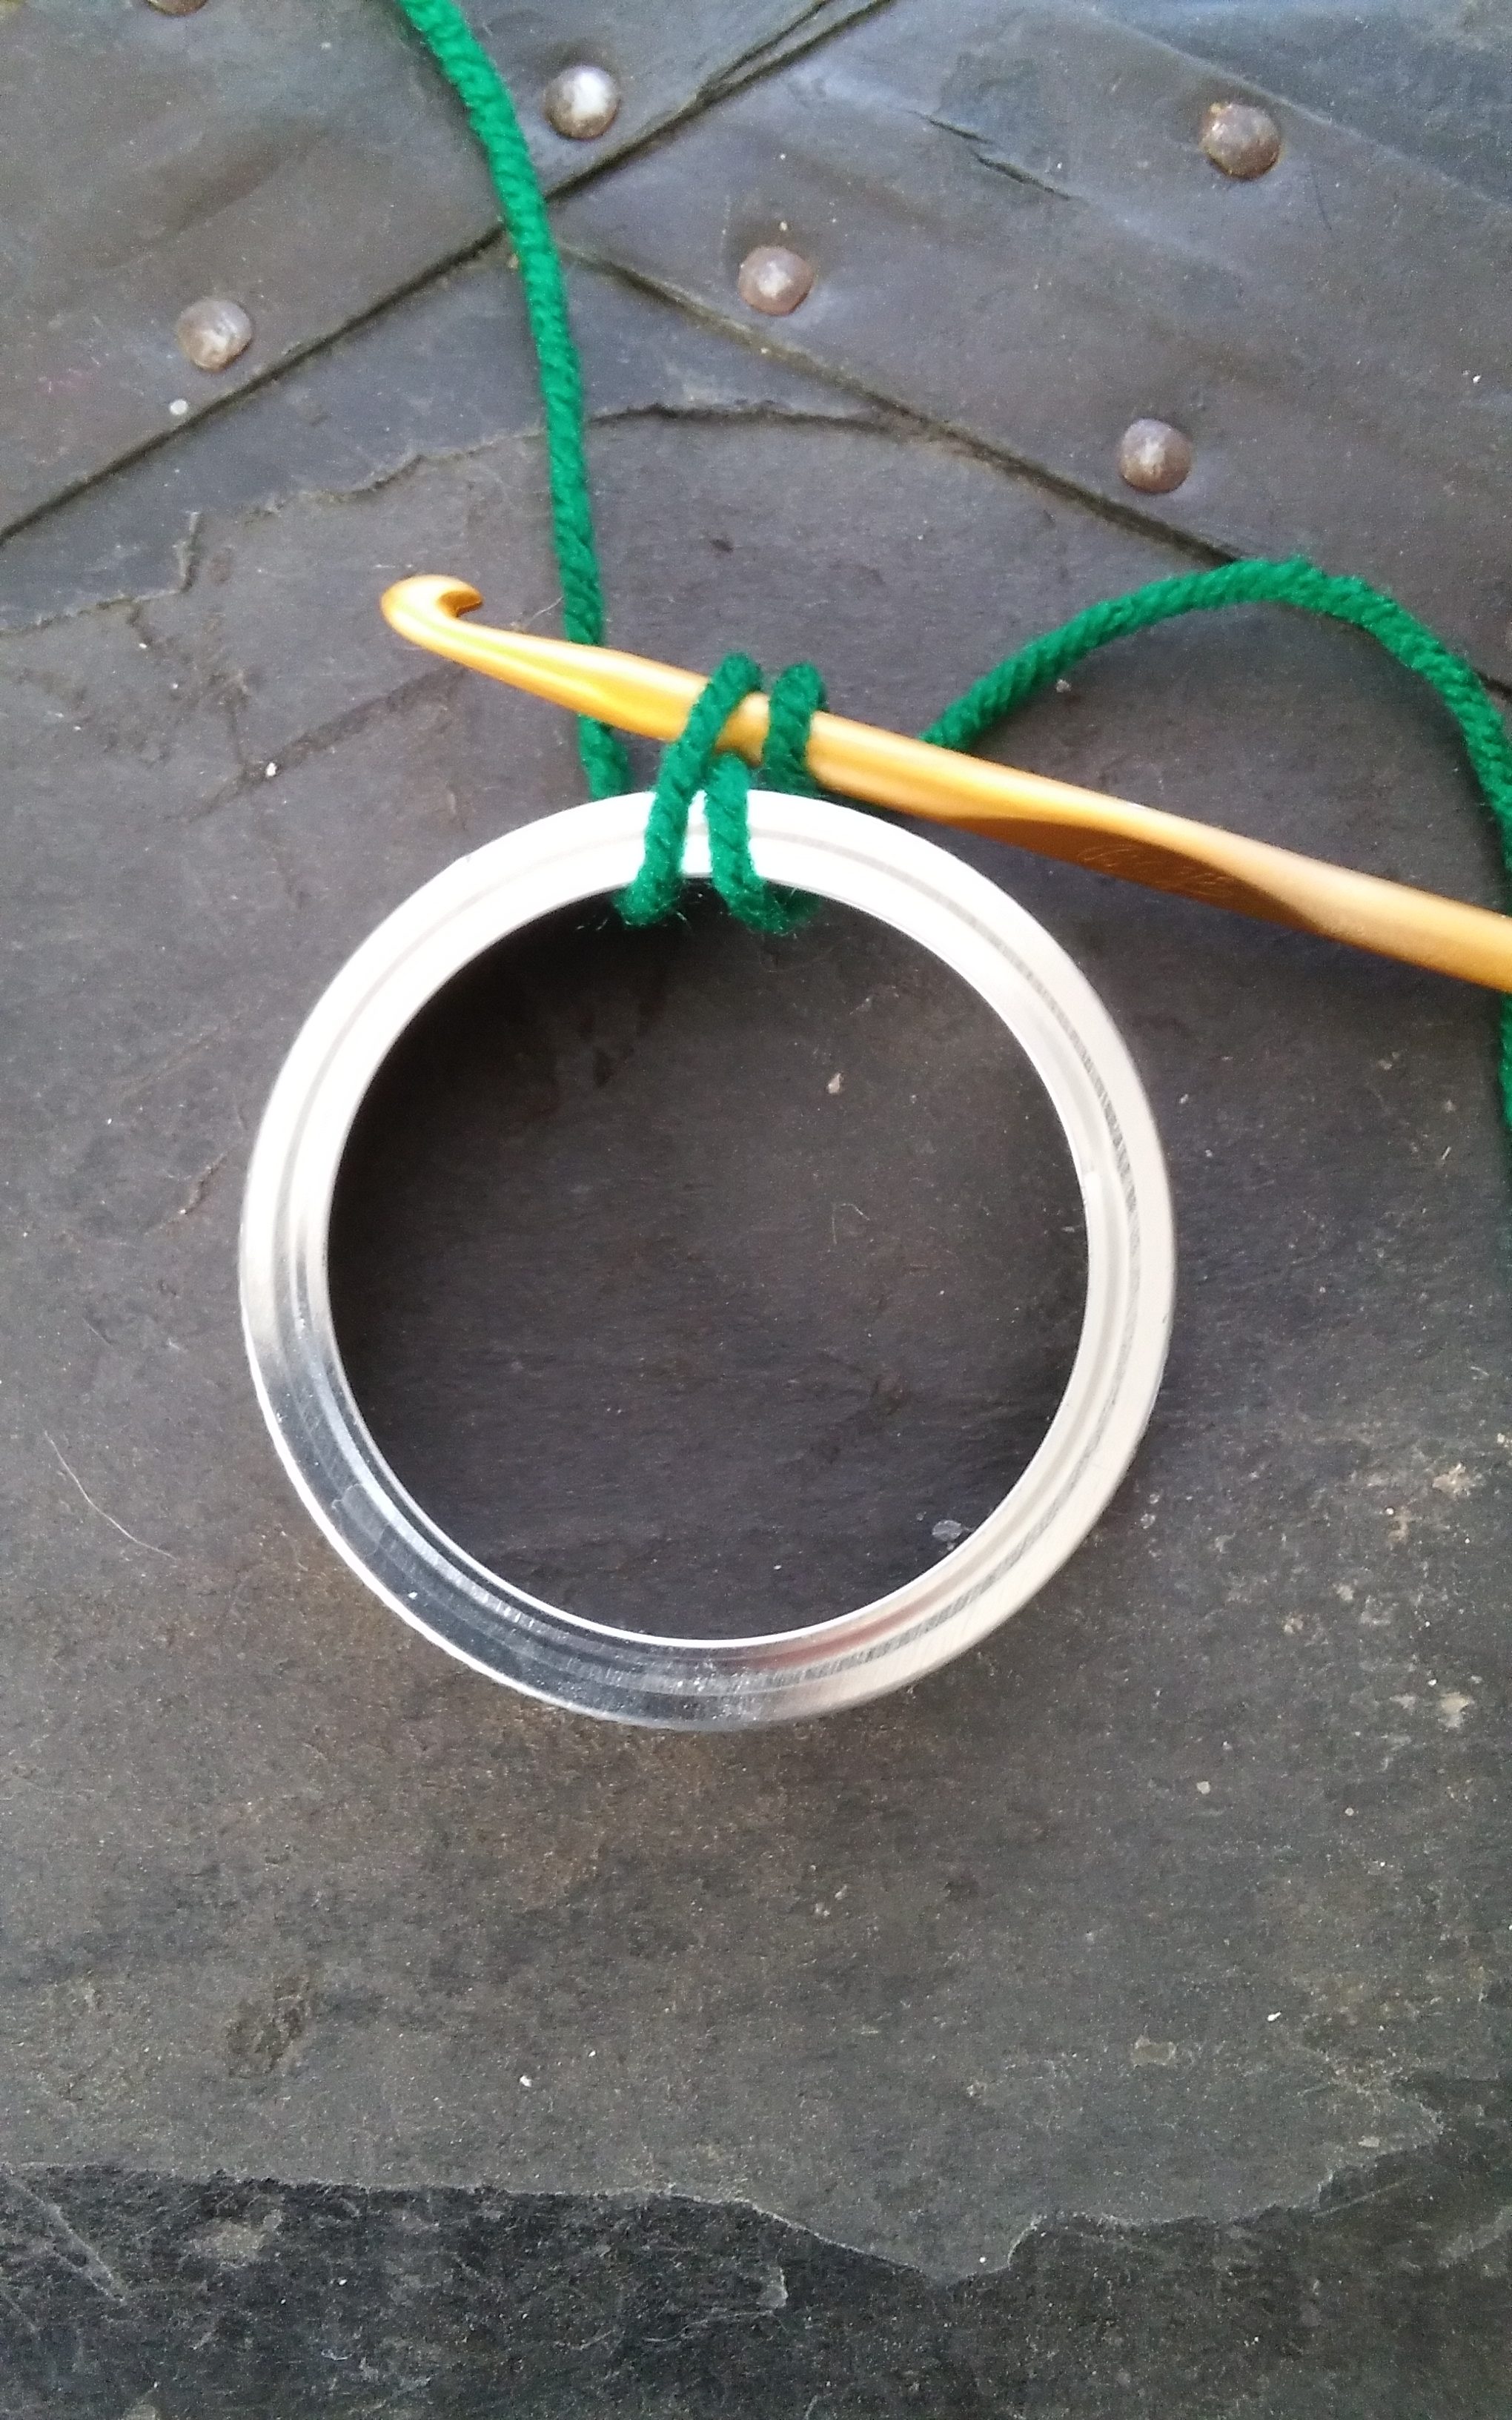
Row 1: Create a chain that is a multiple of two, single crochet in the second chain from hook, [chain 1, skip 1 chain, single crochet in next chain] repeat across, turn.

Row 2: Chain 3, [Cl in chain-1 space, chain 1] repeat across, double crochet in last stitch, turn.

Row 3: Chain 1, single crochet in same stitch, [chain 1, skip 1 stitch, single crochet in next stitch] repeat across, turn.

Repeat Rows 2 & 3 until desired length.

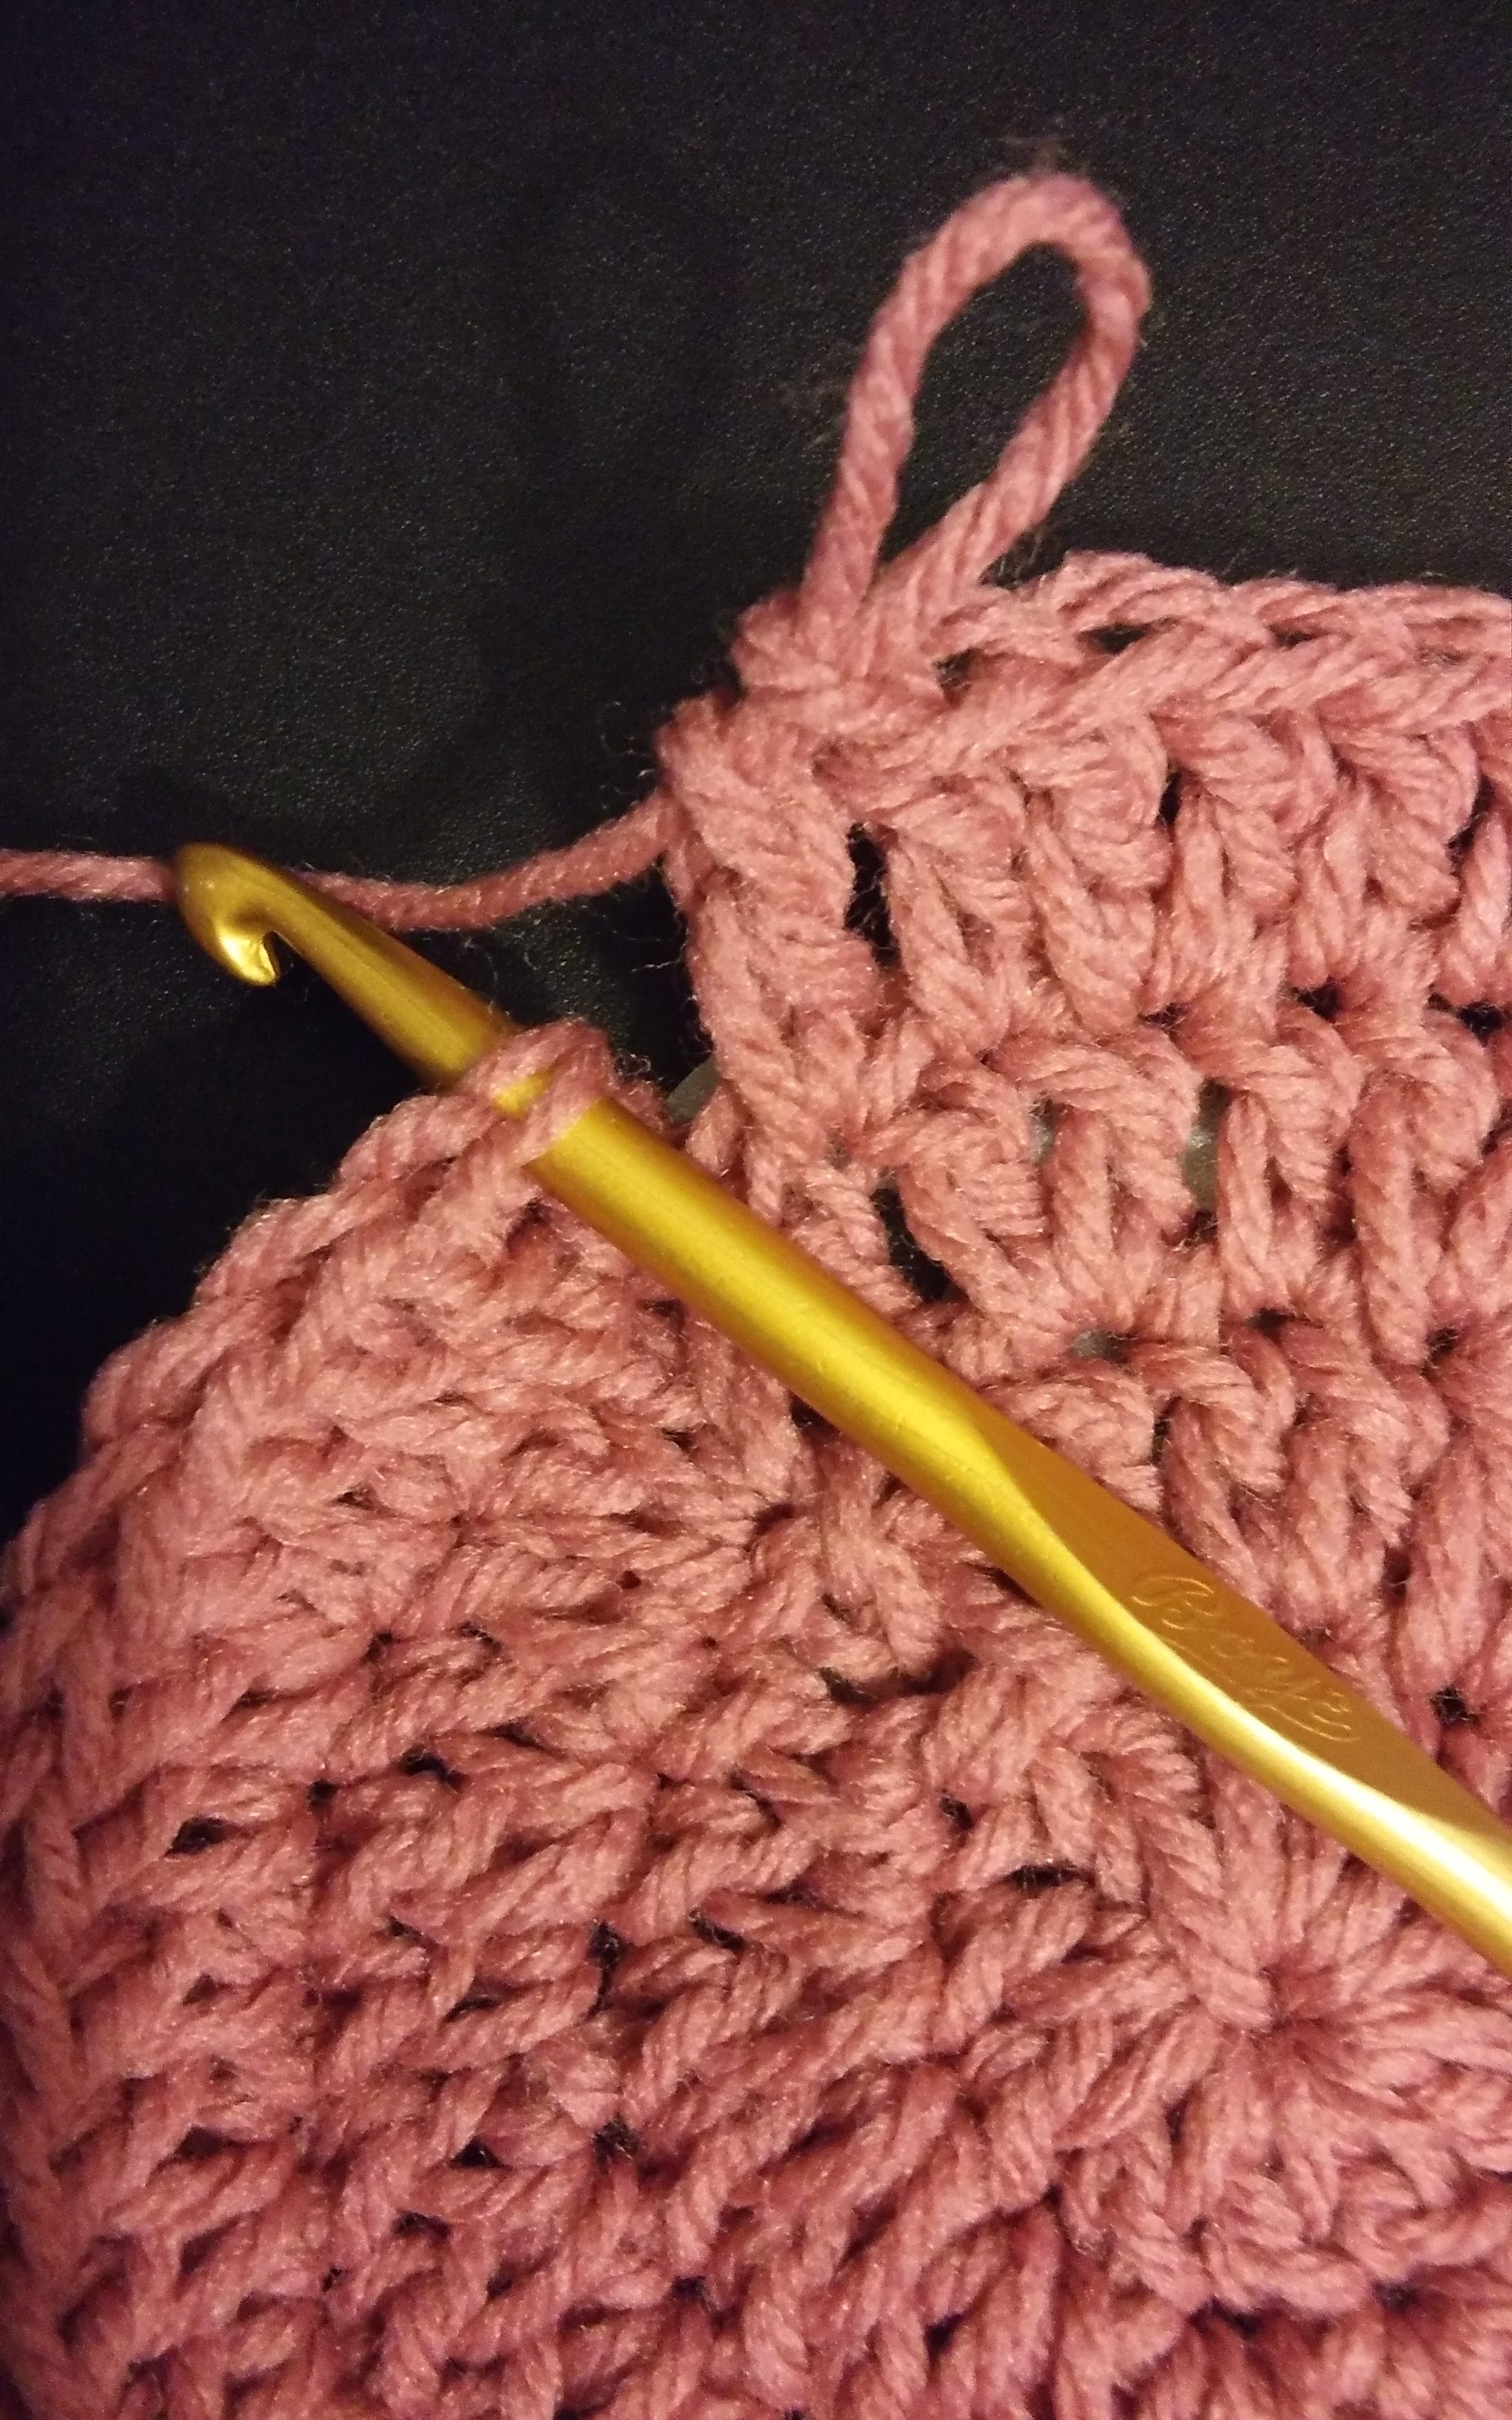
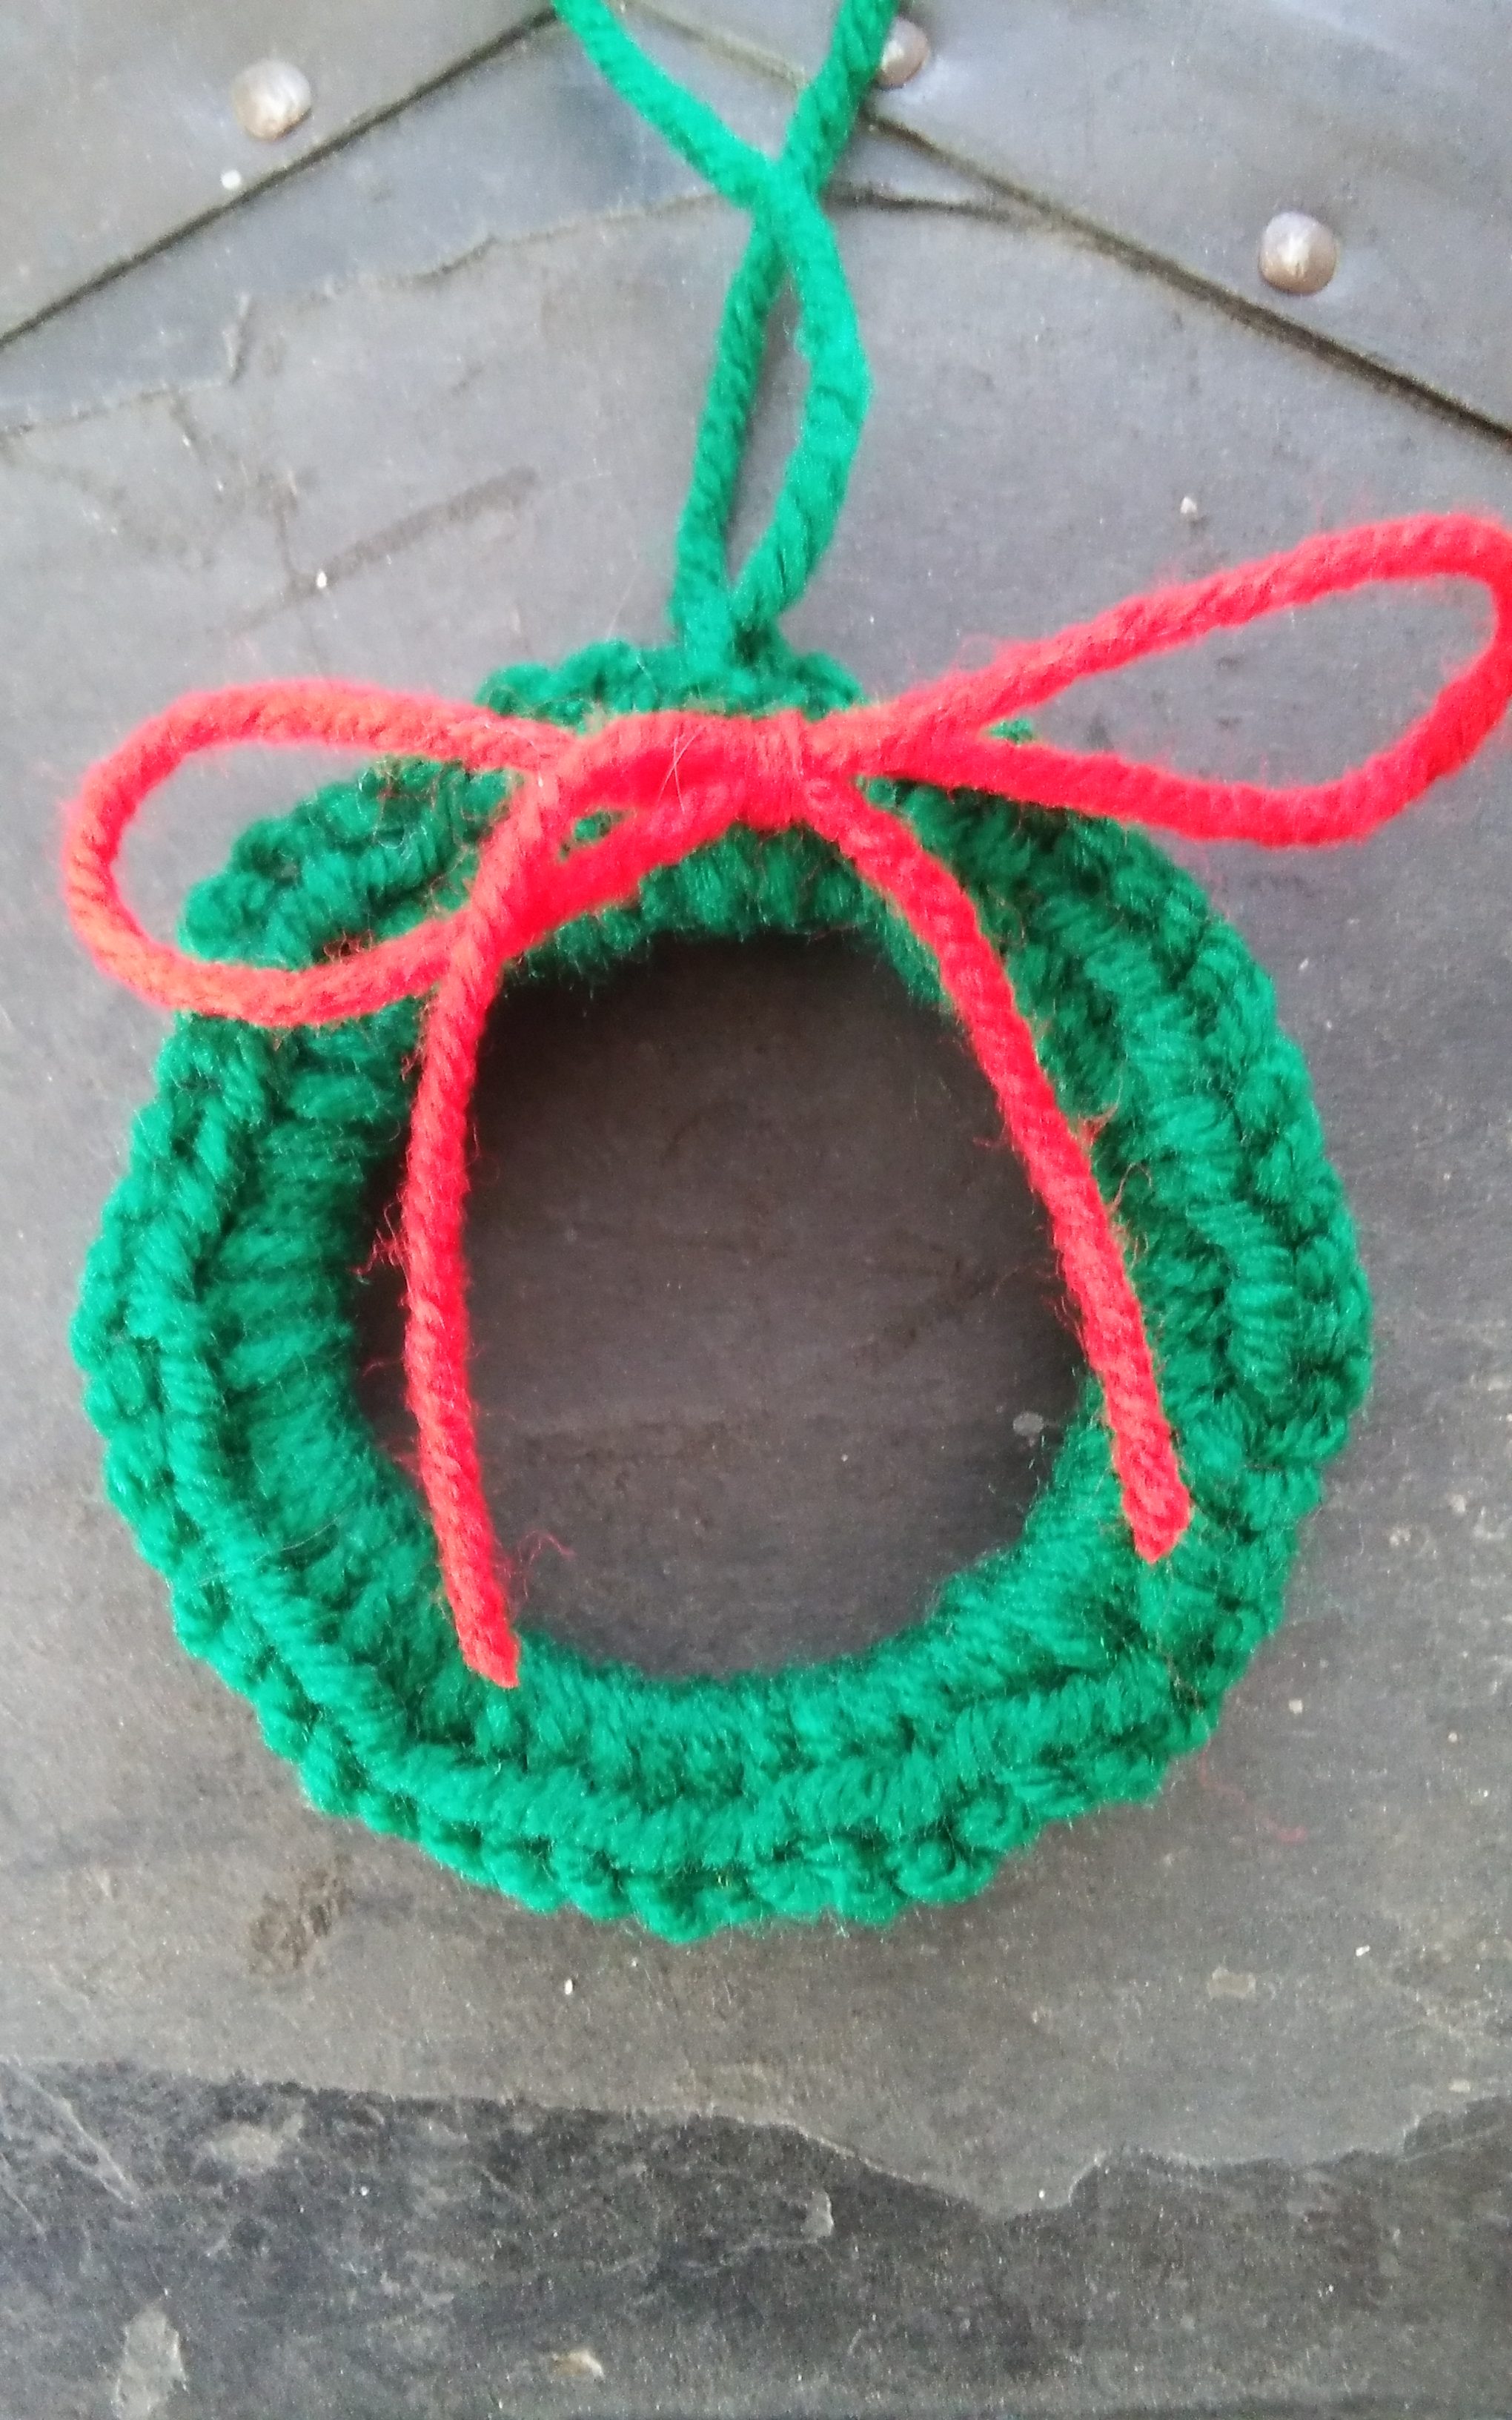
For some more fun with this stitch, use two colors and change colors every row. Leave long tails when changing yarn and create fringe as you work.

Consider creating a lap size blanket and donating it to a local dialysis center. People receiving medical treatments such as dialysis, sit for an extended period of time, and often this alone can make anyone feel cold. Find a dialysis center near you…here.

Working the Opposite for Nice Edges

ScannedImageSometimes all the difference in a handmade piece is the finishing. One of my favorite ways to finish a piece is with edging, and one I really like is the reverse single crochet, sometimes known as the “crab stitch”.

1216161043

The Reverse Single Crochet Stitch

Crochet names, like “crab stitch” does not often tell you anything about the stitch, but at least “Reverse Single Crochet” gives you an idea…and it is pretty accurate. Essentially you are working a single crochet in the reverse direction.

1216161041

Insert your hook in the next stitch, from front to back, but in the Opposite direction from what you usually work.

You work the single crochet in the same manner, inserting your hook into the next stitch, yarn over, pull through a loop, yarn over and pull through two loops, but the difference is that instead of working in the normal direction of your crochet rows it is worked in the opposite stitches. So if you are right handed you will be working in the stitches located to the right of your work, and if you are left handed you will be working in the stitches to the left. This is in the opposite direction than you usually work.

1216161041a

After yarning over and pulling through a loop, yarn over again and pull through 2 loops

The most common error made when working this stitch is reversing the processes even further by inserting the hook from the wrong side of the fabric, this actually creates a single crochet stitch, but it is just a single crochet, just as if you had turned the work. So always insert the hook from the front of the fabric and complete the stitch.

1216161042

Relax your tension, and pull up your loops a little taller than usual.

Starting this stitch can feel very awkward, and the first couple of stitches may look a little odd, but after you work a few you will start to see a stich that looks almost like a rope. It is this twisted effect of the stitch that really allows it to be used only as an edging.

Not only do I use this stitch as an edging, I occasionally use it as a joining stitch. I place the fabrics I am joining together wrong side together and work this stitch through both fabrics. It creates a raised rope at the edges of the fabrics. I find that this creates a nice textural effect as well as visual interest.

There is one tip I can offer to working this stitch, relax with your tension and pull up your loop a little higher than usual, this makes it a little easier to work in this different direction.

No Stitch Join and Standing Stitches

ScannedImageThe more I play in crochet, the more I realize there really are no rules.

It seems that with colder weather finally descending on my community, everyone wants to crochet hats; most of them first time crocheters. So, as of late I have been teaching how to start circles, all three different ways. I have been teaching how to increase stitches. I have been teaching how to join rounds.

An interesting thing with joining rounds, there are a couple of ways to do it, and it can give you some different results. The method that I have been playing with lately does not actually involve a stitch at all.

1130162014a

Remove hook from working loop, insert it in the point of the join.

1130162015a

Put working loop over hook and pull it through joining point.

When you get to the point of joining, the hook is removed from the working loop and inserted into the point of the join, the working loop is then slipped back on the hook and pulled through the point of join. This creates a join that has no extra yarn, no extra loops, and does not necessarily flatten out the stitch that is joined to as can happen with joining to a beginning chain.

If this is not enough, I added in a chainless starting stitch. So anytime you begin a new round or when working flat and turning your work, you usually chain a certain number of stitches to equate to the height of the stitches that are being worked. This is because all crochet stitches end at the top of the stitch, and thus the stitches next to it need to be of a similar height or it just pulls the stitches down. When beginning a new round the working loop is at the base poof the new stitches, and if no beginning chain is worked it can pull the stitch over and distort it. However, to get to this height of stitches, you do not necessarily need a chain.

1130162016a

Pull up a long loop and work a double crochet in the same stitch.

Sometimes this is called a standing stitch, essentially all it is, is a long loop. After pulling the loop through the joining point, pull it up nice and tall, then work a double crochet (or whichever stitch you may be working) in the same stitch. You can even work the long loop among the stitch making it even less visible.

There are always pros and cons to various techniques, and with these two I find that the join can create a slight distortion, but in a different manner then the slip stitch; also it is a little slower to work and when I am crocheting along mindlessly it definitely stops my rhythm. One of the things I really like about this join is that it closes any gaps that might be created in my stitch placements at the joining point.

With the standing join, it is nice that everything looks pretty uniform, and there is no beginning chain that looks different than the rest of the stitches, yet there are times that the long loop can get a little distorted and uneven for me, I guess I need to work on getting a more even tension with it.

I guess with crochet there is always more to discover.

Where Arts Can Learn from Each Other

ScannedImageThis last week I had the opportunity to spend some tie at a knitting workshop. The Hangtown Fibers Guild, my local non-denominational Fiber Guild that has to be given credit for all the encouragement and support of my entering the Crochet Industry, was hosting Lucy Neatby for a day long workshop on a variety of knitting techniques. I helped arrange the workshop, and in handling the support I was able to glean some information from the beginning of the day.

The technique that made me smile was the knitters Provisional Cast On. Casting on is how a knit project begins, it is how to add loops to the needle, and there are various ways to do this. The traditional Provisional Cast On, begins with a crochet chain, and then loops are pulled through the chains, much like the beginning of Tunisian Crochet. During this workshop a variation of this technique was taught, essentially it is crocheting over the knitting needle.

I had an ever widening grin, as this is a skill the crocheters use in all sorts of ways. This is a technique that has been used to cover clothes hangers, to create bracelets, to make rugs. It is a simple part of a crocheters skills, and here it has another use in the world of knitting.

1102161209

Pull the yarn overs around the item you want to crochet over.

The basic of this skill is to simply have a loop on your hook, and with the object you want to crochet over in front of the working yarn, you move your hook to yarn over and pull a loop over the item. At this point you can pull through the loop on your hook (a chain stitch) or yarn over and pull through both loops (a single crochet US, or double crochet UK).

1102161211

Crocheting over a canning jar ring, I have created a wreath ornament.

Recently I have used this technique to crochet over mason canning rings with green yarn, to create wreath ornaments for the holiday season.

Every skill we learn is an additional tool we have, to grow in all the arts.

Tunisian Simple Stitch….Yes, It Is That Simple

ScannedImageTunisian stitches are unique in crochet as they are worked by “loading” your hook with live loops across the row then working a Return Pass to work all the loops back off. So every row has a two part process, load up the loops, and then work the loops back off. It is also unique as you do not turn your work, but work back and forth on the same side. Tunisian Simple Stitch is a classic stitch in Tunisian crochet, it was one called the “afghan stitch” and creates a vertical line where the stitches stack up upon one another.

Before beginning Tunisian crochet, you need to select the correct size hook, this technique can create a dense fabric if the hook size is too small. My standard rule of thumb is that whatever stand size crochet hook I would use with the chosen yarn, I go up at least 2 sizes in Tunisian. Meaning if with standard crochet I would use a size H/8/5.00mm with a yarn I would choose a Tunisian hook of K/10 ½/6.5mm to get the same drape and feel of the fabric.

To work this stitch, you begin with a chain, insert your hook into the second chain from the hook and pull through a loop, insert your hook into the next chain and pull through a loop, continue this insert hook and pull up a loop until you have worked all the chains have been worked. You will have the same number of loops on the hook as the number of chains you began with. Now you work a Return Pass.

img_5582

Insert hook into chain stitch, yarn over, pull through a loop. Repeat this process in all chain stitches across.

The Return Pass is always the same regardless of the Tunisian stitch, unless otherwise stated. You begin with working a chain 1 with the first loop on the hook, then yarn over and pull through 2 loops, yarn over and pull through 2 loops across the loops until 1 loop remains. Now you are ready to begin the next row.

img_5586

Return Pass….Chain 1 (with the first loop only, this creates the last stitch), yarn over and pull through 2 loops, repeat the yarn over, pull through 2 loops until 1 loop remains on the hook.

As with most things with crochet the Tunisian Simple Stitch (Tss) is where you place the hook. You do not work in the stitch directly below the loop on your hook, unless otherwise stated as this will cause an increase in the work, working from right to left you insert your hook under the vertical bar of the next stitch, yarn over and pull through a loop, continue inserting your hook under the vertical bar and pull through a loop until you reach the end of the row. Insert your hook into the chain 1 created in the beginning of the Return Pass, this is a little more difficult to work into, and is the last stitch of the row. Now you work the return pass again.

img_5587

Insert hook under vertical bar from right to left (reversed if you are left handed), yarn over, pull up a loop, repeat to “load” the hook.

Continue this process, as you are now creating the Tunisian Simple Stitch.

img_5593-copy-2

Tunisian Simple Stitch, also known as the Afghan Stitch