The most common cables in crochet are created horizontally. This is because it is the most straight forward. Notice I did not say easiest, it is not something that a beginner feels successful tackling. However, it is worked by skipping stitches and then working into the stitches that are skipped. Usually with a front post stitch.
But did you know there were vertical cables? These cables may actually be easier to work, but have a little more housekeeping to keep things in order. Instead of skipping stitches, you are working multiple rows at the same time.
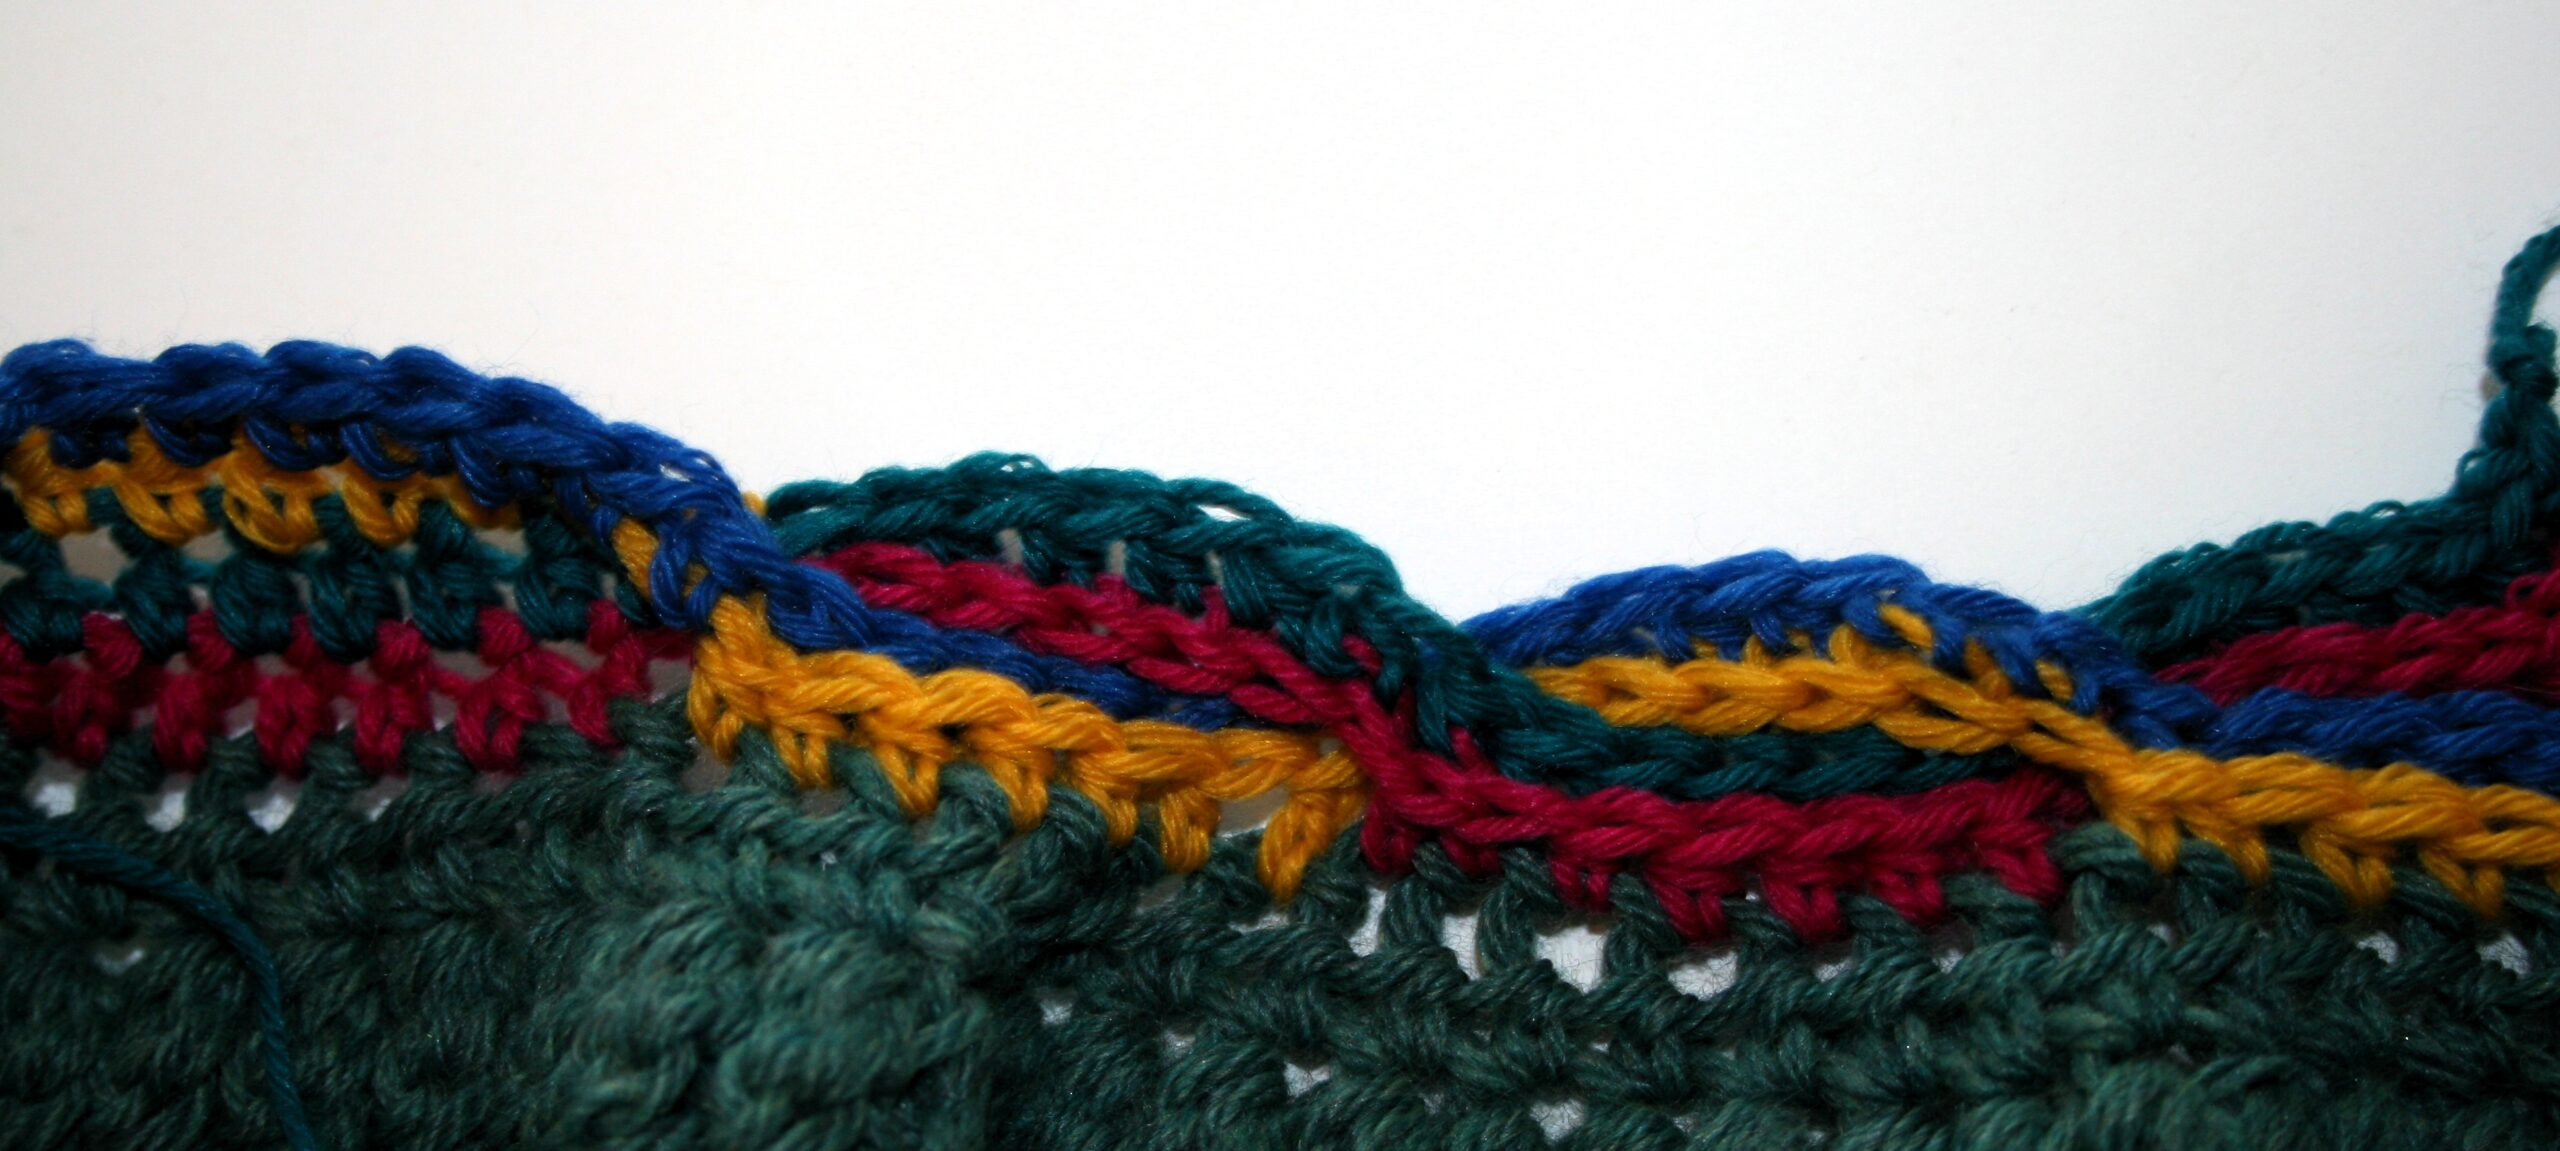
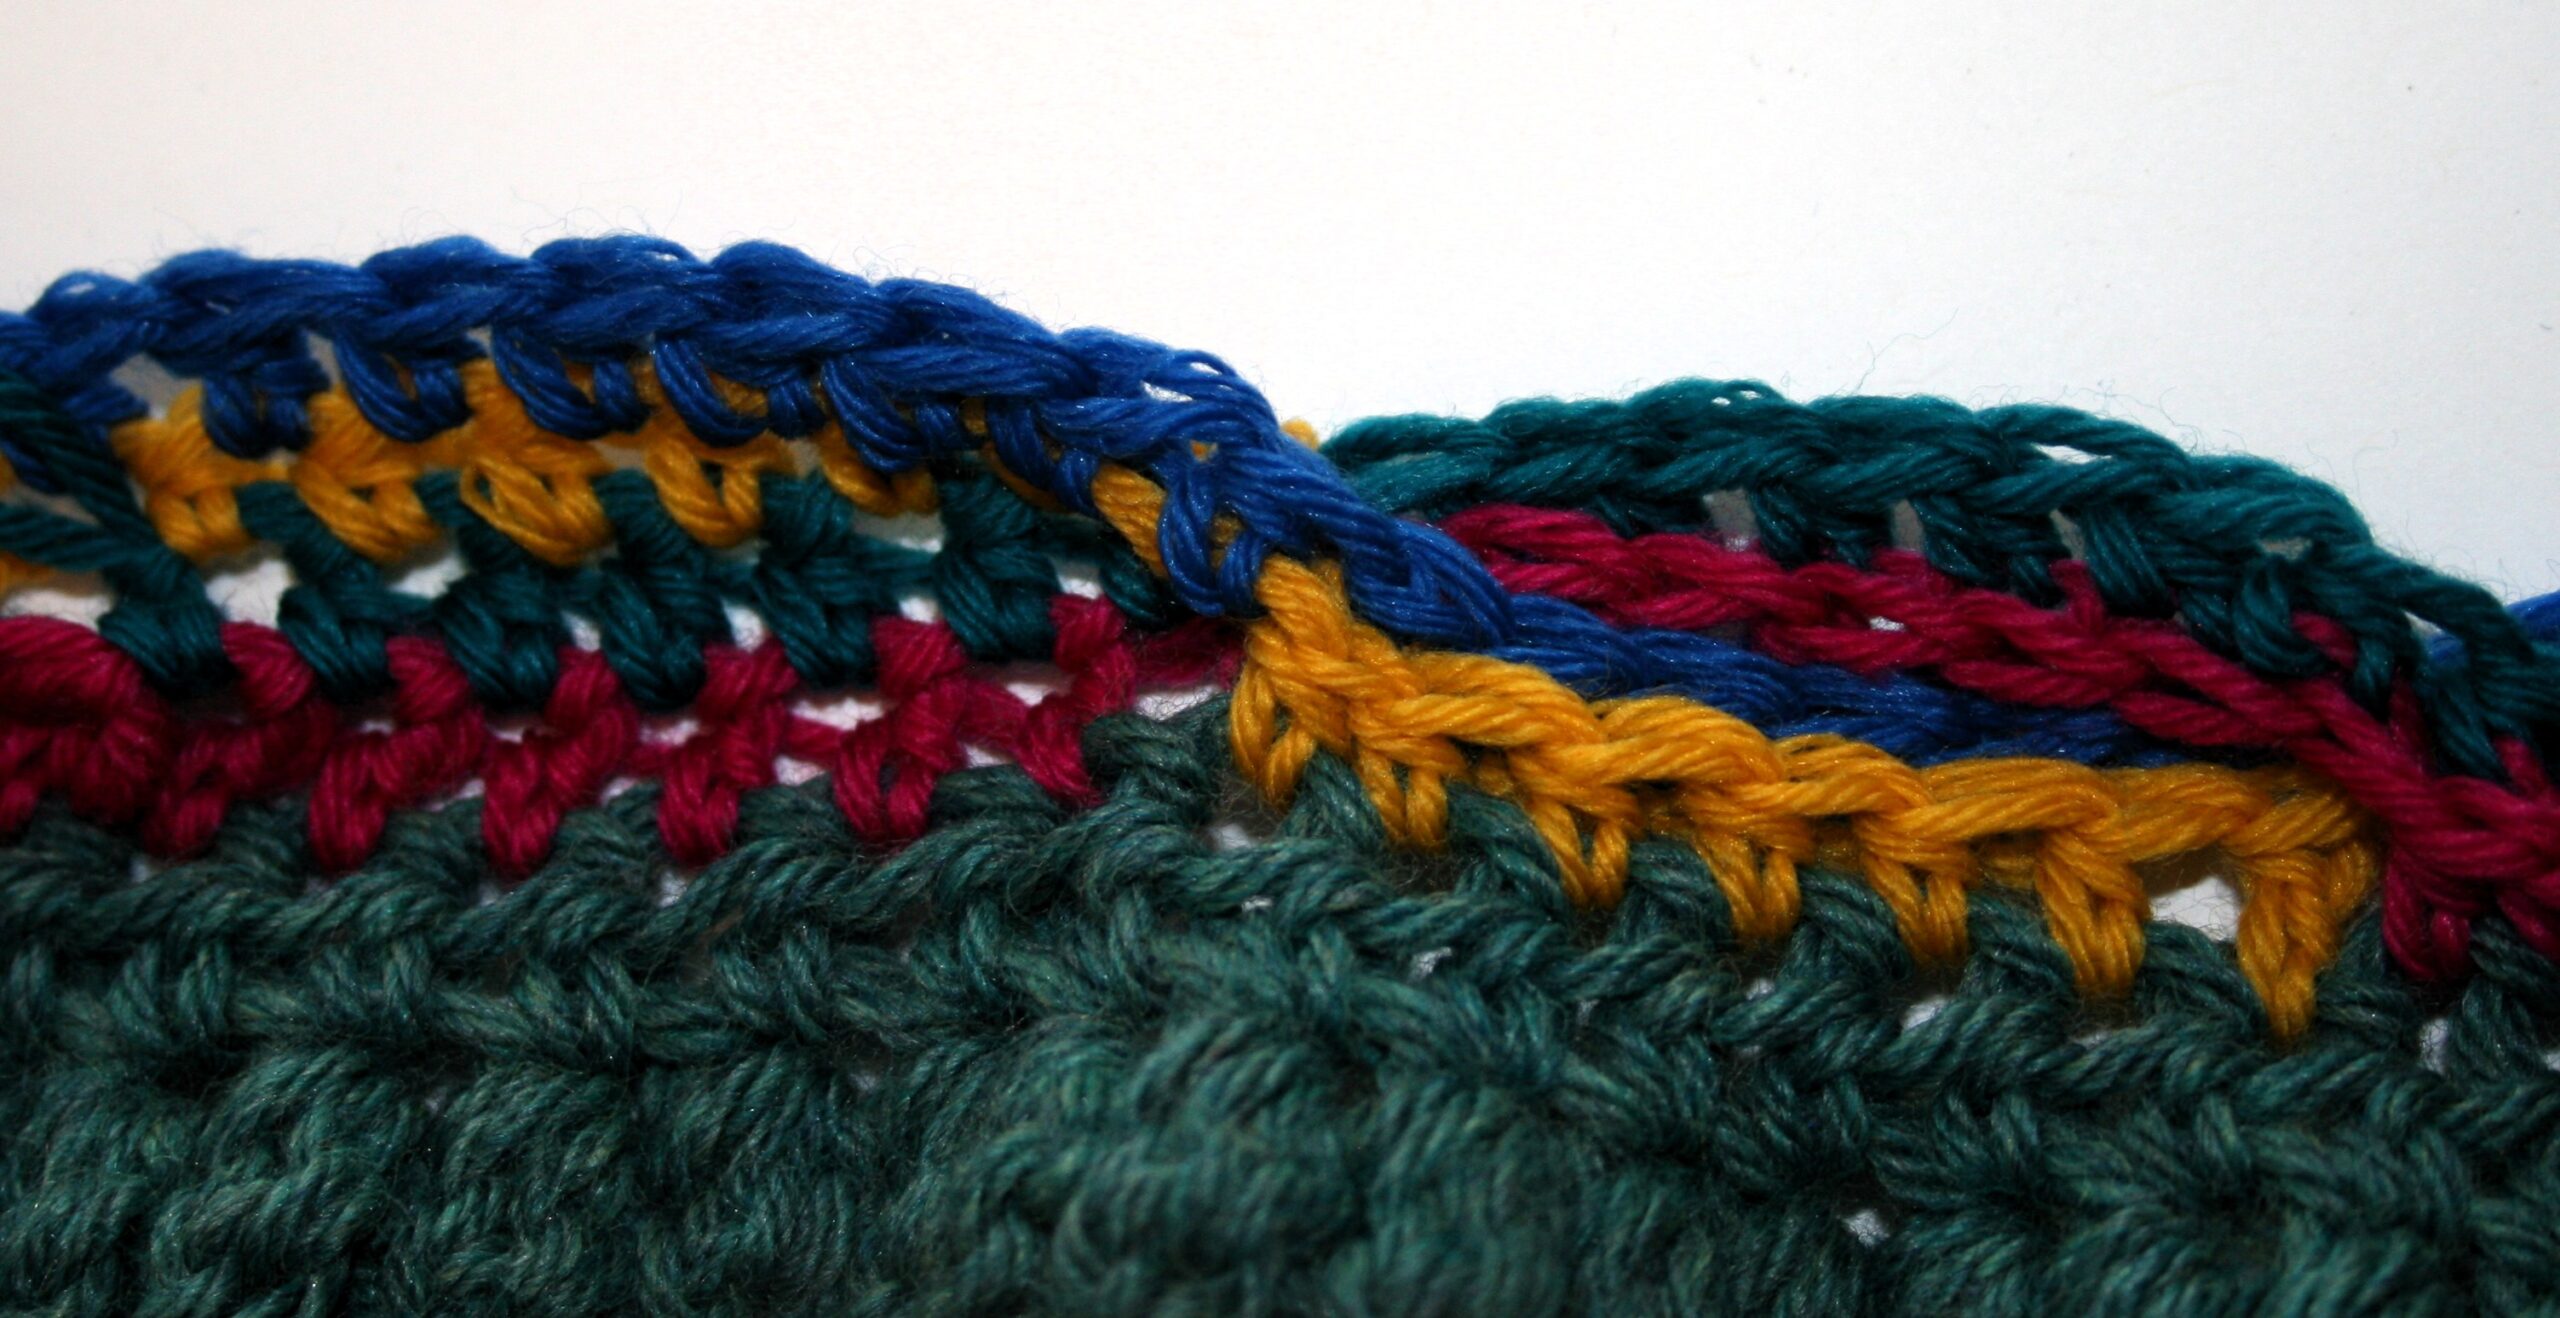
To create a 2 x 2 cable, meaning that it appears that 2 lines are crossing over 2 others, you need to work 4 rows at the same time. This is where the house keeping comes in.
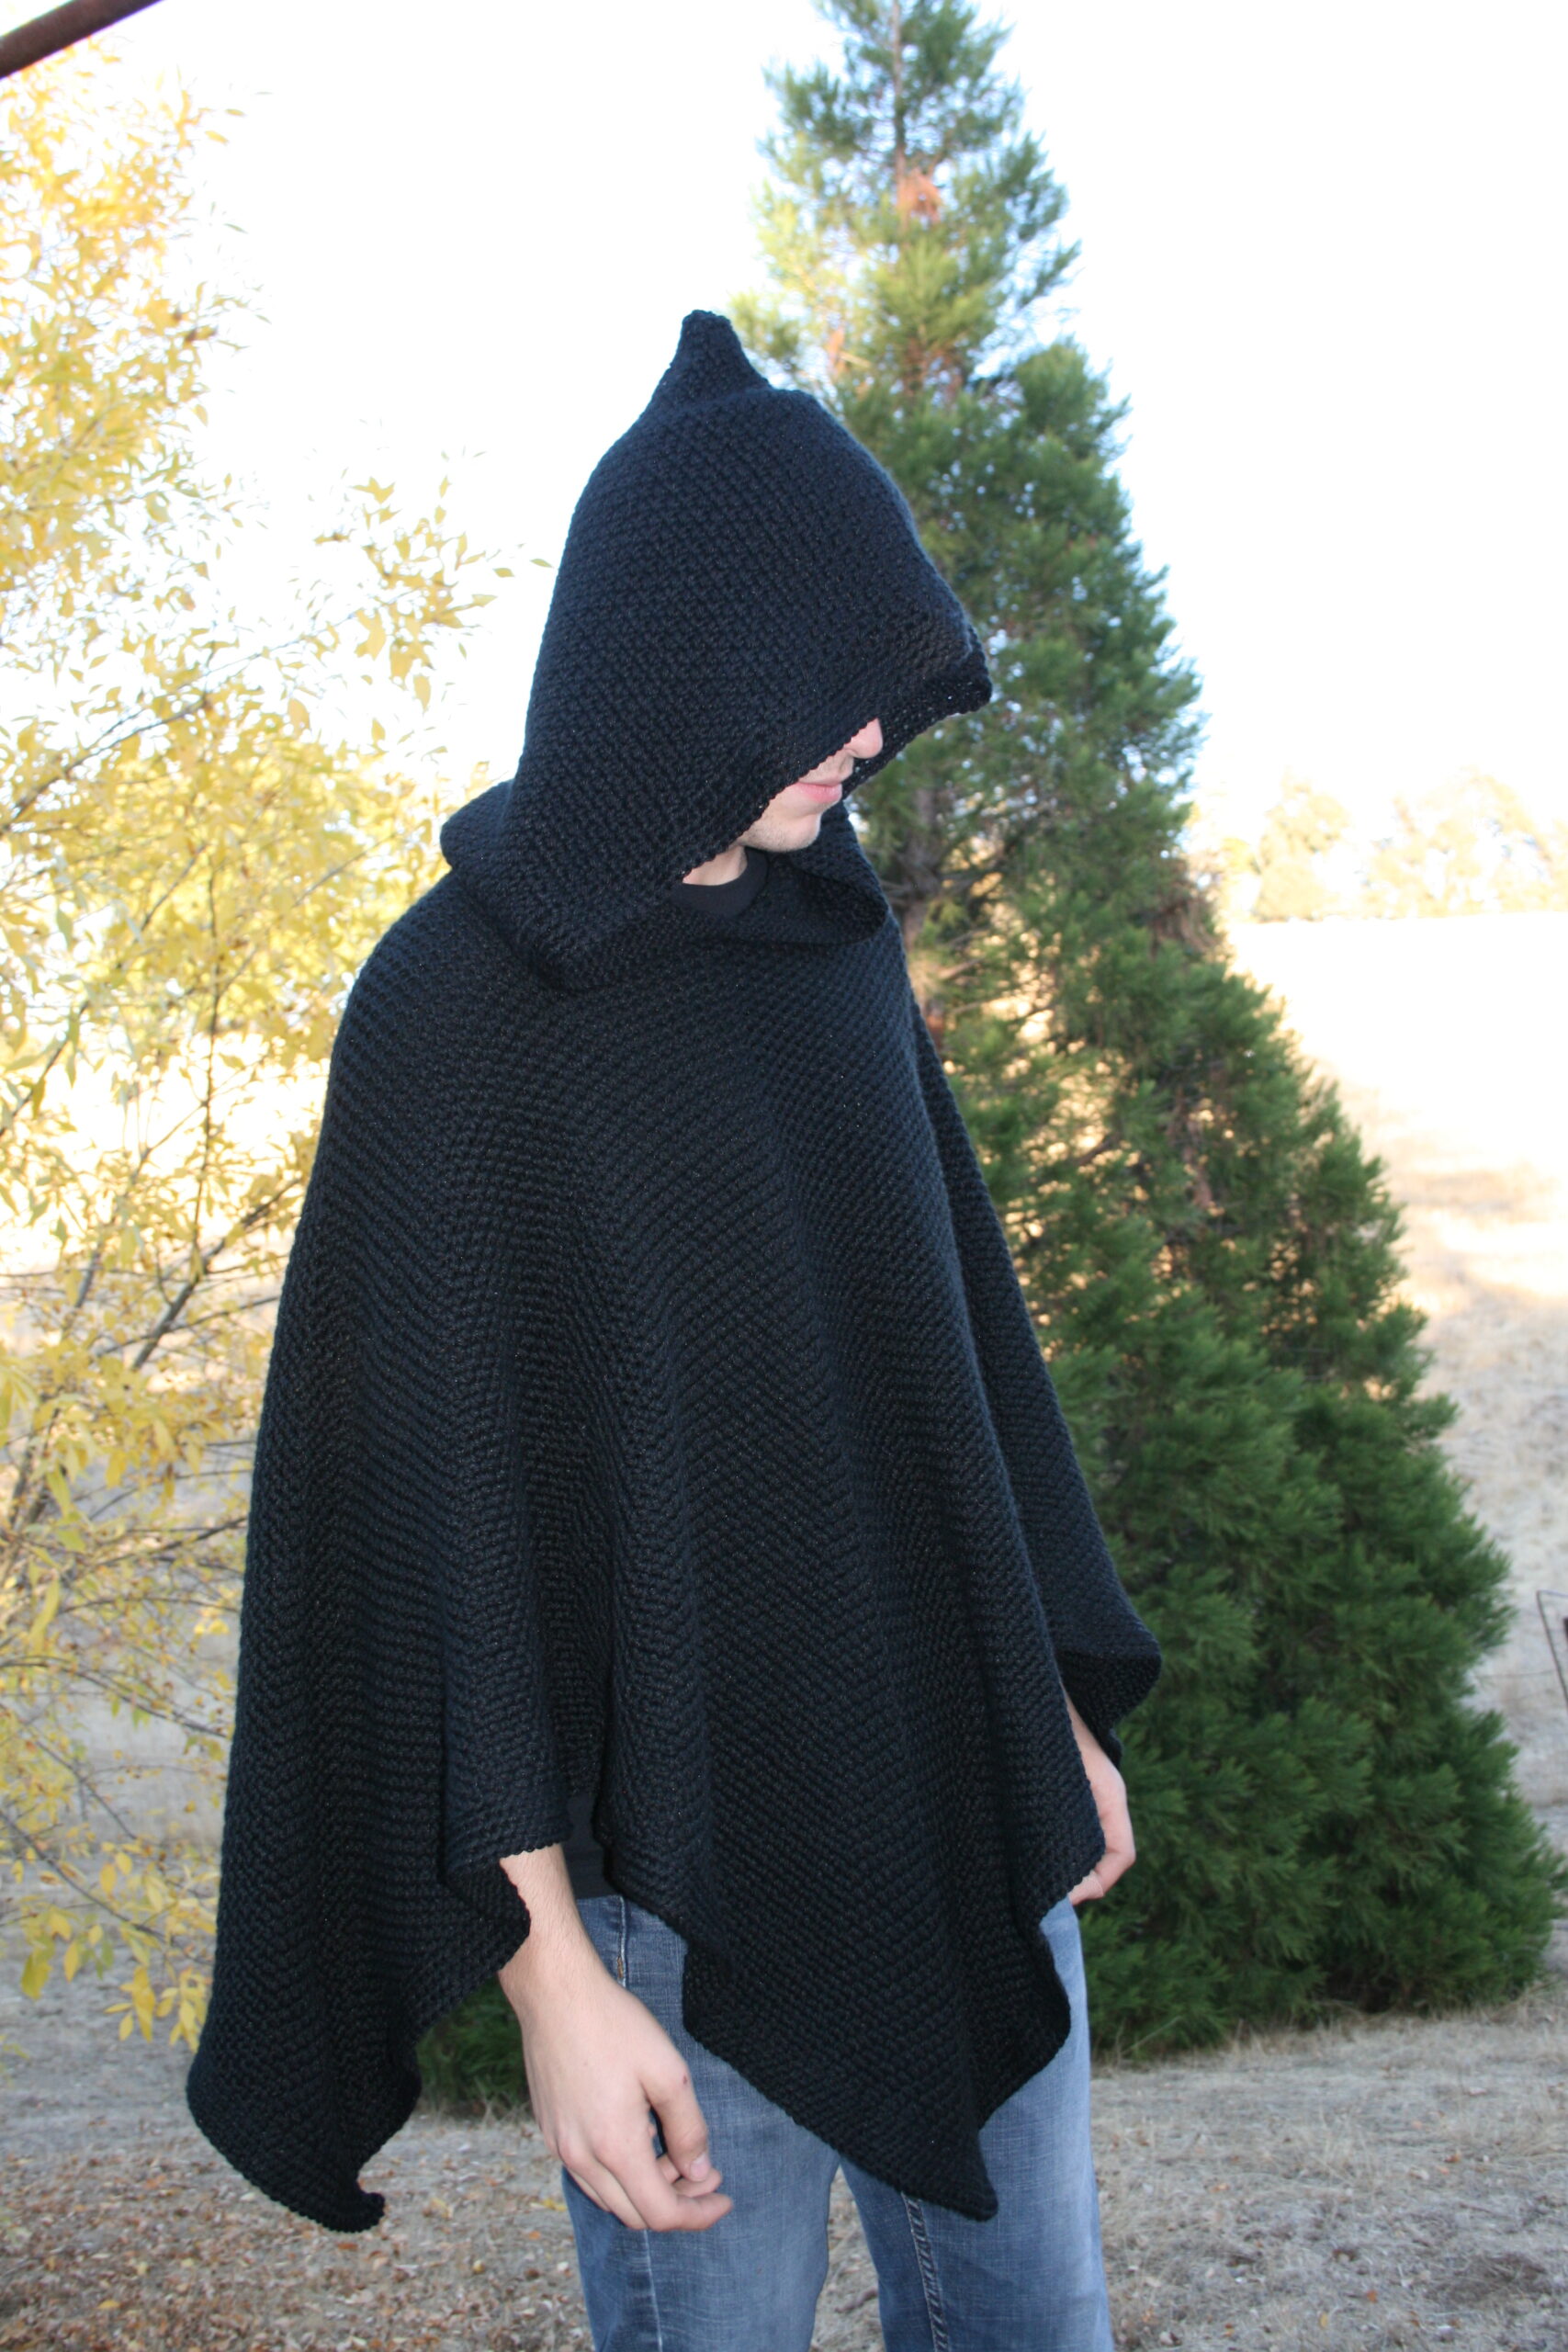
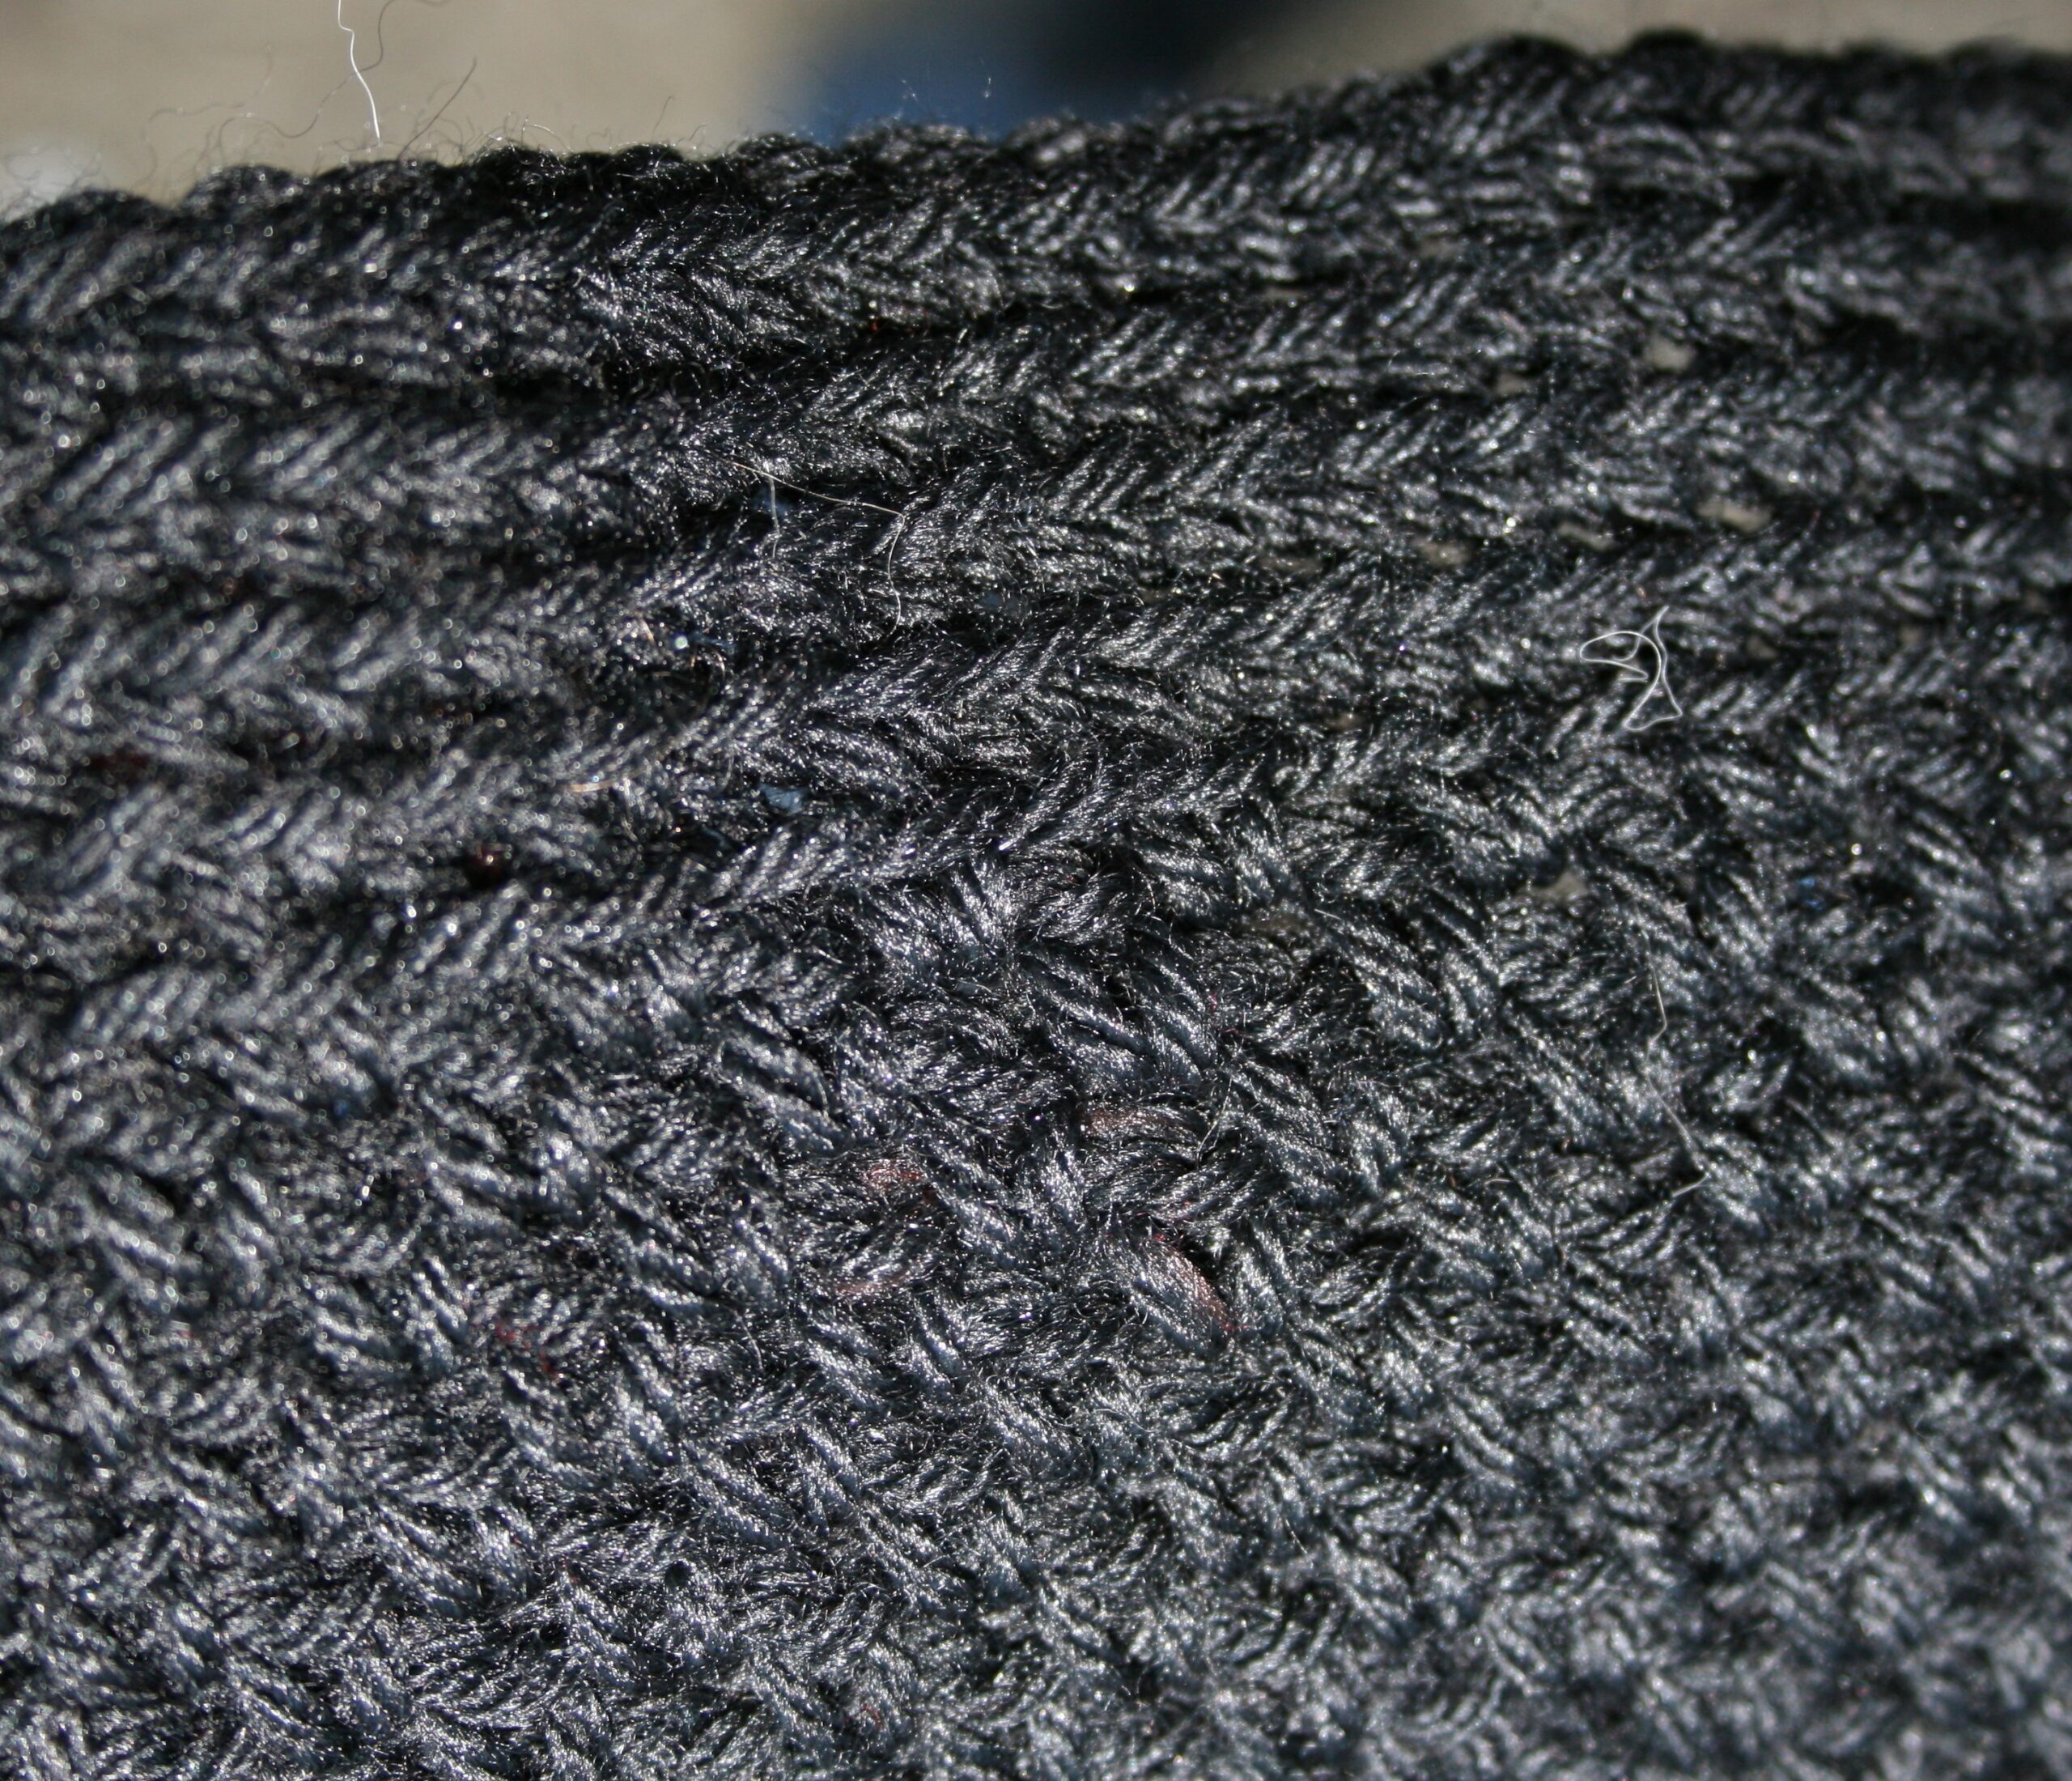
These rows can be created with any basic stitch. I do think that the half double crochet lends itself well to a dynamic effect. Especially when the subsequent rows are worked in the famous third bar, or back bar of the stitch. This creates an effect that looks like “chains” for the visible lines of the row.
Starting Row 1
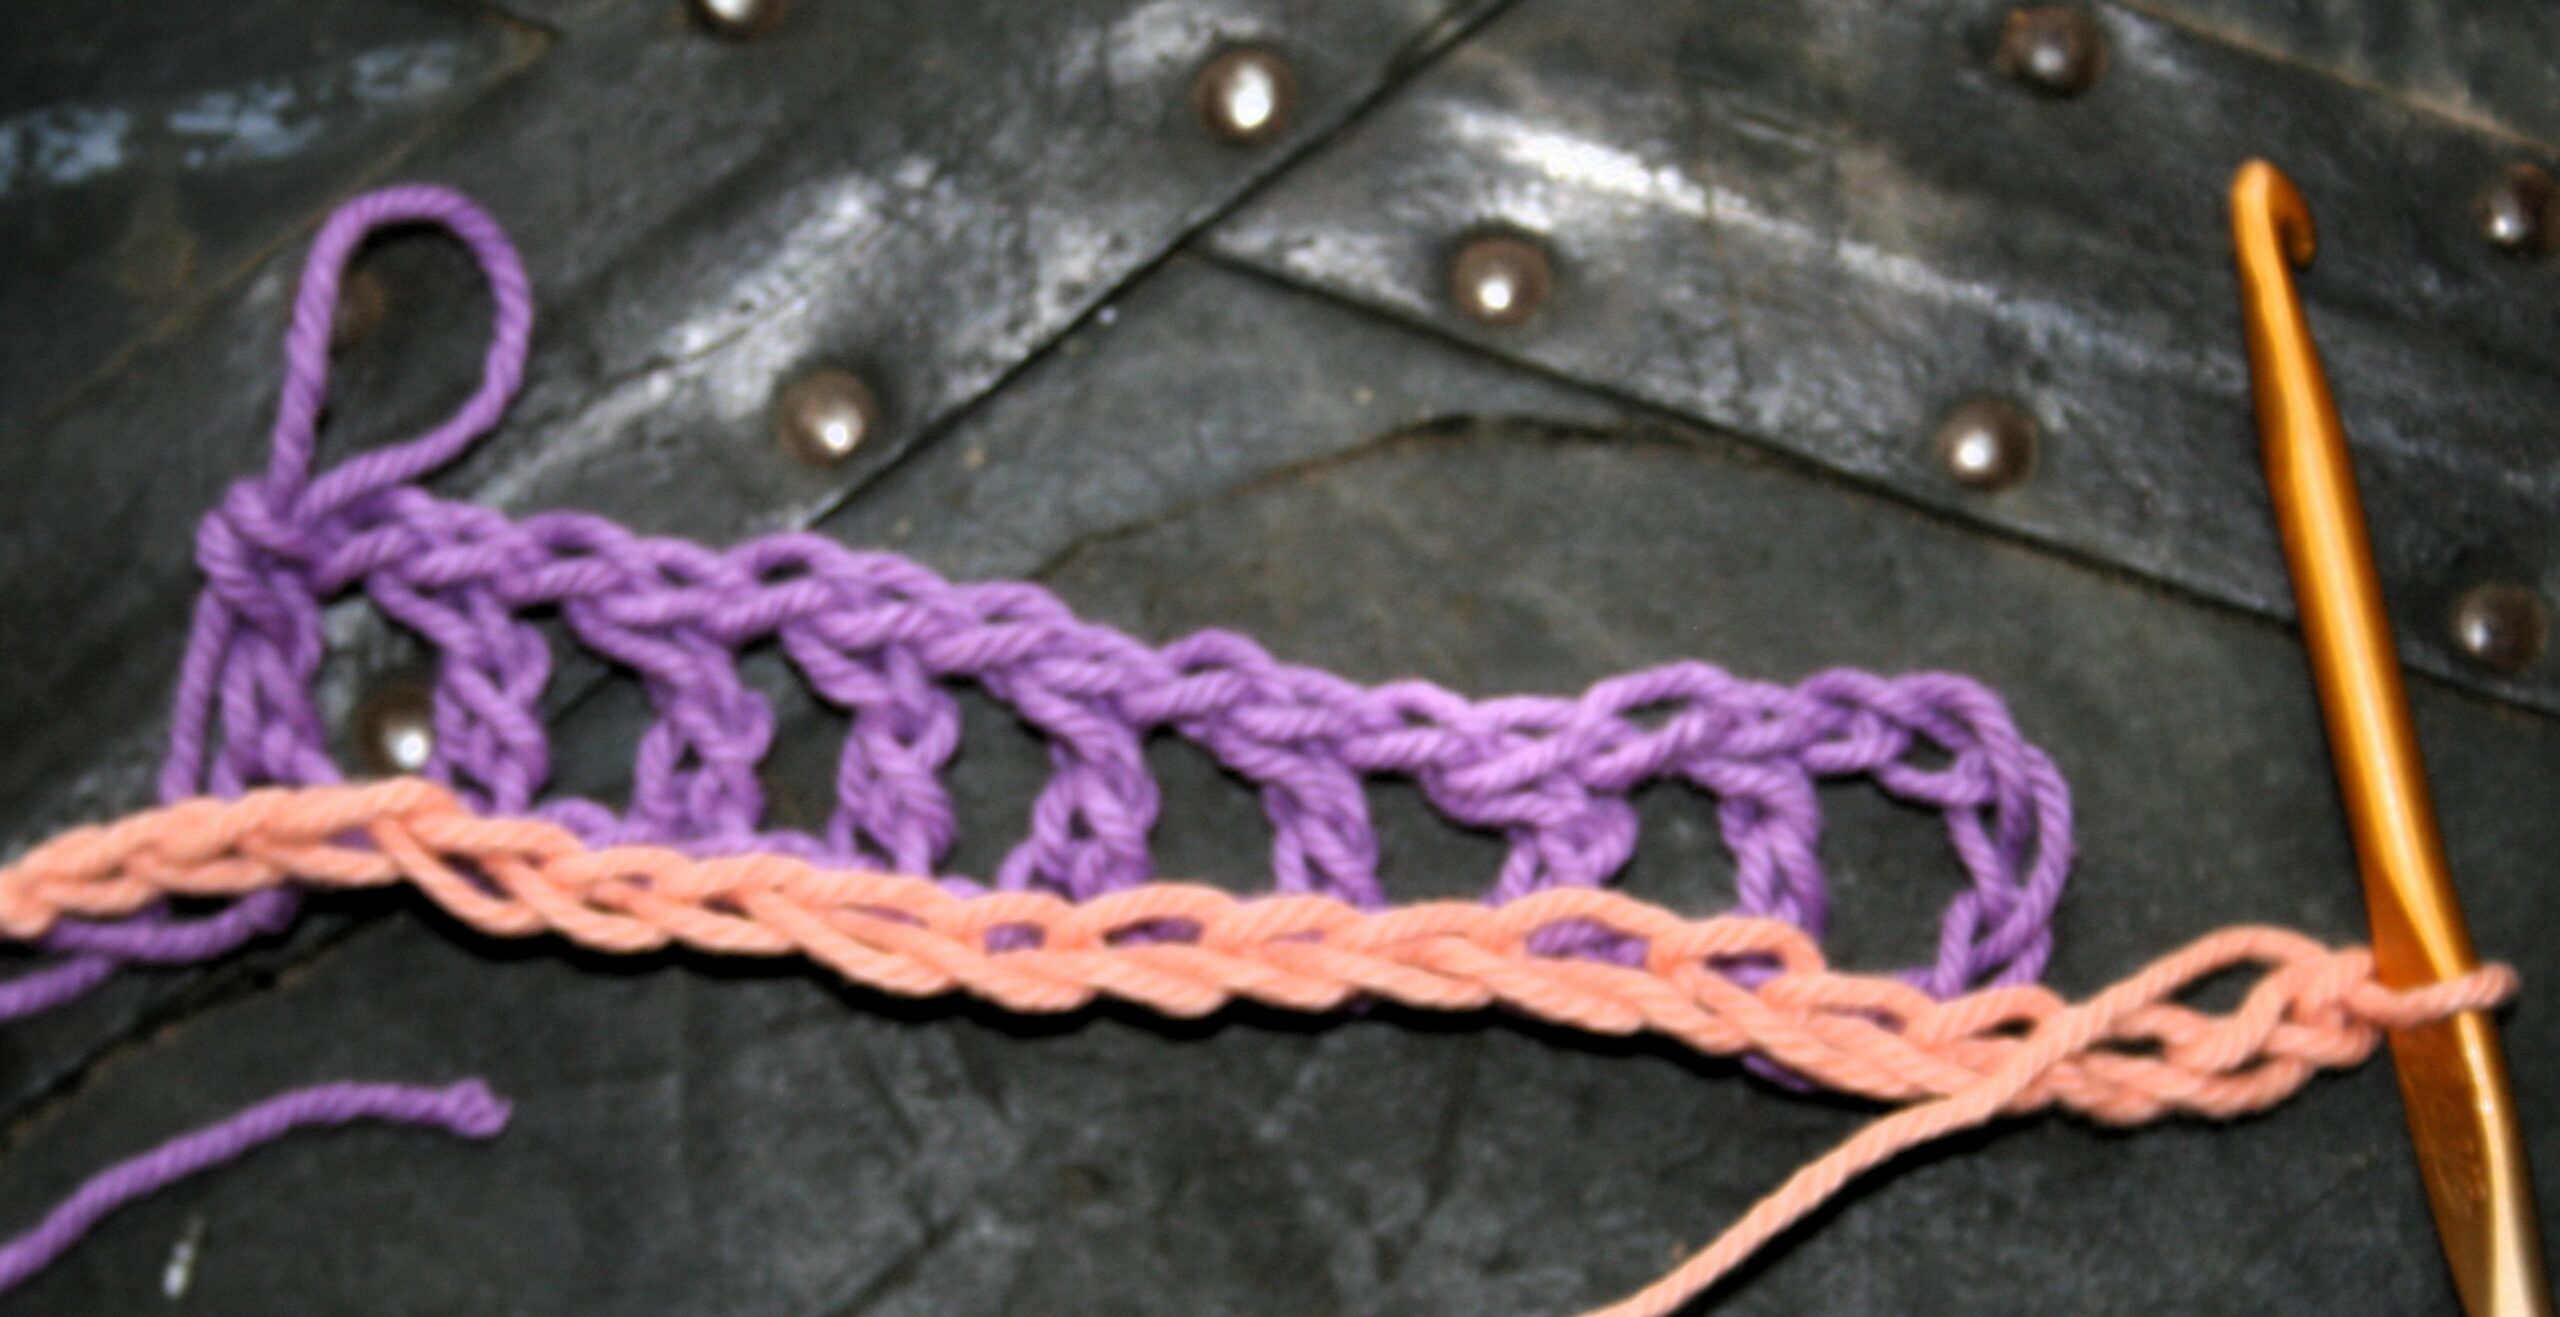
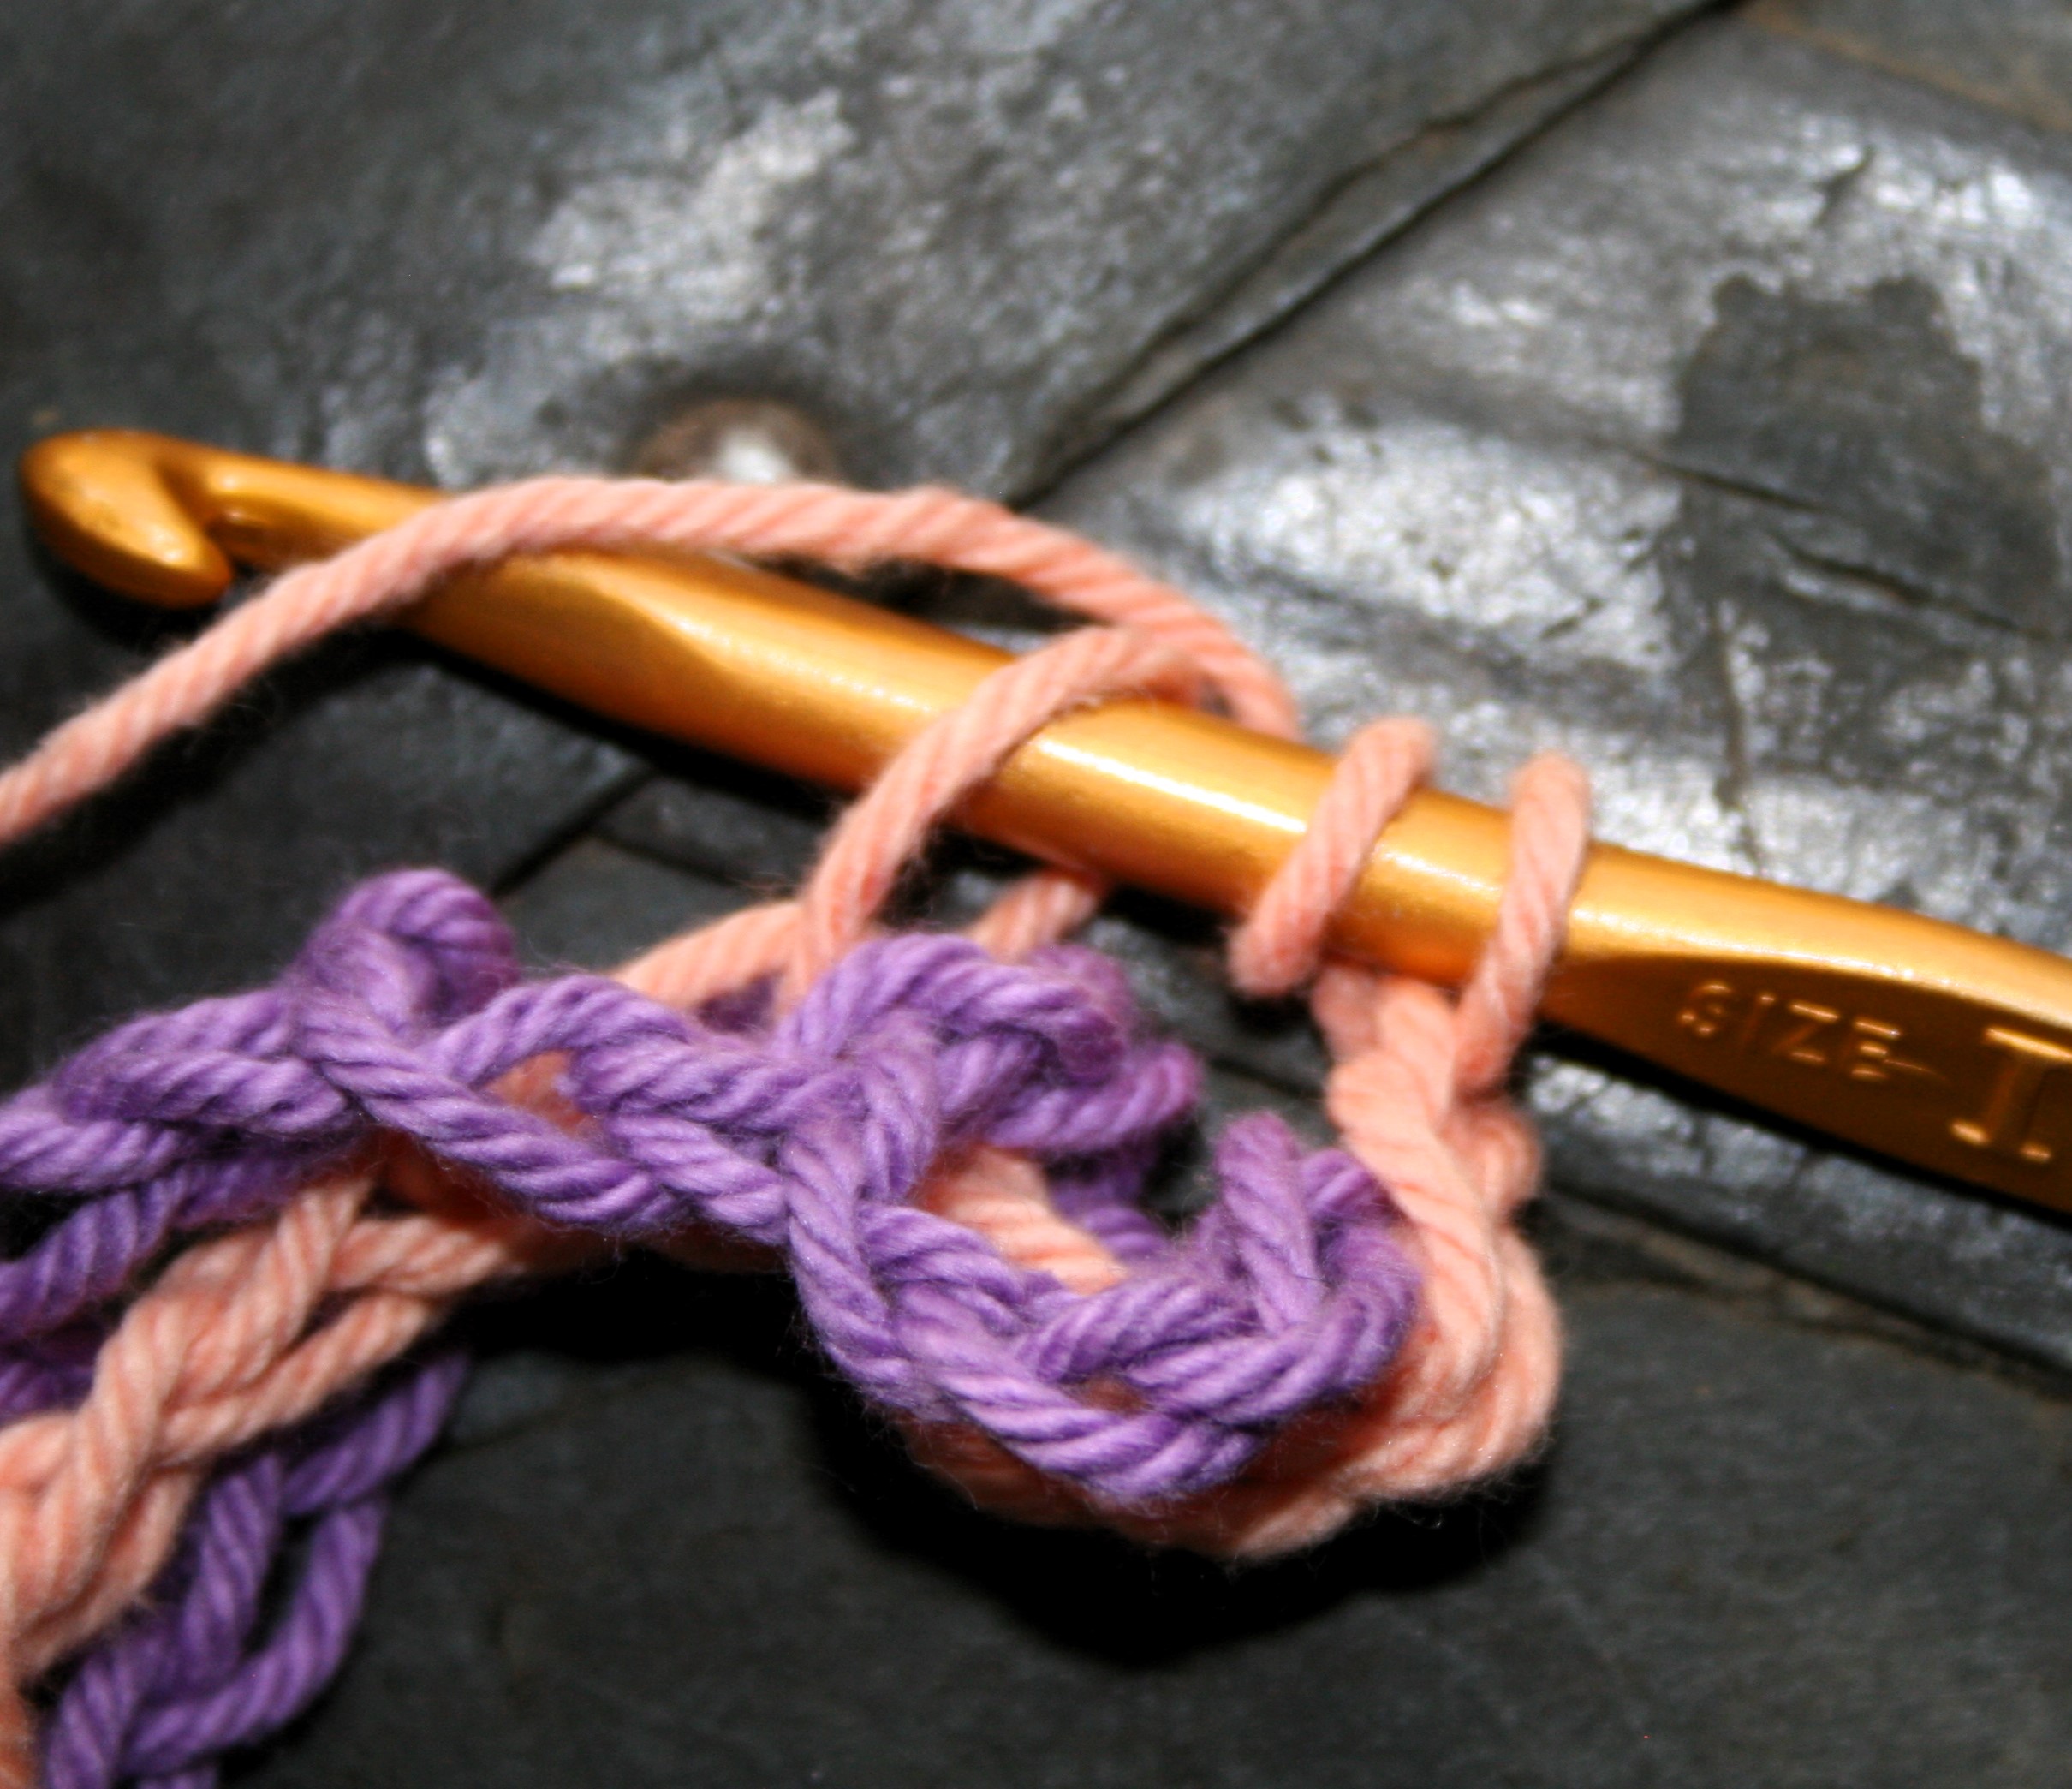
To begin, join and work a set number of stitches. Pull the loop up, remove the hook and move the working loop and working yarn to the front of the fabric. Join the second row atop the same joined stitch of the first row. Work across the stitches just worked for Row 1 of the cable. Once again pull the loop up, remove the hook, and move the working loop and working yarn to the front of the fabric.
Begin Row 2
Now we start to cable. Join the third yarn atop the same place as the joins for Rows 1 and 2. Work across the stitches of Row 2, now work a set number of stiches on the base fabric, the same place that Row 1 was being worked. This creates a step down. Make sure the yarns from Rows 1 and 2 are to the front of the fabric. Pull up the loop, remove the hook, and make sure the working loop and working yarn are in front of the fabric.
“Stepping down” Row 3
Join the fourth yarn at top the same point of the other three rows and work all the way across Row 3. Once again, pull up the loop, remove the hook, and keep the working loop and working yarn in the front of the fabric.
Horizontal Cables crossing
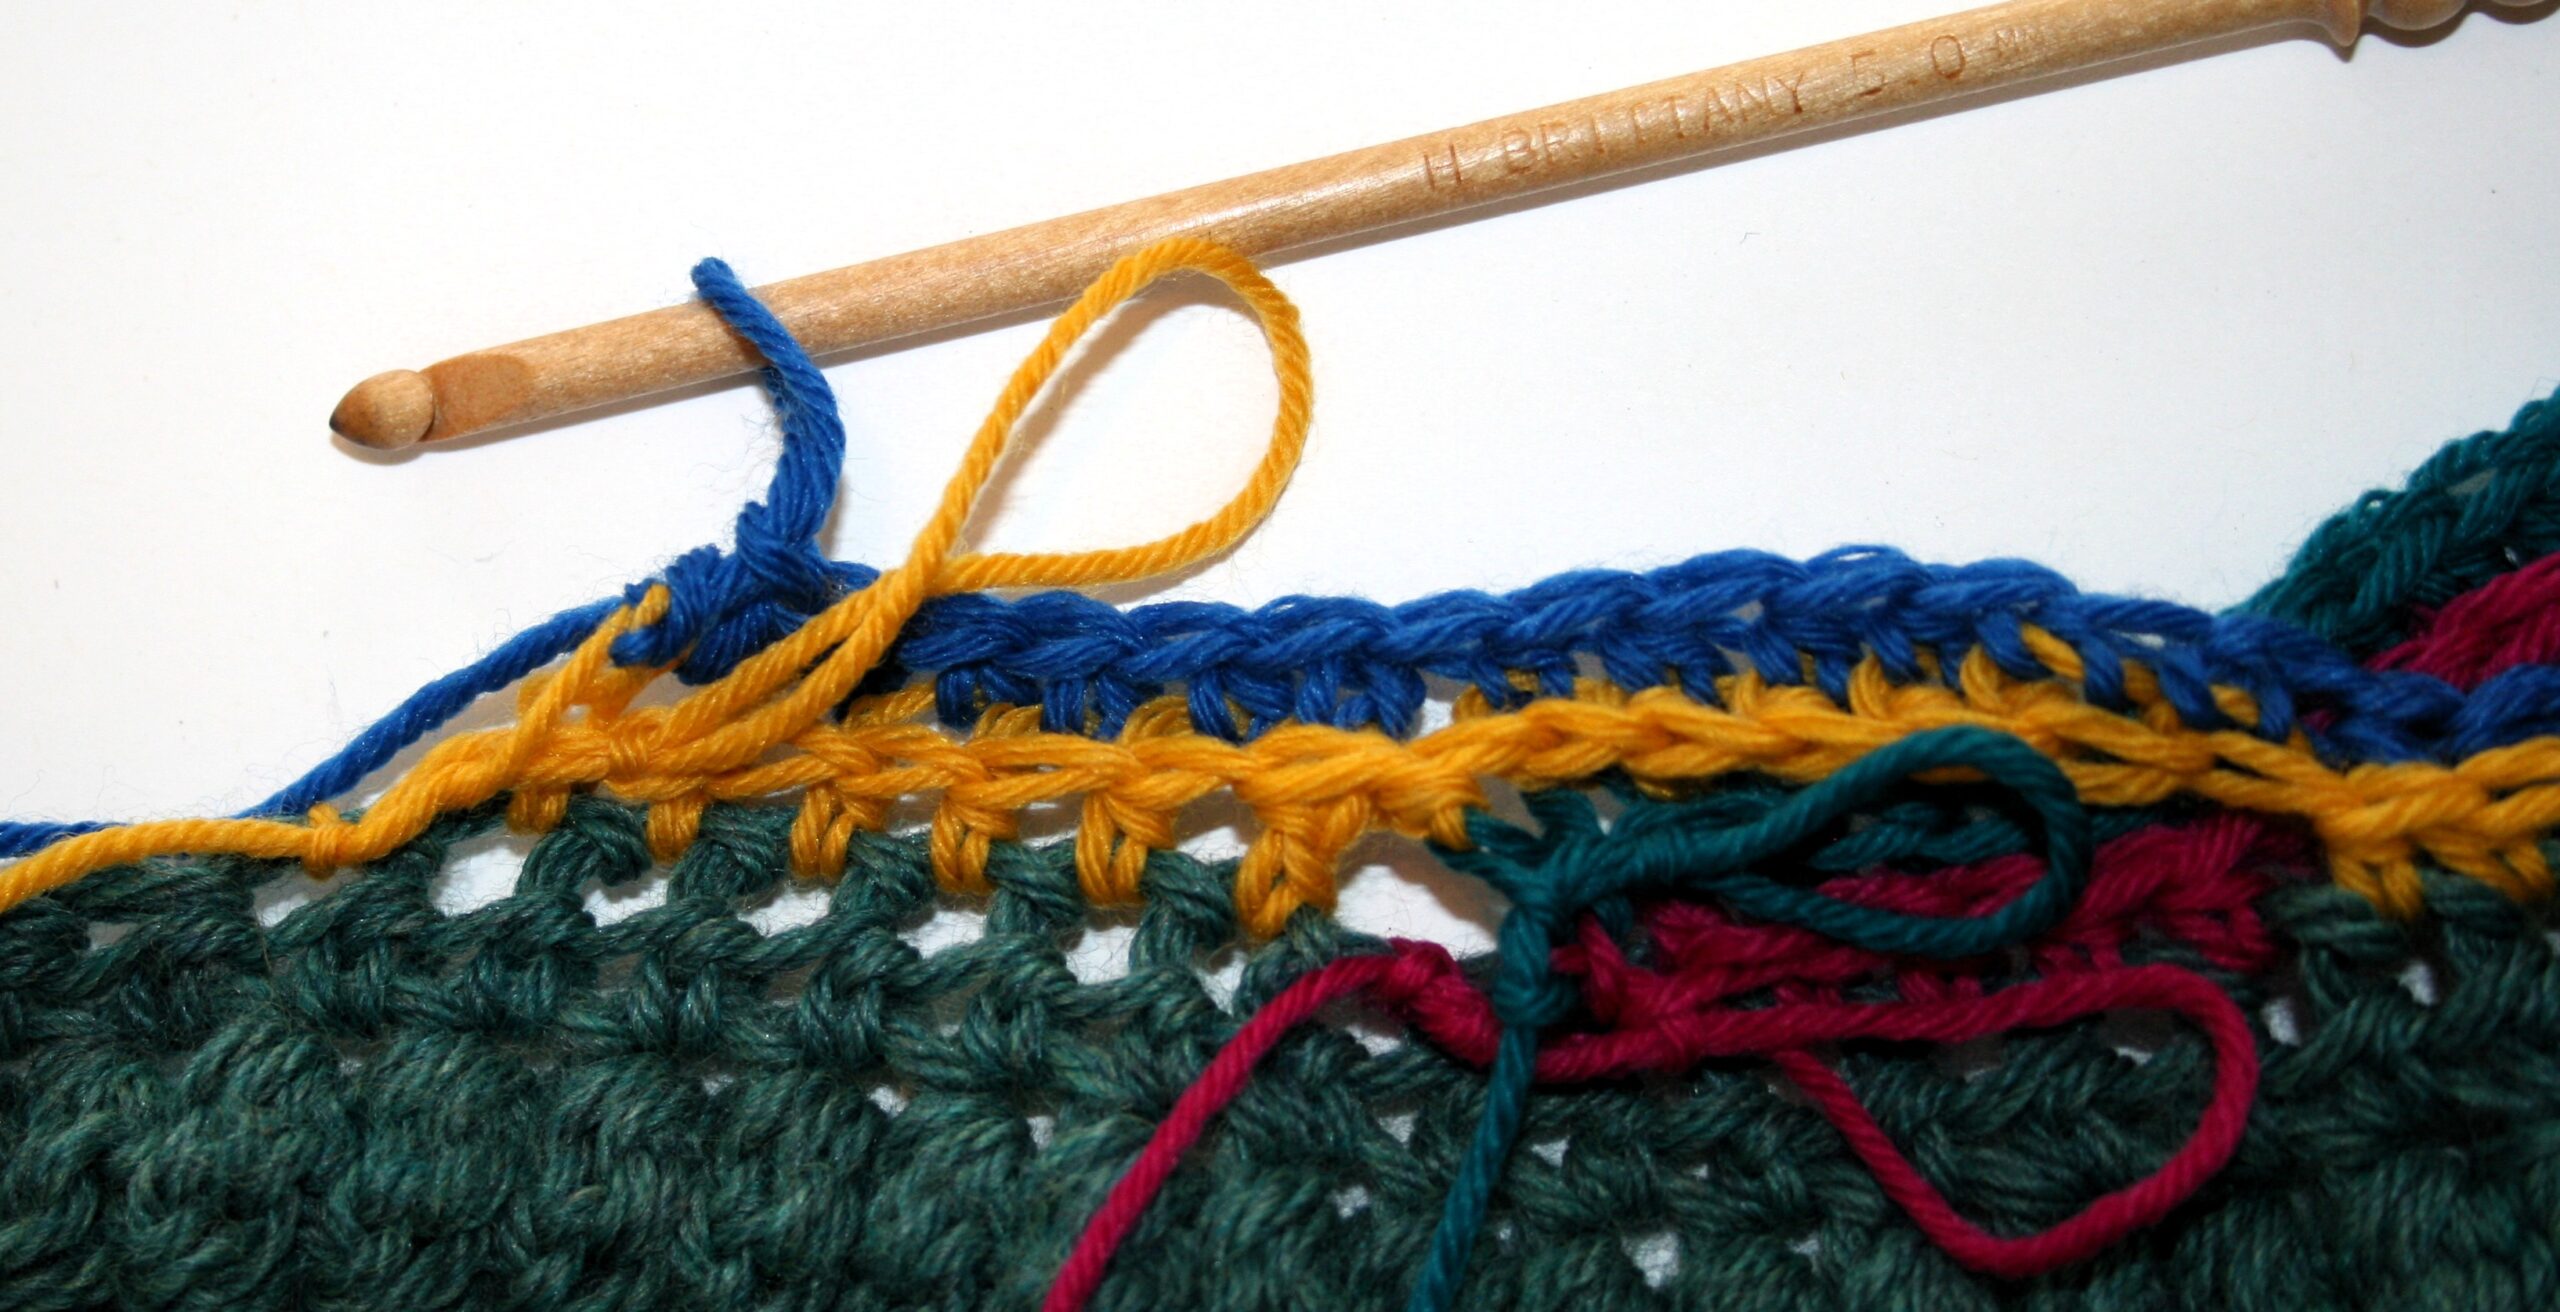
Time to cross. Now pick up the working loop from Row 1. Work the next stitch on atop the next direct stitch of Row 4. If you were working forward on the row this stitch would be directly above it, and in this case 2 rows above. Work across Row 4, now step down and work the set number of stitches on the base fabric. Pull up the loop again, remove the hook and make sure the working loop and working yarn in the front of the fabric again.
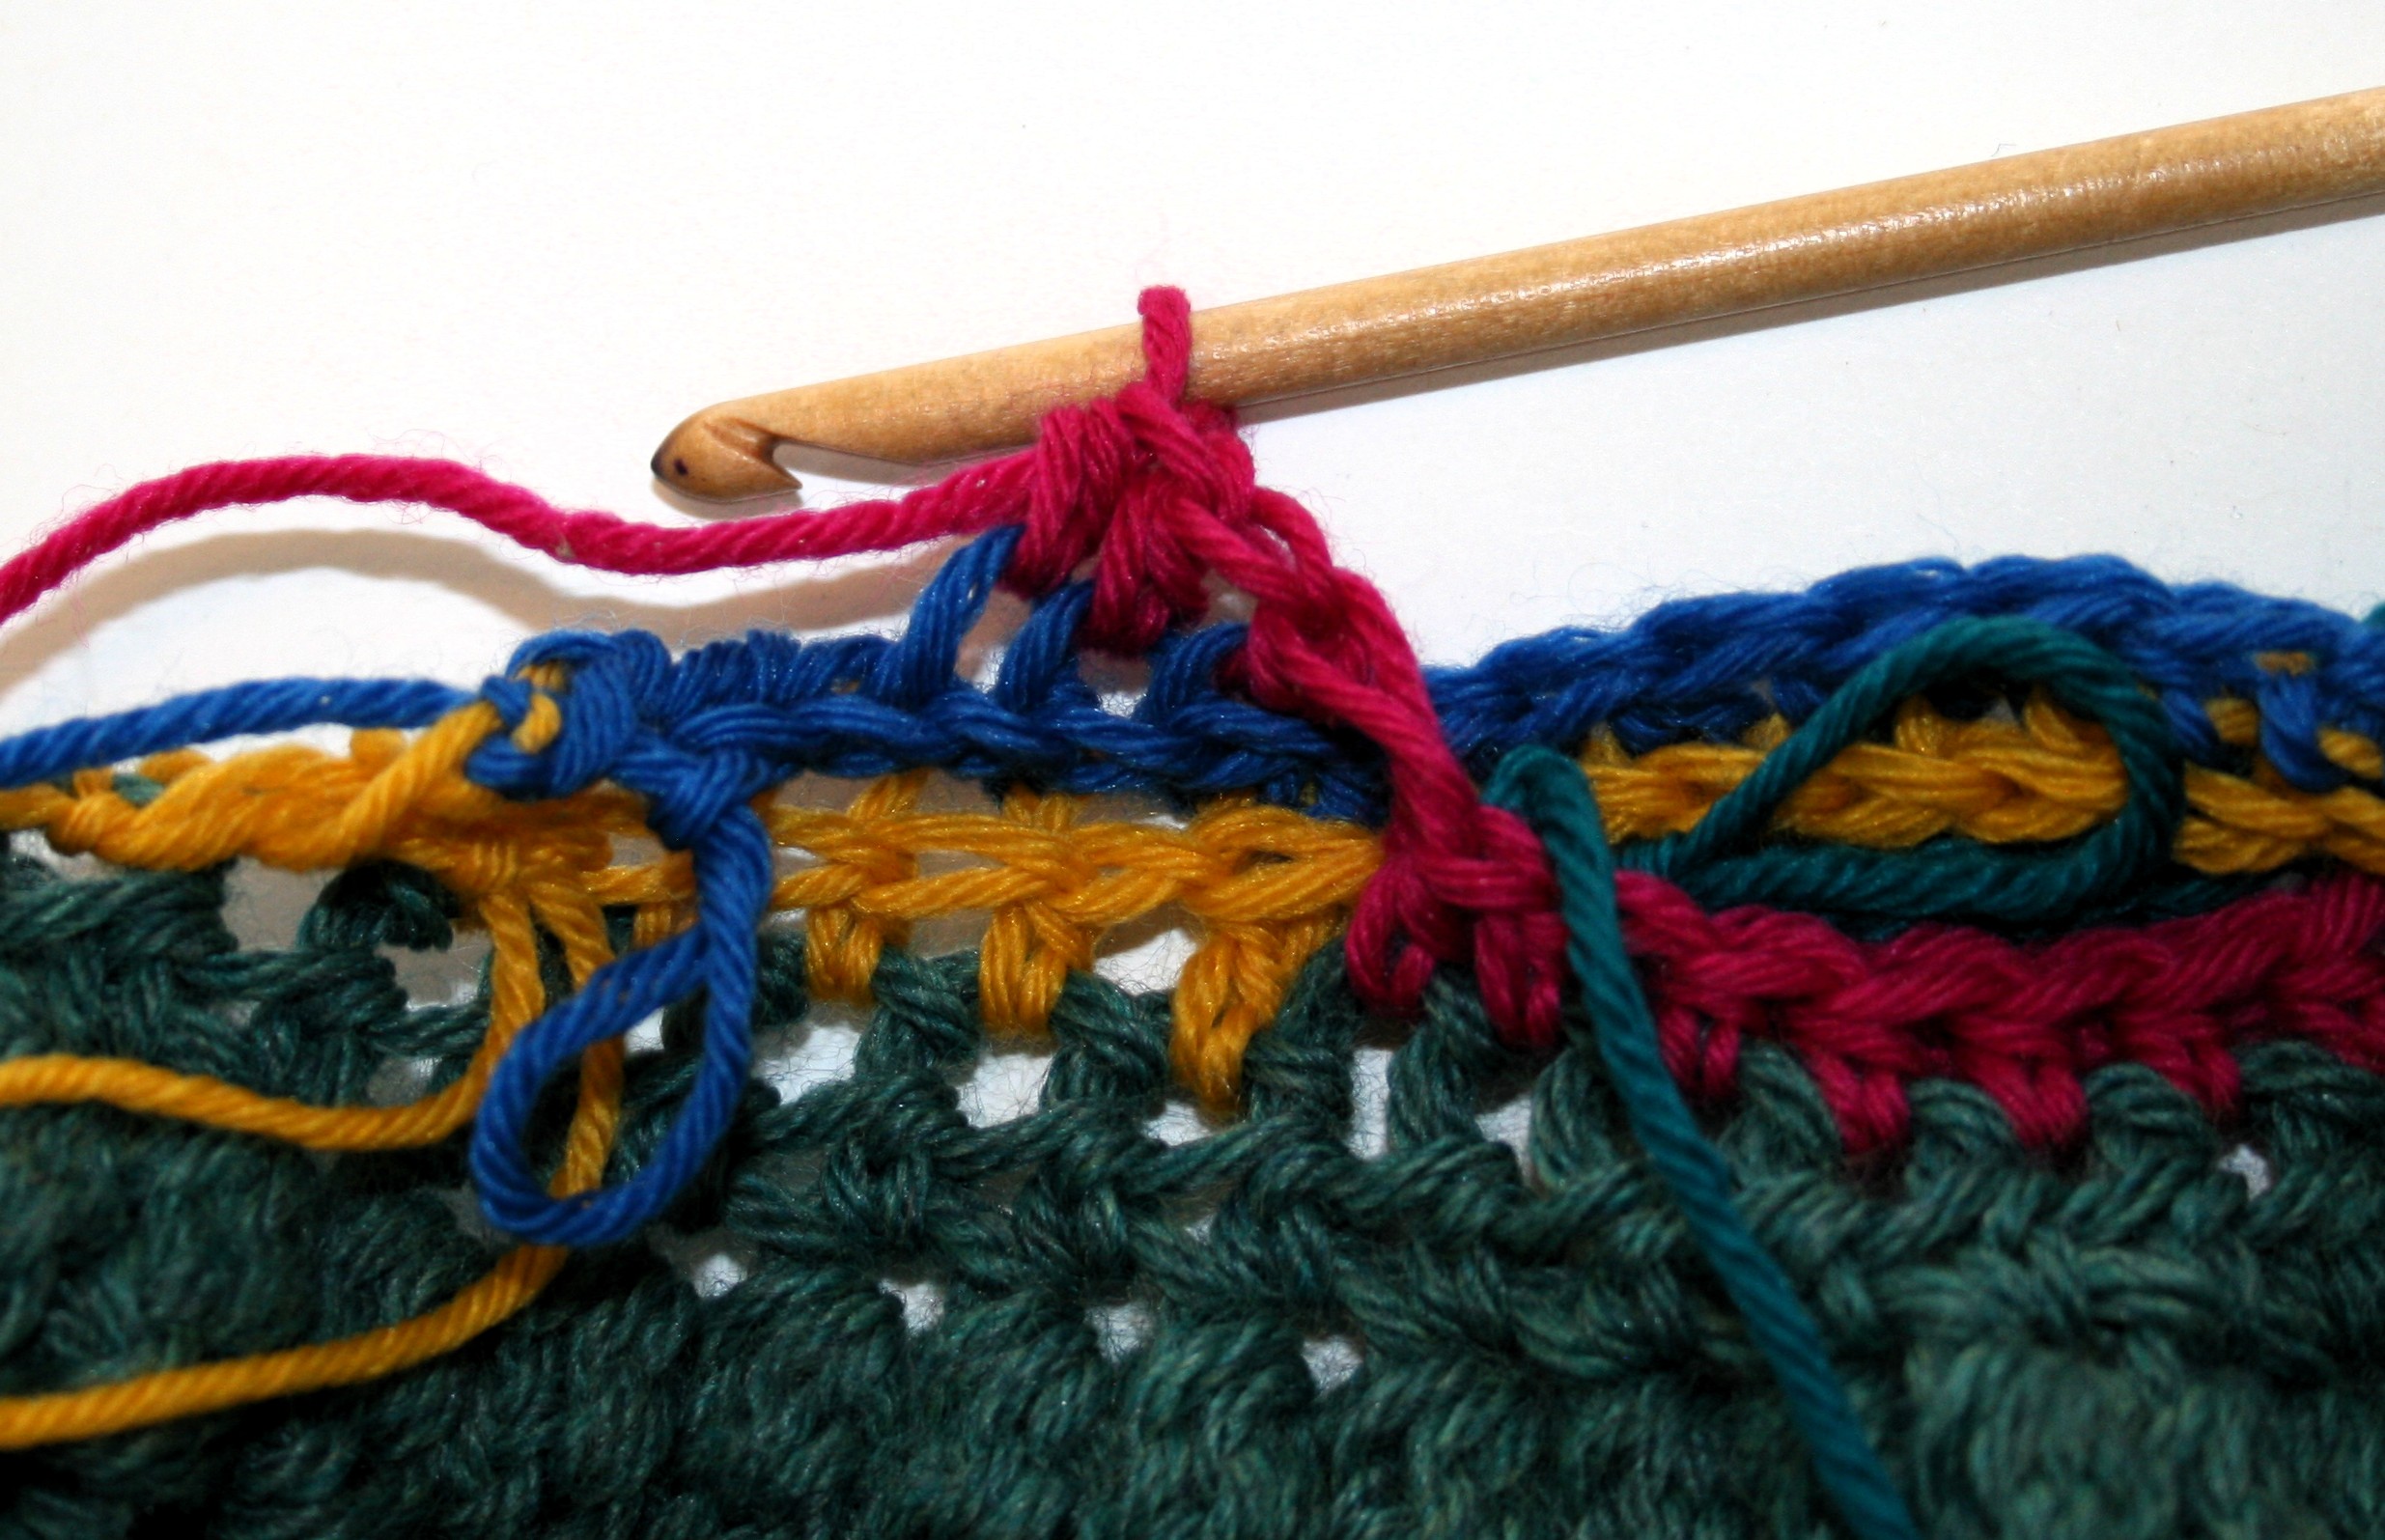
Essentially you just went up and then down, by beginning working atop Row 4 and then dropping down to bas fabric again. Setting up the next cross.
Row 2 just follows Row 1. Pull up the loop, remove the hook, make sure the working loop and working yarns are in the front of the fabric. Move back to “Row 3” which is the live loop the is on the base fabric behind you working direction.
Repeat the process you just did for Row 1. Up atop the stitch, across the row and down to the base fabric, pull up the loop, remove the hook. Pull everything forward and pick up the loop of the next row, Row 4, and this row just follows what was just worked.
Housekeeping
Once you get into the rhythm it flows along. The only housekeeping being ensuring that all of the yarn doesn’t become too twisted as you work along. If you need to set the fabric down before finishing off, use stitch markers to put in these “pulled up loops”. Honestly, if you feel like the stitches or yarn are not behaving for you placing stitch markers in the loops as you remove the hook help you to keep everything in place.
I find that this video my Marly Bird is really helpful in understanding the technique.
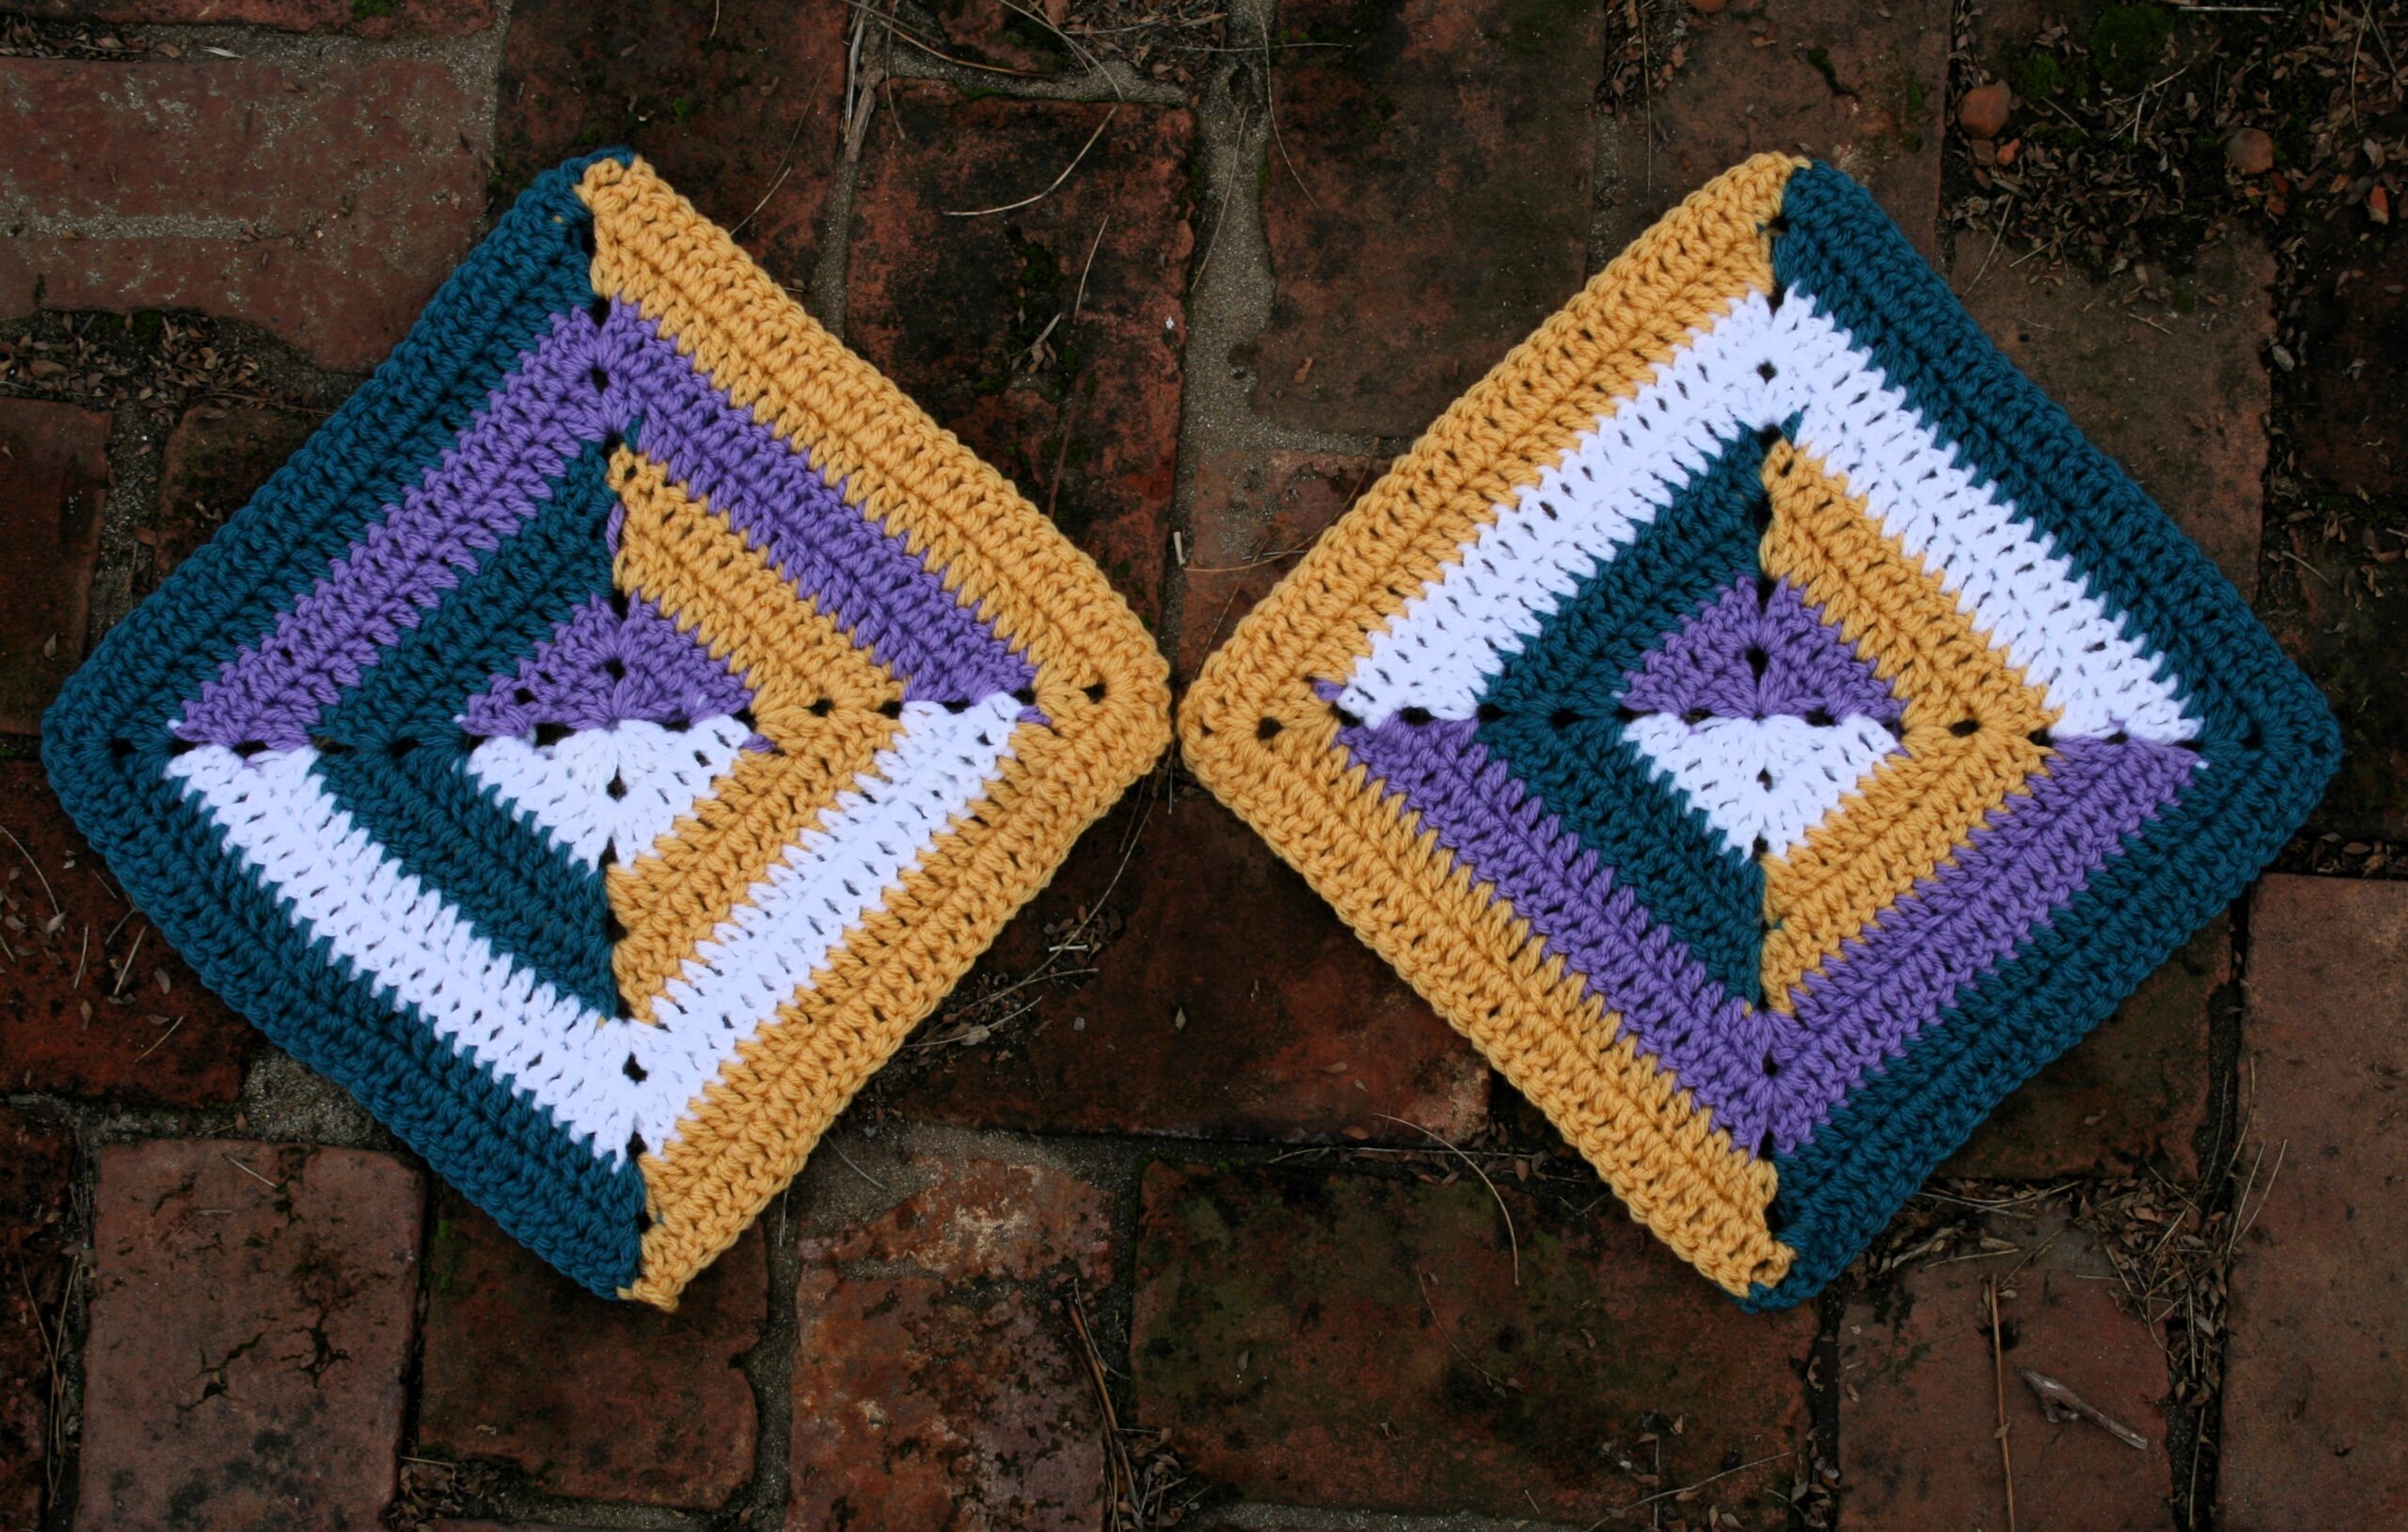
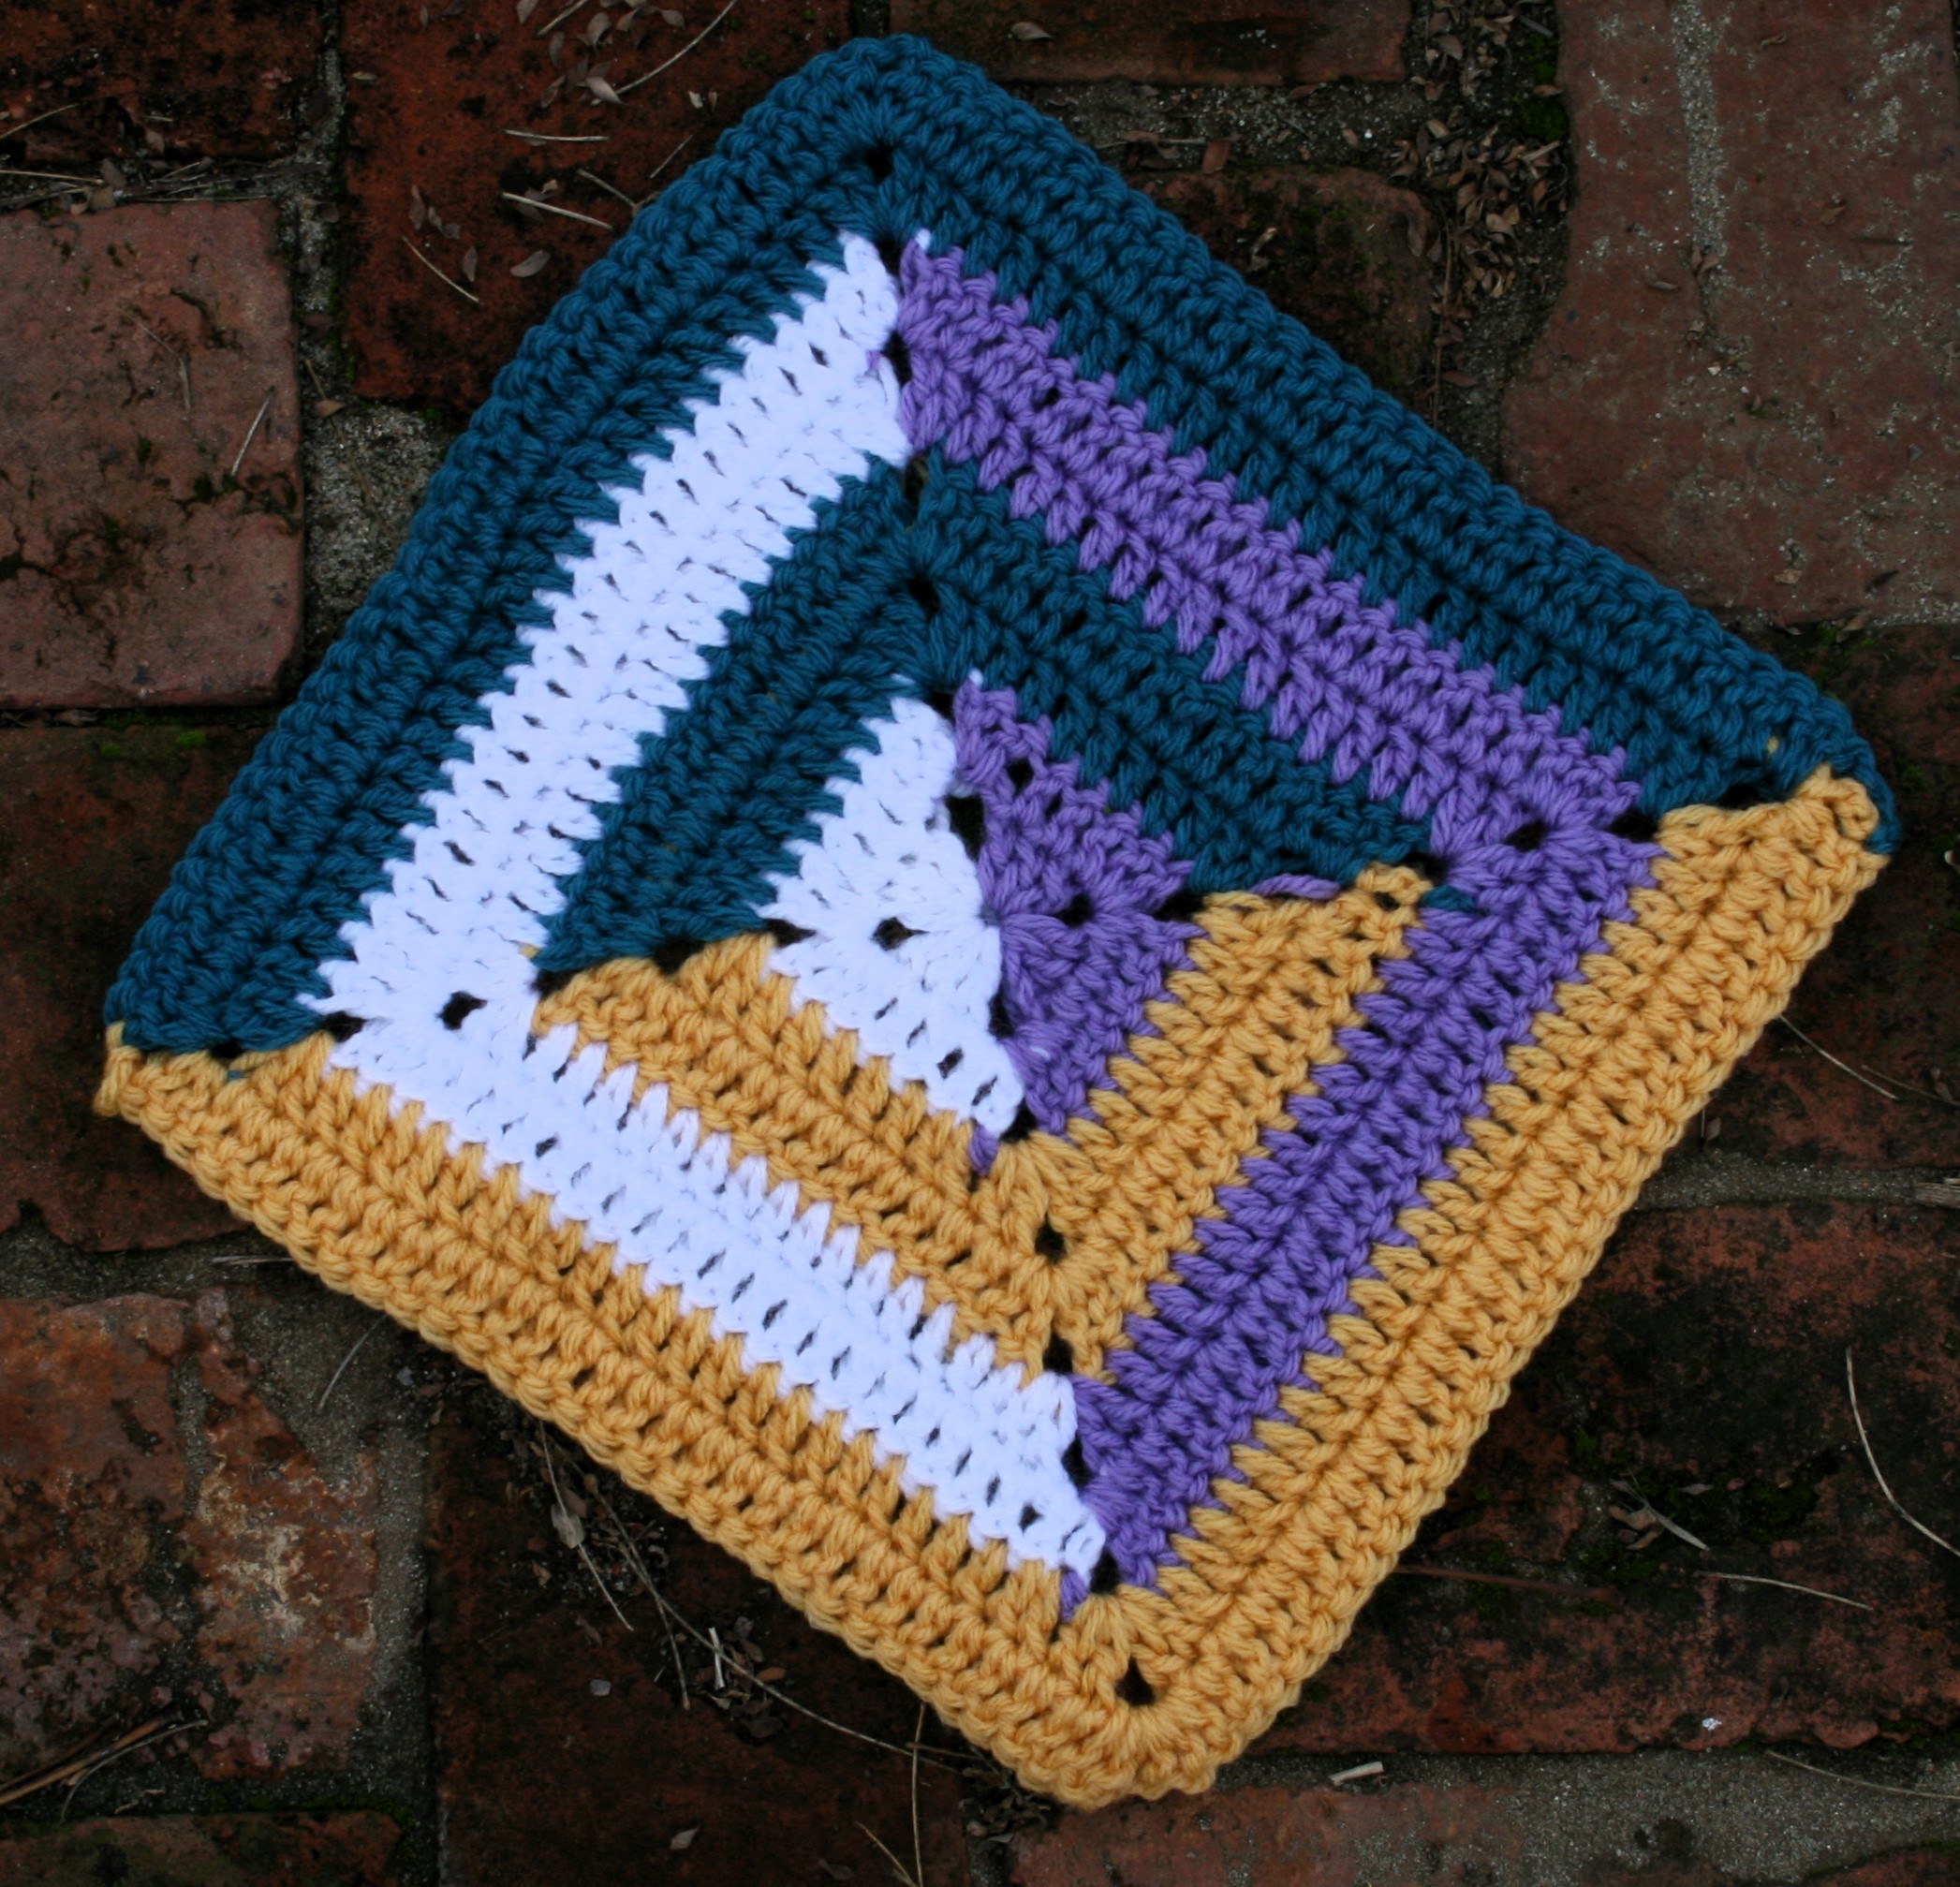
Horizontal cables corners
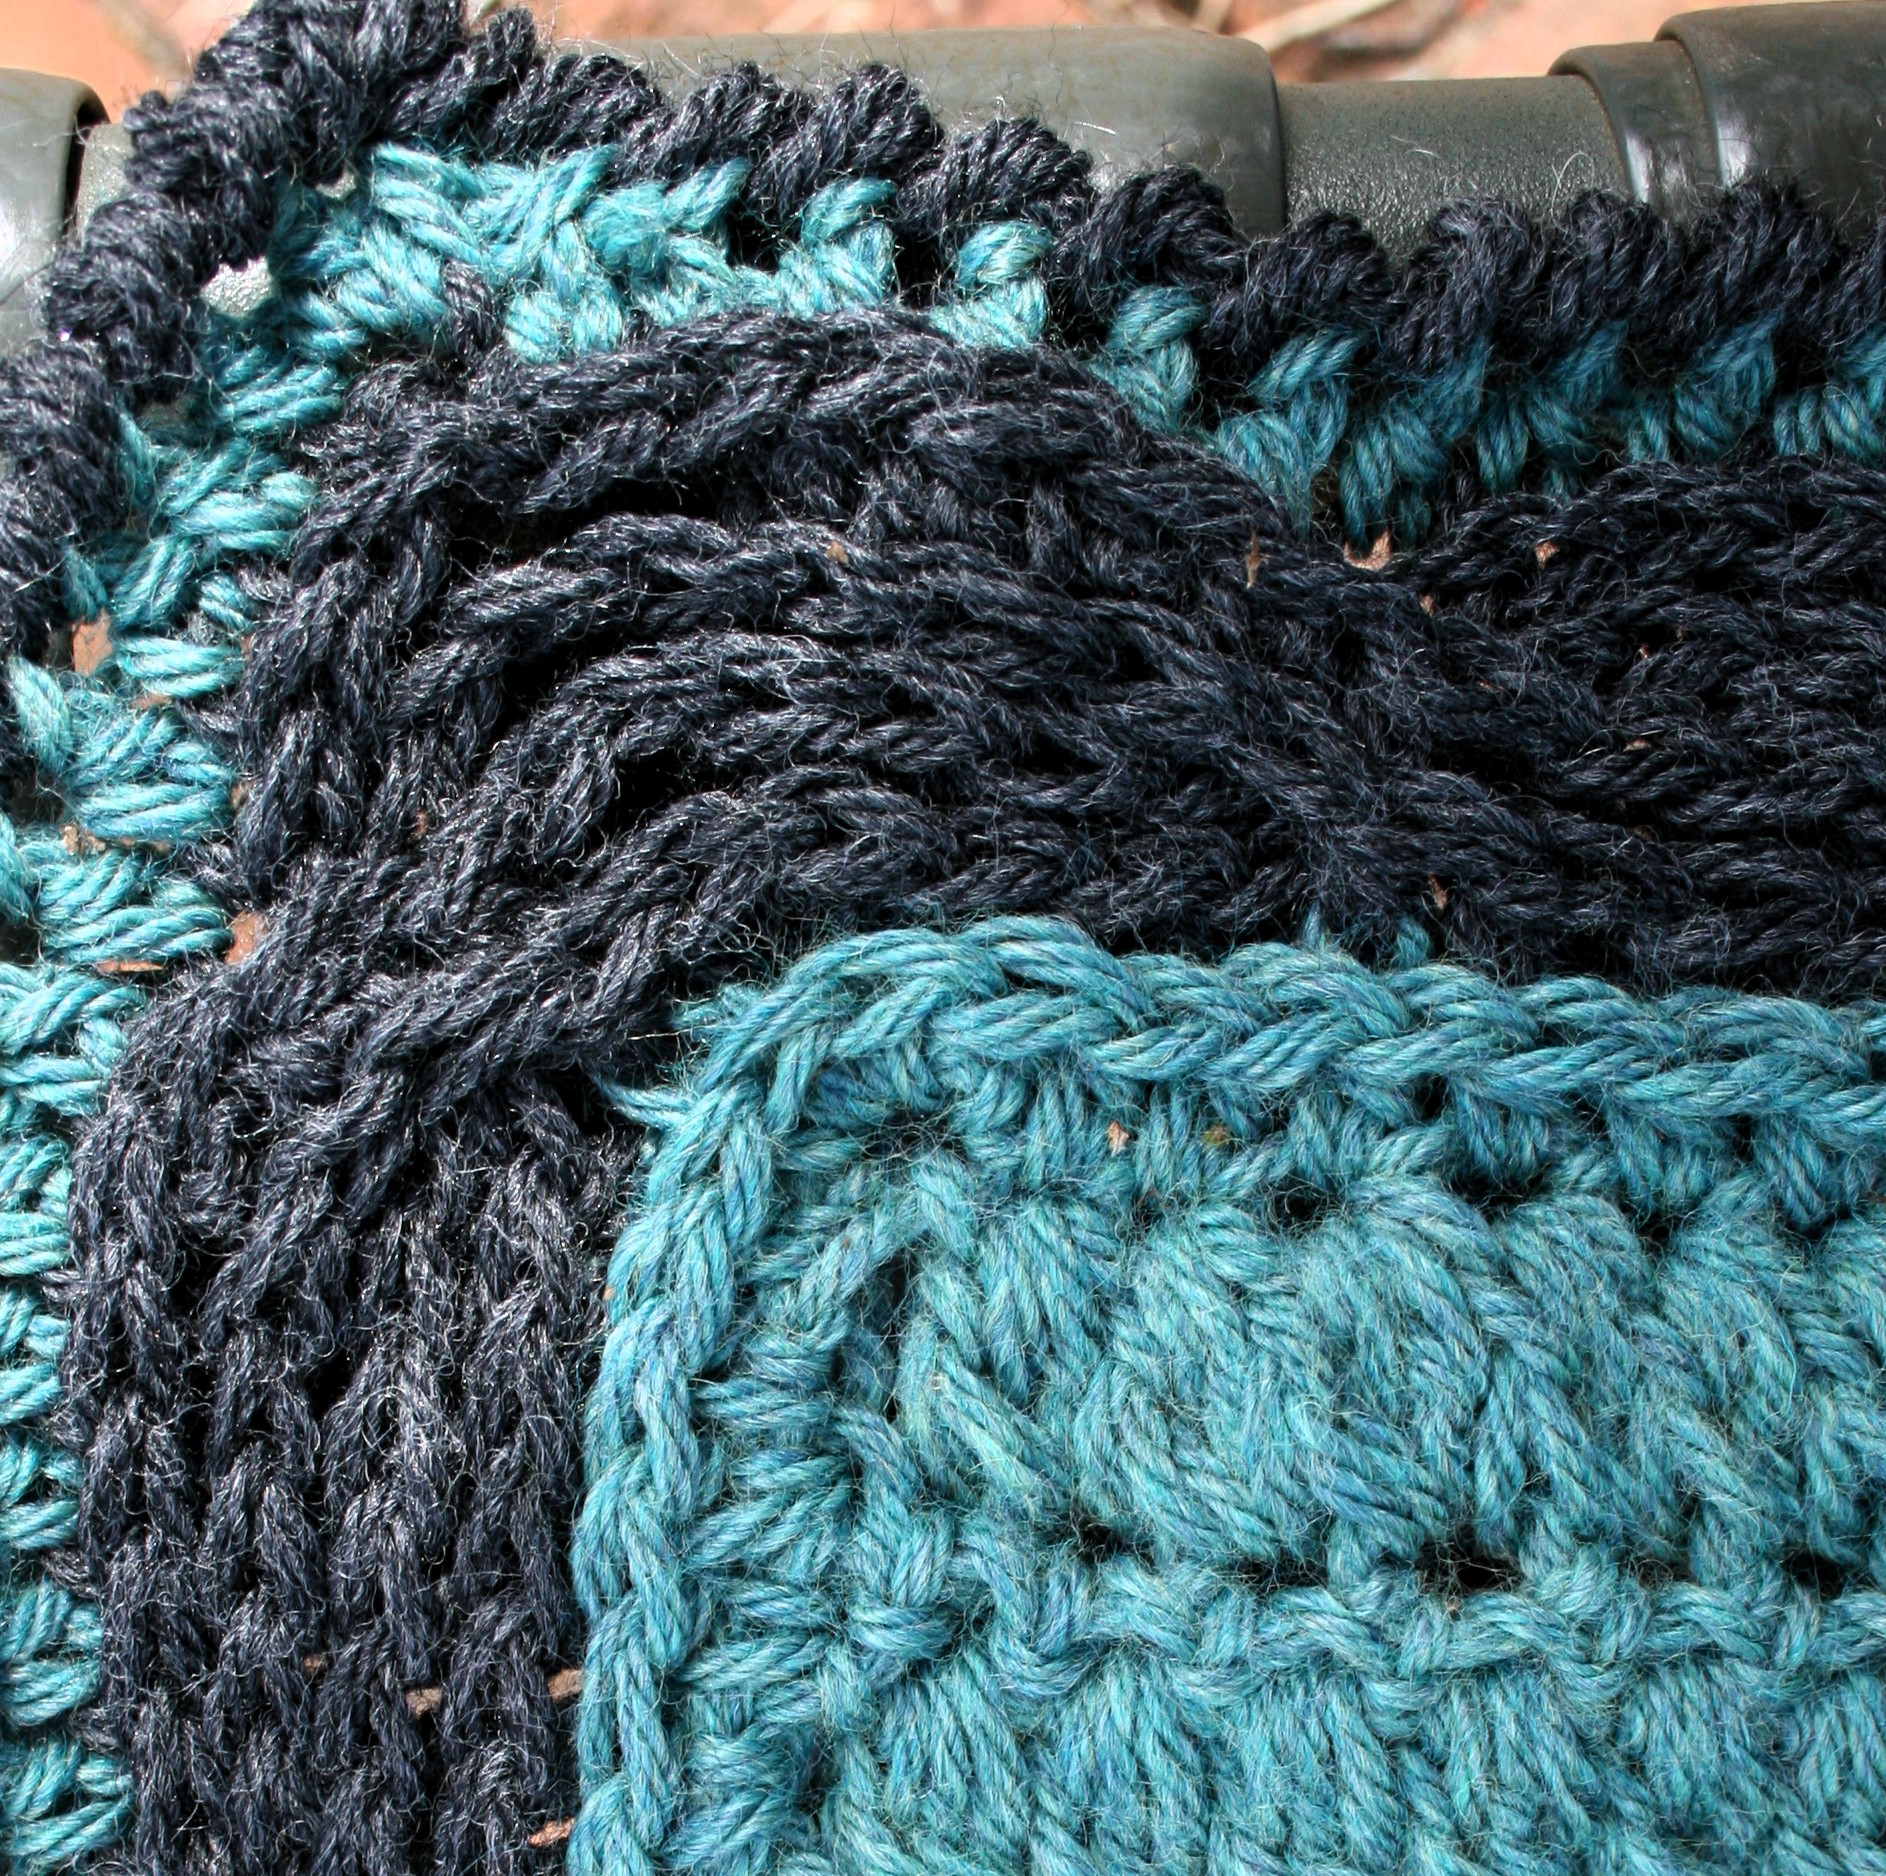
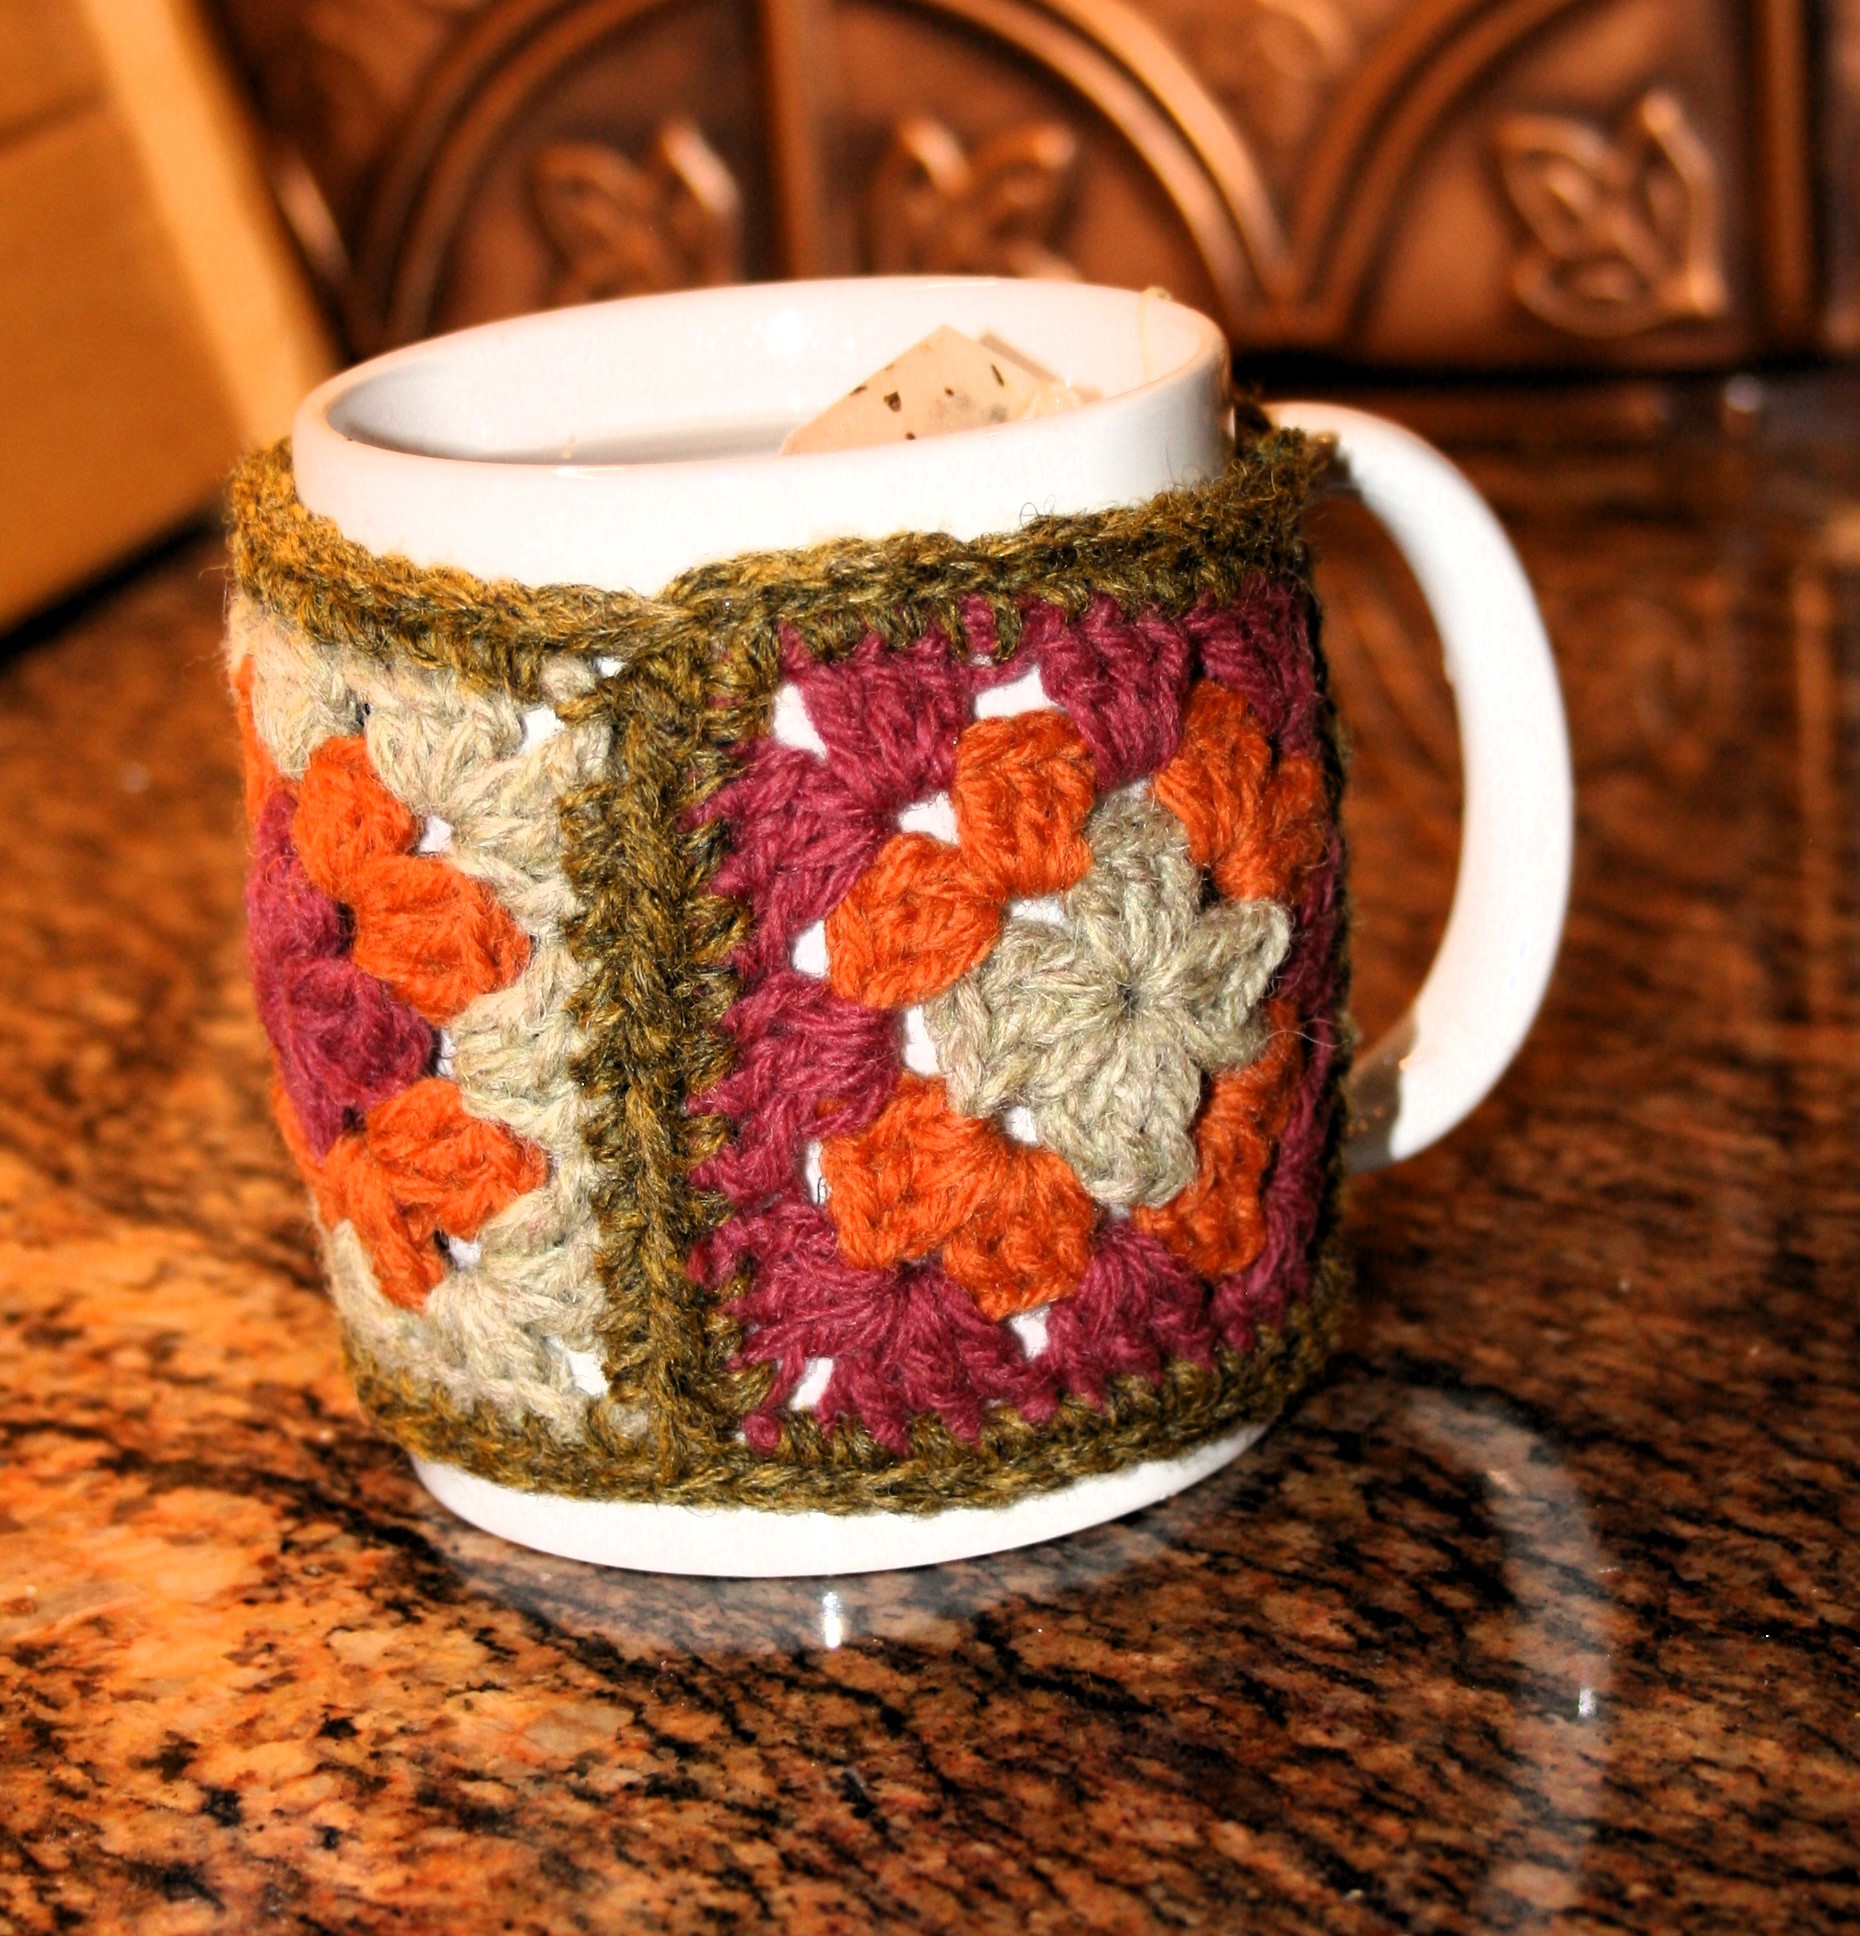
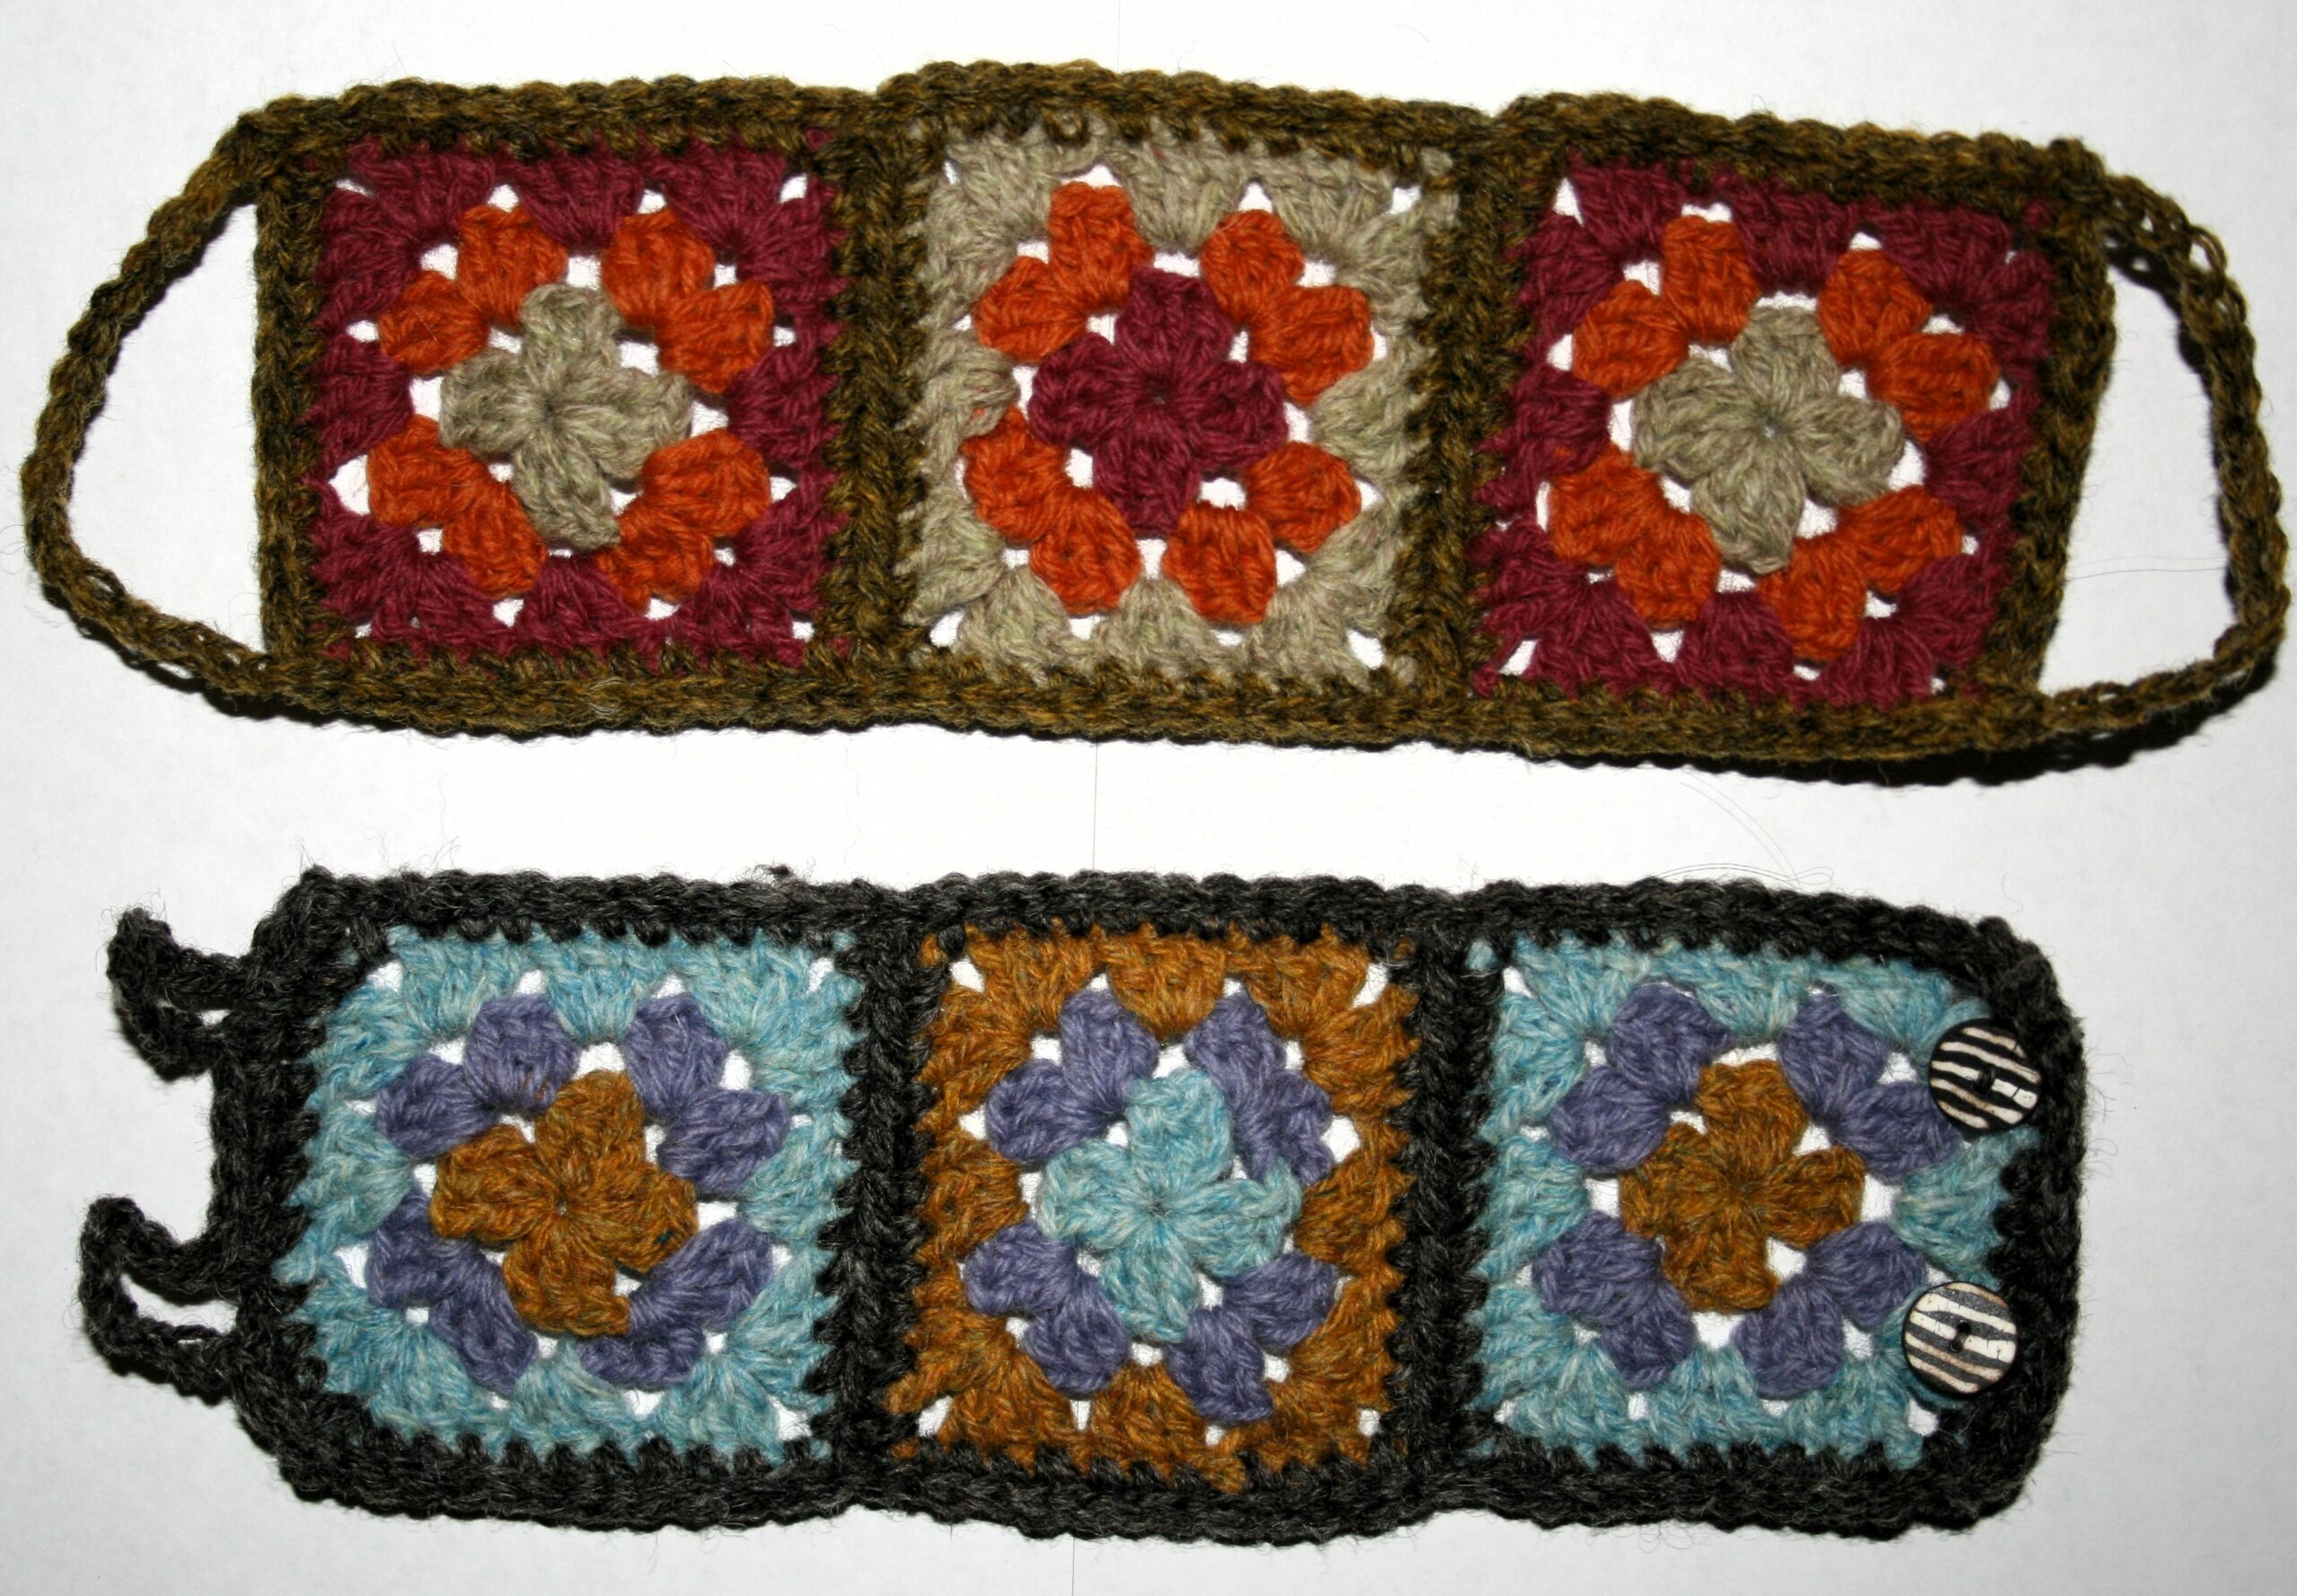
I have really enjoyed using the technique for edgings, especially around blankets. It gives a nice finished statement. I just have to be mindful in turning the corners. To ensure that they lay flat, I need to add “turning corner” stitches in the cable. This may mean that in the base row I work 3 stitches in the corner. I count them in my “base” number between the twists. For each subsequent rows I add the “turning corner” of 3 stitches in the center stitch of the 3 stitches below. This may mean that I am working more stitches than I usually do in the last rows. Between the twist there may be more, but it is not greatly noticed and helps the fabric not buckle.