Changing most foundation rows into a Foundation Stitches can be done relatively easy.
A Foundation Stitch in crochet is when you create the chain and the stitch at the same time, instead of creating a chain and working into it. It creates a stitch with beginning with more stretch, and you do not have to count chains.
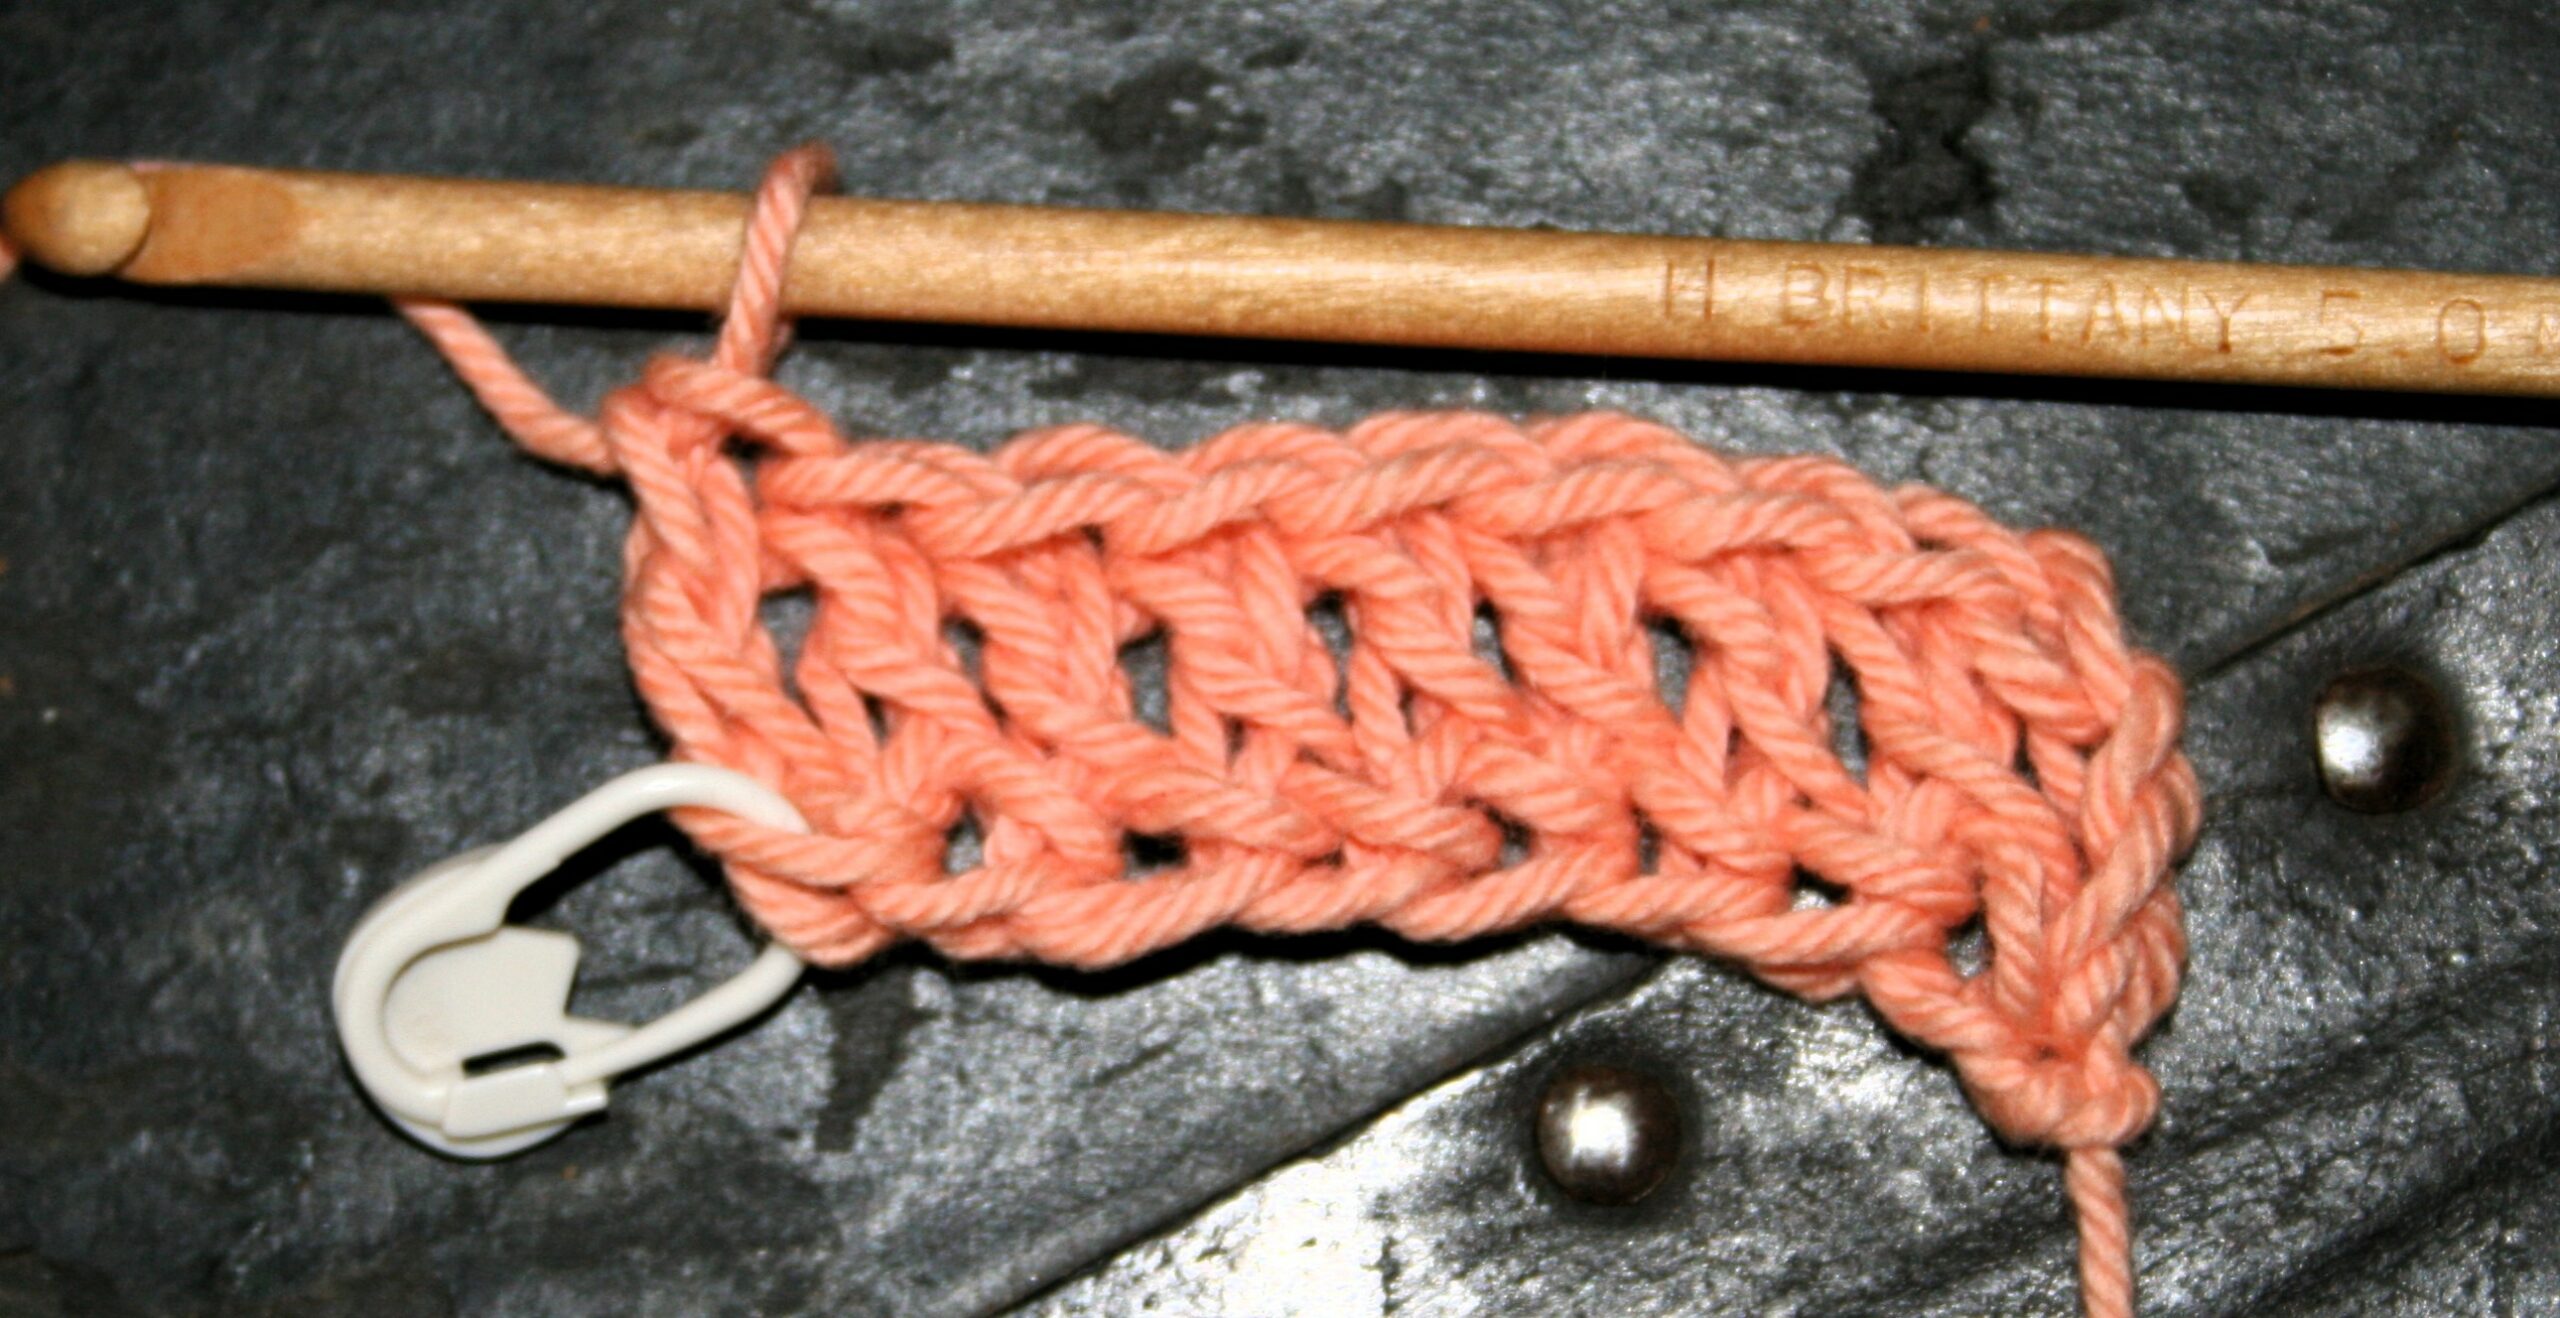
Row of Foundation Double Crochet
Starting
To start you will need to create a chain that is the equivalent of the turning chain for the stitch used, plus 1 more. Meaning if you are creating a single crochet foundation row, a single crochet typically uses a chain 1 to turn a row, so you would chain 1 + 1 more thus having a chain 2.
If you were creating a double crochet the typical turning chain is a chain 3, and then you would add 1 more chain. So to work a Foundation Double crochet chain 4.
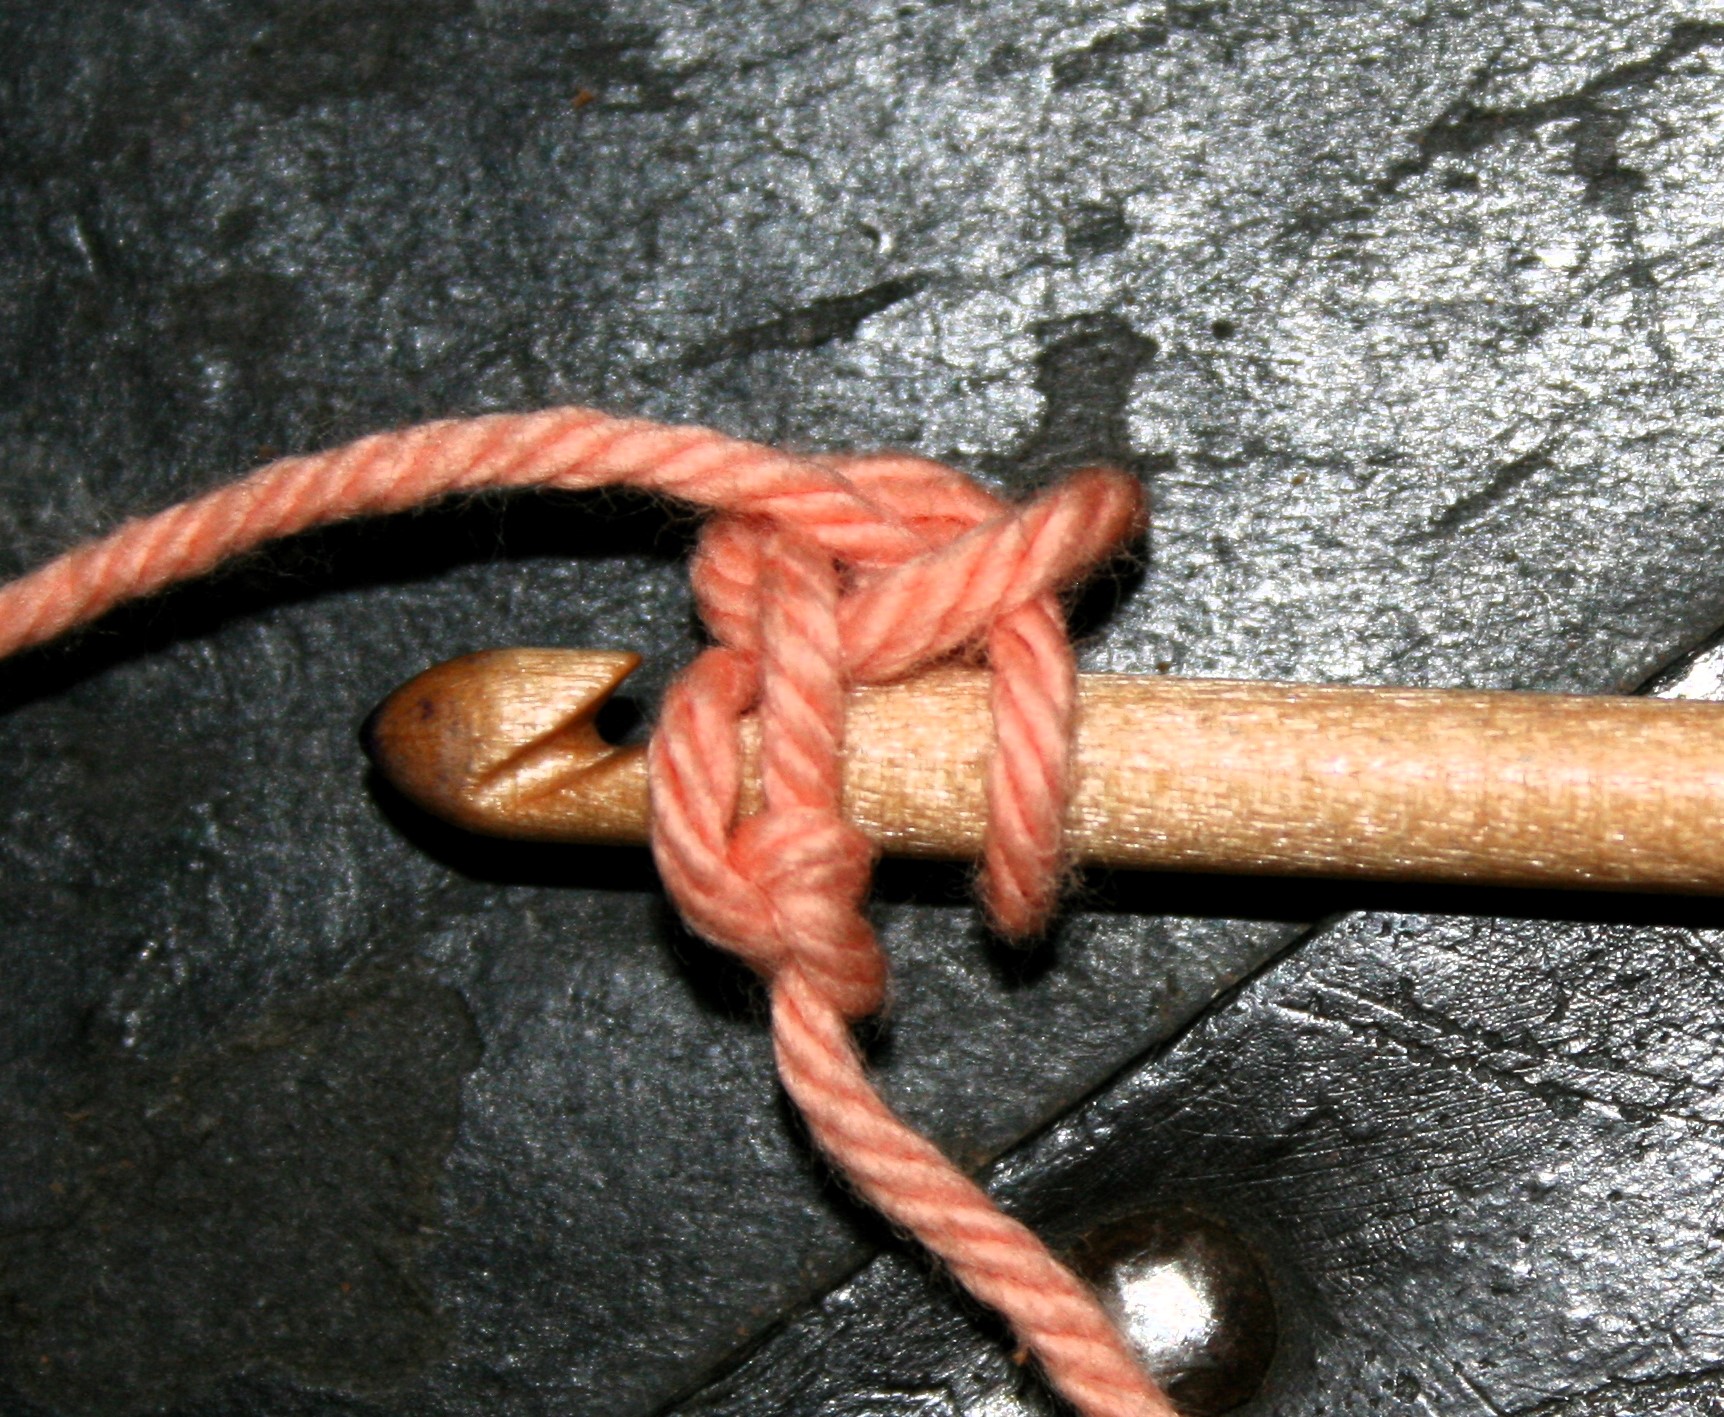
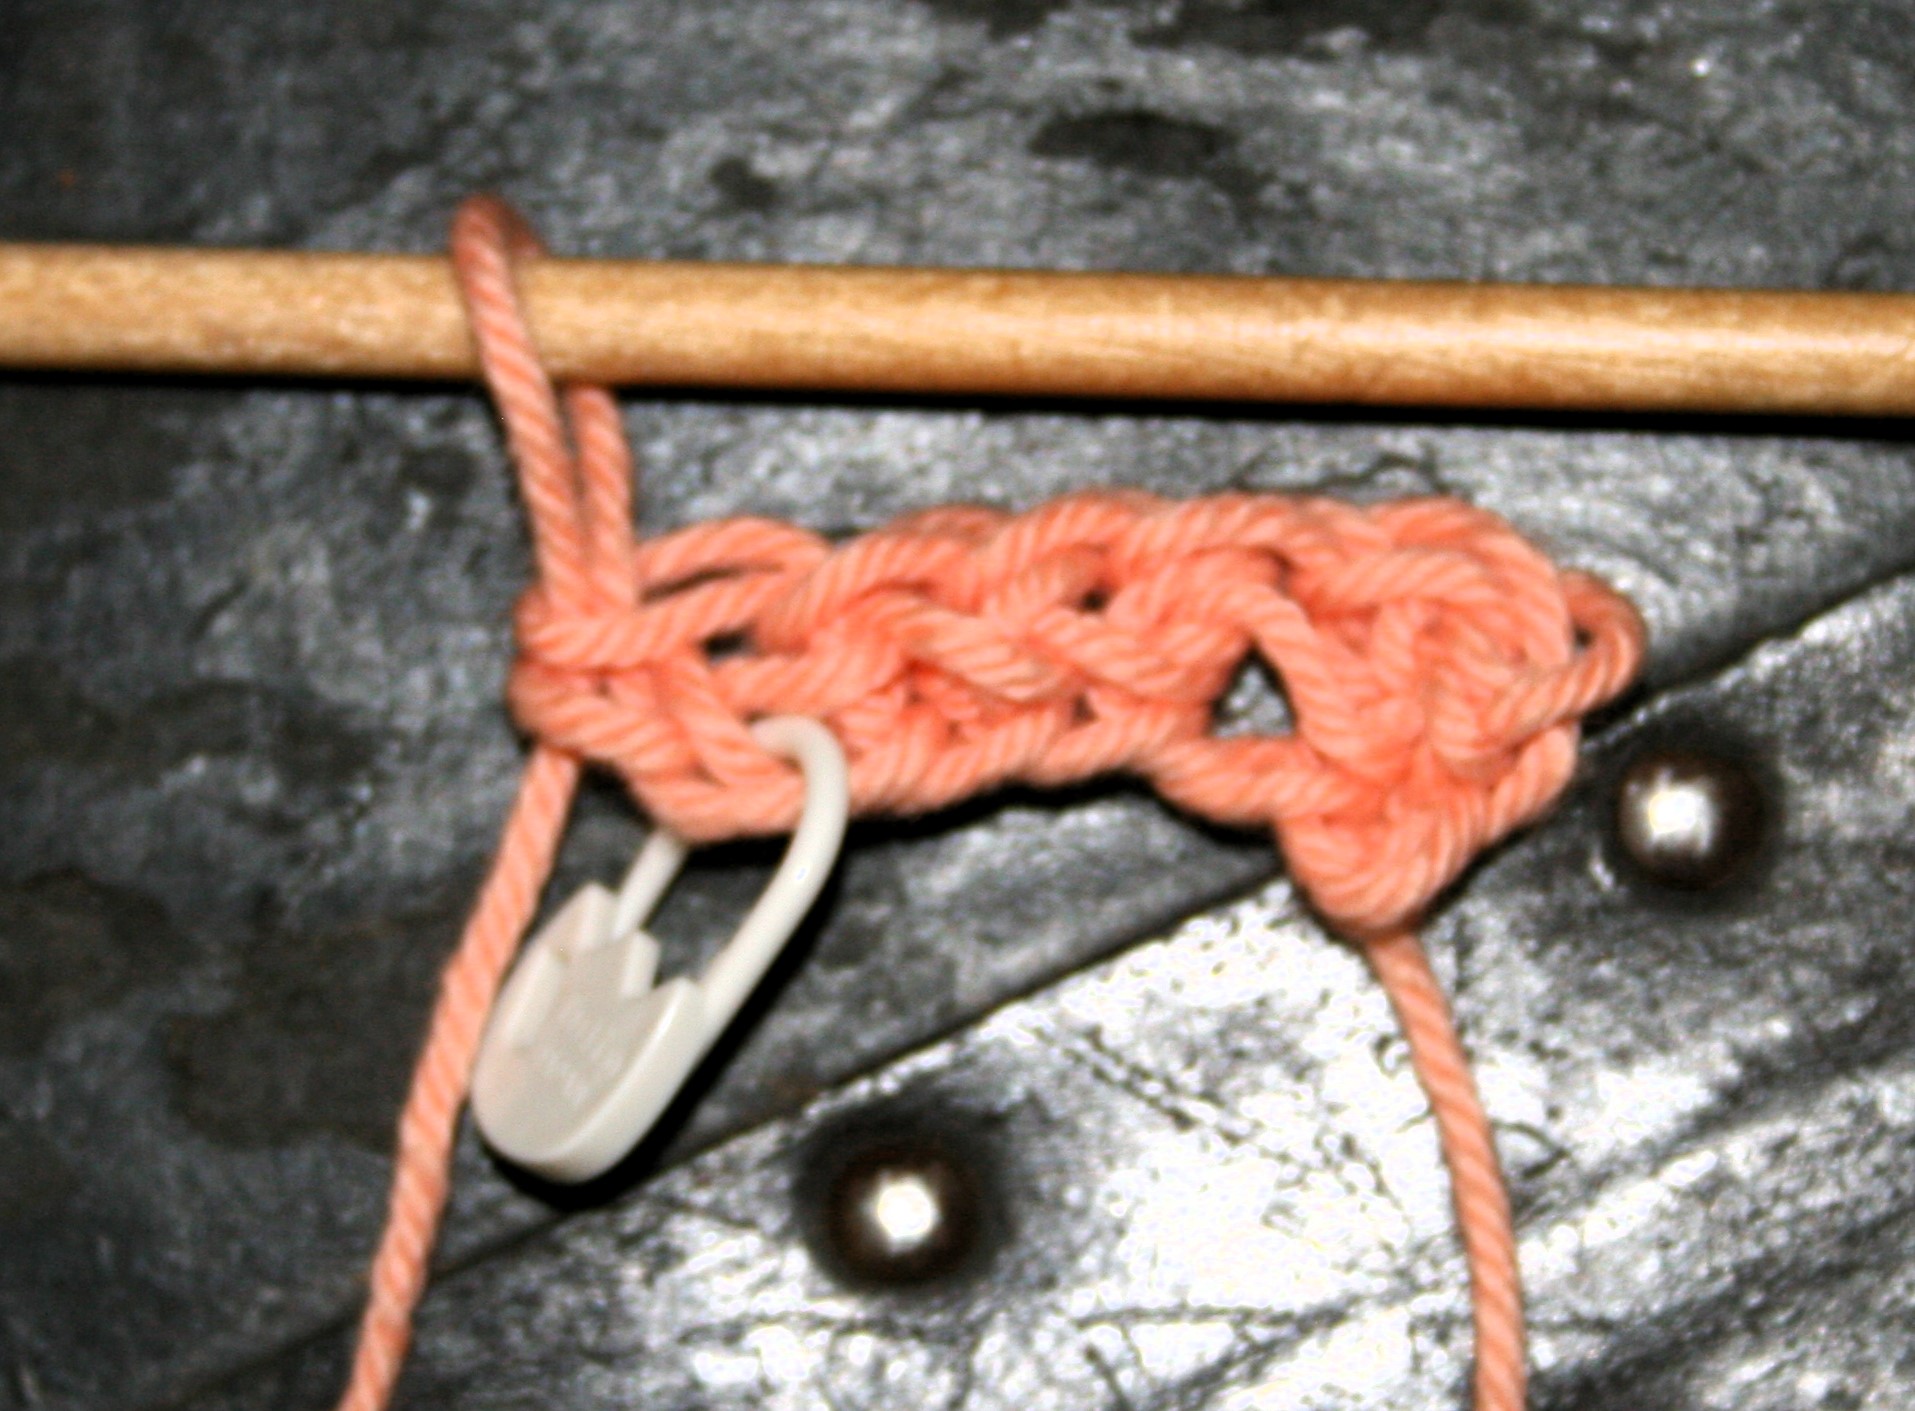
Then begin working the stitch in the first chain created, this is the chain nearest the slip knot. After “anchoring” (yo and pull through a loop) in this chain, create a chain 1. This chain 1 is going to be the base of the stitch and where you will start working the next stitch, so I pinch this point, but inserting a stitch marker can help as you are learning to find the location again. After creating this chain 1, continue working the remaining steps for the desired stitch.
The “chain 1” that is marked or pinched, is where you will start the next stitch, insert your hook here under 2 loops for a nicer finished edge. “anchor” the stitch, and then chain 1 again, moving marker to or pinching this new chain, and finishing the stitch. Once again, this newly marker chain is where you will work the next stitch.
After you understand this concept of “anchoring”, create a chain, and finish a stitch; essentially creating the chain at the bottom of the stitch (much like an extended stitch but instead of adding height it is used as a base for the stitch), you can modify many differing foundation rows.
Creating Foundation Stitches- Single Crochet
Chain 2
Insert hook into 2nd chain from hook
Yarn over, pull up a loop
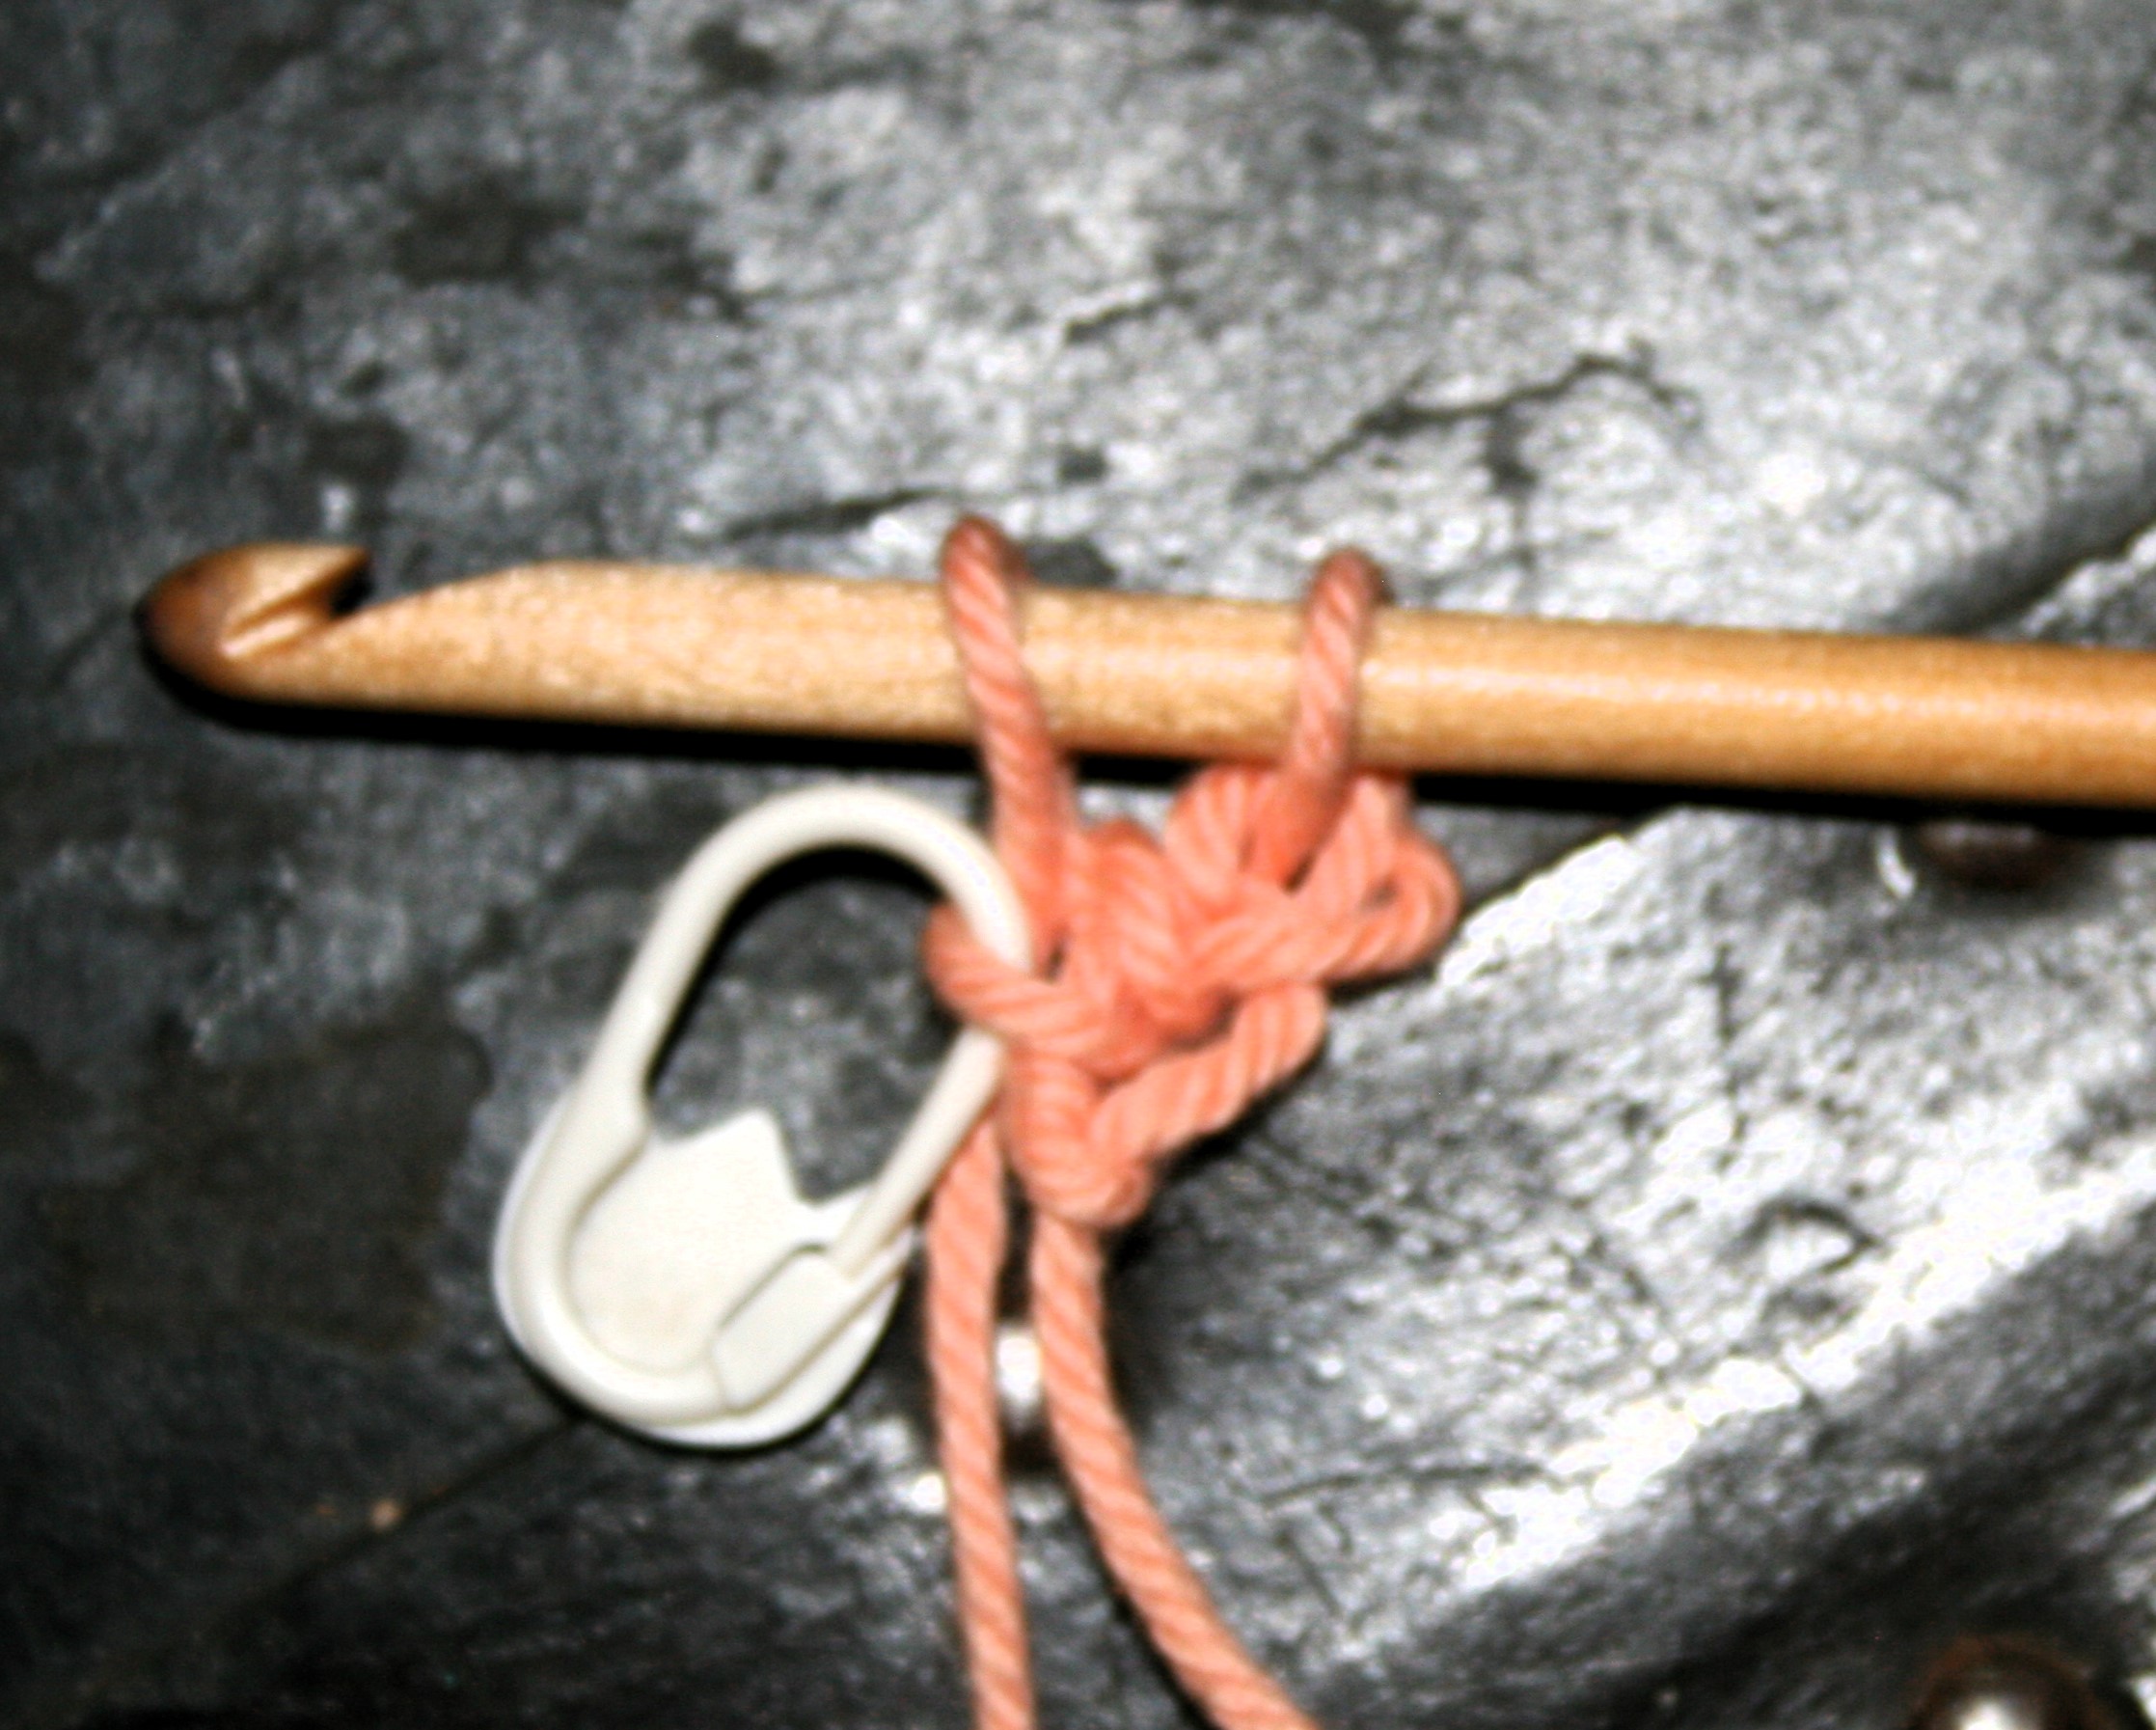
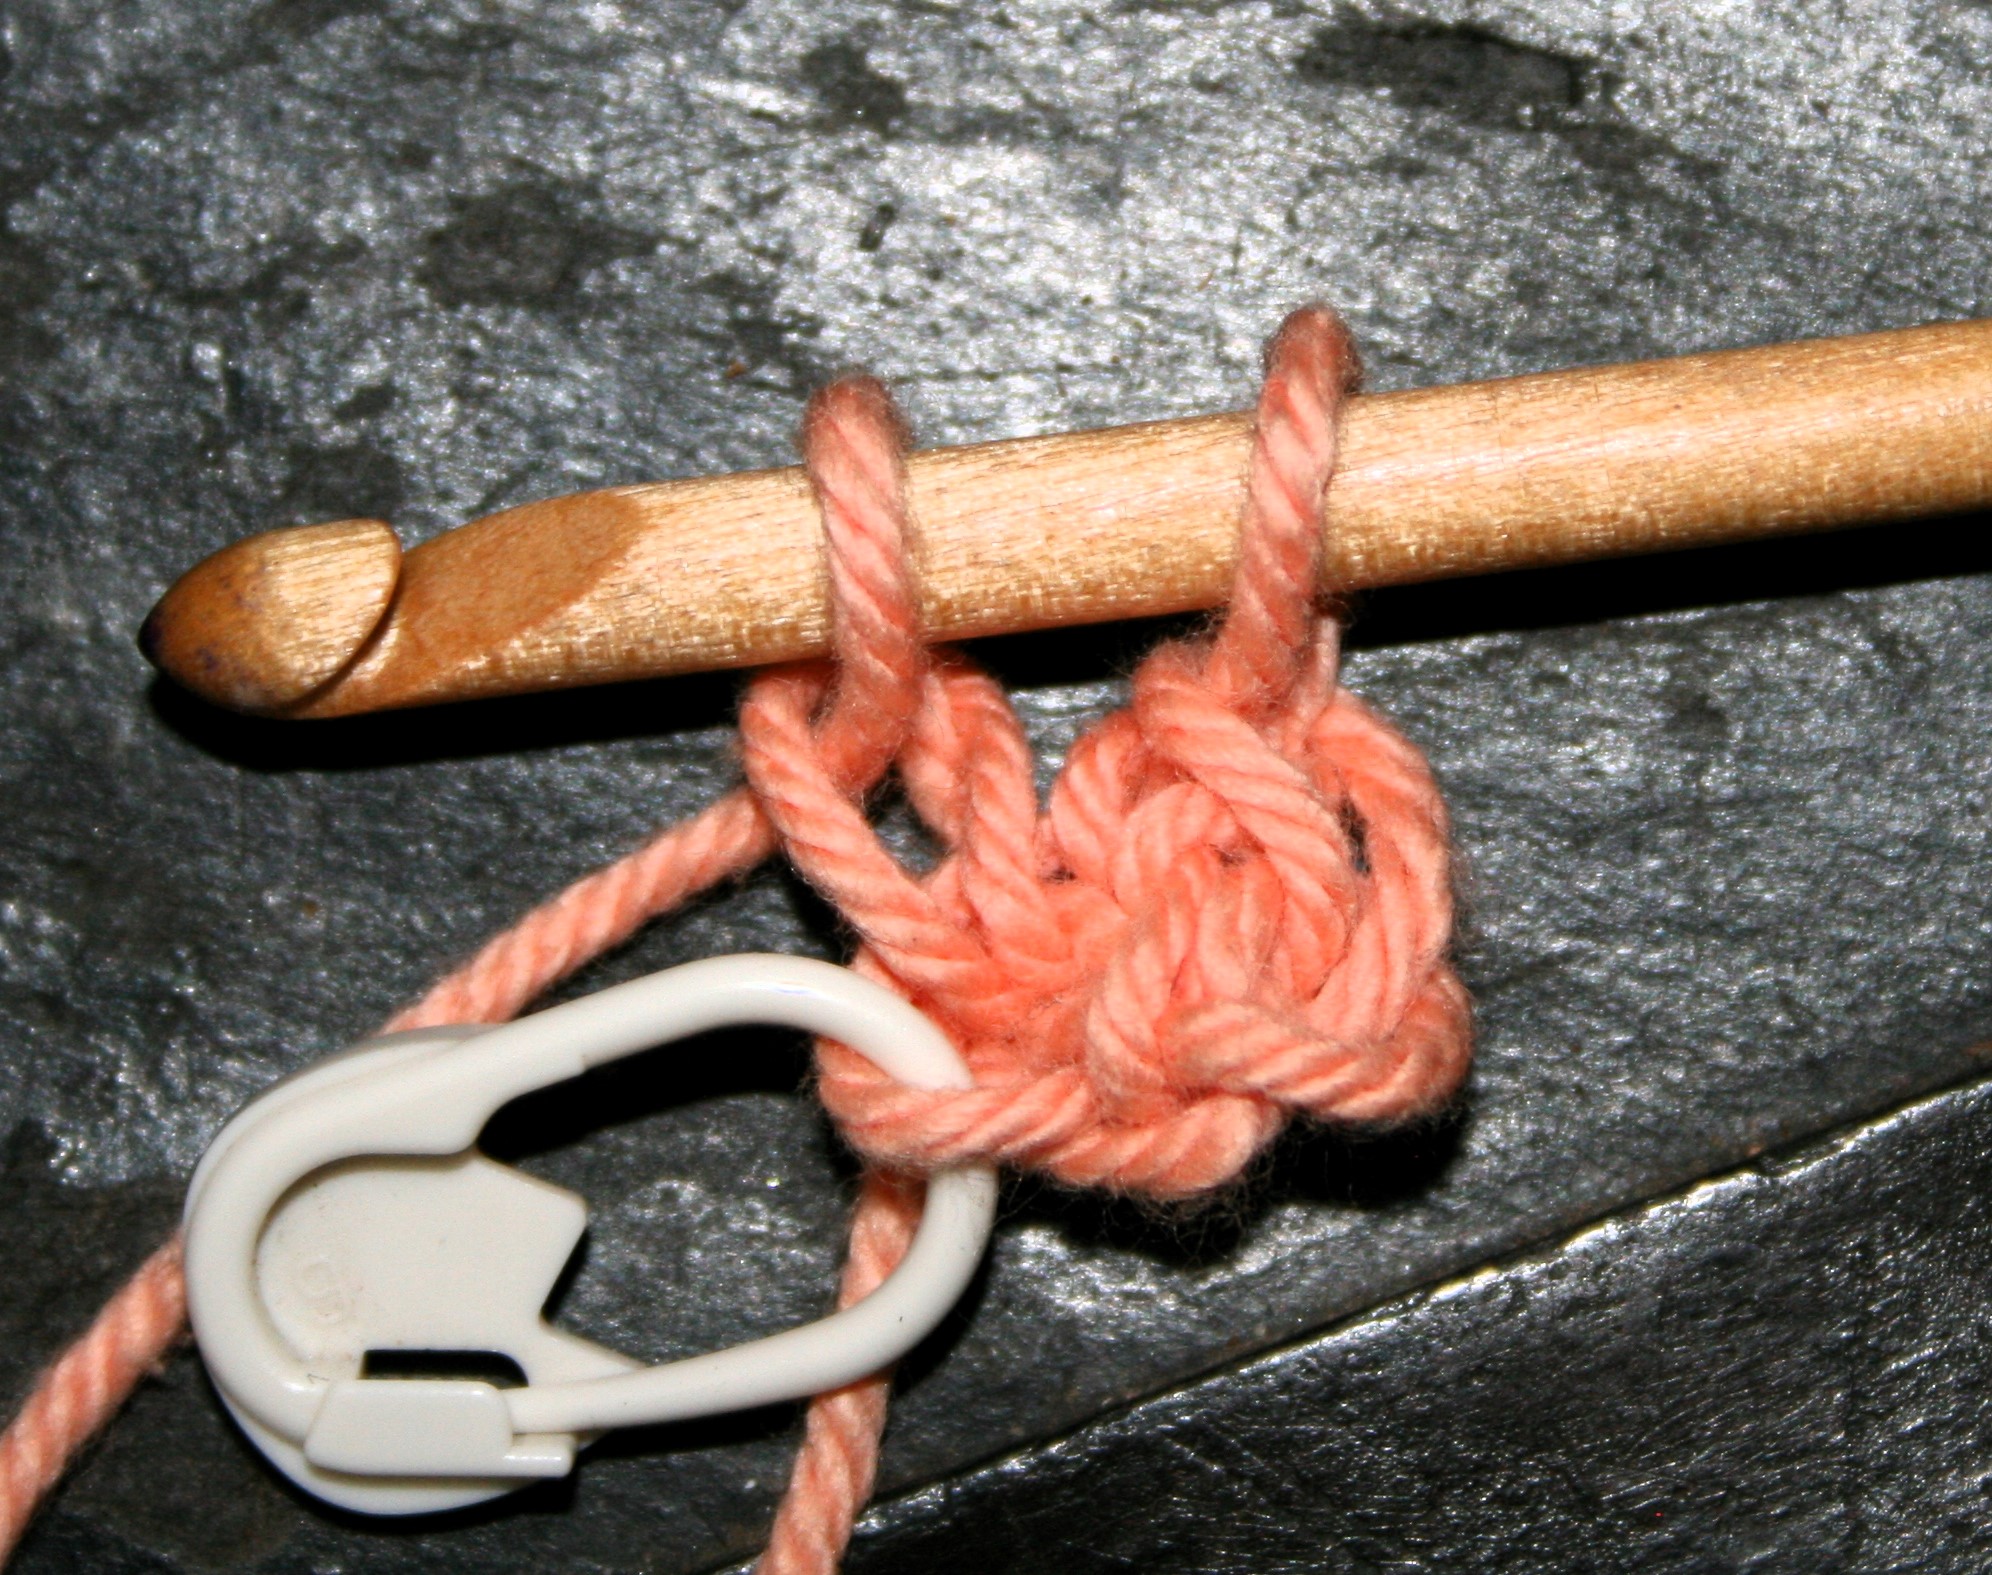
Chain 1 (mark or pinch this chain)
Yarn over, pull through 2 loops on hook.
*Insert hook into marked or pinched chain
Yarn over, pull up a loop,
Chain 1 (move marker to or pinch this chain)
Yarn over, pull through 2 loops on hook.
Repeat from * until desired length
Insert hook in 2nd chain from hookInsert marker in chainMove marker to next chainRow of Foundation Single Crochet
Foundation Double Crochet
Chain 4
Yarn over, insert hook into 4th chain from hook
Yarn over, pull up a loop
Chain 1 (mark or pinch this chain)
[Yarn over, pull through 2 loops on hook] twice
*Yarn over, insert hook into marked or pinched chain
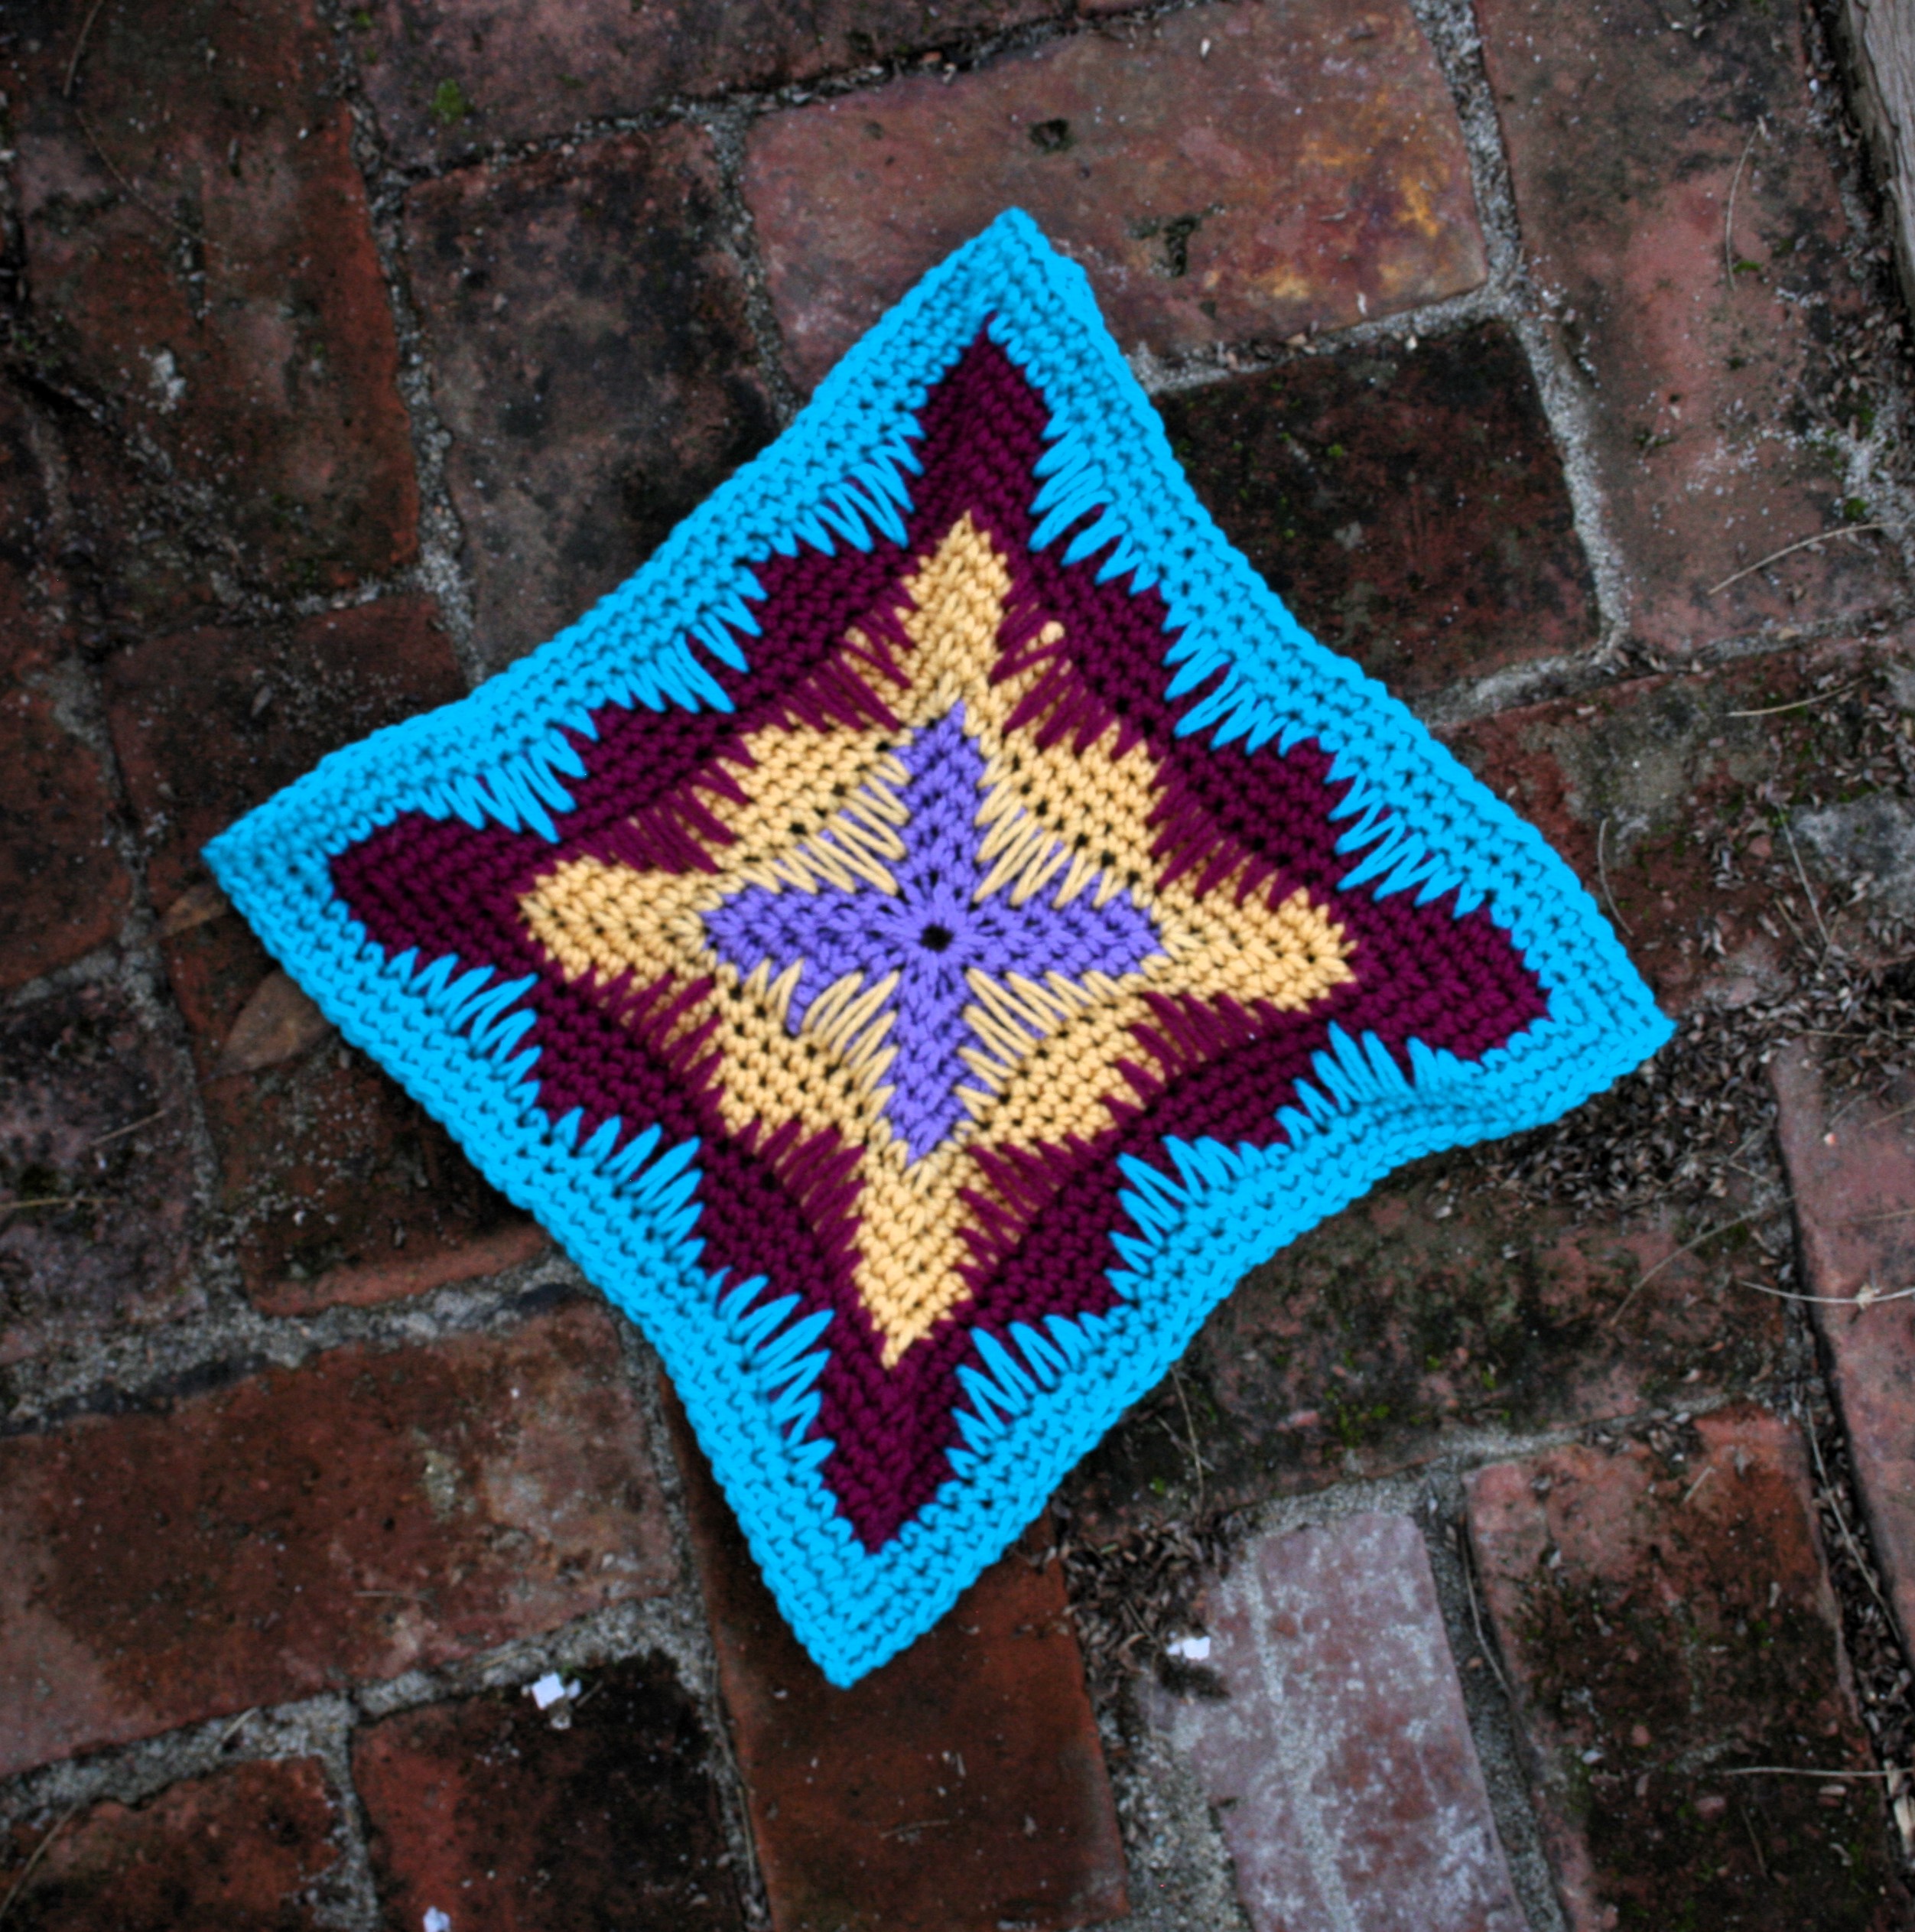
Diamonds Reflected Block will seem a bit wonky until it is blocked, so do not get discouraged early on. The other thing that will help with the “wonkiness” is to ensure that you are pulling the long loops up to the height of the working row. If these loops are too short they squish the fabric down and cause puckering.
I was inspired to work the Diamonds Reflected during my family’s trip to the Grand Canyon just after Christmas. It was my first time to visit, and it is an inspiring place. I was even swatching up some ideas for this block with flying in a helicopter over the North Rim. And yes, I was looking out the window too. Fortunately I don’t have the seat with the glass floor…my husband had that…I don’t know how well my “I don’t have a fear of heights” statement would succeed in that seat.
Rnd 1: With A, Ch 2, sc in 2nd ch from hook, 2 sc in same st, ch 2, [3 sc, ch 2] 3 times, sl st to join. – 12 sc (3 sc per side), 4 ch-2 sps
Rnd 2: Ch 1, sc in same st, sc in each st across to ch-2 sp [(sc, ch 2, sc) in ch-2 sp, sc in each st across] 3 times, (sc, ch 2, sc) in ch-2 sp, sc in rem sts to beg st, sl st to join. –20 sc (5 sc per side), 4 ch-2 sps
Rnd 3-5: Rep Rnd 2. Fasten off after Rnd 5. – 44 sc (11 sc per side) , 4 ch-2 sps
Start the long loops
Rnd 6: With B, join with a ssc to any ch-2 sp, ch 2, sc in same sp, sc in next 2 sts, LLsc in next st 1 Rnd below working Rnd, LLsc in next st 2 Rnds below working Rnd, LLsc in next st 3 Rnds below working Rnd, LLsc in next st 4 Rnds below working Rnd, LLsc in next st 3 Rnds below working Rnd, LLsc in next st 2 Rnds below working Rnd, LLsc in next st 1 Rnd below working Rnd, sc in last 2 sts, (sc, ch 2, sc) in ch-2 sp, [sc in next 2 sts, LLsc in next st 1 Rnd below working Rnd, LLsc in next st 2 Rnds below working Rnd, LLsc in next st 3 Rnds below working Rnd, LLsc in next st 4 Rnds below working Rnd, LLsc in next st 3 Rnds below working Rnd, LLsc in next st 2 Rnds below working Rnd, LLsc in next st 1 Rnd below working Rnd, sc in last 2 sts] 3 times, sl st to join.– 24 sc, 4ch-2 sps, 28 LLsc sts
Rnds 7-10: Rep Rnd 2. Fasten off at the end of Rnd 10. – 84 sc (21 sc per side), 4 ch-2 sps
You should start seeing the diamonds…
Rnd 11: With C, join with a ssc to any ch-2 sp, ch 2, sc in same sp, sc in next 3 sts, LLsc in next st 1 Rnd below working Rnd, LLsc in next st 2 Rnds below working Rnd, LLsc in next st 3 Rnds below working Rnd, LLsc in next st 4 Rnds below working Rnd, LLsc in next st 3 Rnds below working Rnd, LLsc in next st 2 Rnds below working Rnd, LLsc in next st 1 Rnd below working Rnd, sc in next st, LLsc in next st 1 Rnd below working Rnd, LLsc in next st 2 Rnds below working Rnd, LLsc in next st 3 Rnds below working Rnd, LLsc in next st 4 Rnds below working Rnd, LLsc in next st 3 Rnds below working Rnd, LLsc in next st 2 Rnds below working Rnd, LLsc in next st 1 Rnd below working Rnd, sc in next 3 sts, [(sc, ch 2, sc) in ch-2 sp, sc in next 3 sts, LLsc in next st 1 Rnd below working Rnd, LLsc in next st 2 Rnds below working Rnd, LLsc in next st 3 Rnds below working Rnd, LLsc in next st 4 Rnds below working Rnd, LLsc in next st 3 Rnds below working Rnd, LLsc in next st 2 Rnds below working Rnd, LLsc in next st 1 Rnd below working Rnd, sc in next st, LLsc in next st 1 Rnd below working Rnd, LLsc in next st 2 Rnds below working Rnd, LLsc in next st 3 Rnds below working Rnd, LLsc in next st 4 Rnds below working Rnd, LLsc in next st 3 Rnds below working Rnd, LLsc in next st 2 Rnds below working Rnd, LLsc in next st 1 Rnd below working Rnd, sc in next 3 sts] 3 times, sl st to join. –36 sc, 56 LLsc, 4 ch-2 sps
Rnds 12-15: Rep Rnd 2. Fasten off after Rnd 15. –124 sc (31 sc per side), 4 ch-2 sps
Last time with the long loops…
Rnd 16: With D, join with a ssc to any ch-2 sp, ch 2, sc in same sp, sc in next 4 sts, LLsc in next st 1 Rnd below working Rnd, LLsc in next st 2 Rnds below working Rnd, LLsc in next st 3 Rnds below working Rnd, LLsc in next st 4 Rnds below working Rnd, LLsc in next st 3 Rnds below working Rnd, LLsc in next st 2 Rnds below working Rnd, LLsc in next st 1 Rnd below working Rnd, [sc in next st, LLsc in next st 1 Rnd below working Rnd, LLsc in next st 2 Rnds below working Rnd, LLsc in next st 3 Rnds below working Rnd, LLsc in next st 4 Rnds below working Rnd, LLsc in next st 3 Rnds below working Rnd, LLsc in next st 2 Rnds below working Rnd, LLsc in next st 1 Rnd below working Rnd] 2 times sc in next 3 sts, {(sc, ch 2, sc) in ch-2 sp, sc in next 4 sts, LLsc in next st 1 Rnd below working Rnd, LLsc in next st 2 Rnds below working Rnd, LLsc in next st 3 Rnds below working Rnd, LLsc in next st 4 Rnds below working Rnd, LLsc in next st 3 Rnds below working Rnd, LLsc in next st 2 Rnds below working Rnd, LLsc in next st 1 Rnd below working Rnd, [sc in next st, LLsc in next st 1 Rnd below working Rnd, LLsc in next st 2 Rnds below working Rnd, LLsc in next st 3 Rnds below working Rnd, LLsc in next st 4 Rnds below working Rnd, LLsc in next st 3 Rnds below working Rnd, LLsc in next st 2 Rnds below working Rnd, LLsc in next st 1 Rnd below working Rnd] 2 times sc in next 3 sts, (sc, ch 2, sc) in ch-2 sp} 3 times, sl st to join. –48 sc, 84 LLsc, 4 ch-2 sps
Corner to Corner in the round is a great technique that lends itself to a fun look while being a relaxing project. This technique was brought to my attention by one of my students, as she was asking how to create it. After some research I discover it here.
Essentially you are creating the beginning of 4 corner to corner blankets at the same time. You only have to work the increases, and just increase from the one corner of a blanket, to then work the next increase of the next blanket.
The first few rounds can be a bit fiddly, but after that it becomes pretty easy.
Getting Started
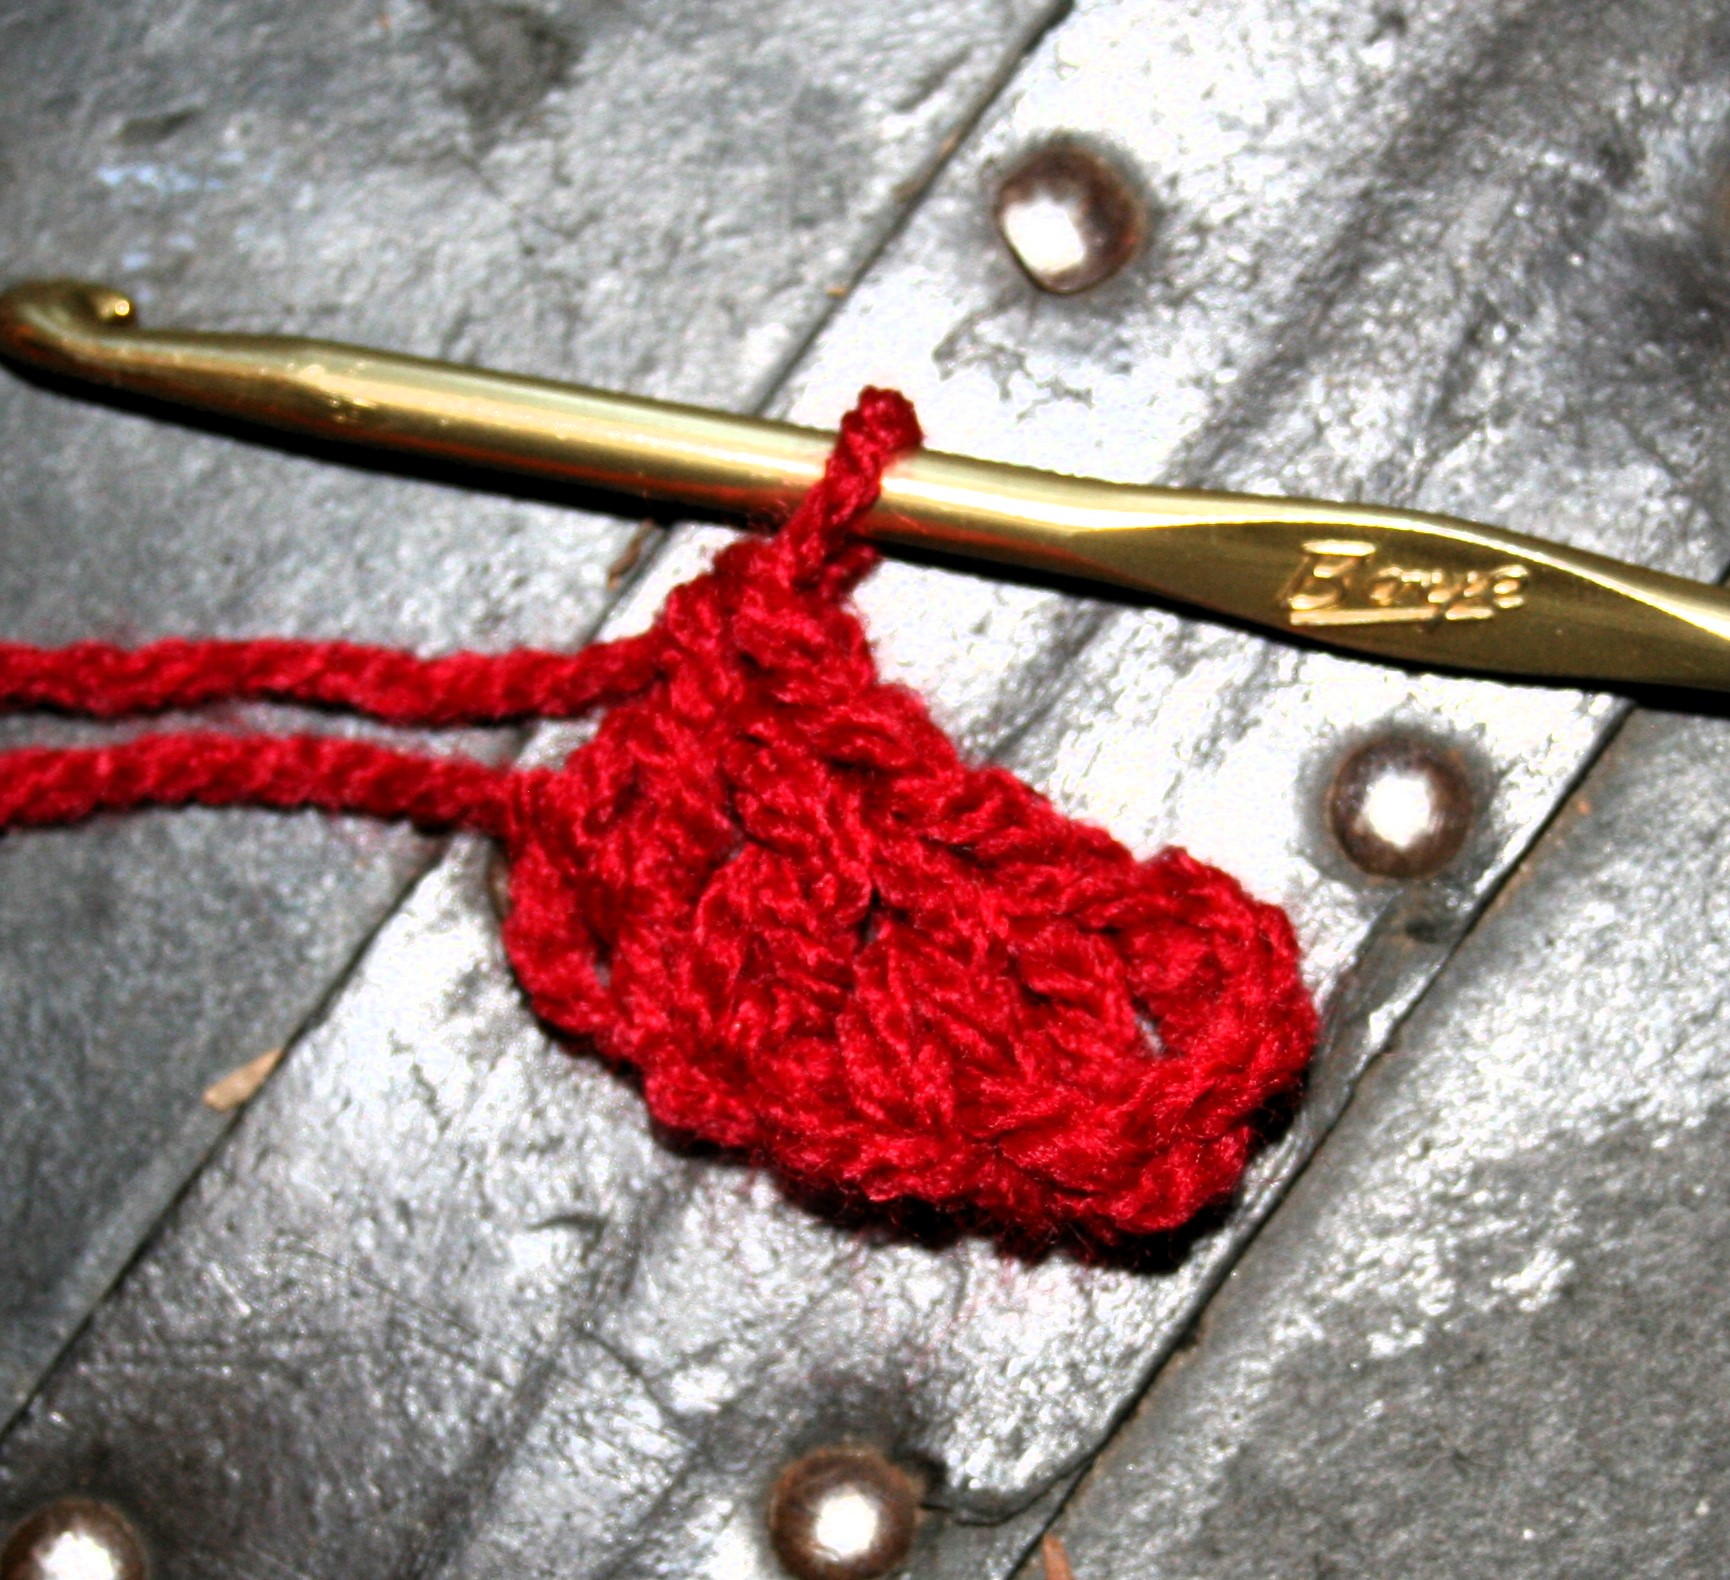
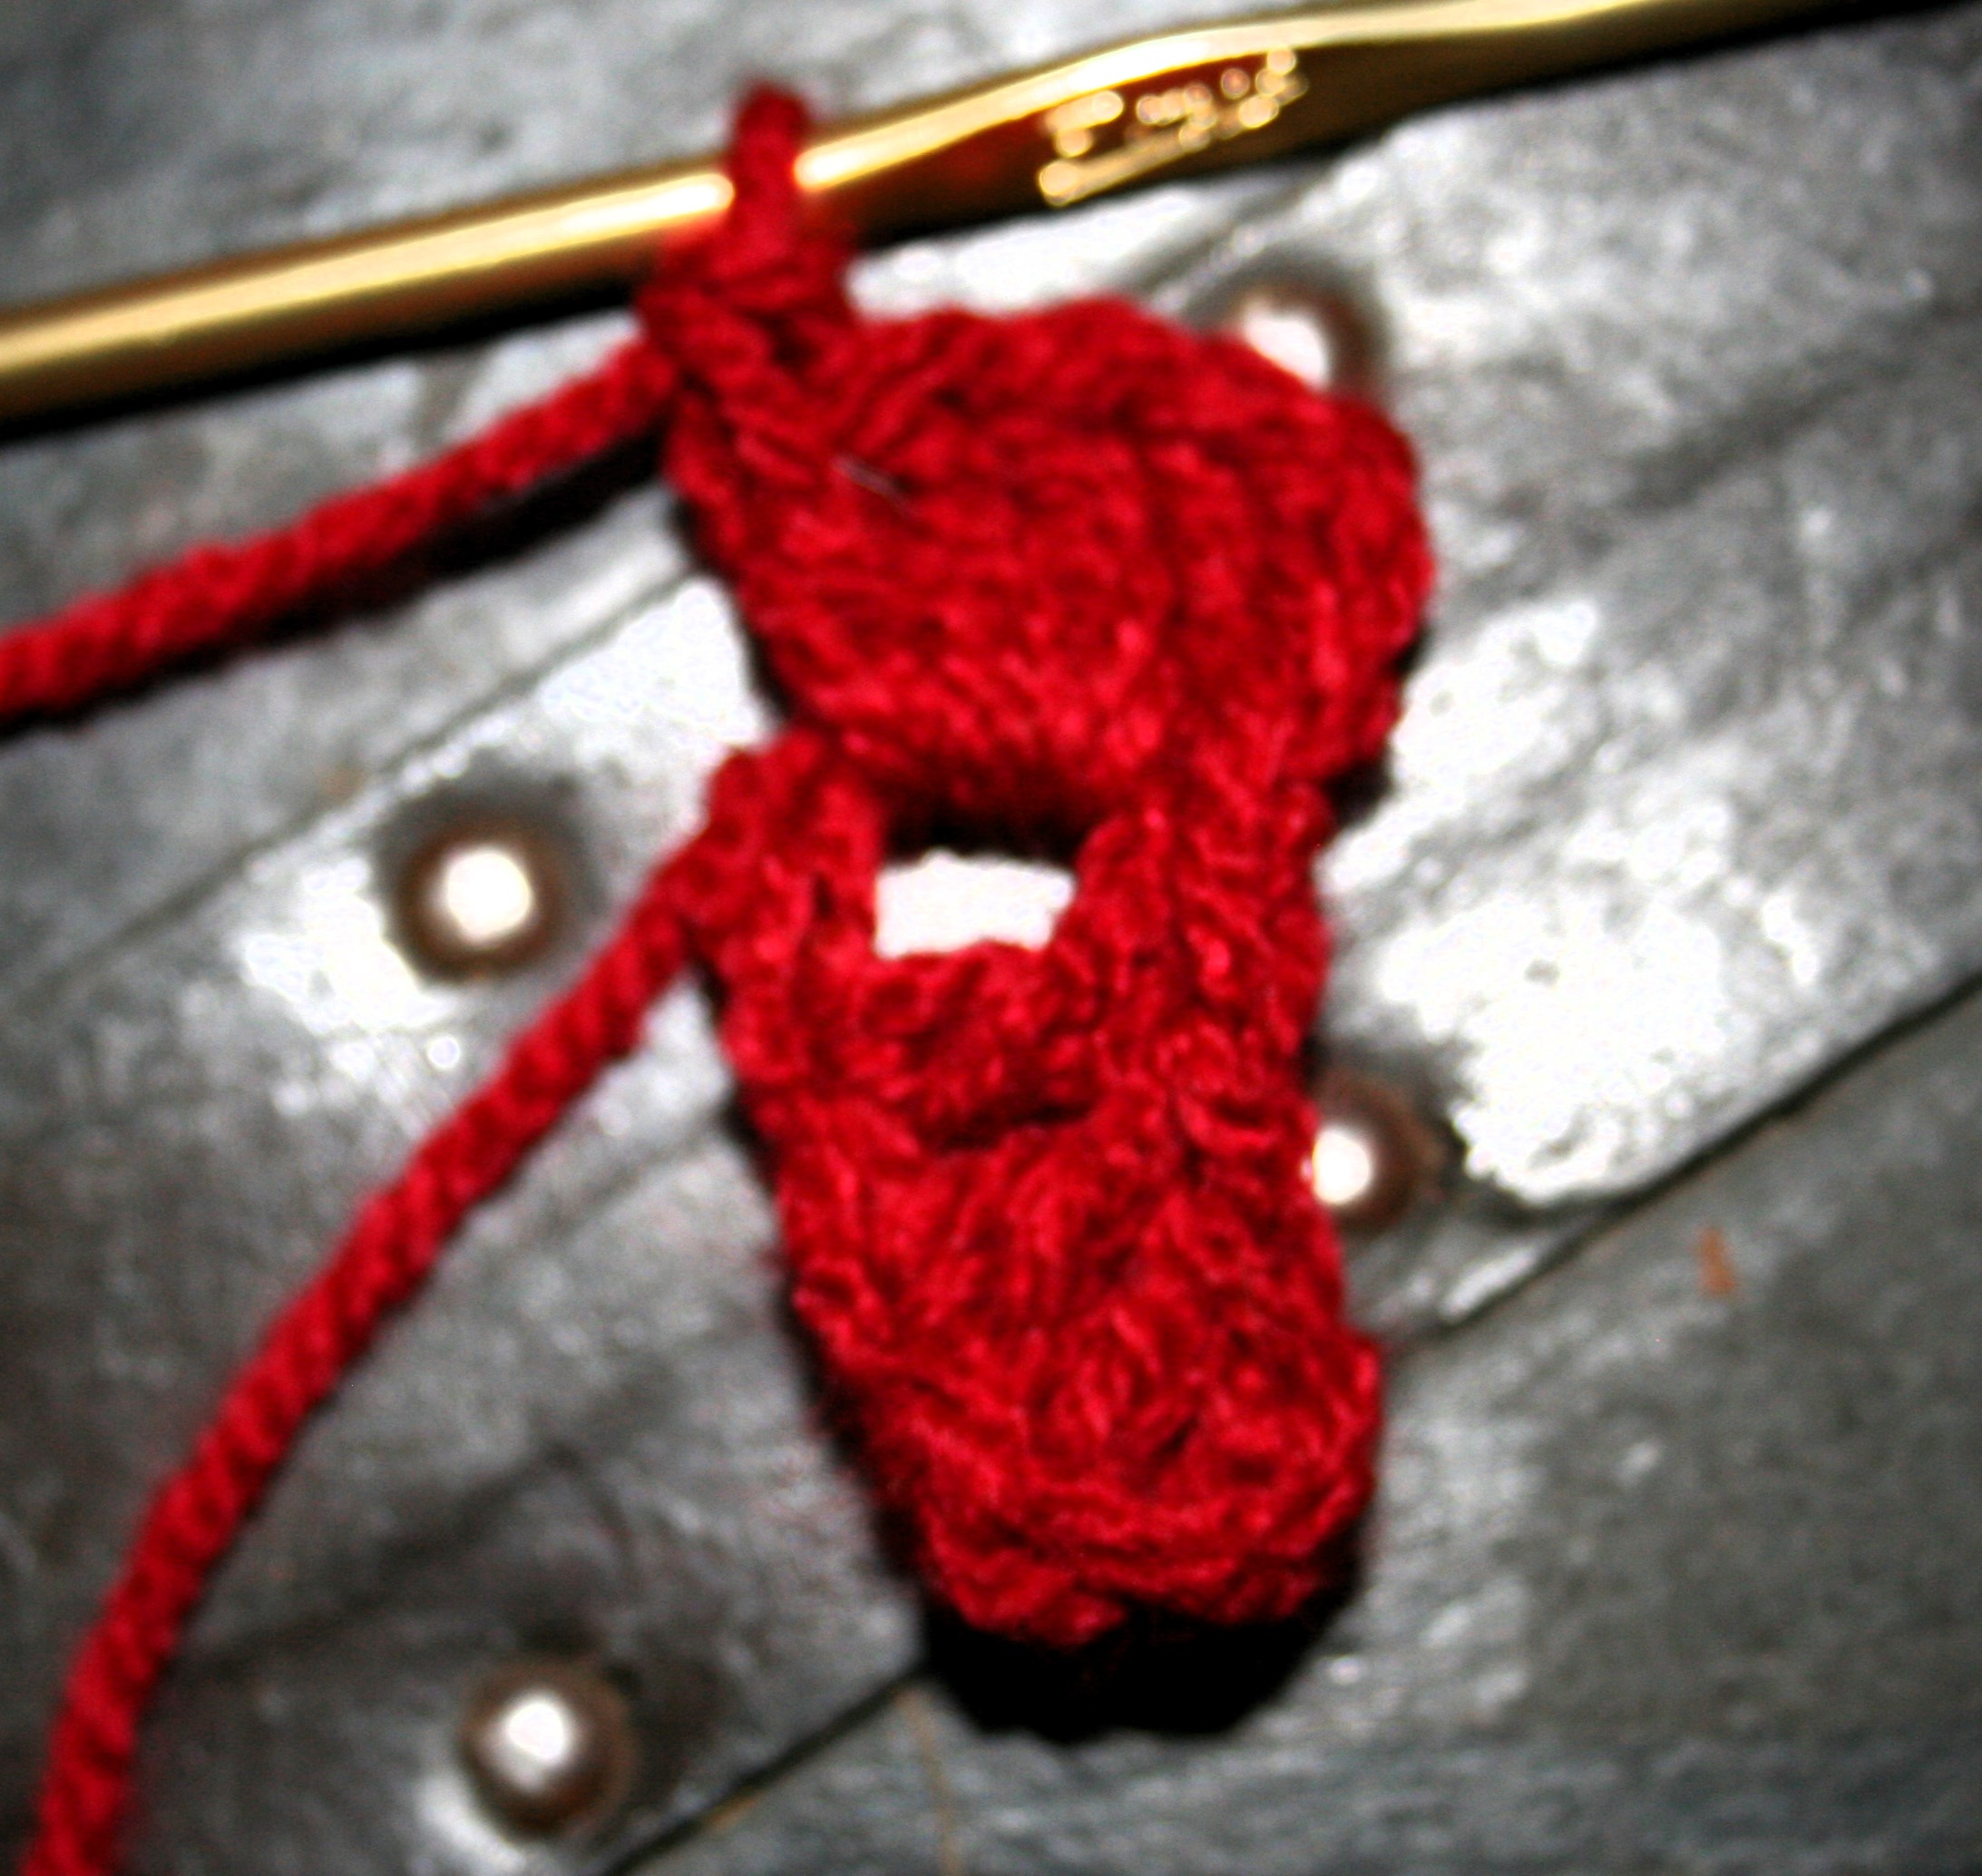
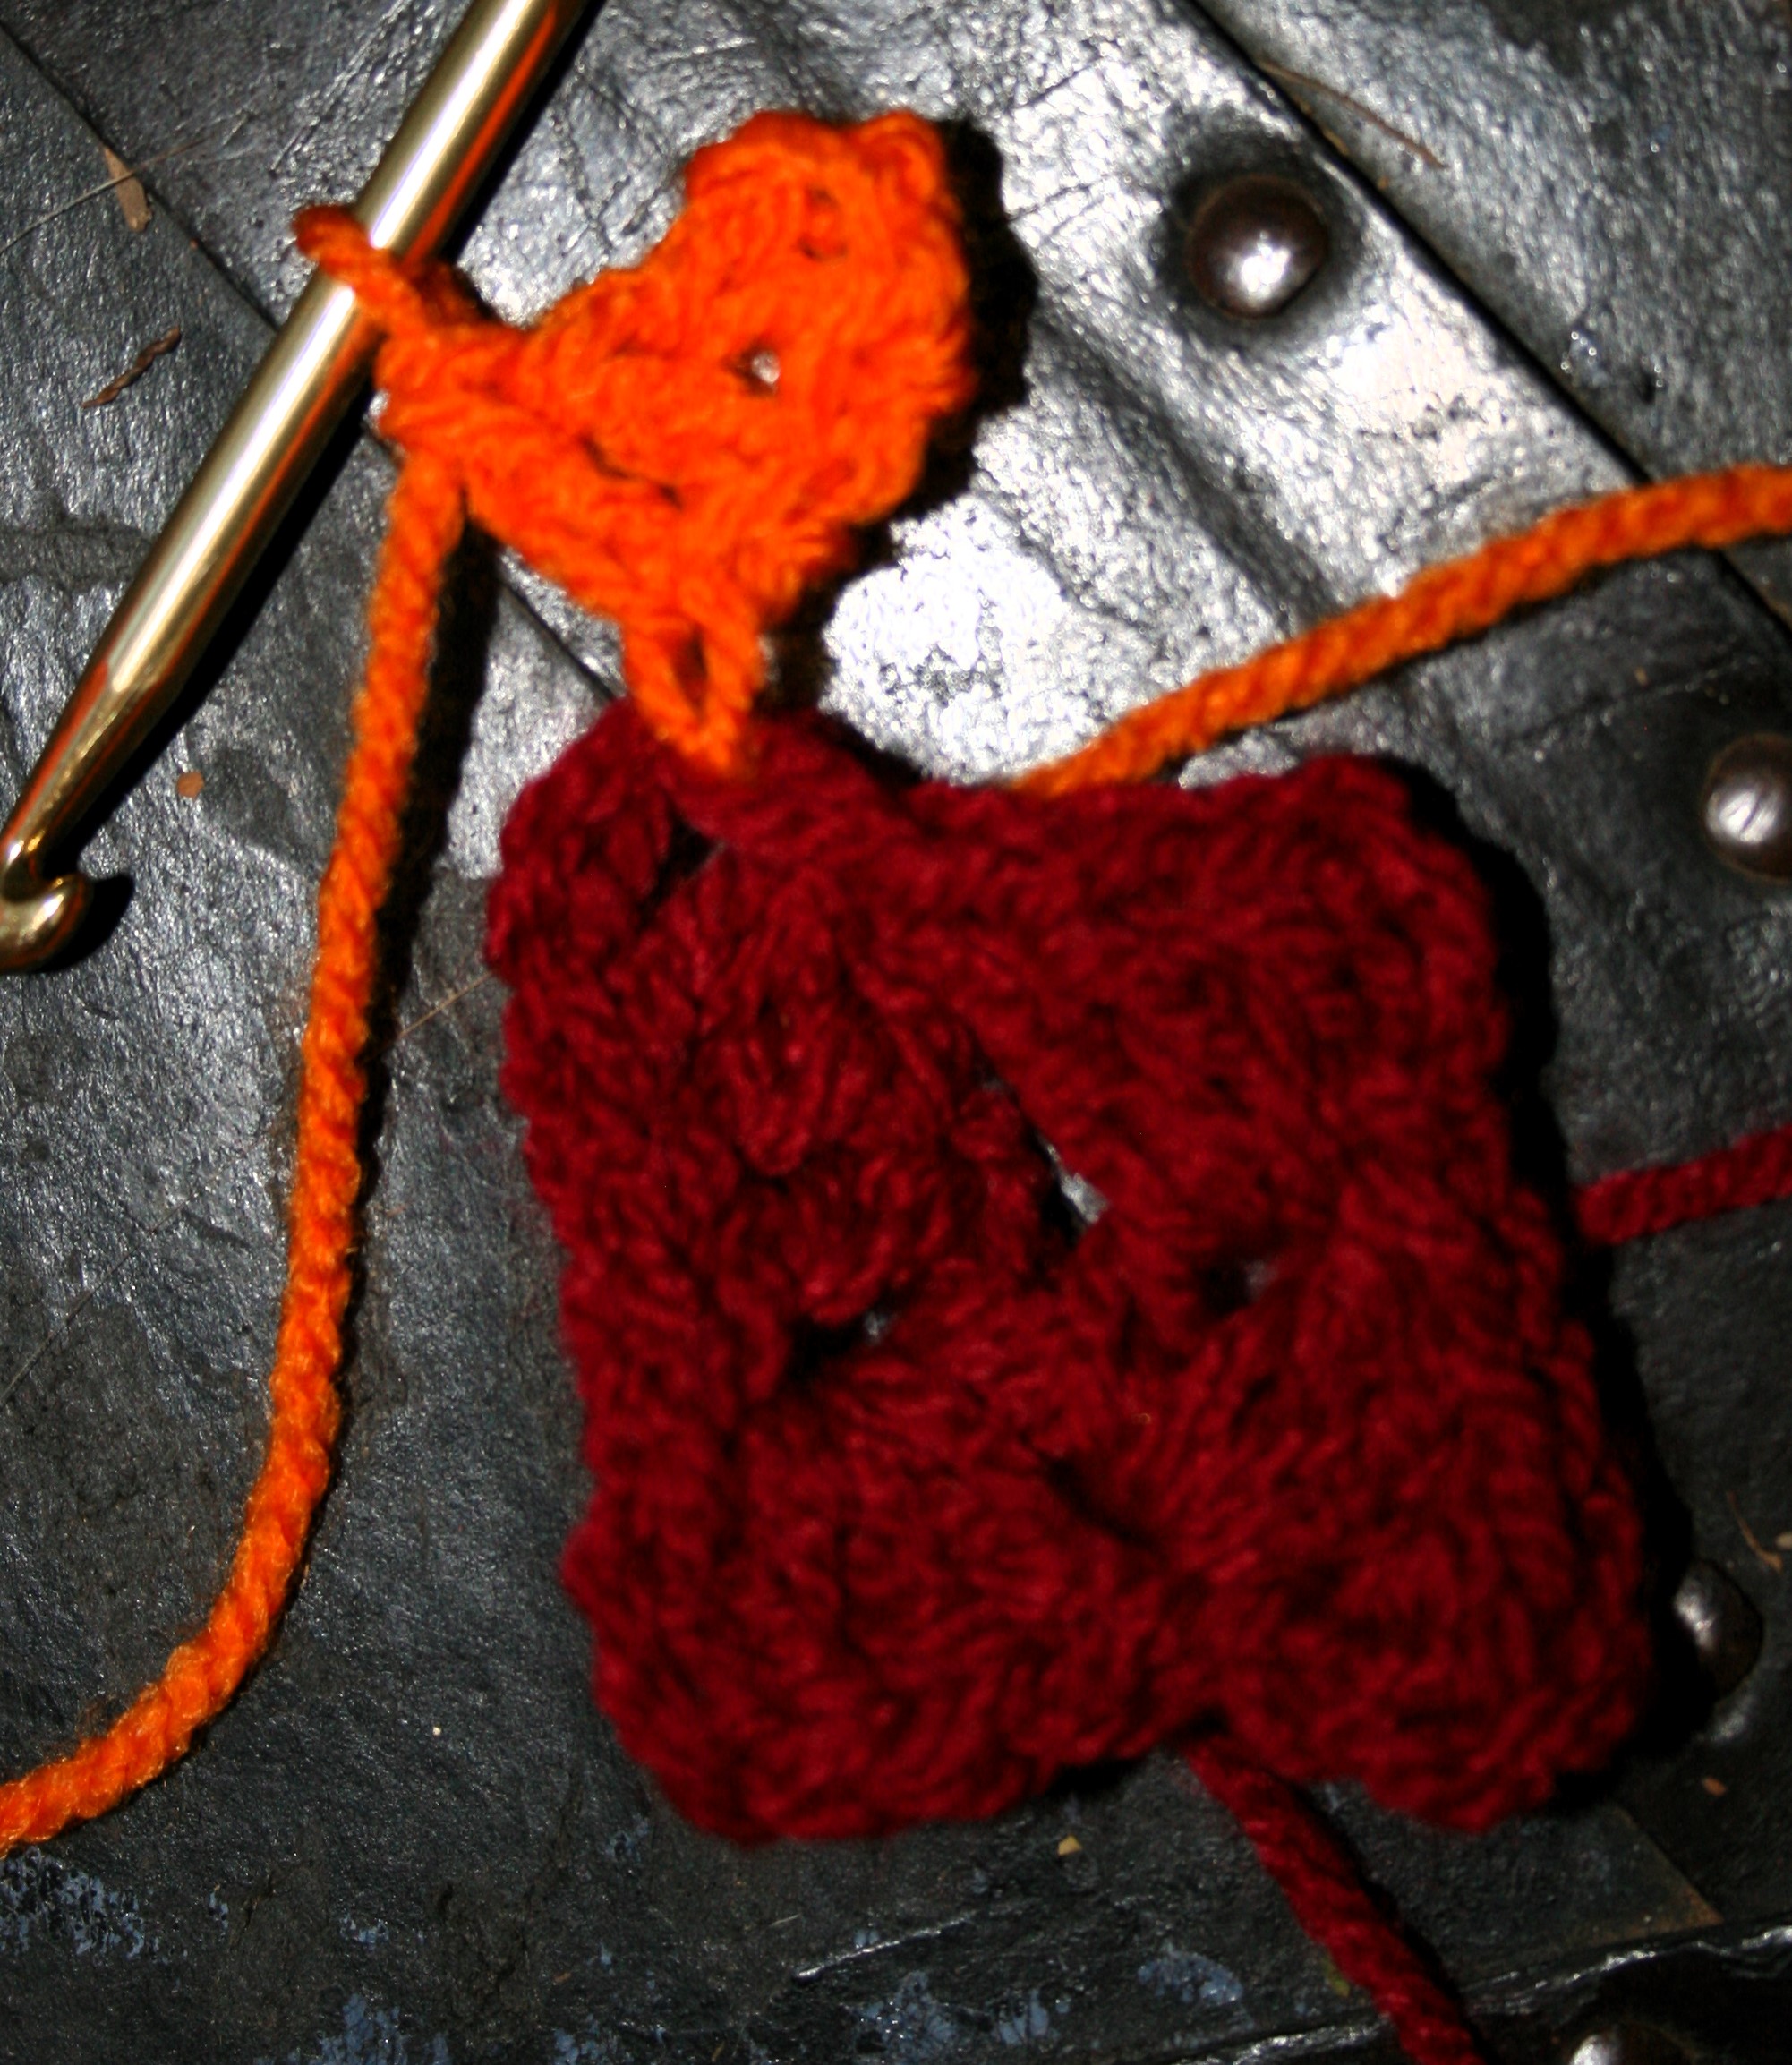
To get started you create a chain 7, dc in the 4th chain from the hook, and in each ch across. There will be 4 dc and the turning chain.
First block
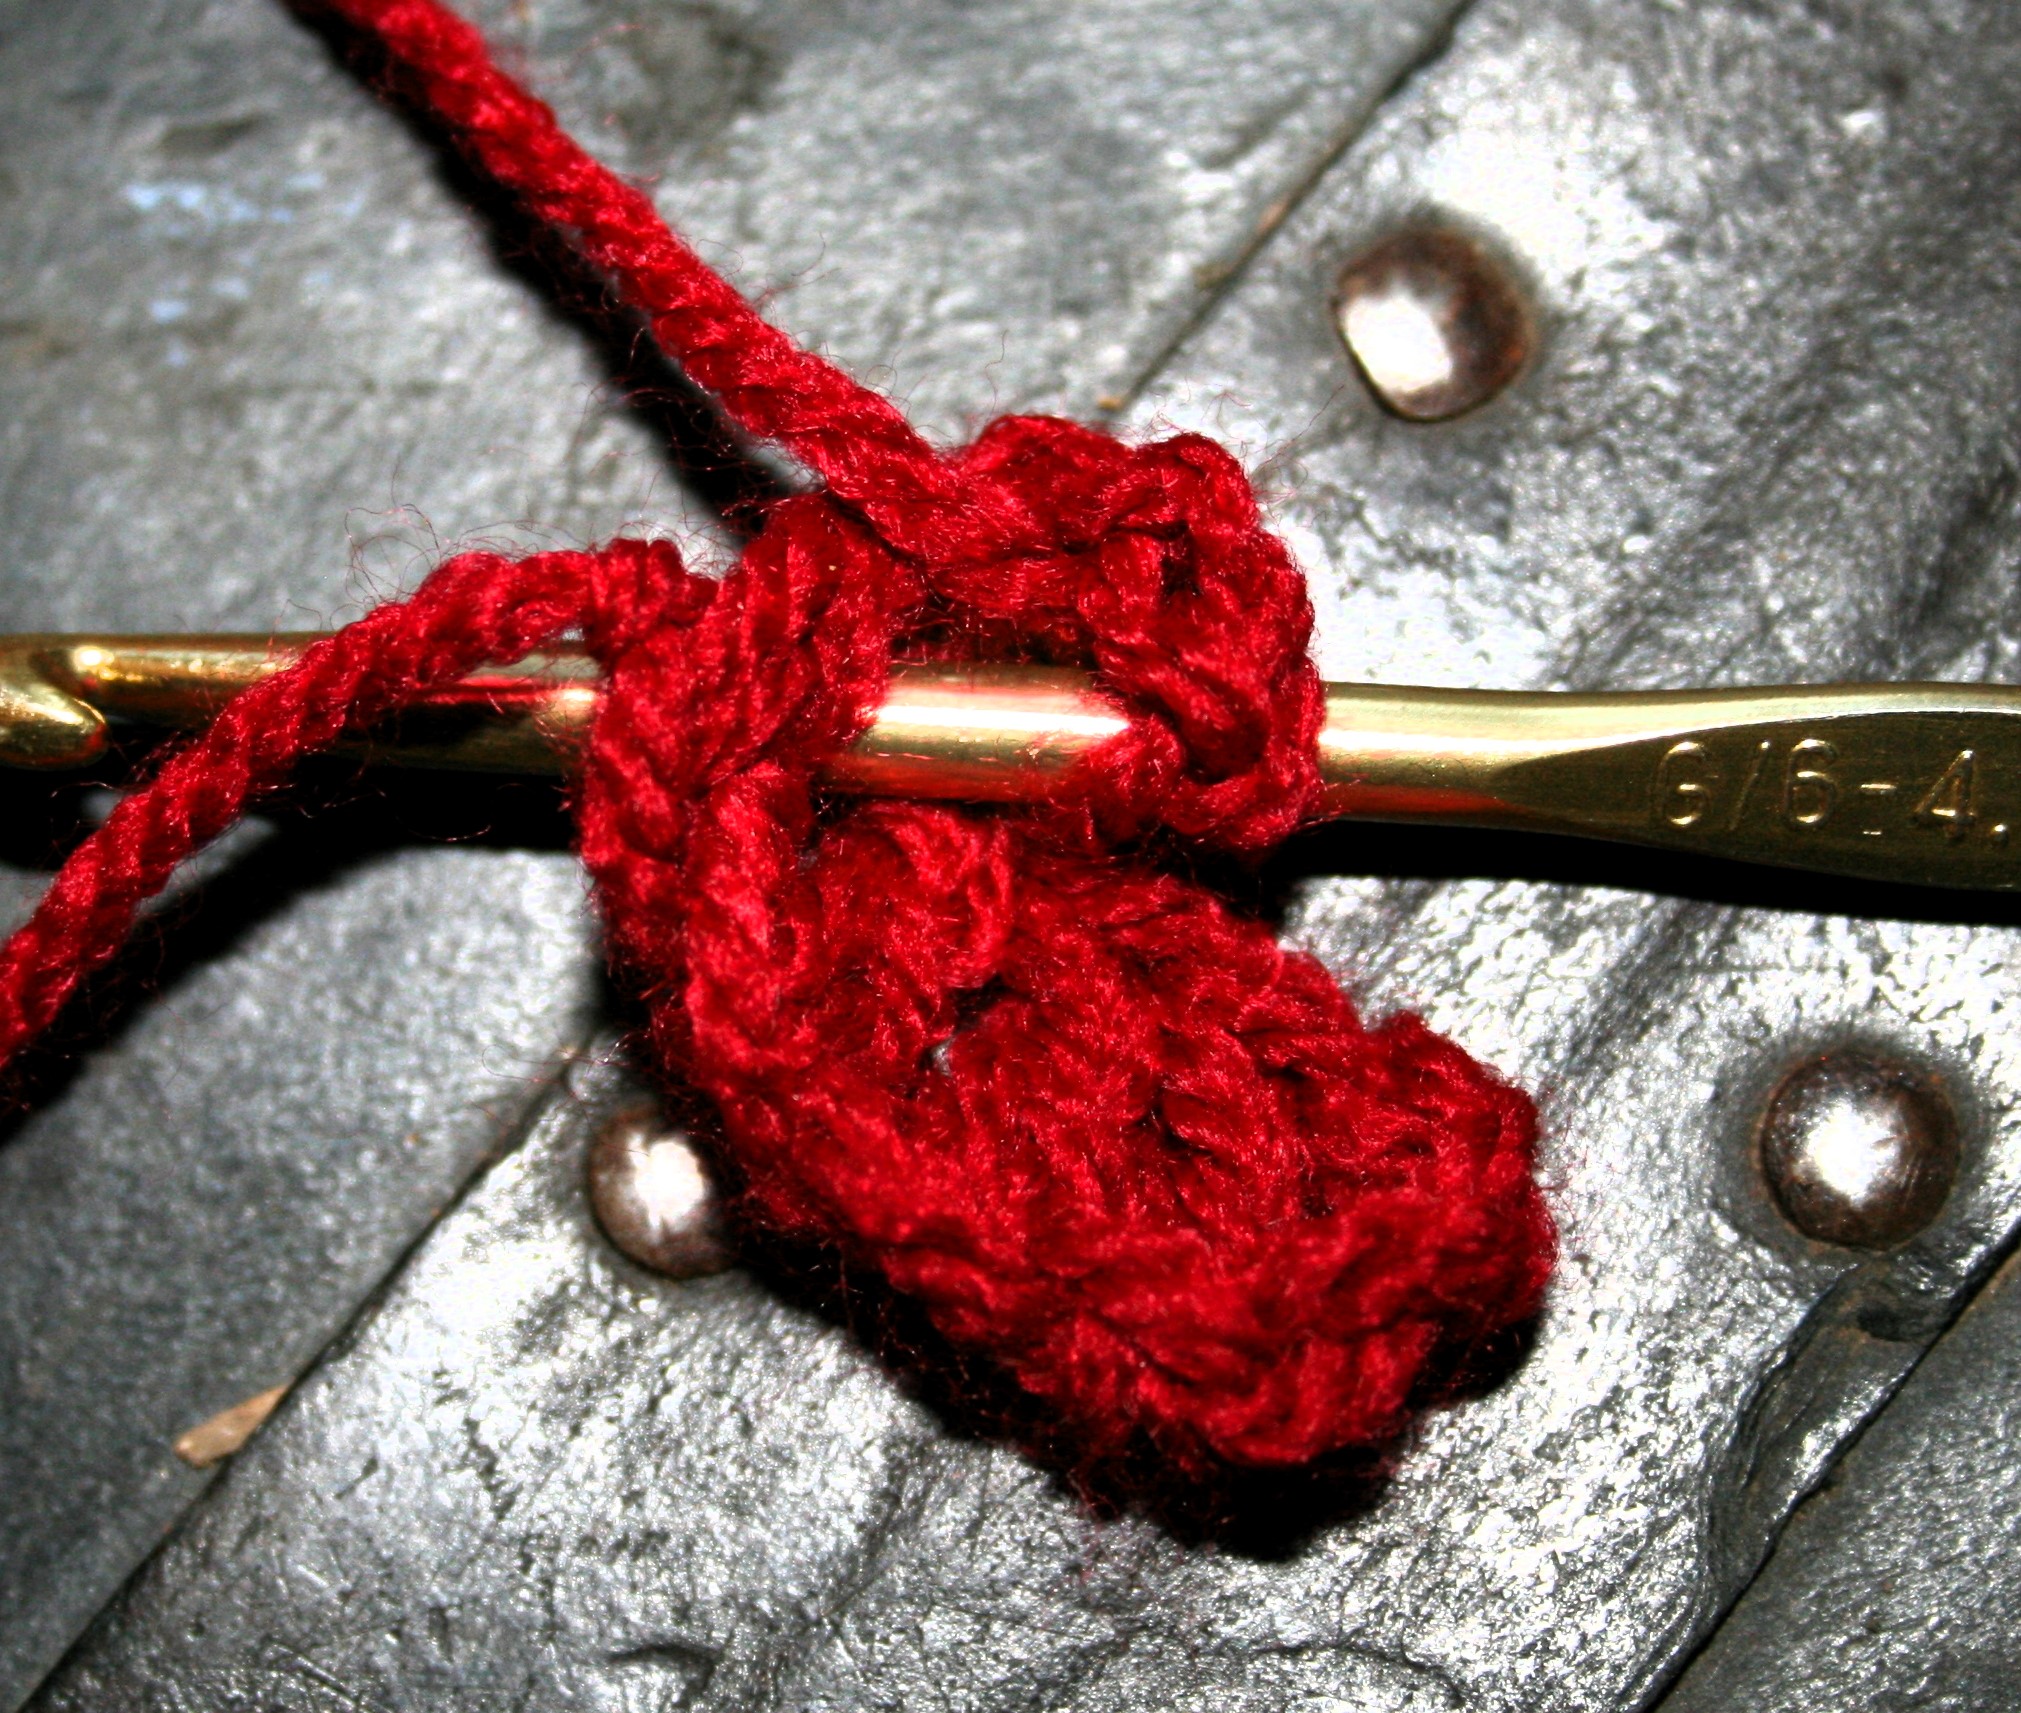
Now chain 3, and rotate the little block clockwise if your right handed, counter-clockwise if you are left, so that you work the next 4 double crochet in around the post of the last dc created. Work these 4 double crochets.
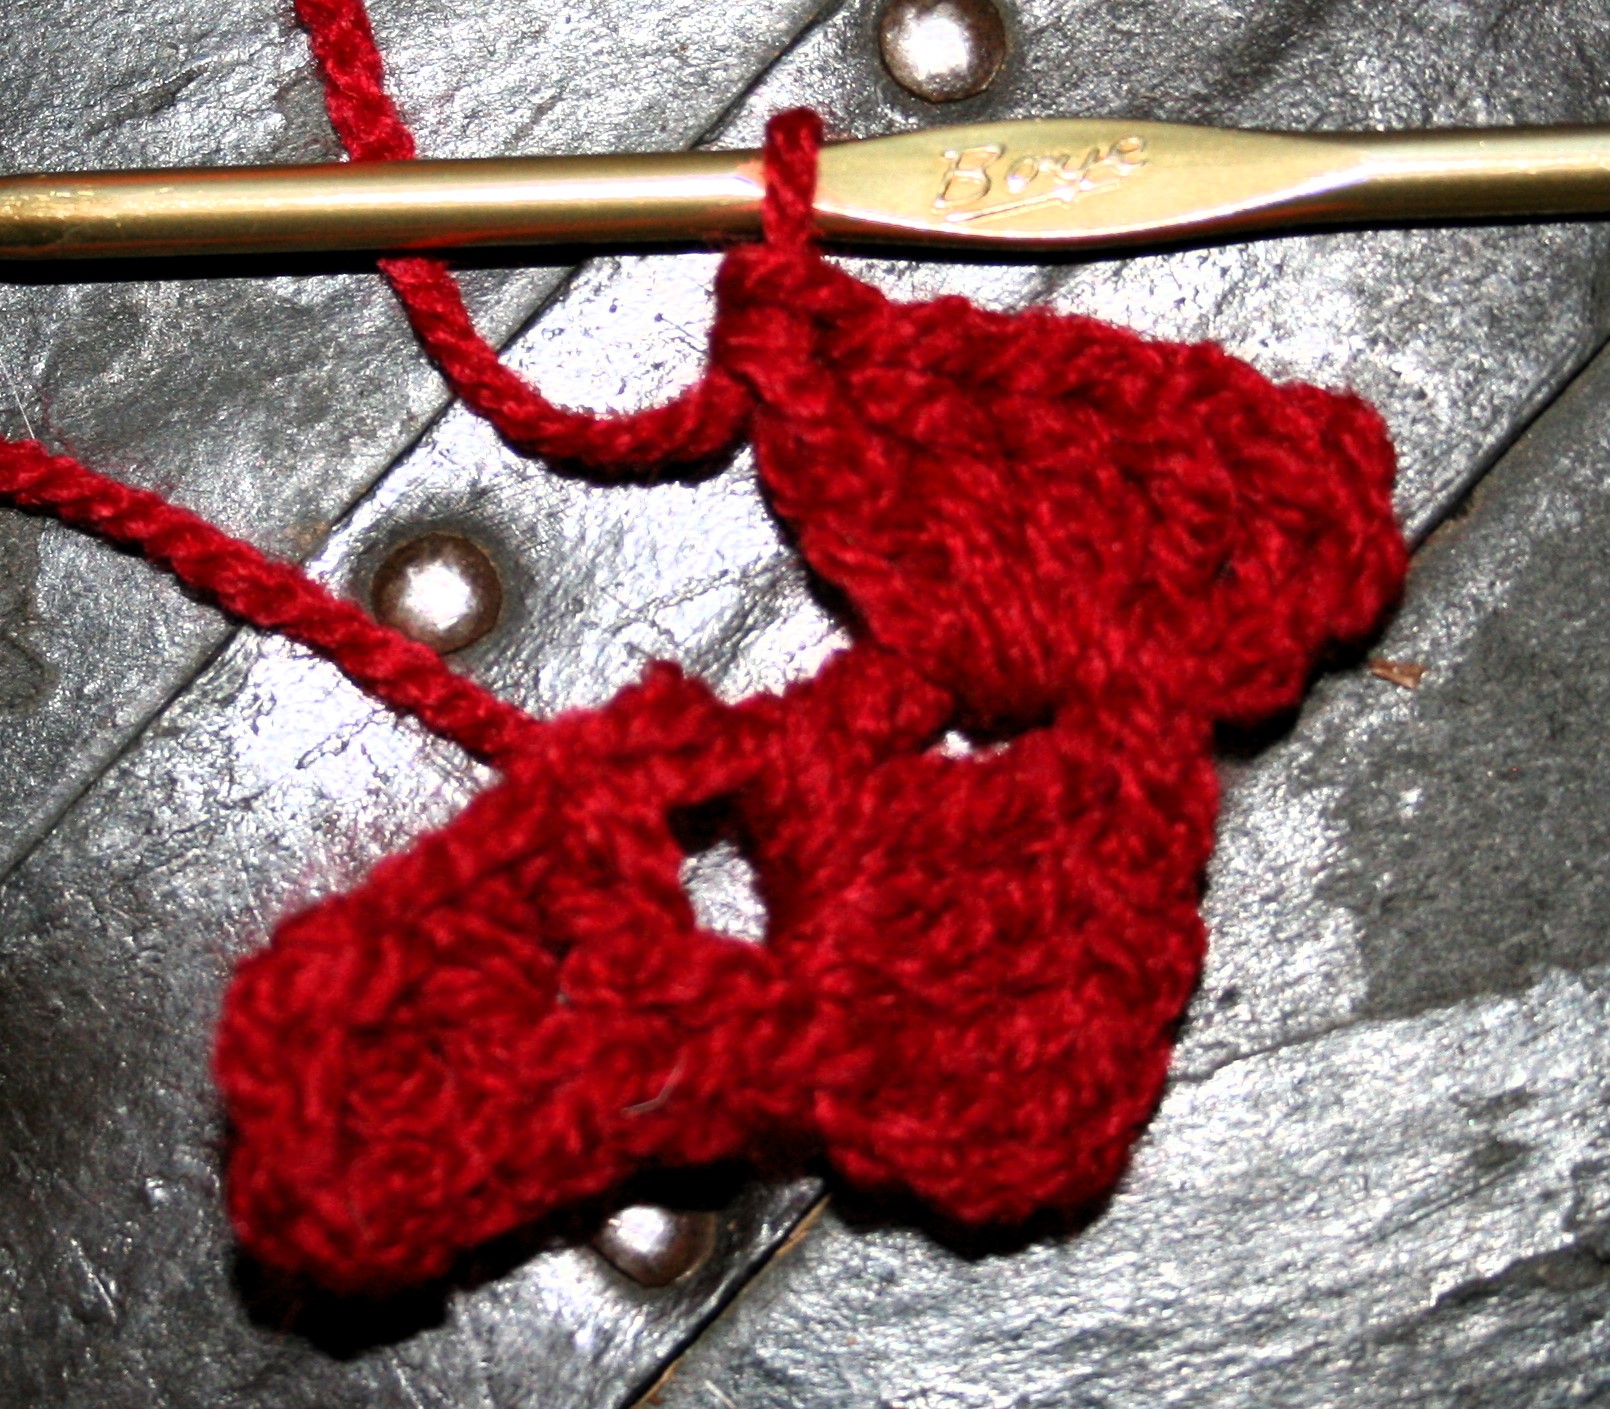
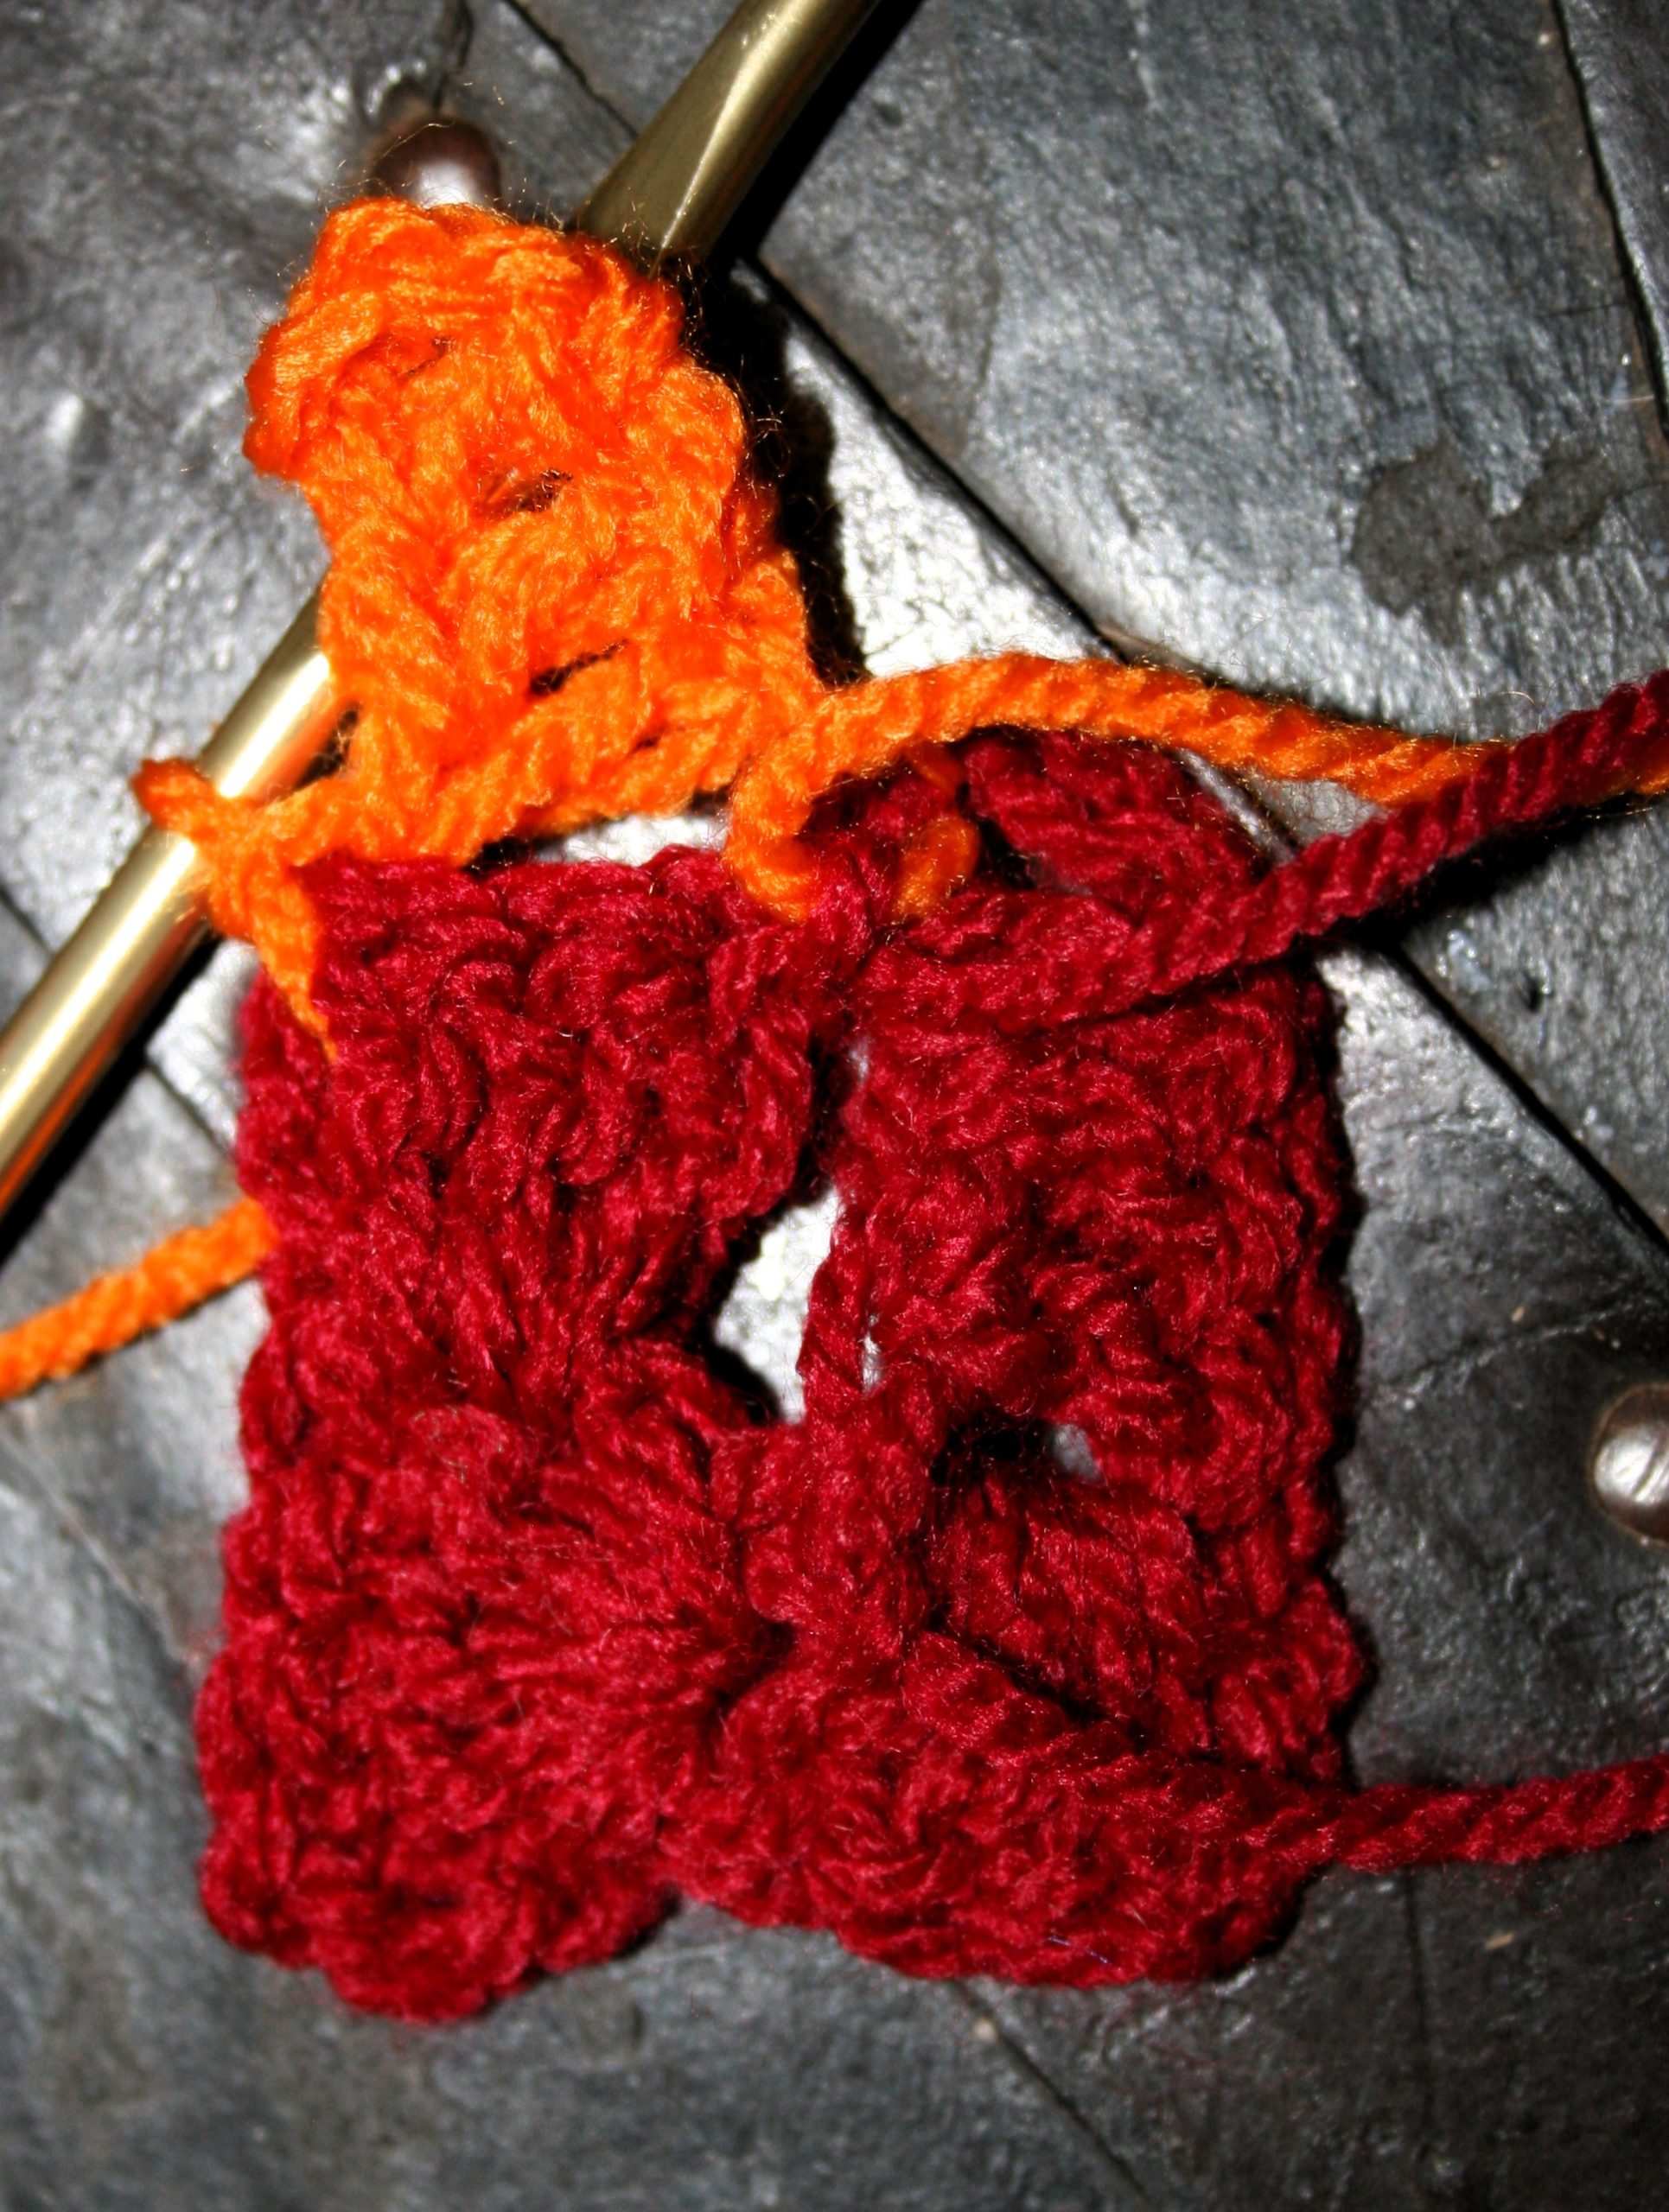
Around the post of the last dc createdBlock 2
Now 3 bocks
Rotate the blocks again in the same fashion, chain 3, and work 4 dc around the post of the last dc created. You will now have 3 blocks.
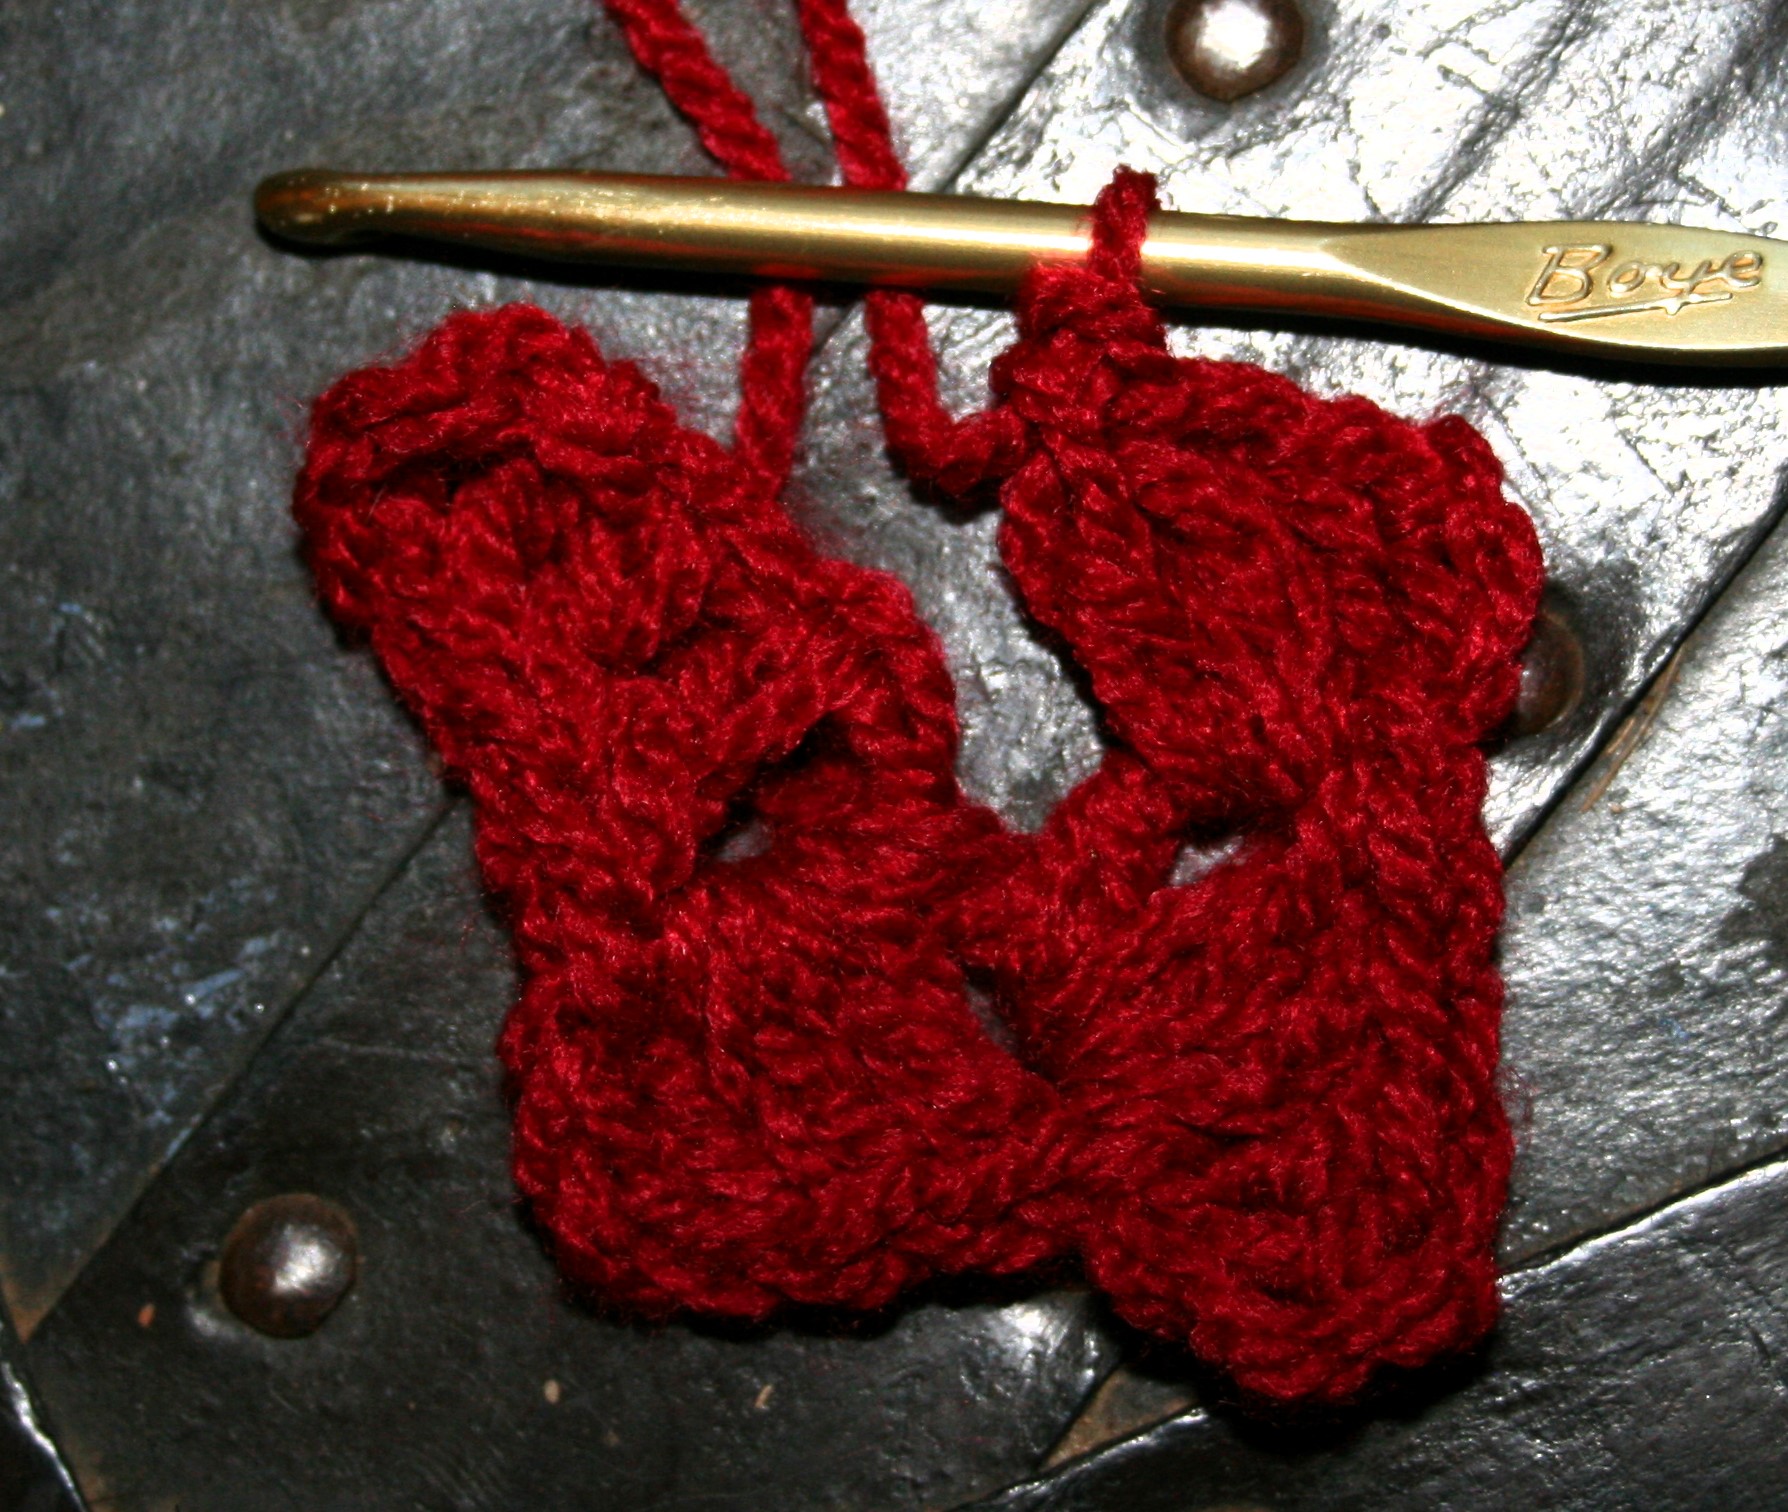
3 Blocks
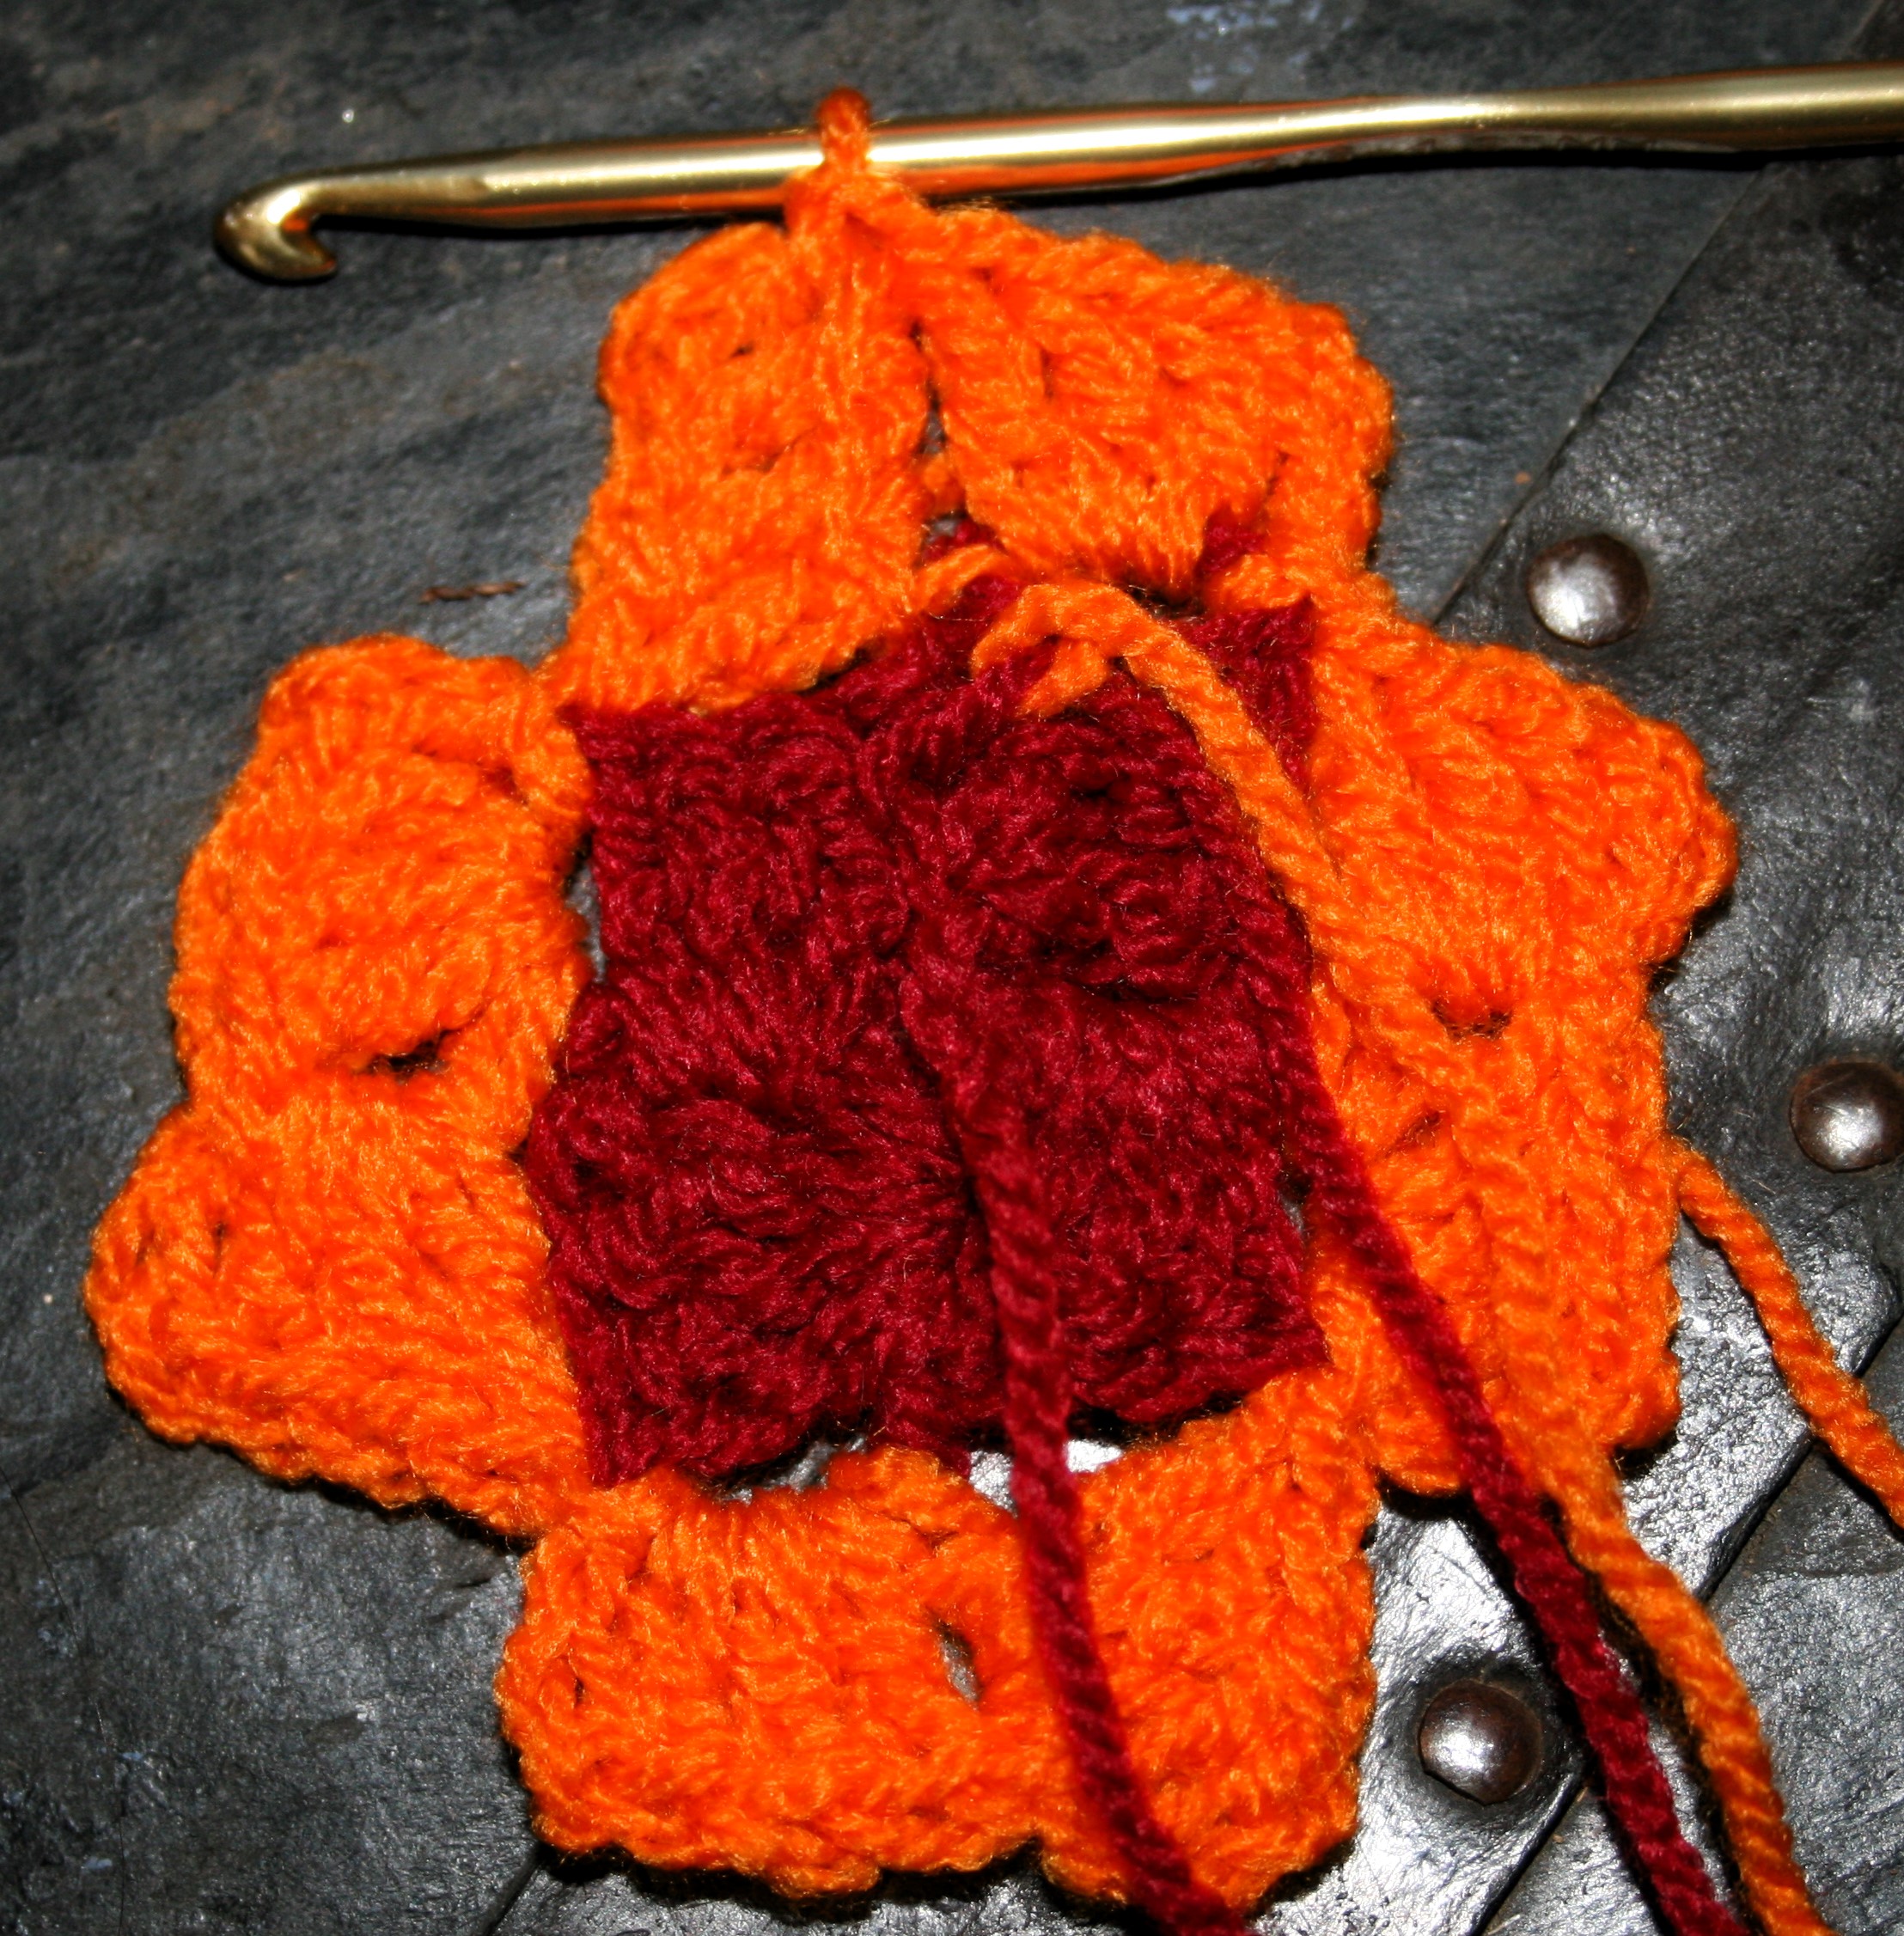
Rotate the blocks one more time, chain 3 and work 3 dc around the last double crochet post created.
4 blocks, the center
The number of stitches changed in the last block because there is no new block to be created in this round, the reason all the previous blocks had 4 double crochets is because the last double crochet created is to be a base for the next block. As there is no new block after the 4th, it only needs 3 stitches.
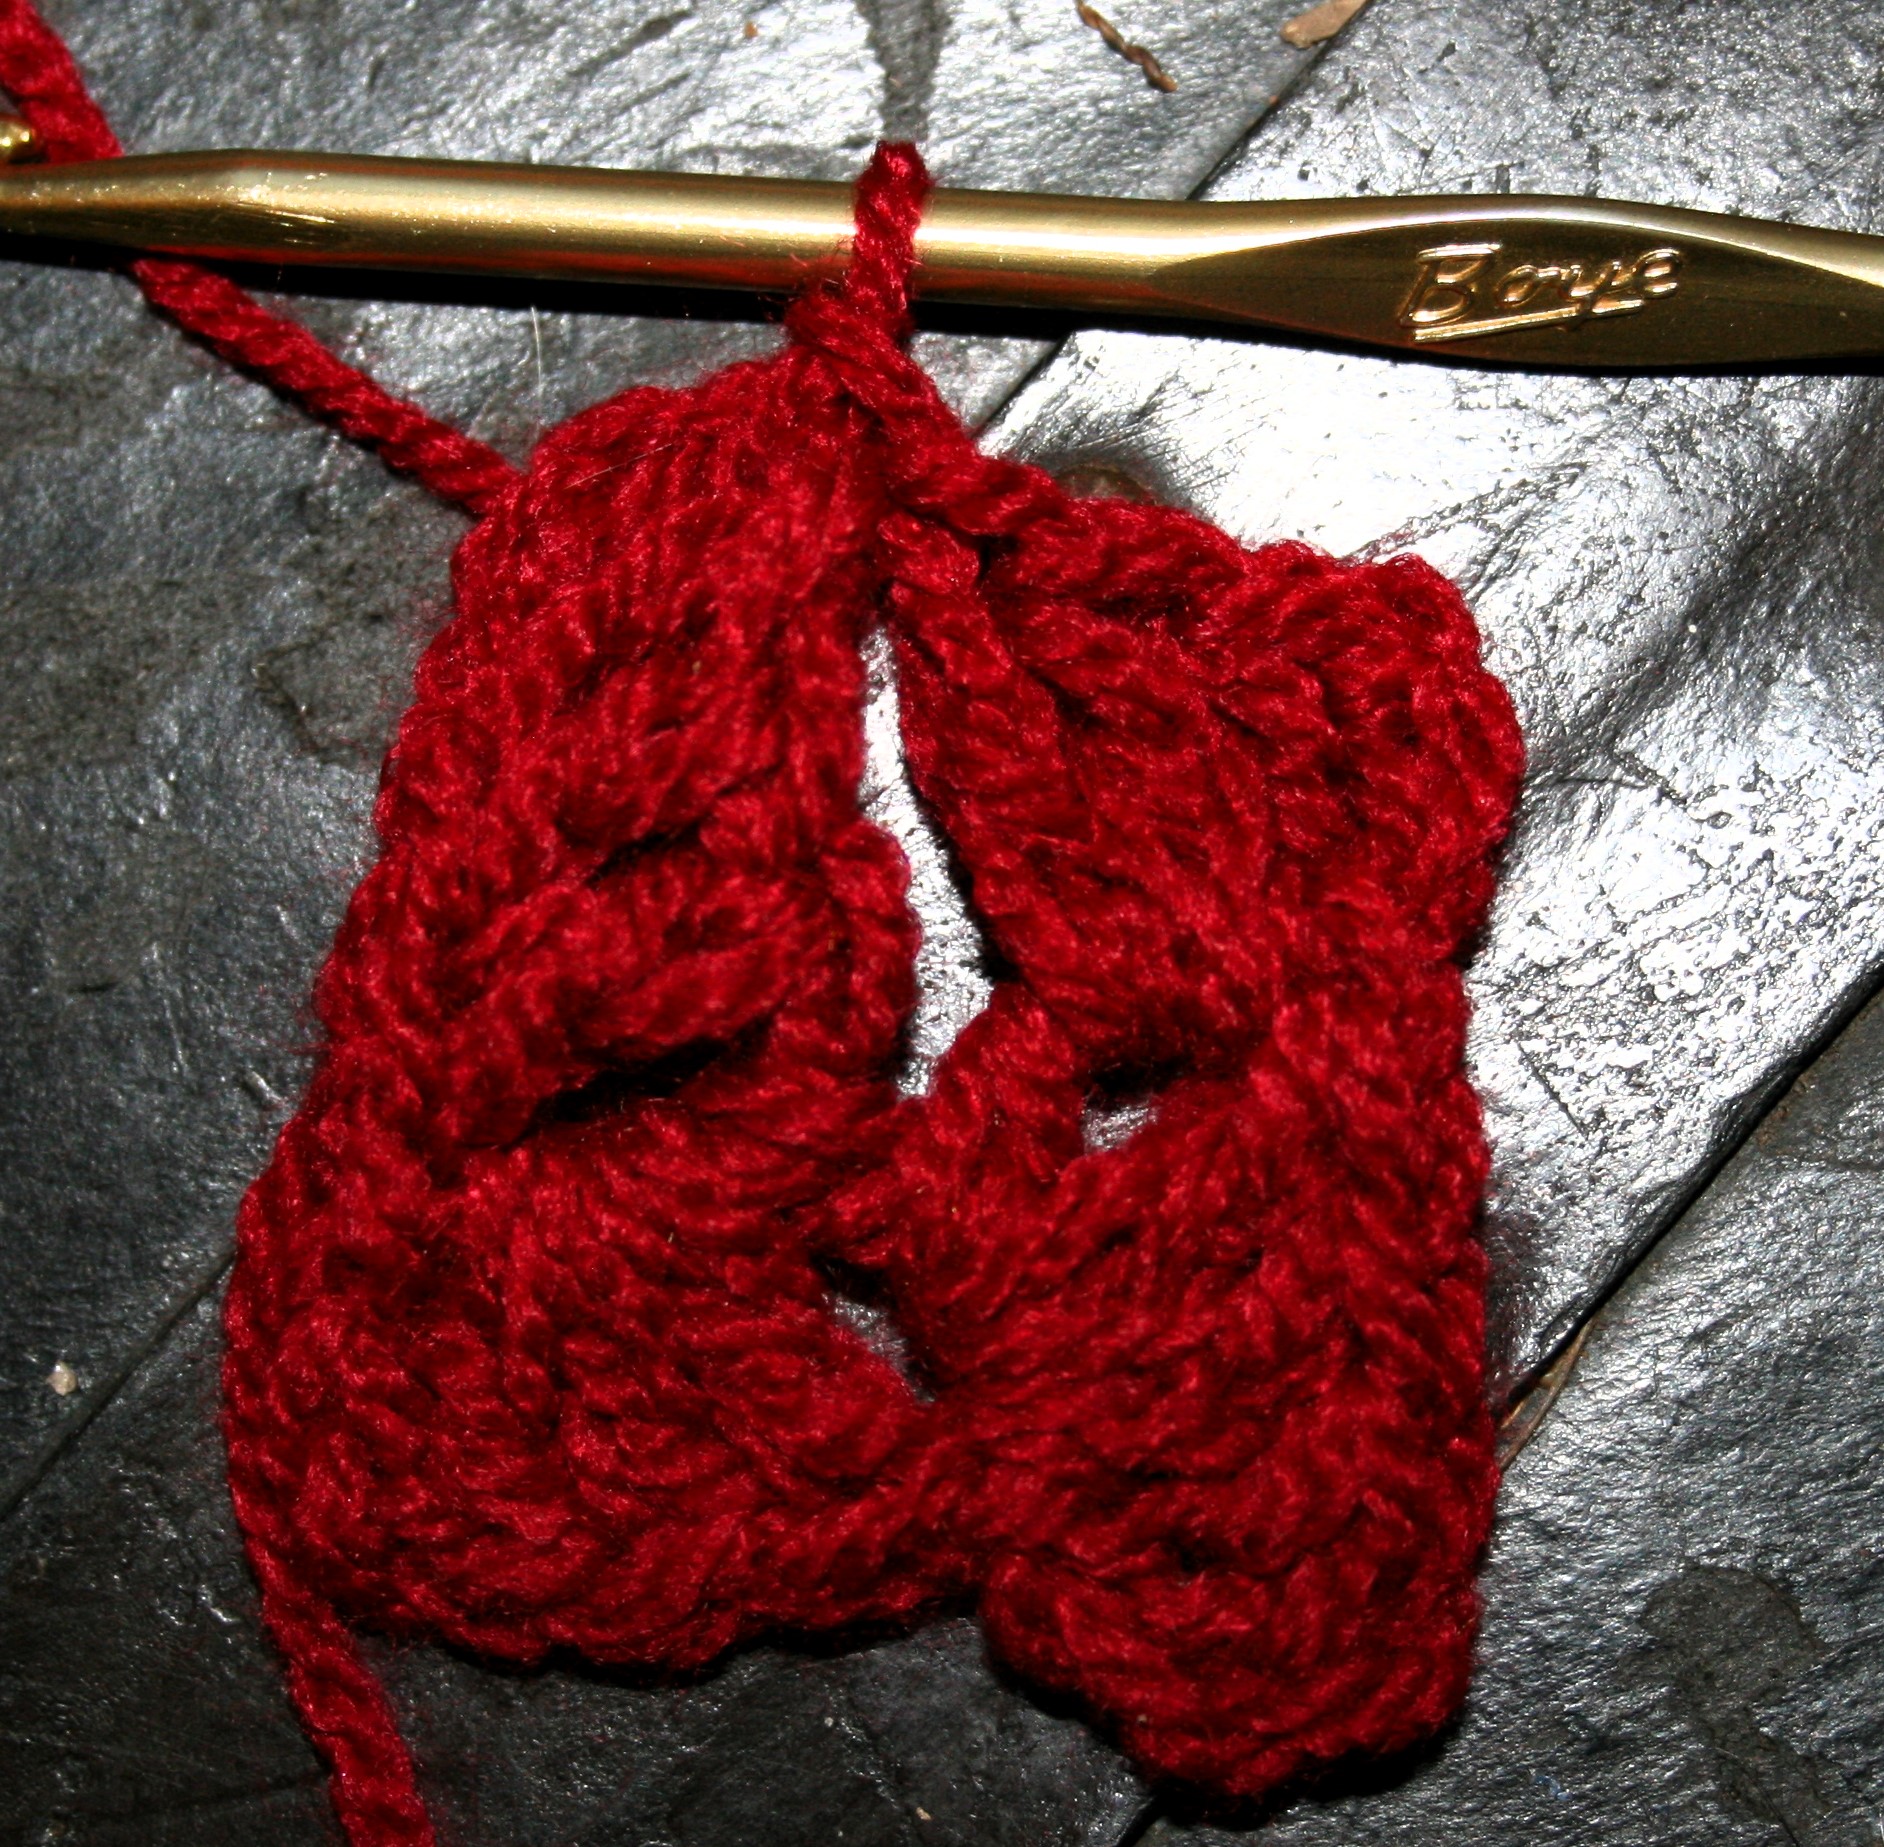
Now slip stitch to the top of the adjacent square.
4 blocks
In my samples I have changed colors at this point, but you can easily continue with the same yarn.
Round 2
Turn the work like a page of a book, just like you do with your other crochet projects. Chain 6, dc in 4th chain from hook, and in each chain across. Now slip stitch to the opposite corner of the same block in round 1, this is the next corner from the chain.
Making the first block of Round 2Slip stitch the block in place.
Rotate the blocks again, and chain 3. Work 4 dc in the side of the next block in round 1. Chain 3, and rotate the blocks again, work 3 dc around the post of the last dc made. Slip stitch to the next corner in round 1. This process is repeated for all or Round 2. Slip Stitch to join at the top of the corner of the adjacent block.
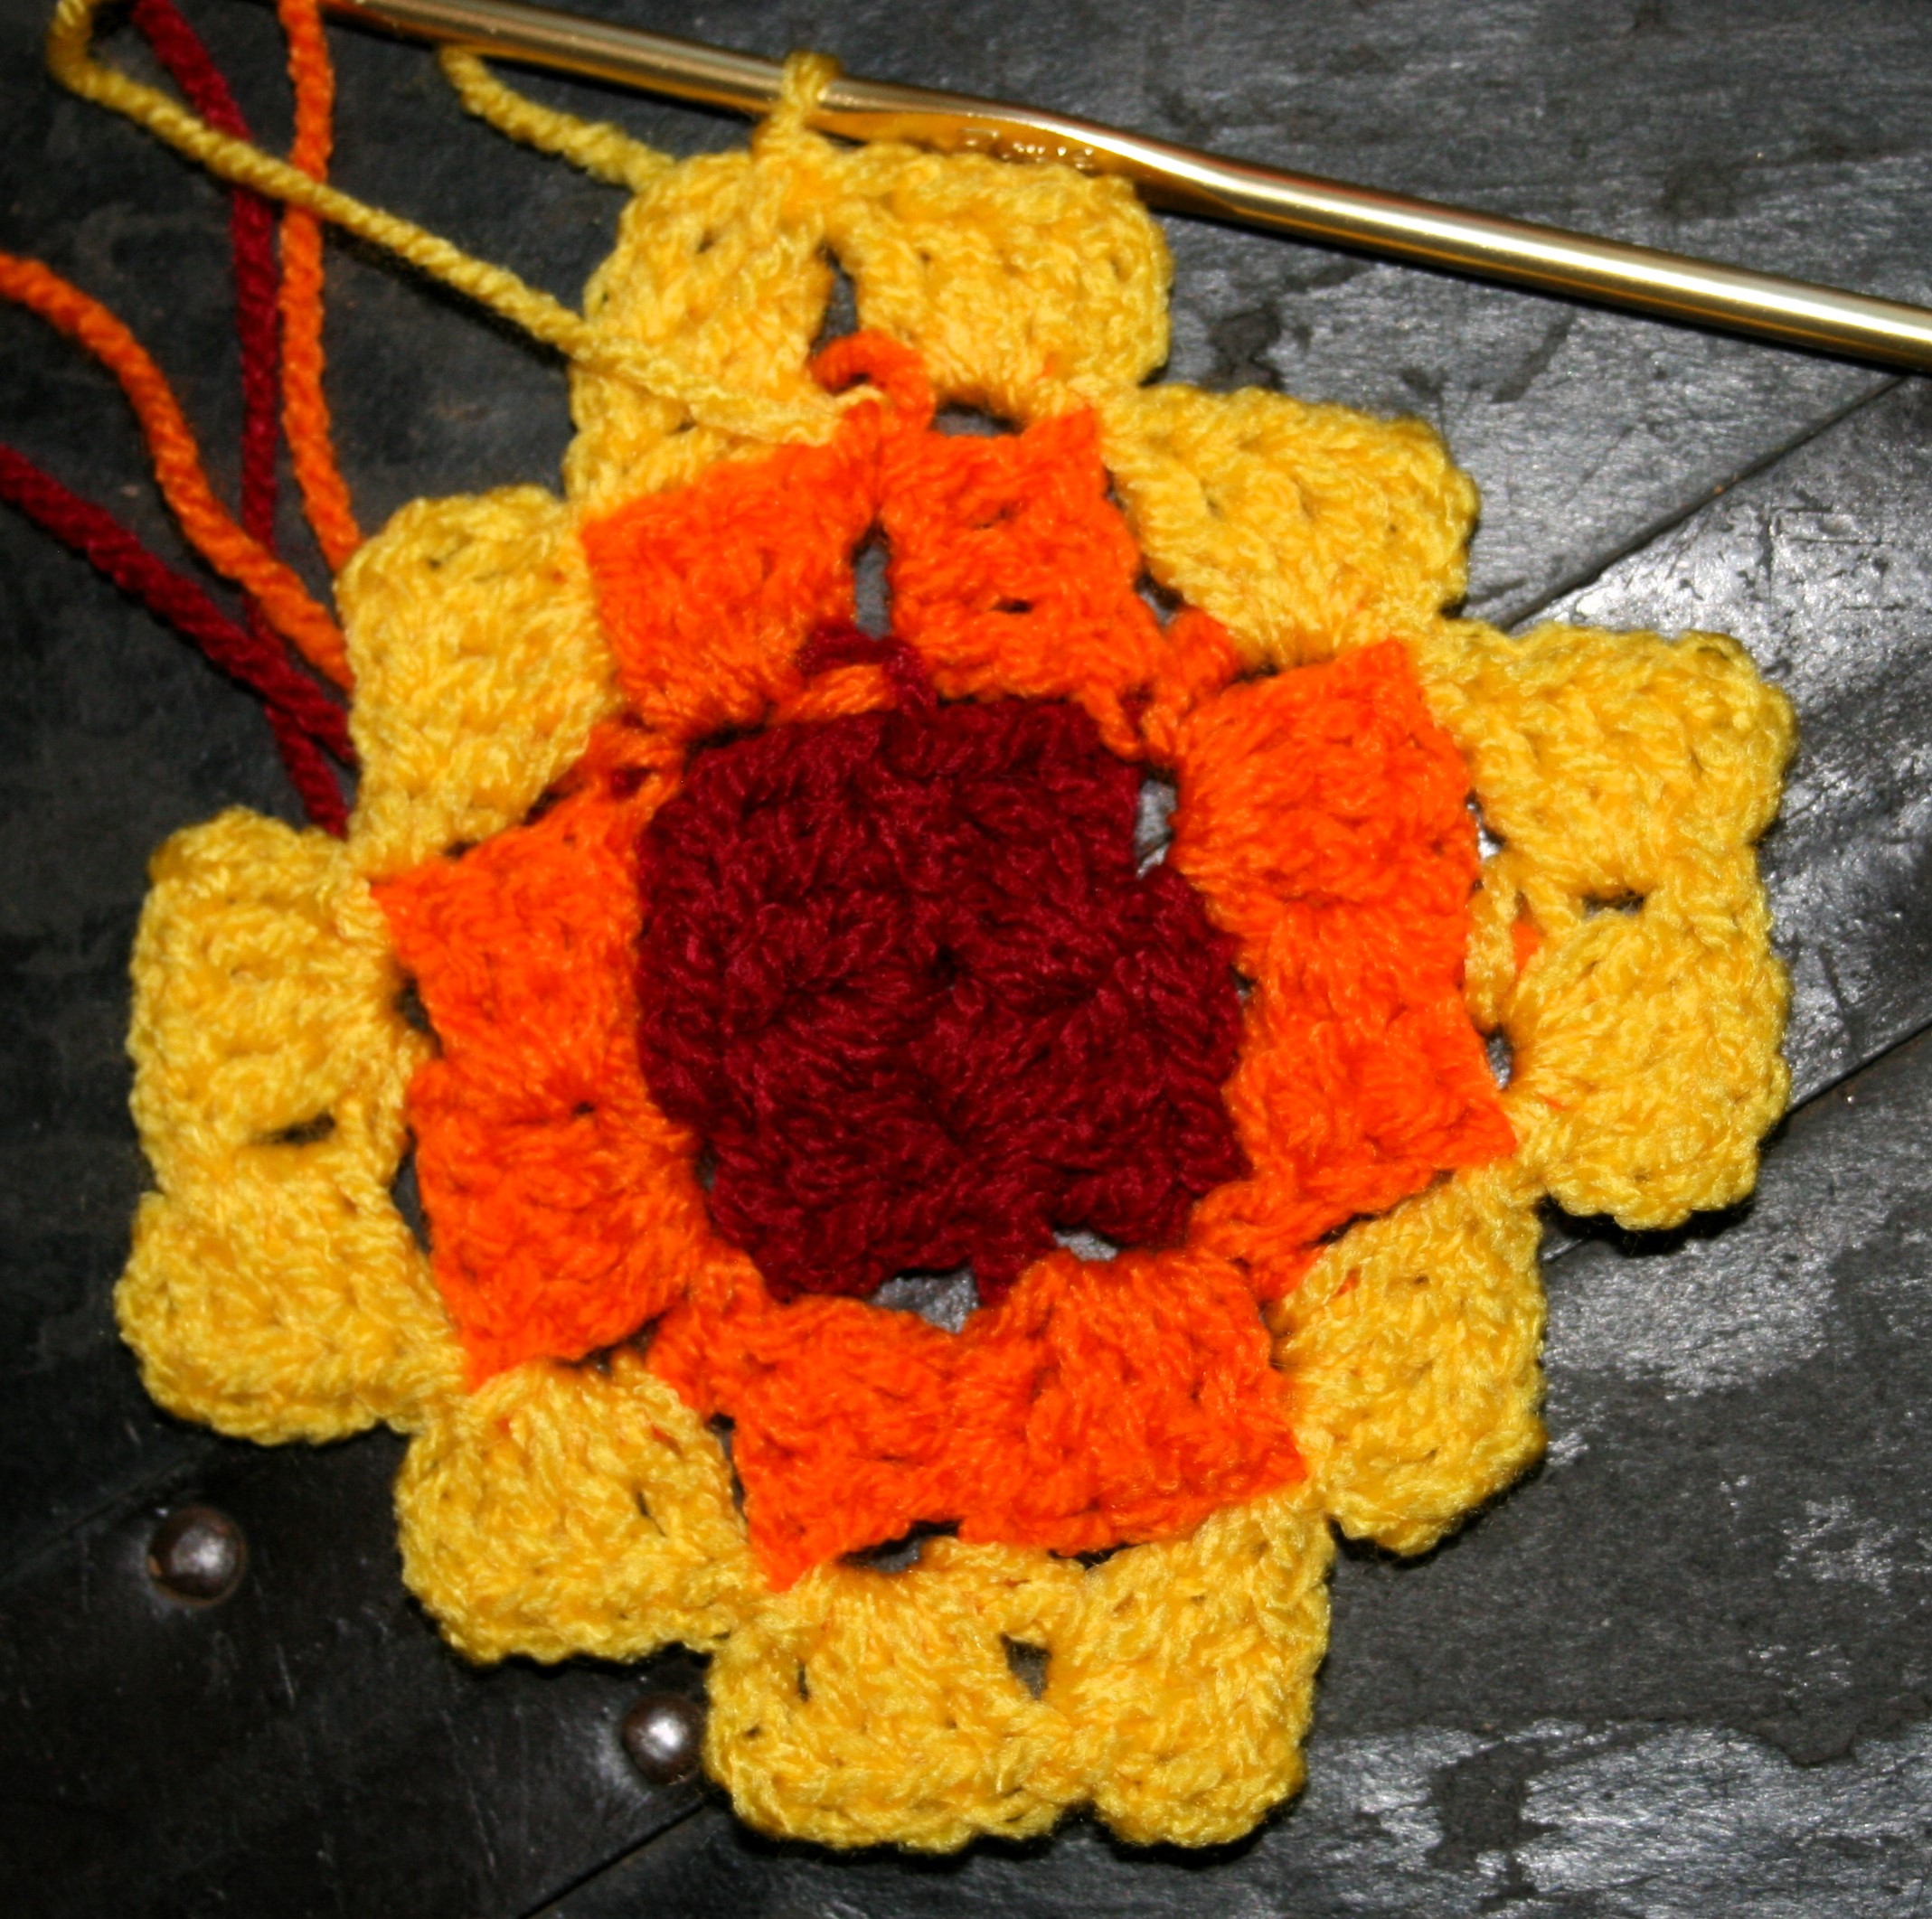
Round 2
Round 3 and Beyond
Beginning Round 3 is the same process, turn the work like a page of a book. Chain 6 dc in the 4th chain from the hook, and in each chain across. Now slip stitch to the opposite corner of the same block in round 2, this is the next corner from the chain.
Rotate the blocks again, and chain 3. Work 3 dc in the side of the next block, and skip stitch to the top of the next adjacent block. I refer to this as filling in the blocks, in the rounds after Round 3, there will be more steps, but you work them the same.
Round 3 complete
When you get to the top step, the top step created will be the first side worked into on the next rotation, so after creating a chain 3, work 4 dc in the side of the next block in the round below. Chain 3, and rotate the blocks again, work 3 dc around the post of the last dc made. Slip stitch to the next corner in round 1. This process is repeated for all or Round 3 and all subsequent rounds. Slip Stitch to join at the top of the corner of the adjacent block.
Free Pattern
I have worked up a couple of toddler blankets in this technique. If you would like to work them, I have outlined the yarn and color changes I used below, but I used the pattern technique listed above.
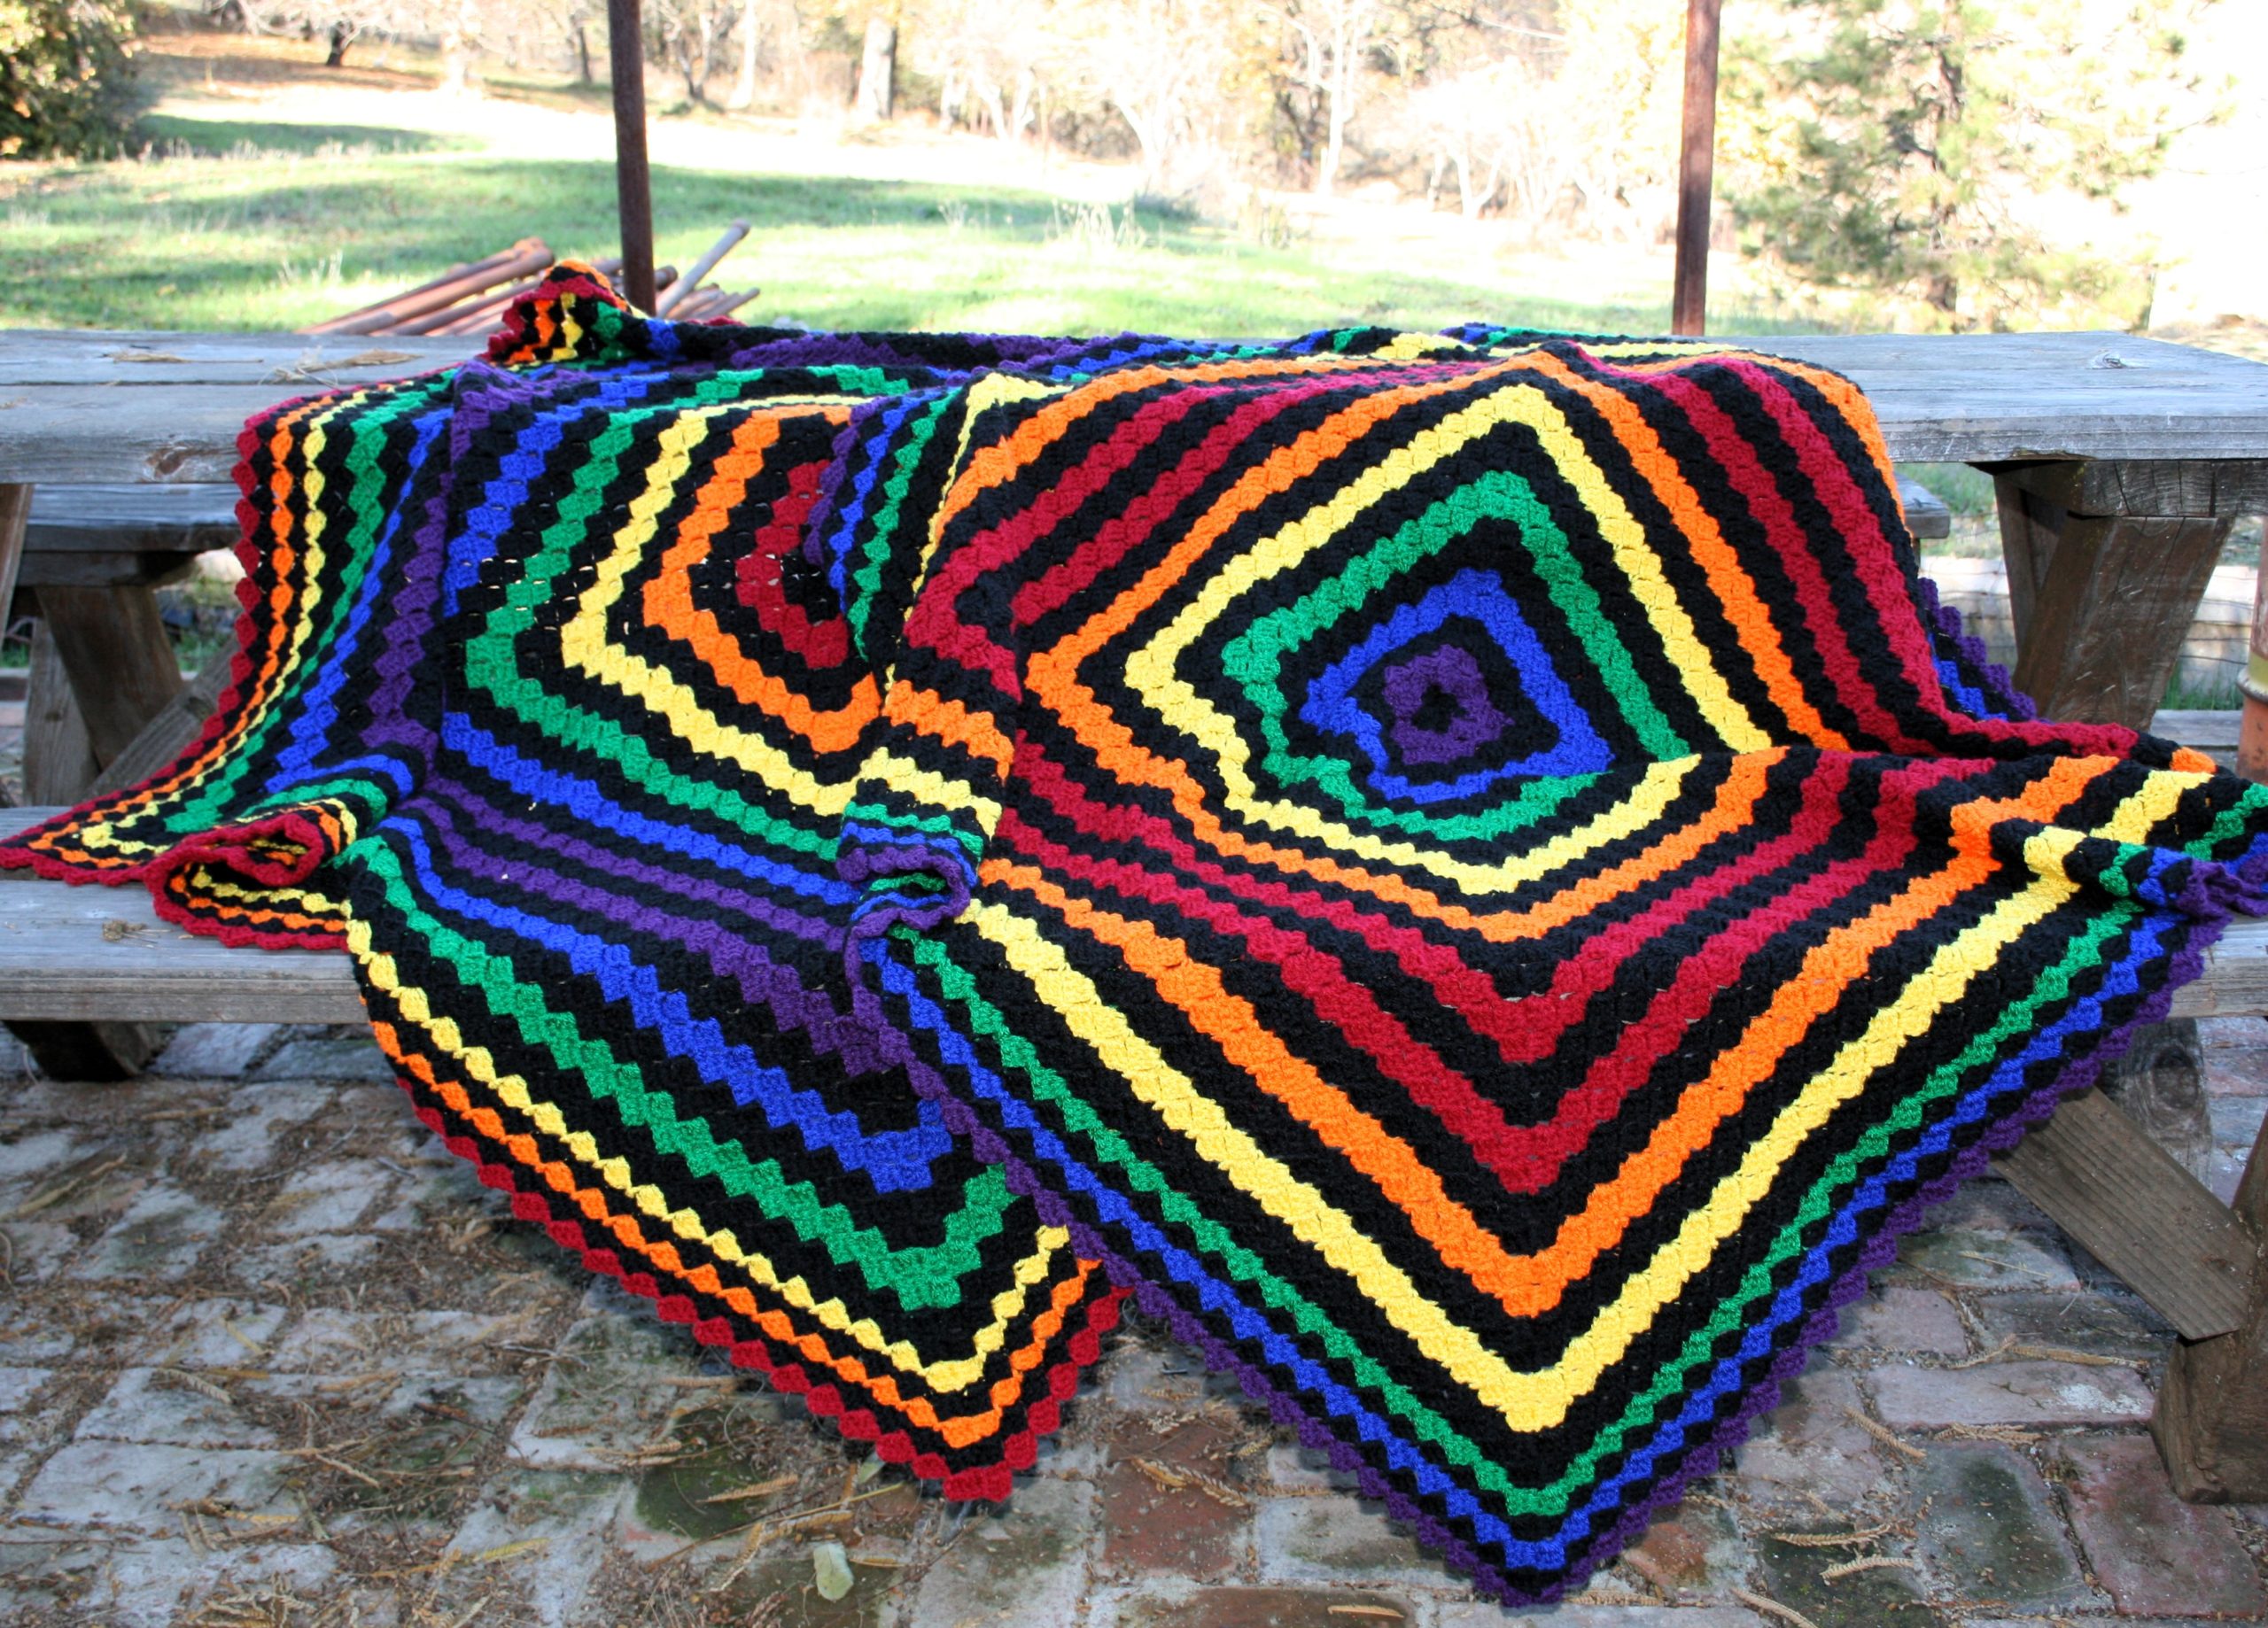
Radiant Rounds Lapghan
Working corner to corner in the round creates a fun and easy blanket. The materials and pattern will make 2 blankets reversing the color orders.
Size: 41” square
Materials
Scheepjes Colour Crafter medium weigh 100% Acrylic yarn (100g/3.5oz/300m/328yrds)
5 skeins #1002 Ede (A),
1 skein each:
#1123 Roermond (B),
#2002 Gent (C),
#2004 Brussel (D),
#1116 Emmen (E),
#1117 Delft (F),
#1425 Deventer (G)
H/8/5.00mm crochet hook
Pattern
Rnd 1: With A, ch 7, dc in 4th ch from hook, and each ch across, rotate (clockwise if right handed, counter-clockwise if left handed), ch 3, 4 dc around post of last dc created, rotate, ch 3, 4 dc around port of last dc created, rotate, ch 3, 3 dc around post of last dc created, sl st to adjacent block, turn.
Rnd 2: Ch 6, dc in 4th ch from hook, and each ch across, sl st opposite corner of block below, rotate, [ch 3, 4 dc around post of block below, ch 3, rotate, 3 dc around post of last dc created, sl st to adjacent block] 3 times, ch 3, 3 dc around post of block below, sl st to top of adjacent block, turn.
Rnd 3-42: Ch 6, dc in 4th ch from hook, and each ch across, sl st to opposite corner of block below, {rotate, [ch 3, 3 dc around post of stitch below for each step block until top step] across to corner, ch 3, 4 dc around post of stitch in block below, rotate, ch 3, dc in around post of stitch just created, sl st to adjacent block} 2 times, [ch 3, 3 dc around post of stitch below for each step block until top step] across to corner, ch 3, 3 dc around post of stitch in block below, sl st to top of adjacent block, turn.
Over the last several weeks I have been doing a lot of work creating new design blocks for charity. These blocks can be used as you see fit to benefit others.
Materials
Cascade Yarn Pacific medium weight yarn, 60% acrylic/40% superwash merino wool (100g/3.5oz/213 yrd/195 m)
8 mm Tunisian crochet hook
Block measures 7″ x7″
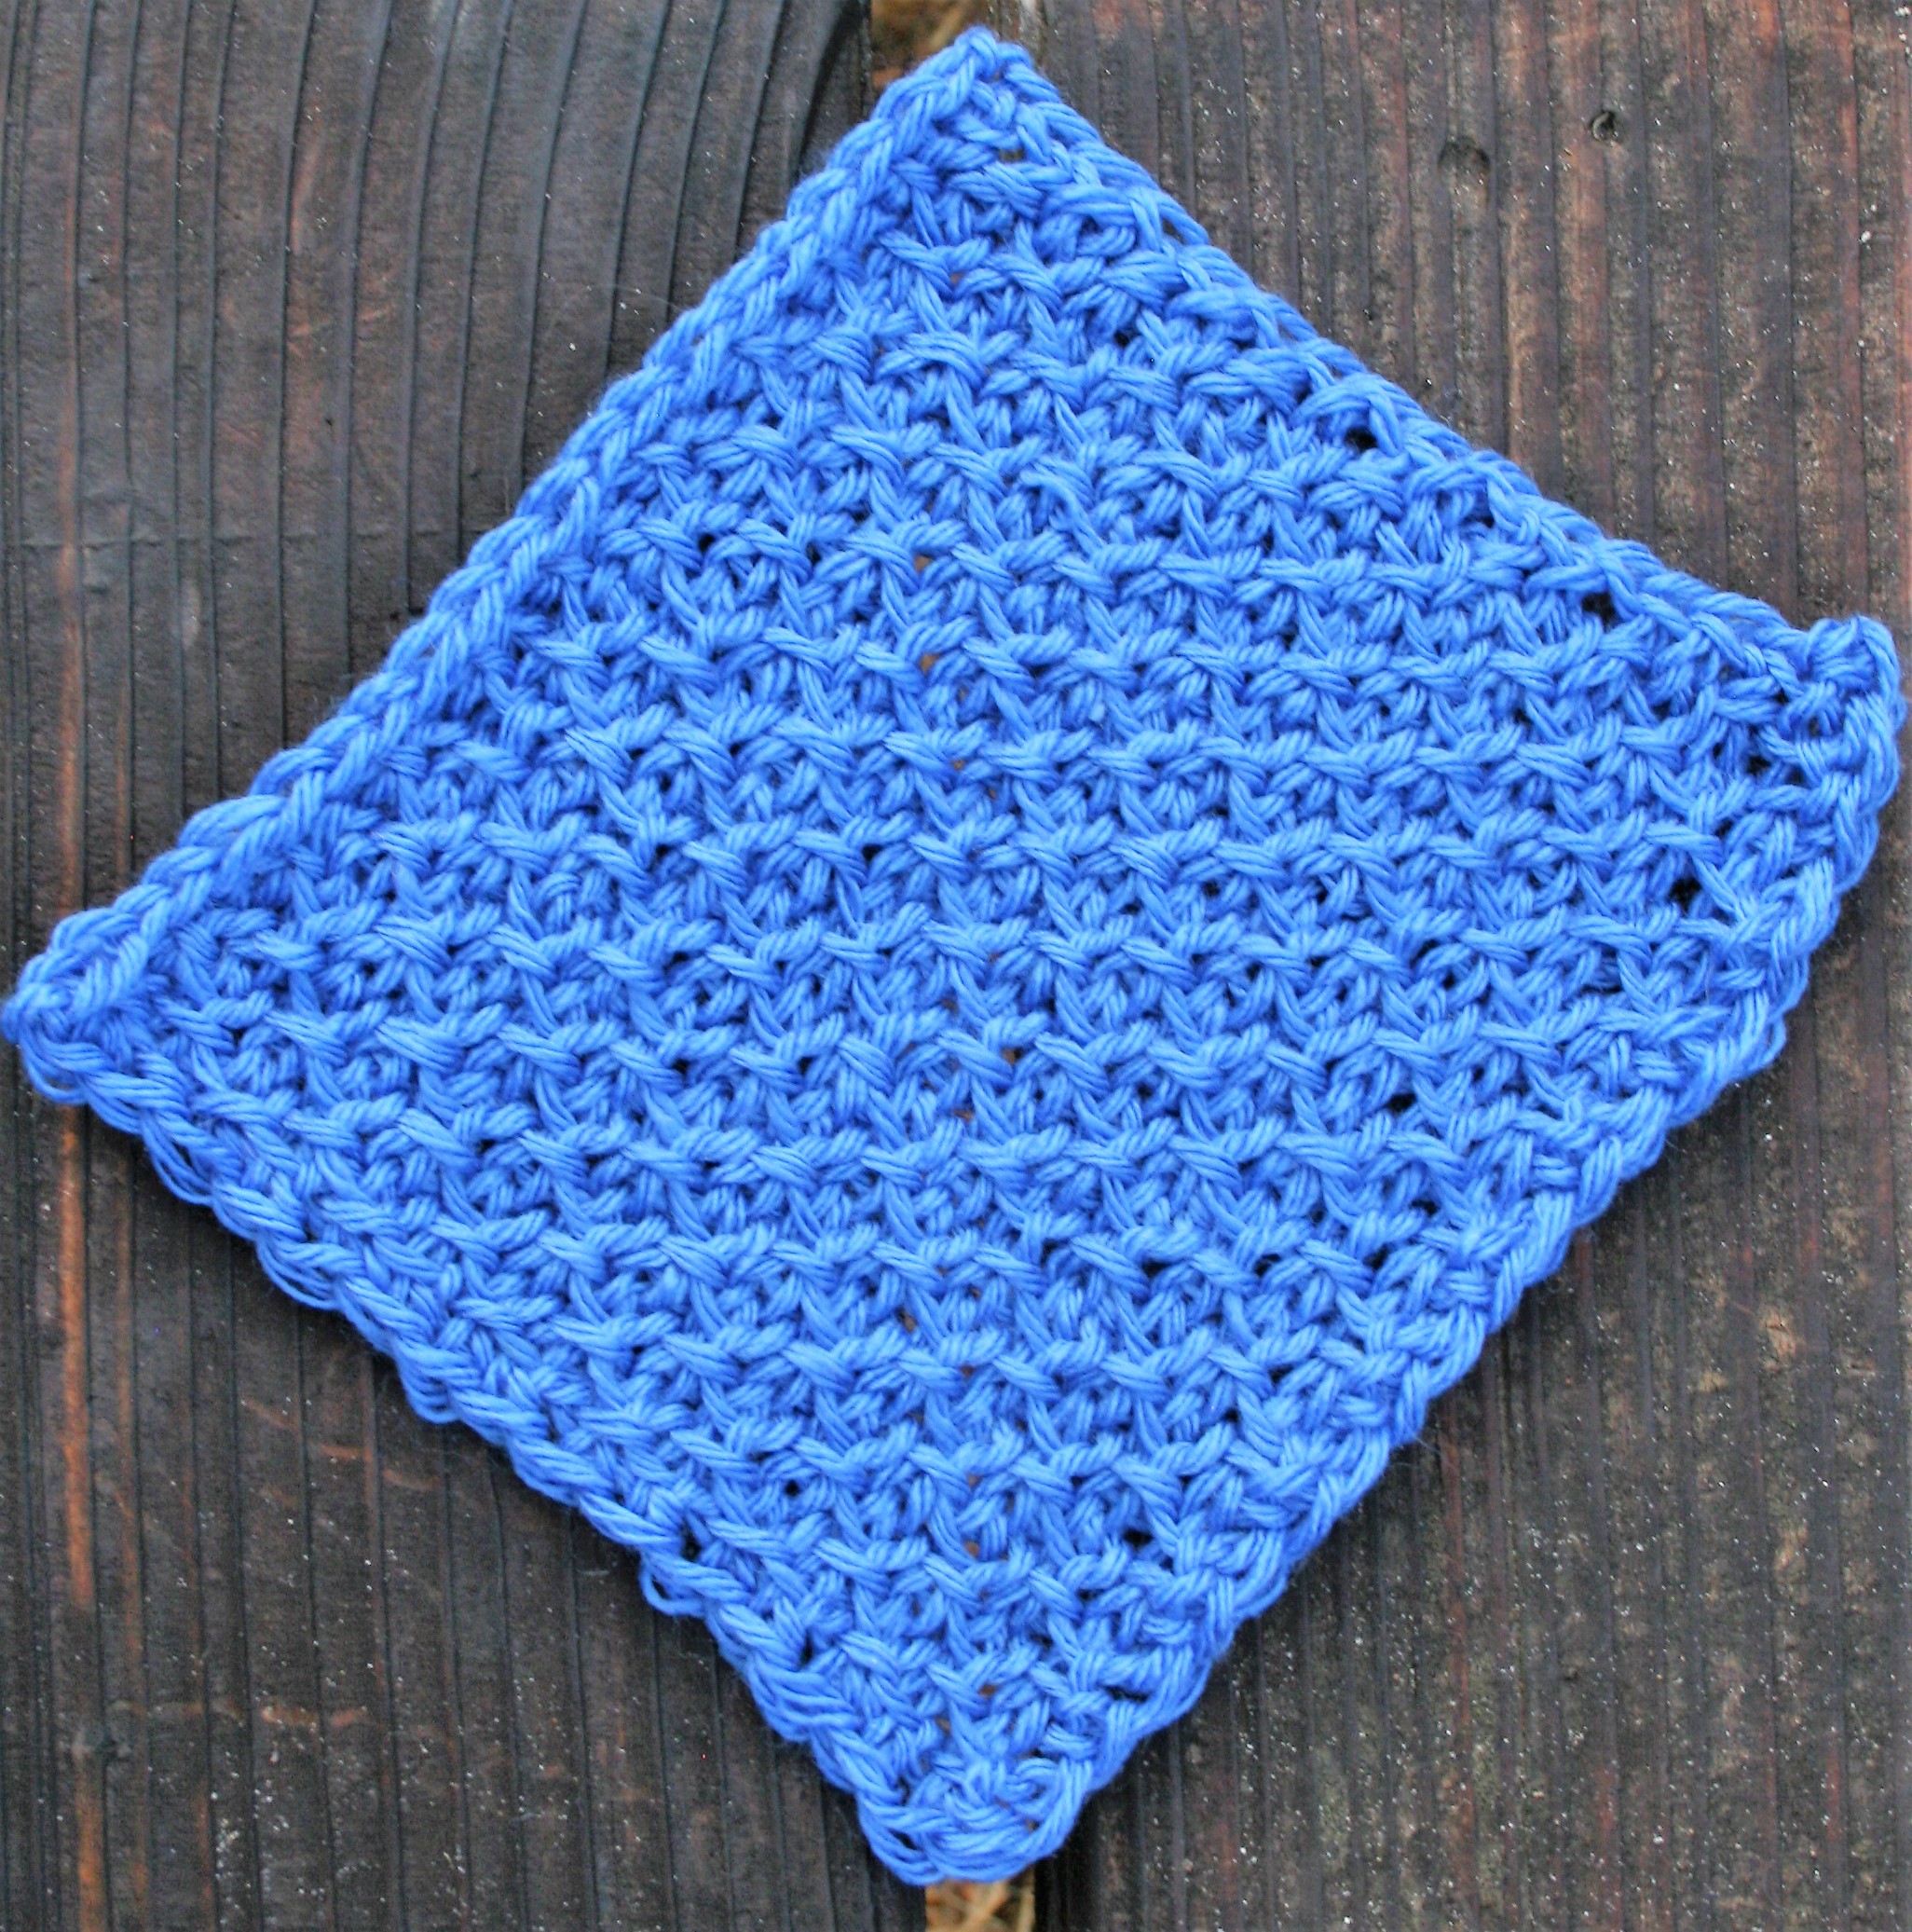
Honeycomb Tunisian Block for Charity
Honeycomb Tunisian block for Charity
Row 1: Ch 22, starting in 2nd ch from hook, pull up a loop in each ch across. RP. –22 loops on hook
Over the last several weeks I have been doing a lot of work creating new design blocks for charity. These blocks can be used as you see fit to benefit others.
Materials
Cascade Yarn Pacific medium weight yarn, 60% acrylic/40% superwash merino wool (100g/3.5oz/213 yrd/195 m)
Hook size I/9/5.5mm, unless otherwise specified
Block measures 7″ x7″
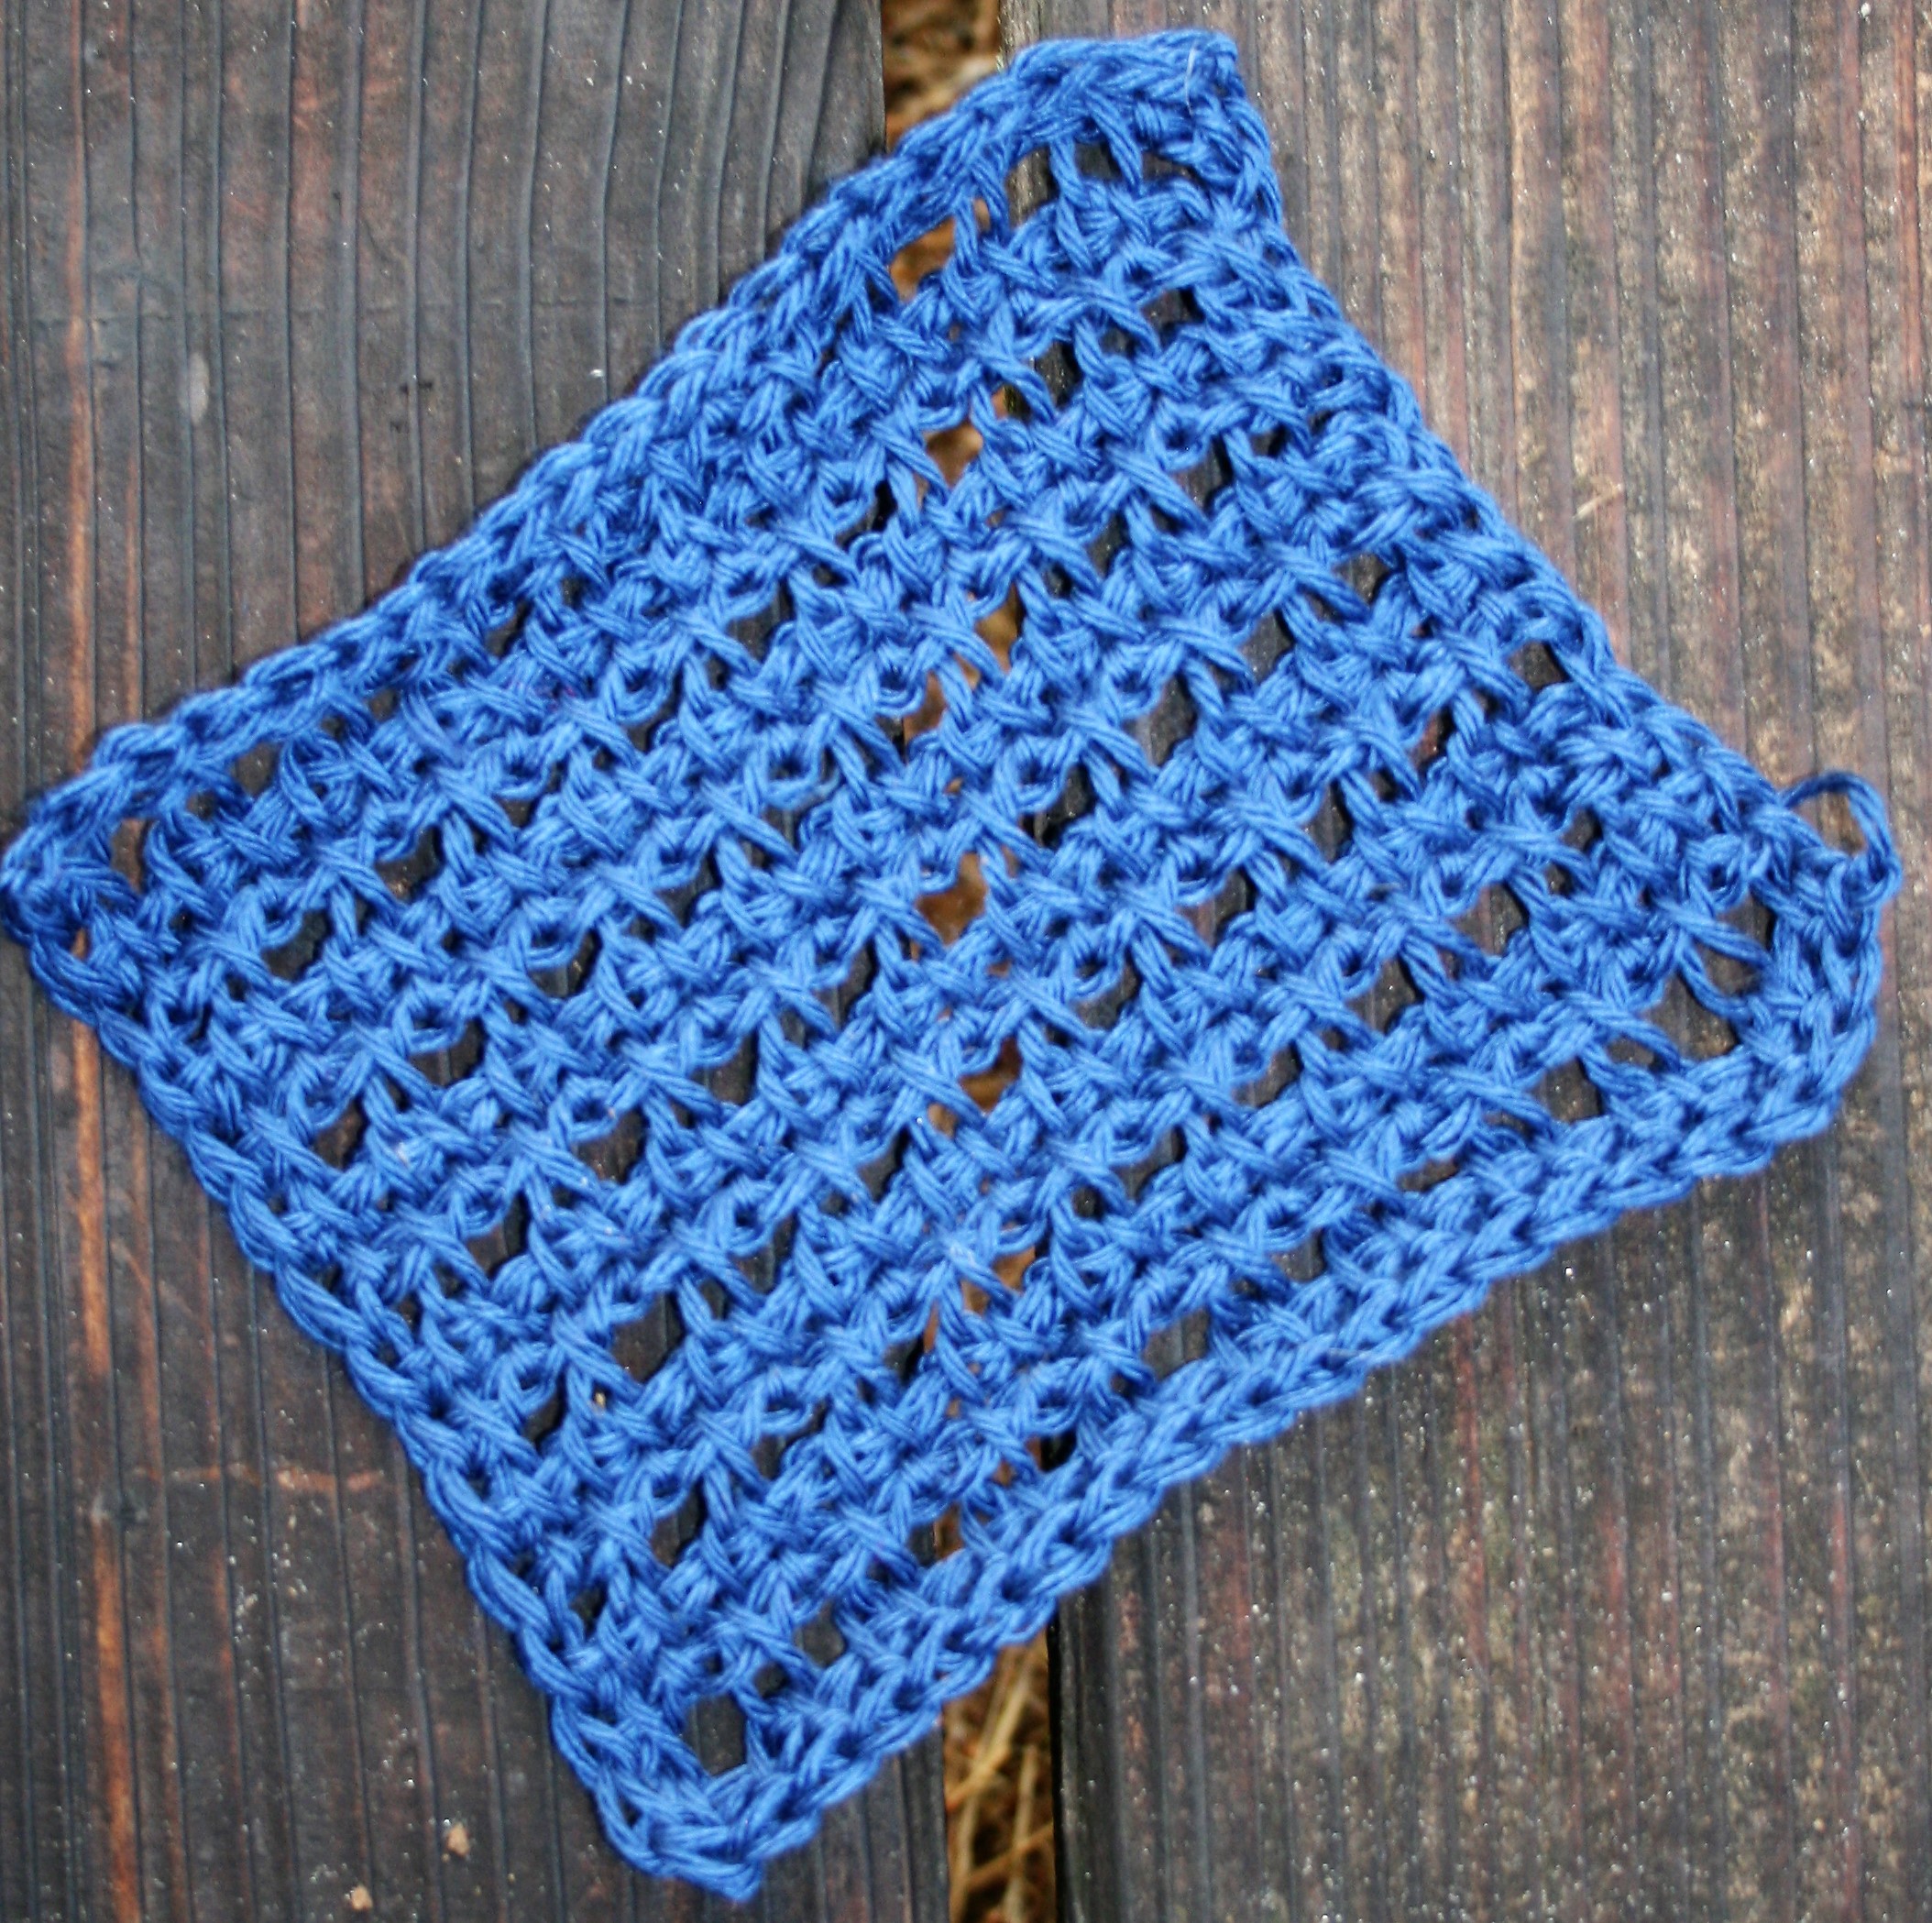
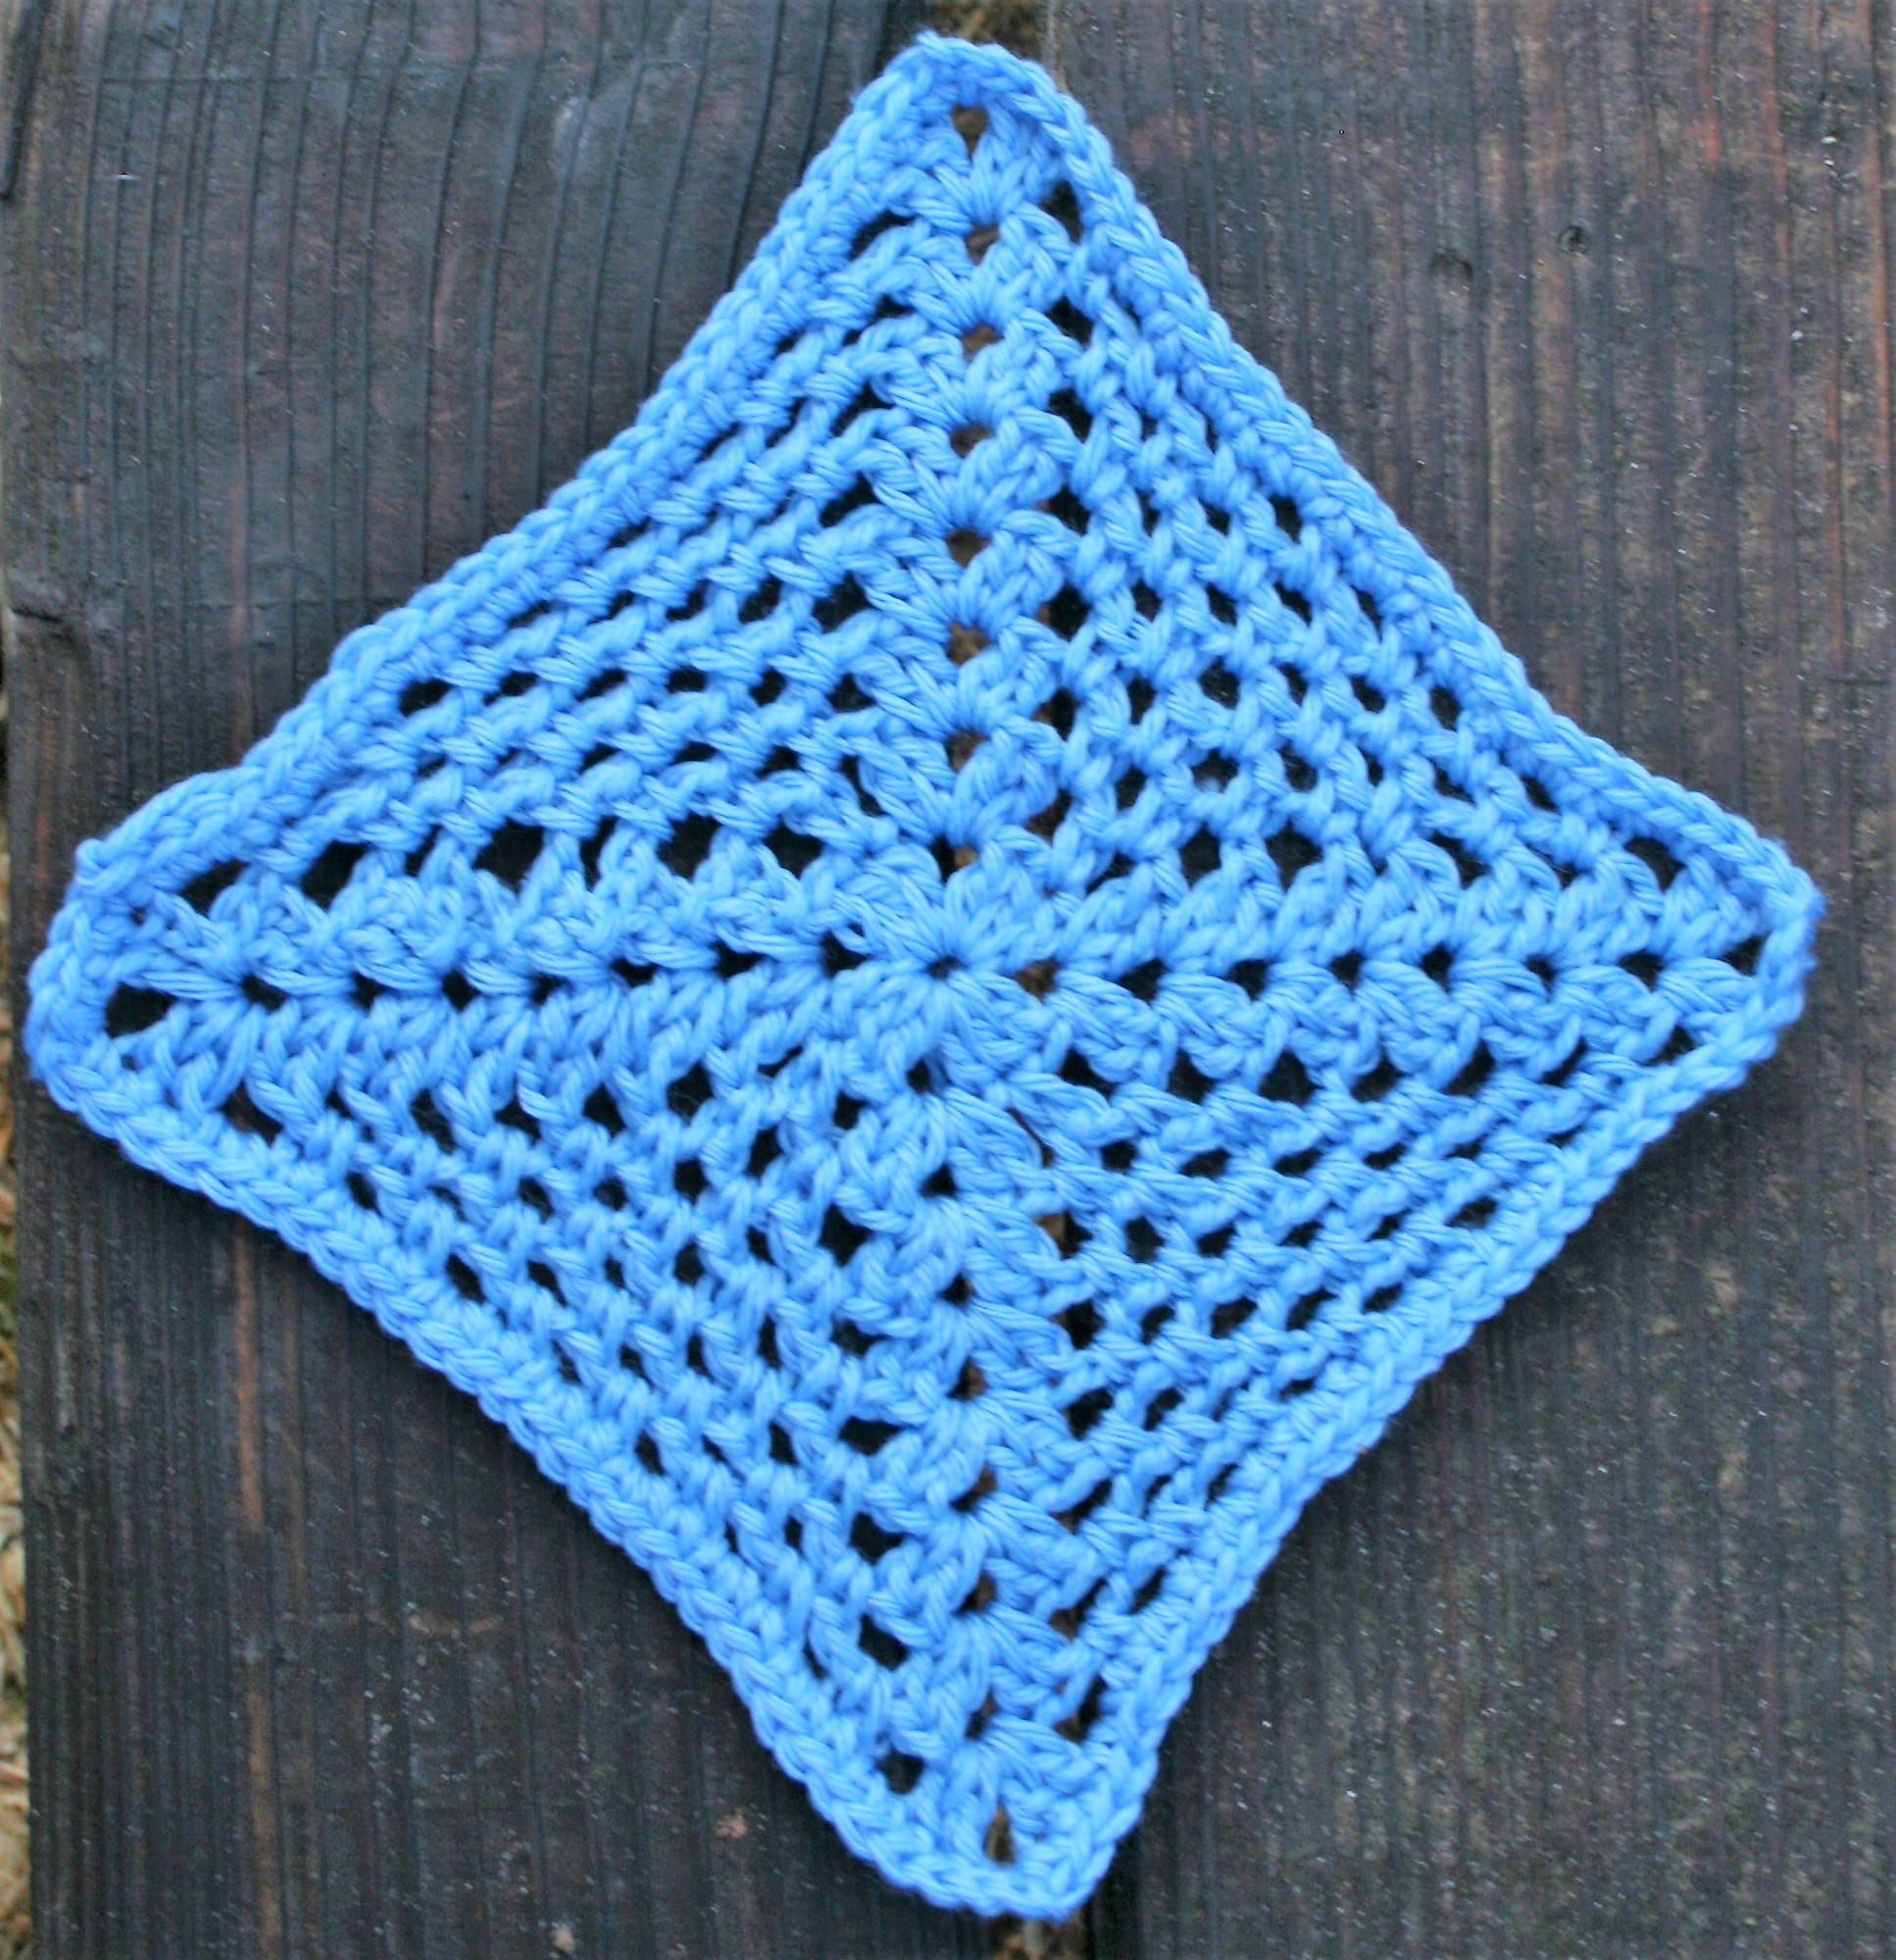
Mesh block for Charity
Mesh block for charity
Rnd 1: Ch 4, sl st to first ch to form ring, ch 5 (counts as dc + ch 2), [3 dc in ring, ch 2] 3 times, 2 dc in ring, sl st to 3rd ch of beg ch-5 to join. –12 dc, 4 ch-2 sps
Rnd 2: Sl st in ch-2 sp, ch 3 (counts as dc), (dc, ch 2, 2 dc) in same sp, ch 2, sk 1 st, sc in next st, ch 2 [(2 dc, ch 2, 2 dc) in ch-2 sp, ch 2, sk 1 st, sc in next st, ch 2] 3 times, sl st in top of beg ch-3 to join. –16 dc, 12 ch-2 sps, 4 sc
Rnd 3: Sl st to first ch-2 sp, ch 3, (dc, ch 2, 2 dc) in same sp, ch 2, [sc in next ch-2 sp, ch 2] 2 times, {(2 dc, ch 2, 2 dc) in corner ch-2 sp, ch 2, [sc in next ch-2 sp, ch 2] 2 times} 3 times, sl st in top of beg ch-3 to join. –16 dc, 8 sc, 16 ch-2 sps
Rnd 4: Sl st to first ch-2 sp, ch 3, (dc, ch 2, 2 dc) in same sp, ch 2, [sc in next ch-2 sp, ch 2] 3 times, {(2 dc, ch 2, 2 dc) in corner ch-2 sp, ch 2, [sc in next ch-2 sp, ch 2] 3 times} 3 times, sl st in top of beg ch-3 to join. –16 dc, 12 sc, 20 ch-2 sps
Rnd 5: Sl st to first ch-2 sp, ch 3, (dc, ch 2, 2 dc) in same sp, ch 2, [sc in next ch-2 sp, ch 2] 4 times, {(2 dc, ch 2, 2 dc) in corner ch-2 sp, ch 2, [sc in next ch-2 sp, ch 2] 4 times} 3 times, sl st in top of beg ch-3 to join. –16 dc, 16 sc, 24 ch-2 sps
Rnd 6: Sl st to first ch-2 sp, ch 3, (dc, ch 2, 2 dc) in same sp, ch 2, [sc in next ch-2 sp, ch 2] 5 times, {(2 dc, ch 2, 2 dc) in corner ch-2 sp, ch 2, [sc in next ch-2 sp, ch 2] 5 times} 3 times, sl st in top of beg ch-3 to join. –16 dc, 20 sc, 28 ch-2 sps
Rnd 7: Sl st to first ch-2 sp, ch 3, (dc, ch 2, 2 dc) in same sp, ch 2, [sc in next ch-2 sp, ch 2] 6 times, {(2 dc, ch 2, 2 dc) in corner ch-2 sp, ch 2, [sc in next ch-2 sp, ch 2] 6 times} 3 times, sl st in top of beg ch-3 to join. –16 dc, 24 sc, 32 ch-2 sps
Rnd 8: Sl st to first ch-2 sp, ch 3, (dc, ch 2, 2 dc) in same sp, ch 2, [sc in next ch-2 sp, ch 2] 7 times, {(2 dc, ch 2, 2 dc) in corner ch-2 sp, ch 2, [sc in next ch-2 sp, ch 2] 7 times} 3 times, sl st in top of beg ch-3 to join. –16 dc, 28 sc, 36 ch-2 sps
Rnd 9: Ch 1, sc in same st, sc in next st, [(sc, ch 2, sc) in corner ch-2 sp, sc in each st and ch across to next corner ch-2 sp] 3 times, (sc, ch 2, sc) in last corner ch-2 sp, sc in each st and ch to end, sl st in first sc to join. –124 sc